LINEN V-NECK TUTORIAL
It’s full on summer here in sunny California! The leaves on the trees are green, the sun is shining, and the weather has amped up to the ’90s. Time to make some lovely linen summer wear!
Difficulty: Beginner
Time: 2 to 3 hours
Materials:
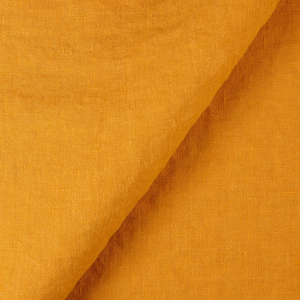
2 yards of IL044-720 (or IL019 in your favorite color)
‘¼ yard of IL019 for lining
Thread
Measuring tape
Clear ruler
Disappearing ink marker or tailor’s chalk
Pattern paper, butcher’s paper, or your favorite medium to use for drafting patterns
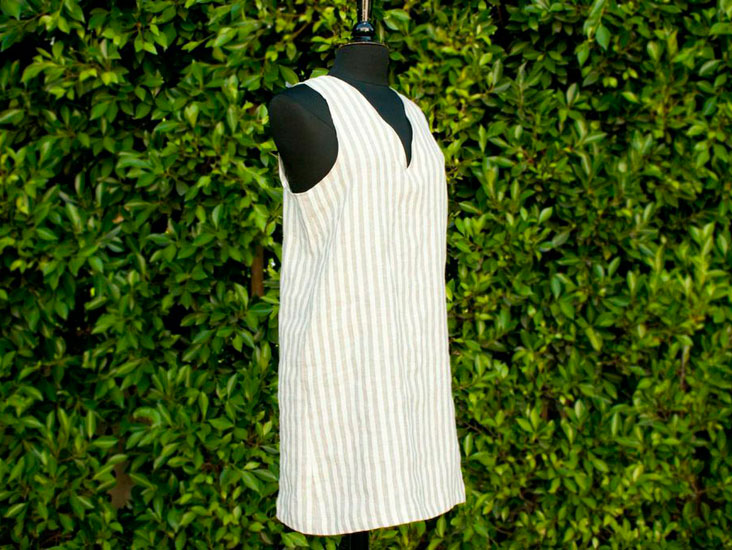 This sleeveless V-neck shift is easy to draft. It’s free-sized from the bust down, making for an easy pattern. Start by taking the measurement for your bust and hips, and decide what the largest amount you want the hem to be. Add 2″ to the bust, add 4″ to the hips, and divide all three of these measurements by 4 (the pattern will be made on a fold).
You’ll need to decide how deep you want your V-neck to be from the top inside of your shoulder. Mine was 9 inches. This will be measurement A.
Measure across the front of your collar bone for how far apart you want the shoulders of your dress to be. Mine was 6″ apart. Divide this in half. This will be measurement B.
Decide how wide you want the shoulder of the dress to be. This will be measurement C. I chose 3.5″.
Your measurements should look like this:
Bust = (Bust + 2″)/4
Hips = (Hips + 4″)/4
Hem/4
Measurement A
Measurement B
Measurement C
Here is a link to a guide showing how I designed the pattern:
If you have trouble making the curve for the arm, you can trace one of your shirts to create it! Don’t forget to add a 1/2″ seam allowance to your pattern pieces.
The front and back pieces are the same except for the shape of the neckline, and both pieces are cut once on a fold. Test out the pattern using some muslin or other inexpensive material before making the dress, to make sure it will fit the way you want and to make sure your head will fit through the neck hole. 😉
To make the lining for the neck, copy the neckline and shoulders of both the front and back pattern onto a new sheet of pattern paper. Measure and mark 2 1/2″ away from the neckline all the way around and trace these marks to make the lining pattern for the neckline. Since this pattern does not have an open back, you won’t be able to make the arm holes lined as well.
Once you have your pieces cut out you can start sewing.
1. Start by sewing the dress together at the shoulder seams with right sides together. Iron the seam open and set aside.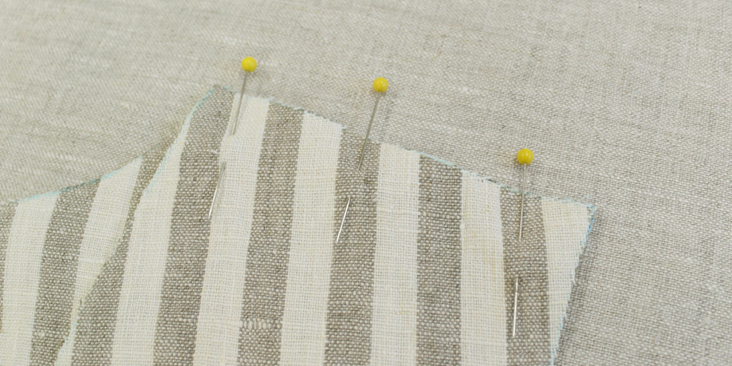
2. Sew the lining together at the shoulder seams, and iron the seams open.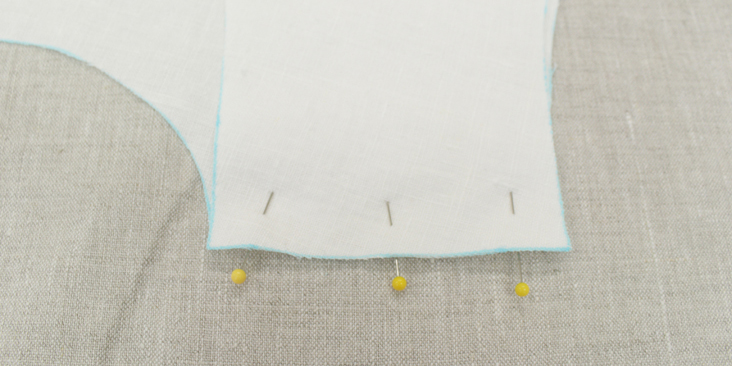
3. On the raw edge that will be on the inside of the dress, either use an overedge stitch or a rolled hem stitch to secure the raw edge.
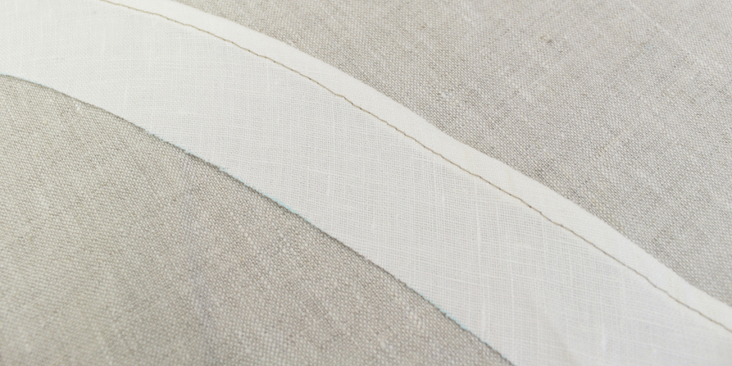
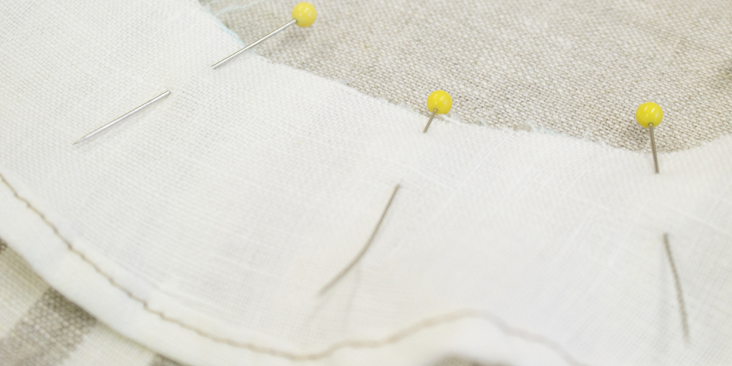
4. Line up the necklines of the lining and the dress, putting right sides together. Pin and sew with a 1/2″ seam allowance.
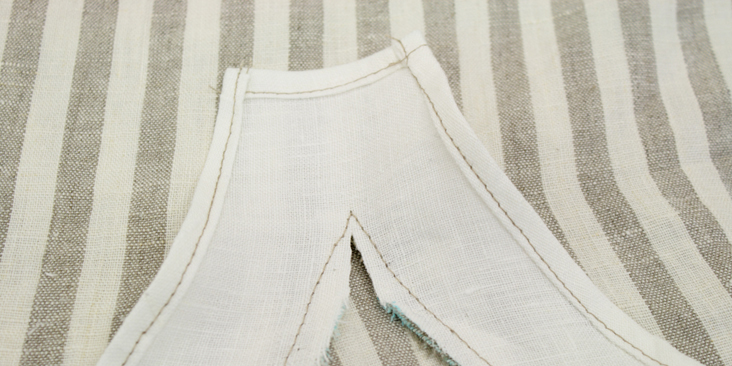
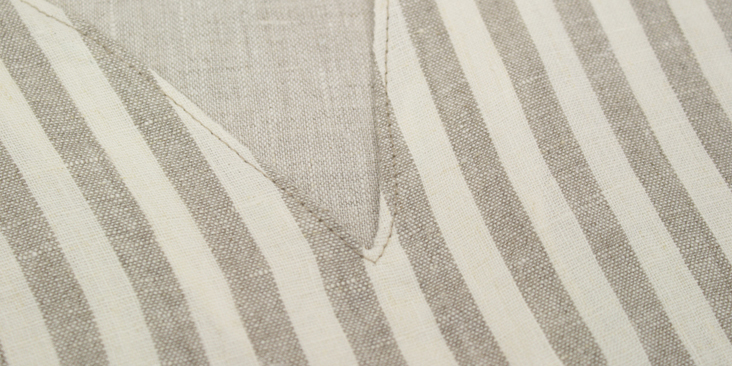
5. Clip the curves of the back neckline and the point of the V neckline. Turn the lining to the inside of the dress, iron, and sew with a 1/4″ seam allowance along the fold.
6. Pin the side seams of the dress together and sew with a 1/2″ seam allowance. Iron the seams open.
7. To finish the arm holes, use a rolled hem. To do this, turn the raw edge in 1/4″, iron, and then turn that edge in by another 1/4″. Iron and sew along the folded edge to secure it into place, hiding and protecting the raw edge of the fabric.
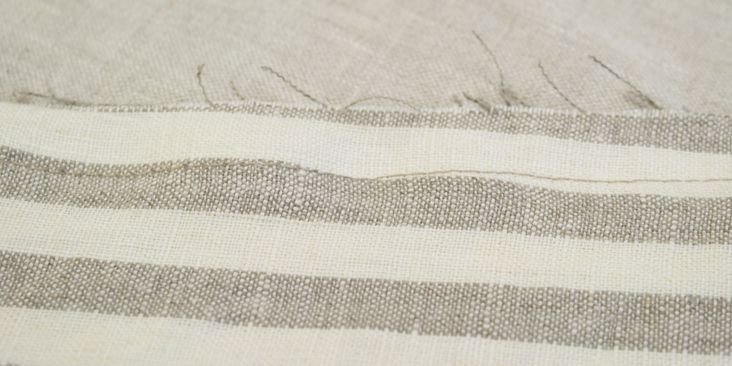
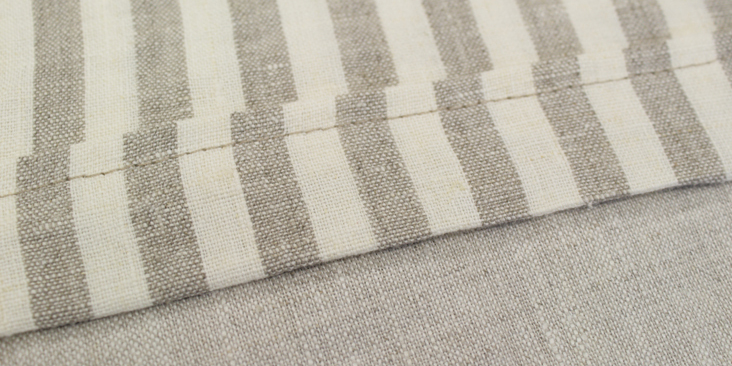
8. Only one last thing to do: the bottom hem! Fold up the bottom hem by 1/4″ and iron. Fold this fold up by 1″, iron, and sew close to the folded edge to secure the hem in place. You can use the sewing machine or hand-stitch this hem.
You’re done! Now you have a lovely, easy shift dress that’s ready for the summer weather. Don’t forget to share your finished project in the comments below!














One Comment
Carol Alexander
I love this!. I would like to see more patterns that are 100% linen friendly, and also, how to adjust patterns to be linen friendly. I want to buy all of your linen and see what it feels like to wear nothing but linen – if I feel healthier, etc. Thank you for your tutorial.