LINEN BOW TIE TUTORIAL
Difficulty: Advanced
Time: About 1 hour
Materials:
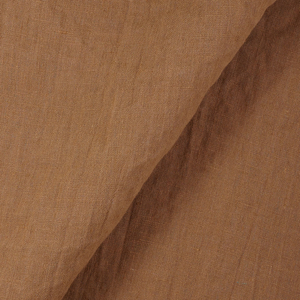
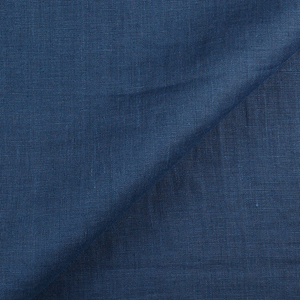
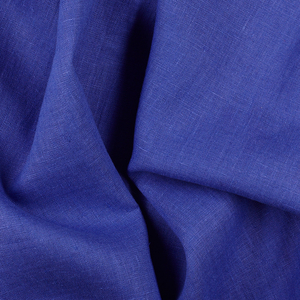
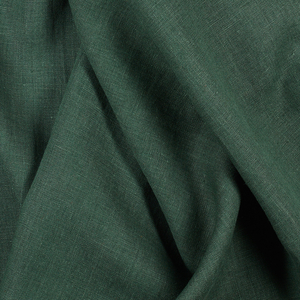
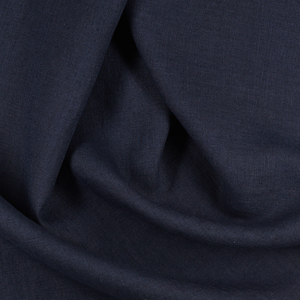
Approx. 1/4 to 1/3 yard IL019 Crown Blue or Transparent Yellow
Needle
Thread
Clasp/Hook
Iron (lots, and lots, and lots)
Start by cutting out the fabric. You’ll need 4 pieces to make this bow tie. The first is a long rectangle that is 3″ x 11″, cut twice. This piece will be the top of the bow, now called Piece A. The second piece is 3″ x 6″, cut twice. This will be the bottom of the bow, now called Piece B. The third piece is 3″ x 2″, cut once. This will be the center part of the bow, now called Piece C. The final piece is ‘your neck measurement’ + seam allowance for the hook (approx. 1 inch on each side) x 1 1/2″ (or 4 x the width of the hook piece, so that the fabric can be folded like bias tape and slid through the hook). This piece will go around your neck, and is now called Piece D.
All pieces have a 1/4″ seam allowance.
Take the long rectangle piece (Piece A) and sew across both long edges, creating a long, open tube.
Turn this piece inside out, iron, and then sew the two raw edges together.
Turn so the seam is inside the newly created tube and iron. This piece will be the top of the bow, but set it aside for now.
Sew the middle-sized rectangle (Piece B) on all edges, leaving a 1/2″ gap in the middle of one of the long sides.
Clip the seam allowance on the corners. Use a pen or needle, or other turning tool, to turn the fabric right-side out through the small gap in the seam. You want the gap to be in the center of this piece so that it can be hidden under Piece C when the bow is assembled. (You can choose to seam over it or leave it open.) Iron this piece well and set it aside.
Next, take Piece C and sew the two long edges together, creating a small, 3″ long tube.
Turn right-side out, and iron so that the seam will be hidden when wrapped around the bow pieces.
Take Piece D, fold in half along the long edge, and iron. Fold on side of the long side in, and iron, then repeat for the other side. You’re essentially creating a long piece of bias tape.
Sew two seams along the long edges of Piece D, securing the folds together.
As a clasp, I chose a “bra hook”, similar to the one seen here (click here). Slide one end of Piece D through the closed portion of the hook, and secure the fabric to itself with a few strong stitches. You may wish to reinforce this with a zigzag stitch or hand-tacking.
On the opposite side of Piece D, fold the fabric over by 1/2″, iron and sew down approx. 1/4″ from the fold. This will create a little tube that will catch the other side of the hook, securing the tie around your neck during wearing.
Now back to the bow part of the tie! Arrange Piece B on top of Piece A, making sure to line up Piece B’s seam with where the center of the bow will be, so that it will be hidden under Piece C when assembled.
Use one hand to carefully fold the two pieces together into a bow shape. If you have something that will hold this together for you, great! Otherwise, you may want to get an extra set of hands.
Holding the pieces in a bow shape, carefully sew them together in the center of the bow, creating a small X shape. The X shape will ensure that all pieces are held in the stitching.
Final step! Grab Piece C and Piece D. Iron one of the short ends of Piece C over by 1/4″. Align Piece D on the back of the bow piece and hold in place. Wrap Piece C around the bow piece and Piece D, pinning it on the back of the bow with the folded part of Piece C on top. Sew up the back seam on Piece C, so that it holds the bow and neck part of the tie together.












Leave a comment