LINEN PILLOWS TUTORIAL
Difficulty: Beginner
Time: About 30 minutes per pillow
Materials:
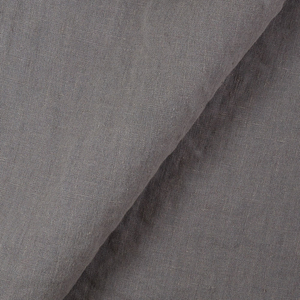
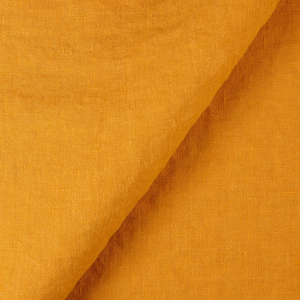
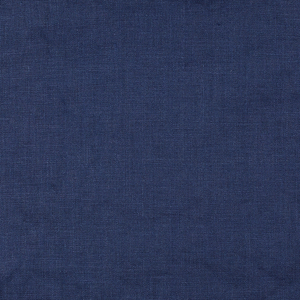
A little over 1/2 yard per pillow IL019 Krista Natural
Thread
Cotton stuffing
Pins
This is the simplest way to make a lovely-looking linen pillow to help give your couch or bed a more inviting spark. These pillows are quick and easy to create and don’t require a lot of fabric.
First, decide what size you would like your pillows to be. Standard throw pillows are usually an 18″ square, but feel free to go crazy and make them any size (or shape) you’d like!
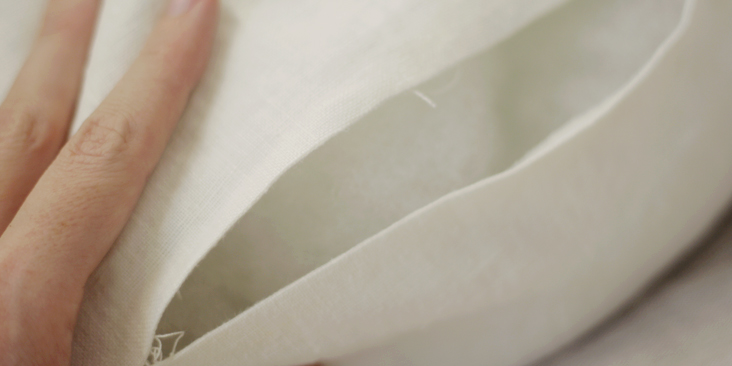
1. Back to the pillows – I’ve chosen to make an 18″ square. Don’t forget to add a 1/2″ seam allowance to each side, making the square to be cut out a total 19″ on each side. Fold the fabric with right sides together and iron so the fabric is smooth. Measure out and cut a 19″ square for each pillow (you’re cutting out two layers of fabric, so each square that you cut out is one pillow made up of two layers of fabric).
2. Keep the two layers of fabric right-sides together. Sew starting from 4 inches away from one corner, as shown on the guide above this paragraph.
3. Sew around all three sides, and then sew 4 inches into the fourth side and stop. You should have a gap in the center of one side that is approx. 10″ wide (or at least wide enough to get your hand into without stretching the seams).
4. Clip the seam allowance on the corners of your pillow, and turn right-side out.
5. Grab that cotton and start stuffing it into the pillow until the pillow takes on the form that you want. You can make it a little floppy, a little overstuffed, or however you best prefer your pillows to be.
Alternatively, you could use a foam base or a pre-stuffed pillow and use this like a cover, rather then stuffing the pillow with cotton yourself. I have considered using a foam base with cotton batting sewn around it. If you try this, please let me know how it turned out! I’d love to hear if it’s as soft and fluffy as I think it would be.
6. Once the pillow is filled, pull the last seam together and iron and pin it at the 1/2″ seam allowance. Close up the seam using a ladder stitch (or your preferred seam closing stitch). You could also use some temporary fabric glue or wonder tape to help you get a perfect seam.
Don’t worry too much about how this seam looks; most professionally made pillows end up simply sewing the seam on the outside of the pillow (leaving a visible seam)! So it’s ok if your hidden seam is a little messy.
Your pillow is complete! Throw it on the couch and bask in it’s linen comfort! Show us your linen pillows when you complete them.


















2 Comments
AmyCat
If you’re using a ready-made pillow form, rather than leave an opening at one edge, make the back in two pieces with an overlap down the center back. See this video tutorial:
http://m.youtube.com/watch?v=4LJnPEvjdDo&desktop_uri=%2Fwatch%3Fv%3D4LJnPEvjdDo
This will look neater than having an edge sewn closed after stuffing.
Judy
Imagining 5-10 of these in various sizes and sweet pastel colors, maybe a little bright embroidery on some, thrown into a shabby chic living room or beach front cottage. Would be lovely!