Tutorial: How to Sew the Mykonos Waistband
This tutorial is to support the waistband instructions in the Mykonos Pattern booklet found on pages 70-75.
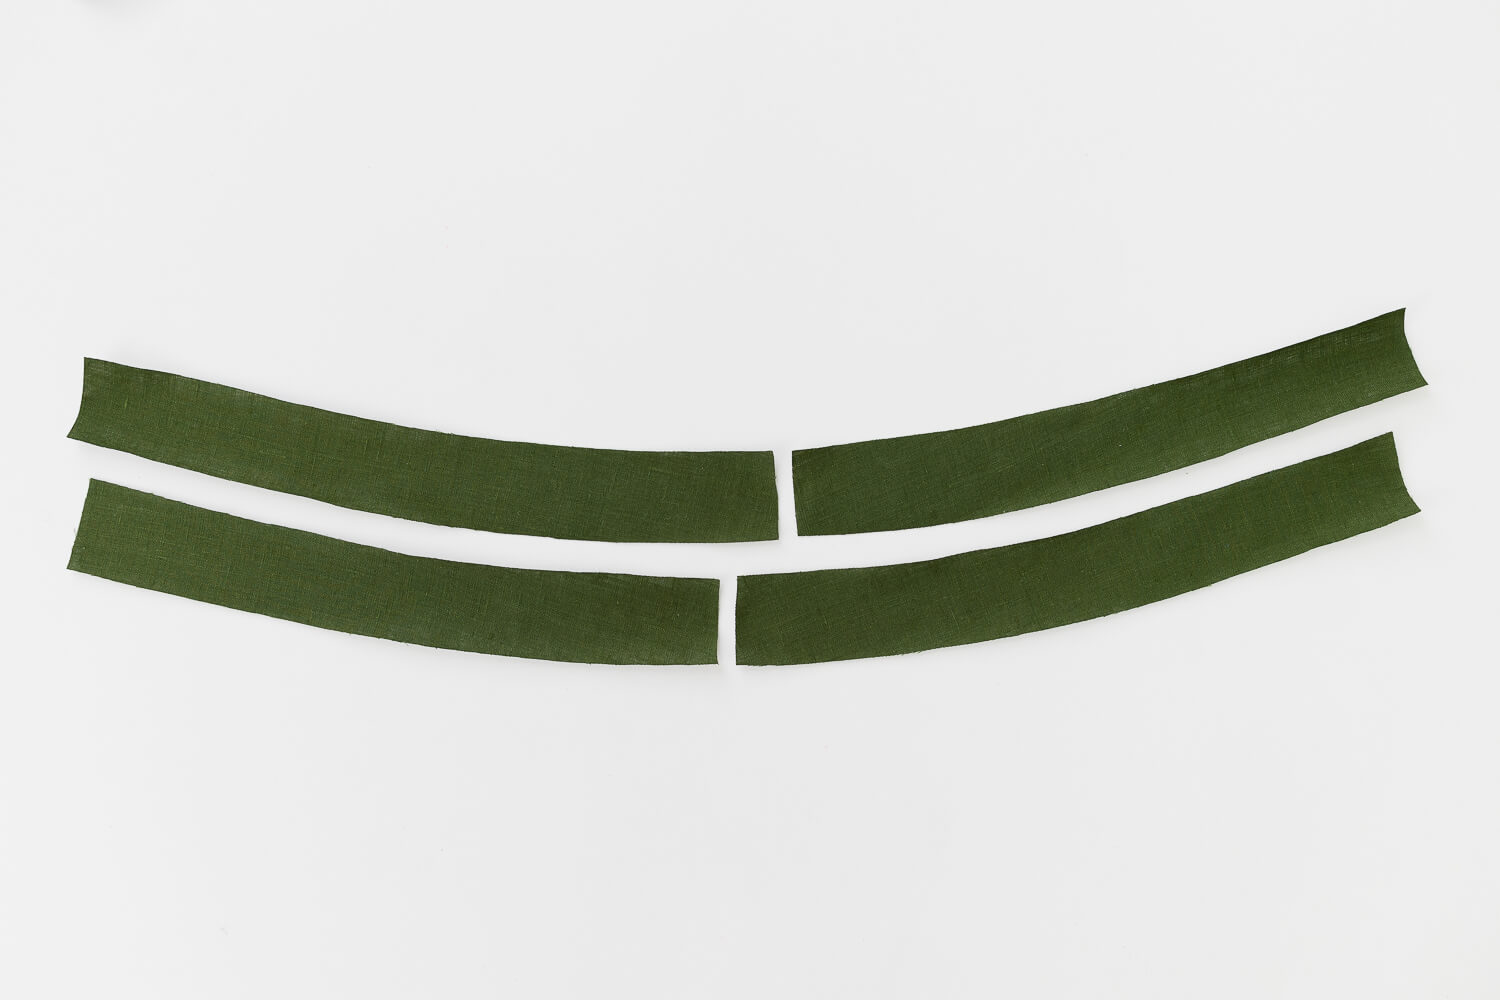
To start, make sure all the waistband pieces are cut and the fusing is applied.
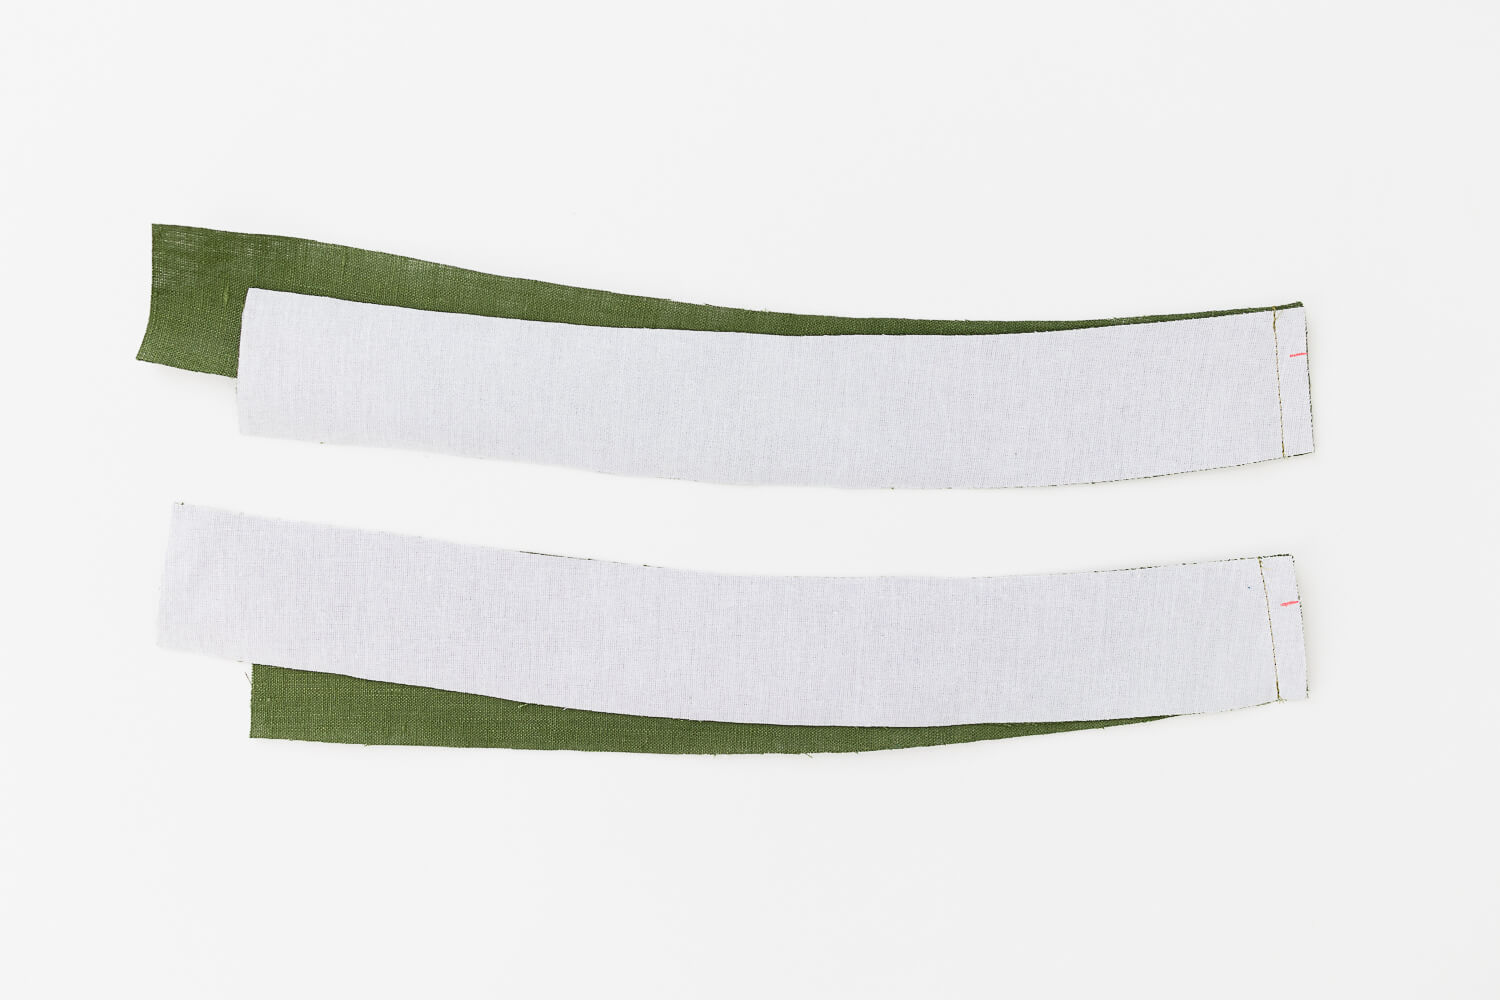
To make the upper waistband and inner waistband, match the right (AA) and left (AB) waistbands together into two pairs.
Sew each pair with right sides together using a 1/2” seam allowance. To be sure which ends to sew together, match up the pattern markings on the short ends.
Press seams open.
Some quick notes:
This is a good time to note which waistband is the inner and which is the upper. If they are both facing right side up, the upper will have the seam to the right of the center. The inner will have the seam to the left of the center. Consult the illustrations on page 72 of the pattern booklet for more detailed reference.
Now that the upper and inner are established, take some time to sew the eyelets for the drawstring on the upper waistband following the pattern markings.
Now continuing on with pattern instructions.
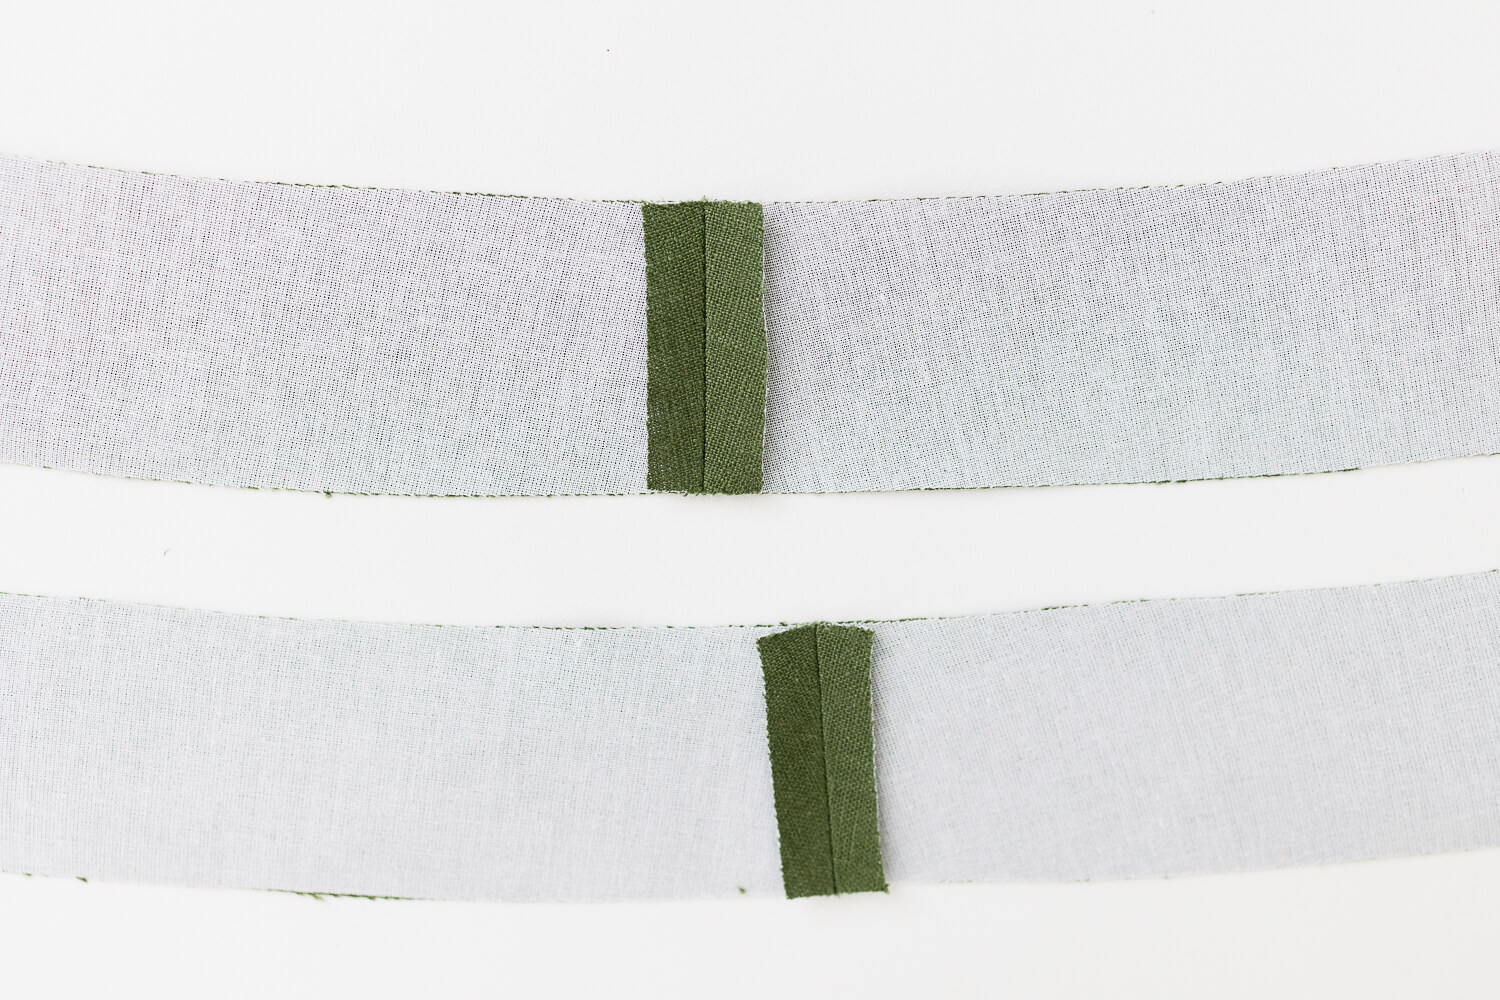
Place the bias strips right sides together and sew with 1/2” seam allowance.
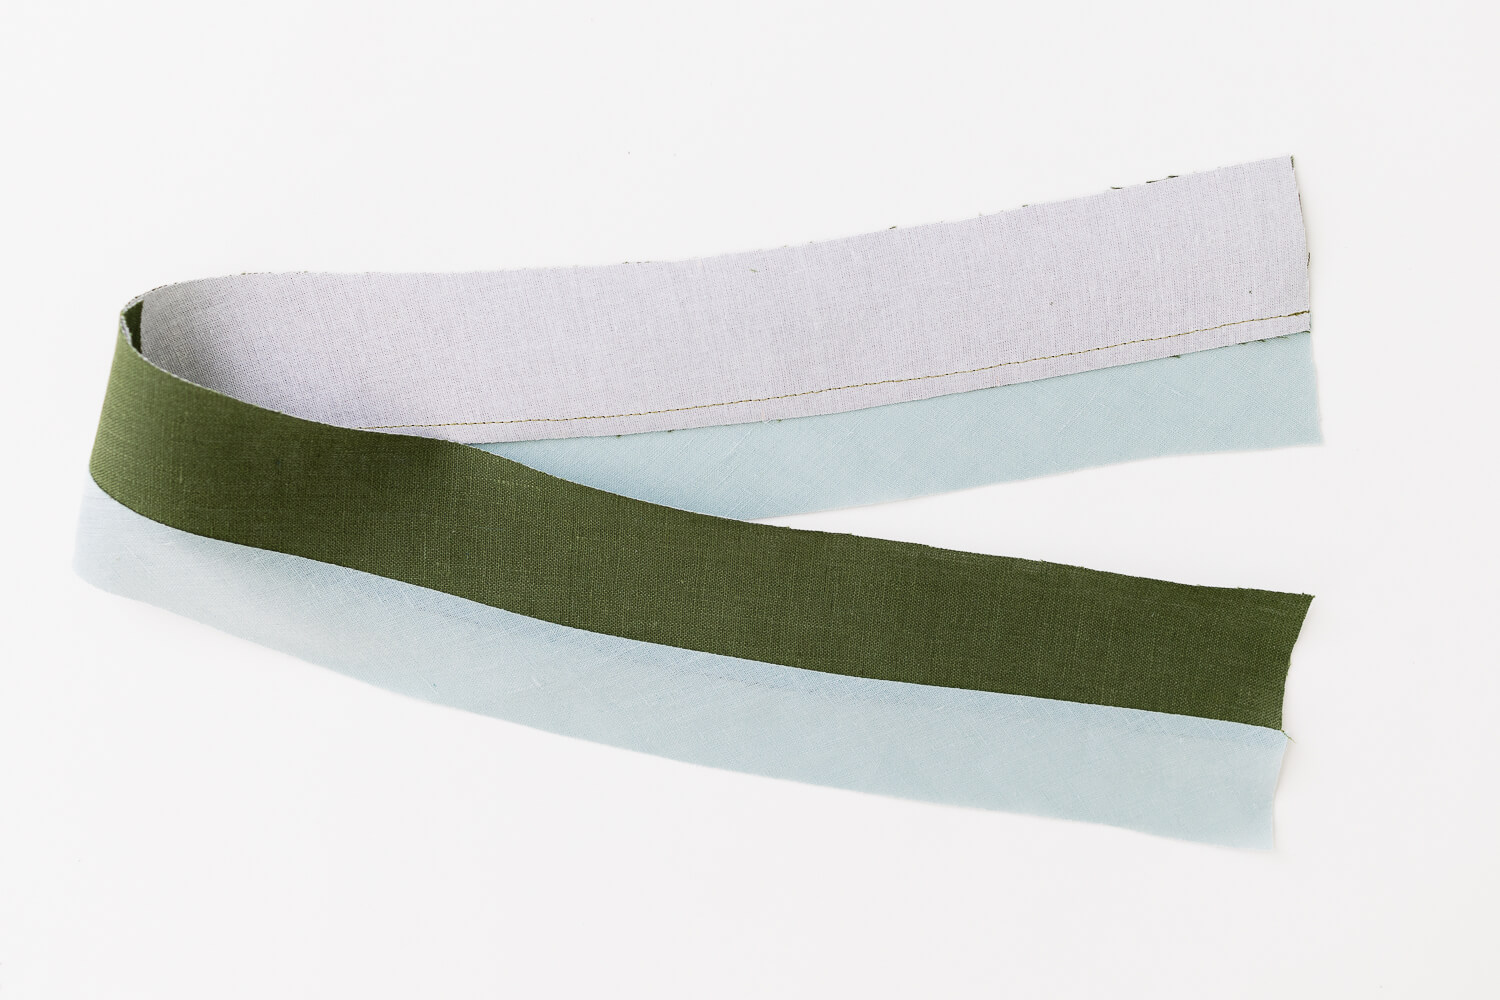
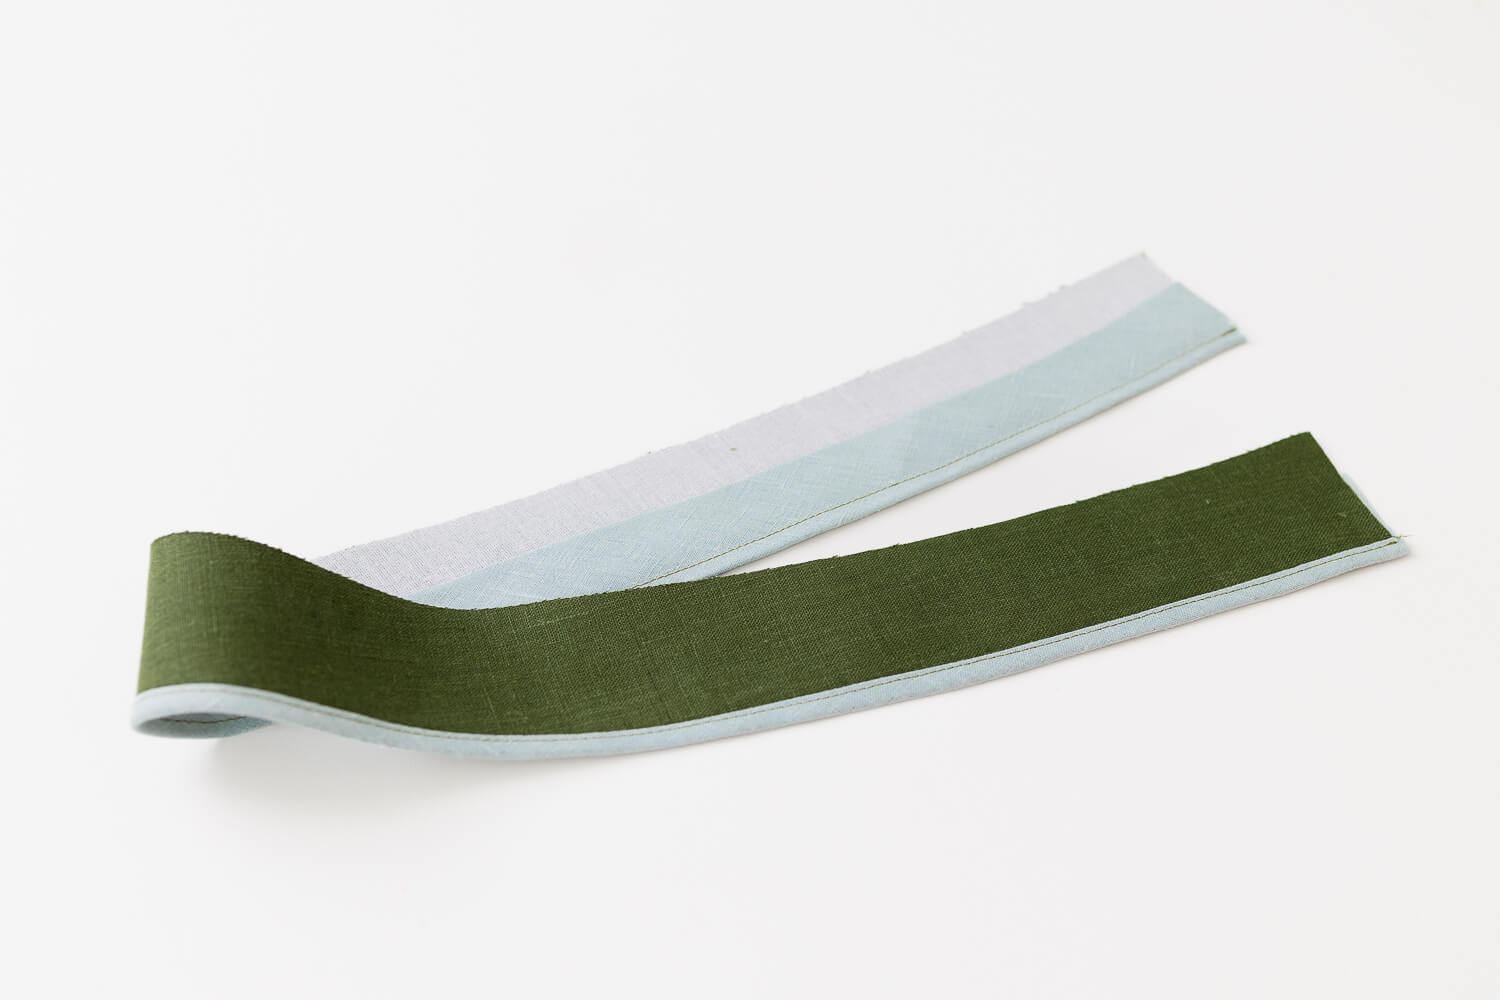
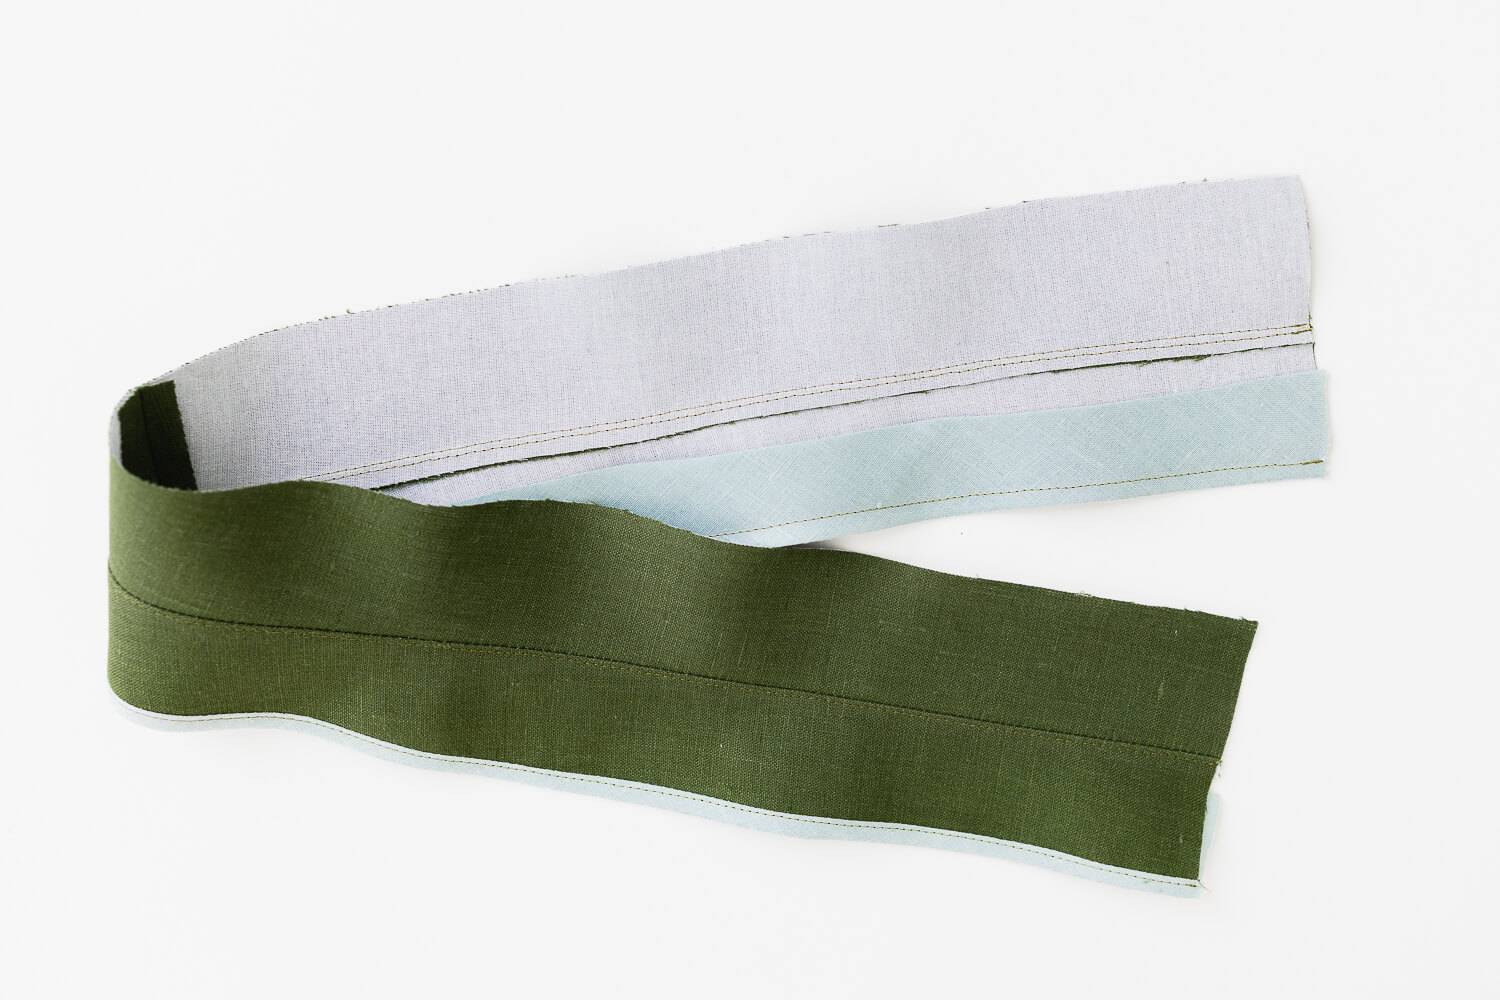
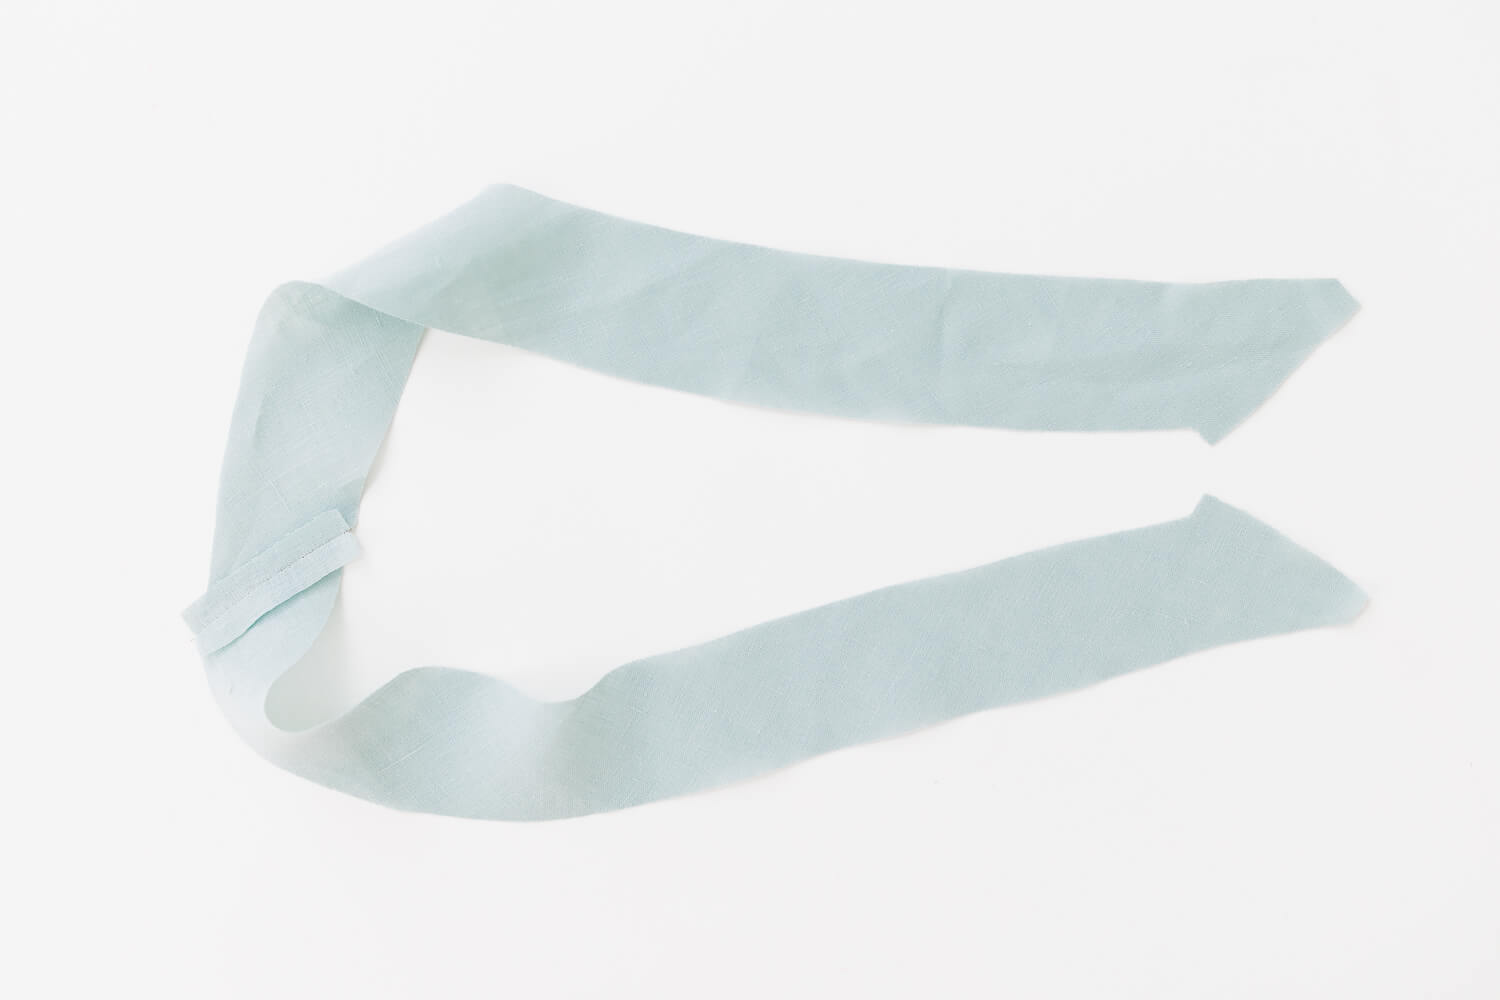 With right sides together, sew the bias strip to the inner waistband along the bottom edge with 1/4” seam allowance. Then trim off the excess bias strip on each end.
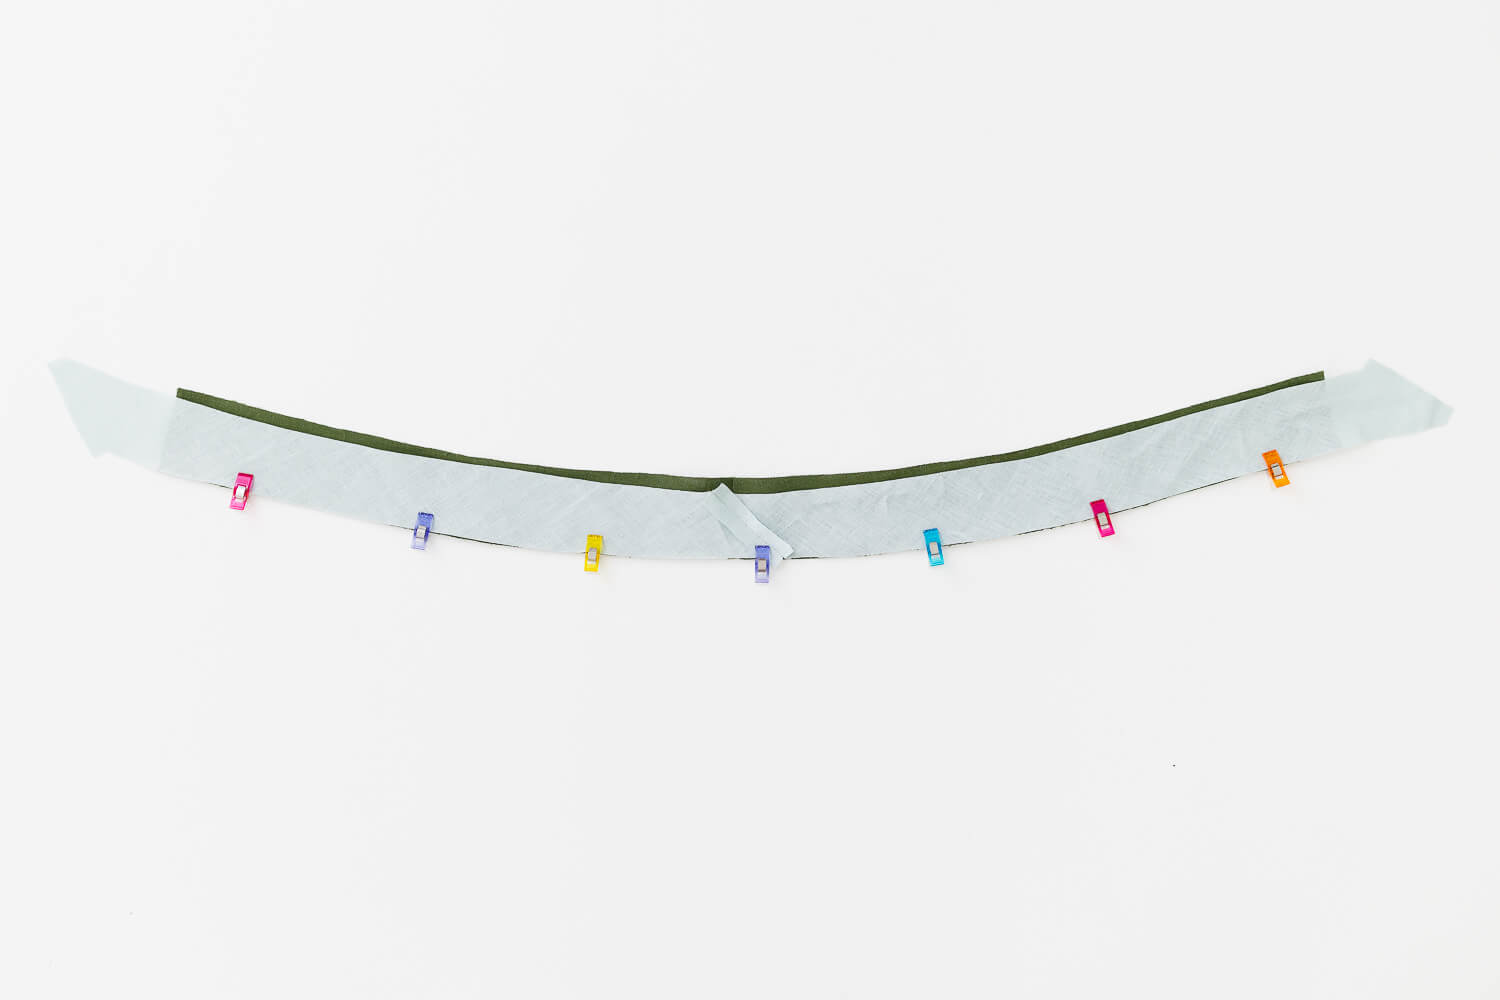
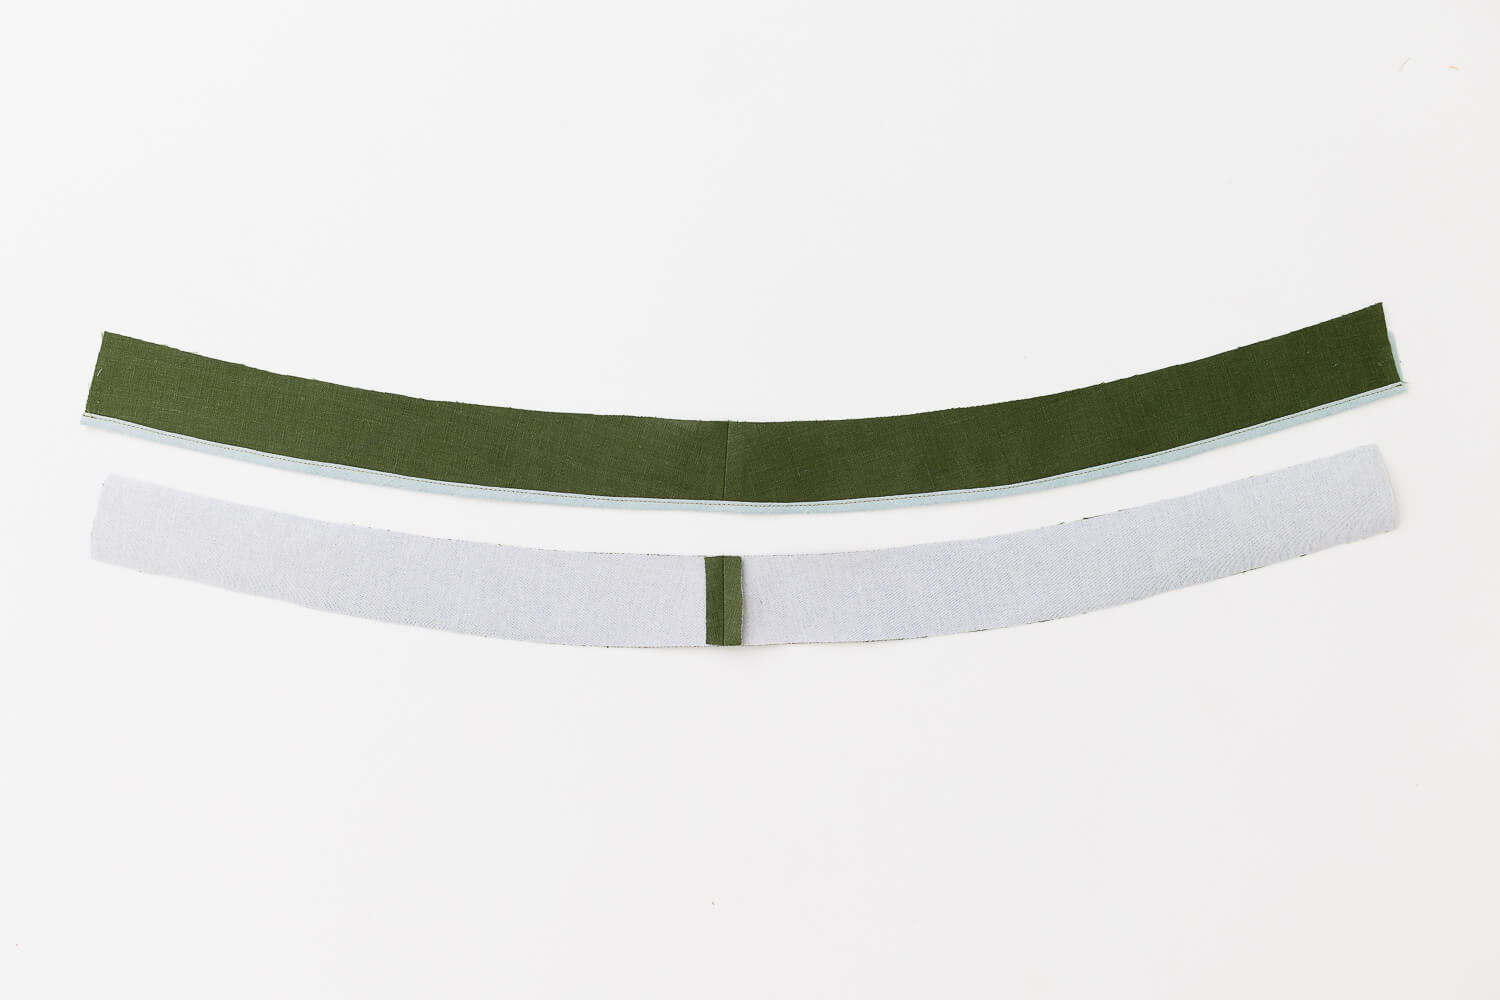
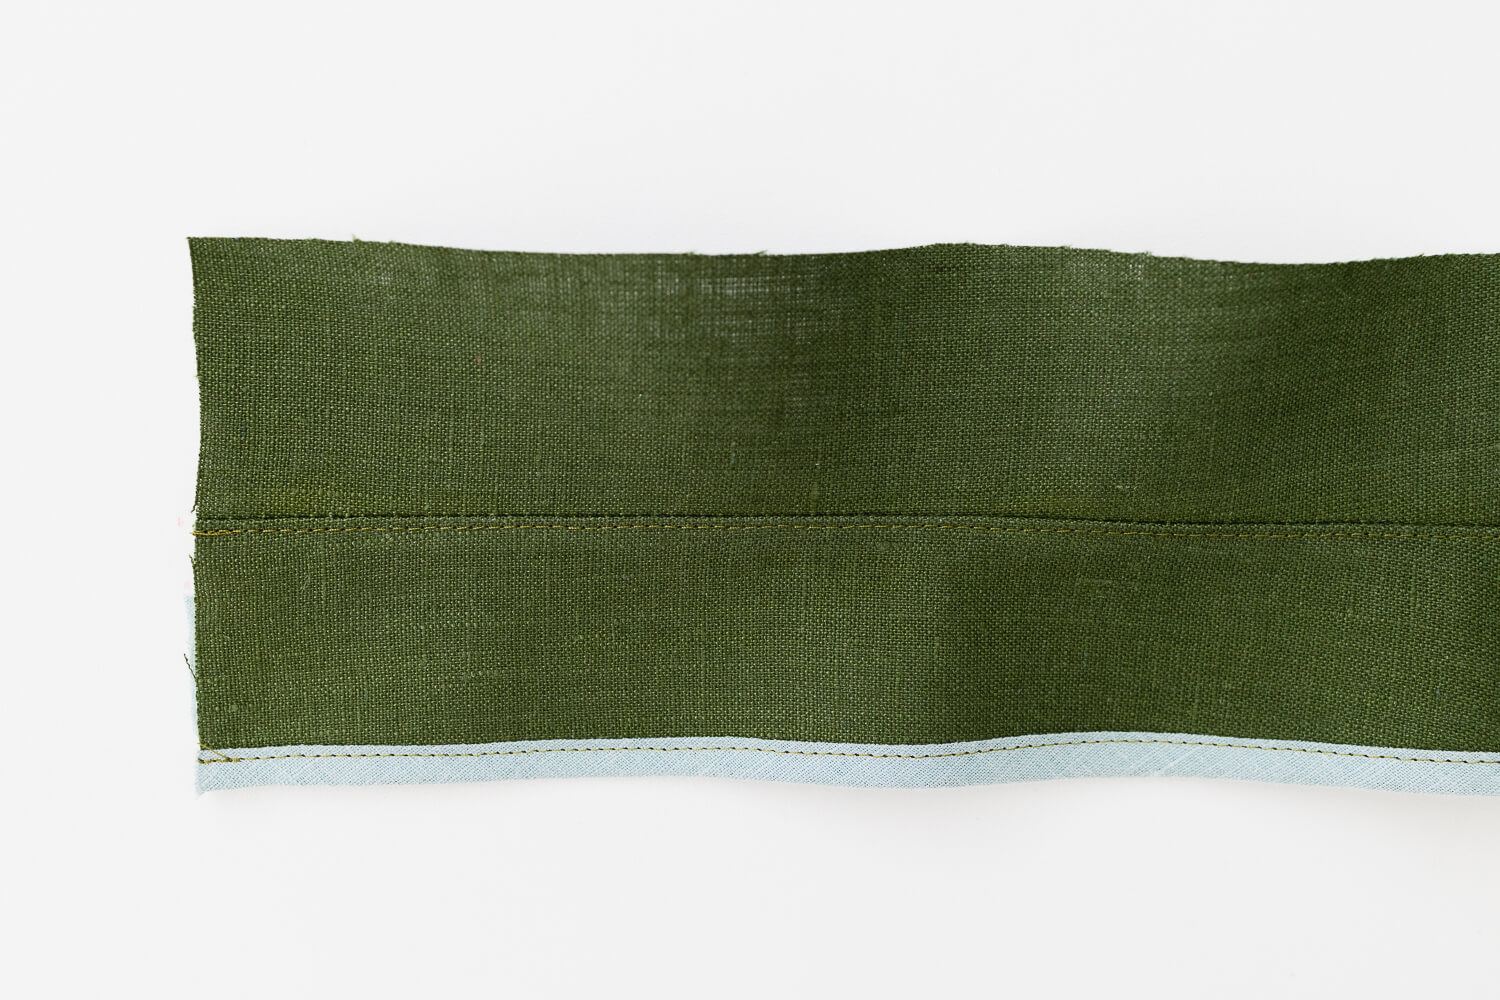
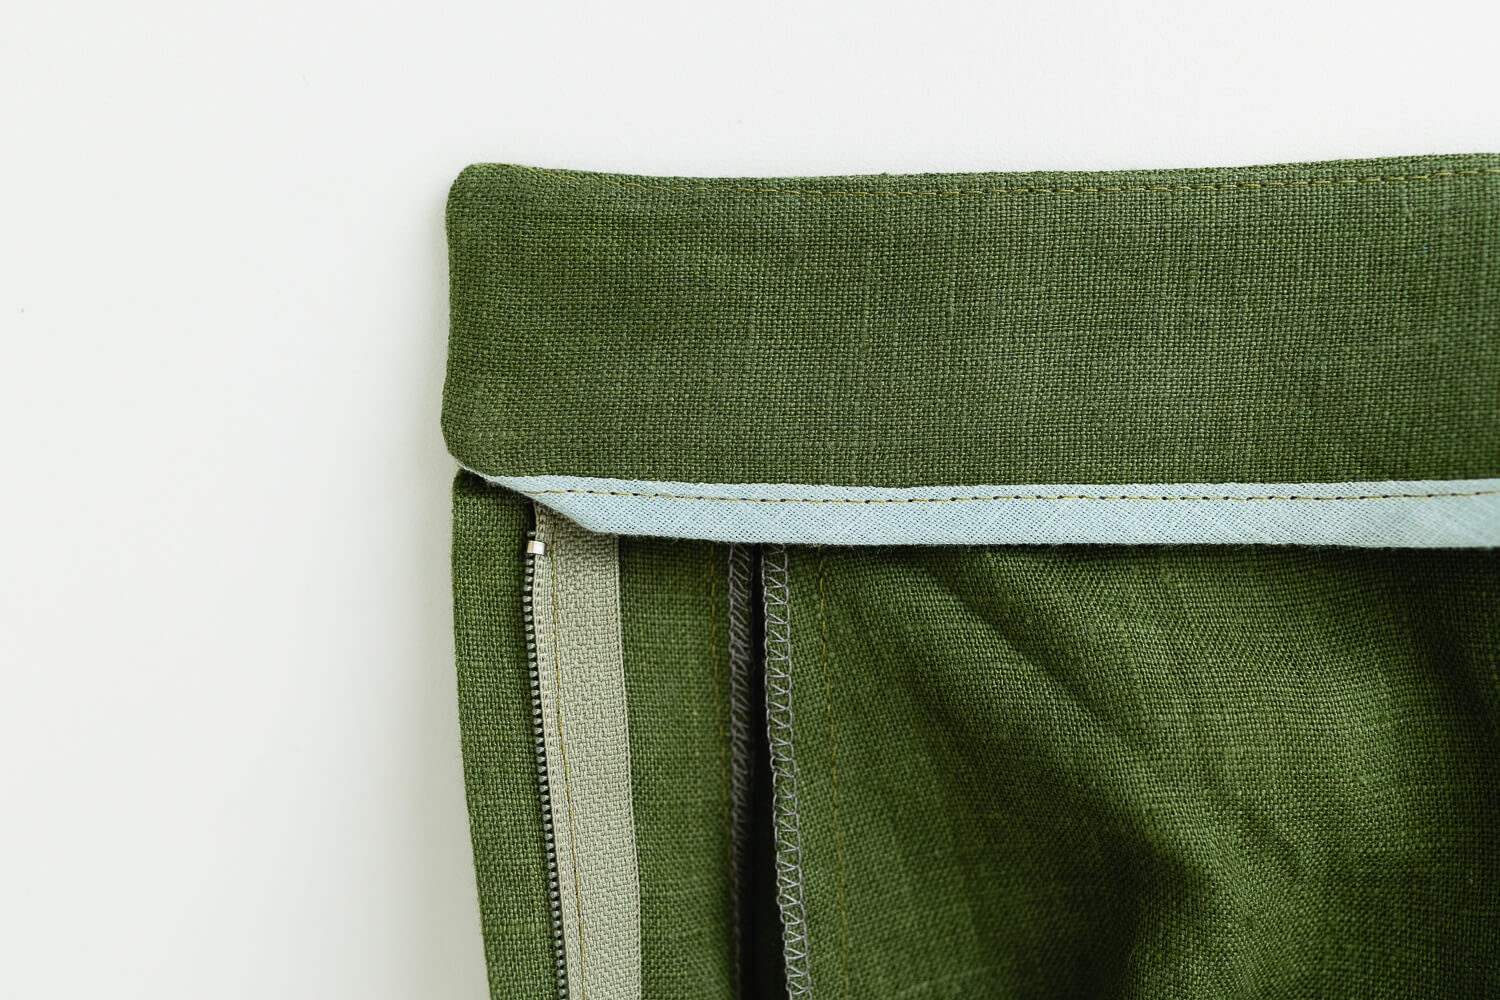
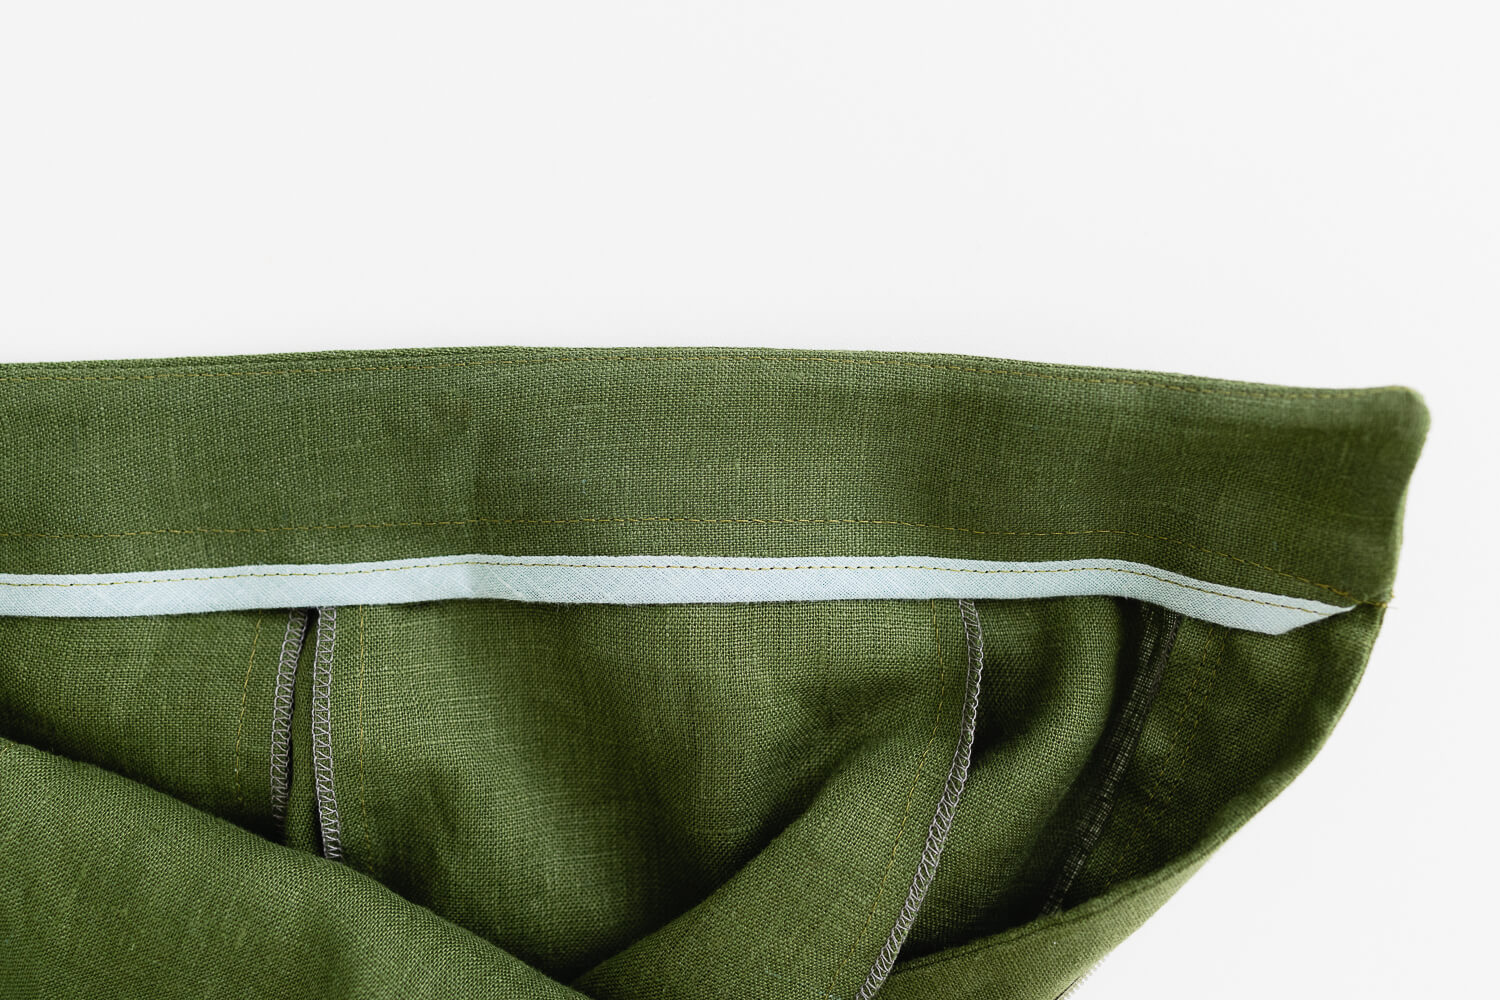
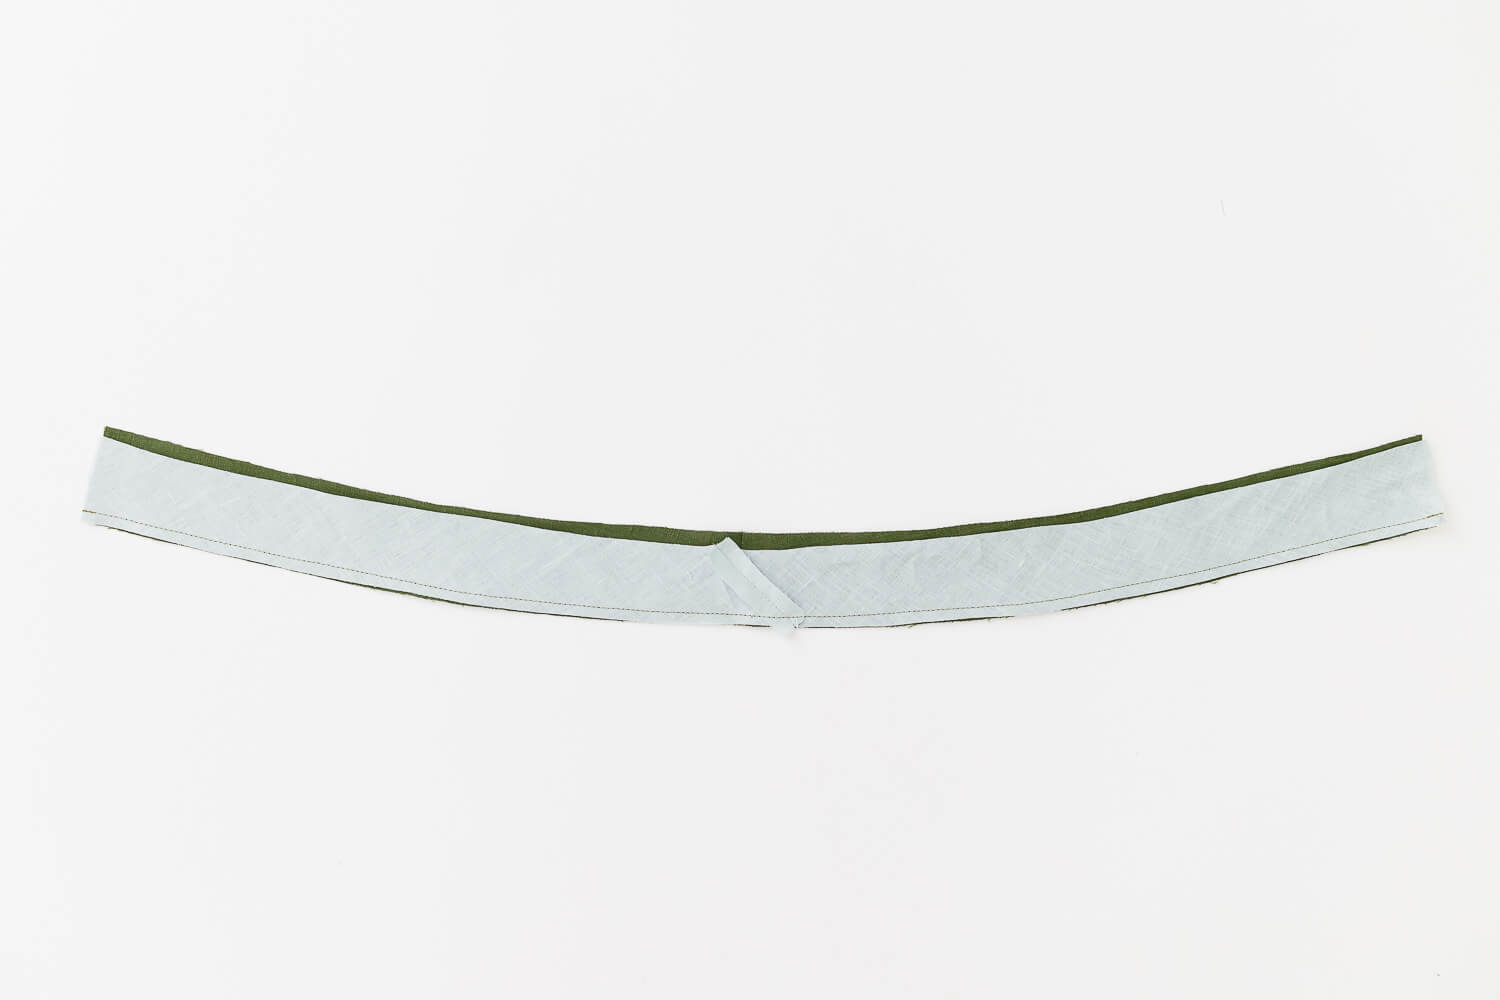 Fold the bias strip down and press. Then fold the bias strip all the way around to the wrong side and press. Edge stitch along the bias strip, 1/16” from the folded edge.
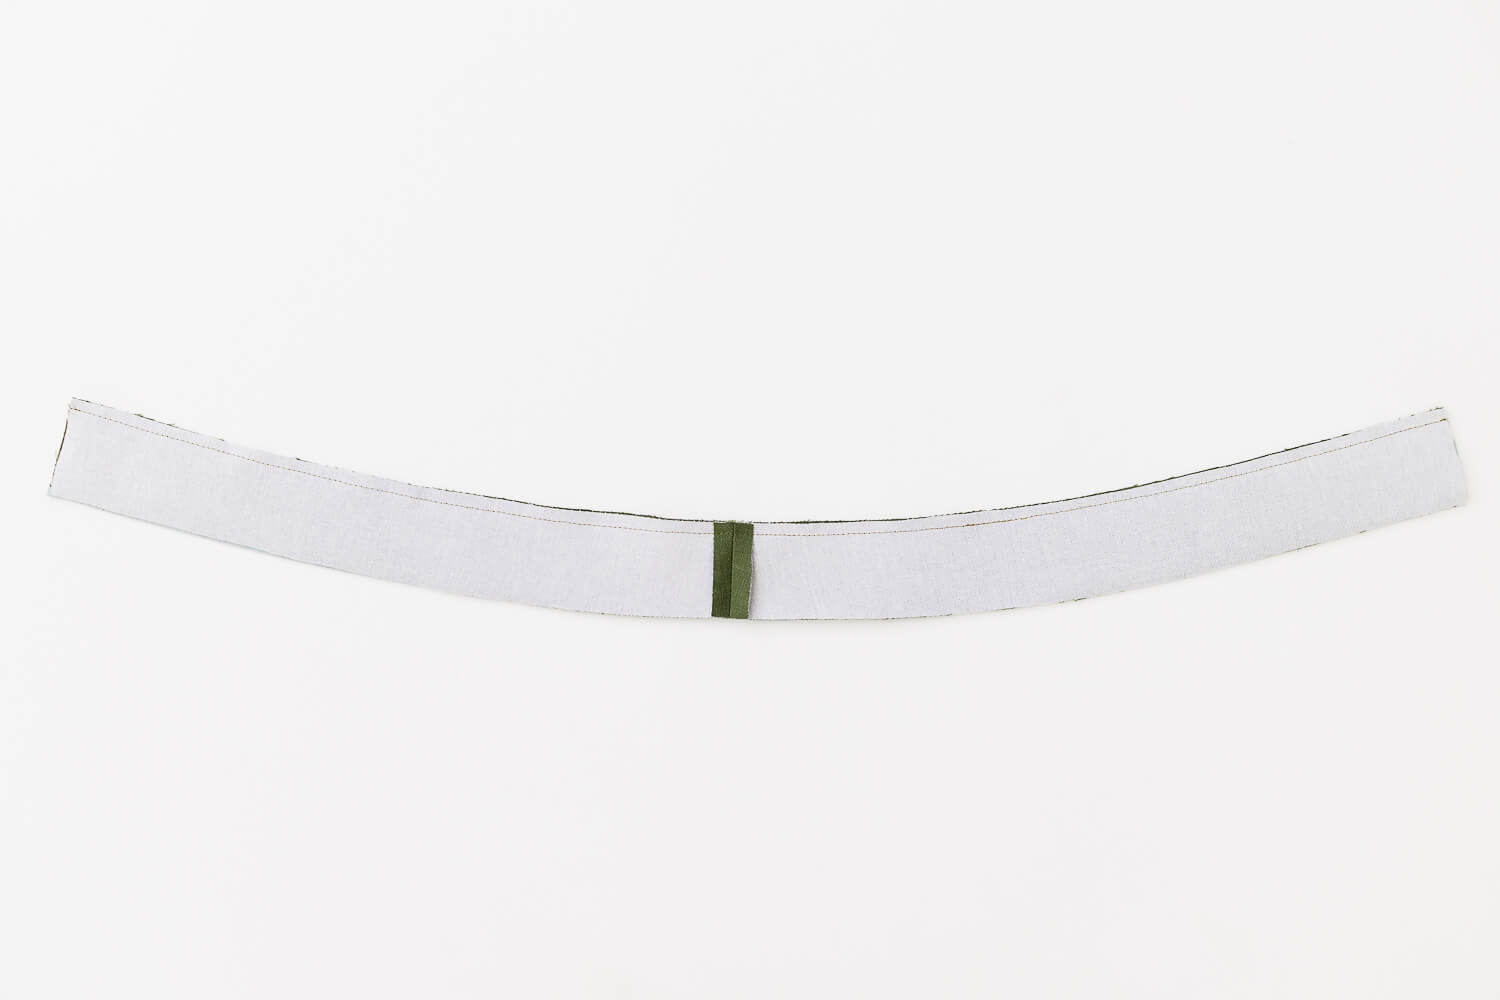
Place the waistbands right sides together. Sew along the top edge with 1/4” seam allowance.
Press the seam allowance toward the inner waistband. Understitch 1/16” from the folded edge.
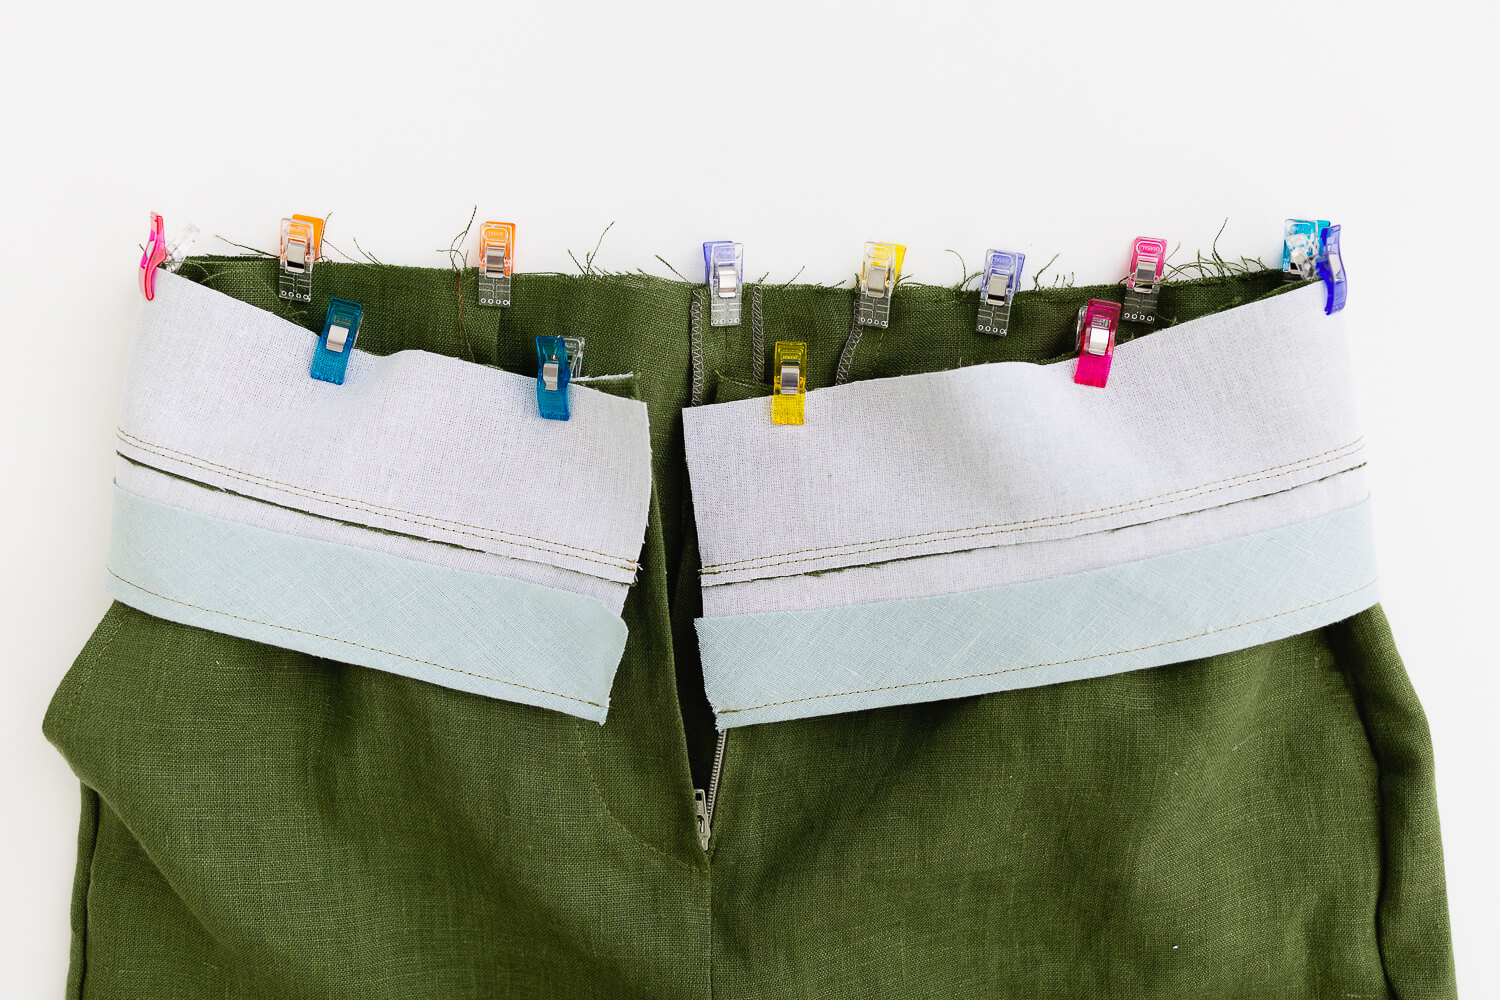
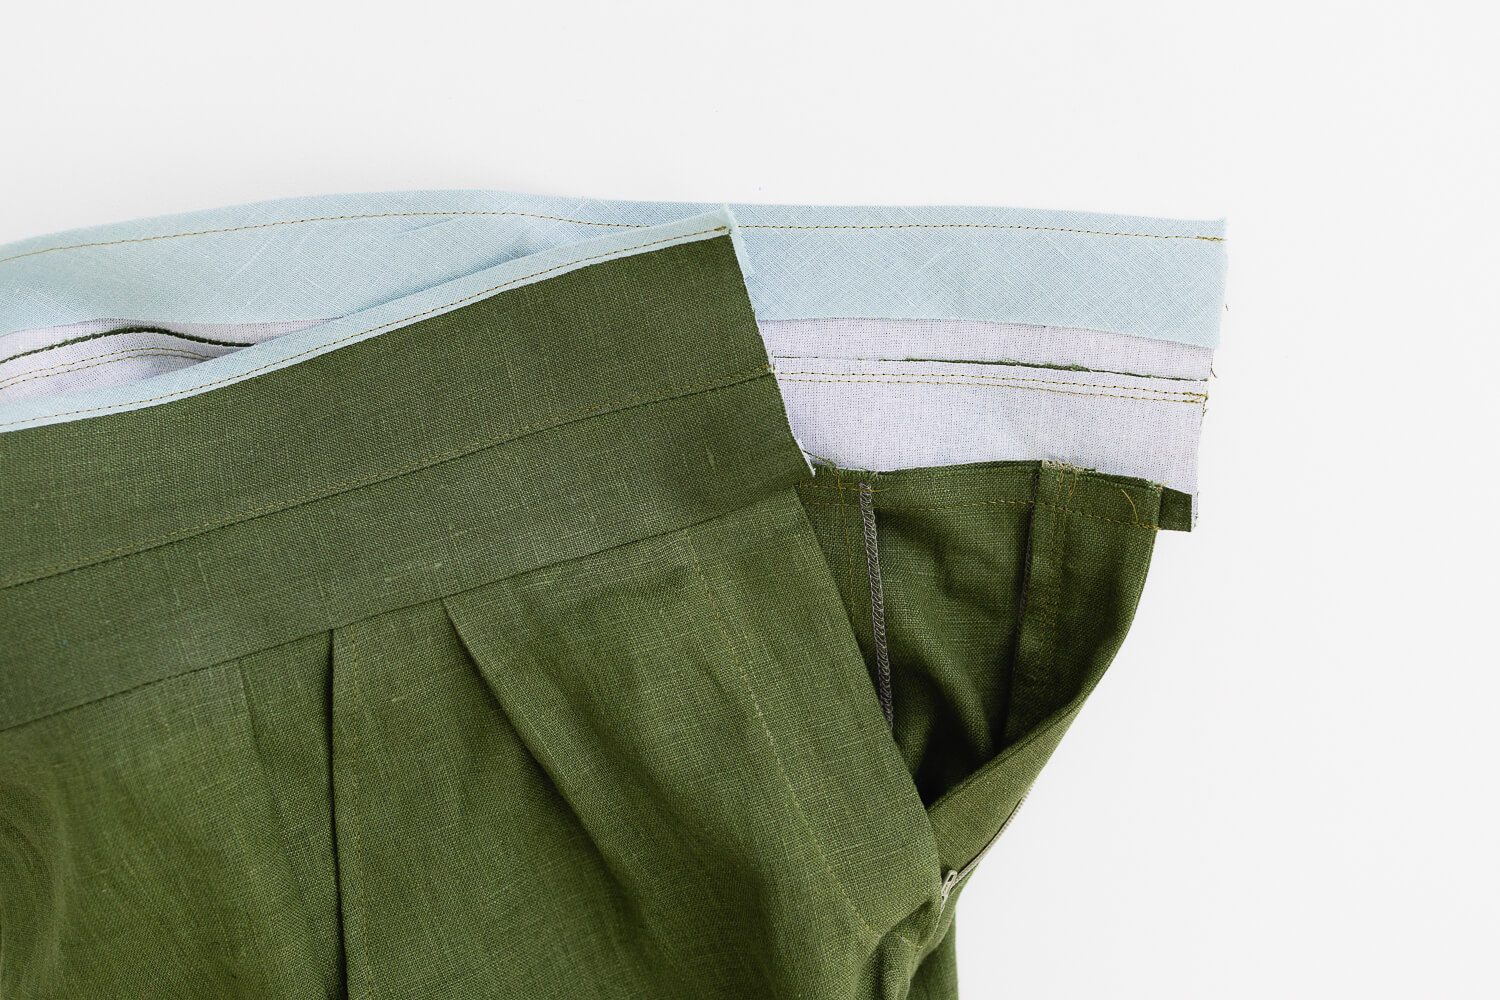
Place the upper waistband right sides together with the top edge of the pants. Match up the center back seams of the pants and waistband and pin or clip in place. Be sure to leave the waistband extending about 1/4” past the zipper fly on both the right and left side.
Sew the pants and waistband together with 1/2” seam allowance.
Press the seam allowance up toward the waistband.
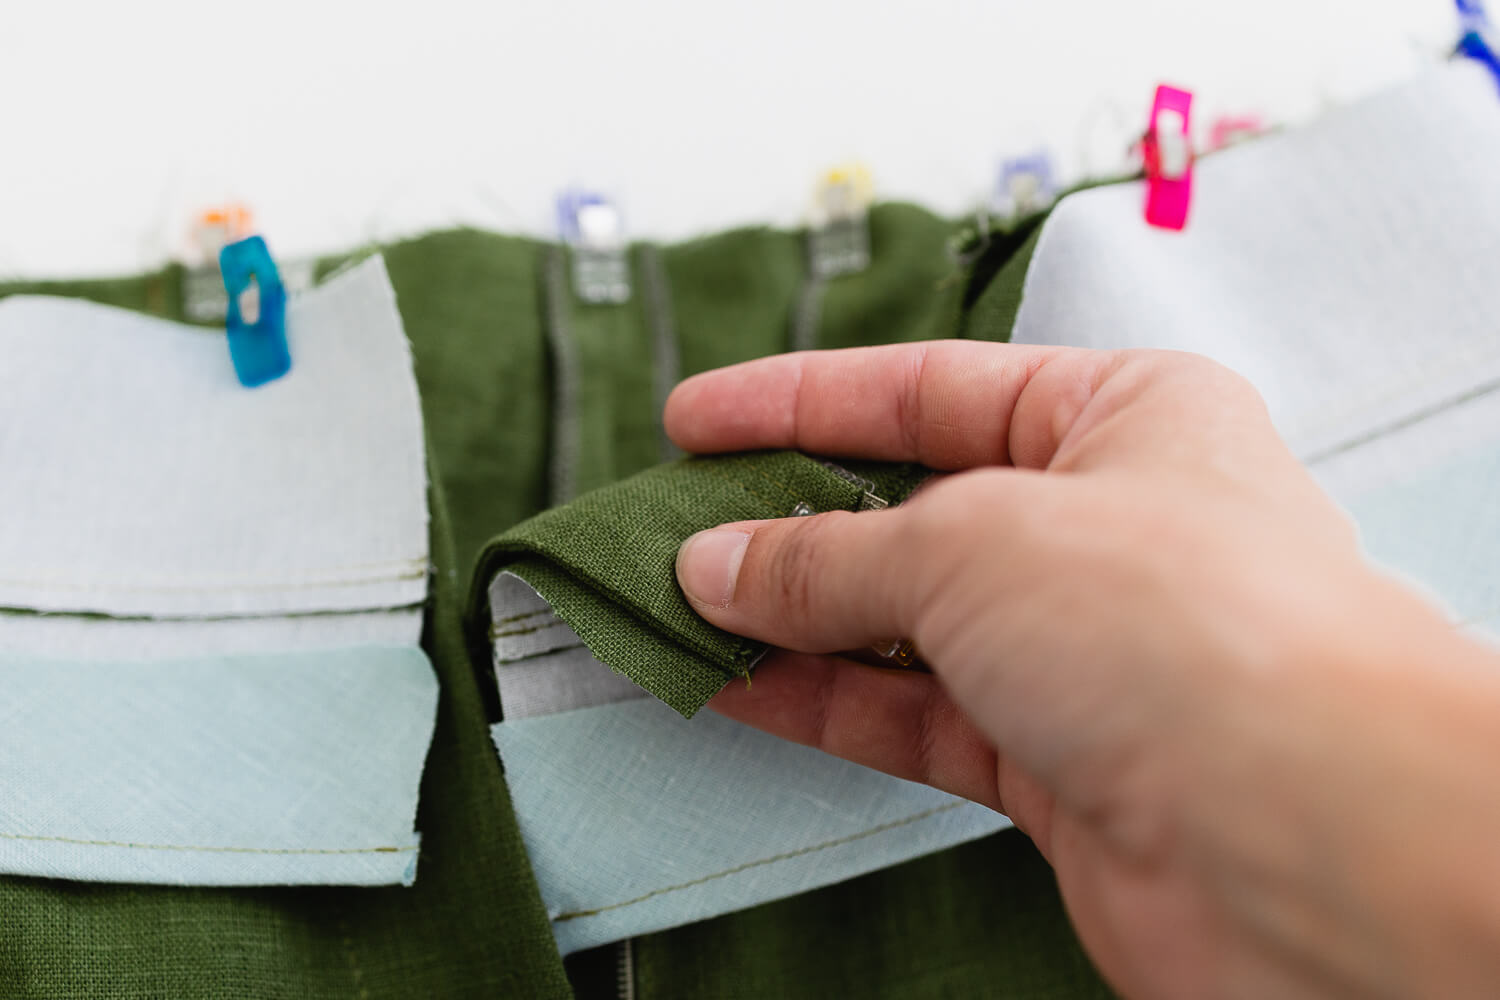
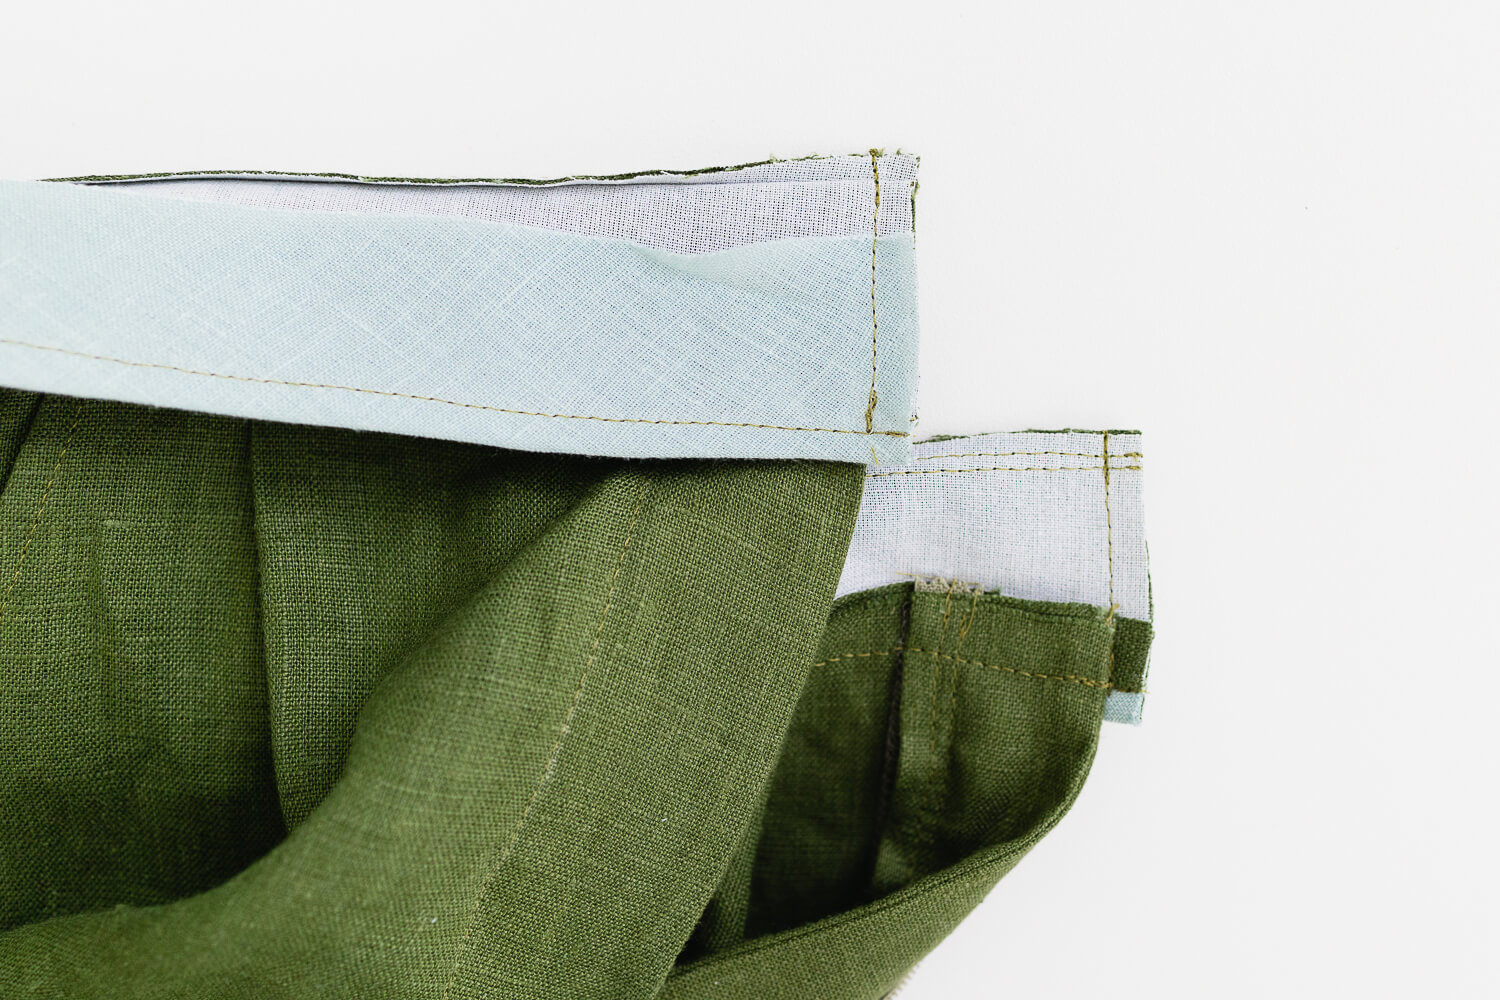
Fold the ends of the waistband right sides together. Sew with 1/4” seam allowance. Be careful to not catch the pants in the stitching, just the waistbands.
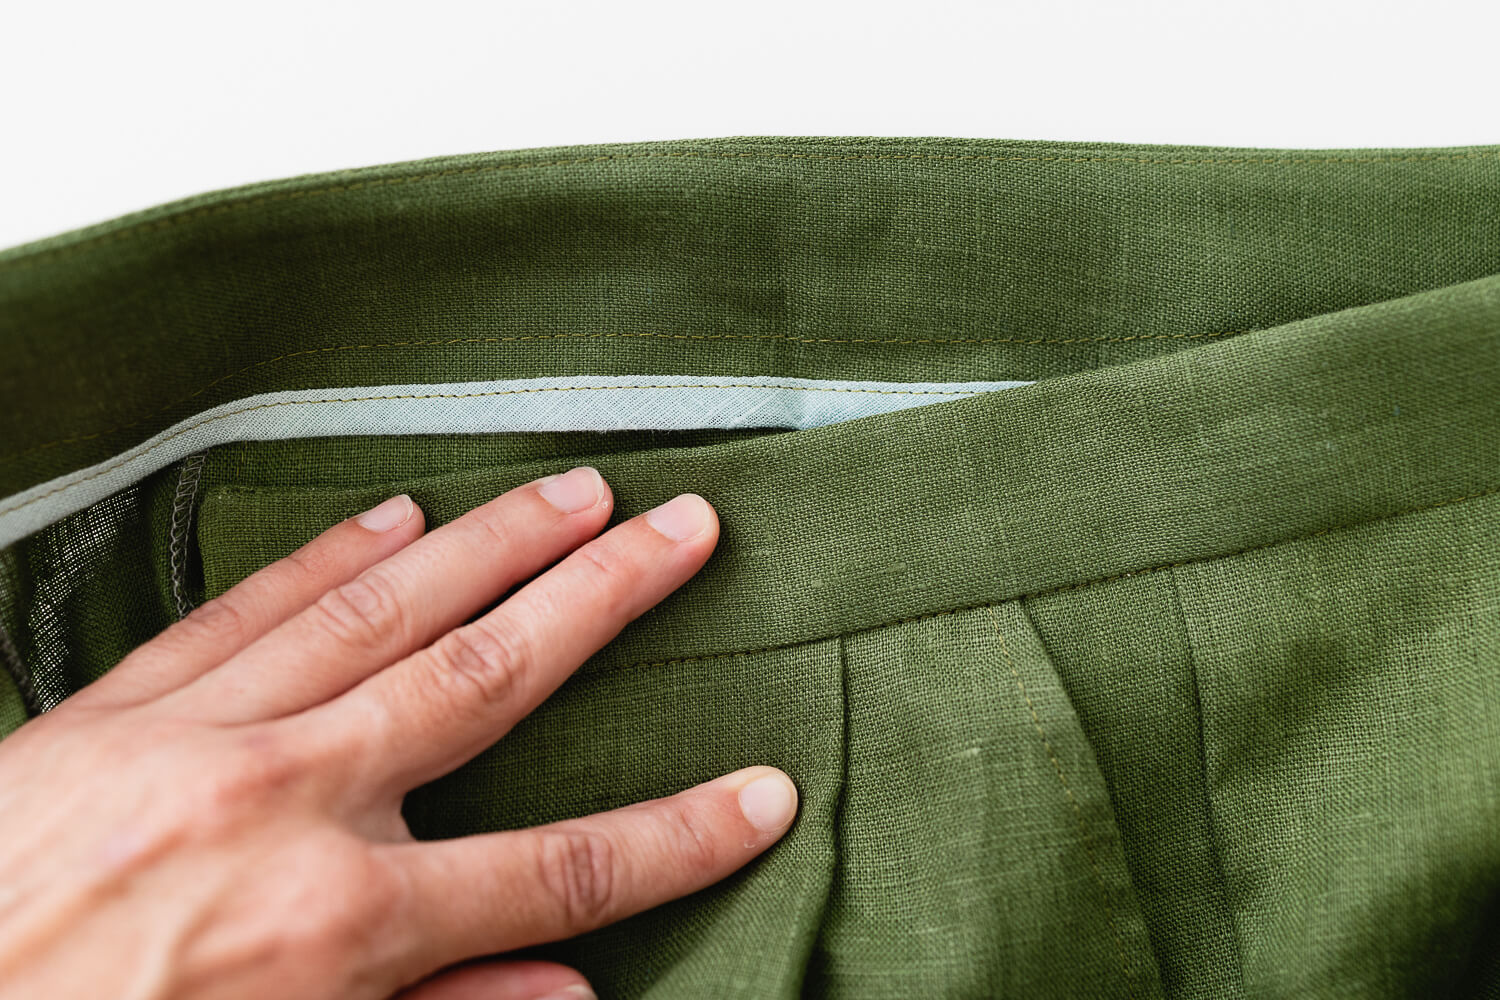
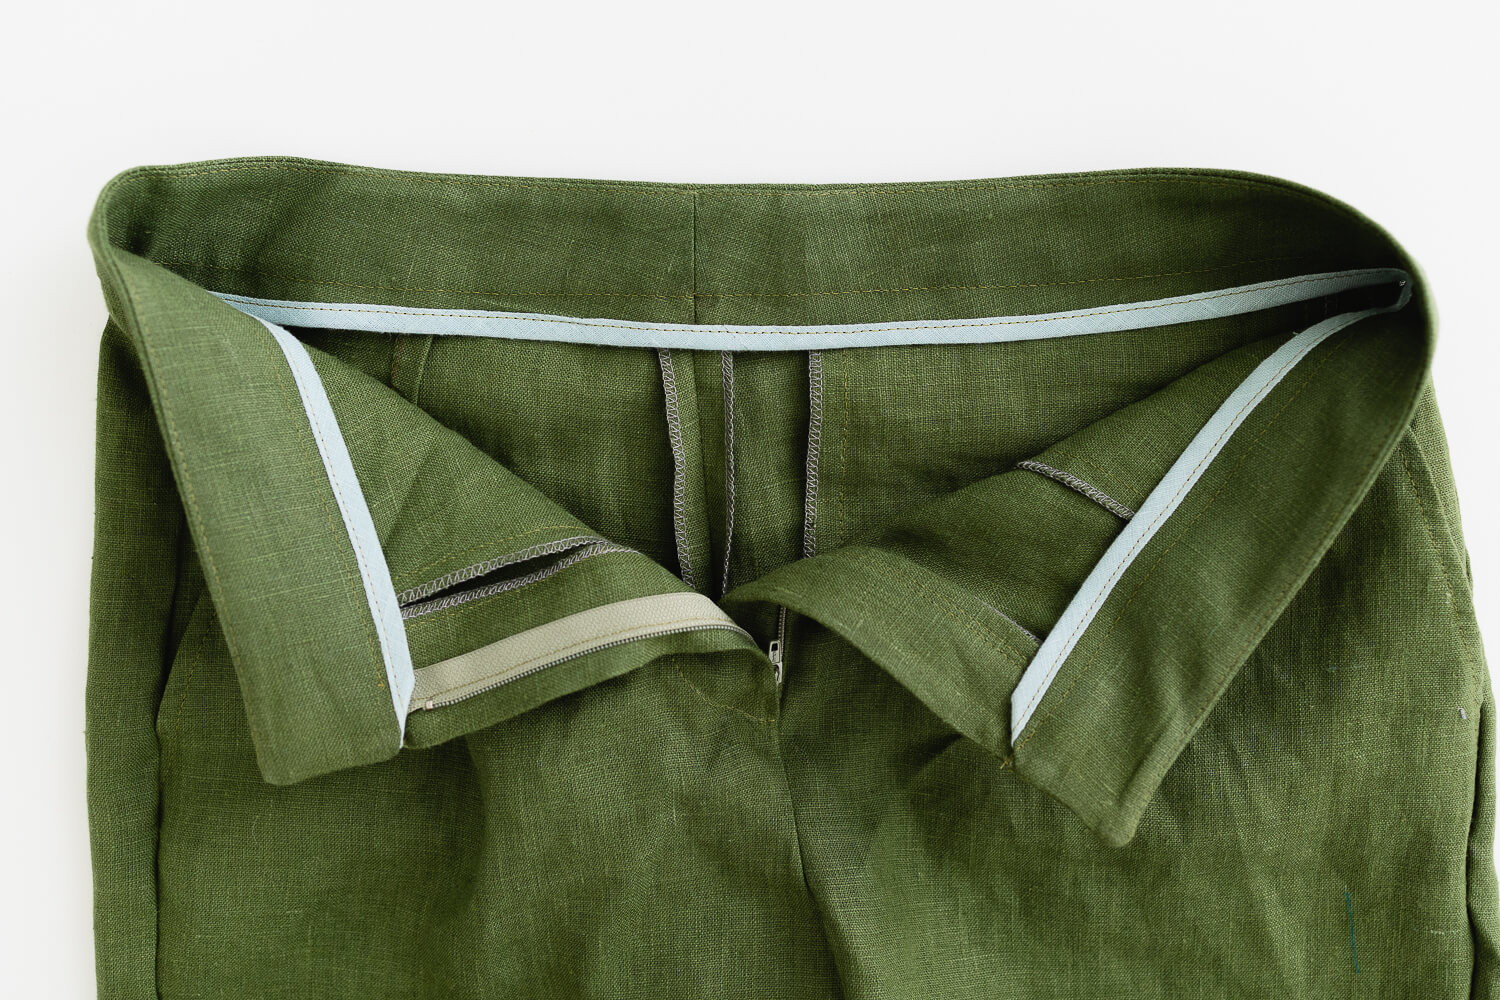
Fold the waistband right side out. Push out the corners and press. On each end of the waistband, tuck under the corner of the bias strip for a neat finish.
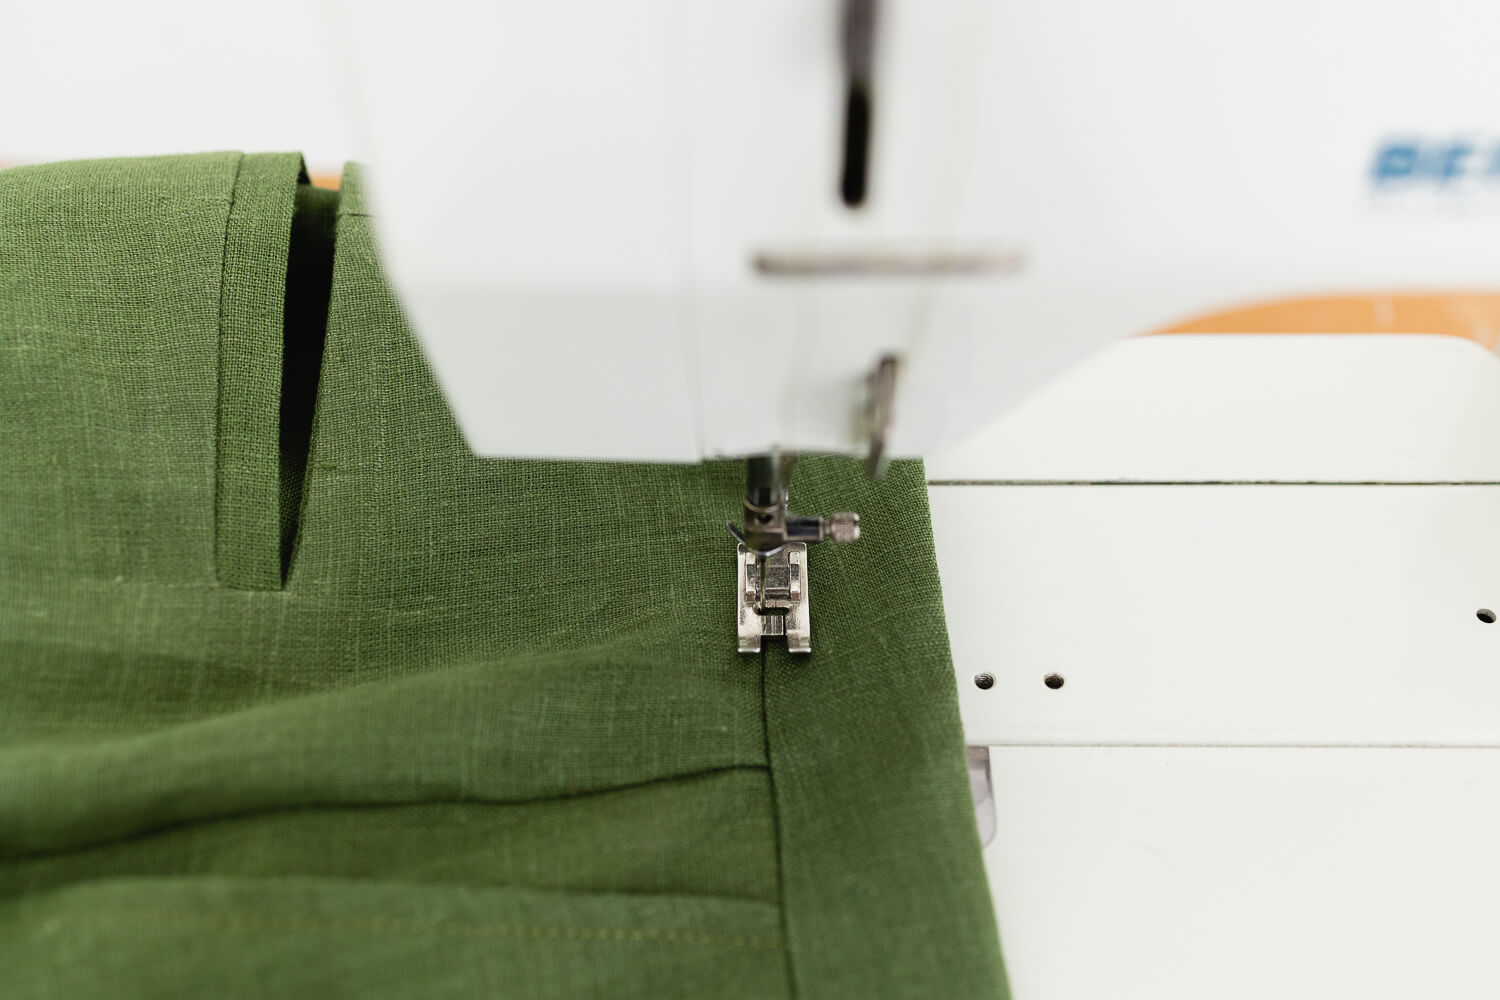
On the right side of the pants, carefully stitch in the ditch along the whole length of the waistband seam.
That’s it! The waistband is assembled!












One Comment
charlotte COOK
These pants are fantastic! I haven’t seen them yet because I thought they would be too difficult after reading the pattern. I was trying to think of ways to simplify them, but after reading the tutorials, I’m excited to give them a try! Thanks for the very clear help.