Tutorial: How to Sew the Plackets on the Charlie Blouse and Dress
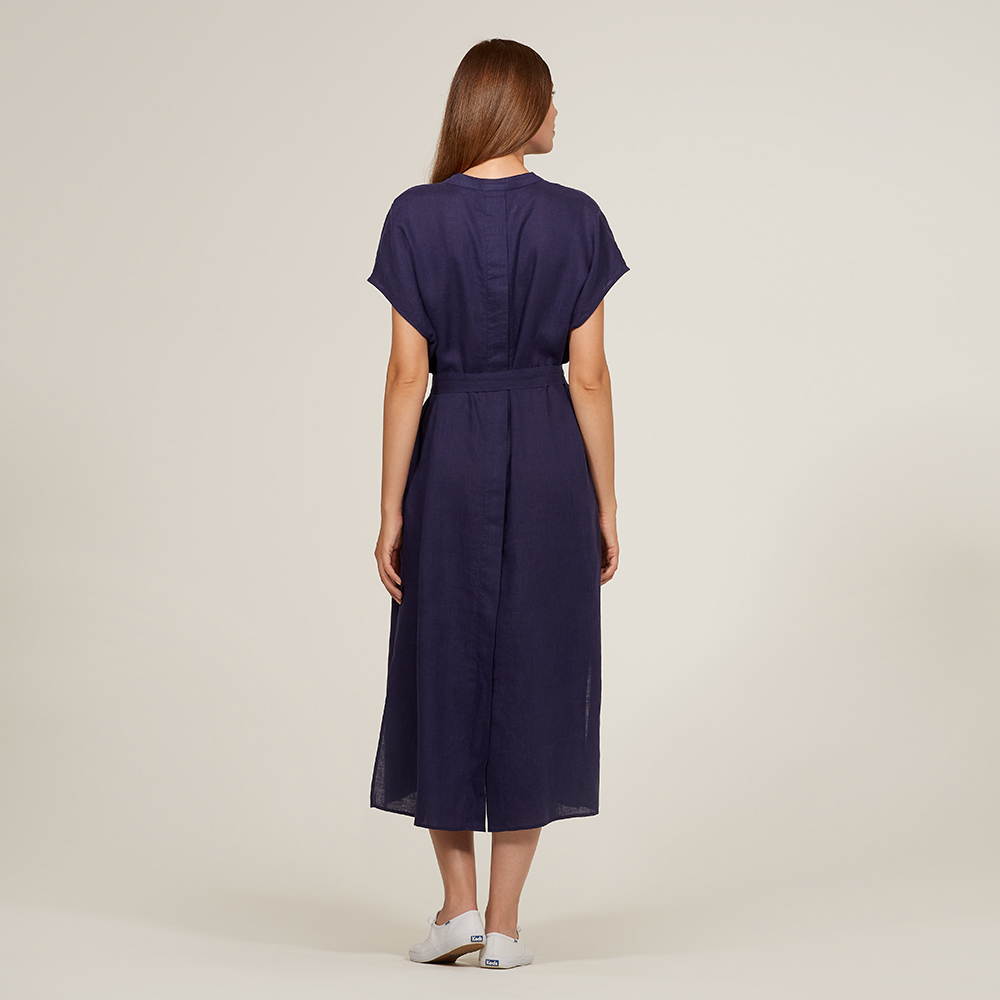
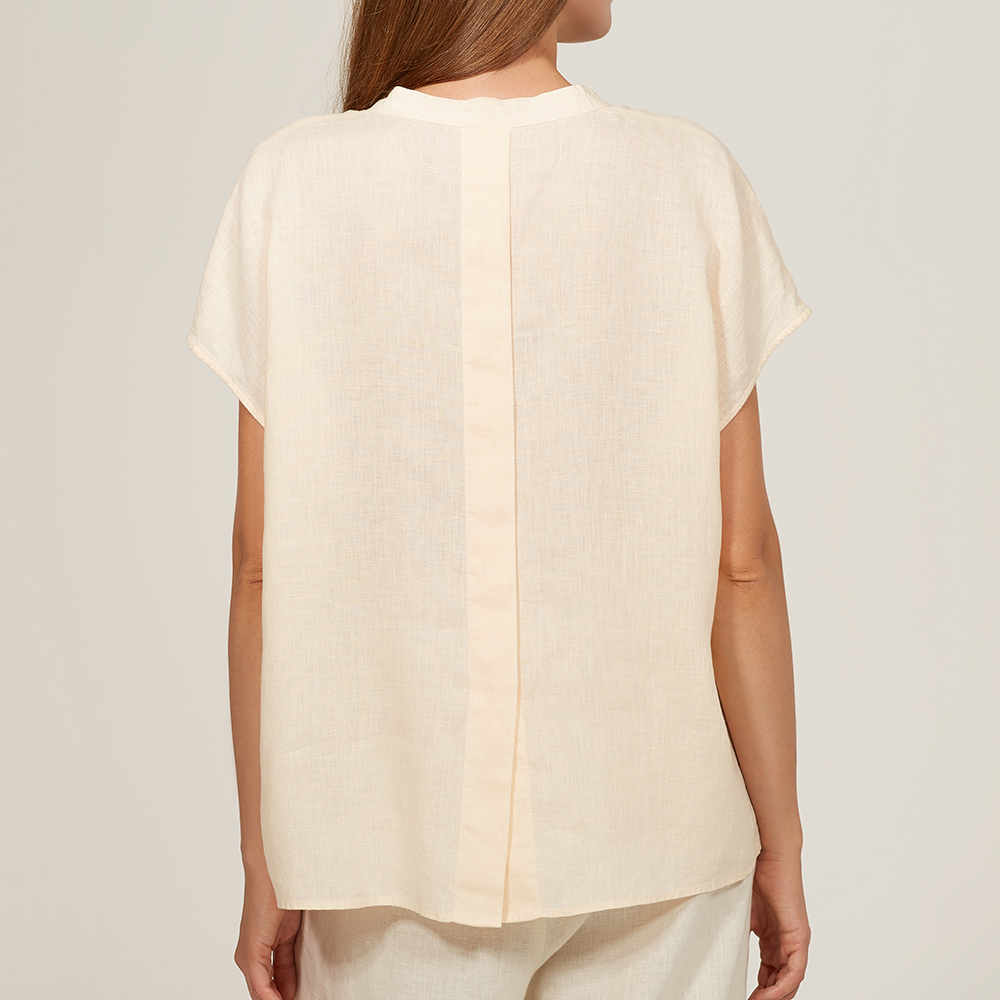
This tutorial is to support the placket instructions in the Charlie Pattern booklet found on pages 36-39.
Dark colored thread is used in this tutorial to clearly show the stitching. While sewing your Charlie pattern, be sure to use thread that closely matches the fabric.
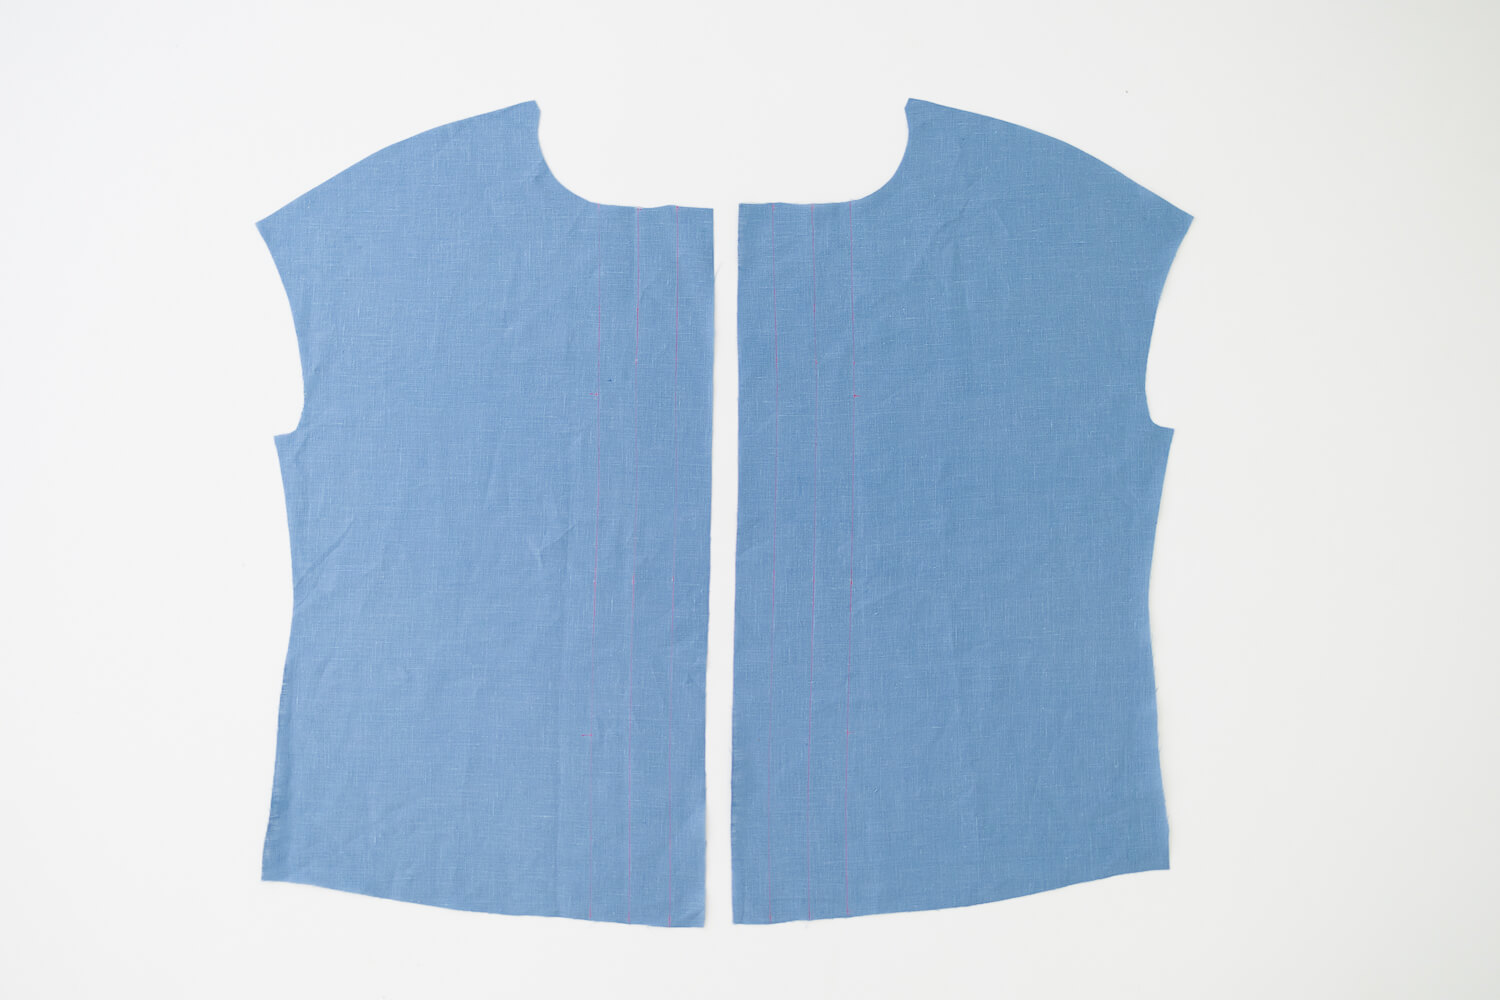
After cutting out the pieces, it can be helpful to mark the placket fold lines with chalk or a fabric pen on the right side of the fabric.
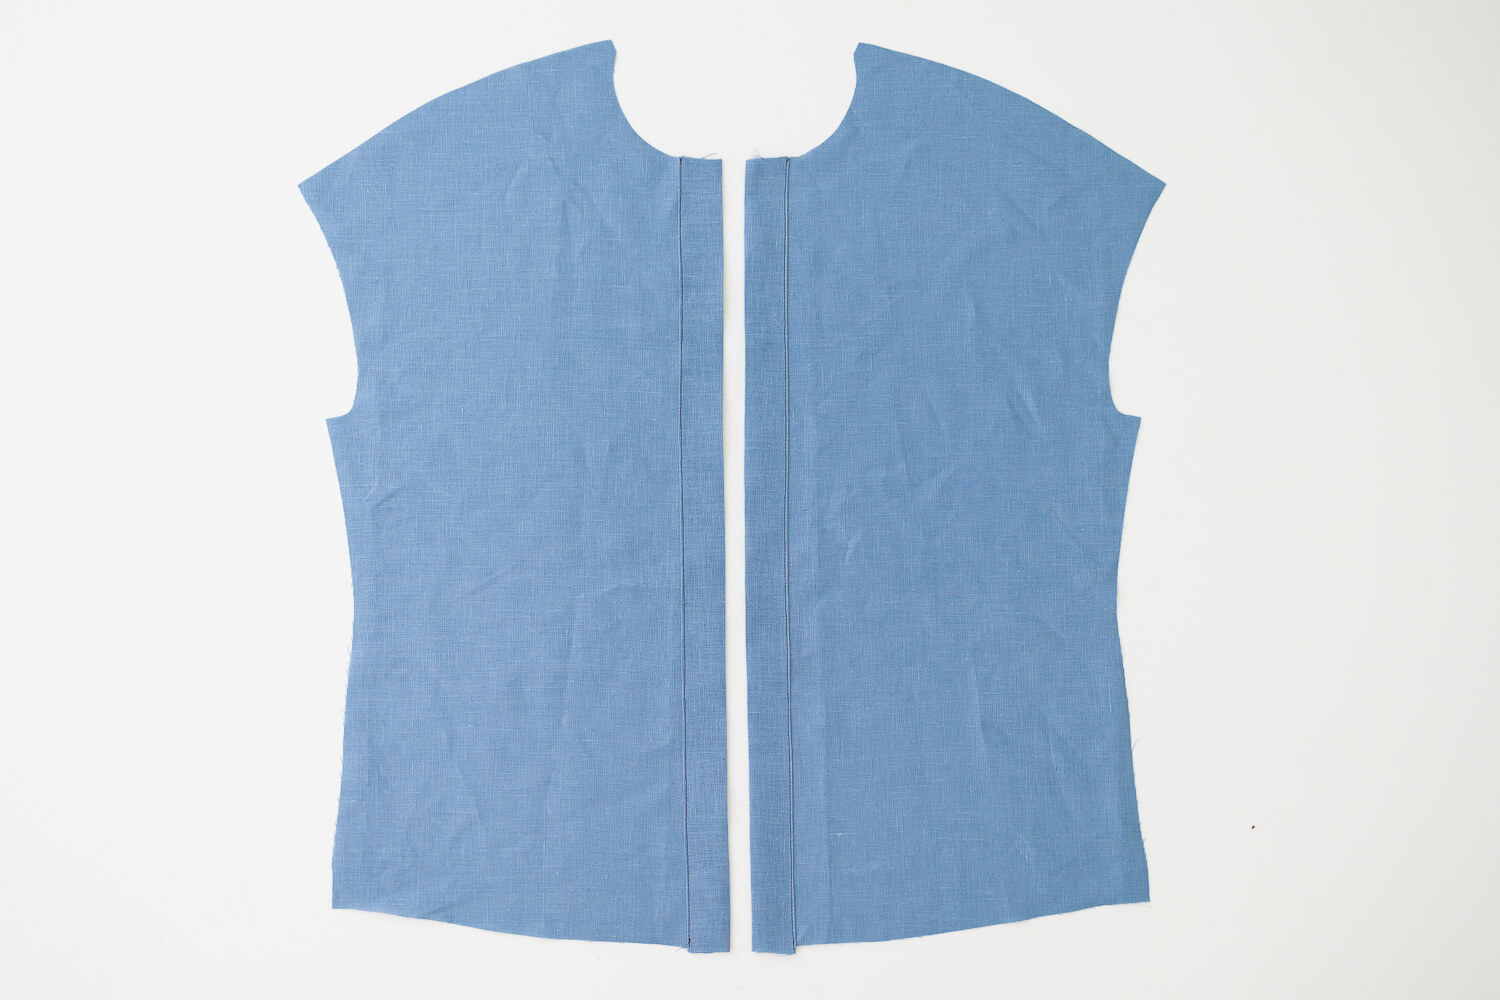
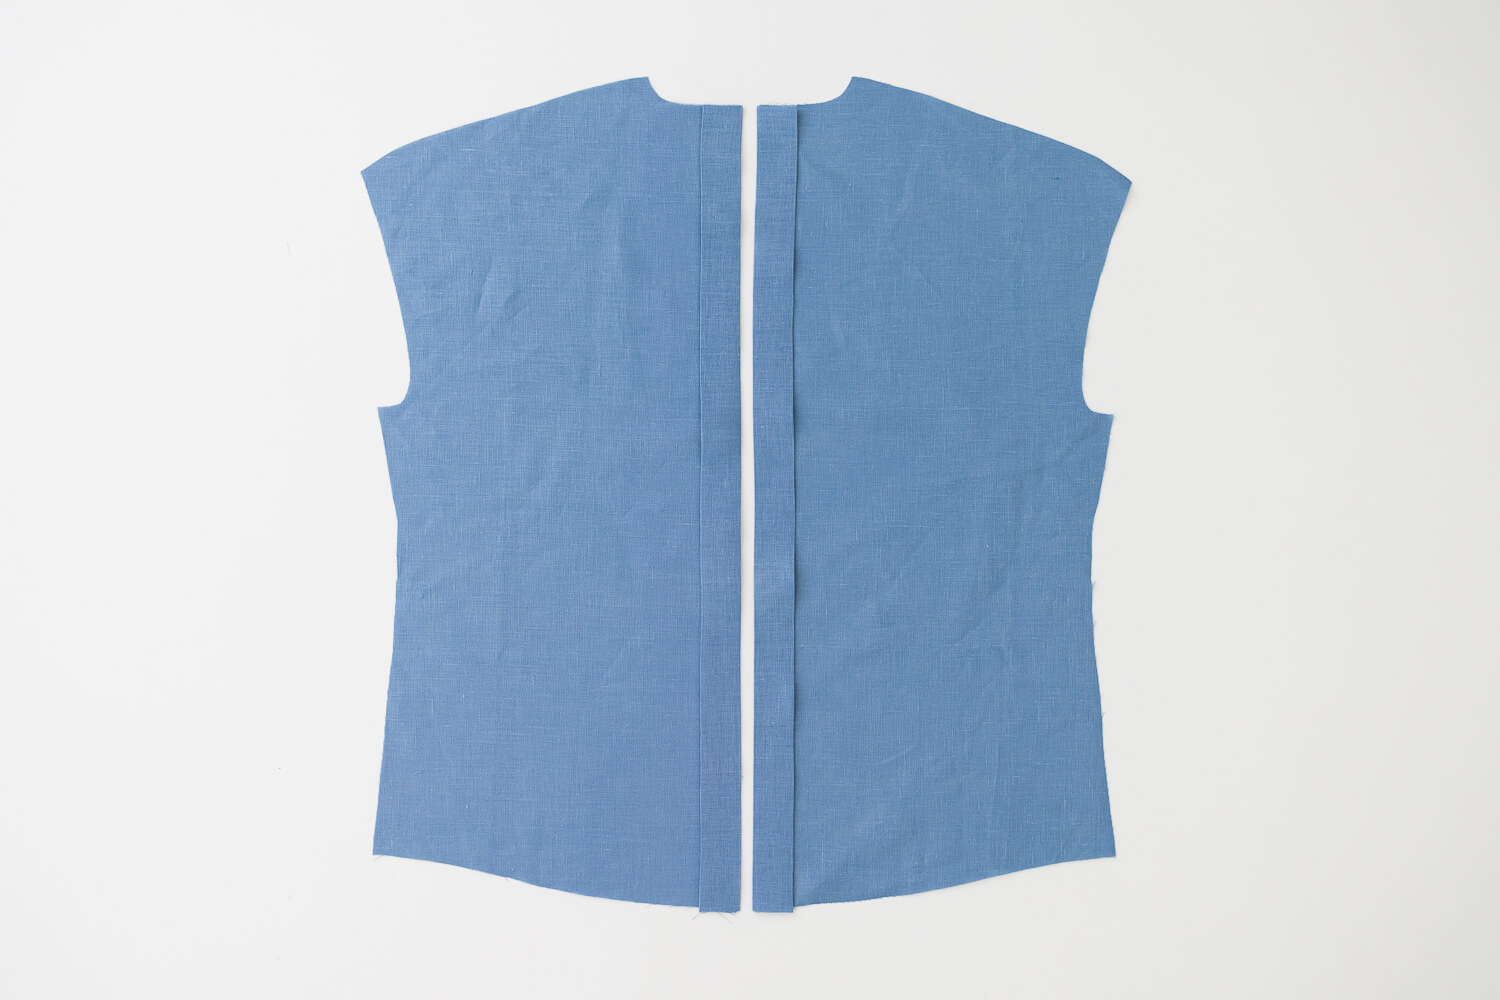
Fold both Front Body pieces twice toward the wrong side along the fold lines. Press.
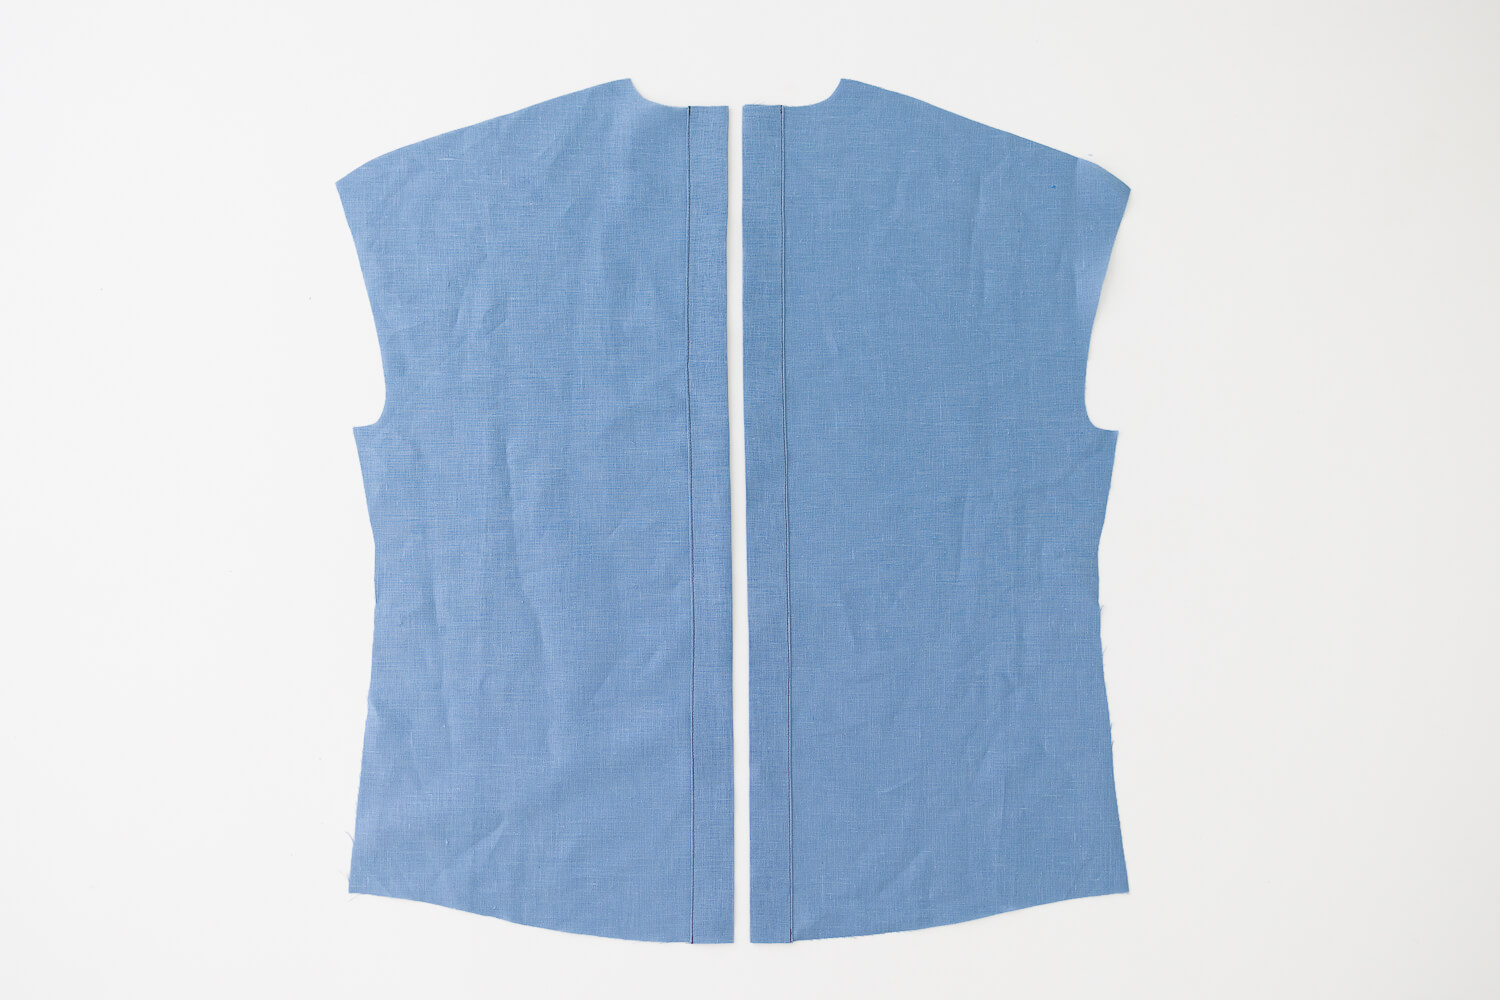
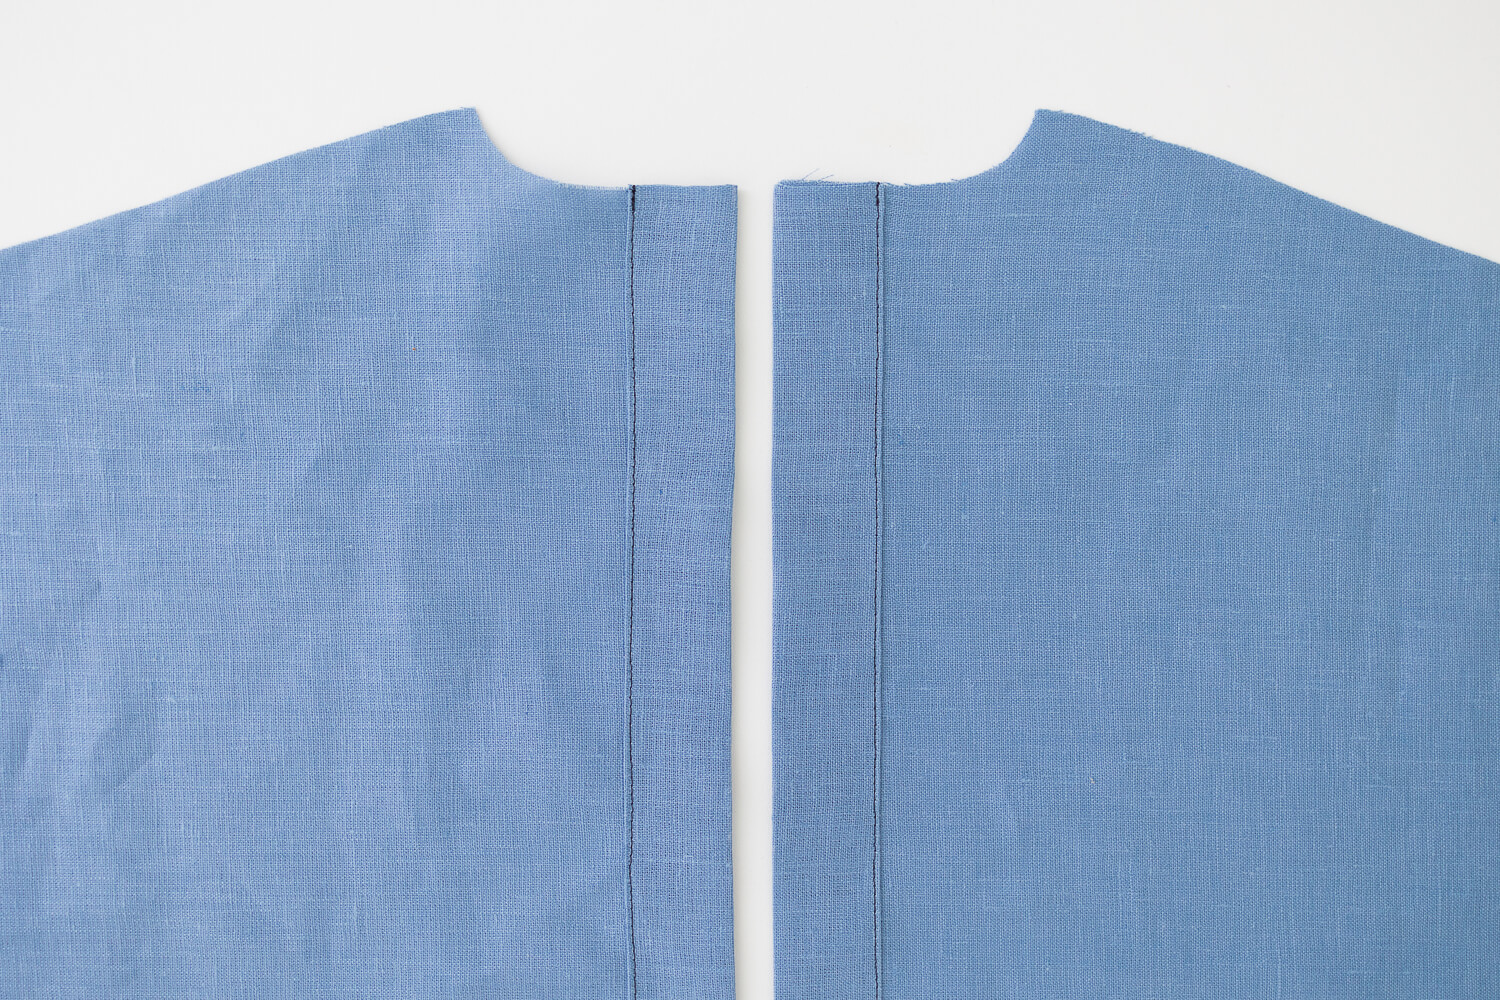
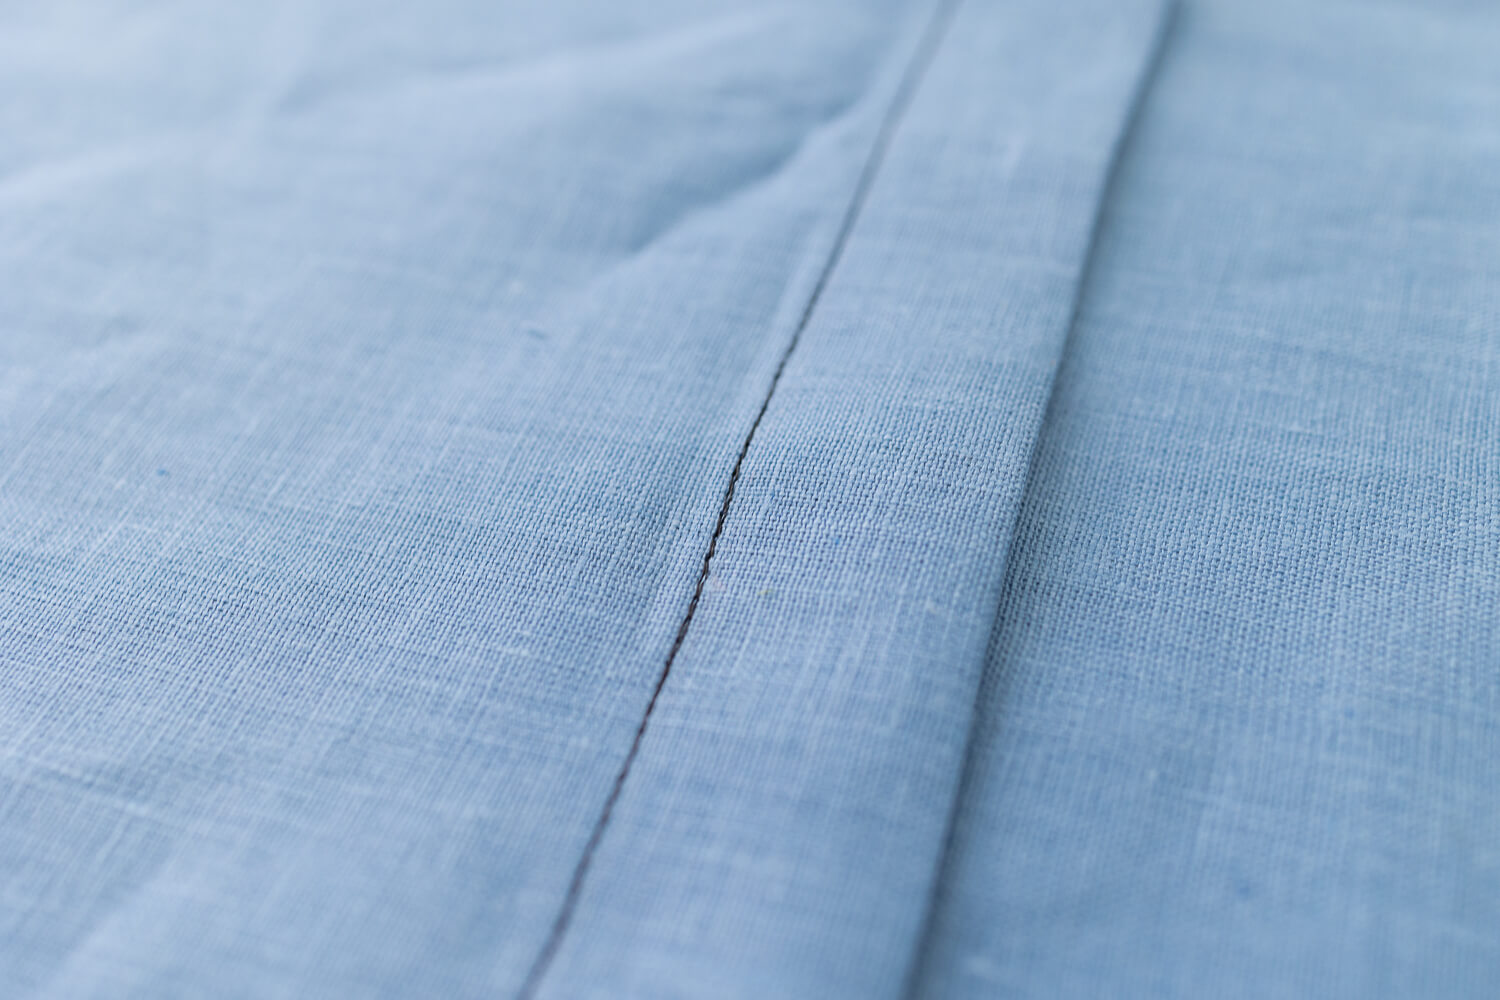
Stitch along the whole length of the folds. Stitch 1/16” from the inner folded edge.
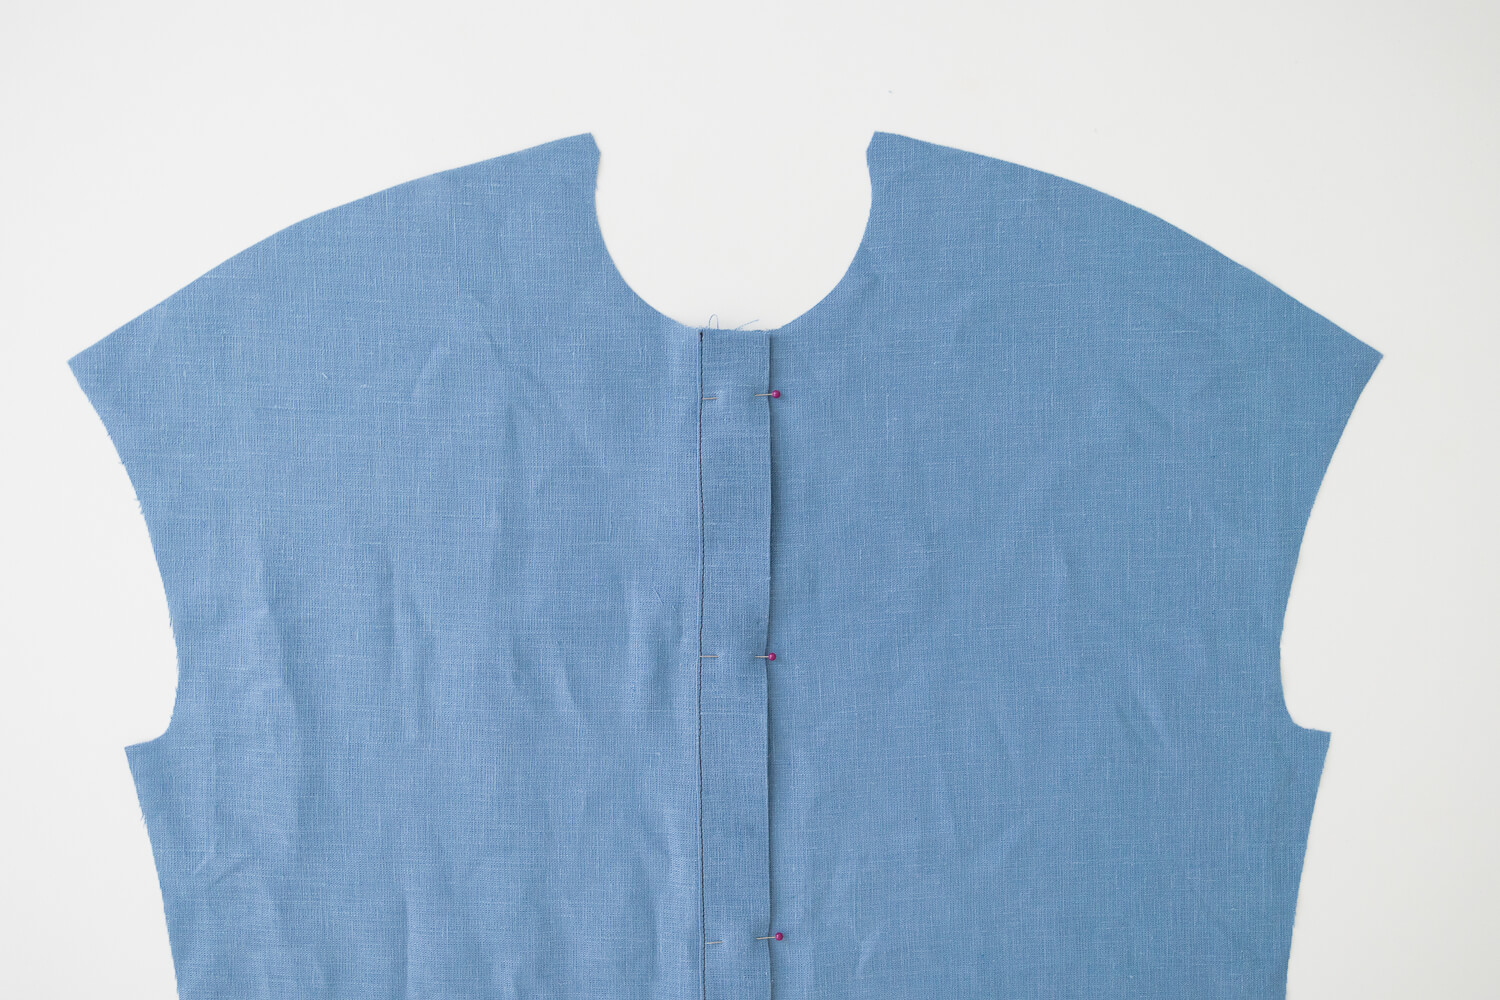
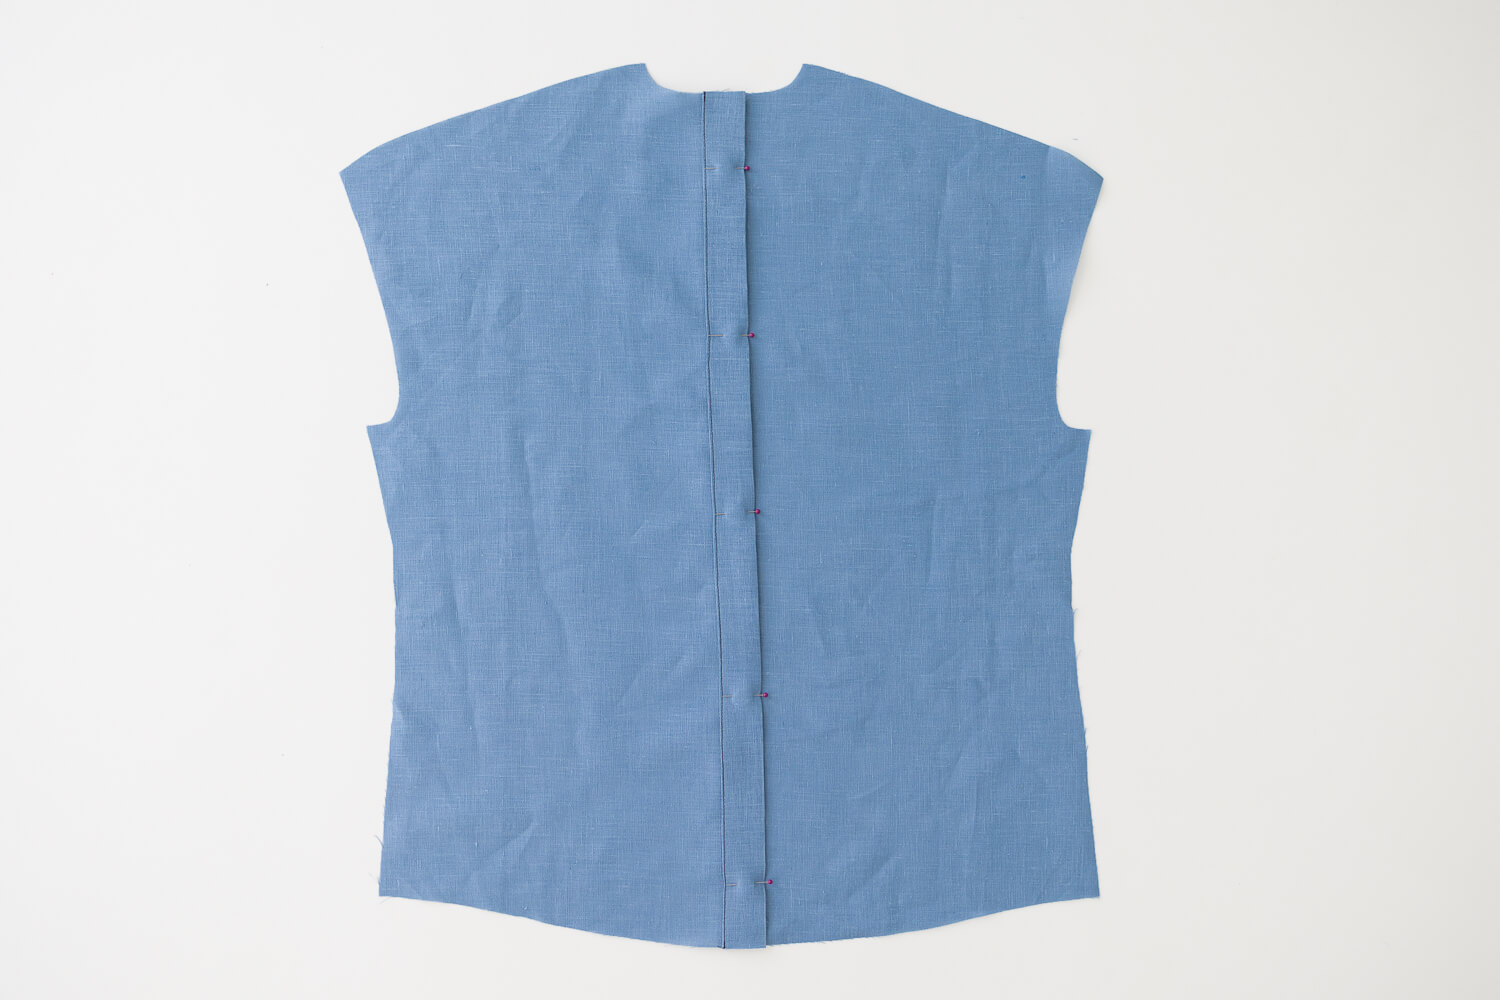
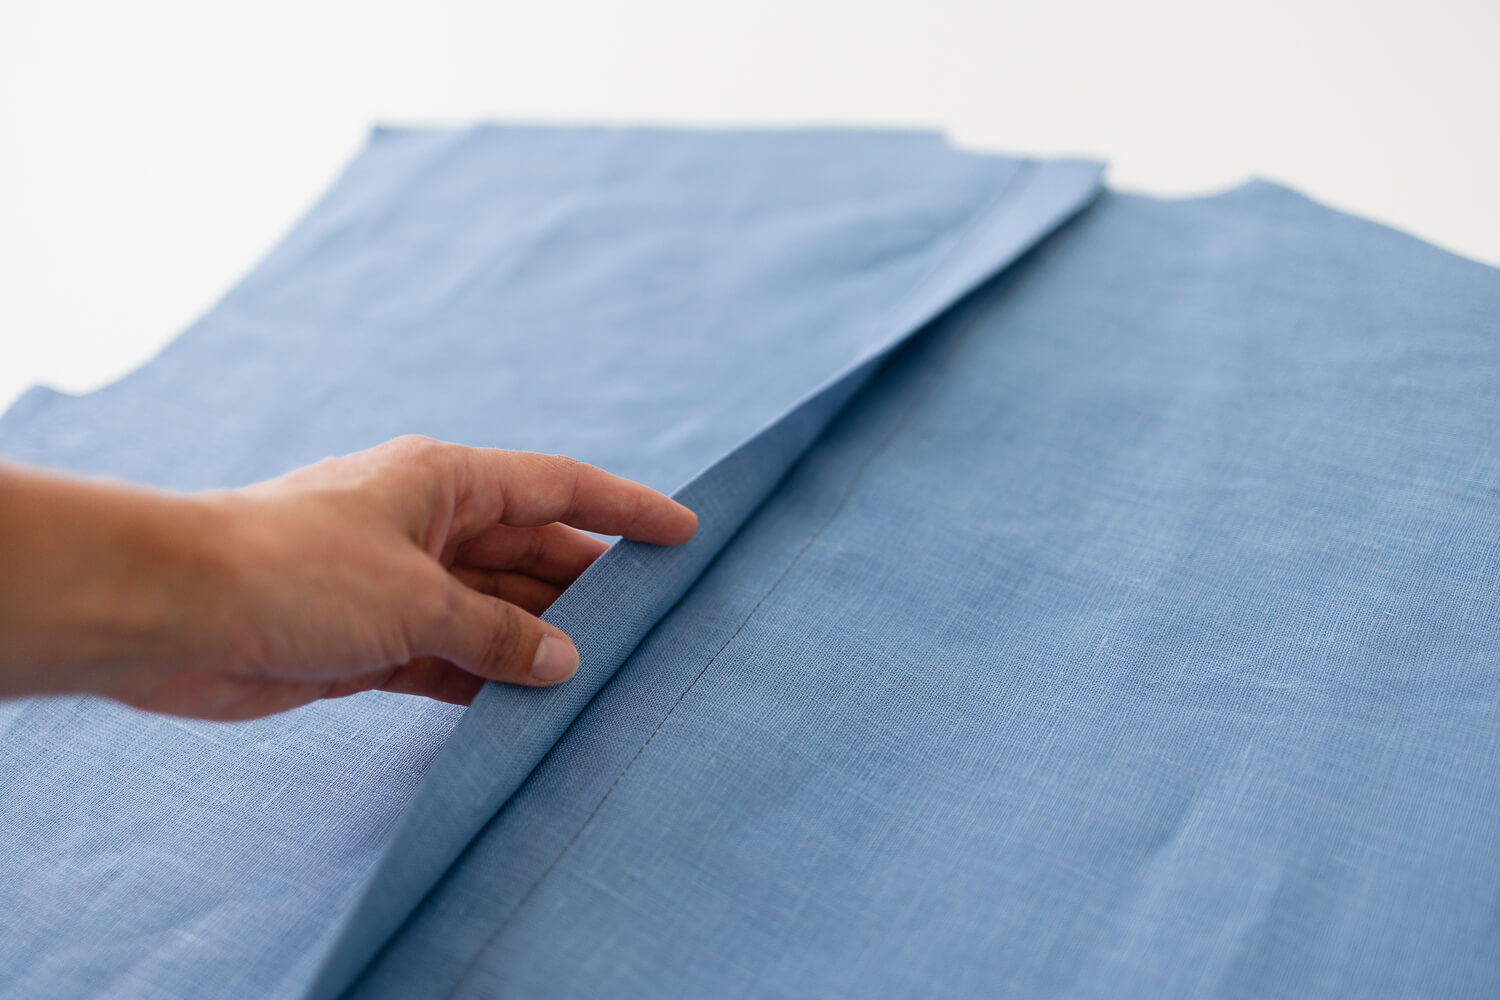
With wrong sides facing up, place the placket of the left side over the placket of the right side. Pin in place.
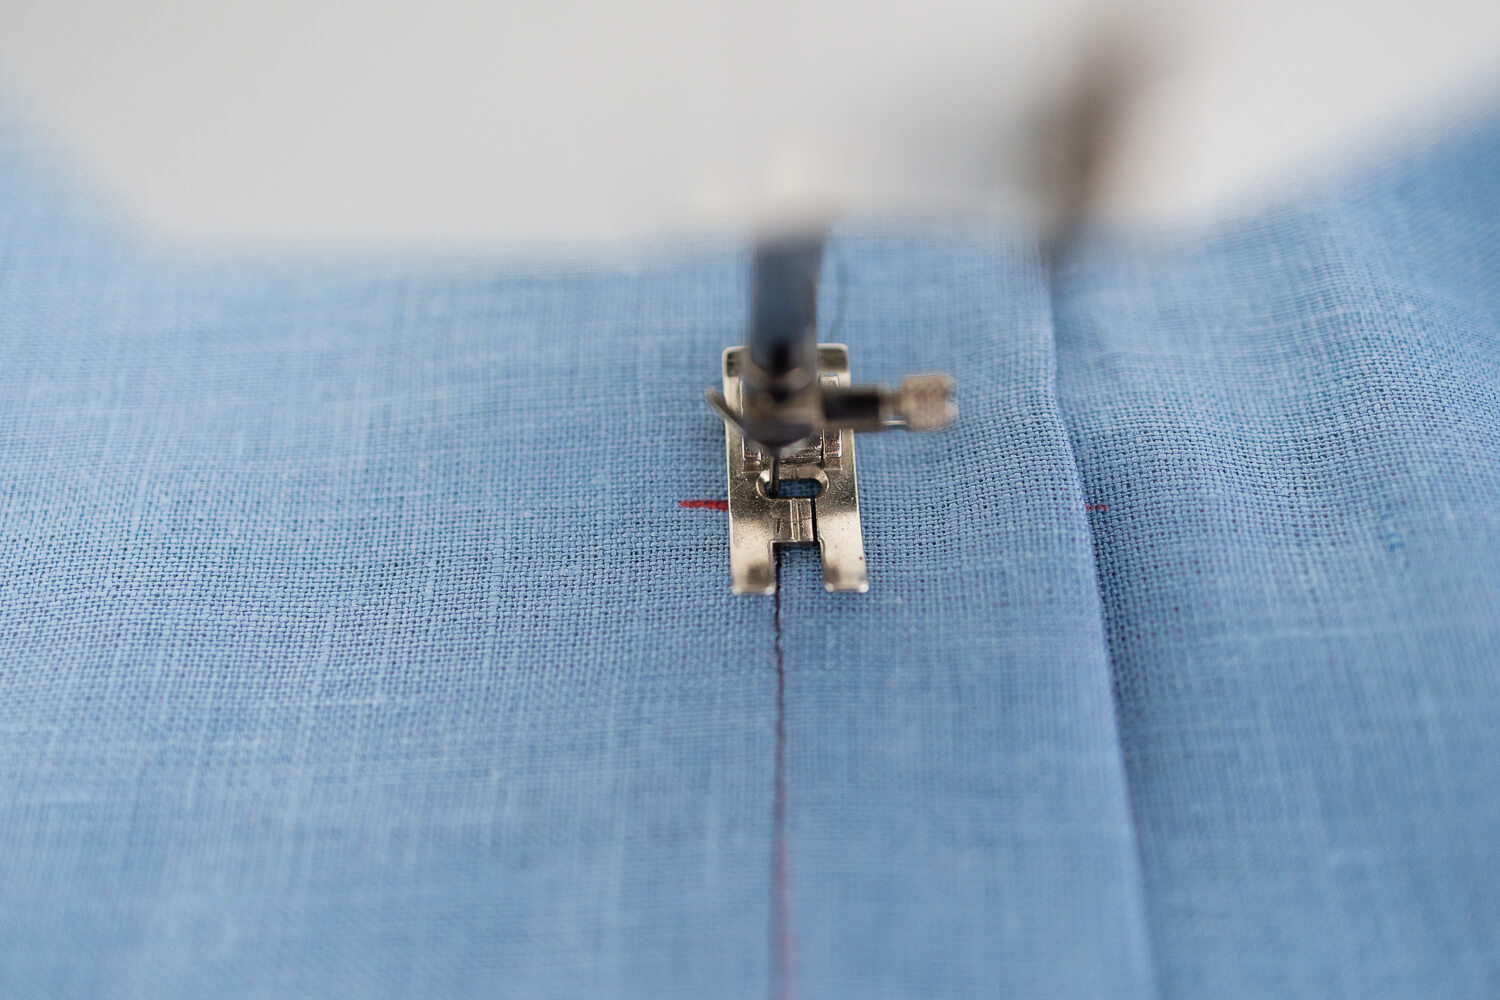
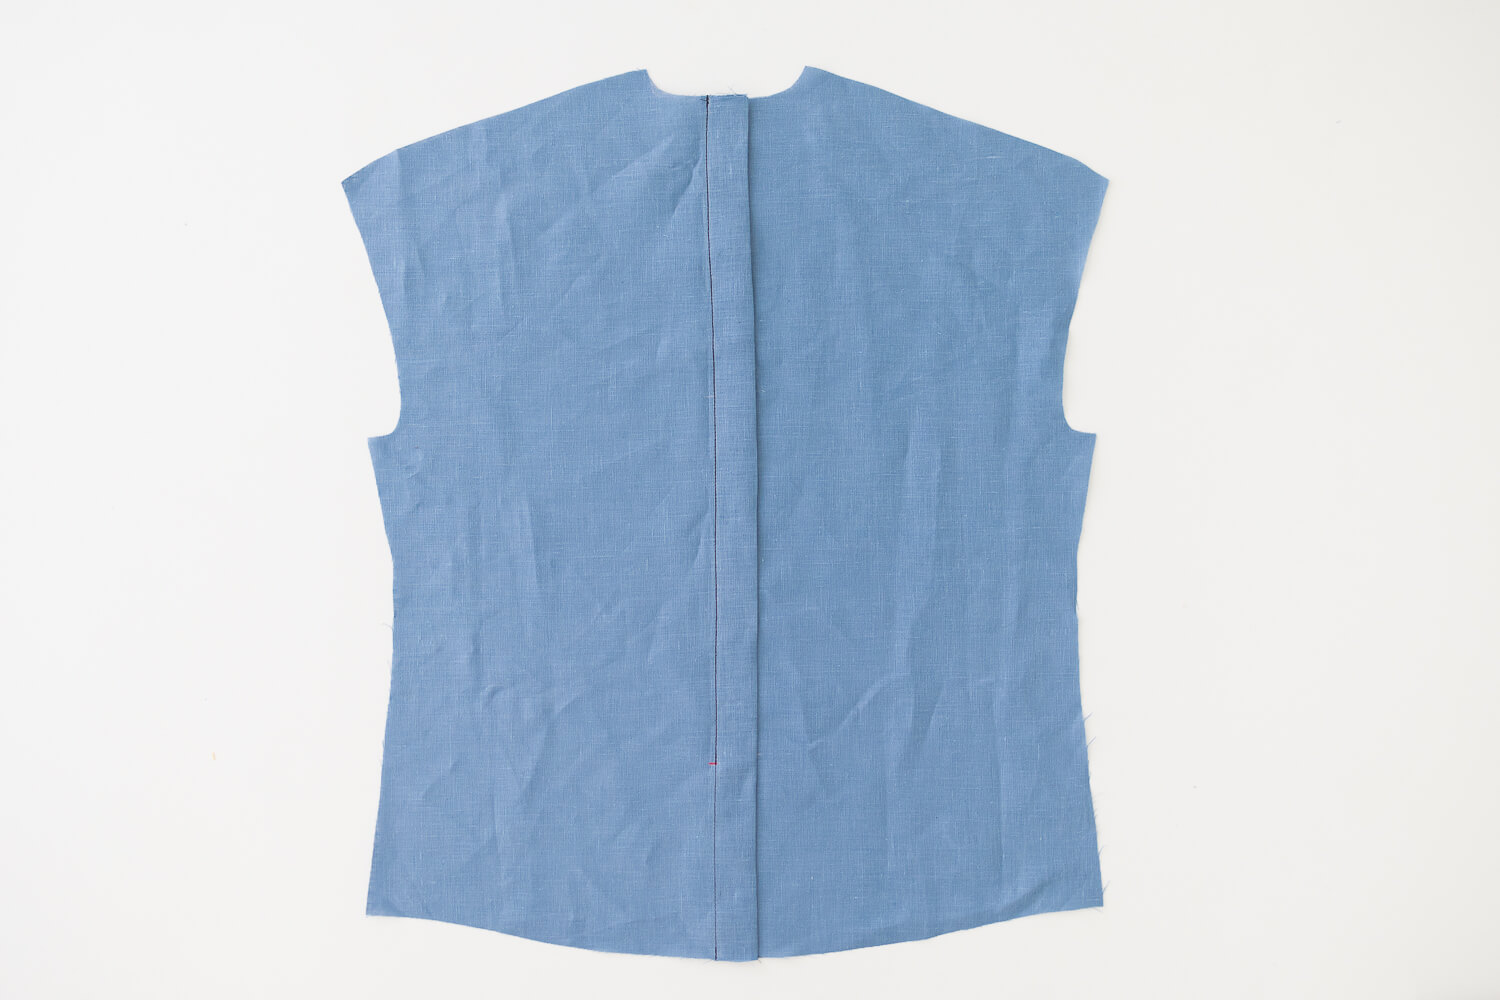
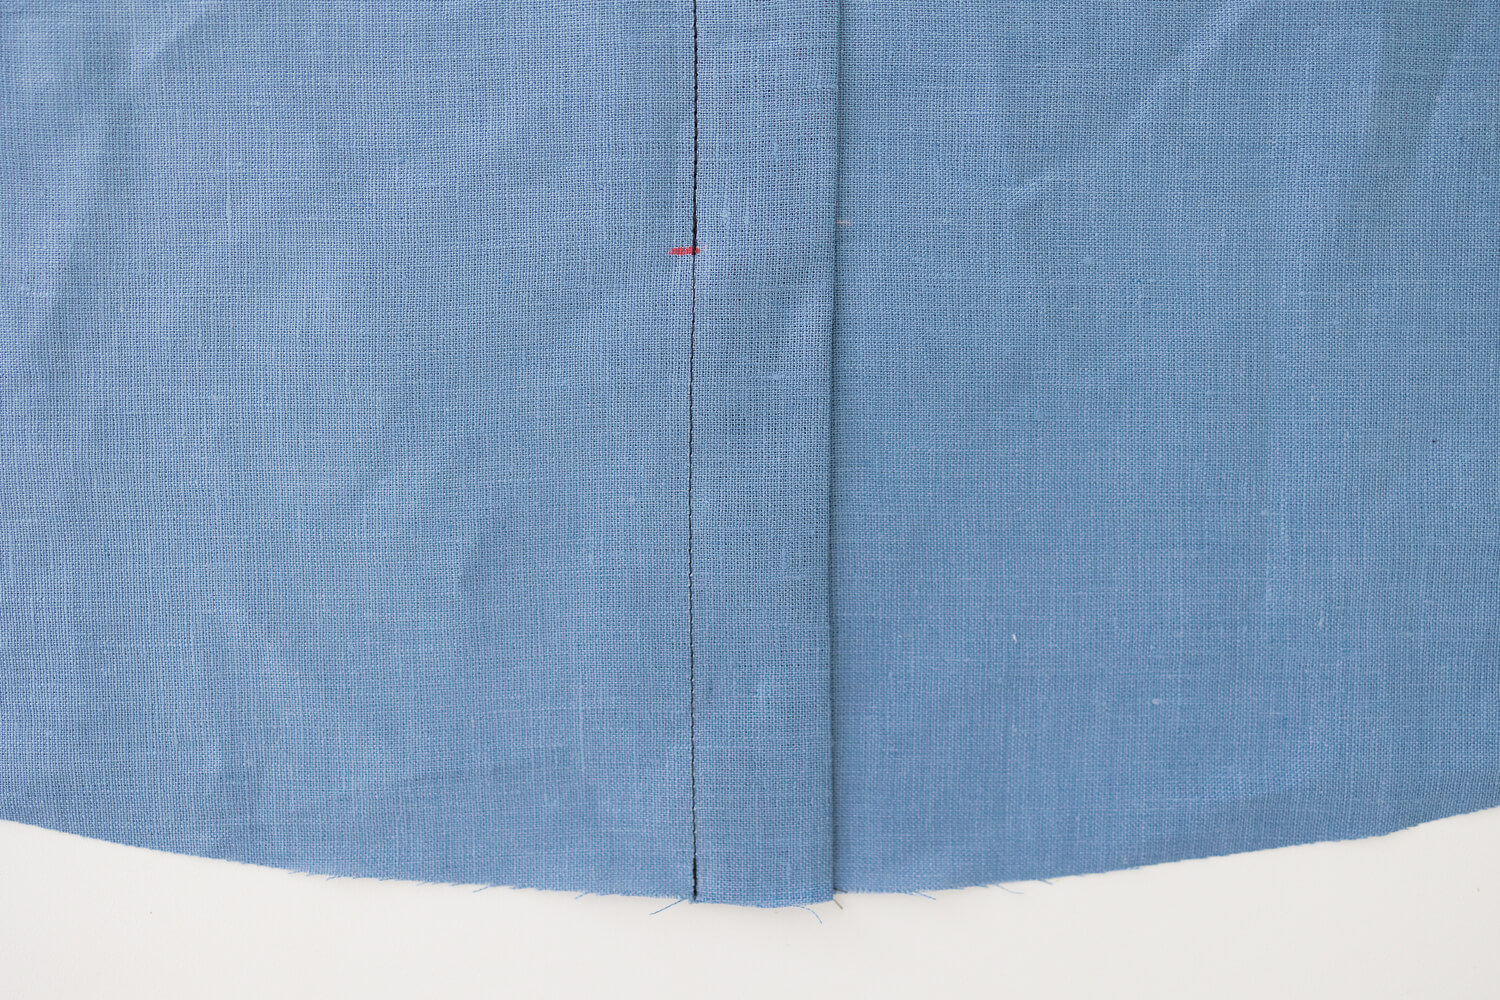
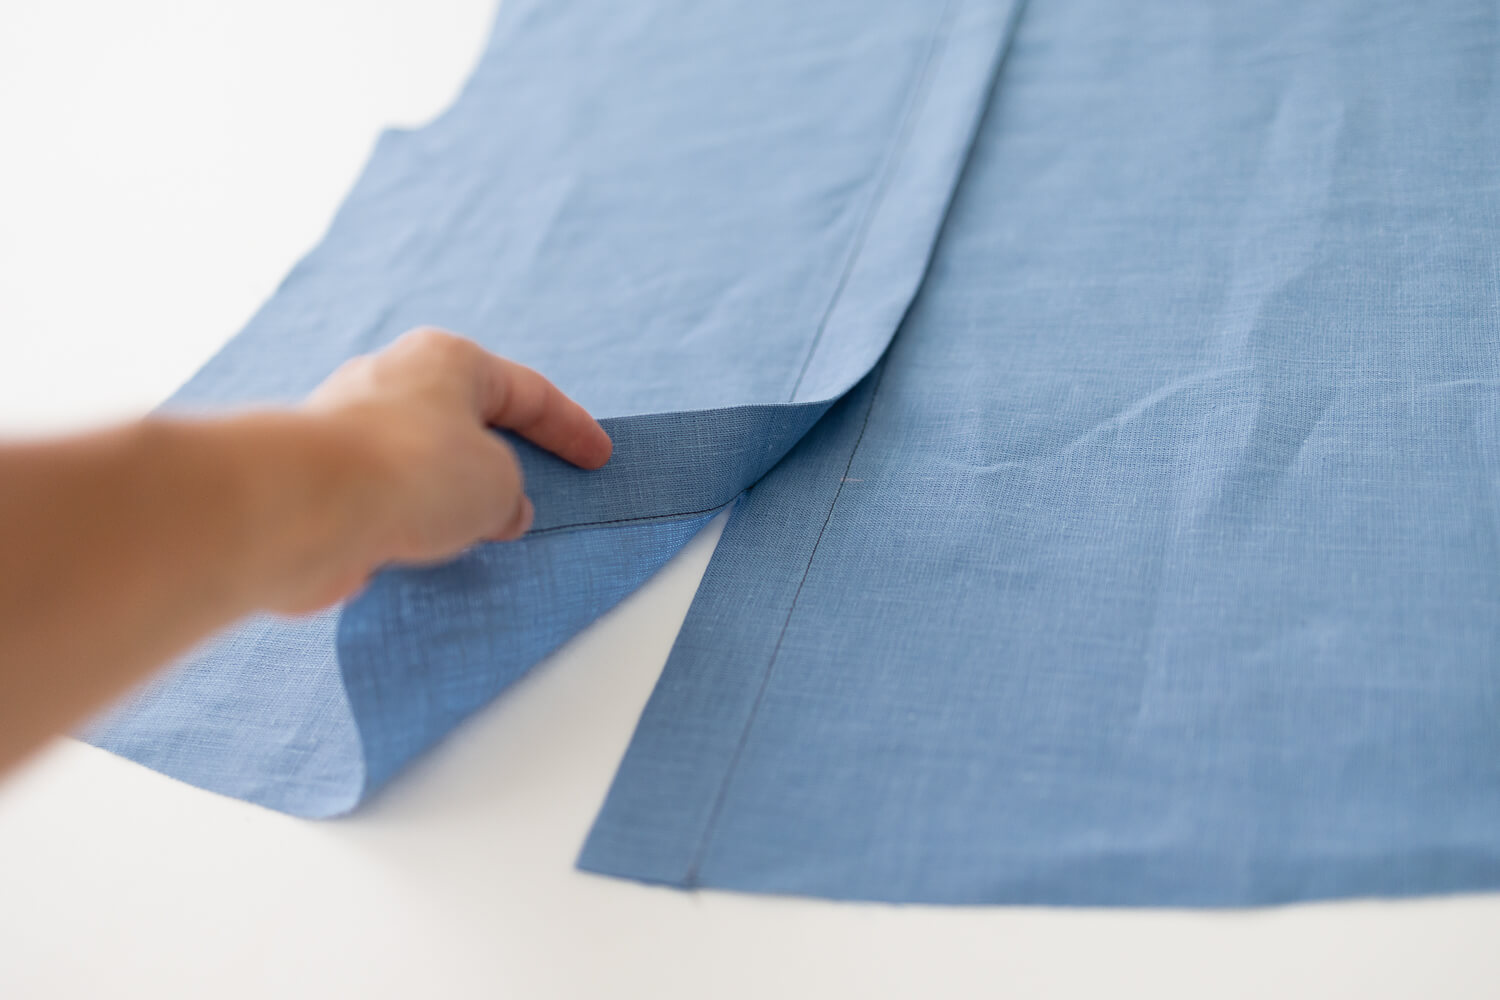
From the right side of the blouse, sew the pieces together in between the two stitch markers. Sew right on top of the existing line of stitching. Remove pins as you sew.
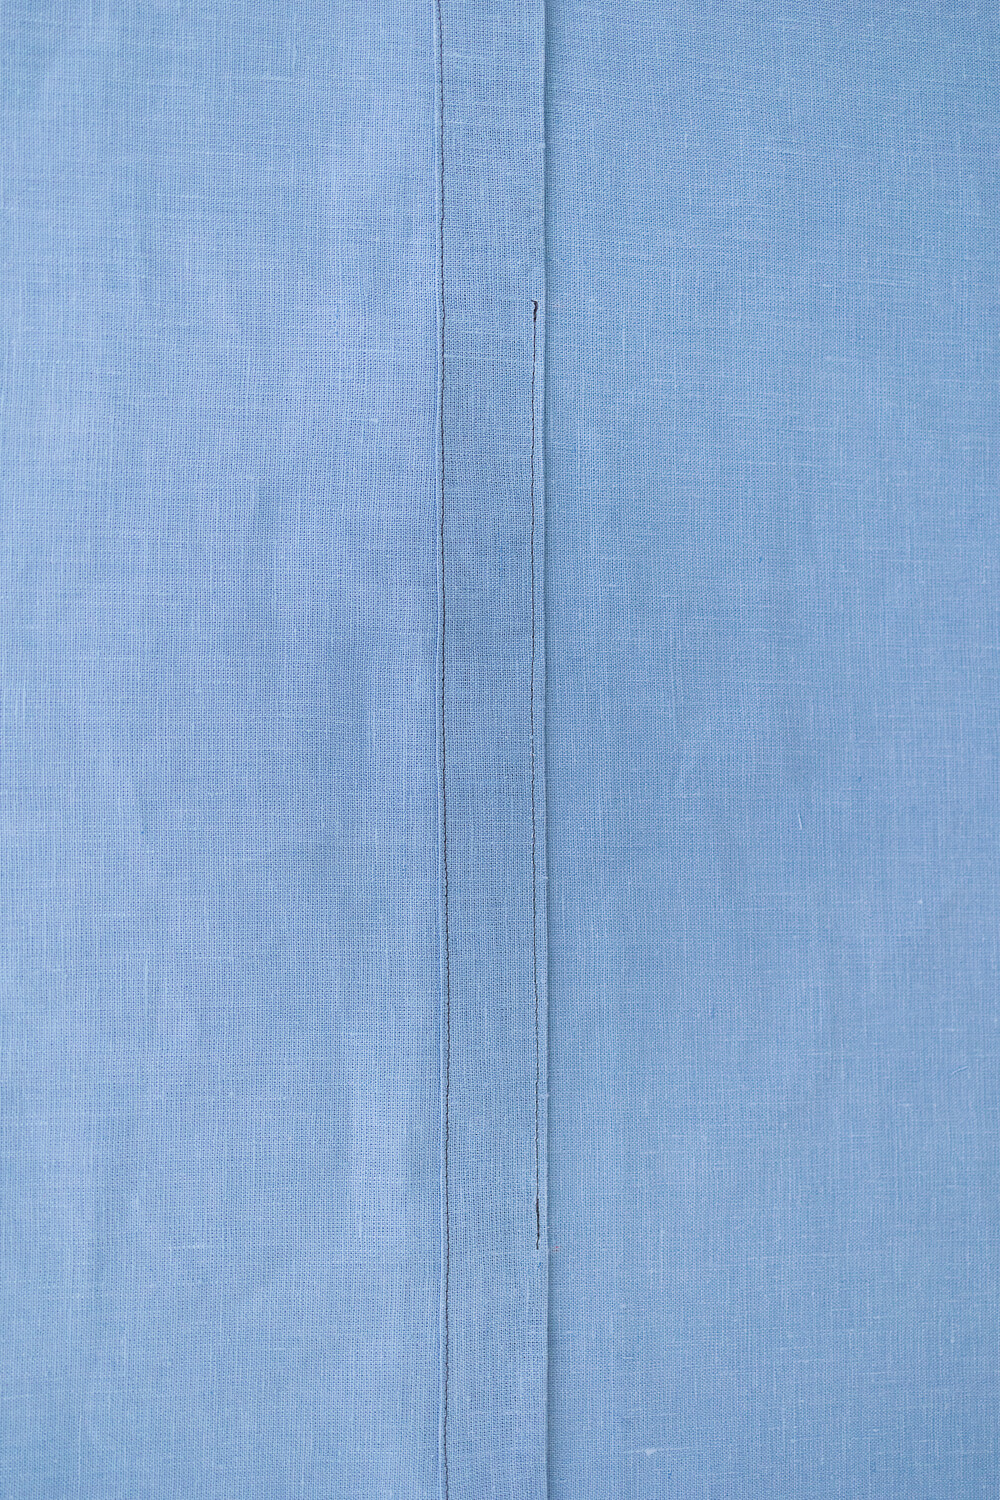
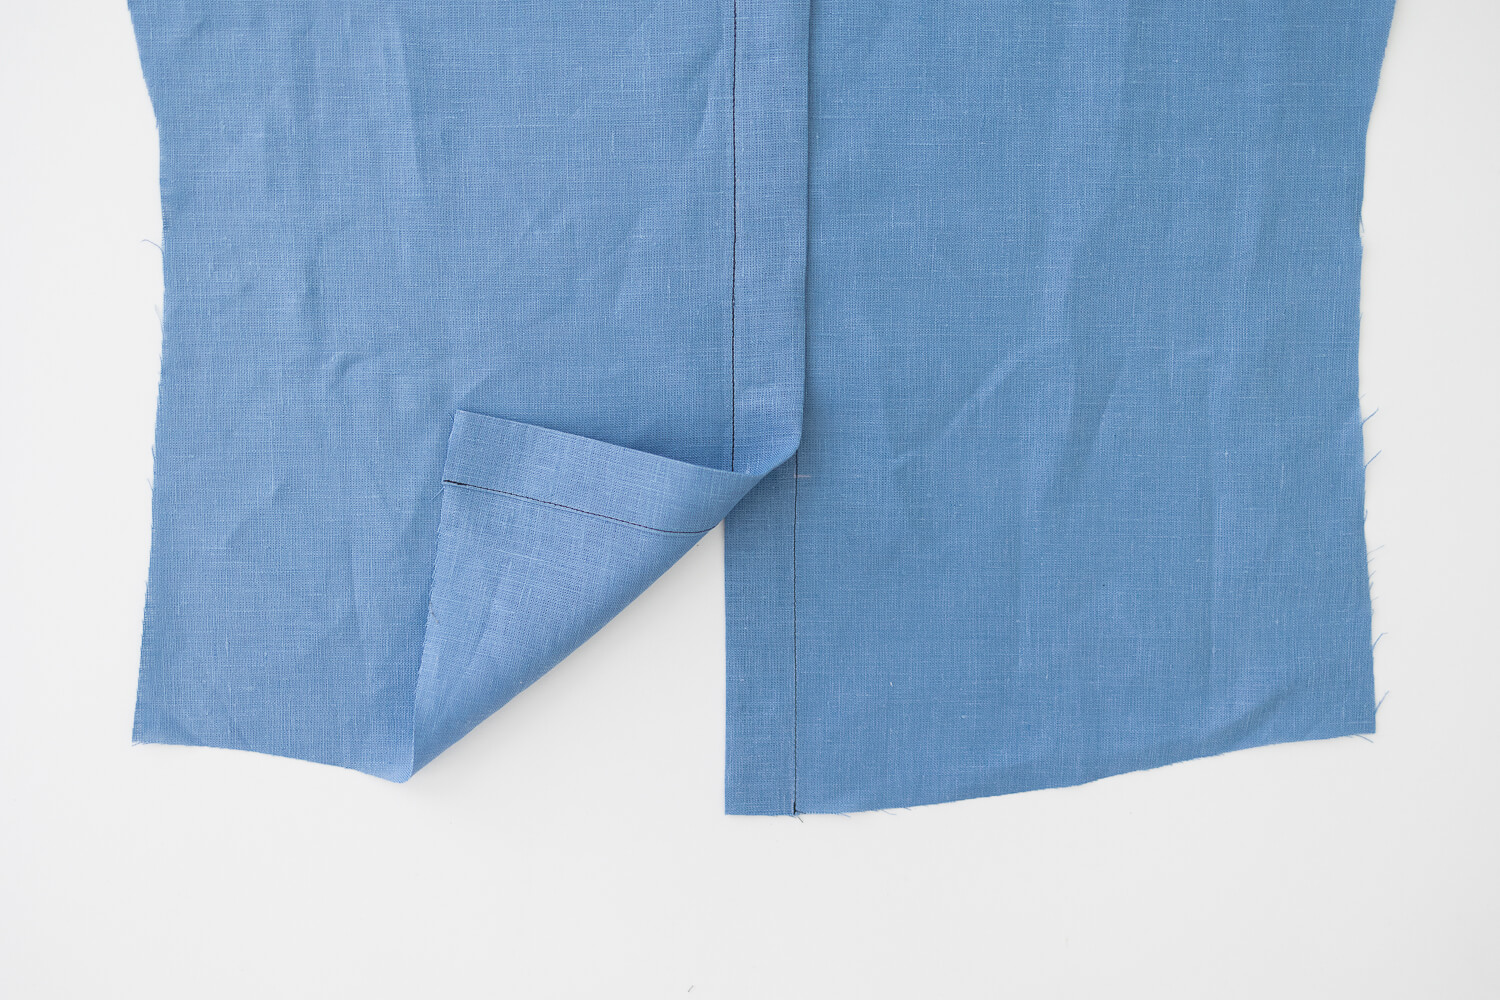
Sewing between the two stitch markers creates the slit at the top and bottom of the blouse.
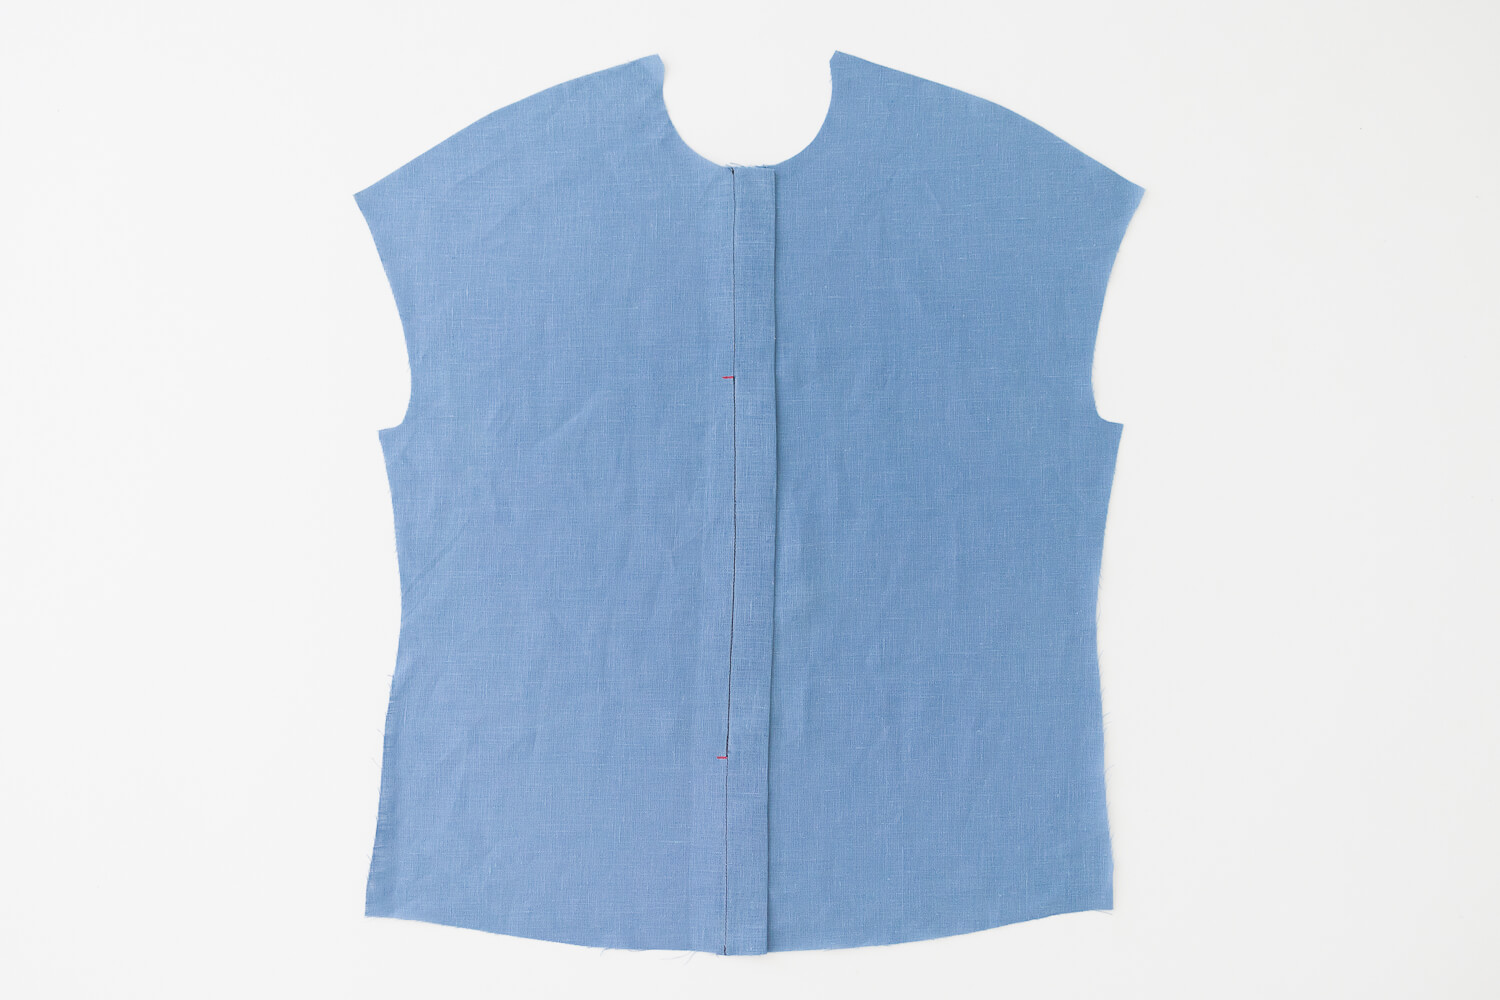
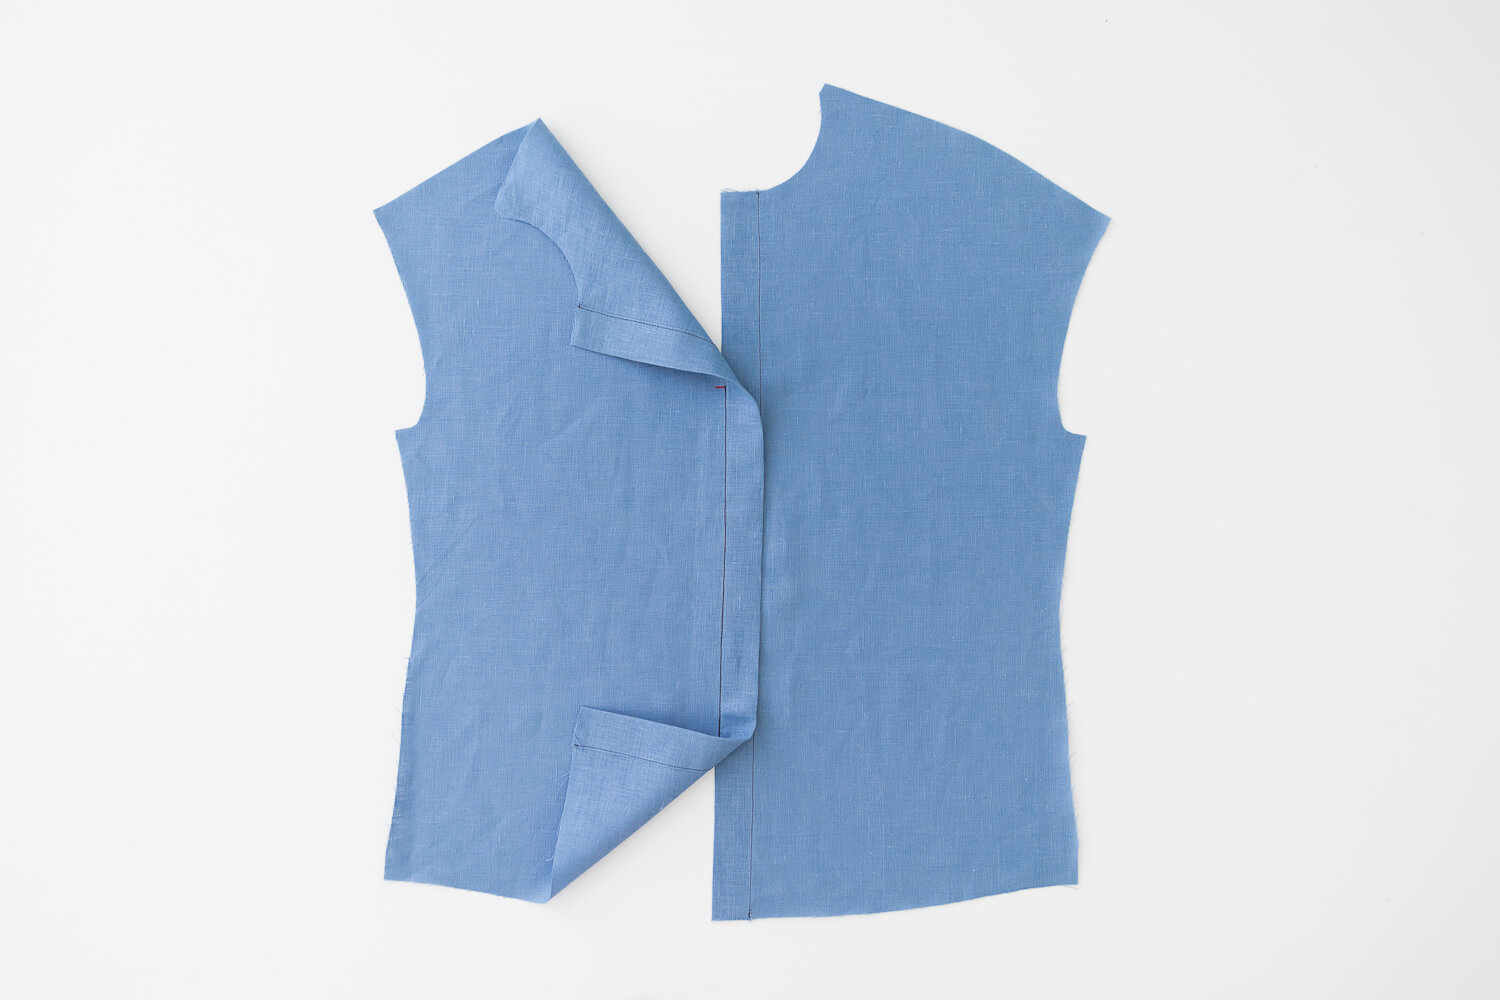 Here’s what the stitching should look like on the wrong side in between the two stitch markers.
The front placket is now complete! Onto the back…
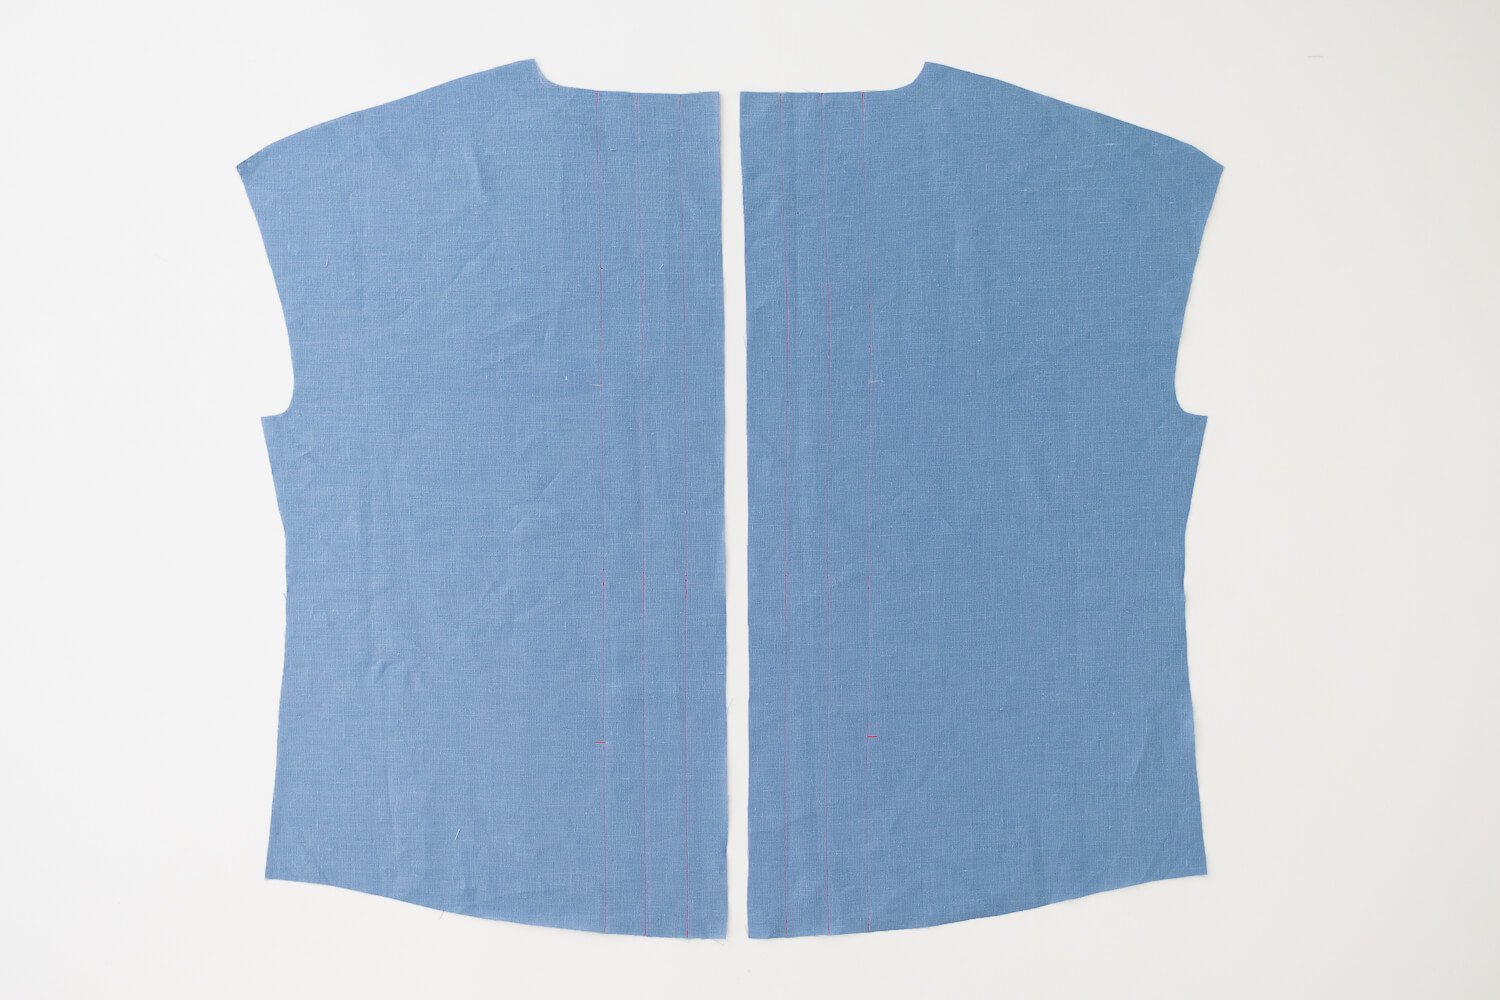
It can be helpful to mark the placket fold lines with chalk or a fabric pen on the right side of the fabric.
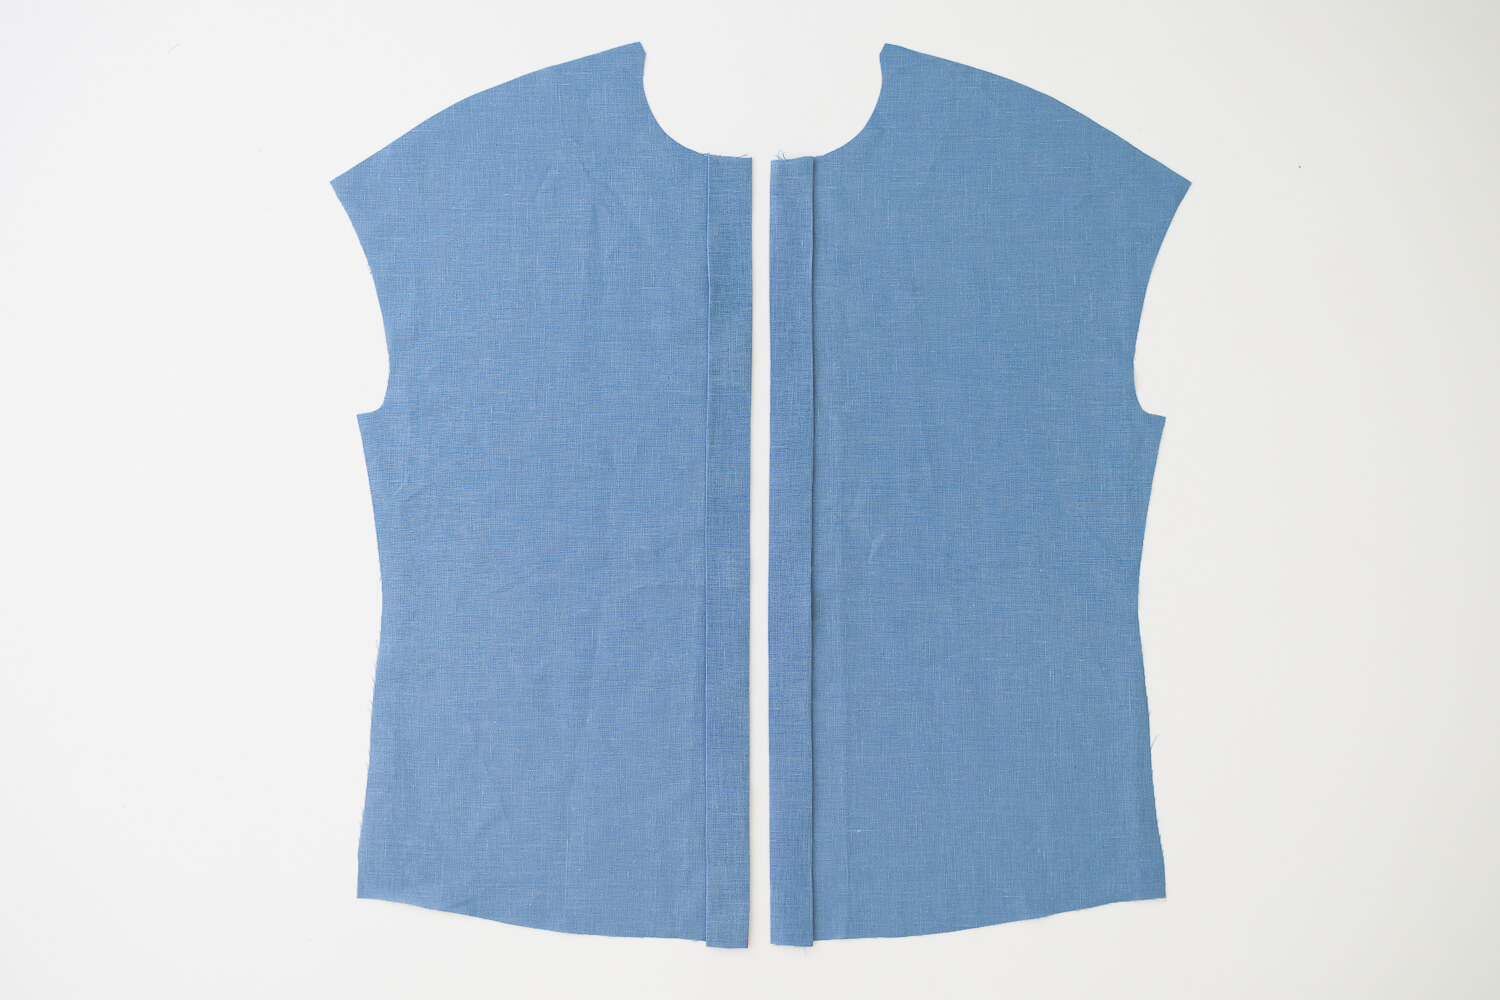
Fold both Back Body pieces twice toward the wrong side along the fold lines. Press.
Stitch along the whole length of the folds. Stitch 1/16” from the inner folded edge.
With wrong sides facing up, place the placket of the left side over the placket of the right side. Pin in place.
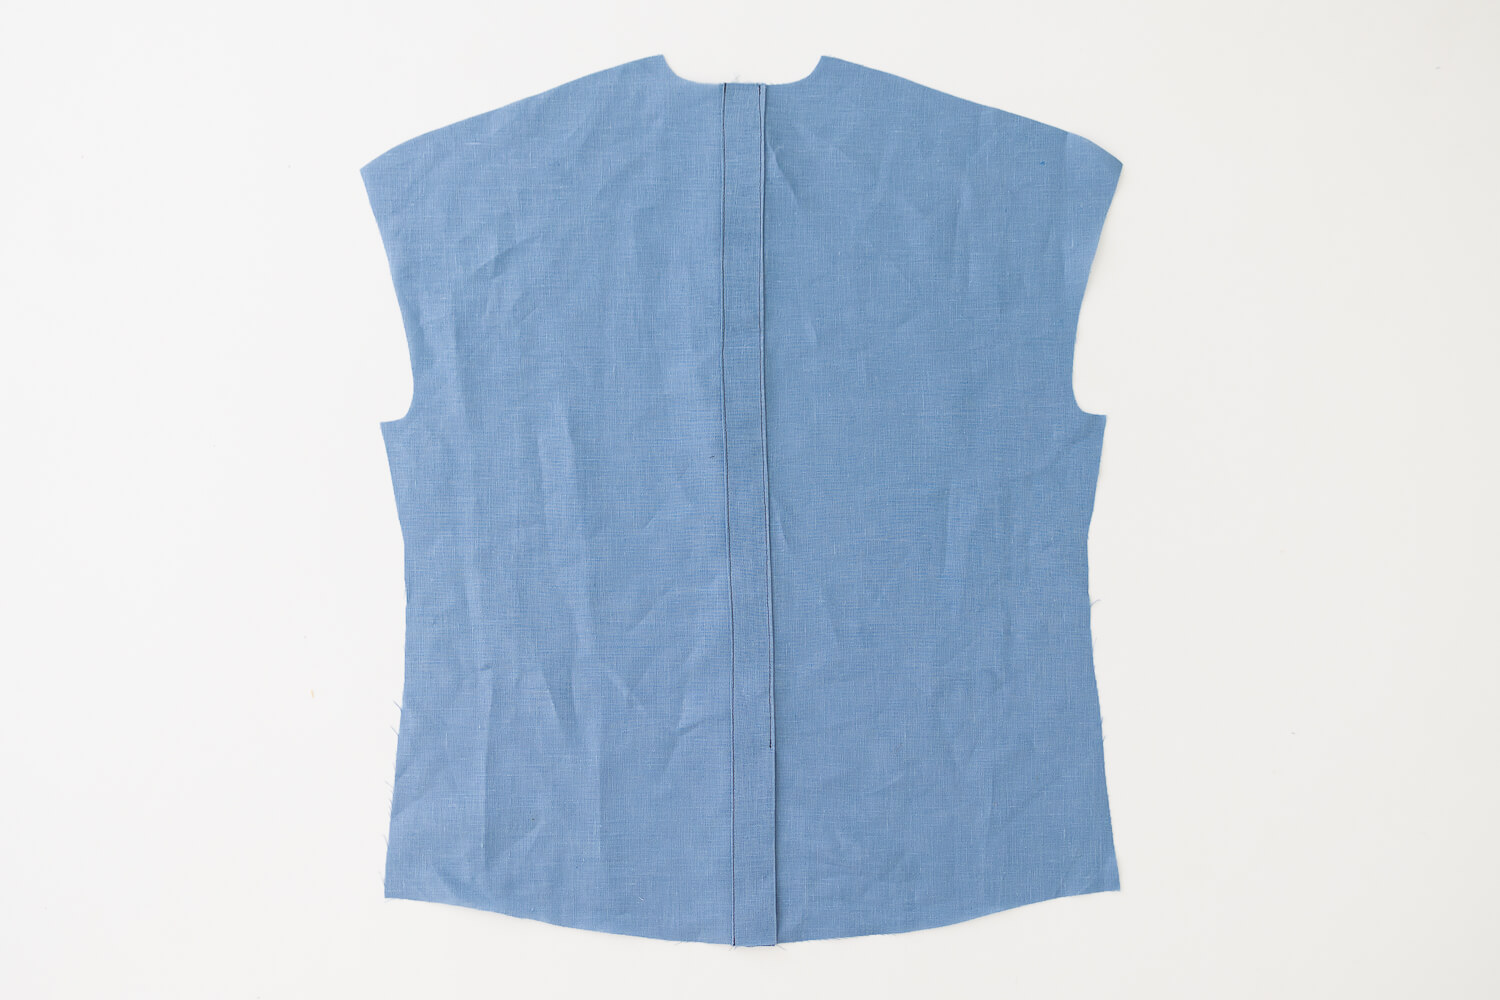
From the right side of the blouse, sew the pieces together from the neckline down to the stitch marker. Sew right on top of the existing line of stitching. Remove pins as you sew.
This creates the slit at the bottom of the blouse.
Here’s what the stitching should look like on the wrong side.
The plackets are done! Proceed to the rest of the instructions on page 40 of the instruction booklet.















Leave a comment