Tutorial: How to make the Mariana Jacket Notched Collar
Great choice on making the Mariana Notched Collar Jacket! Here are steps with photos to make that notched collar shine. We also have a separate tutorial on how to make lining for this jacket if that was something you wanted to explore.
This is the trickiest and most important part of this pattern. If this is your first time sewing a notched collar, I recommend sewing a test of just this part to practice. You can practice just the notched collar portion by cutting 2x the facings and sewing them together as if one is the jacket and one is the facing.
Note, this tutorial uses light colored thread to show the stitching clearly. Be sure to use matching thread when sewing your jacket so the threads blend in with the fabric.
Fabric used in this tutorial is FS Rustic Emerald Softened Heavyweight Linen.
Let’s jump in!
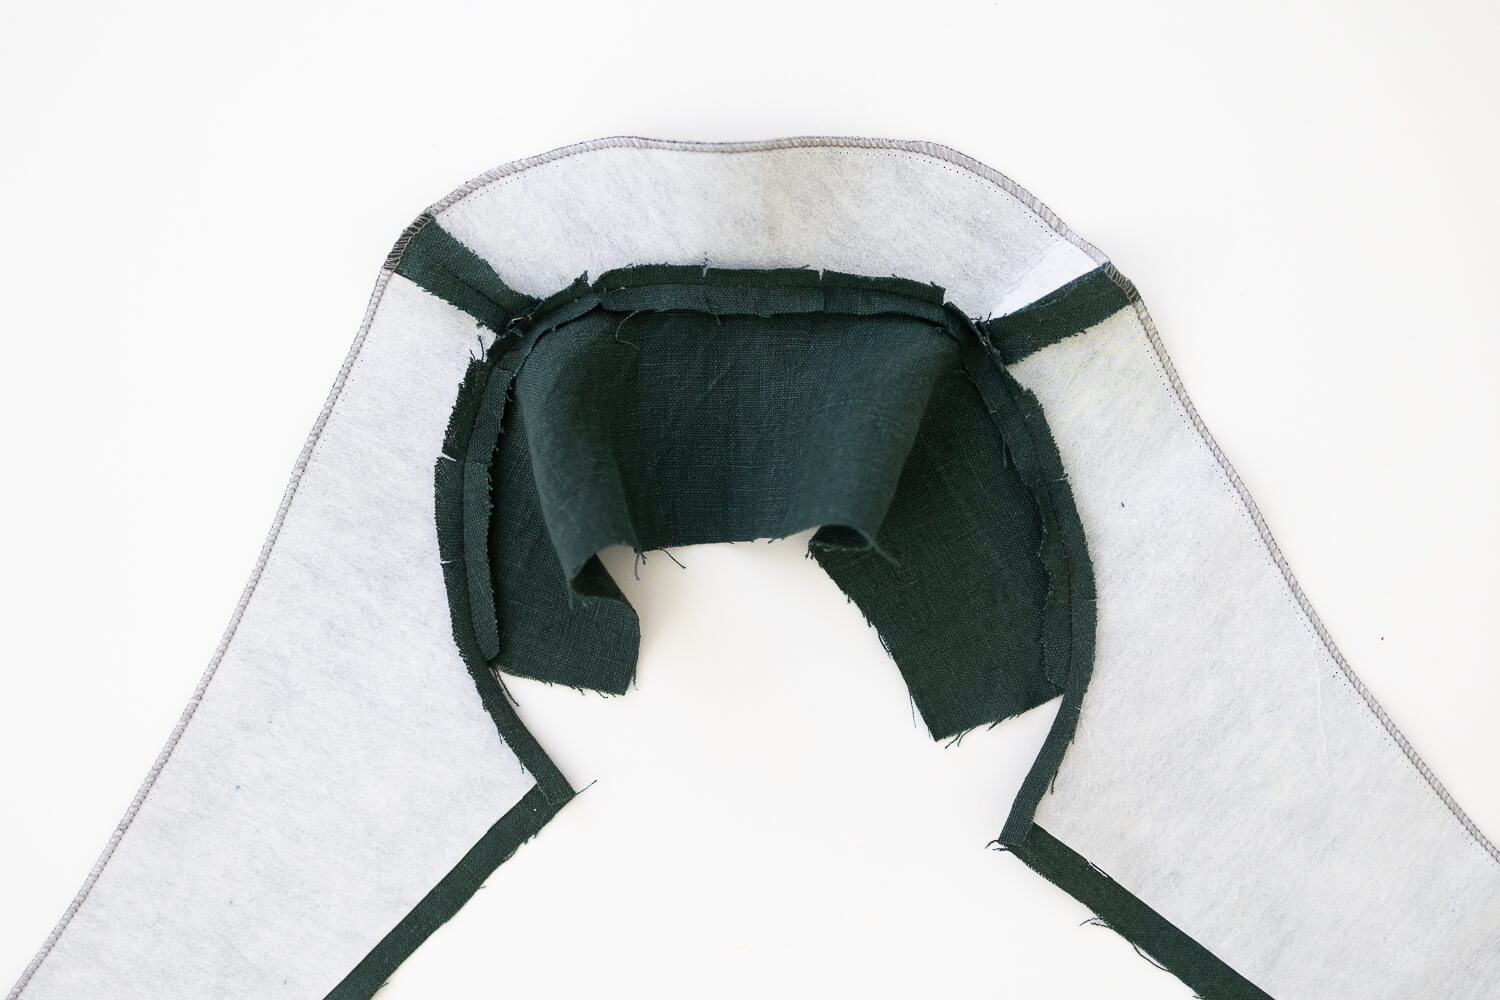
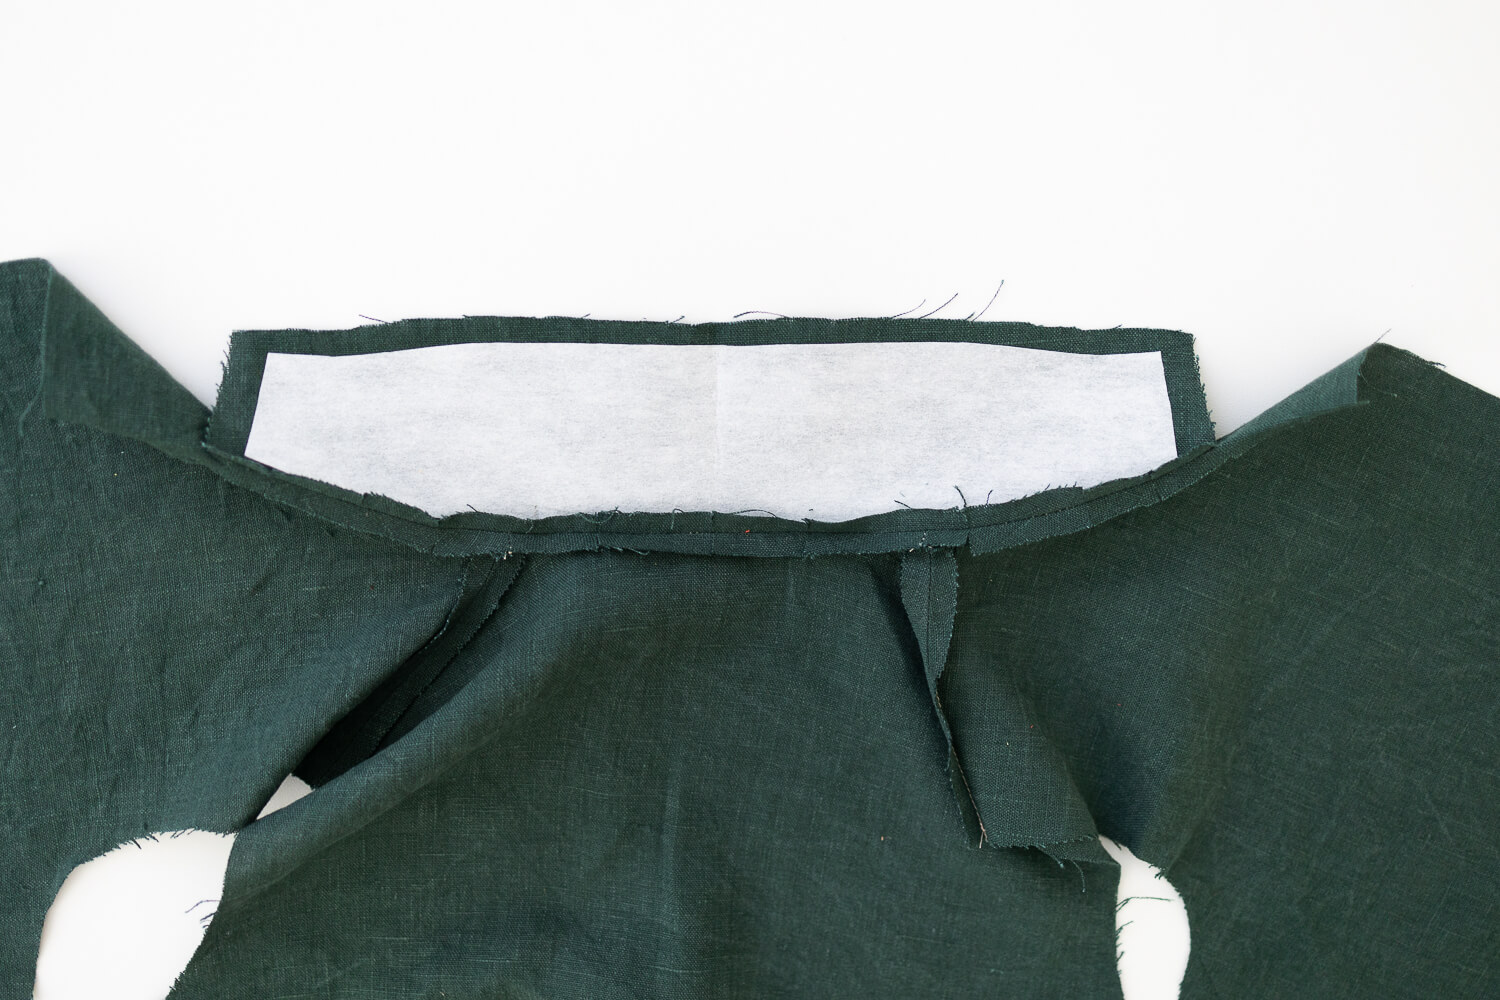
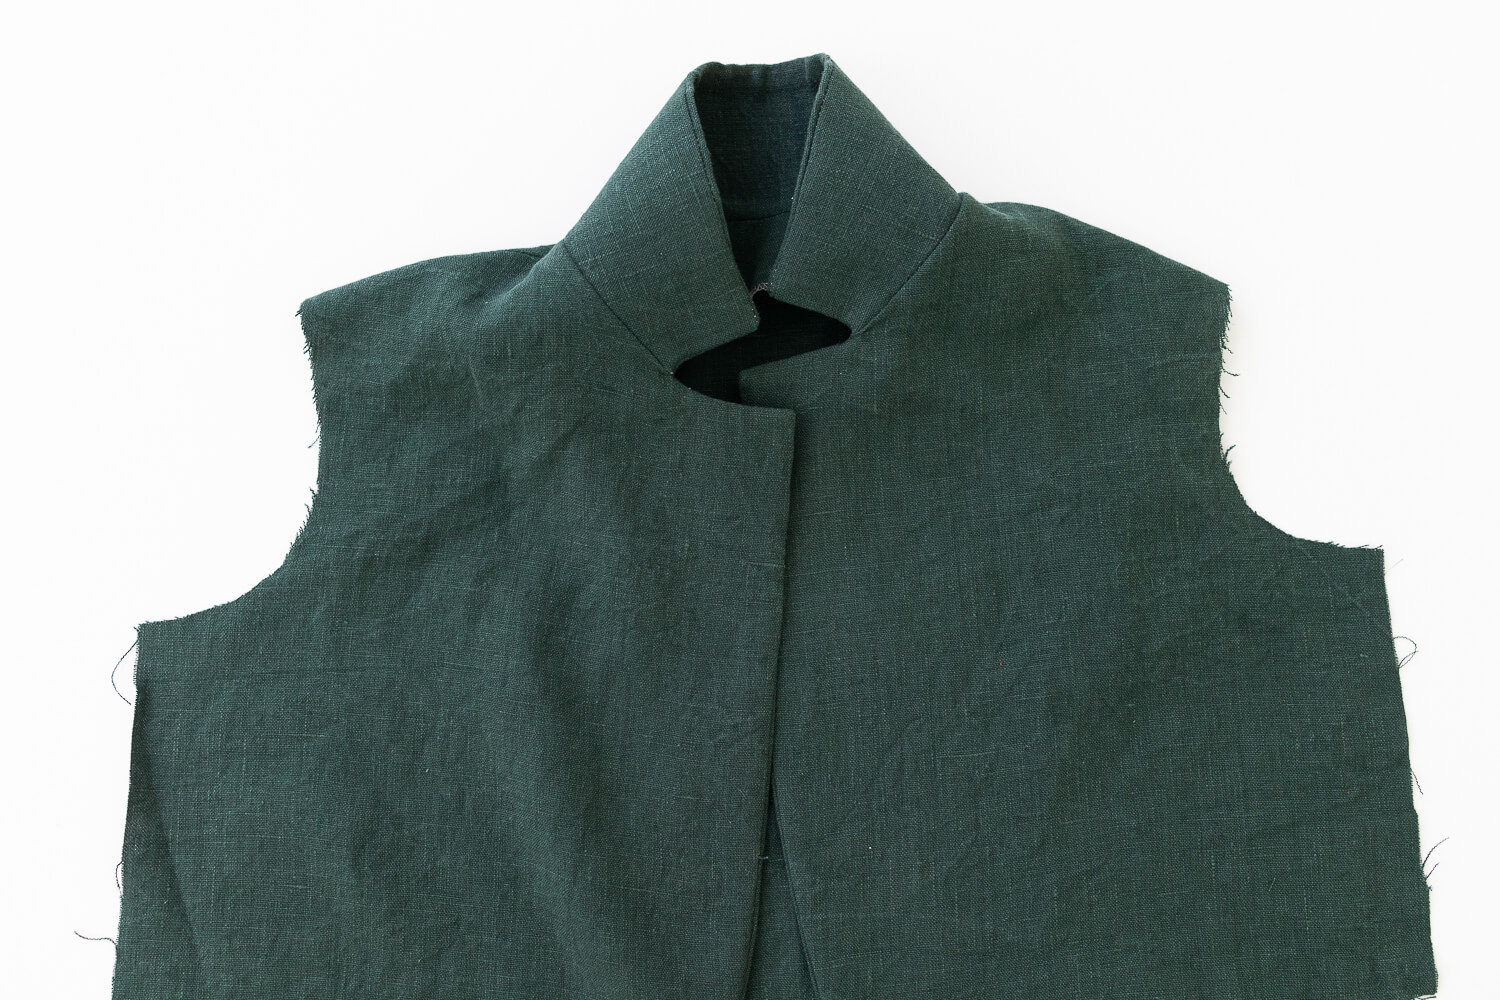
At this point, the jacket pieces should look something like this:
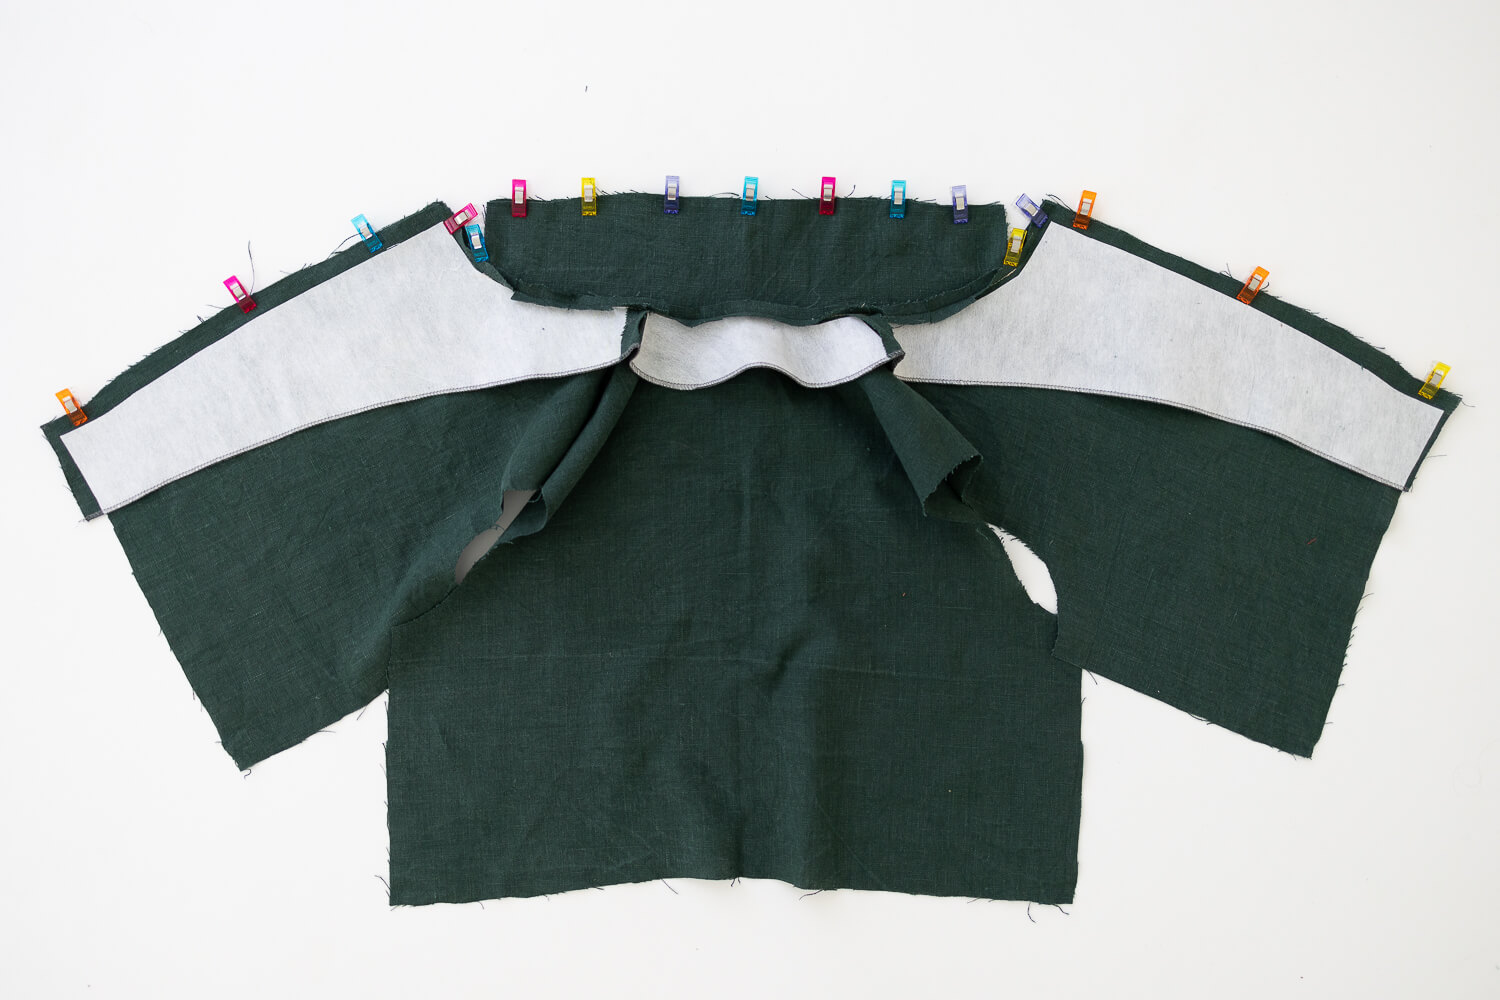
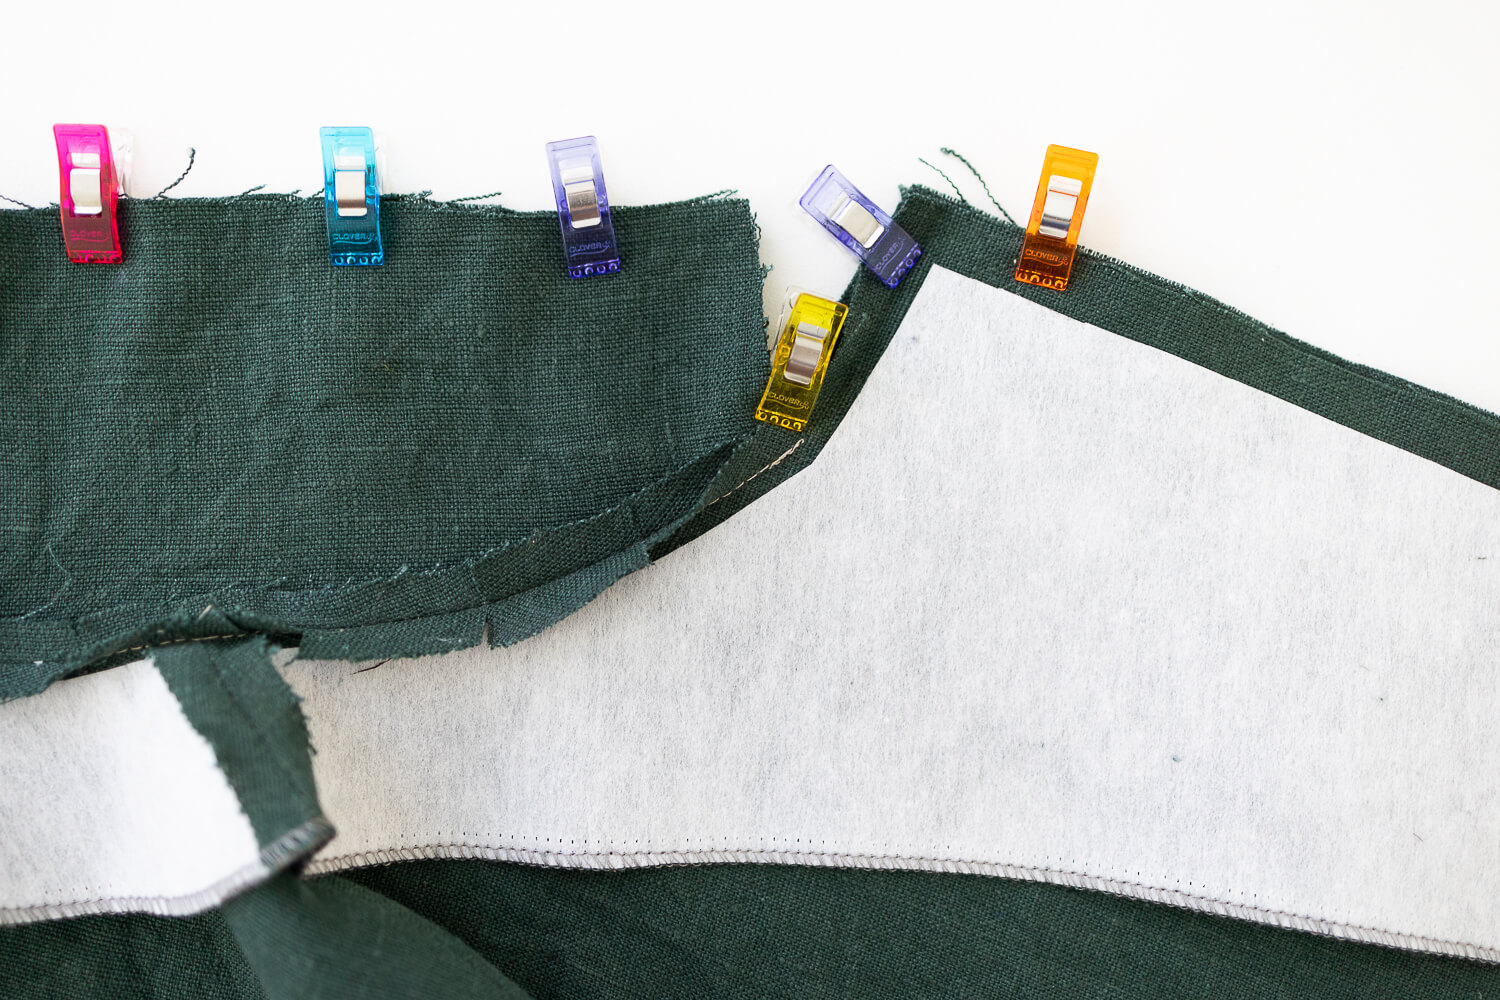
1. Place the facing and the jacket right sides together. Right on the corner of the notched collar where the collar meets the jacket/facing, fold the seam allowance up toward the collar on both the facing side and on the jacket side. Clip or pin in place.
2. Sew the pieces together with 3/8” (1 cm) seam allowance. Start in the center along the collar and sew down one side to the hem and then the other.
To make a beautiful notched collar, sew carefully down the side of the collar to the line of stitching that is connecting the collar to the jacket/facing. On the line of stitching, leave the needle down and pivot the fabric to make a sharp corner out toward the lapel. This is the crucial step in making the notched collar. Sew slowly for this part.
For this step, it’s important for the seam of both layers (the jacket and the facing) to be aligned precisely. Take extra care before stitching to make sure the seams are as perfectly aligned as you can get them.
Before proceeding to the next step, check to see how well aligned the seams are after stitching. This part is hard because you can’t tell exactly how the notched collar turned out until after you snip the corner, but it’s much harder to try seam rip and resew once the corner is snipped. So you want to make sure it’s sewn as well as possible before snipping. One of the best indicators is to just check if the seams are well aligned and if the stitching pivots right along the existing line of stitching.
3. If everything looks good, carefully clip and snip corners.
4. Fold the jacket and facing wrong sides together and use a point turner to make the corners crisp. Press with steamy iron.
5. If you’d like to add a finishing touch, you can tack the jacket and facing together by stitching in the ditch in a few places along the collar seam.
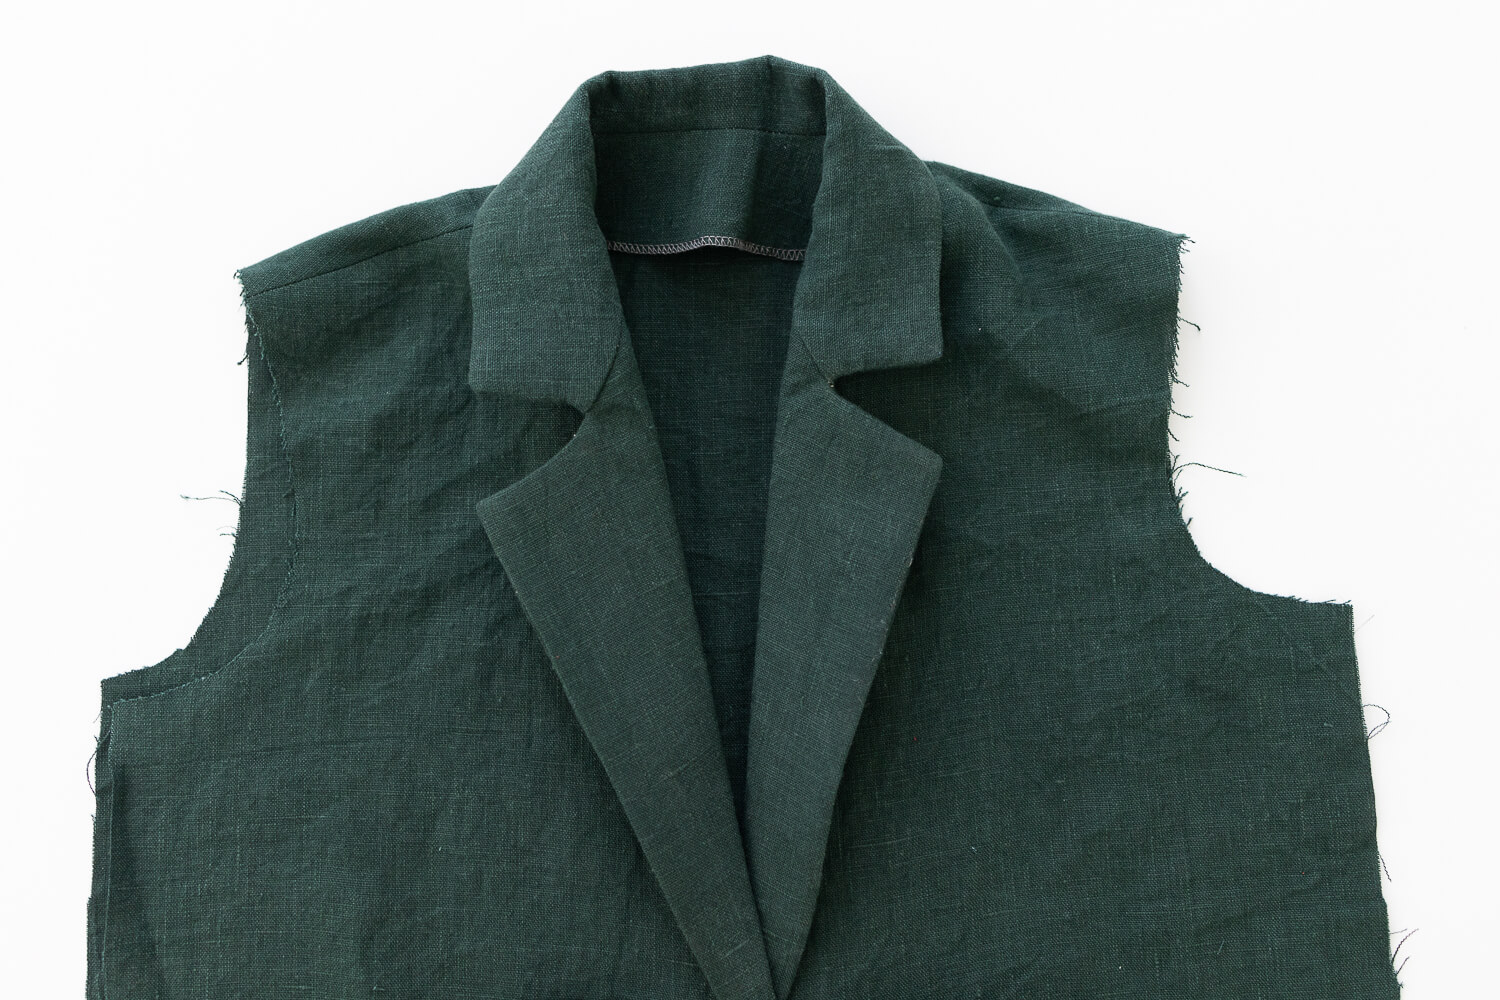
6. Press the collar and lapel in the folded down position. It can be tricky to know exactly where to fold it. Fold it down with your hands first and hand press. When it’s where you like it and is symmetrical on both sides, press with an iron.
The notched collar is a tricky part, so if it takes a few tries to get the notch looking crisp, not to worry! That’s what seam rippers are for. Just go slowly and carefully and always have fun!
























4 Comments
Linda Hamilton
I liked the photos showing the details. It’s been quite a while since I’ve done a notched collar as they are so fiddly. You can also do a stitch in the ditch along the front/back seam to help hold the facing in place when there is no lining. It will also be covered up by the collar. I’ve even been known to do that when there isn’t a collar, but I am much more careful with those. I have a real aversion to facings not staying in place.
Linda
Sarah Kirsten
Hi Linda, thanks for adding this. I am with you on the facings not staying in place. Always prefer to make sure they stay put!
Vicki Lang
Thank you for the great instructions on piecing the jacket together.
Sarah Kirsten
Thanks Vicki! Hope they can be helpful.