How to Make A Button Necklace Tutorial
Accessorize with this cute button necklace – a unique piece that’s easy to do!
TUTORIAL: Hannah, The Beach Shack Project
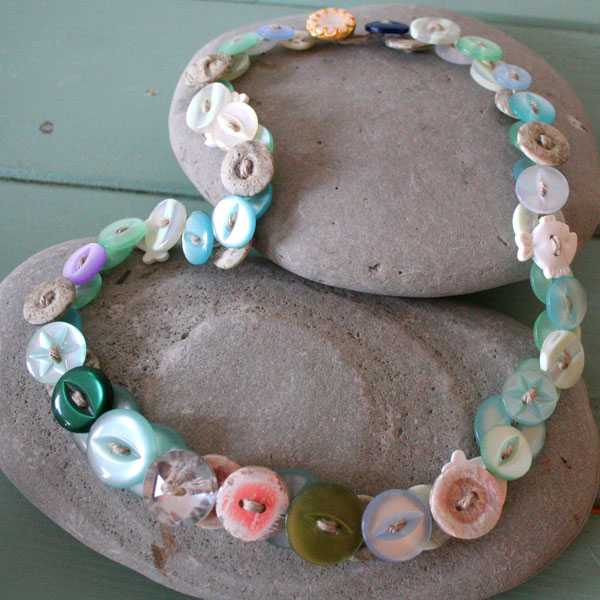
If you have a big jar of odd shapes and sizes of buttons lying around at home just waiting for a use, why not turn them into a beautiful statement button necklace. It’s easy to do and makes a unique handmade present.
Skill level: Beginner
Time to make: About an hour
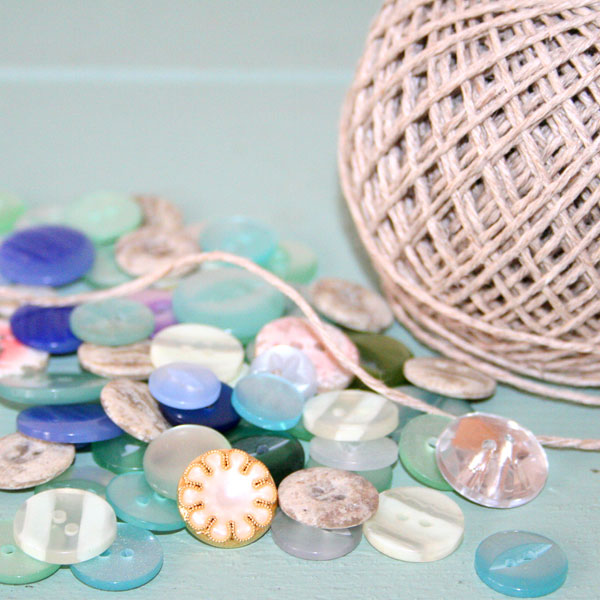
Materials: 65 assorted buttons; string (hemp is used here for an organic look, but you could use anything – wool, twine, waxed cord or embroidery thread etc. If you find the thread difficult to pass through the button holes use try waxing the ends or using a big eye needle); scissors; glue; needle.
Separate your 65 buttons into a group of 32, and a group of 33. The 32 buttons will be sat on the bottom layer of the necklace, so won’t be seen. The 33 buttons sit on the top, so pick out your favorite ones for the top layer.
Trim a length of string to about 75 inches. Fold the length of string in half, and tie a knot in it to create a loop. This loop will be one part of your clasp, so make a loop that will fit easily over the final button. (Here, the final button is called a shank button, which has a hook on the back. It will make a great clasp but don’t worry if you don’t have one, a normal one will suffice!)
Pick up the threads on the opposite side of the knotted looped ended. Pick up the first button and pass the thread through the bottom of the button, and over the top. Push it flush against the looped knotted end.
Take button 2. This will form the bottom layer so won’t really be seen. For reference, all the odd button numbers sit on the top, the even button numbers sit on the bottom. This time pass the thread through the top of button 2, and back out.
Pull button 2 loosely towards button 1, but not too tight otherwise it will bunch. Button 2 should now be sat under button 1. Take button 3 and thread using the same technique as button 1, by passing the thread through the bottom of button 3, and over the top. The necklace should have two buttons on the top layer and one button underneath, sat against the knotted loop at the end.
 Keep repeating these steps to add more buttons. One on the top, one on the bottom, and so on. You can see the necklace taking shape.
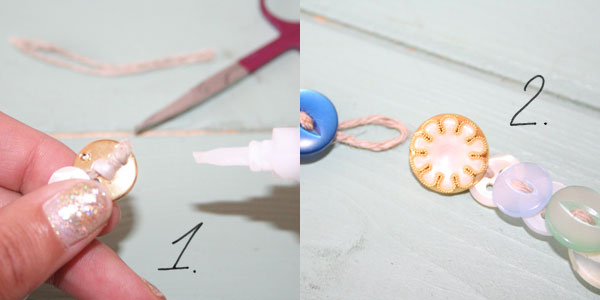
 When you’ve threaded 32 individual buttons onto the thread, pick your favorite for button 33, as this will be the central button. When you have threaded 64 individual buttons onto the thread, button 65 will be your end clasp button. Here the gold shank button is used. Simply slip it onto the thread and tie another knot. Slide the knot down and tighten it so the shank (end) button fits close into the necklace.
 Trim excess thread with scissors and dab a bit of super glue on the knot to secure it. Your finished clasp should look like this; simply slip the last button into the loop you made at the start.’ And your button necklace is now finished and ready to show off!
















3 Comments
JAYNE Corfield
This looks like a project as a beginner I could manage
Julie
Amazingly easy! I’ve seen so e button necklaces and loved them, didn’t know they were so easy to make cuz they were super expensive to buy! Thank you for the post.
bblock
looks like a fun thing to do with my granddaughters!