DIARY OF A NOVICE SEWIST: The Zipper

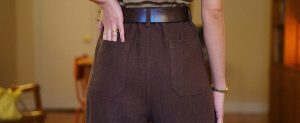
Tudor Blouse made with DEEP ULTRAMARINE Midweight Linen worn with Deima Patterns Ribbed Trousers, Photography by Sophie Nawratil

Tudor Blouse made with DEEP ULTRAMARINE Midweight Linen worn with Deima Patterns Ribbed Trousers, Photography by Sophie Nawratil

Tudor Blouse made with DEEP ULTRAMARINE Midweight Linen worn with Deima Patterns Ribbed Trousers, Photography by Sophie Nawratil

Tudor Blouse made with DEEP ULTRAMARINE Midweight Linen worn with Deima Patterns Ribbed Trousers, Photography by Sophie Nawratil
Just like I announced in my last entry, today I would like to replace fear and anxiety with some inspiration.
Some of you might remember the keywords IRONING and ZIPPER. I will talk about both of these in some detail today. But I promise you, it’s not that horrible and it won’t hurt. You have Sophie’s word of honor.
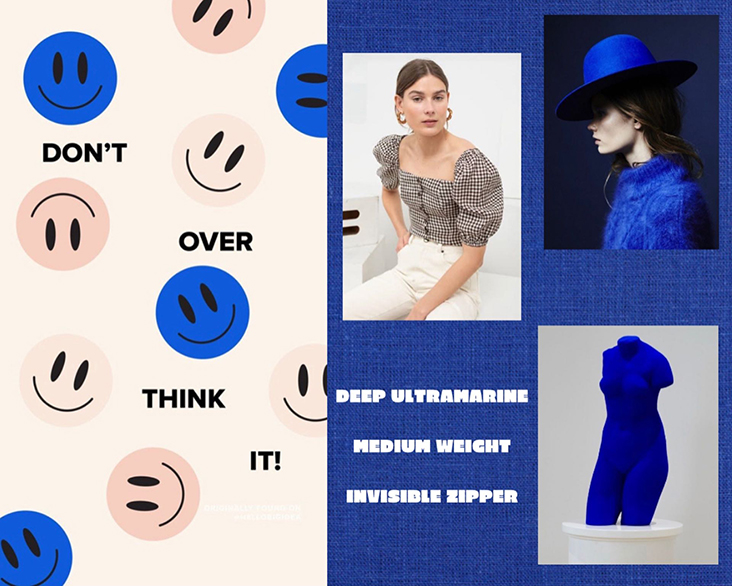
But because I know that zippers and ironing do not sound super sexy for most, I would like to start with a mood board for today.
I have to confess, I love an Yves Klein Moment. No other color screams modern, loud yet timeless like his blue. Und especially nowadays I feel as if everything in that color wears a tag with my name on it. And I’m not mad. Now, because a bold color and scary topic need a comfort pattern, I decided to show you the Tudor Blouse pattern by Stitch Witch Patterns. The pattern actually asks for buttons instead of a zipper, but why not take on a little challenge.
I sewed my first zipper about 16 years ago. My mom had her first day of school as a teacher and my siblings and I made her a small pencil case which basically meant I sewed it and my siblings did the artwork (they were about 5 and 7 years old at that time). It was a mess, but to be honest – I still love it. AND my mum still uses it!
I sewed my second zipper this year – by accident. I fell crazy in love with the Milkmaid Dress by Lydia Naomi Studio and shortly afterwards I found myself at my moms, with the fabric, the pattern and the daunting realization that I had to sew in the inevitable invisible zipper.
But what happened then was honestly short and painless. But just take a look for yourself…
Before we start, I would like to add that I am no expert and that there are probably prettier, better and more efficient methods than this one, BUT I find this method easily feasible where you will surely reach the finish line. Allora!
The Invisible Zipper
Materials
All you need for your zipper-adventure are the following
Your Fabric Pieces, I used DEEP ULTRAMARINE Midweight Linen
An Invisible Zipper (surprise)
Iron
Pins
Sewing Machine
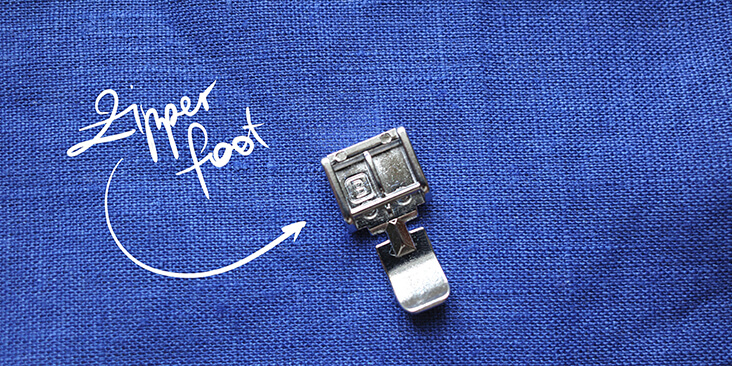
Zipper foot
I am not one to use or recommend thousands of gadgets, but a zipper foot is a game-changer. Once you go zipper foot you never go back.
Method
1. First of all, we mark the point where the zipper will end on our fabric. Notice that this mark should be a little above the actual ending of the zipper.
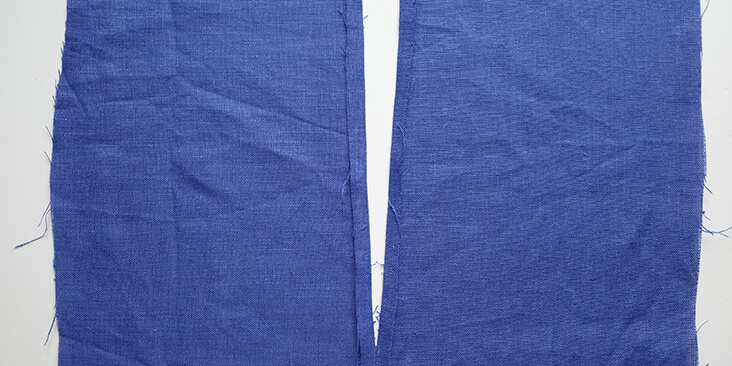
2. Sew the two pieces that border the zipper (right sides together) from the bottom up to your previously marked point in your usual stitch length + backstitch. Cut your thread and continue sewing above your marked point with your largest stitch (basting stitch).
3. Iron your seams open.
4. Open your basted seam.
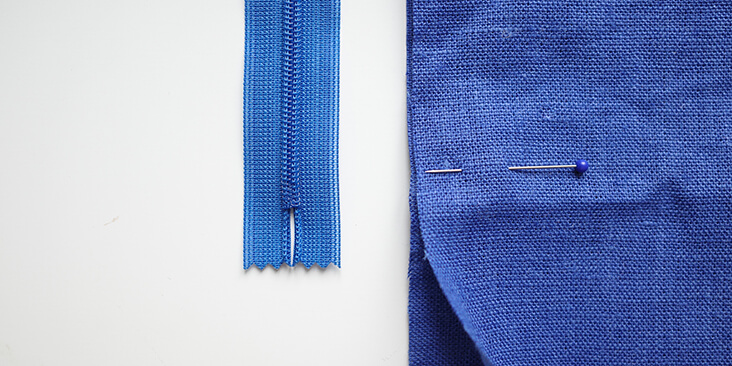
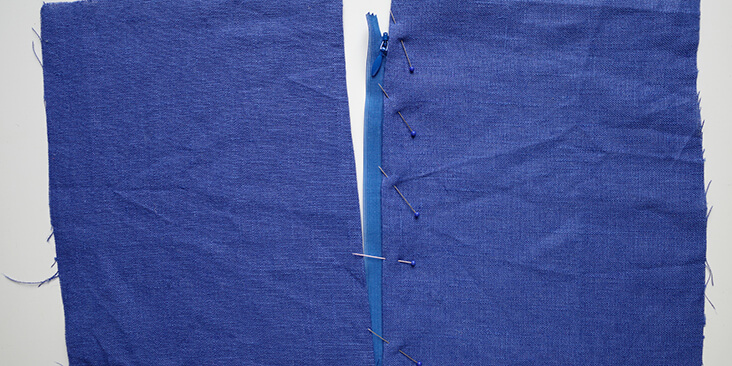
5. Lay your zipper underneath your re-opened seam.
6. Pin it – so your fabrics close exactly above the zipper. (wrong side of the fabric – right side of the zipper)
7. Open the zipper a bit so you can sew without having any troubles with a zipper foot – zipper opening situation.
8. Now sew as close to the zipper as possible. When you reach the opening of the zipper, stop sewing with the needle still down. Lift the foot and turn your fabric to the side. Close your zipper, turn the fabric back in position, put the foot down again and continue sewing aside your zipper. (Repeat the same procedure at the end – but open the zipper)
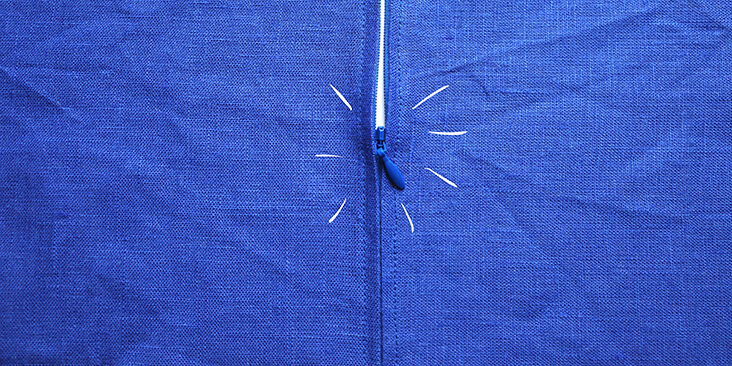
9. Flip your fabric over the open end of the zipper. Stitch.
Done!
(Editor’s Note: If you are looking for a more traditional method of sewing the Invisible Zipper, we have this tutorial for you.)
The Visible Zipper
1. The same steps as for an invisible zipper BUT you don’t need a zipper foot because you don’t need to sew that closely to the zipper.
2. You start with basting your two fabrics right sides together.
3. Now iron your seam open.
4. Open your seam.
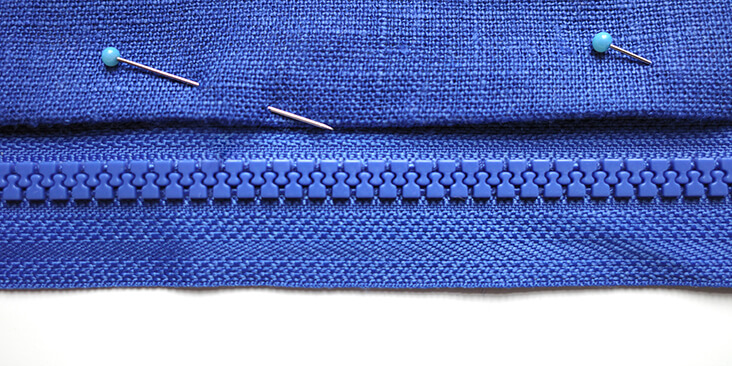
5. Pin your wrong side of the fabric on the right side of the zipper (you probably see fine lines on your zipper band – these can help you to position your fabric).
6. Sew.
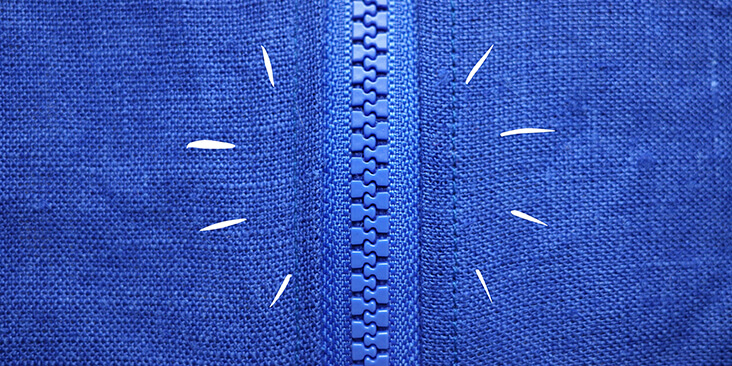
7. Flip your fabric over the open end of your zipper. Stitch.
Done!
And that’s all the magic!
I hope I could help some of you (or at least show you, that crooked seams and crinkly fabrics are totally fine).
Bussi,
Sophie














11 Comments
Carrie Krumrie
After my first zipper, I told my mom, that I would just mail her the garment, for her to put in the zipper in!!! I did learn to put zippers in! But you are correct, do not over think it!!!!
The blouse is beautiful!!! Love the color,
Carrie Krumrie
Sophie Frank
Hi Carrie!
YES – thank you so much!! And nothing wrong about asking for help (actually – that can be pretty hard too)!
And the color is even more vibrant in real life! Love love love the ultramarine!
have a wonderful day Carrie! x Sophie
bonnie Berglund
I’m trying to understand how you get into the blouse as it seems if you sewed it as you have shown and the blouse ends at your waist, and if the zipper doesn’t open at the bottom, I can’t see how you get this on over your head since it is so fitted.
Sophie Frank
Hi Bonnie!
I sewed it like the second one, so you actually can open it completely. And than just put it on like a jacket 🙂
Susan Donze
Yes to all comments above, but I’d also like to say that the visible zipper is actually the exposed zipper lately so popular. The Not Invisible Zipper is usually meant to be sewn with fabric openings touching, and the zipper peeking out minimally.. This includes basting the seam above the zipper base closure, pressing open the seam and basting the zipper face down, centered over the seam, sewing top to bottom, across and back up to top.. Old school. Yours looks great, just not traditional. Ultimately who cares?
Sophie Frank
Hi Susan! Thank you for your reply! I guess I had some language issues as I’m not a native speaker (not at all to be honest).
Actually I just wanted to show how easy it can be to sew in a zipper – not thinking too much about how they are called (which was a big mistake as it seams) BUT I love to learn new things and I’m very thankful for your kind words 🙂
Julie Duncan
Those are both beautifully done zippers. BUT, the first illustration isn’t a true invisible zipper. While its true one can’t see the zipper, it isn’t invisible because we can see the stitching so, we know there’s a zipper. . The installation of an invisible zipper is done entirely on the inside of the garment with no top stitching so that when the zipper is closed it looks like a normal seam. It too is very simple, just use the zipper foot and click your needle placement as far left as it will go. Place the zipper, open or closed, Face side down on the right side of the fabric along the edge of the fabric, sew as close to the zipper as you can get without actually stitching the teeth. (When you buy a zipper, any zipper from Coats that come in the tube, there are instructions inside.) It takes patience but when you master the invisible zipper it’ll probably be your favorite!
Epeemom InTX
Beat me to it. And you are absolutely correct- get a Coats zipper, actually buy one of each type- and then save the instructions! I have ancient ones that have made many house moves. I get zippers from other sources now, but I always have the instructions!
Sophie Frank
Ohhhhhhh thank you so much – I did not know that!! I only knew the version my mum showed me (and as we know – mum is always right 😉 ) but yours sound very decent! Have to keep my eyes open for the tube-zipper-ones as we don’t have them here in Austria – but I’m sure I’ll find them online! thank you so much!
McKenzie Reints
THANK YOU for a tutorial!!! I appreciate learning about history and art and it’s influences, BUT I am a learning sewist who yearns for hands on instruction like you provided. I never realized how Fabric Store has influenced the foundation of my sewing, so I am forever seeking instruction here first because I have learned so much from FS. Please keep it up!! I hope you guys have some wonderful garment tutorial in the pipeline! Can’t wait!
Sophie Frank
Thank you so so much for your kind words! It’s the first time I did something like that and I’m very happy you like it! 🙂