Decorative Tablecloth
Announcement: Make sure to take advantage of the sale on best-selling, 100% linen IL019 while it’s on sale until Sunday, June 24th. Visit the sale here.
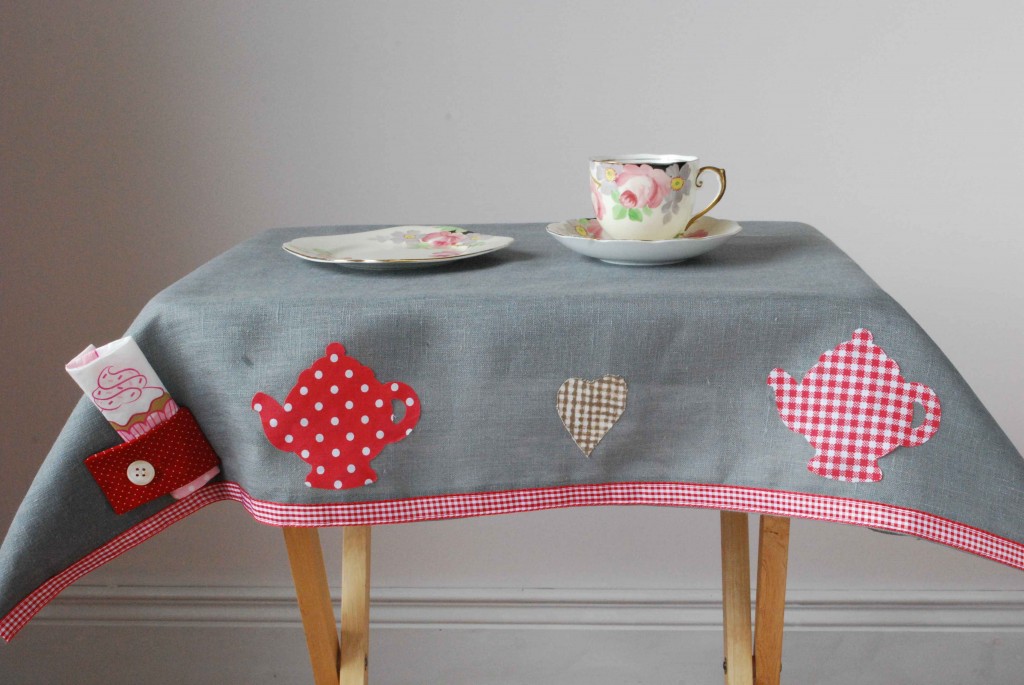
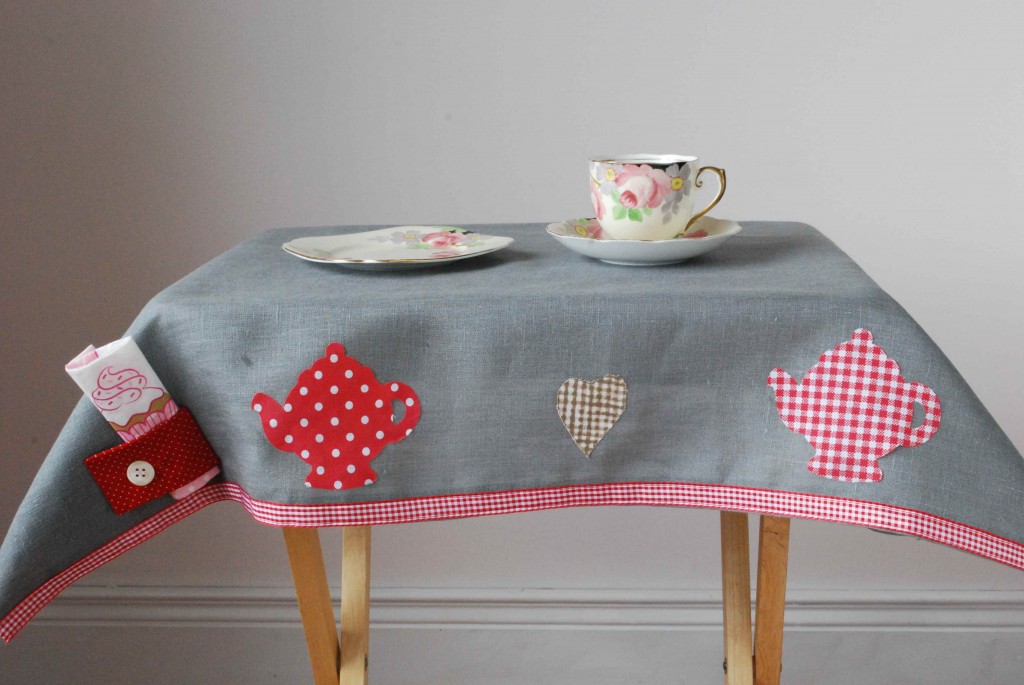
Brighten up your coffee mornings with this eye-catching cloth. It’s finished with appliquéd coffee pots and a ribbon trim. We’ve also added in a neat napkin holder that is buttoned to one edge of the cloth. Linen is the perfect fabric for tablecloths because it is hard wearing and drapes well.
Materials
35″ x 59″ of IL019 linen in Asphalt
Purchased appliqué motifs
Ribbon for edging
Scrap of contrast cotton
Button
To Make Your Pattern
Use squared dressmaker’s paper for your pattern. Cut 1 square 32″ x 32″. You can take this pattern and simply size it up to fit any table, however, when you are calculating your dimensions make sure you allow a 6″ overhang on each edge. Then add your seam allowance to this.
Cutting Out
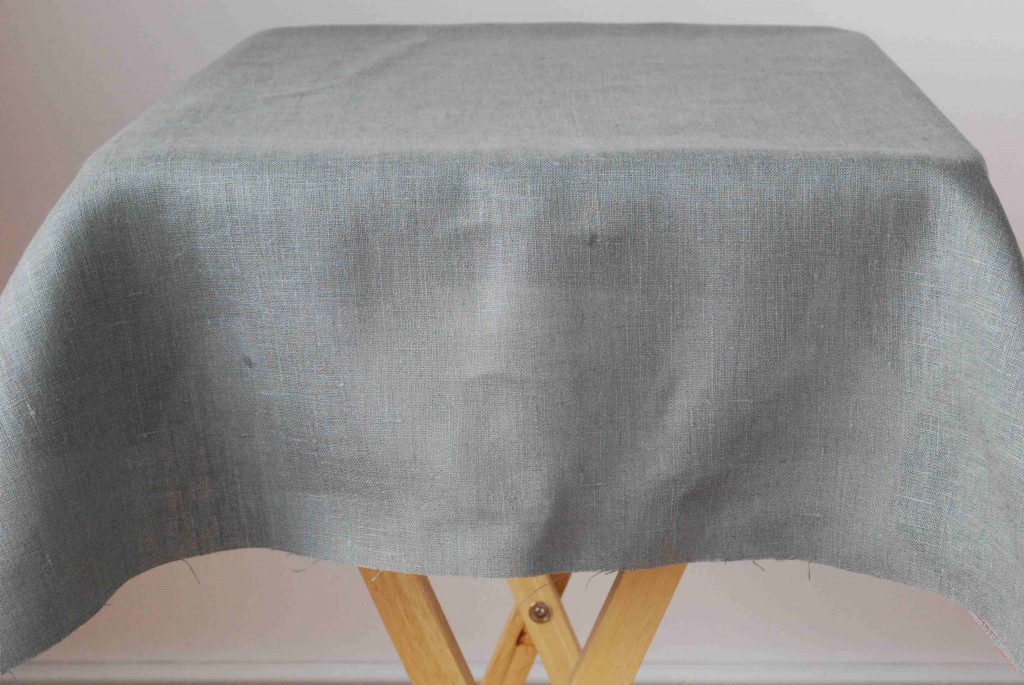
Cut out 1 pattern piece in linen.
Steps To Sew
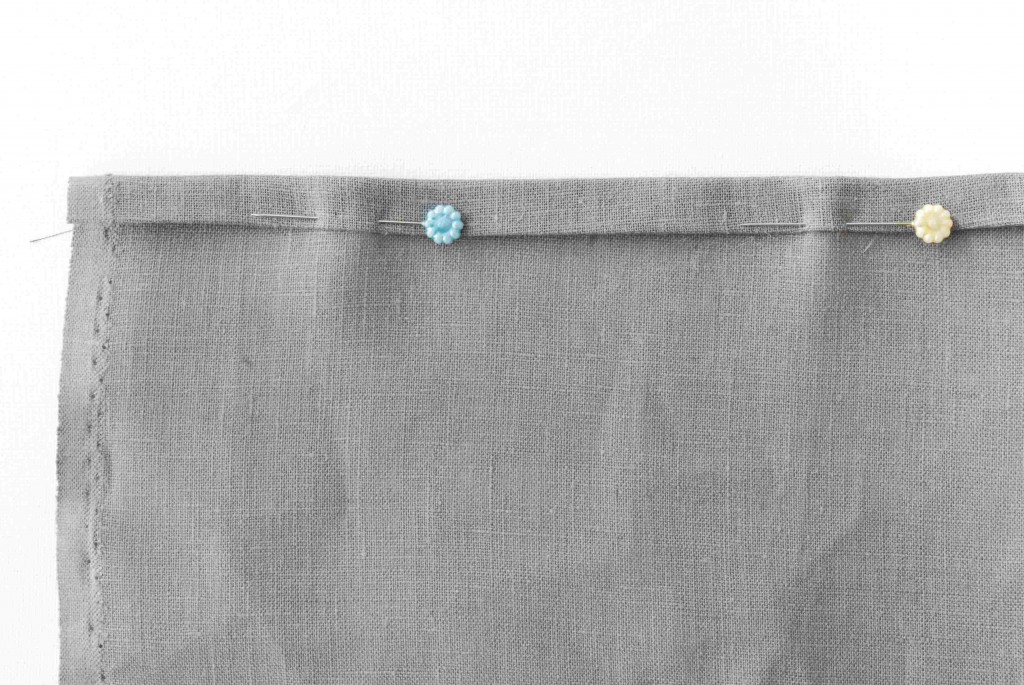
1. Using a steam iron press under a ‘½” turning on all the raw edges, then press this turning again for a further ‘½”. Pin this double turned edge in place and then machine
2. Using your cotton fabric cut a strip 3 ‘½” (width) x 2 ‘½” (length). Fold the fabric widthways with right sides together and stitch the edges leaving one end open. Turn to the right side and neaten the raw edges together. Work a buttonhole at one end. Then stitch the raw edges of the strip to the cloth and secure in place with a button.
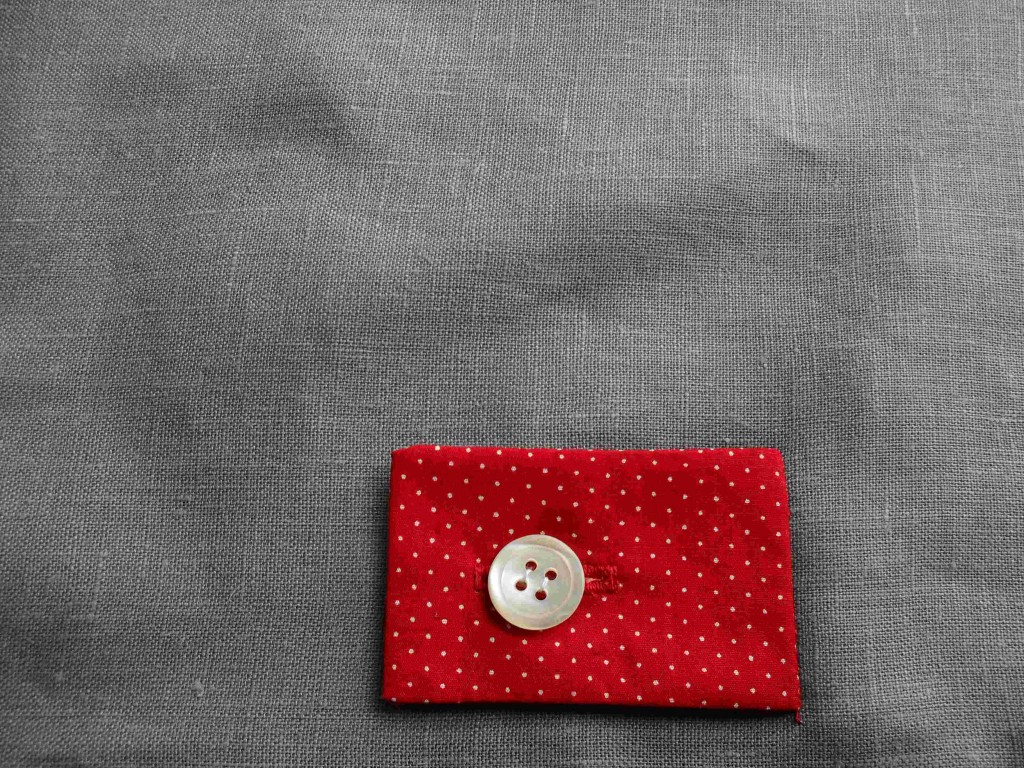
Please note you can sew as many napkin holders as you like to the tablecloth.
3.Apply Bondaweb to your motifs. Then iron them round the overhang area of your cloth.
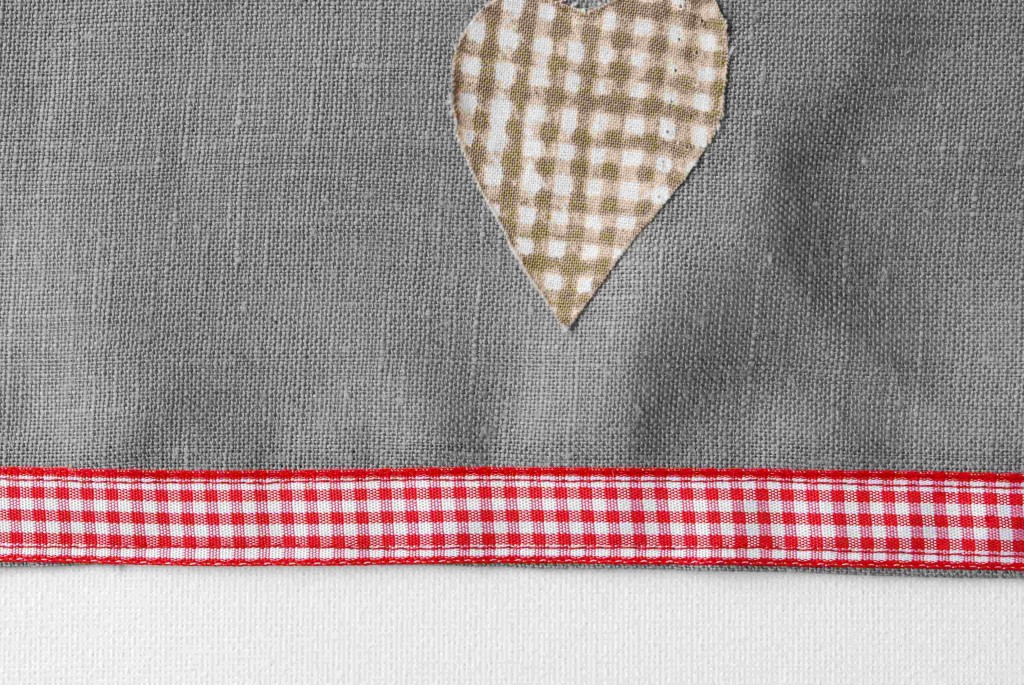
4.Take your ribbon and pin it to the neatened edge of your cloth. Machine each end of the ribbon in place.
5.Put your napkin into the holder to finish.
[maxbutton id=”1″]
*Let us know what you thought of our latest post by leaving us a comment or visit Fabrics-store.com for bargain prices on the fabrics shown in this tutorial. Happy sewing!














7 Comments
Carla
Cute and charming decorations. Thanks for this DIY tutorial. 😀
Susana K
I think a couple of words are missing from the instructions. No. 1 should end with “machine stitch.” Then in No. 4, I would have written it “Machine stitch each long edge of the ribbon ….” This might make it easier for the less skilled to understand.
Susana K
You wouldn’t have to purchase motifs. Cut them from scraps of checkered or patterned cloth, or even solids as long as they contrast. Draw the motif on a piece of fabric (freehand or trace around a cutout) using a marker that will wash out. Satin stitch the outline of each shape and cut close to the edge of the stitching, or stitch around with an overlock machine set to a hemming stitch. Use Fray Check on the cut edges to seal the stitching. You could have a piece of Bond a Web behind the motif (or other heat bondable product), or you could stitch the motifs to the cloth, following the line of edge stitching.
As for finding a cute teapot, there are lots of free graphics on the internet. Use your imagination.
Laura/Readerwoman
You say “purchased appliques” but didn’t say where to purchase – my kitchen is done in teacup motif – would LOVE to have the teapots! Thanks.
Susan Markwell
love this really cute tablecloth! Brings back memories of growing up with different tablecloths. I very seldom see tablecloths used anymore except at holidays.
Elizabeth Schnelle
Your measurements/instructions for the napkin holder seem off to me…
but it’s a cute concept.
However, the instructions are not for beginners.
Karen
It is a cute concept…It looks like those are the finished measurements so I would go with a 7 1/2″ by 10 1/2″ which would give me a 1/4″ seam all around and a finished piece both inside and out, unless the edges are just turned under and it isn’t as important for the inside to be finished, then those measurements would work.