Ines V-neck Top Tutorial
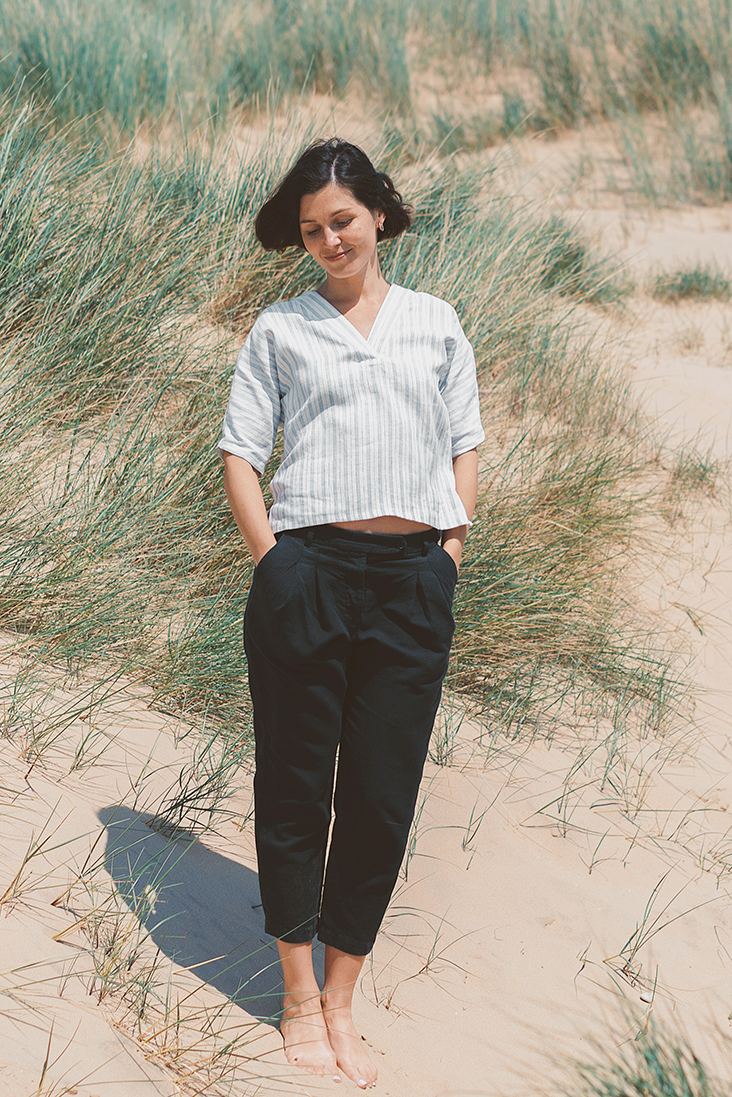
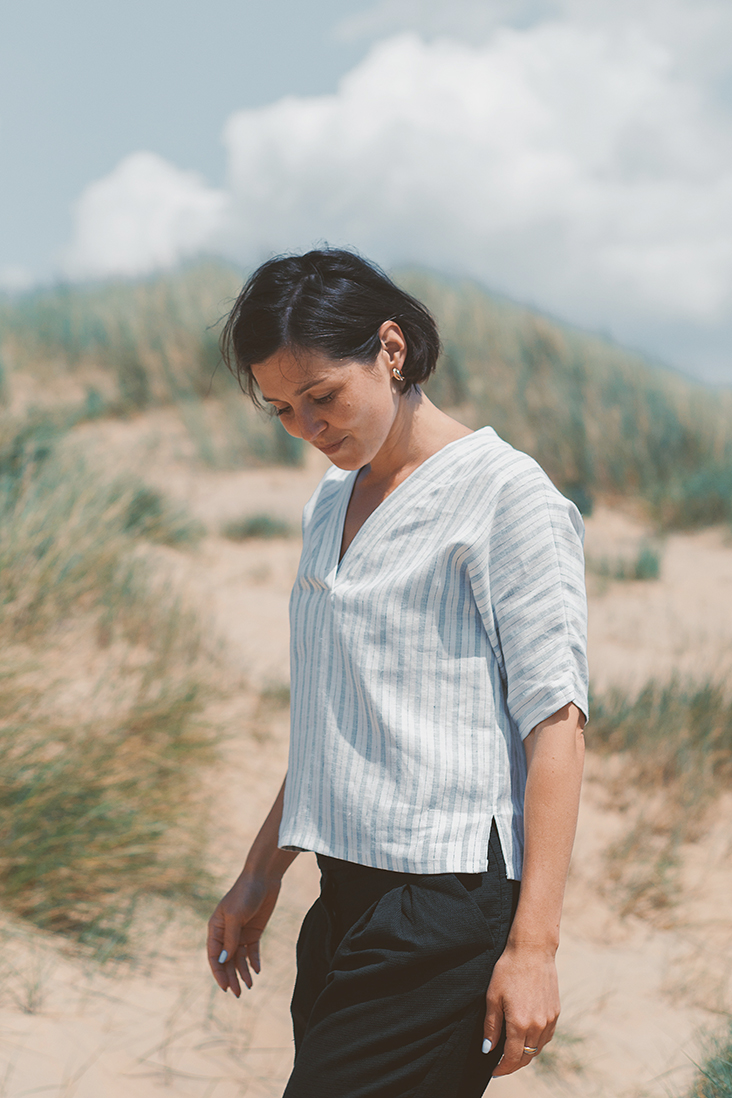
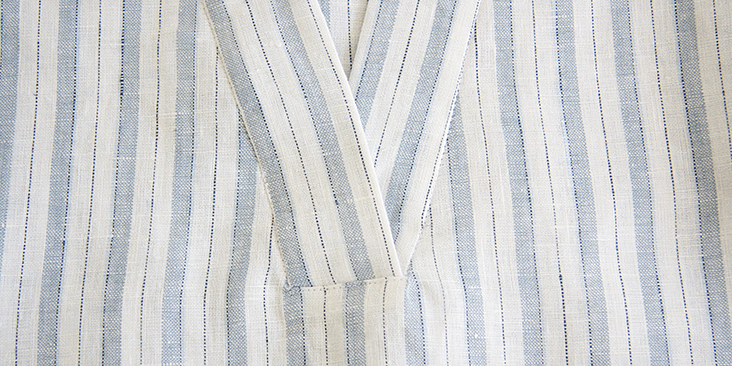
The Ines top is a pretty basic boxy top with cropped length, side slits and an interesting lapped V-neck placket. It is simple in its look, construction and pairs with just about anything. The V placket is also easy to sew but it requires a bit of accuracy to get it perfect. In this tutorial, we will show you how to create this lapped V-neckline for a perfectly finished top.
Materials
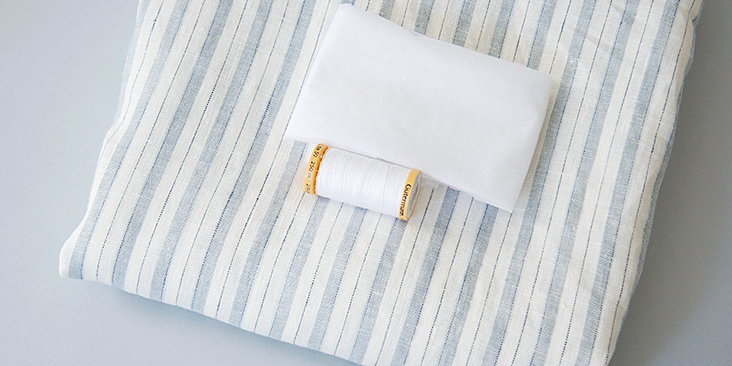
For our sample size S pictured in this tutorial we used 2 yards of IL042 901 FS Premier Finish Medium Weight Linen. For other sizes, please refer to the yardage table in the PDF pattern to determine the required amount of fabric.
Matching sewing thread, lightweight fusible interfacing
Tools
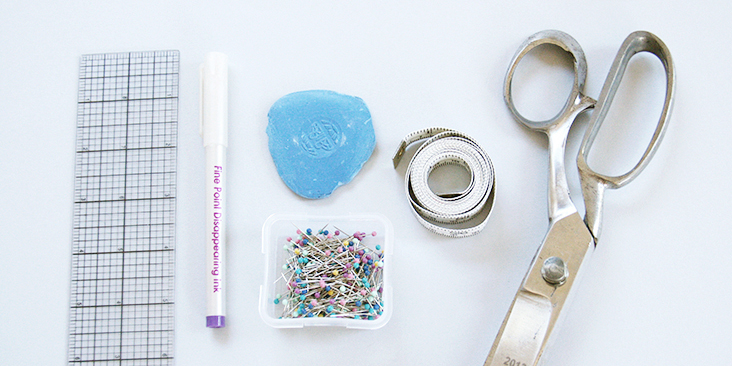
Scissors, pins, ruler, chalk, measuring tape, fabric marker, sewing machine
Difficulty
Beginner
Sewing Time
2-3 hours
Pattern
You can access the multi-sized printable PDF pattern by following this link HERE. All seam allowances are included. The model is wearing size S.
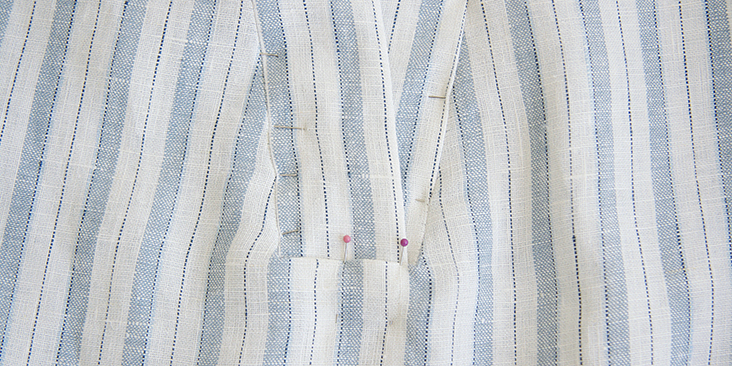
Remember to transfer all the notches onto your fabric. Make sure to transfer the dots on the pattern to the right side of your front bodice and the wrong side of your outer neckband fabric pieces. Marking the stitching points for the placket opening is really important for the construction of the lapped V-neck.
Steps
Note: Prewash your fabric and tumble dry it until it is still slightly moist, dry at room temperature. Iron the fabric so it is easier to work with.
1. Pin the front and back bodices right sides together at shoulders and stitch at a 3/8” (1 cm) seam allowance. Finish the seams with your preferred method (serge or zigzag the raw edges together) to prevent fabric from fraying. Press towards the back.
2. To prevent the neckline from stretching, staystitch along the entire neck opening 3/16”-1/4” from the raw edge.
3. Apply fusible interfacing to the wrong side of your inner V-neck placket pieces.
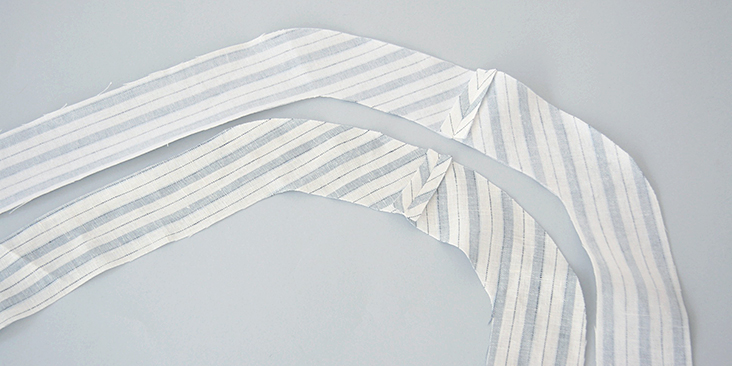
4. With right sides together, pin the center back neck edges of both sets of neckband pieces (outer and inner plackets) and stitch across the center back seam at a 3/8” (1 cm) seam allowance. Press the seams open.
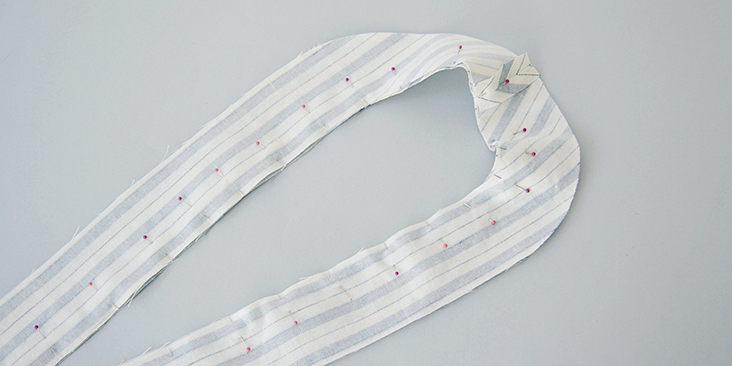
5. Align the inner and outer neckbands right sides together and pin along the inside edge of the curve matching the center back seams.
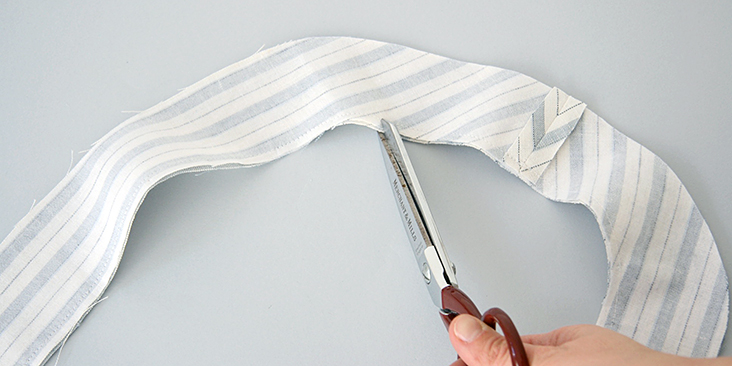
6. Stitch the two neckbands together at a 3/8” seam allowance. Then trim the seam down to ¼” and clip along the curve.
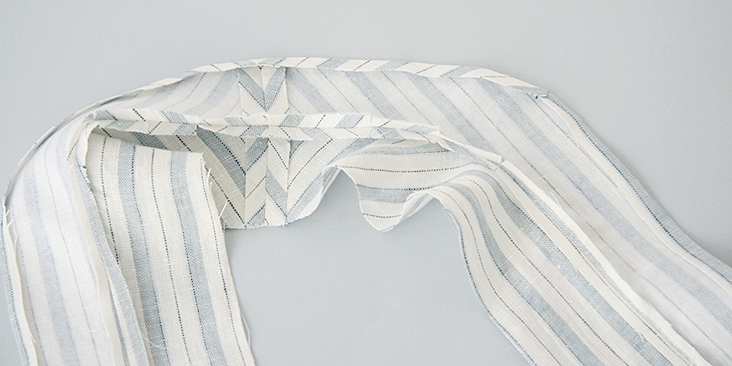
7. Press the seams open and press the raw edge of the inner (interfaced) neckband 3/8” to the wrong side.
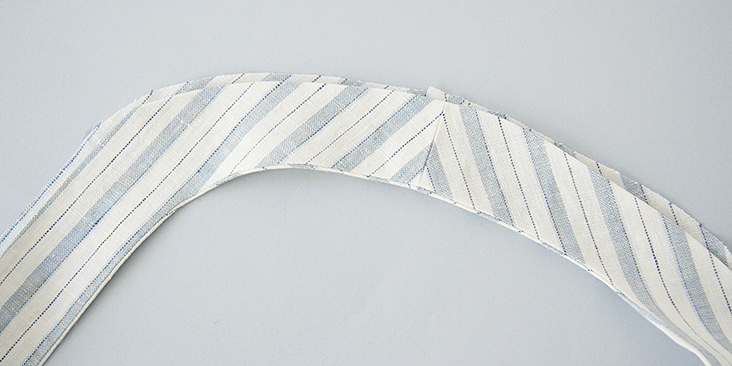
8. Turn the neckbands right side out and press along the seamline making sure to roll it slightly to the underside.
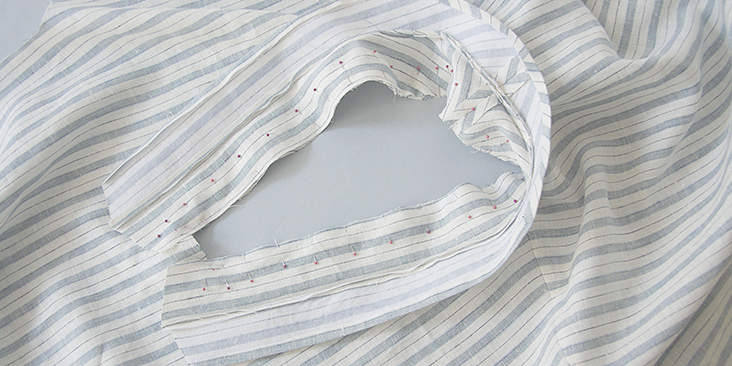
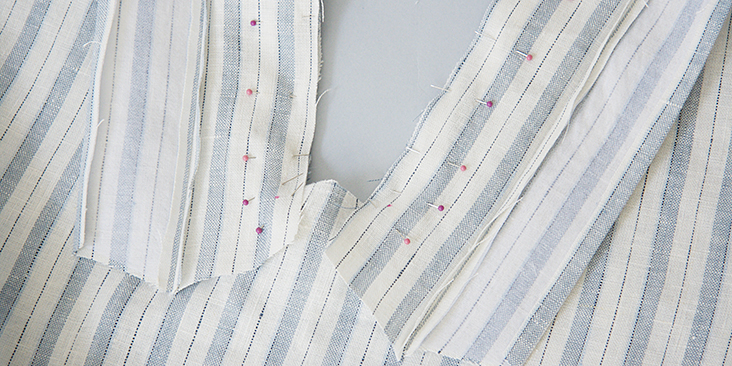
9. Matching the center back seamline of the neckband to the center back notch of the back bodice, start pinning the right side of the outer neckband to the right side of your top. Match the shoulder notches to the shoulder seams and pin along the entire neck opening. Make sure to match the dots on the neckband to the dots on the front bodice.
10. Starting from the center back seam, stitch the right neckband to the bodice with a 3/8” (1 cm) seam allowance stopping exactly at the small dot. Remember to backstitch at the beginning and the end of the seam. Now stitch the left neckband in the same way.
11. Trim the seam allowance down to ¼” and then press the neckband and the seam allowance away from bodice.
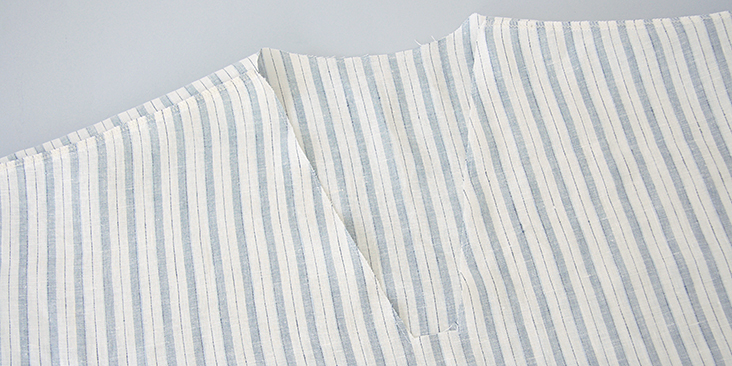
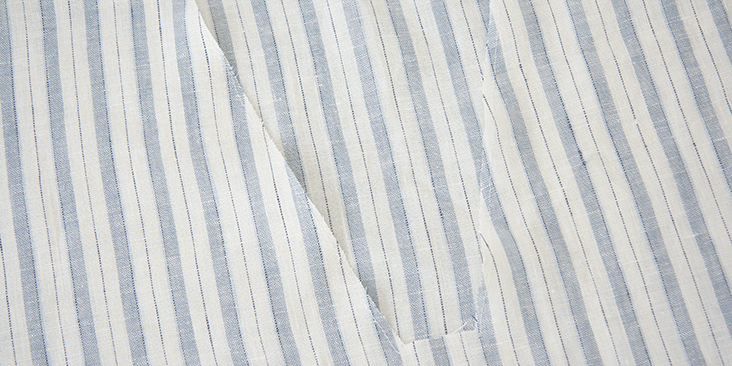
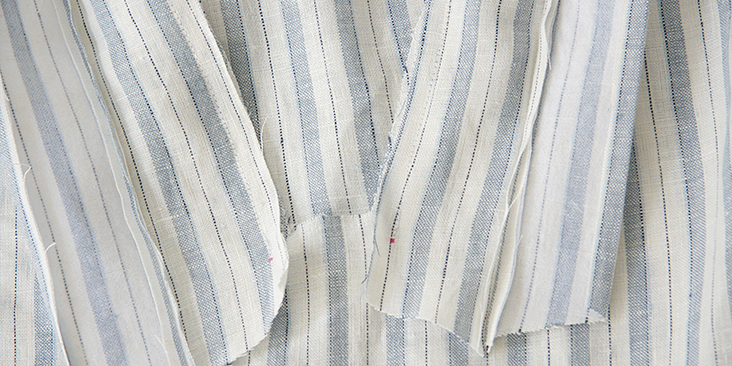
12. Flip the front over and snip diagonally into the ends of the lines of stitching, 1/16” away from the dots. Be accurate and don’t snip past the dots, just close enough to allow the neckband to fit into the opening after being pulled over to the wrong side. Press the raw edge by just under 3/8” (1cm) to the wrong side.
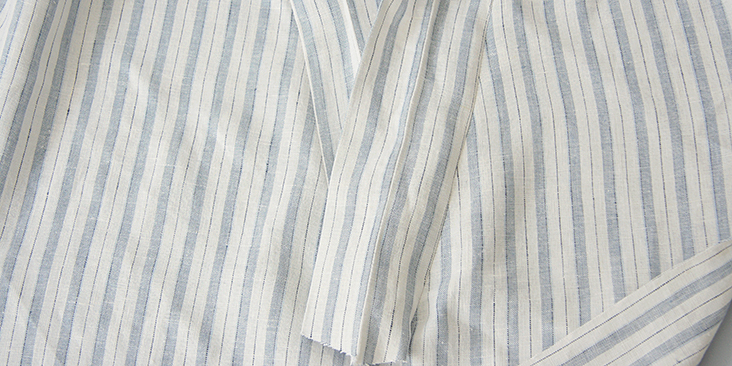
13. Pull the neckband over to the wrong side and pin the pressed edge to the bodice slightly covering the line of stitching. Double check that your neckband is laid out at and not twisted as we’re now going to attach it to the top.
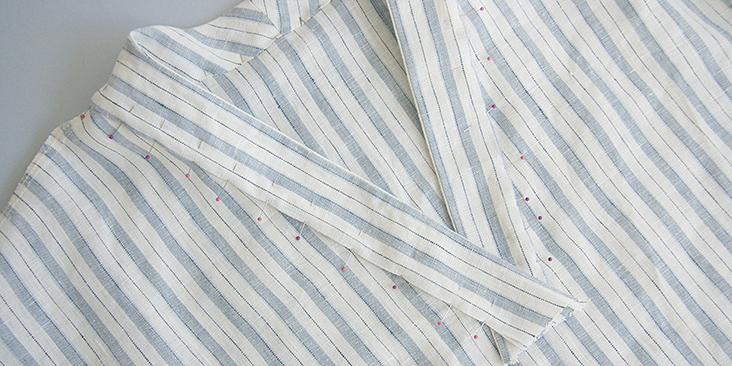
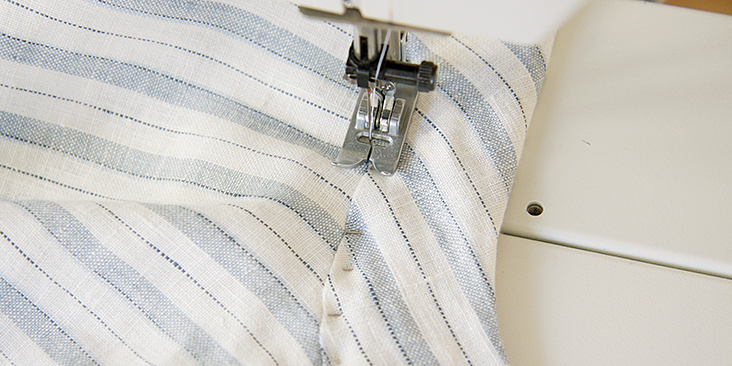
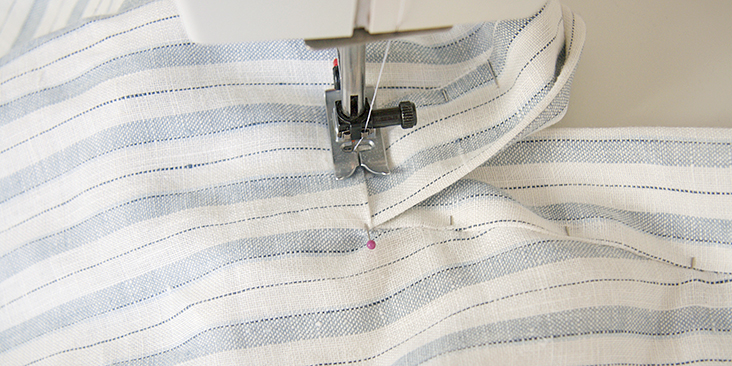
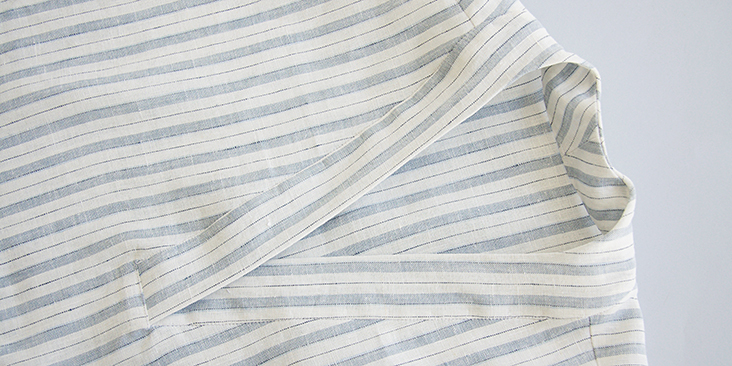
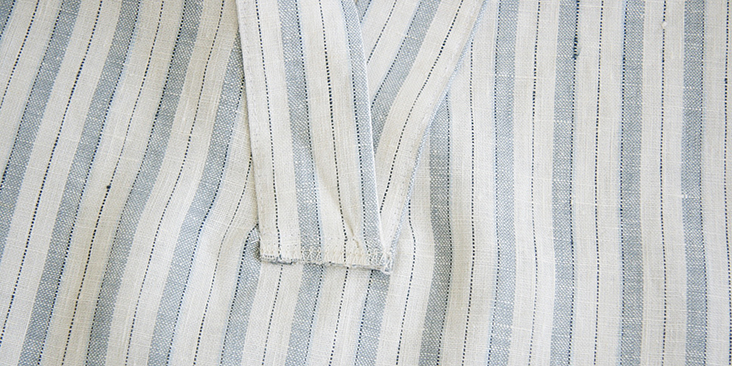
14. Working from the right side, stitch the neckband in place in the ditch of your seam. When you come to the lapped ends at the V-point, pivot your work with the needle still in the fabric and edgestitch across the horizontal edge as close to the folded edge as possible. Stop just in time to pivot again and continue stitching the other edge of the neckband.
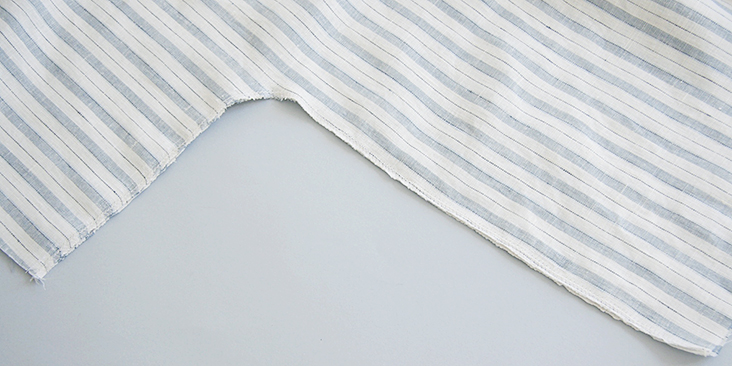
15. Trim the excess fabric and finish all layers together with a serger or a zigzag stitch.
The most difficult part is over, now you just need to assemble the side seams and hem the top.
16. Finish the raw side seam edges of the front and back bodices using your preferred method.
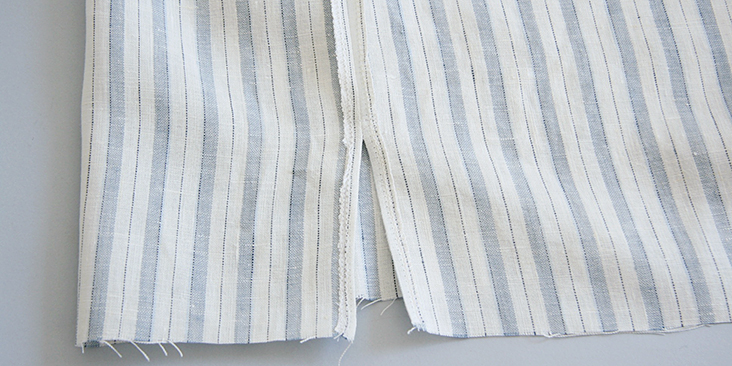
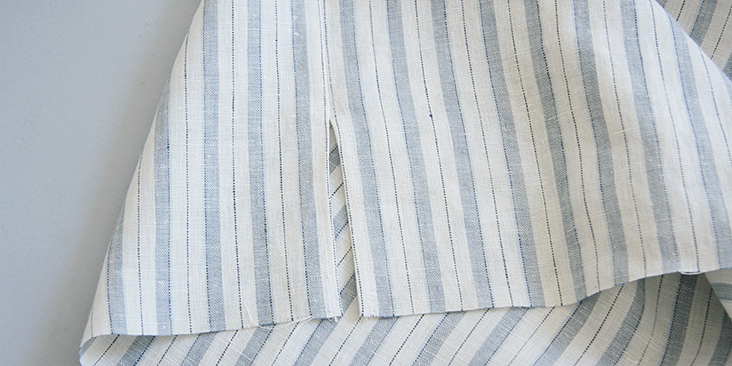
17. Pin and stitch the side seams right sides together at a 3/8” (1 cm) seam allowance stopping at the vent notch. Remember to backstitch.
18. Press the seam open including the vent seam allowances. Edgestitch the vent in place 1/4” from the folded edge creating a rectangular box.
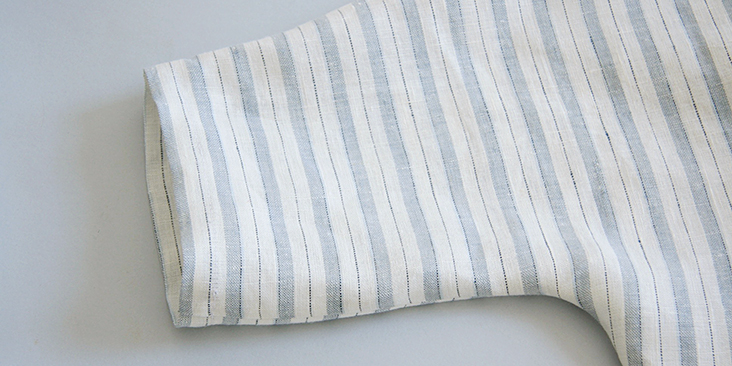
19. Finish the sleeve openings with a rolled hem. Fold your fabric ¼” to the wrong side and press. Then press another ¾” and edgestitch in place.
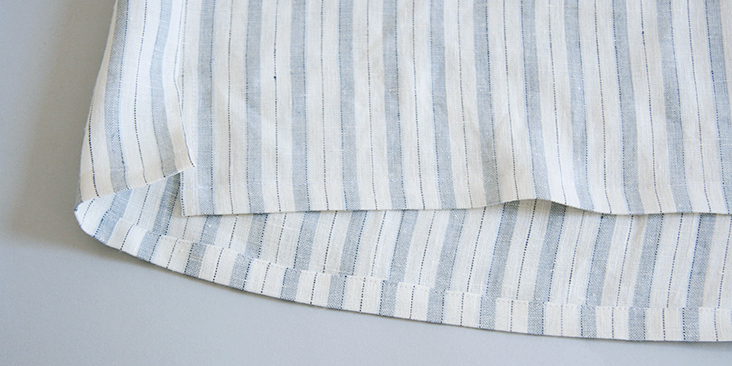
20. Hem the bottom of the top by folding your fabric twice to the wrong side (1/4” to ¾”) and edgestitch.
Give your top one last good press and you are all done!
We love seeing what you make! Don’t forget to share your pictures and tag your creations with #FabricsStoreInesPattern hashtag.







23 Comments
Lindsey Burnside
Hello,
Are there A0 versions of these patterns available or only A4?
Thank you,
Lindsey
Martha Pedersen
I can’t thank you enough for this and all your amazing free patterns. With them, I’ve created some of my all-time favorite pieces, especially the Cara Tunic and the Case Culottes .
This pattern is so cool! I learned something new and ended up with a fabulous shirt! You guys are amazing. Pretty soon I’m going to take the plunge and buy the Nico… but first, the Cora in Fern lightweight linen, which is on its way now…
Mary Schoettinger
Not sure if anyone has suggested this, but since linen back/front can be difficult to tell apart, it might be very helpful to put a visible small colored tape on the wrong side of the fabric in the photos. This would be especially helpful in the placket photos.
angie Partridge
I want to say how much I appreciate the free patterns here. I am unable to buy your linen as shipping and customs got UK makes it not cost effective, otherwise I would. In fact I am coming to US in September so may even have it posted to where I am staying.
I struggle to understand how people can be so rude about free resources so wanted you to know how much I appreciate these.
I had never tried this type of neckline so I made a toile of an old sheet and did struggle to make the neckline fit but I will just add an inch to the end and cut off excess and I think it has more to do with my inexperience… I love how it looks though so I have added a bow to the piece.
About to remake in a better fabric and will post.
Thank you so much.
Valerie Frane
Hello!
Thank you so much for this pattern. I love learning new design styles and techniques . This collar had been on my list for a while and while it’s not perfect, since nothing is , I have a new skill that I can add on to.
Thank you again,
VFrane
Pat Reilly
I’d like to try this pattern but I see no positive comments.
Have the problems been ironed out? Last posting says yes but
I see no posts from successful posters.
Lauren Gates
Hello Pat,
The comments on this tutorial are in relation to the missing dots on the neckband which have been updated in the pattern. Unfortunately, we don’t get too many posts reviewing successfully using these tutorials, but plenty when something has gone wrong. You may like to see the reviews on the patterns pages on our website which have finished garments pictures posted by other customers. Here is the link:
https://fabrics-store.com/sewing-patterns/ines-v-neck-top-pattern
If you would like to discuss this pattern further, please feel free to email me and I’d be happy to answer any of your questions.
email: ask@fabrics-store.com or use the Contact Us form on our website
– Lauren
emily christine cote
I just wanted to express how much I appreciate all your content! I’m new to most sewing techniques and was discouraged that I couldn’t understand the pattern, but never disgruntled. I have always been super impressed with and grateful for the amount of free resources and inspiration you offer. I am looking forward to trying this pattern again with updated information. 😀
Pat Reilly
Hi! It’s Pat again. I sewed up an old sheet prototype & it did work OK.
Glad to have done it this way as I needed to take in the back, on the fold, a total of 1″.
I do think the instructions were a bit confusing however I was able to
get the neckline to work. Perhaps some additional pictures? I’m not sure.
My linen is supposed to arrive tomorrow!!!
Lauren Gates
Hello Pat,
Thanks for your feedback it is SO very much appreciated!! I’d love your feedback on the pattern and any suggestions you may have to make it clearer. You can comment here, or feel free to shoot me an email: lauren[at]fabrics-store.com
Pat Reilly
Pat again! My fabric came a few days ago & I just completed the neckline which went well!
I think I’m past the age where I can whip up an item in a day.
Doing a prototype helped as did doing just a small amount at a time so today all I did was set in the collar. Tomorrow I’ll complete the shirt which is straight shooting!!
Very pleased.
Lauren Gates
Thanks so much for the updates Pat, Keep them coming!
Karin Butler
Sadly, six months after the last comment about it, the dots are still missing from the neckband and there is not even an acknowledgement from the Fabrics-Store.
I am experienced enough to have made it work, but also found the neckbands barely long enough. Actually, I think the cut out in the front is too deep. I am 5’8″ and on me it shows more cleavage than I care for.
Lauren Gates
Hello Karin,
Thanks for bringing this to our attention. I will get our designer to have a look at the pattern and post an update.
Lauren Gates
Hello Karin,
The pattern has now been updated to include the dot markings for the collar. We’ve also checked the length of the collar and neckline and they fit together as shown in the tutorial. Thanks for bringing this to our attention again, we’re delighted to have this fixed up too.
Betsy Apple
With all appreciation for the pattern, there are no dots on it, the neckband is too short, and the tutorial and photos are extremely confusing. This isn’t working at all. I’m quite frustrated and sorry that I undertook this project, and wish both the instructions were clear and accurate, and the pattern had the markings described (which it doesn’t).
emily christine cote
I am also having a lot of trouble with the neckband. I don’t seem to have any dots on my pattern, and the neckband strip seems too short – I’m all mixed up. The band doesn’t seem to lay right against the top; the curve is turned the opposite way no matter how I turn it. Does anyone have some insight?
Mel Authe
I do not see the dots on my pattern
Shelby Wheeler
I’m struggling with this neckband. Are there any video tutorials?
Marie z. Johansen
I annoy see where there is a link to the pattern. Tried a Google search with no luck either.
Where can I find it?
Oksana
Hi Marie – here is the direct link to where you can download this pattern https://fabrics-store.com/sewing-patterns/ines-v-neck-top-pattern/
Amy Anderson
I cannot find the pattern.
Thanks-Amy
Oksana
Here you go Amy https://fabrics-store.com/sewing-patterns/ines-v-neck-top-pattern/