Lucia Wrapped Camisole Sundress Tutorial and Pattern
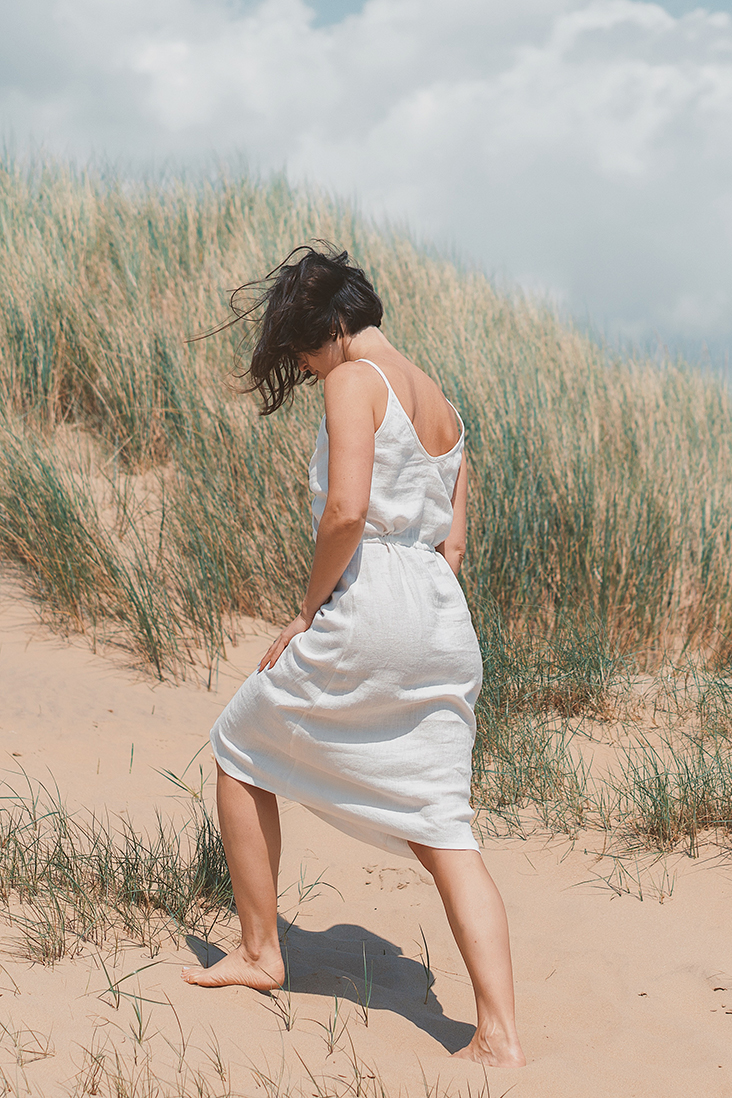
Lucia is a flowy, feminine sundress that adds romance to your look with a flirty faux-wrap front, spaghetti straps and a cinched drawstring waist. Its best assets are the plunging neckline and narrow straps that show a bit of skin on a hot day. There’s something about crisp white linen that just screams summer. The fresh hues, the cooling effect on a warm day, the way white looks coupled with tanned skin…all good things that make a little white dress an absolute go-to for any occasion.
Materials
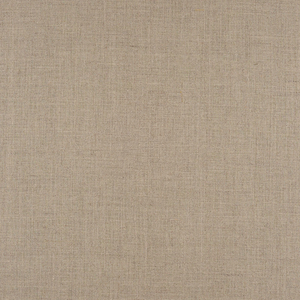
For our sample US size 6 pictured in this tutorial we used 2 yards of IL019 BLEACHED FS Signature Finish Medium Weight Linen. For other sizes, please refer to the yardage table in the PDF pattern to determine the required amount of fabric.
Matching sewing thread, fusible interfacing
Tools
Scissors, pins, ruler, chalk, measuring tape, fabric marker, buttonhole foot, seam ripper, 18mm bias tape maker, loop turner, safety pin, sewing machine
Difficulty
Advanced Beginner
Sewing Time
6-7 hours
Pattern
You can access the multi-sized printable PDF pattern by following this link HERE. All seam allowances are included and are 3/8” unless otherwise specified. The model is wearing US size 6.
Remember to transfer all the notches onto your fabric.
Steps
Note: Prewash your fabric and tumble dry it until it is still slightly moist, dry at room temperature. Iron the fabric so it is easier to work with.
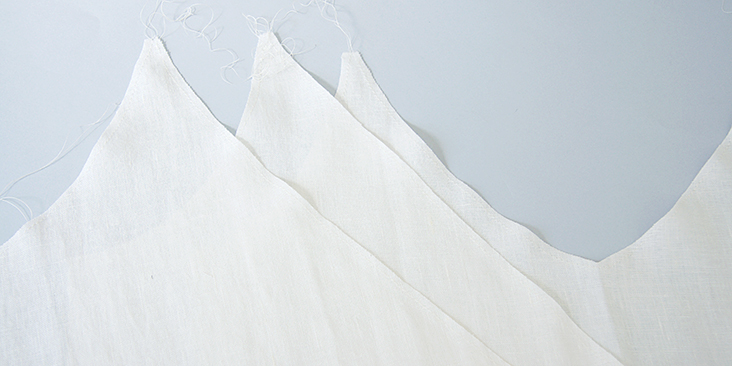
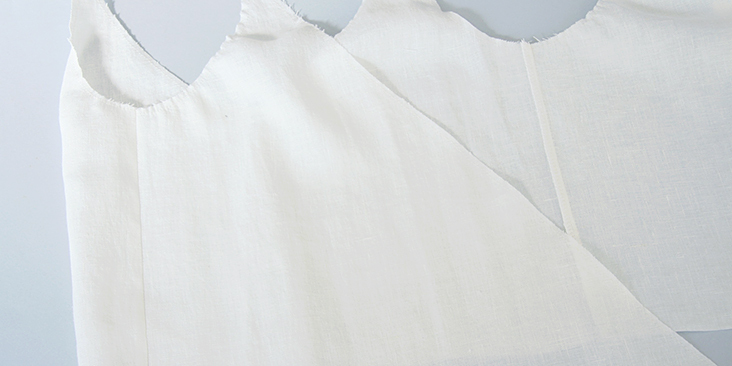
1. To prevent the diagonal edges from stretching, staystitch the armhole edges of both the front and back bodices at a ¼”(6 mm) seam allowance leaving long thread tails at both ends. Then staystitch the neckline edges leaving thread tails at the V-points.
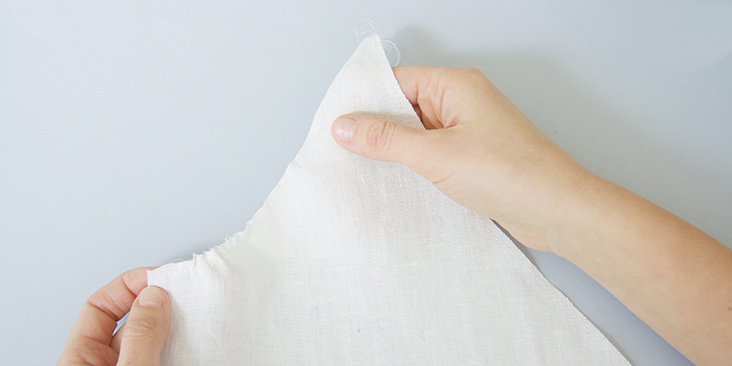
2. Gently pull on thread tails at the armholes to make a slight amount of gathers at the lower part of the armhole. Then distribute your gathers evenly so they no longer look like gathers, however, the armhole edge is about ½” (1,3 cm) shorter than it was and is not flat anymore. This simple trick will help your fabric lays flat on your skin and hug the curves of your bust.
Now pull the thread along the neckline edge, just a little bit, to slightly shape the neck curve.
Repeat for the back bodice.
3. Pin front and back bodices at the side seams and stitch right sides together at a 3/8” seam allowance. Finish the seams with your preferred method (serge or zigzag the raw edges together) to prevent fabric from fraying. Press towards the back.
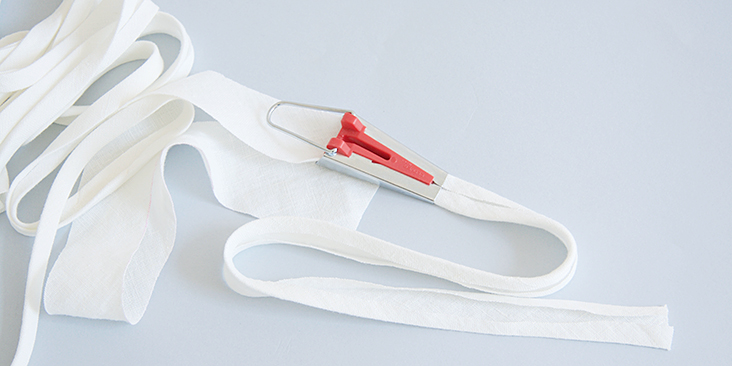
4. Armhole and neckline edges of the dress are bound with bias tape. So you’ll need to make one long strip of bias tape that will be attached along the two diagonal front edges, serve to create straps and bind the back neckline, and two short pieces to bind the armholes. If you don’t know how to make bias tape, please check our detailed tutorial here. In this tutorial you’ll find instructions on how to create a continuous bias tape as you might need to join two or more pieces of tape to create that long strip for the neckline.
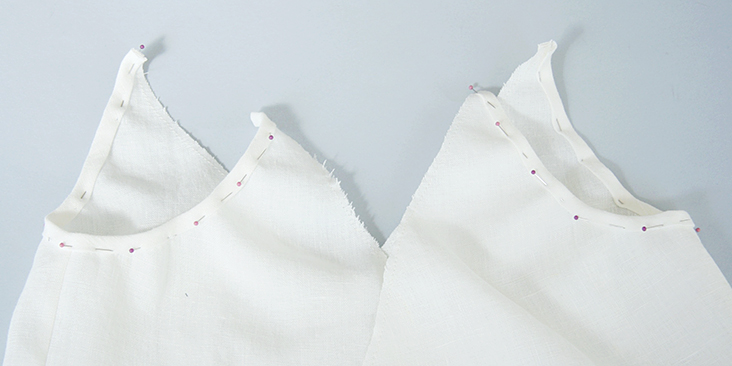
5. Press your bias tape in half lengthwise and pin it to the armhole edges. Simply slip the edge of your fabric between the folds of your bias tape and pin making sure you catch the other side of the tape.
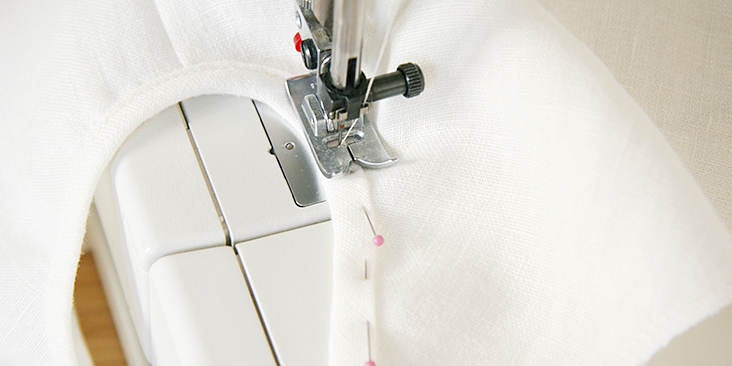
6. Edgestitch along the pinned edges. Follow the edge of the bias tape as you stitch it in place.
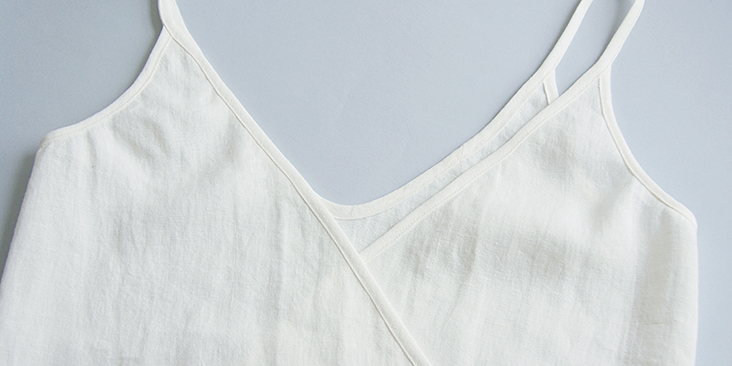
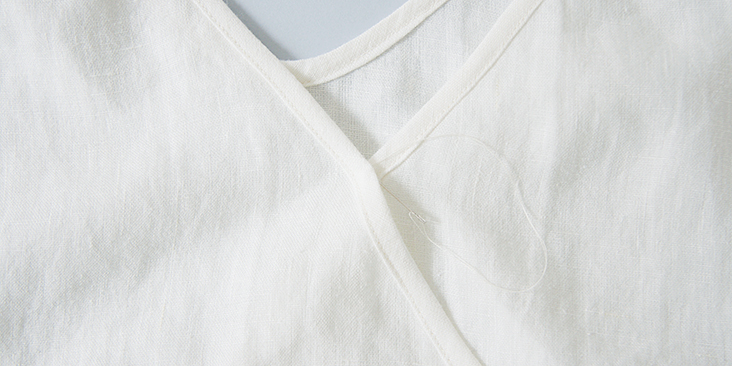
7. Now pin the bias tape to the right front diagonal edge, leave 7’’ for the strap, pin along back neckline, leave another 7” for the other strap and bind the second front diagonal edge. Edgestitch the tape in place.
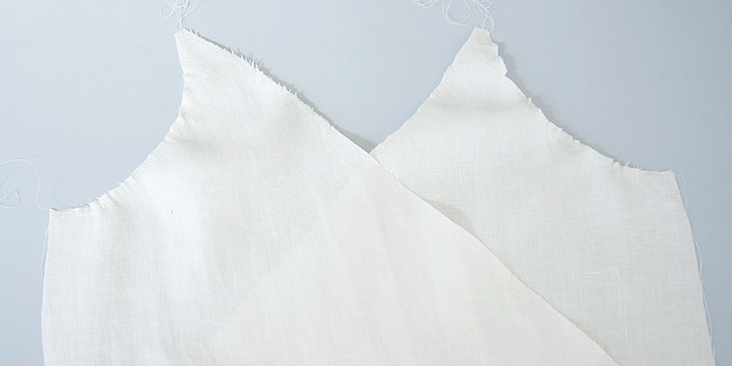
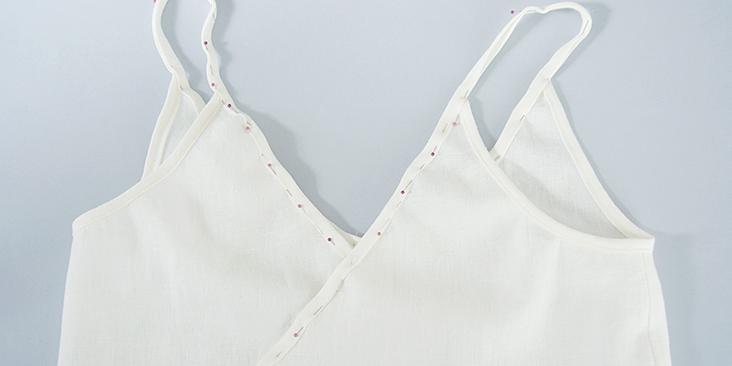
8. Overlap right front over left matching the center front notches and baste the two overlapping layers together ¼” from the edge to keep them in place.
Time to sew the skirt.
9. Pin and stitch front and back skirts right sides together at the side seams. Finish the seams with your preferred method (serge or zigzag the raw edges together) to prevent fabric from fraying. Press towards the back.
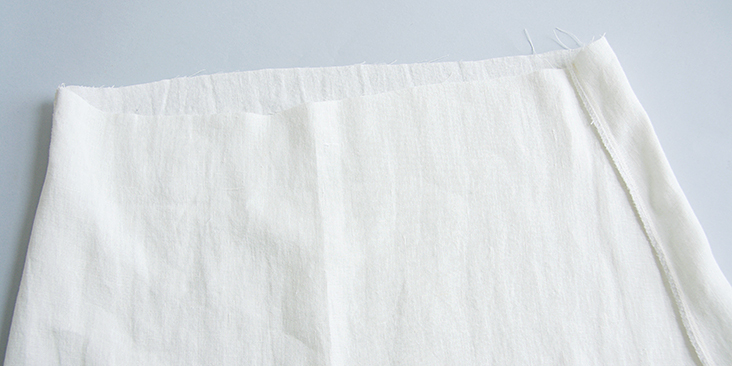
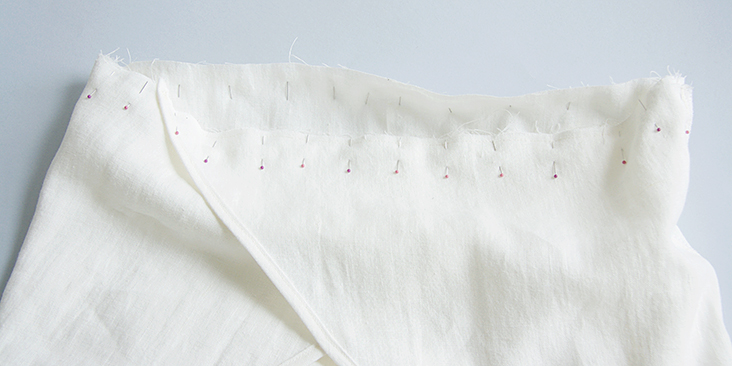
10. Pin the skirt to the bodice right sides together matching the side seams. Stitch at a 1¼” seam allowance.
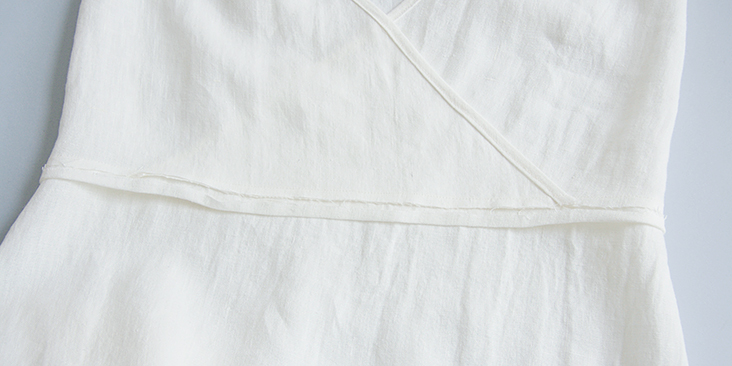
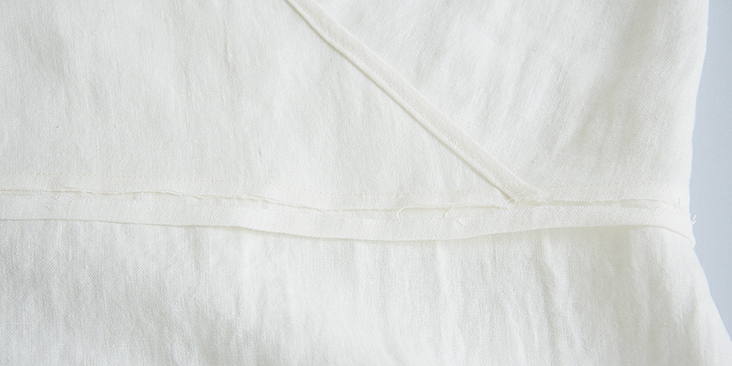
11. To create the casing for the drawstring, you need to trim the bodice’s seam allowance down to 3/8” and press the skirt’s raw edge 3/8” to the wrong side. Press the seam allowances up towards the bodice.
Before pinning and stitching the casing, you need to create two buttonholes for the drawstring to go through.
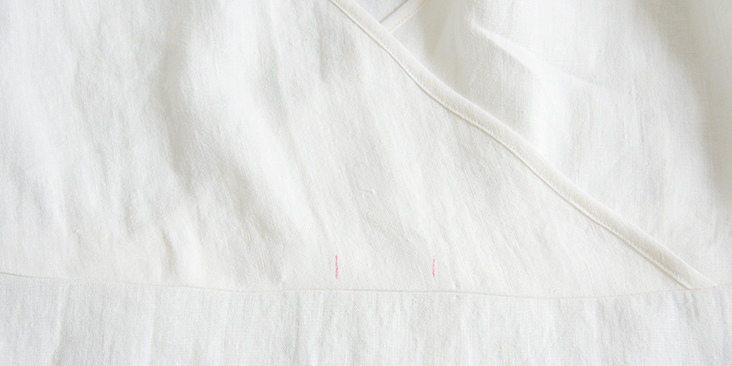
12. Open the casing fold and mark the location of the buttonholes in the area that will become your right side casing after it’s sewn. They should be in the center of the casing, on either side of the center front of the bodice just below the casing foldline.
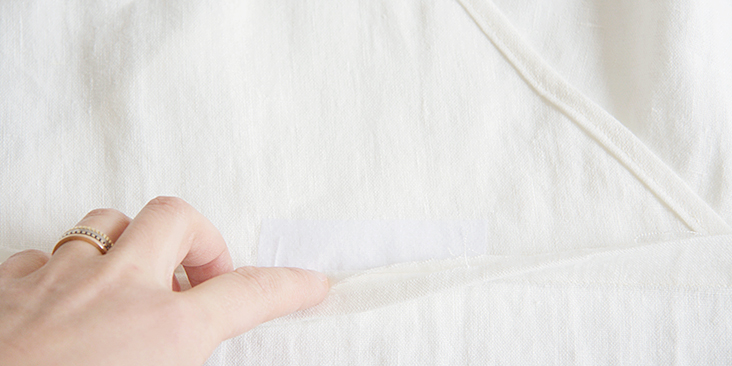
13. Reinforce the buttonhole area by applying a small amount of interfacing at the buttonhole location on the wrong side.
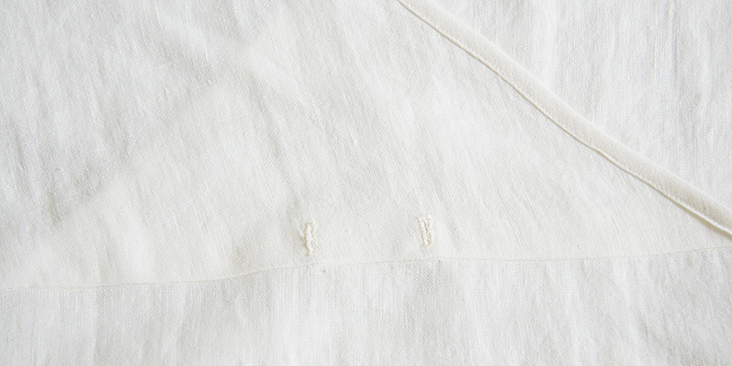
14. Working from the right side, sew the buttonholes and cut them open using your seam ripper.
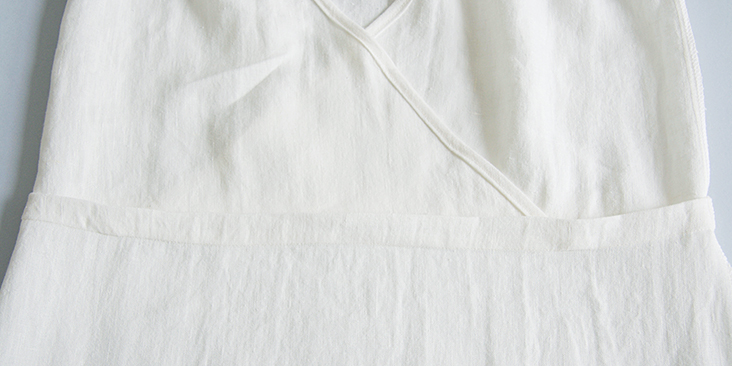
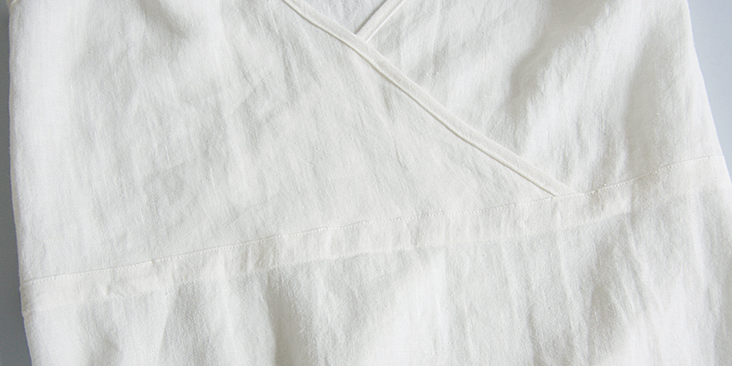
15. On the wrong side of the dress, pin your casing to the bodice and stitch along the folded edge beginning and ending at the side seam. No need to leave any openings, as the drawstring is inserted through the buttonholes.
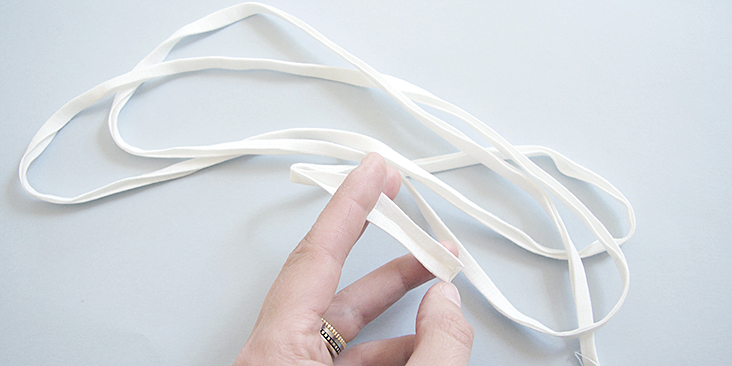
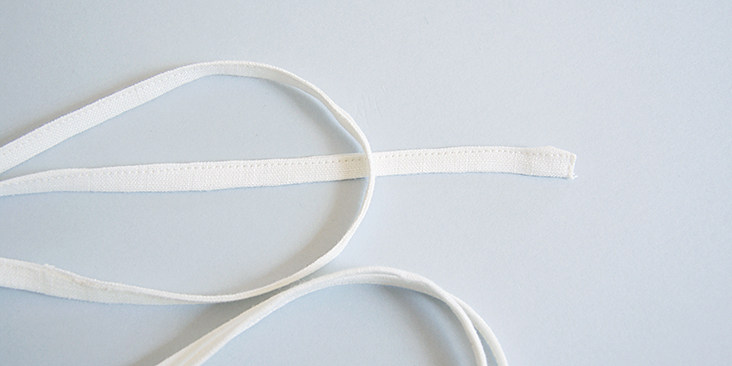
16. Make your drawstring by folding your fabric in half lengthwise, wrong sides touching. Press to mark the crease in the center. Unfold the fabric, then press each long edge into the center fold line. Tuck in the short ends.
17. Fold in half again lengthwise, press and pin. Edgestitch along the pinned edge.
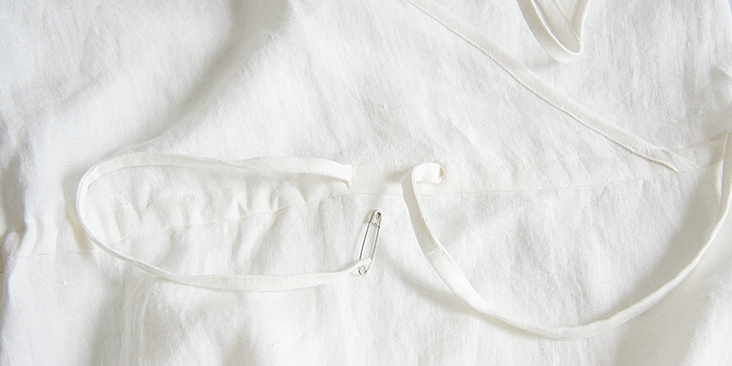
18. Feed the drawstring through the buttonhole using a safety pin. Make sure not to twist it.
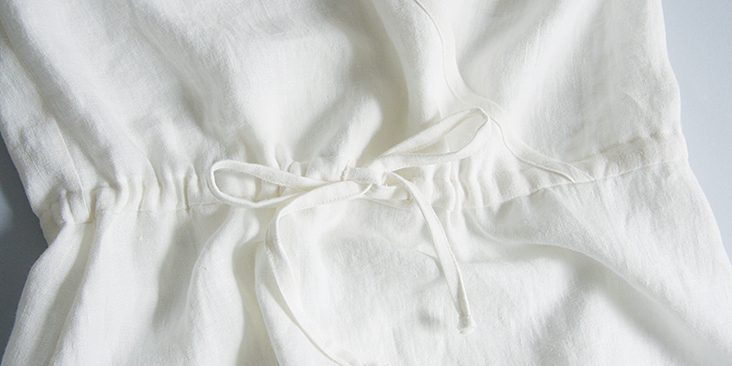
19. Tie knots at the ends of the drawstring to keep it from slipping back into the casing.
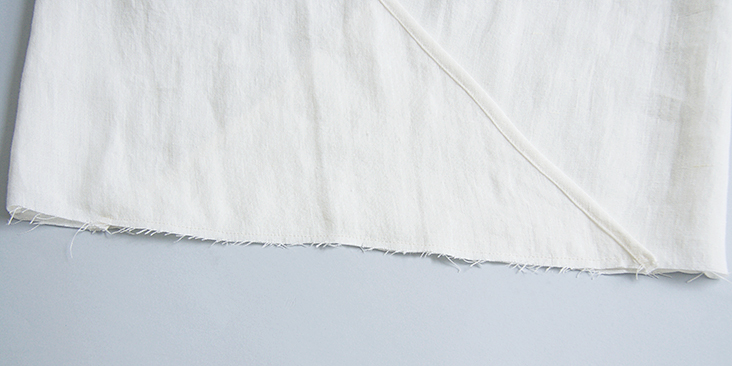
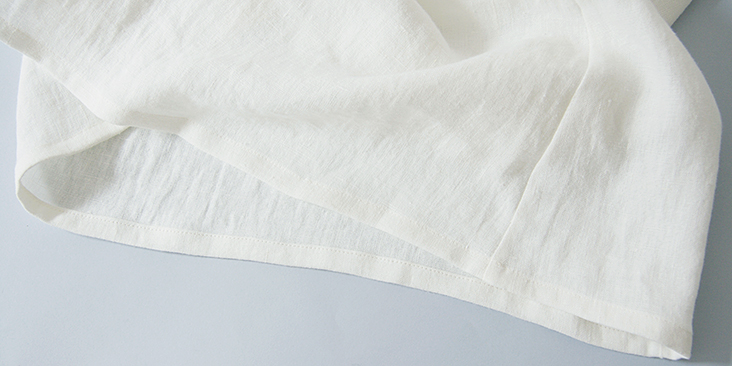
20. Lastly, hem the skirt by folding your fabric twice to the wrongs side, first 3/8” then another 1/2″. Press, pin and edgestitch.
21. Optional: if you wish to secure the overlap, you can sew a couple of invisible stitches or place a little snap button on the inside of your neckline binding.
22. Give your finished dress one last press and you are all done. We love seeing what you make! Don’t forget to share your pictures and tag your creations with #FSLuciaPattern hashtag.
































7 Comments
Pingback:
20+ Stunning DIY Wrap Dress Patterns & Tutorials – Sewing – Live Laugh Love DoEva-Maria Fenz
I am making the dress right now and unfortunately I am having trouble understanding the drawstring-tunnel part. English is not my first language. I have pressed down the 3/5 seam allowance on the skirt and cut the seam allowance of the bodice. I do not really understand what to do now… Can anyone help me? I don´t understand weather I am supposed to make the buttonholes on the bodice or the skirt – on the picture it looks like it´s on the bodice, but the instructions are not specifying it. and then I am having trouble understanding Part 15: “On the wrong side of the dress, pin your casing to the bodice and stitch along the folded edge beginning and ending at the side seam. No need to leave any openings, as the drawstring is inserted through the buttonholes.” Is the casing included or have I missed something? Is that a separately cut strip of fabric? I might have gotten something wrong…. Otherwise the instructions were pretty straight forward until now.
Tamanna Rahman
Estimate how many yards of bias tape is needed for this pattern? I hate making bias tape, will be buying some beautiful pre-made tape but need to know how much to get. I am making the smallest size….
Lauren Linen
Hello, You can estimate your size by measuring the neckline edge of the front and back plus, then measure each armhole and add a little for the straps. This should give you a good estimate if you choose to buy pre-made tape 🙂
Corinne Young
I loved this pattern and tutorial! The sizing was great and I only had to make some small adjustments to the straps to make it fit better. The drawstring is an interesting feature and the pattern is perfect for summer linen. Thank you for this fantastic pattern!
Jan West
I would love to make this dress but can’t download the pattern. The link doesn’t work – just showing 5 pages of sizing and fabric requirements? Can this be checked please?
Lauren Gates
Hello Jan, the pattern is part of the booklet you have downloaded. It is an attachment that can be accessed with the free Adobe reader app or program.
There are a few links on the very first page of your booklet which will guide you through downloading Adobe and accessing the pattern.
If you’d like more assistance, please email us; ask@fabrics-store.com