Sew House Seven Burnside Bibs Sew-Along Tutorial
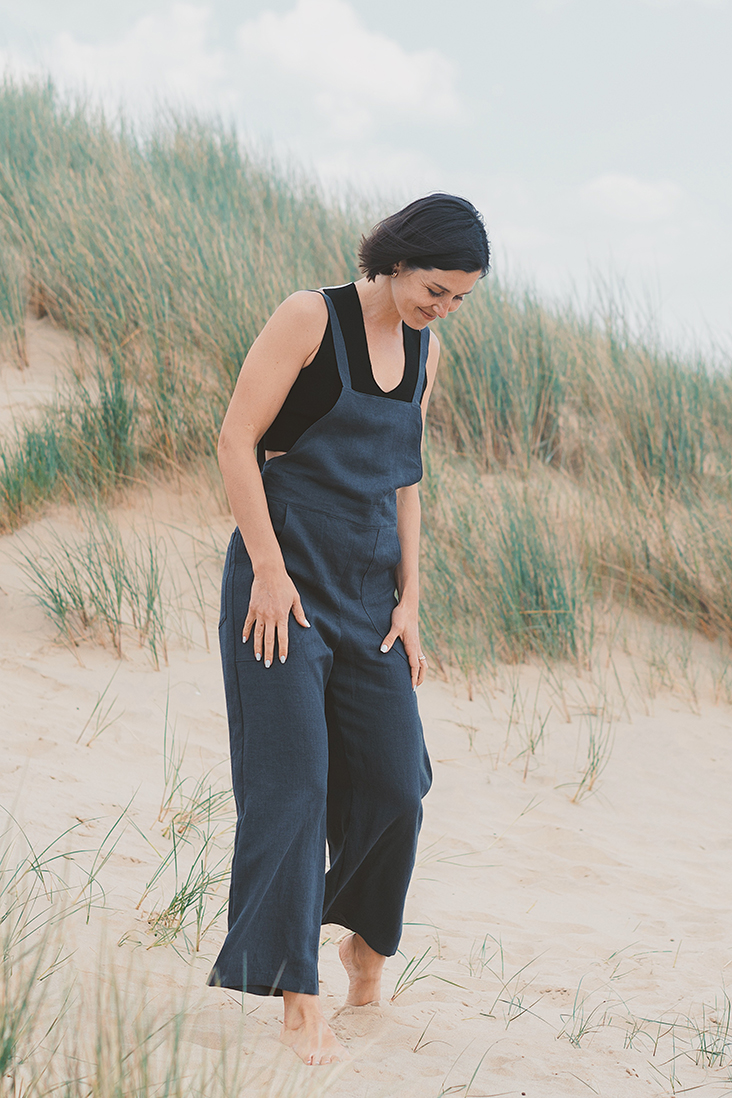
Today we are delighted to share with you a pattern that we simply adore – the Burnside Bibs by Sew House Seven, a pair of workwear-inspired overalls with a stylish and feminine twist. An absolute must-have gem and a great addition to your casual wardrobe!
The woman behind Sew House Seven patterns is Peggy Mead, a professional patternmaker and clothing designer with years of experience in the apparel industry. Five years ago she started her own independent pattern company and created many sewing patterns that are well established and loved by the sewing community for their great fit and unique design features. Here at The Thread we are absolutely in love with Peggy’s designs and aesthetic, even more so because most of her patterns pair so well with linen! The Burnside Bibs, The Tea House Dress or The Rose City Halter Dress to name a few look so classy and chic in linen. This is why we are so happy to team up with Peggy and offer you this sew-along of the now cult Burnside Bibs overalls.
Check out all the amazing #burnsidebibs makes on Instagram for inspiration, get your pattern from Sew House Seven’s website, pick some linen from our plethora of colors and let’s start!
Materials
The pattern provides a list of recommended fabrics (mid-weight woven fabrics such as tencel, linen, wool gabardine or sandwashed silk and more heavier-weight fabrics like canvas, linen, denim or cotton twill). But judging from the feedback from the sewing community and shared pictures of the finished makes on social media, linen tends to be the number one choice of fabric for this project. And there’s a very simple reason for it: linen is durable, breathable, soft (and gets softer with every wash) and has that organic texture that really elevates the overall look.
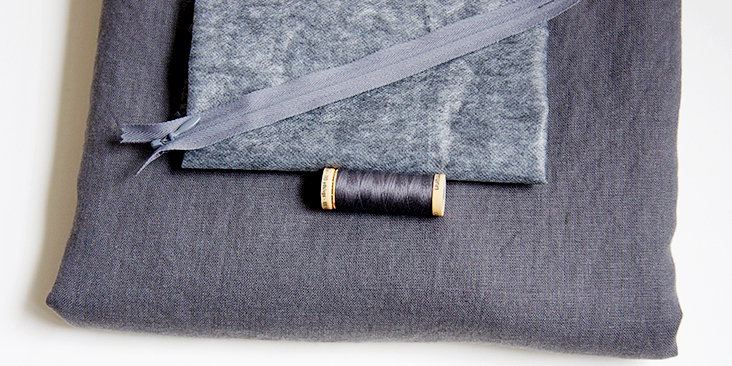
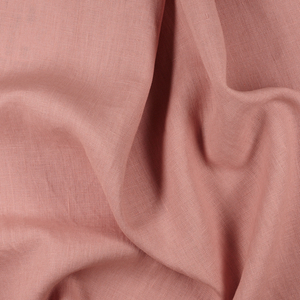
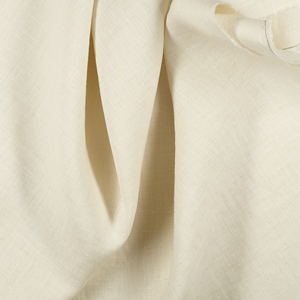
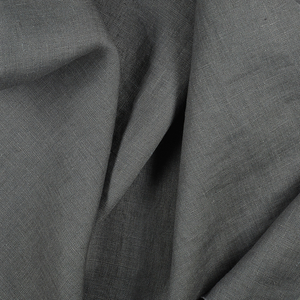
For our sample US size 6 pictured in this tutorial we used 2.5 yards of IL019 NINE IRON Signature Finish Medium Weight Linen. We opted for medium weight linen because we wanted a lighter version for the hot summer days ahead. If you are looking for more body and structure, you should definitively try heavy-weight or canvas weight linen.
For other sizes, please refer to the yardage table in the pattern to determine the required amount of fabric.
Matching sewing thread, 7-9” invisible zipper, fusible interfacing
Tools
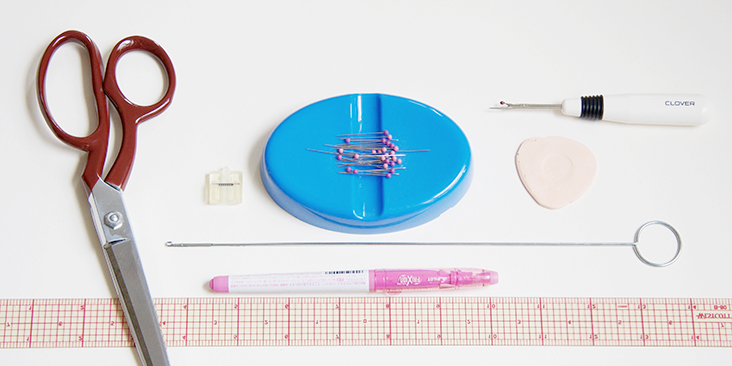
Scissors, pins, ruler, chalk, fabric marker, invisible zipper foot, seam ripper, loop turner, sewing machine
Difficulty
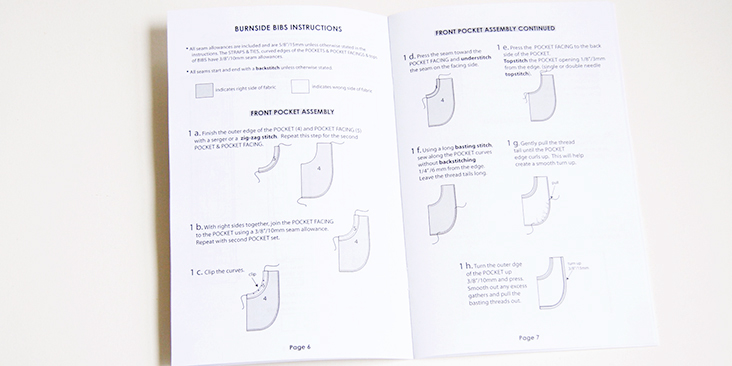
The pattern is labeled as «Intermediate» with the invisible zipper and the facings being the most technical part of the sewing process. The rest is just basic straight stitching and a lot of topstitching. The instructions provided in the booklet are very clear and detailed and the illustrations extremely helpful. So even a beginner sewer should not have any issues putting the pieces together. Plus, in this tutorial we will guide you through every step with tips and detailed instructions on how to complete the project.
Sewing Time
6-7 hours
Pattern
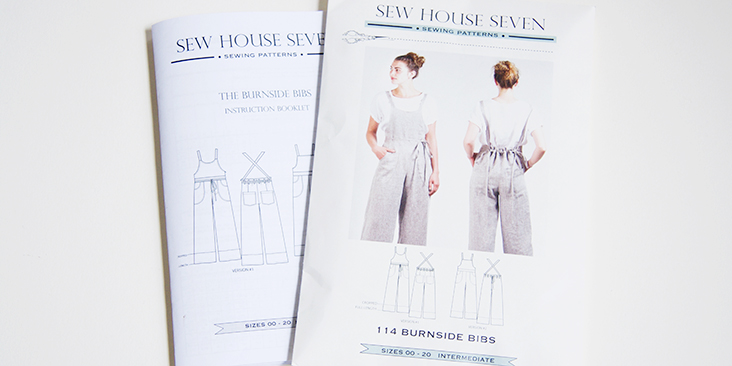
The pattern is The Burnside Bibs from Sew House Seven. It is available both as a paper pattern and a downloadable PDF version.
The pattern offers two versions that can be mixed around to find the look you are looking to achieve. Version 1 has a more fitted back pant with back waist darts and an invisible side zipper. It also has a scooped neck bib. Version 2 has a looser back pant with no darts or closures to sew and a more traditional straight bib. The second version is fuller and more gathered at the back. Both versions have a wide0leg silhouette, front and back patch pockets, ties and a choice of two lengths – full or cropped.
If you can’t decide which version to make, check out all the different examples shown on the Sew House Seven website.
You can mix and match the two versions, choose the length that works best for you, decide to add or not the back pockets and run as many lines of topstitching that you want. You can also lengthen or shorten the pattern pieces along the lines provided on the pattern.
Sizing is unique to Sew House Seven patterns and runs from size 00 (34” hips) to 20 (50” hips). You can find the body measurement and finished garment charts on the pattern cover. Use your hip measurement to determine the size you need to cut.
For this tutorial we decided to make a straight size 6 and chose to mix the more fitted pant of the Version 1 with the straight bib of the Version 2. We made no alterations to the patterns except for two small things: the length is between cropped and full and back patch pockets are raised 1” up based on the multiple reviews from people saying that they found the pockets were a bit low.
All seam allowances are included and are generally 5/8” (1.5 cm) unless otherwise specified. Remember to transfer all the notches onto your fabric.
Steps
Note: Prewash your fabric and tumble dry it until it is still slightly moist, dry at room temperature. Iron the fabric so it is easier to work with. Prewashing your linen is really important if you want to avoid shrinkage.
Read through the instructional booklet so that you have a general idea of the sewing process, gather your supplies and let’s start!
The first thing to do is the front patch pockets.
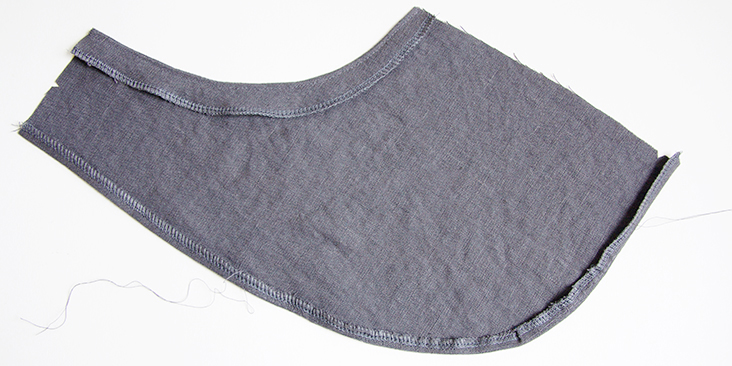
1. Finish the outer edges of the front pockets and the pocket facings with a serger or a zig-zag stitch.
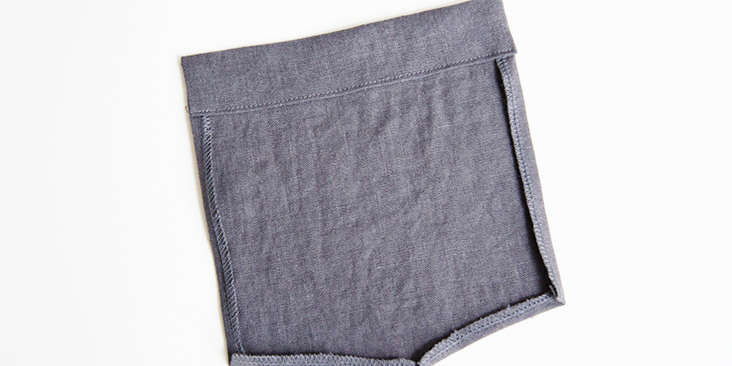
2. Pin and stitch the facing to the pocket right sides together at a 3/8” seam allowance. Clip along the curve to release the tension.
3. Flip the facing to the wrong side of your pocket rolling the seamline slightly to the inside and press. Topstitch the pocket opening 1/8” (3 mm) from the edge. You can do one or two lines of topstitching depending on your preference.
Repeat with the other pocket and remember that your pockets should be mirror images to each other.
4. To create a smooth turn up, set your machine to the longest stitch length and run a line of basting stitches along the outer curve of your pocket ¼” from the edge leaving long tails of thread. Pull the thread tails slightly until the edge starts to curl up.
5. Press the entire outer edge seam allowance 3/8” to the wrong side smoothing out your gathers with some hot steam and making sure to get a nice and smooth curve.
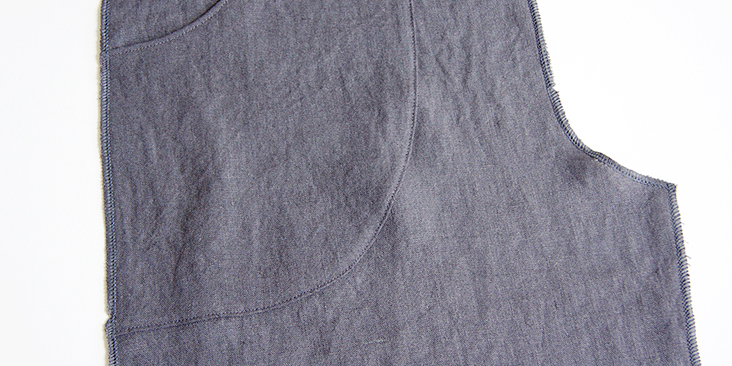
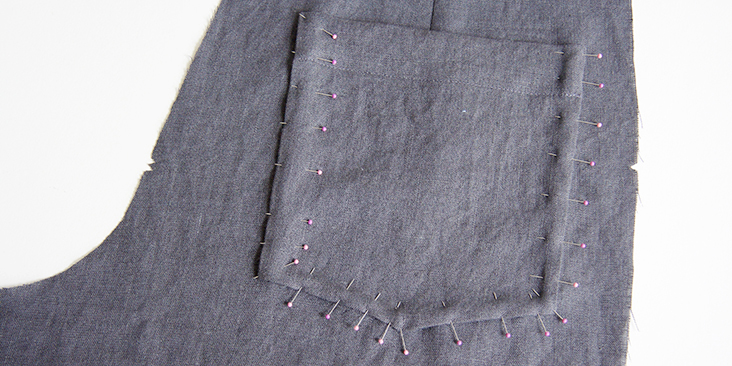
6. With right sides up, pin the pocket on top of the corresponding front pant, matching the notches and raw edges. Use as many pins as necessary to make sure that your pocket doesn’t shift.
7. Run a line of topstitching (single or double) 1/8” (or less) from the folded outer edge securing the pocket in place. Remember to always backstitch at the beginning and end of each seam. Go slowly and try to make your lines as parallel as possible to the curved edge.
Baste the side and top of the pocket ¼” from the edge to keep it in place.
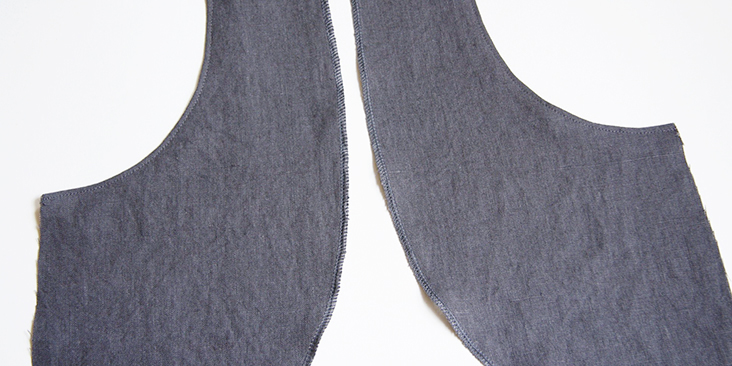
8. Finish the rise, inseam and outer seam edges of the left and right front pants with a serger or a zig-zag stitch. Make sure your notches are still visible or remark them again.
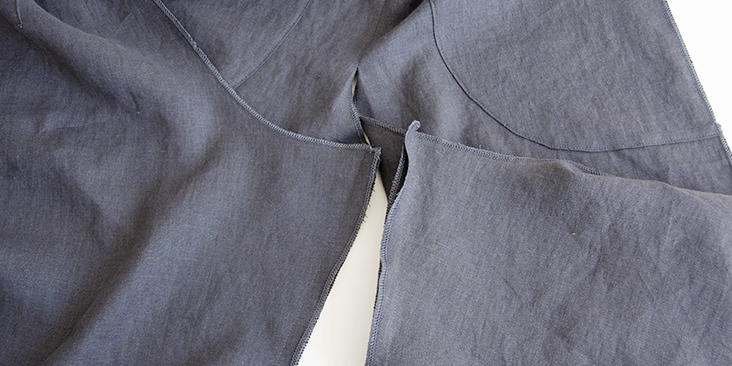
9. Pin and stitch left and right front pants right side together at the rise/crotch starting at the waist and stopping at the notch. Press the seams open. The rest of the seam will be finished later.
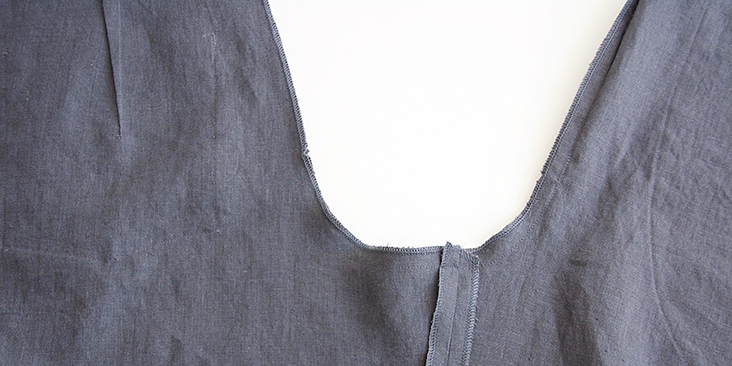
10. Next step is to attach the front waistband and the outer bib to the front pants at the waist. To prepare the waistband, press the long top edge (the one that has no notches) 5/8” (1.5 cm) to the wrong side.
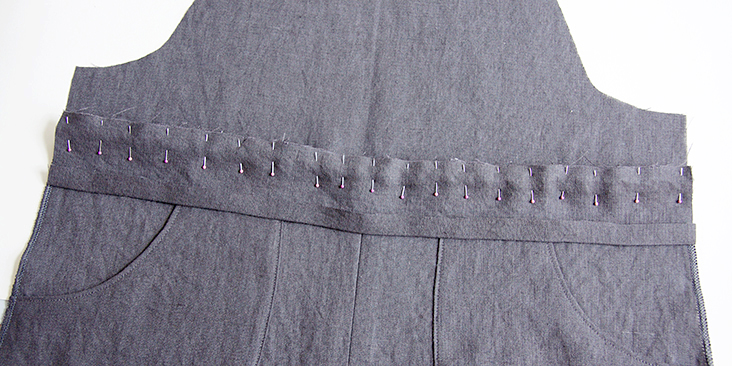
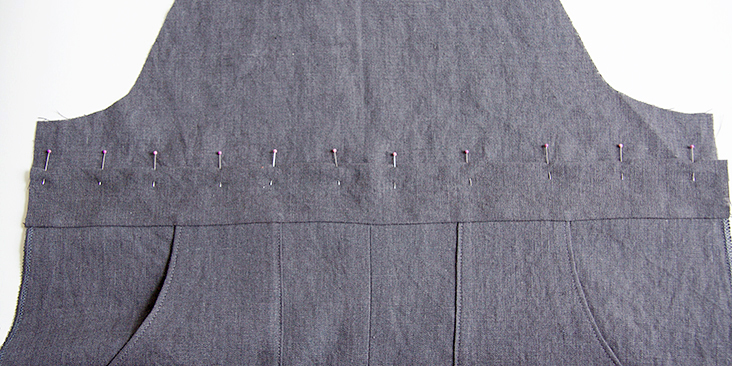
11. Aligning the raw waist edges, sandwich the pants between the outer bib and the waistband. Layer the pieces as follows: place the bib wrong side up, then the pants right side up (wrong side of the bib touches the wrong side of the pants), then the right side of the waistband on top of the right side of the pants (wrong side of the waistband facing you) with the unfolded edge facing down. Pin all three layers together.
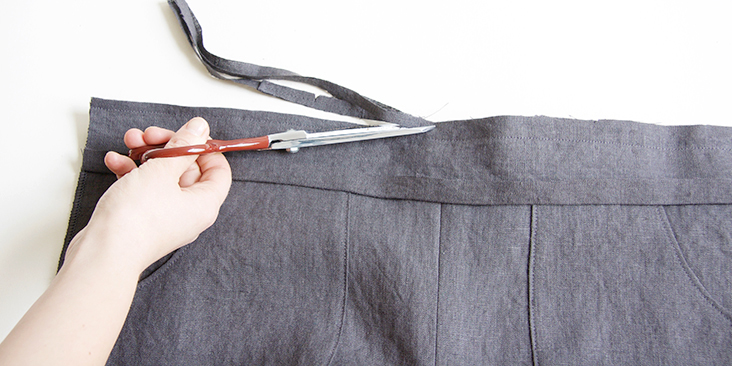
12. Stitch all three layers together at a 5/8” seam allowance. To reduce bulk, we decided to trim the seam allowances down to ¼”. This step is not included in the instructional booklet and is optional.
13. Press the bib, the seam allowances and the waistband up. Pin the waistband to the pants enclosing the raw edge.
14. Run one or two lines of topstitching along the top edge of the waistband 1/8”-1/16” from the edge to secure it to the bib. If you opted for double topstitching, you can topstitch along the bottom edge of the waistband now and the second row of topstitching will take place later when you attach the inner bib. For those of you who like us chose to run just one row of topstitching, leave the bottom edge unstitched for now.
Your front is now assembled. Set it aside and let’s sew the back pants.
15. Following the instructions in this detailed tutorial, sew the back waist darts. Press the volume of each dart towards the center back.
16. The back pants feature two patch pockets, one on each pant leg. Prepare your pockets by serging/zigzagging all the pocket edges except for the top edge which you’ll need to press 3/8” to the wrong side.
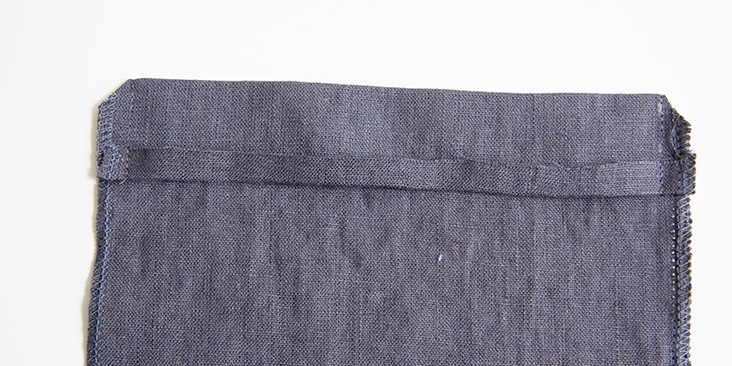
17. With right sides together, fold the top pocket edge at the fold line (marked with notches) and press. Stitch just this folded edges down along the side at a 3/8” seam allowance. Remember to backstitch. Clip the corners to reduce bulk.
18. Turn the top right side out and press. Press the remaining edges 3/8” to the wrong side. Topstitch the top edge in place.
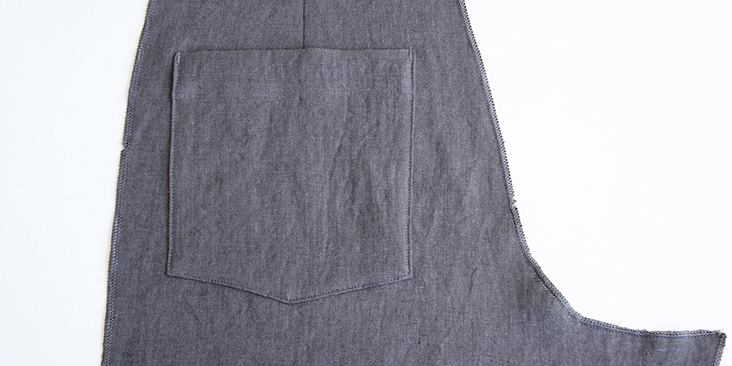
19. It’s time to pin the pockets to the back pant legs at the marked dots. After reading multiple reviews on the Internet, we decided to raise our pockets 1” up from the original placement line.
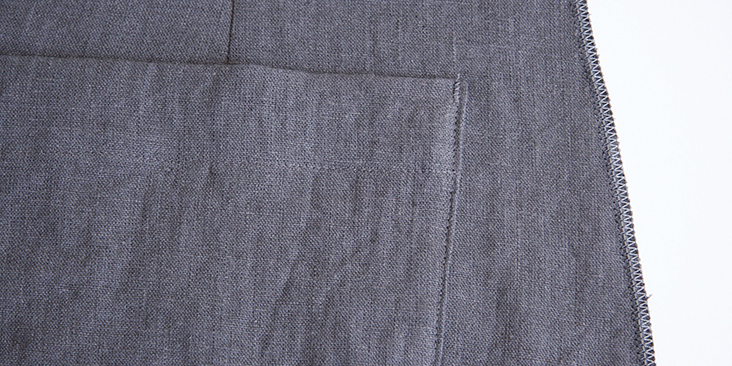
20. Topstitch the pockets in place (single or double lines) and reinforce the top corners with two small bar tacks.
21. Just like you did with the front pant legs, finish the rise, inseam and side seams of you back pant legs.
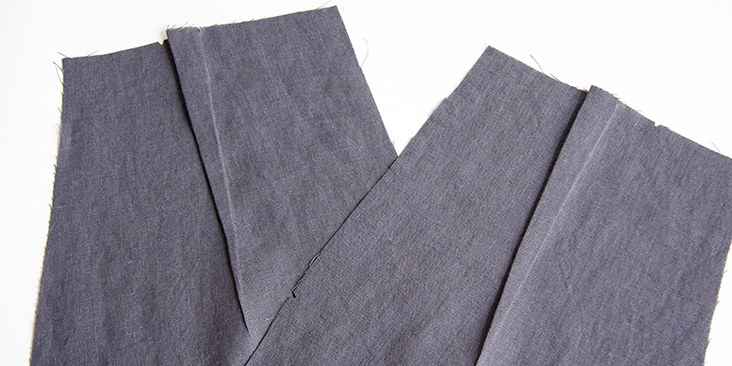
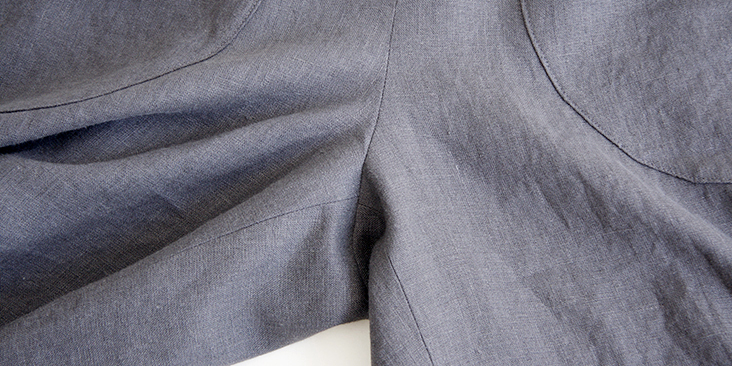
22. With right sides together, pin and stitch the back pant to the front pant at the inseam using a 5/8” (1.5 cm) seam allowance and matching the notches. Basically, you attach right back leg to right front leg and left back leg to left front leg. Press the seams open.
23. Pin and stitch the crotch seam right sides together starting where you left off at the front notch all the way along the back crotch. Clip the curve and press the seam open.
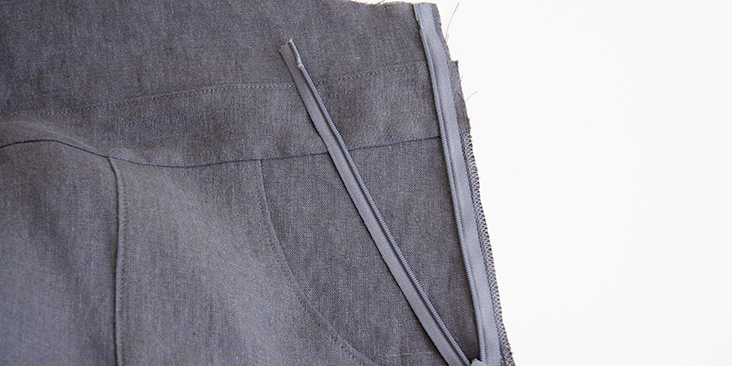
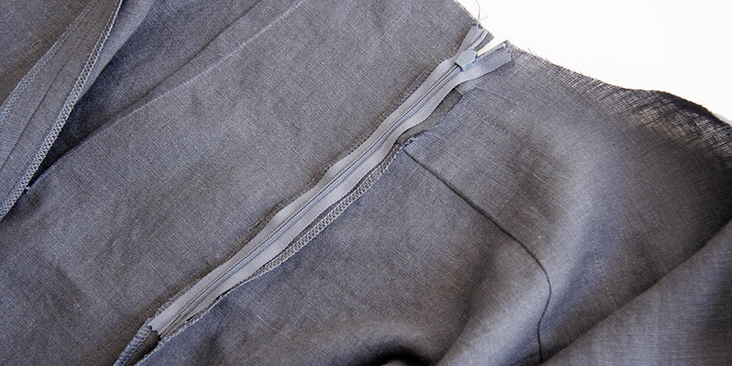
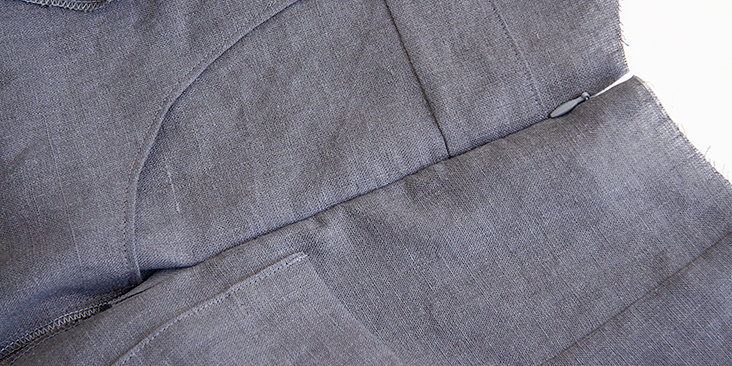
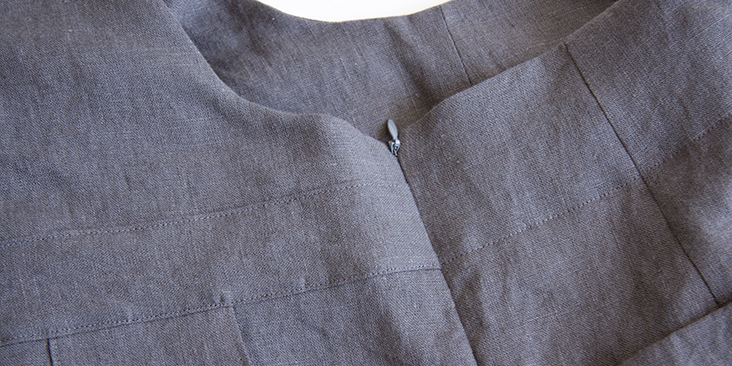
24. Now that you have your pants assembled at the inseam/crotch, you can install the invisible zipper to the top of the left side seam. Following very detailed instructions in the booklet, pin and stitch the invisible zipper (using your zipper foot) to the left side seam. Place the top zipper head 5/8” (1.5 cm) down from the underarm of the bib and align your zipper teeth 5/8” (1.5 cm) from the side seam edge.
25. Using your regular foot, stitch the remaining left side seam from the end of the zipper down to the hem and press the seam open.
26. Pin and sew the right side seam right sides together at a 5/8” (1.5 cm) seam allowance. Press the seam open.
Now that your pants are assembled and the outer bib is in place, it’s time to prepare and attach the facing.
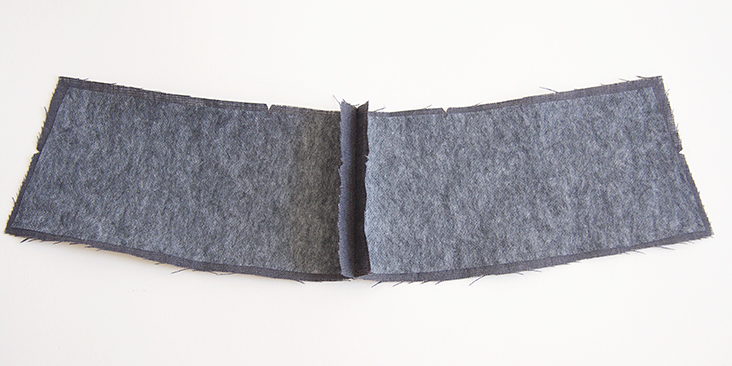
27. Interface your back waistband pieces, and then sew them together (at a 5/8” seam allowance) at the center back matching the notches.
Press the seam open.
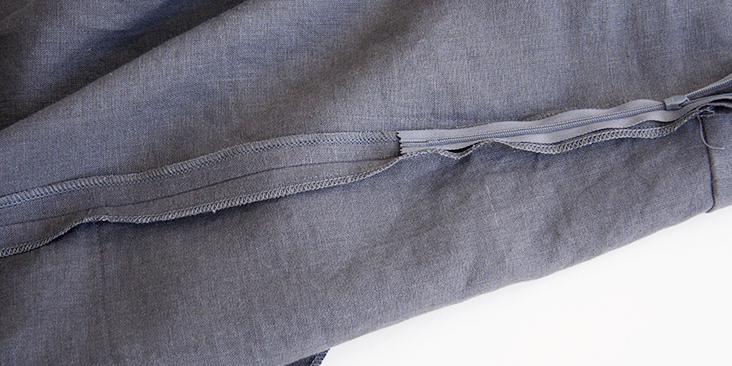
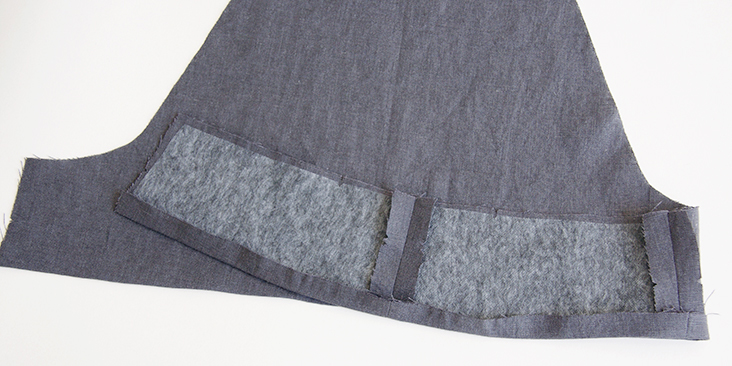
28. With right sides together, pin and stitch the back waistband to the inner bib at the right side seam only. The left side stays open and will later be attached to the zipper seam allowances creating a neat and clean finish.
Press up the entire bottom edge of your facings 5/8” (1.5 cm) to the wrong side.
Before you can actually attach the facing to the main fabric, you need to sew the straps/ties that will be sandwiched between the two layers.
The instructional booklet provides two methods for sewing and turning the ties. As they are pretty narrow, it may be too difficult for you to turn your ties right side out without a loop turner, especially if you are using thick fabric. In this case, the second, folded method is your top pick. In our case, since we do have a loop turner and are working with medium weight linen, we opted for the first method, called “the tube method”.
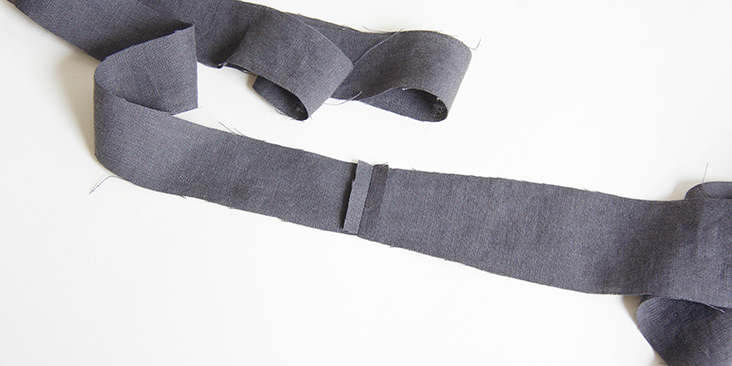
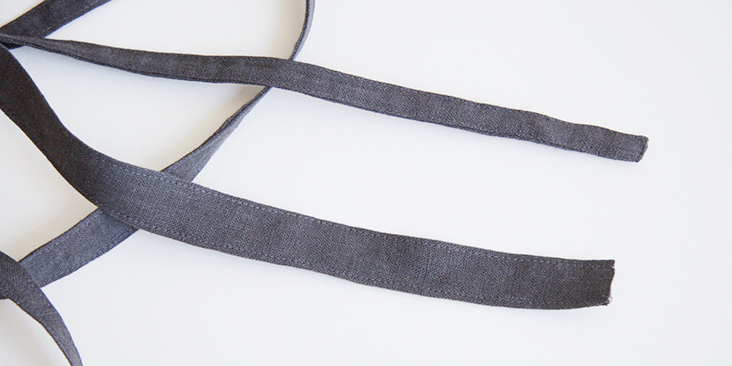
29. First, stitch the narrow end of the shoulder strap to the tie right sides together at a 3/8” seam allowance and press the seam open.
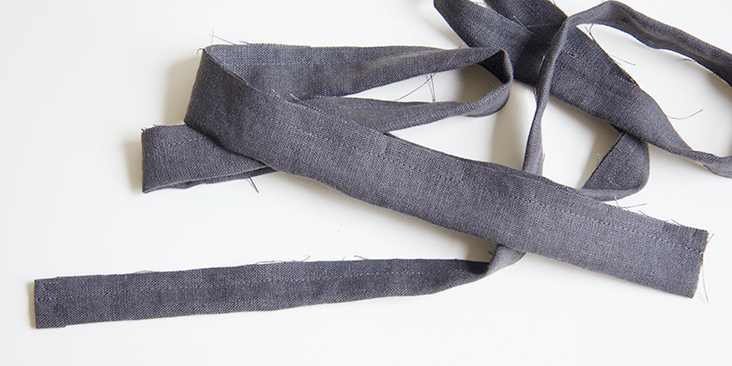
30. Then fold the end of the tie ½” to the wrong side and press. Fold the strap/tie in half lengthwise and right sides touching and stitch along the long edge at a 3/8” seam allowance. Leave both ends open.
31. Trim the seam allowance down to ¼”, attach one end to the loop turner’s hook and start pulling your fabric right side out. If you don’t have a loop turner, you can use a simple bobby pin.
Press your tube flat and topstitch/edgestitch along all edges.
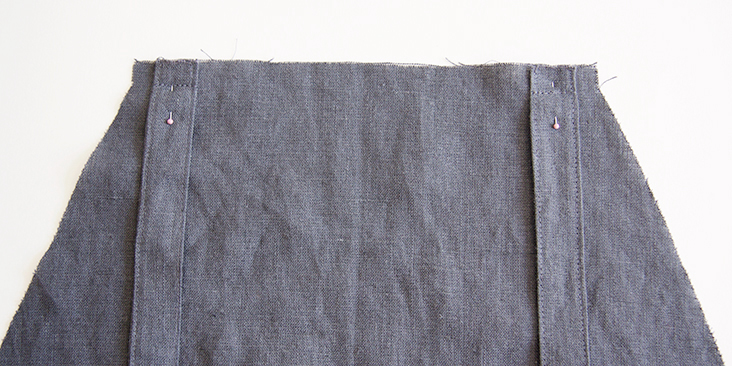
32. Pin your finished straps to the right side of the outer bib between the two notches at the top edge. Baste in place.
It’s time to attach the facing!
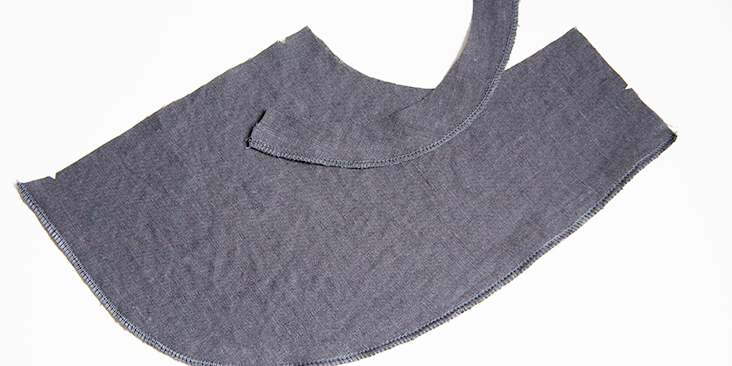
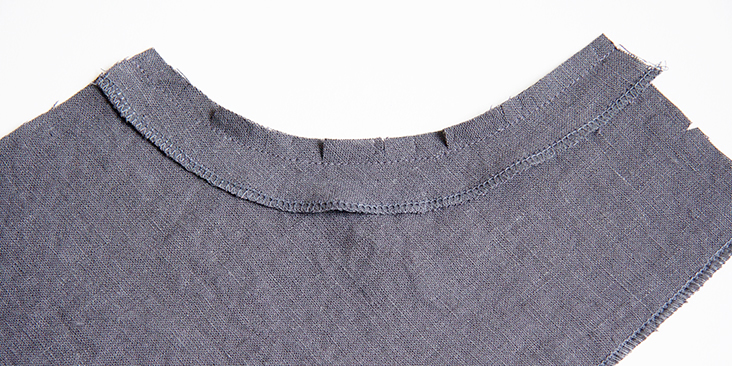
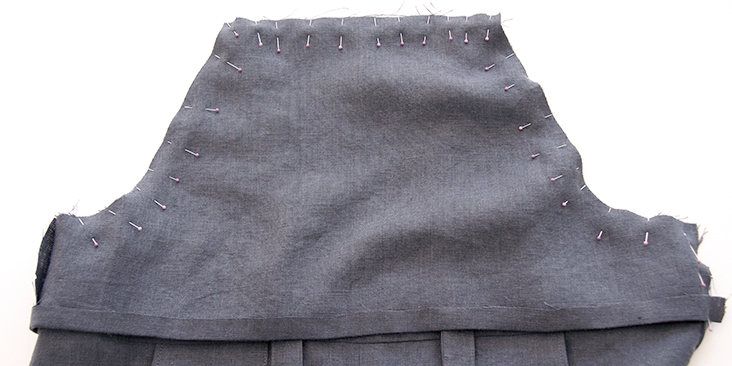
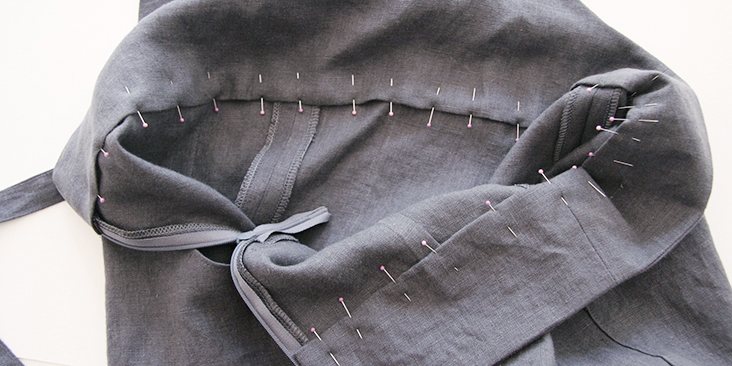
33. With right sides together, pin the facing to the main fabric along the armhole curves, neck and back aligning the raw edges.
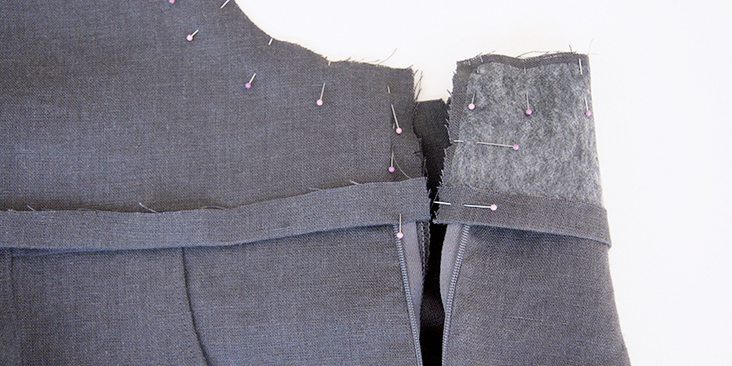
When you reach the zipper, just pin the facing fabric on top of the zipper tape, aligning the raw edges and covering the zipper.
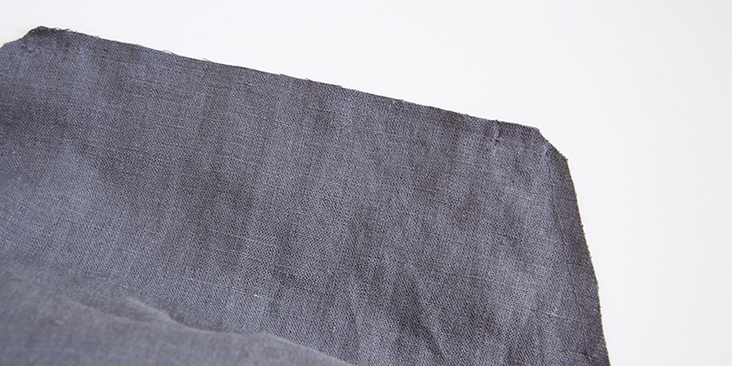
34. Stitch the pinned edges together at a 3/8” (1 cm) seam allowance, clip the corners and the armhole curves and grade the seam allowance.
Attach the side of the facing to the zipper tape with a 3/8” seam allowance. Keep the pressed edge of the facing turned up. Clip the corners at the top.
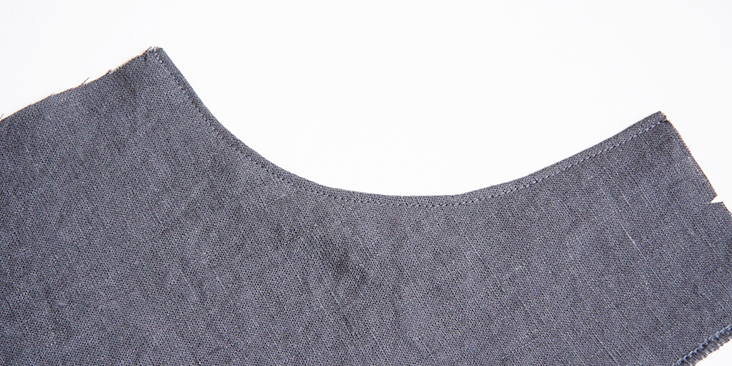
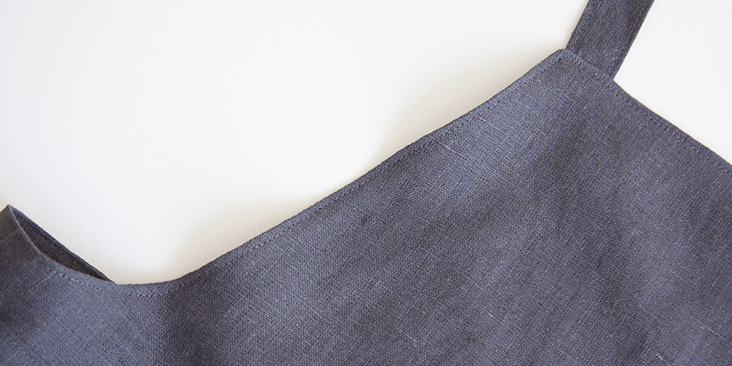
35. Turn the facing right side out, poke out the corners and press the fabric flat rolling the seamline slightly to the inside.
36. Pin the bottom edge of your facing to the wrong side of your main fabric covering the waistband edge by 1-2 mm.
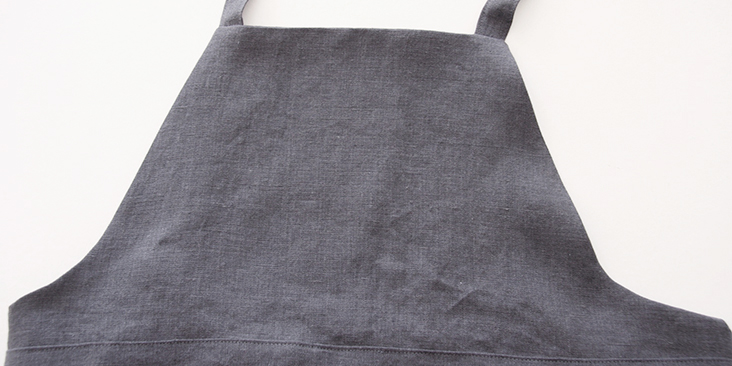
37. Working from the right side of the garment, topstitch the facing in place. Run your line of topstitching parallel to the front waistband edge and the same distance away from the edge as the other line of topstitching at the top edge. You want to catch the folded edge of your facing and create a decorative topstitching effect.
38. To complete the bib, topstitch along the top of the bib and back waistband 1/8” from the edge. This will prevent the facing from popping out and will reinforce the straps.
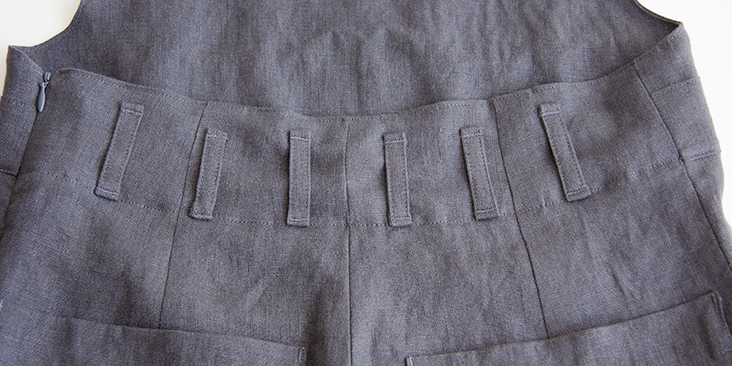
The last thing to do is to sew and attach the belt loops. We have a great step-by-step tutorial about belt loops that we invite you to follow in order to make 6 belt loops each measuring 2 ¾” (7 cm).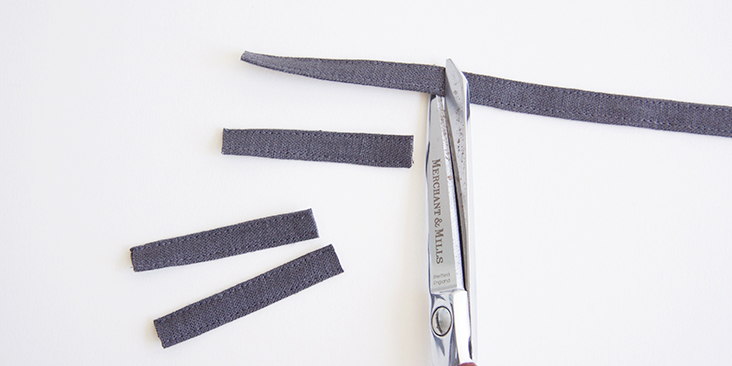
39. Attach your belt loops at the top and bottom edges of the back waistband at the spots indicated in the pattern: two 1” from the center back seam, two at the sides (2” from side seams) and two between the side and center belt loops. Secure your loops with bar tacks.
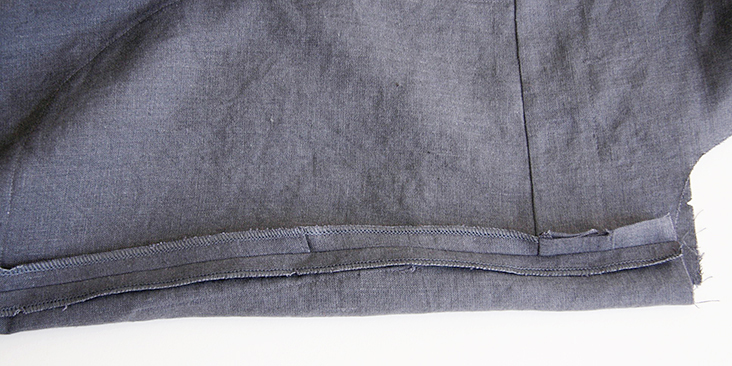
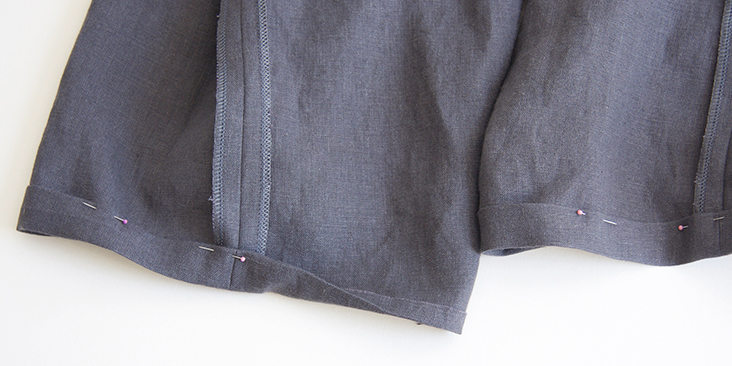
40. Finally, hem your pants. Press your hem twice to the wrong side: first 3/8” (1 cm), then another 1” (2.5 cm). Pin and edgestitch.
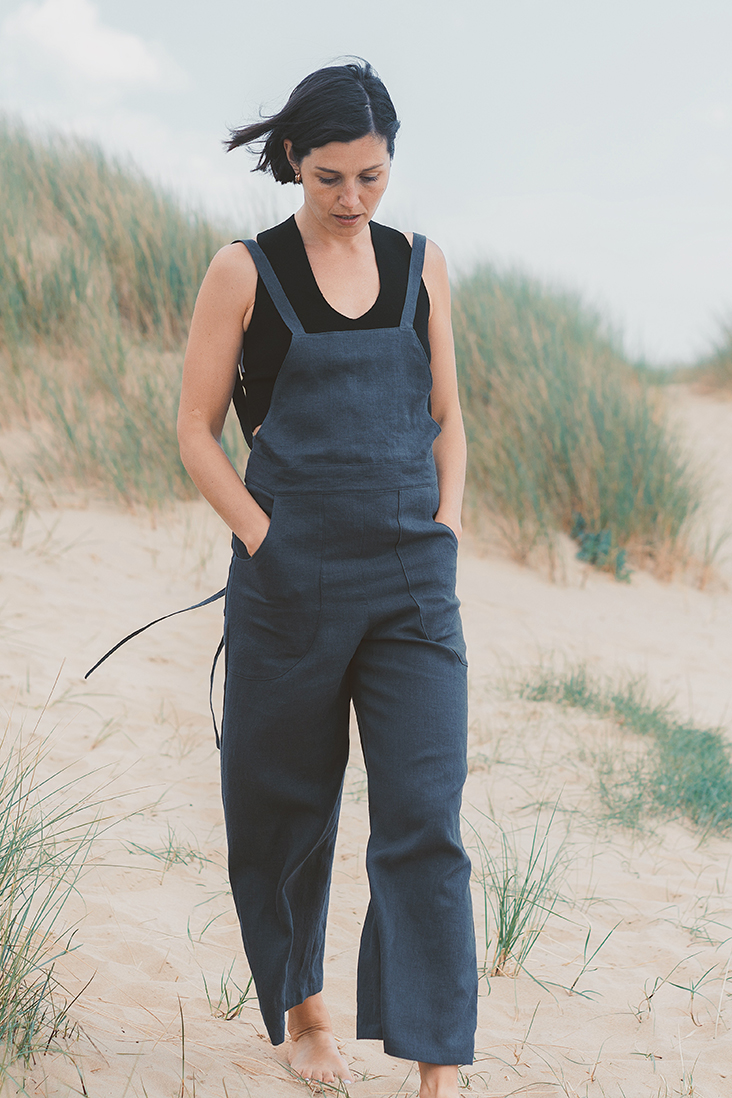
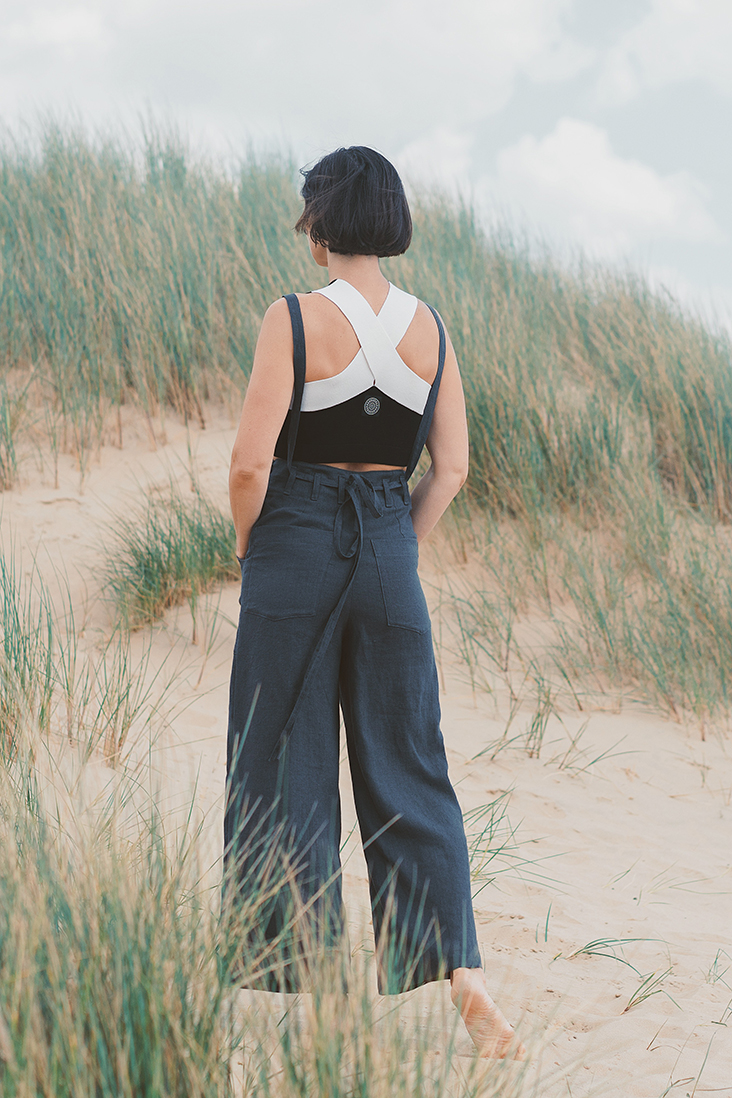
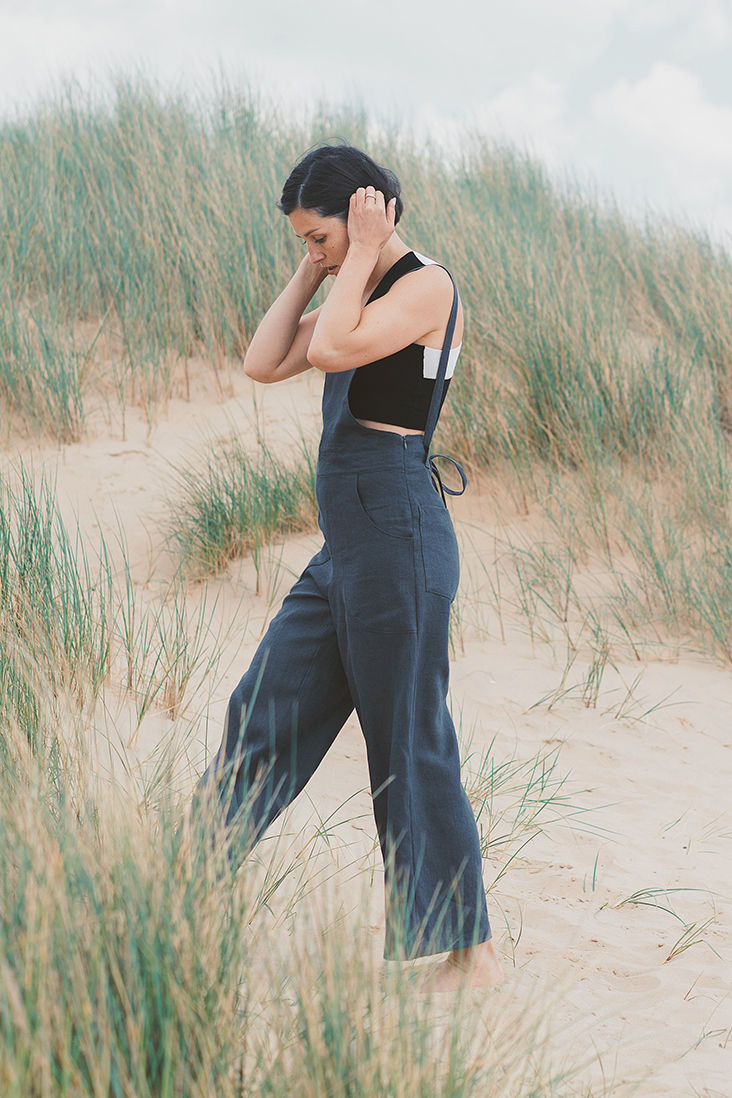
Et voila! Your new summer uniform is all finished and you just need to decide how you are going to tie it! There are several ways to tie the straps, all listed in the instructional booklet. You can either cross the ties at the back (our personal favorite) or leave them straight, tie the ends at the back or wrap around your waist and make a knot at the center front. You can play around with your options and find a fit that suits you most.
In conclusion, we’d like to add that the pattern came together really smoothly and we are so pleased with how our linen overalls have turned out! They are so comfy and stylish that we kind want to wear them every single day!
PS: For those of you who prefer skirts to pants, there’s also a jumper dress version available here as part of a collaboration between Sew House Seven and Simplicity patterns.
Don’t forget to share your makes using the #burnsidebibs hashtag!





















One Comment
Carly Ambrocio
Did you find this weight linen to be see through with the bibs? I just purchased some medium weight for this same pattern and it seems like it may let a lot of light through- but i haven’t washed it yet, so maybe the fibers will relax a bit?… trying to decide if I should line them or not!:)