Sewing Glossary: How To Sew Darts Tutorial
Darts are one of the most basic structural elements in dressmaking and garment construction. They are folds of fabric used for shaping and removing excess volume for a better fit.
The female body is not a simple flat cylinder, it has all kinds of curves, dipping valleys and rising hills. In order to make a fitted garment, you need darts to sculpt your fabric around the contours of your body. In other words, darts transform a flat pattern into a three dimensional shape that hugs your curves in all the right places. So, when you need to slightly alter the shape of something, a dart is usually the answer!
Darts may seem rather daunting if you are new to sewing, but they are actually quite easy to sew. In this tutorial, we will share with you our tips and techniques for sewing perfect darts.
Materials & Tools
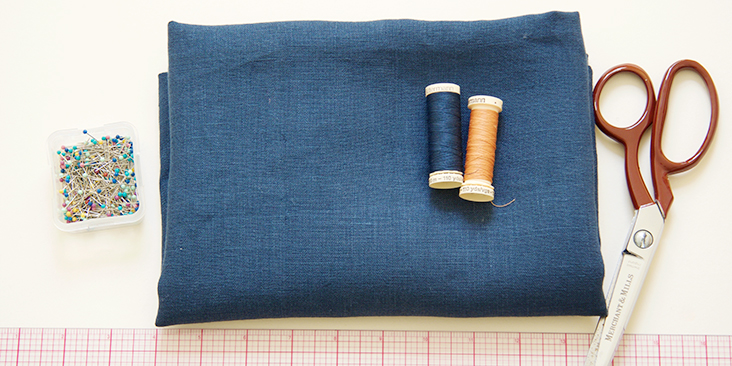
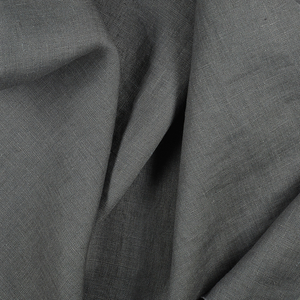
Fabric of your choice. In this tutorial we are using our IL019 INSIGNIA BLUE Softened Medium Weight Linen.
Matching sewing thread (we used contrasting thread so you could clearly understand the technique. When you actually sew darts, you should use a thread that best matches your fabric color). Scissors, pins, ruler, sewing machine.
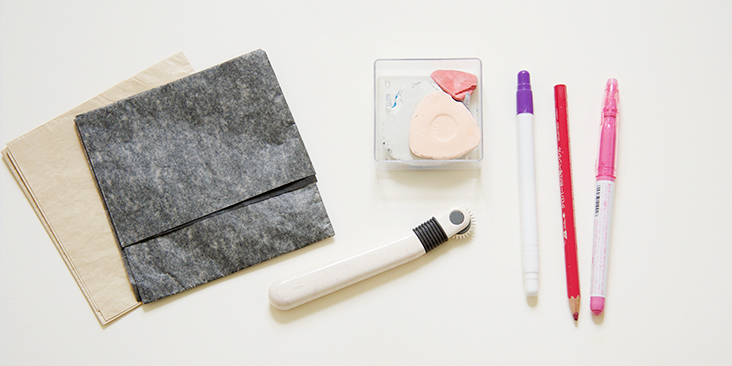
Marking tools of your choice: chalk, fabric marker, carbon paper, tracing wheel, washable fabric pen, etc.
Difficulty
Beginner
Sewing Time
30 min
Pattern
Pattern of your choice that features darts.
Anatomy Of A Dart
Darts are used in so many garments and are usually found at bust lines, the back of the garment and at waistbands.
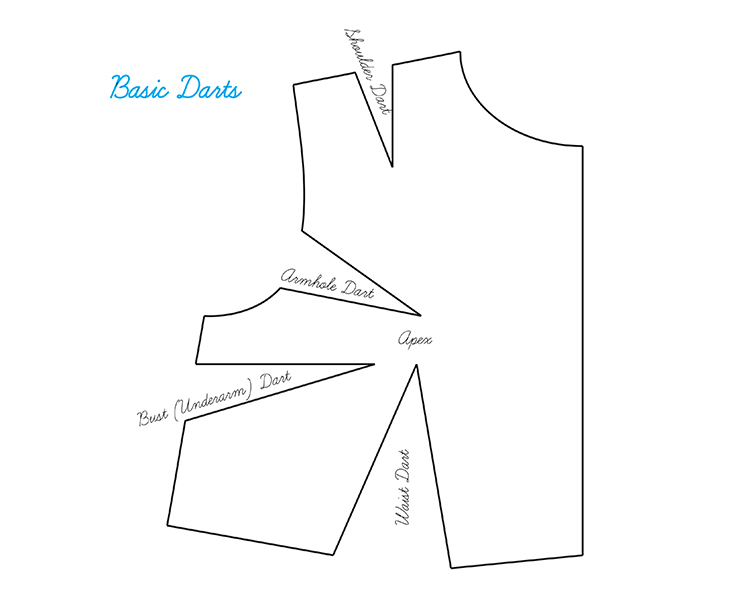
There are a few kinds of basic darts which are pretty self-explanatory from their names: bust (or underarm) darts, waist darts, shoulder darts, armhole darts, elbow darts etc. These darts are shaped like a V, with two lines (known as dart legs) that come to a point (called apex). The interior of the dart that will be removed from the garment when sewn is referred to as dart bulk. These basic darts are often straight (but can sometimes be curved) and are placed along the edge of the pattern. This is the most common type of darts in home sewing.
Then you have a couple of more complex darts like contoured darts (which are diamond-shaped and double pointed) and French darts (which are often curved). Sometimes darts are converted into a seam, like with princess seams.
There are other ways to control fullness in a garment, such as gathering, tucks, pintucks, and pleats.
Darts can vary in length and width depending on the size of the area that needs to be shaped. The wider the dart is, the more fullness you remove. So, to accommodate a fuller bust we’ll need a wider dart, while a smaller dart would fit a smaller, less full bust.
Whatever is your dart, it should be smooth and come to an almost invisible point with no bulk or pucker. Follow the tips in this tutorial and learn how to sew perfectly smooth darts.
Marking The Dart
A perfect dart starts with accurate marking. Matching your markings in the process of folding the dart is essential to making a professional looking dart.
Every sewist has a preferred method. Some like using carbon paper and tracing wheel, some use tailor’s chalk or washable fabric markers and others simply clip the notches with their scissors and mark the apex. There are many types of fabric marking tools available so the tool you use will be a matter of personal preference. Whichever method you choose, always mark the wrong side of your fabric.
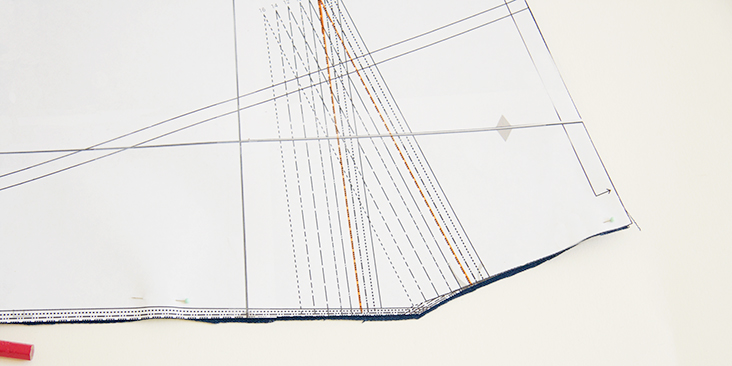
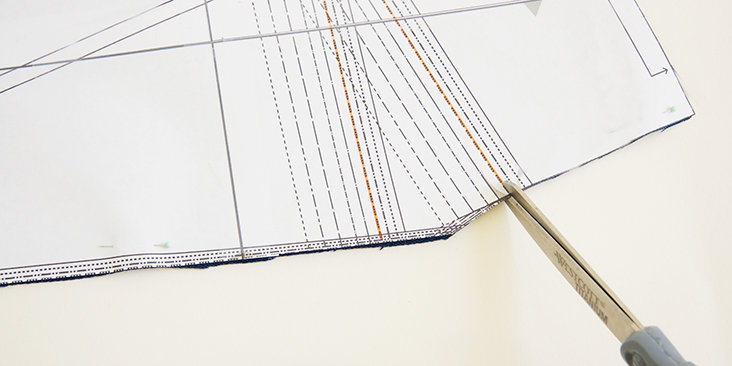
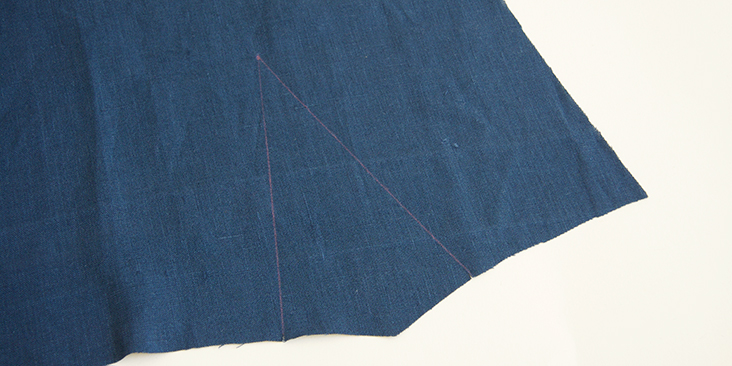
1. Locate the dart on your pattern piece. Darts are usually indicated on pattern paper pieces as triangles. Find your size and transfer the legs and the apex point using your preferred method onto the wrong side of your fabric.
If you are using carbon paper and tracing wheel, you can just trace over your entire dart. If not, snip the fabric at the edges, where the dart legs are, only half of the seam allowance to make sure that you have no raw edges showing after it’s sewn.
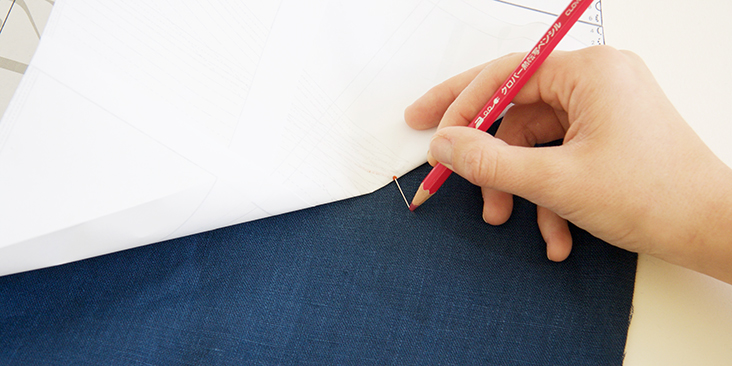
2. For the apex, you can either use an awl or a puncher to make a hole in your paper pattern and then mark it with chalk or fabric marker, or you can place a pin into the apex, lift your pattern slightly and mark the spot where the pin enters the fabric.
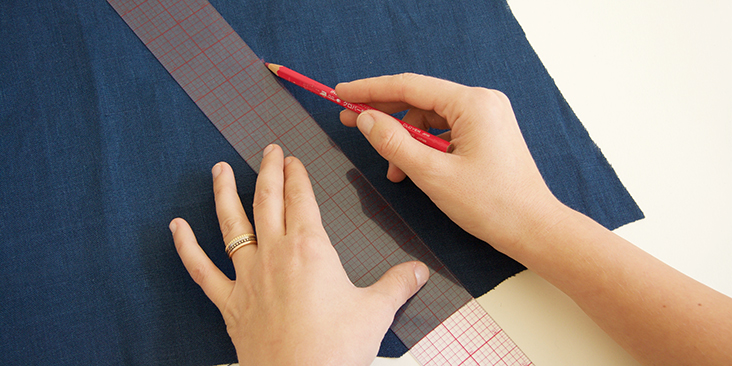
3. Connect apex point to dart legs (your two snips).
Remember that your left and right darts should mirror images to each and mark accordingly.
Once you’ve transferred your markings, you are ready to sew!
Sewing Steps
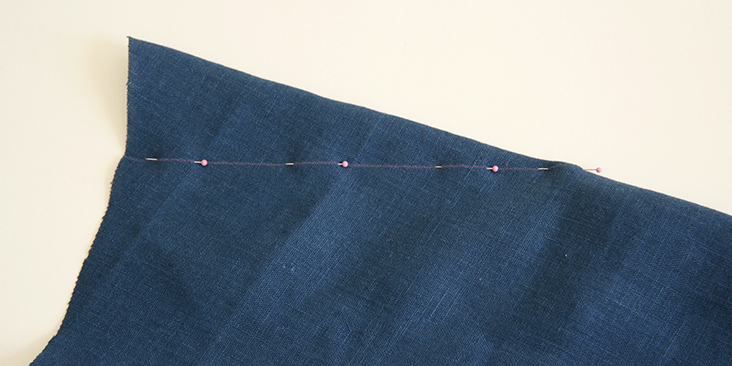
1. Fold the dart in half, right sides together, matching the marked lines. You can check if your lines match up perfectly by watching where the pin comes through on the other side.
If you made notches in the ends of the dart, match those as well. Pin the folded dart to secure it in place for sewing.
Tip: Place your pins with the sharp points facing away from the apex. Since darts are sewn from seam to apex, the pins will be easy to remove as you sew.
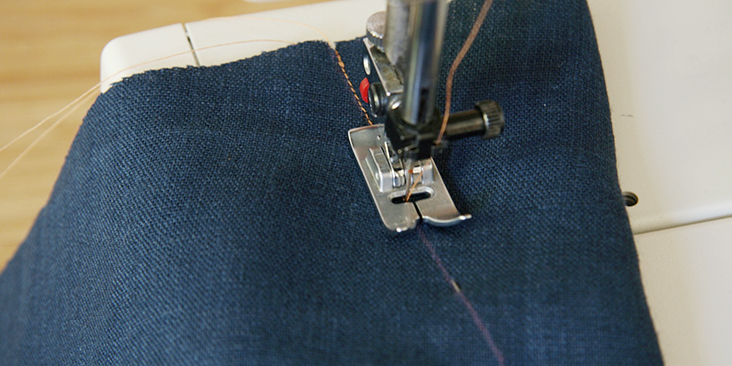
2. Set your machine to the straight stitch setting and choose a smaller stitch length of 2 to 2.5 mm. This smaller stitch gives you better control as you sew and make the stitches invisible from the right side.
3. Start stitching at the widest part of the dart on the seam, making a couple of backstitches to secure your seam. Slowly stitch along your drawn line, removing the pins as you sew. As soon as you begin sewing a dart, think about its ending point. In other words, angle the stitching towards the apex.
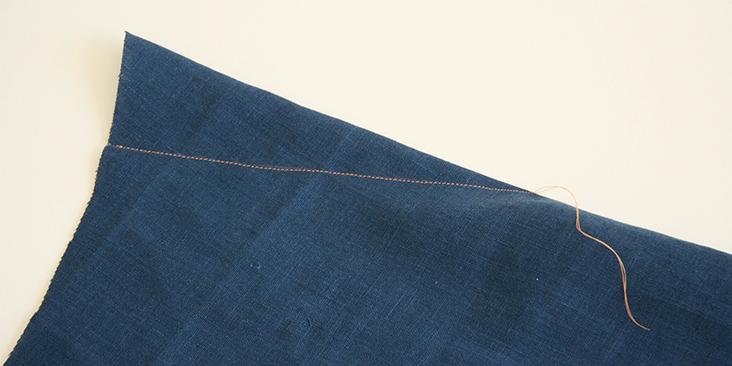
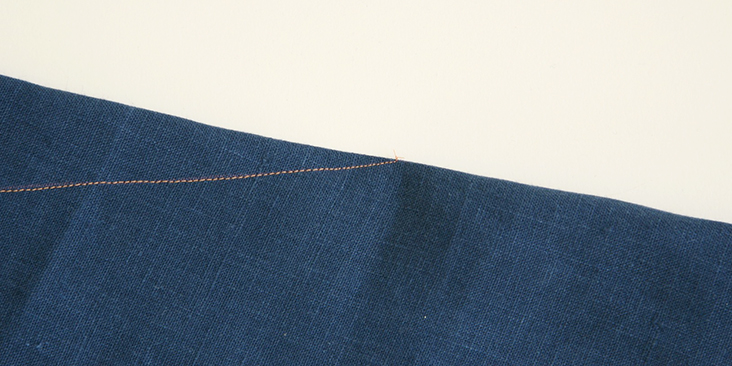
4. As you near the apex, it’s recommended to decrease the stitch length for the last 1/2″. Sew the last two stitches almost parallel to the fold edge of the fabric, as close as possible, and do not backstitch, just leave two long enough threads to tie a knot.
Backstitching will add too much bulk and might show on the right side of your garment.
5. Tie a small knot at the apex and cut off the excess thread approximatively 3/8” away from the knot. This keeps the thread from coming undone when the garment is being worn or washed.
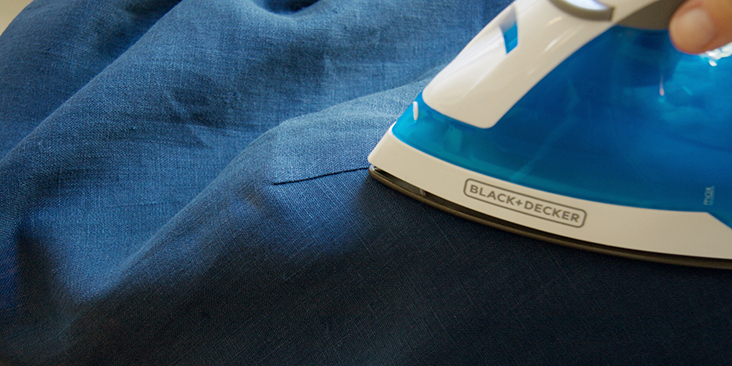
6. Working from the right side and using the head of your ironing board or an ironing arm or a tailors ham (a round, firm cushion that mimics the curves of the body and helps shape fabric), iron the dart volume to one side (towards the center of the garment for vertical darts and downwards for horizontal darts).
Et voila! Your dart is now finished! Darts are one of those areas of garment making where you get better each time you practice!












4 Comments
Pingback:
Cloud-ixSandra Feldman
I used the FBA tutorial to add darts to my Phoebe muslin. I’m a B+ cup, a 4/6 upper bodice fit the best through the shoulders, but I needed the shoulder to underarm length of an 8/10. I also needed to transition to an 8/10 below the bust. To add insult to injury, I’m short waisted. Long story short, despite the fact that I’m not really full busted, I seem to need a lot of width adjustment in a short vertical distance and a small dart did the trick.
My friend suggested sewing from the apex to the side, opening the dart, and hand finishing to prevent fraying. I see that your instructions are entirely the opposite. Given the relatively small size of my dart, I’m hoping I can get away with following your instructions and ironing the dart down?
Thank you.
Nancy Mccoy
For those interested in an alternate way of sewing standard darts try single thread darts. To make them run your bobbin thread backwards through the eye of your needle and tie it to your top thread. Then run the knot back to the tension regulator. Sew the dart starting at the point and back to the seam where you can backstitch without it being seen. When done just rethread as usual. Very easy to do!
Rima Khusainova
Thank you so much for sharing this great tip with us! Very helpful!