Fred Knotted Crop Top Tutorial and Pattern
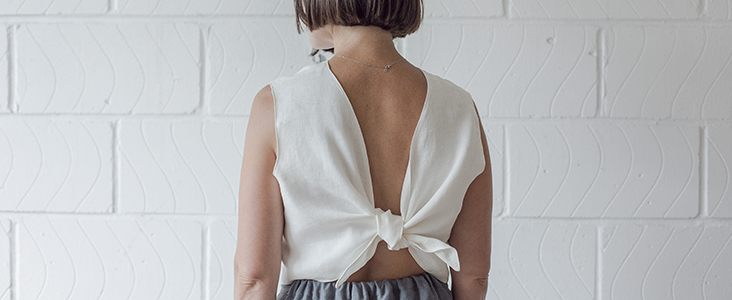
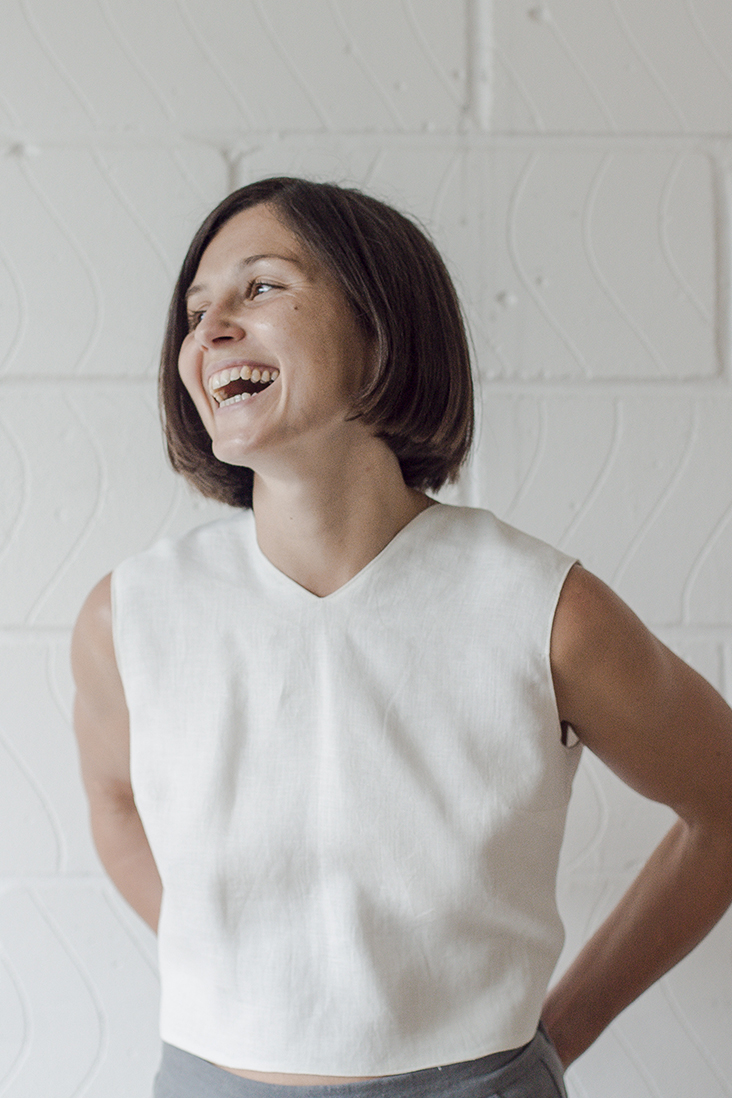
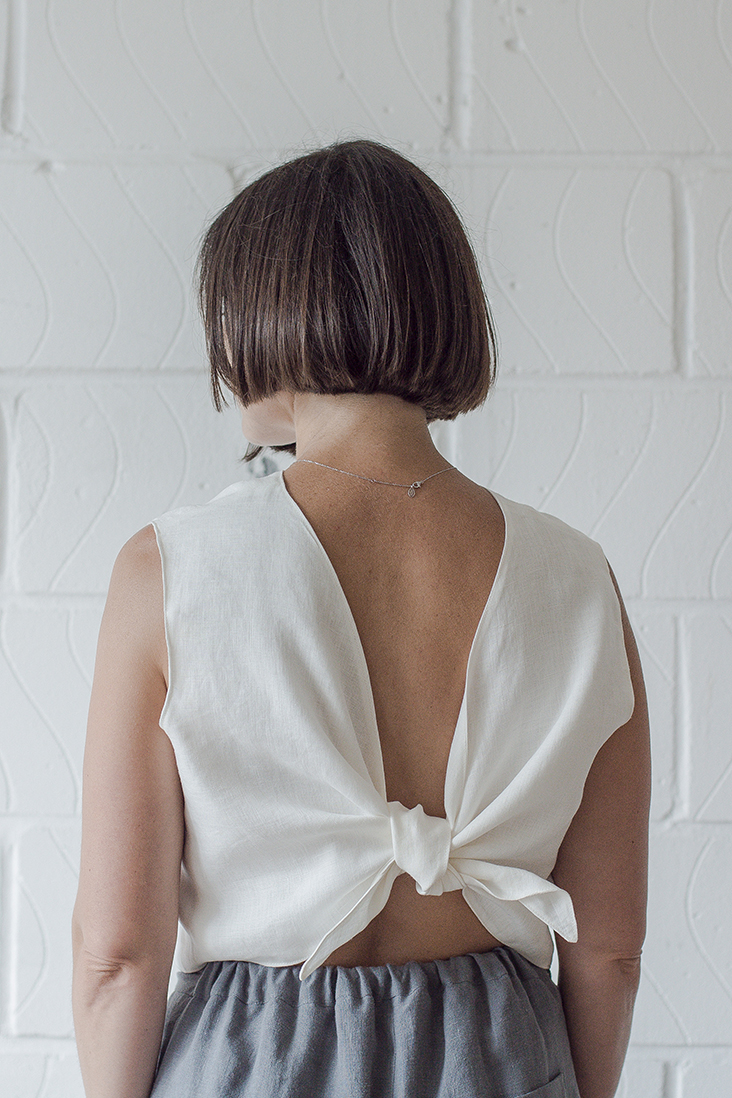
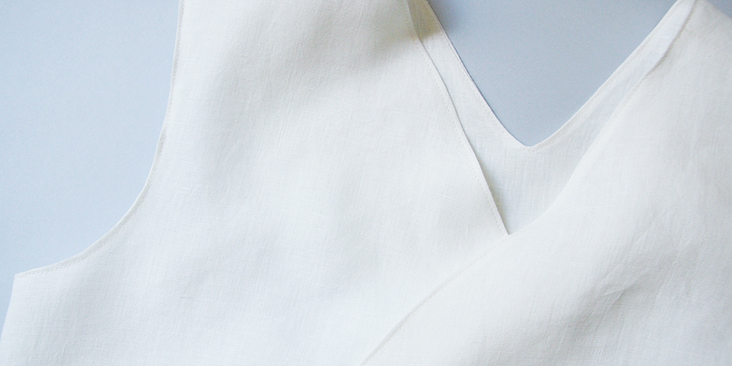
Is it just us, or has the tie-back crop top been all over Instagram this summer? To embrace the trend, we are offering you this new sewing pattern that is really easy to make and would make a lovely addition to your wardrobe. Use the adjustable ties to create a flirty bow in the back. The cut is just plunge-y enough to feel sexy without feeling too exposed. And the best part is that it is fully lined, with no apparent seams. Pair it with high-waisted jeans or skirts.
Materials
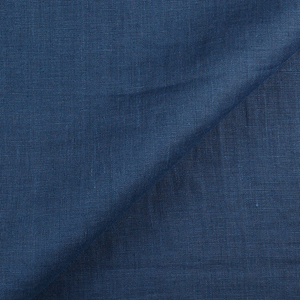
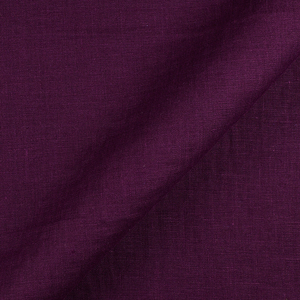
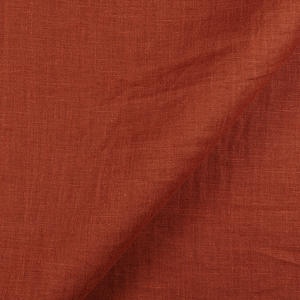
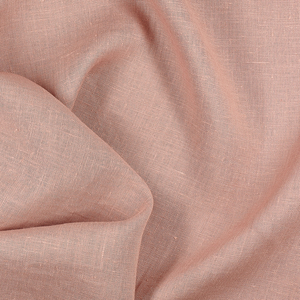
2 yards of IL020 Bleached Softened Lightweight Linen
Matching sewing thread
Tools
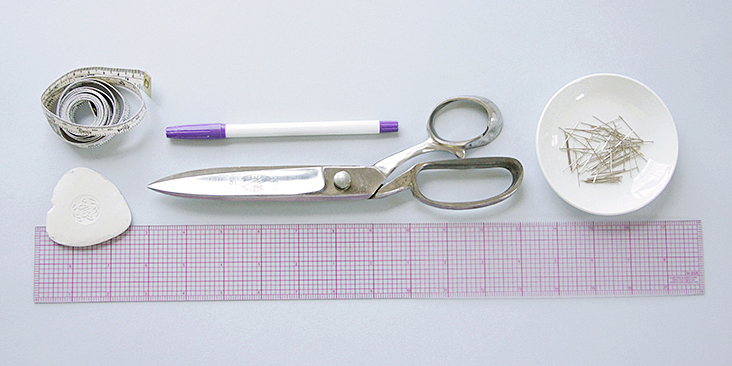
Scissors, pins, ruler, chalk, measuring tape, fabric marker, sewing machine
Difficulty
Beginner
Time
3-4 hours
Pattern
You can access the multi-sized printable PDF pattern by following this link HERE. All seam allowances are included. The model is wearing US size 6.
If you need help adjusting the pattern for a fuller bust, we have a great Full Bust Adjustment tutorial HERE.
Steps
Note: Prewash your fabric and tumble dry it until it is still slightly moist, dry in room temperature. Iron the fabric so it is easier to work with.
Since the top is completely lined, you’ll need to sew two identical bodices: one in lining and one in main fabric.
Let’s start with the main fabric.
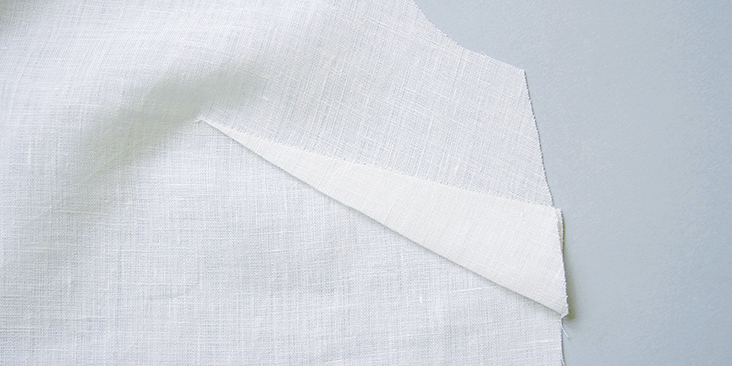
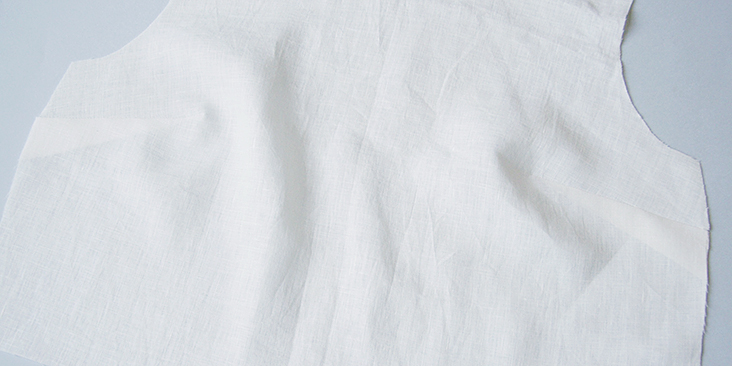
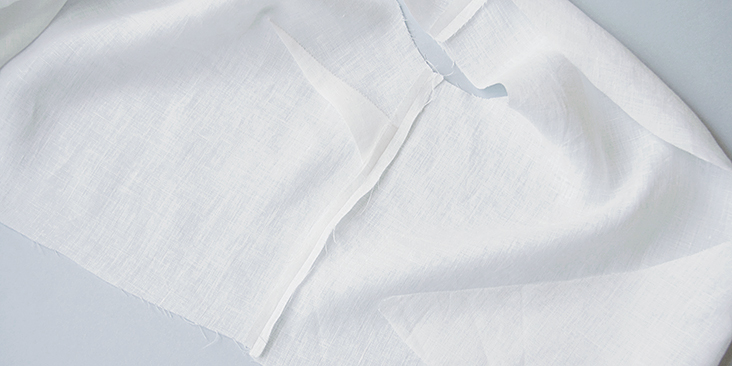
1. First, sew the darts. Carefully fold the darts with right sides together, pin and stitch in place. Leave long tails at the apex of your dart and tie little knots to secure. Press the darts downward.
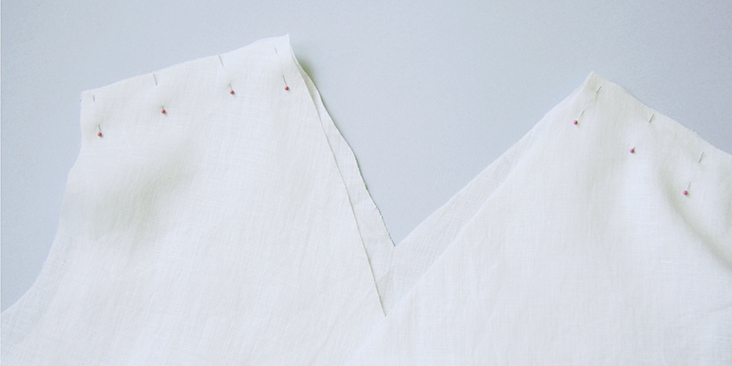
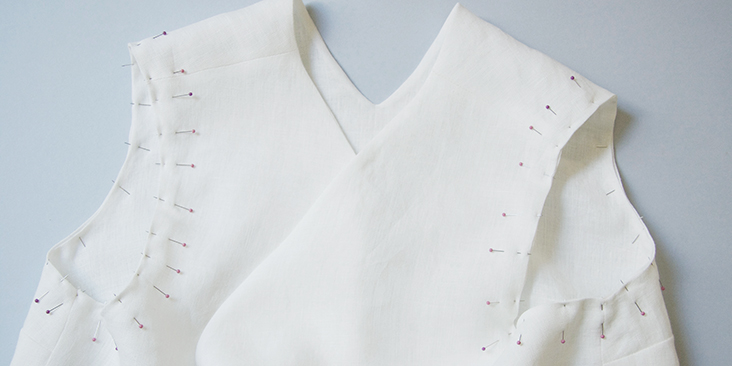
2. With right sides together, pin the front and the back of your top at the shoulder seams.
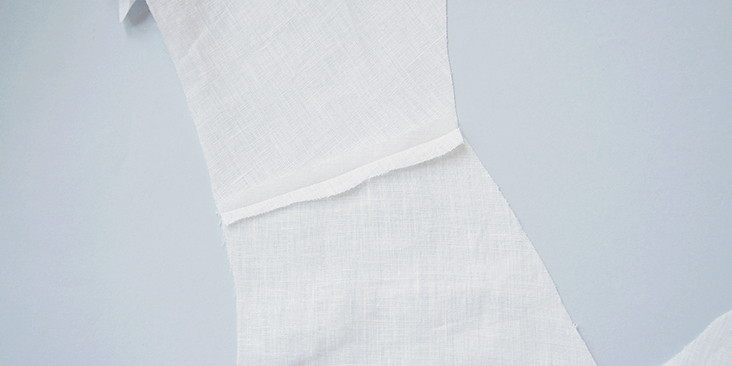
3. Sew at a 3/8” seam allowance and press the seams open. Remember to backstitch at the start and finish of the seams. No need to serge/zigzag raw edges since all the seam allowances will be enclosed between the layers.
4. Pin and sew the side seams right sides together at the usual 3/8” (1 cm) seam allowance and press the seams open.
5. Repeat steps 1-4 with the lining pieces.
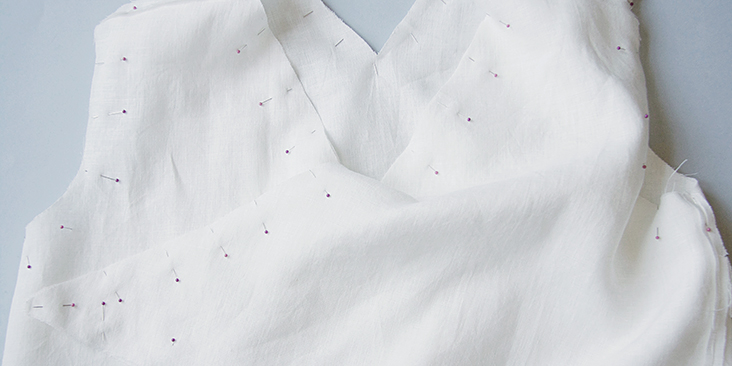
6. Pin the main fabric and the lining right sides together matching the raw edges and the seams.
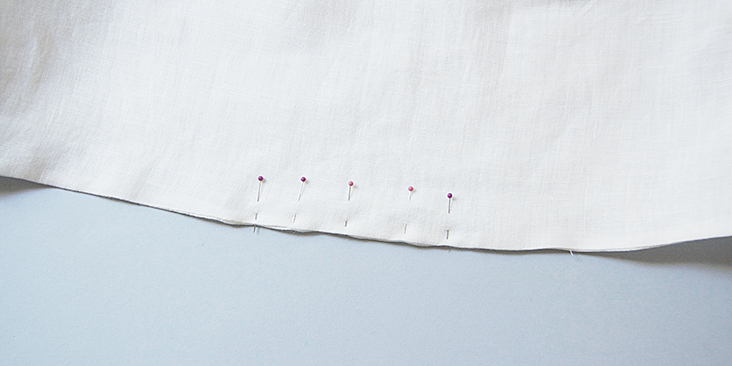
7. Stitch around all edges except the armholes at a 3/8” (1 cm) seam allowances and leave a small 2” opening at the hem.
When you come to the V, pivot your need and run one small horizontal stitch right at the bottom of the V. This will help achieve a smoother point when you turn the fabric right side out.
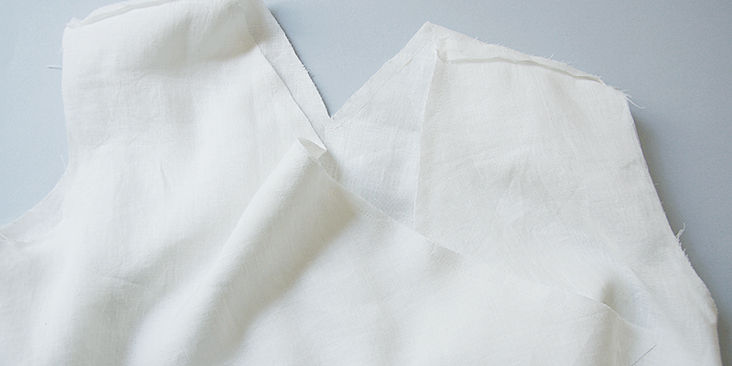
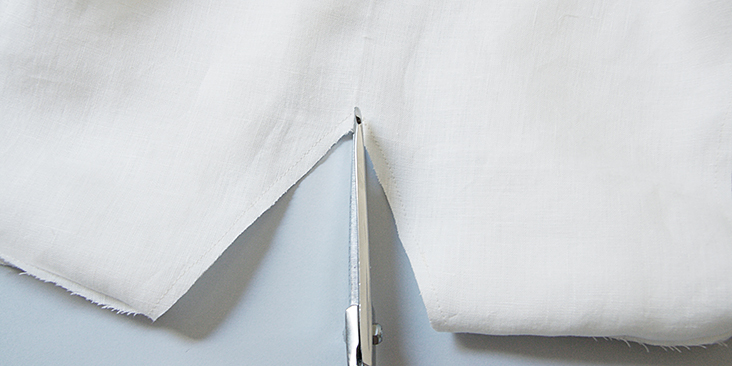
8. Trim the stitched seam allowances down to 1/4″ and clip the V to release the tension.
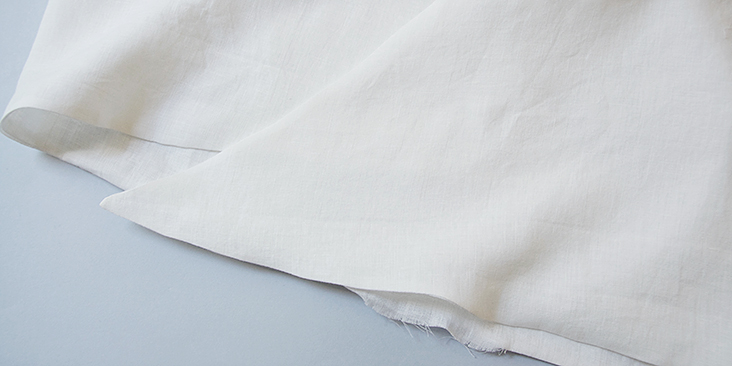
9. Finger press the seams open and turn the fabric right side out through the opening at the hem.
10. Use a lot of steam and press the edges flat rolling the seam slightly to the inside.
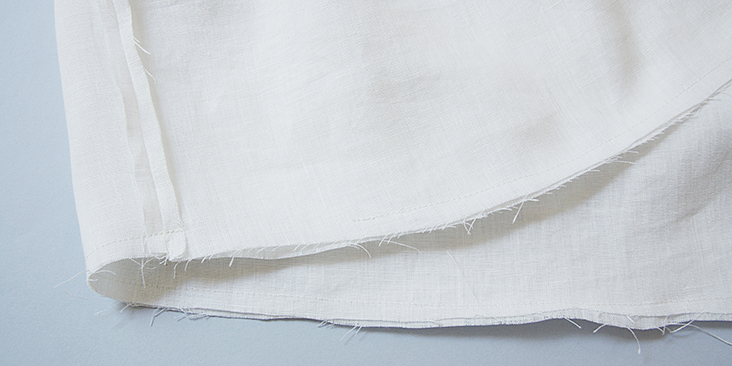
11. Tuck in and press the armholes seam allowance and the hem at the opening. Pin.
12. The last step is to topstitch around all edges (neckline, armholes, ties and bottom hem) 1/8” from the seams to close the openings, stabilize the edges and keep them in place.
Give your finished top one last press and you are all done!
We love seeing what you make! Don’t forget to share your pictures and tag your creations with #FabricsStoreFredPattern hashtag.
















7 Comments
Pingback:
Fred Knotted Crop Top Free Sewing PatternSylvia B
Hi there, this is the 3rd or 4th pattern I’ve tried to download and the link to the actual download of the pattern only is not available…
Melita White
If this is identical on both sides, could this top be reversible, with two different fabrics used? Thanks. Want to confirm before I start making this.
P L
I agree with Plum Gabriel’s suggestions. Made this top but narrowed the shoulders by 2 inches but would probably do 3 inches if I were to make this again as the shoulders are still very wide. I also lowered the v neck by 4 inches or so and it is still very modest. With the adjustments, I really like this top though. It’s very cute and a challenging beginner project :).
Anno Varma
Thanks for this sweet little pattern. It was fun to make, the instructions in the tutorial were clear and the top was ready in no time at all. I’m surprised at the negative comments, the boxy front with the high V is super cute and a nice contrast to the flowing lines of the back. Plus it’s comfortable to wear, once tied it stays in place and if you wish to wear a bra, the knot covers the strap neatly.
Emi Gabriel
disappointed with this pattern 🙁
plum ivory
some adjustments that would make this pattern a million times more flattering: narrow the top of the shoulder straps! theyre simply too comically wide if you follow the pattern. also, the V-neck is more like a choker. lower that bad boy down at LEAST 2 inches. i would lower mine even more than what i did if i wanted to put in the effort. and overall, the front isnt very flattering in general. looks very boxy and disappointed me. the back pieces however are amazing! so good and perfect in how you tie them. i love the back. the front is a bit of a struggle… i guess thats why this pattern is free!