Genia Tailored Linen Shirt Tutorial and Pattern
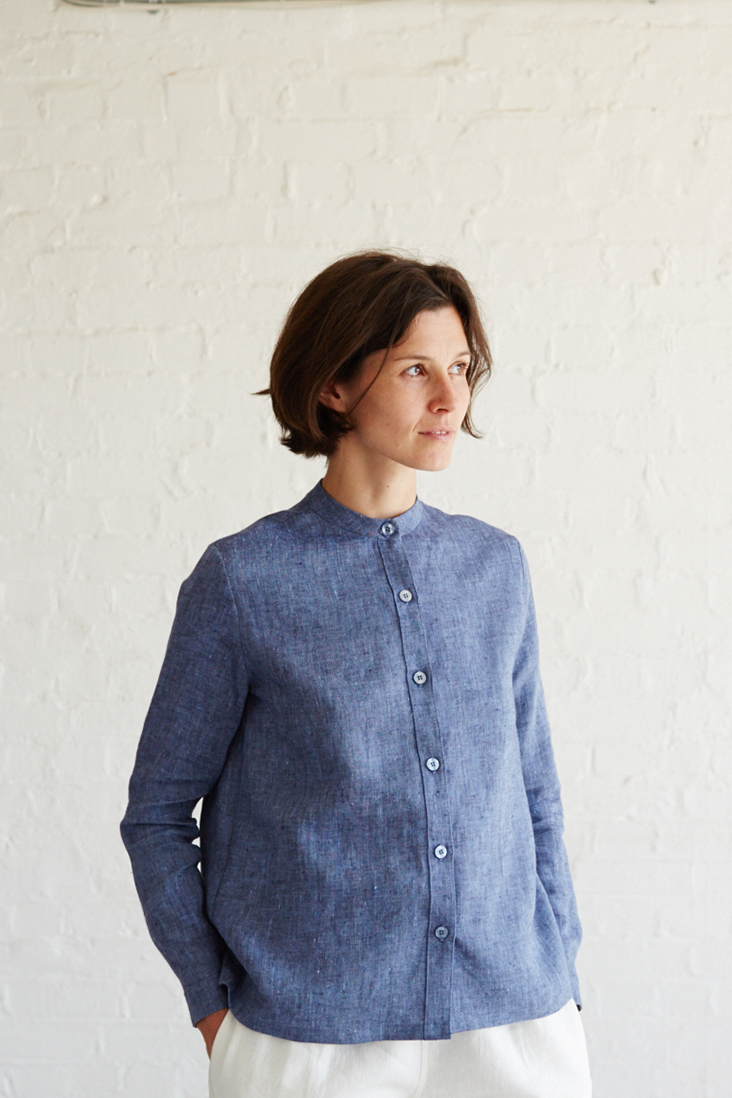
Over the last couple of months, we’ve posted a few tutorials explaining different sewing techniques used in traditional shirtmaking and they all have been leading up to this post. We showed you how to draft and sew a mandarin collar, a sleeve placket and classic button bands. So today we offer you the opportunity to practice your newly acquired skills and make a tailored women’s shirt.
This pattern is classified as “intermediate” because there are several advanced techniques used and quite a lot of steps involved in its construction. But even beginner sewers can give it a go since we’ll provide you with easy to follow step-by-step instructions to guide you through the process.
Materials
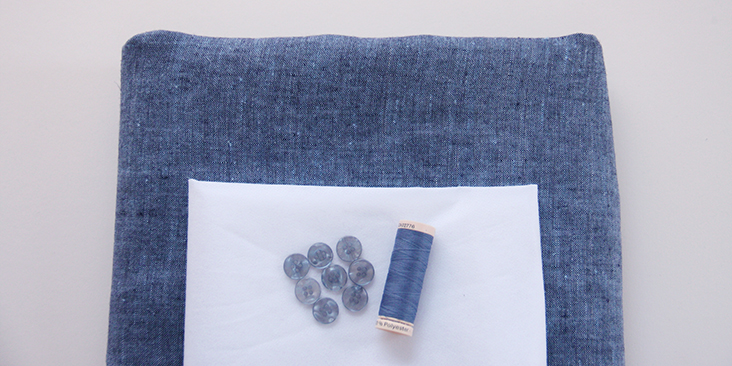
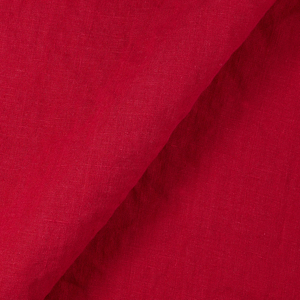
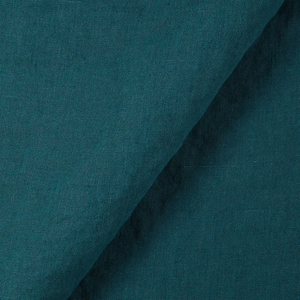
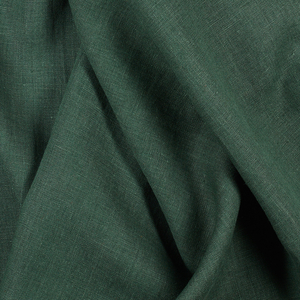
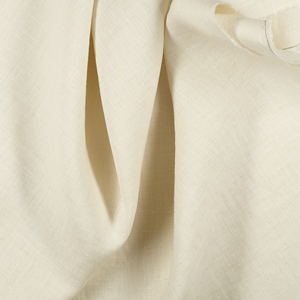
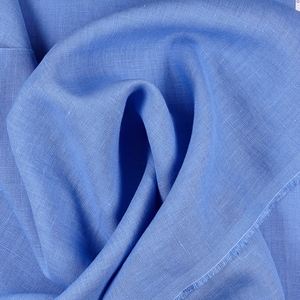
2 yards of Medium Weight IL042 908 FS Premier Finish Linen
Matching sewing thread, 10 buttons, fusible interfacing (for the collar, button bands and cuffs)
Tools
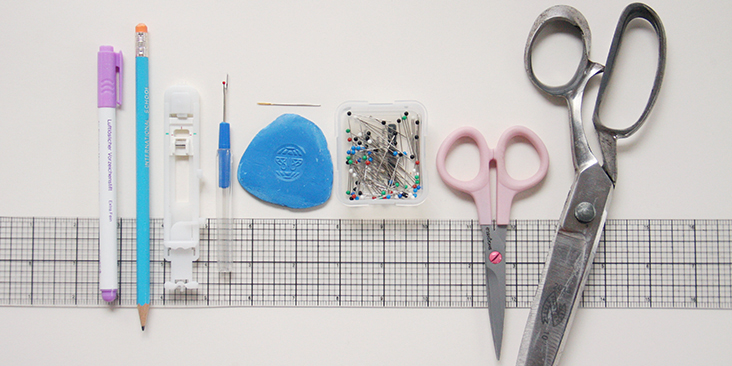
Pattern paper, scissors, ruler, pins, chalk, fabric marker, pen, buttonhole foot, needle, seam ripper,’ sewing machine
Difficulty
Intermediate
Time
5-6 hours
Pattern
You can access the multi-sized printable PDF pattern by following this link HERE. All seam allowances are included. The model is wearing size US size 6.
Remember to transfer all the notches onto your fabric.
Steps
Note: Prewash your fabric and tumble dry it until it is still slightly moist, dry in room temperature. Iron the fabric so it is easier to work with.
1. We’ll start with the front button bands. Follow our detailed tutorial that explains how to sew the button bands the classic way.
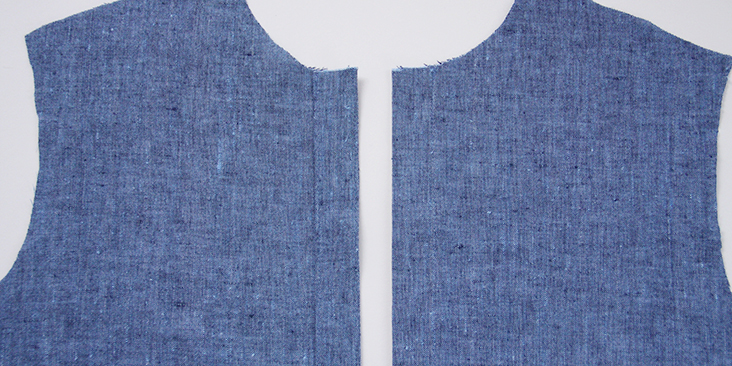
2. Now that your button bands are finished, you can assemble the front and the back of the shirt by pinning them right sides together at the shoulder seams.
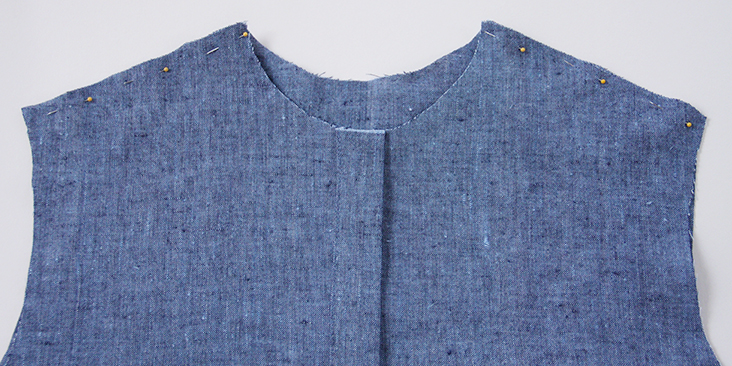
3. Sew the shoulder seams right sides together at 3/8″ (1 cm) seam allowance, remember to backstitch.
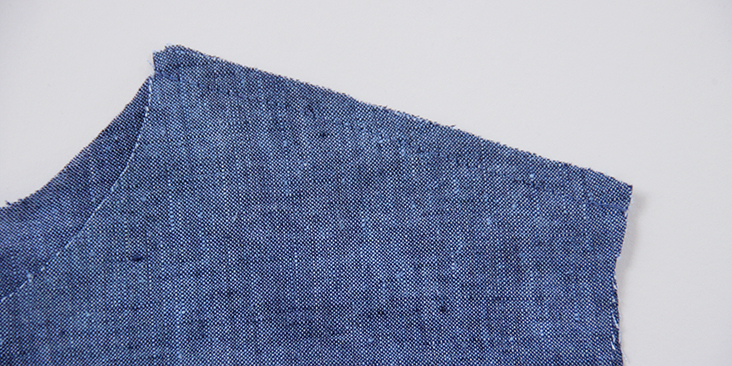
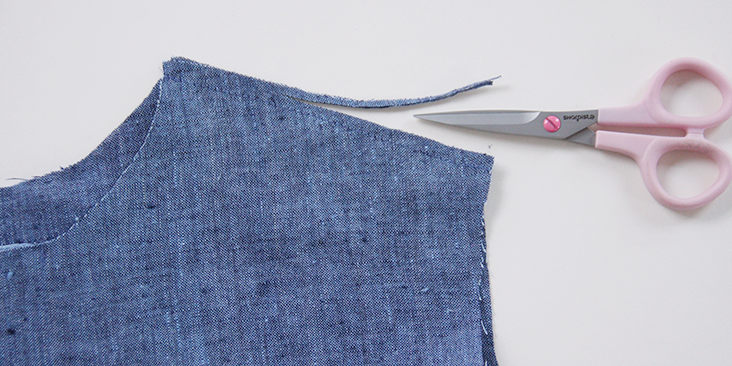
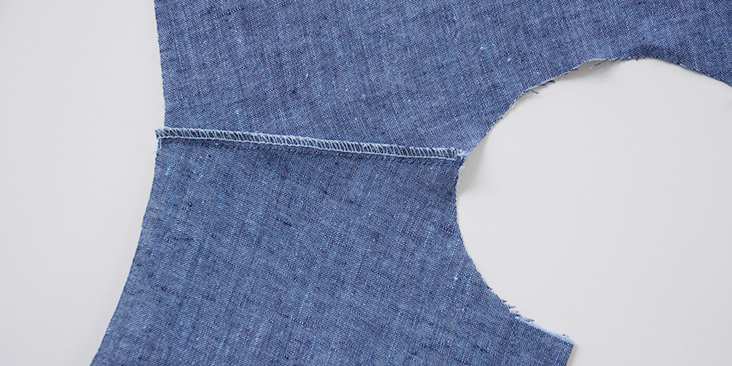
4. Trim the seam allowance down to 1/4″ (6 mm) and serge or zigzag the raw edges together to prevent the fabric from fraying. Press the seams flat folding the serged/zigzagged edges towards the back of your shirt.
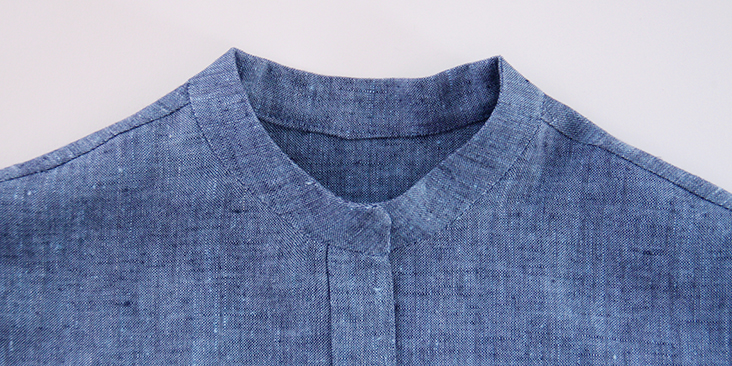
5. Draft, sew and attach the mandarin collar following our step-by-step tutorial.
6. Now you need to sew the sleeve plackets (just the plackets, the cuffs will be added after you attach the sleeves). This great tutorial will guide you through the process.
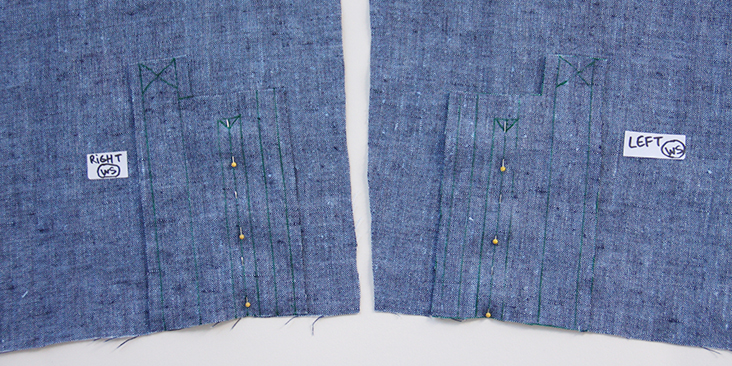
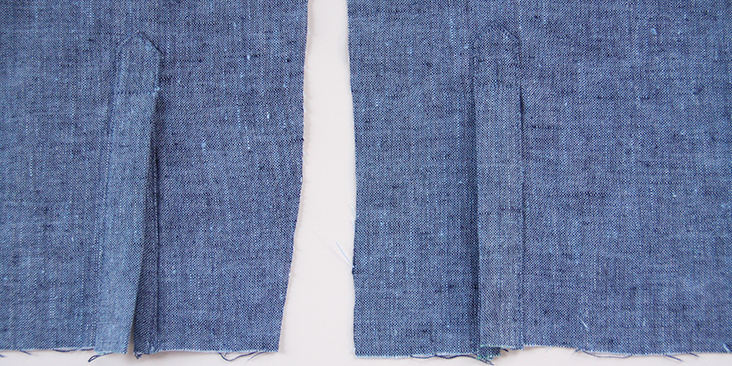
Just a little reminder: make sure your sleeve plackets are attached to the back of your sleeves and are mirror images to each other.
7. Once you’ve sewn your plackets, you can attach the sleeves to the bodice by pinning them to the armholes right sides together.
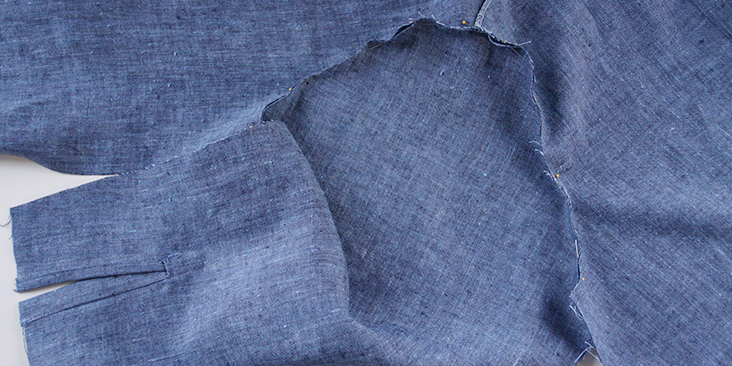
8. Sew at a 3/8” (1 cm) seam allowance. Serge or zigzag the raw edges together to prevent the fabric from fraying. Press the serged/zigzagged seam allowances up towards the sleeves.
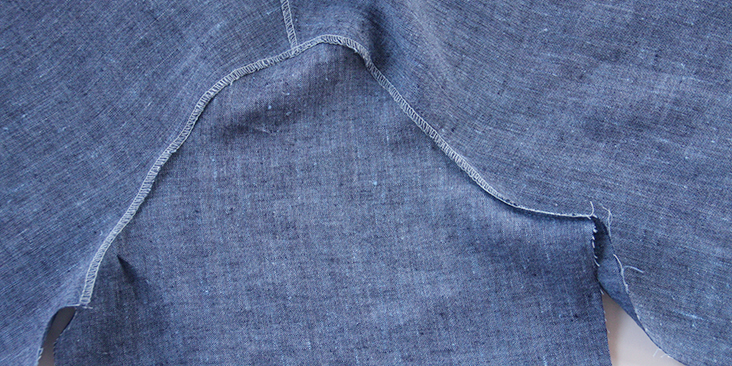
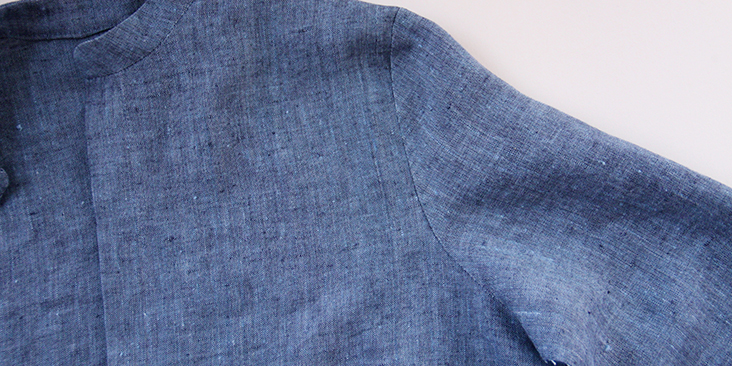
9. Pin the sleeves and the side seams right sides together all in one seam.
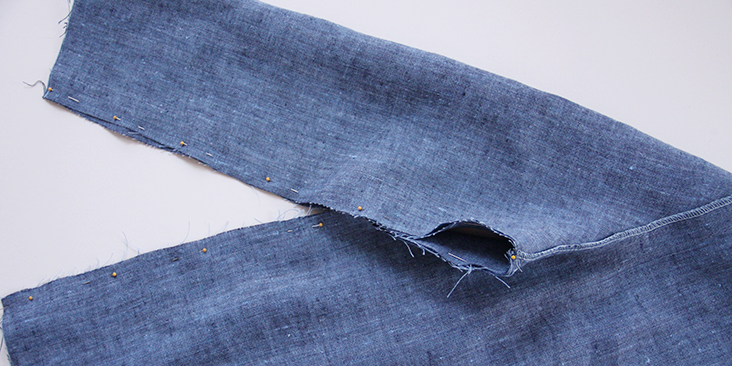
10. Sew the pinned edges at a 3/8” (1 cm) seam allowance, trim to 1/4″ (6 mm) and finish the raw edges with a serger or a zigzag stitch. Press the seams flat folding the serged/zigzagged edges towards the back of your shirt.
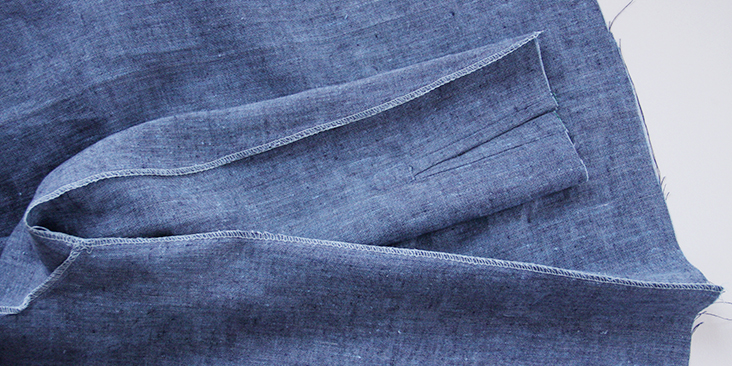
11. Now you can assemble and attach the cuffs as shown in the second section of this tutorial. However, since the cuffs are 2″ (5 cm) smaller than the assembled sleeve, you’ll need to create two small pleats on each side of sleeve placket to bring the sleeve opening to the size of the cuff.
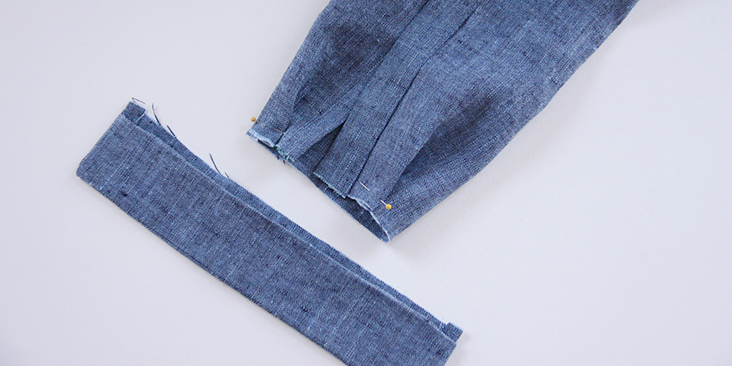
To keep the pleats in place, baste them down and press and place.
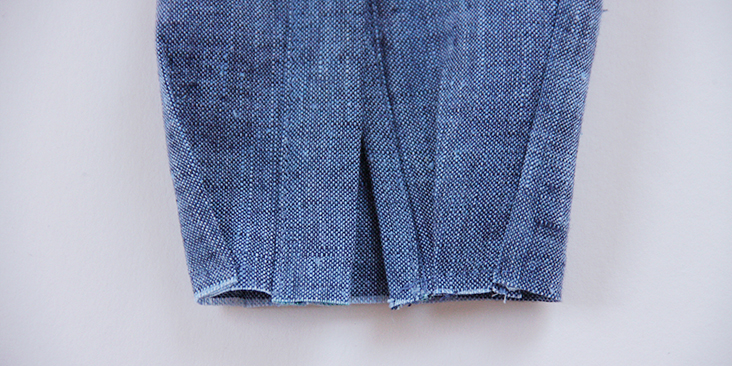
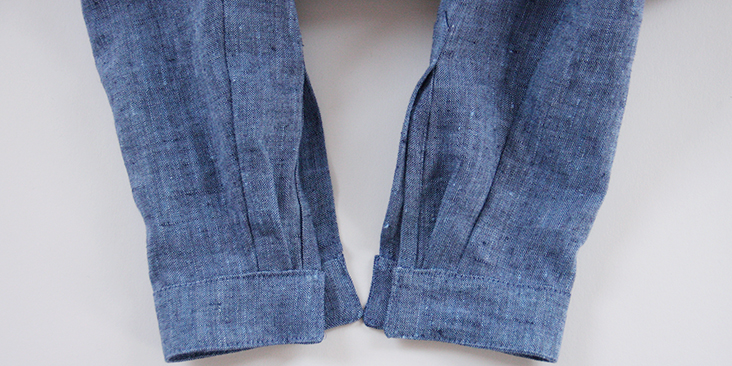
12. Finish the bottom hem by folding the fabric twice to the wrong side (3/8″ (1 cm) to 1/2″ (1,3 cm)), press and pin.
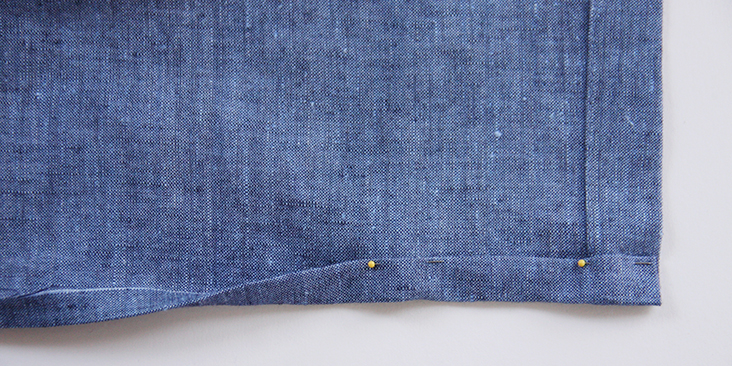
Make sure that the button bands are even.
13. Stitch as close to the folded edge as possible to finish the bottom hem and press.
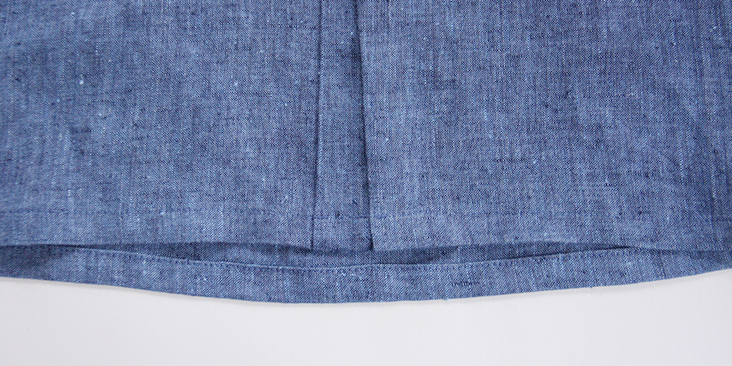
14. Lastly, sew the buttonholes and attach the buttons. Remember, that the buttonholes are sewn on the right button band and the tower side of the cuff, whereas the buttons – on the left side of the button band and the left side of the cuff.
For the buttonholes, you can follow our detailed tutorial HERE.
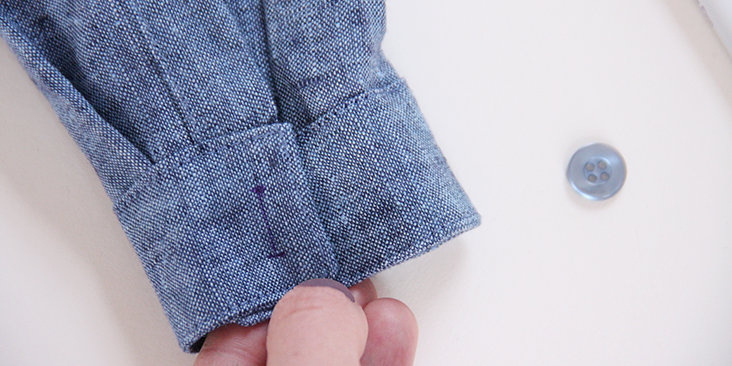
Overlap the shirt and place a pin into the center of each buttonhole. This is where you’ll need to attach the button. Check our tutorial HERE for instructions on how to attach the buttons.
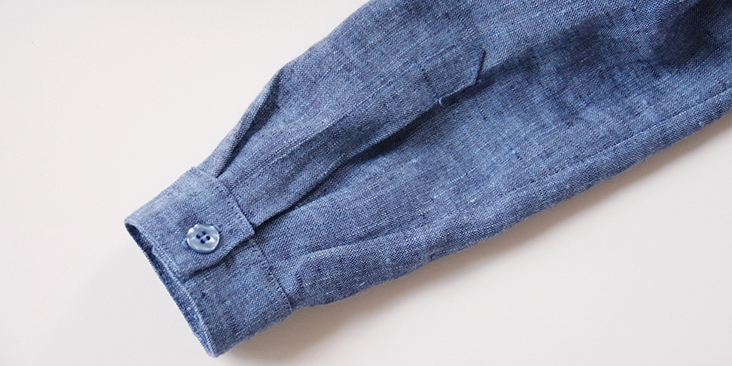
The number and the spacing are really up to you. If you want your buttons closer, just leave smaller gaps between them. We decided to space our buttons 2,5″ (6 cm) apart.
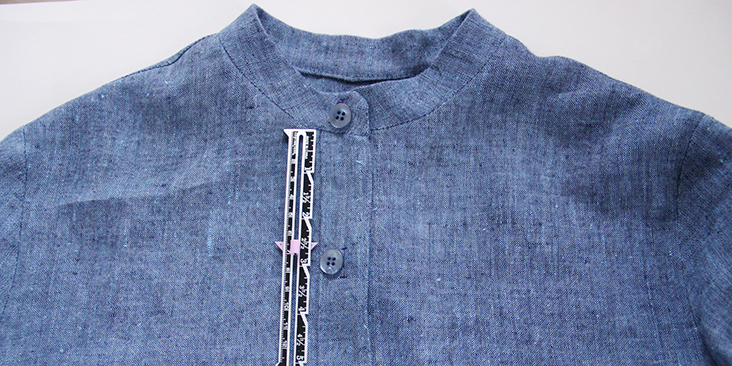
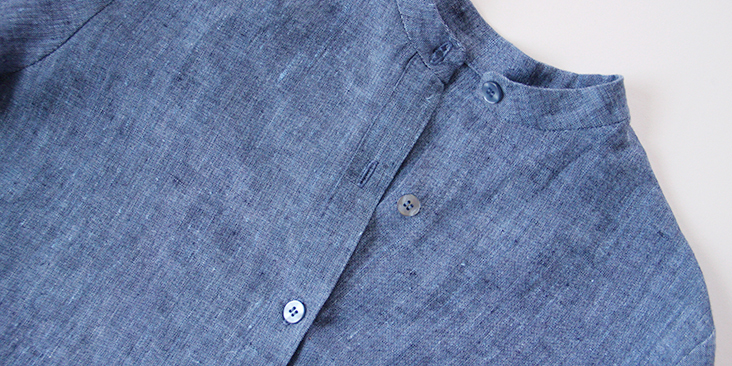
Give your shirt a good final press and you are all done! With its beautiful mandarin collar, classic button bands and perfectly finished sleeves, your shirt will look as professional as the sewing skills you’ve learned!














10 Comments
Magda Telenga
This is a lovely pattern. I really like the slight ‘A’ (tent) form of it which, together with the mandarin collar, gives it a ‘niche’ look. The instructions are well explained and clear. I love the way the cuff placket is made. It’s fairly easy to make and it looks very professional. Thank you for your generosity offering all these patterns and tutorials for free. I made many of them and am always very satisfied.
Chloe Nagraj
Thanks for the tutorial! What bust size is this pattern drafted for?
Lauren Gates
Hi Chloe, Our patterns are drafted for a b-cup bust.
Jan Auchterlonie
I’ve printed out the pattern but where is the mandarin collar pattern?
Wendi Dwyer
I was taught only to use iron-on interfacings (under-collar, neck and cuff facings etc) on inner surfaces so nothing shows when the garment is worn. Also to use the very lowest iron temperature you can get away with and still have it stick. I find using a low temperature but pressing for longer works for me. Constantly checking, of course. Practice on scraps first- before assembling your garment.
Lynda Moseley
Hi, Rima. I just ordered 4 yards of the softened linen in Meadow and would love to make this blouse with some of it, but I need a much fuller sleeve to hide medical packs I have to wear on my arms. May I ask if you would please consider a tutorial showing how to revise a pattern to increase the fullness of the sleeve? I haven’t been able to do it very successfully on my own. Thank you so much,
Lynda
Rima Khusainova
Dear Lynda, thank you very much for your comment. The best way to increase the fullness of a sleeve is to use a so-called slash method. We’ve talked about it in detail in one of our tutorials – https://blog.fabrics-store.com/2016/12/23/sewing-glossary-how-to-draft-and-sew-gathered-sleeves-tutorial/. I really hope that this would help!
Chrystal
There is a Craftsy class called Couture Sewing techniques I highly recommend. She specifically talks about interfacing and what to use for interlining. She does not recommend iron on…maybe she does but I never do. I hate iron on and I’ve been sewing for over 2 decades. The information in that class would help. There is a product called Shirt tailor that is fabulous for stiff facings. I’ve never had it bubble on me.
Wendell Cochran
I have, and have always had, a horrible problem with iron on polyester interfacing: It inevitably bubbles the fashion fabric regardless of what ever weight I use. Or, it doesn’t bond permanently and eventually peals from the back sides of loose facings. I’ve read, re-read and studied the instruction sheets included with the purchase of by-the-yard iron on interfacing. I”ve used damp pressing cloths, dry irons, steam irons set at any number of high and low temperatures, and, pre-shrunk, dried, ironed and cut the fashion fabric pieces before cutting the interfacing and then applying it according to written instructions. I’ve even trimmed away the five-eights inch seam allowances off the interfacing that get sewn into a seam and then top stitched in place. Once, I pre-shrunk the polyester iron interfacing by wrapping it in a very damp cloth and allowed it to dry inside the roll of fabric. Some times I get an almost perfectly smooth application, but mostly it bubbles after I have attached the interfaced pattern piece to the main body of the garment. Shirt collars are the worst problem, always. I cannot achieve that perfectly flat, picture perfect smooth surface found on better quality commercially made dress shirts’ collars, cuffs and front button bands. I am not a beginner sewer. Any sage advice on what I should do to achieve the perfect look when using iron on interfacing for constructing shirts and similar type of garments.. I now use only sew in, especially when I need to use a heavier or crisper weight of interfacing for stiffer body or ridged shape.
Barbara Klink
Wendell, You have described my situation completely. I cringe when I see iron in interfacing. Always bubbles, I wish the product had directions that would allow me to use the press in interfacing without a disaster. I used a sew in interfacing and it tore away from my stitching after I washed it. Both the collar and the button placket are ruined. Does anyone have a recommendation?
This pattern shirt sewn in linen is just beautiful. Thank you.