


How to Select and Use Interfacing: A Simple Guide
Iron-on or sew-in, woven or non-woven, lightweight or heavyweight. With so many different types, weaves, and weights to choose from, how do you know which interfacing is best for your project?
In this article, I will explain the two main types of interfacing before diving into the differences in weave and weight. Hopefully by the end you should feel more confident when it comes to selecting interfacing for your next sewing project.
What is Interfacing?
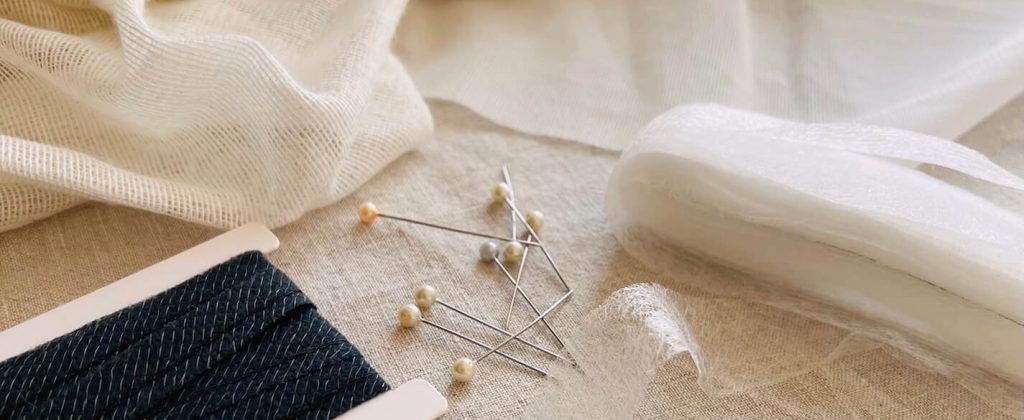
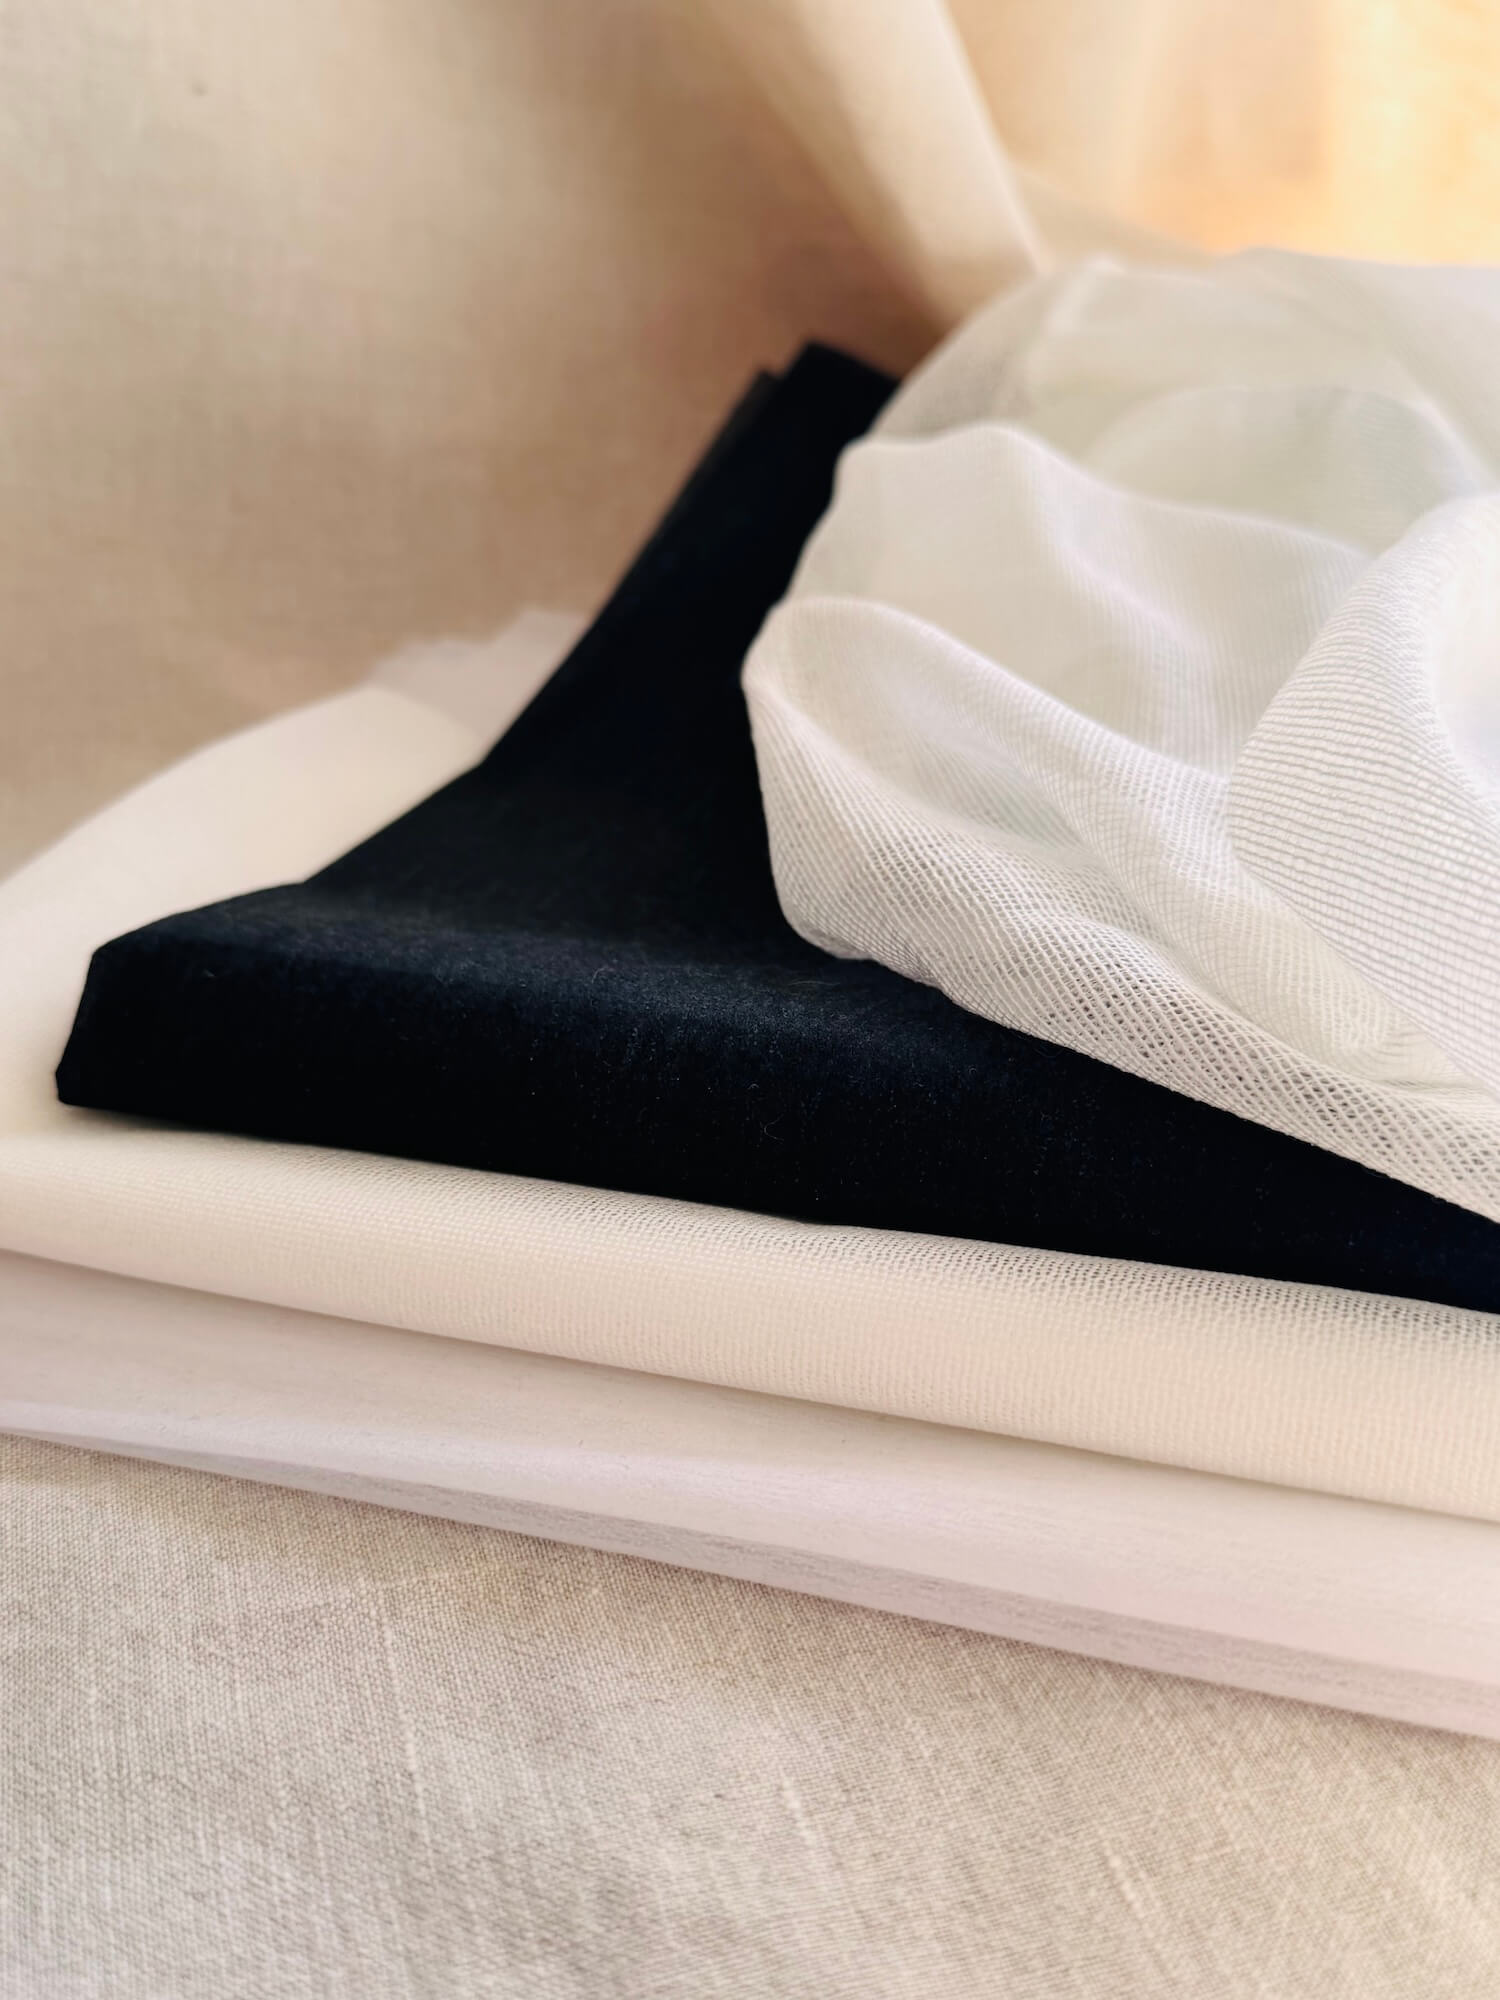
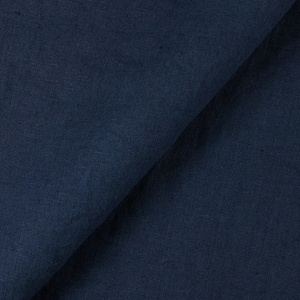
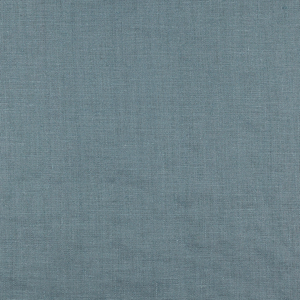
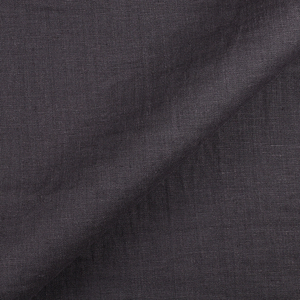
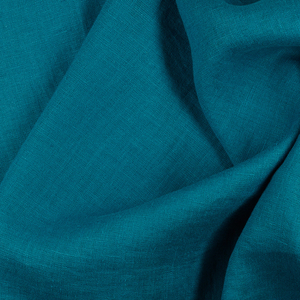
Interfacing (sometimes called interlining) is a type of fabric that is applied to the reverse of another fabric. Its purpose is to provide stability and structure, while also reinforcing weak spots and areas prone to stretching. Therefore, interfacing is commonly used in areas such as collars, cuffs, plackets, necklines, waistbands, and for buttons and buttonholes.
Interfacing is available in two main types: iron-on and sew-in.
Iron-on Interfacing
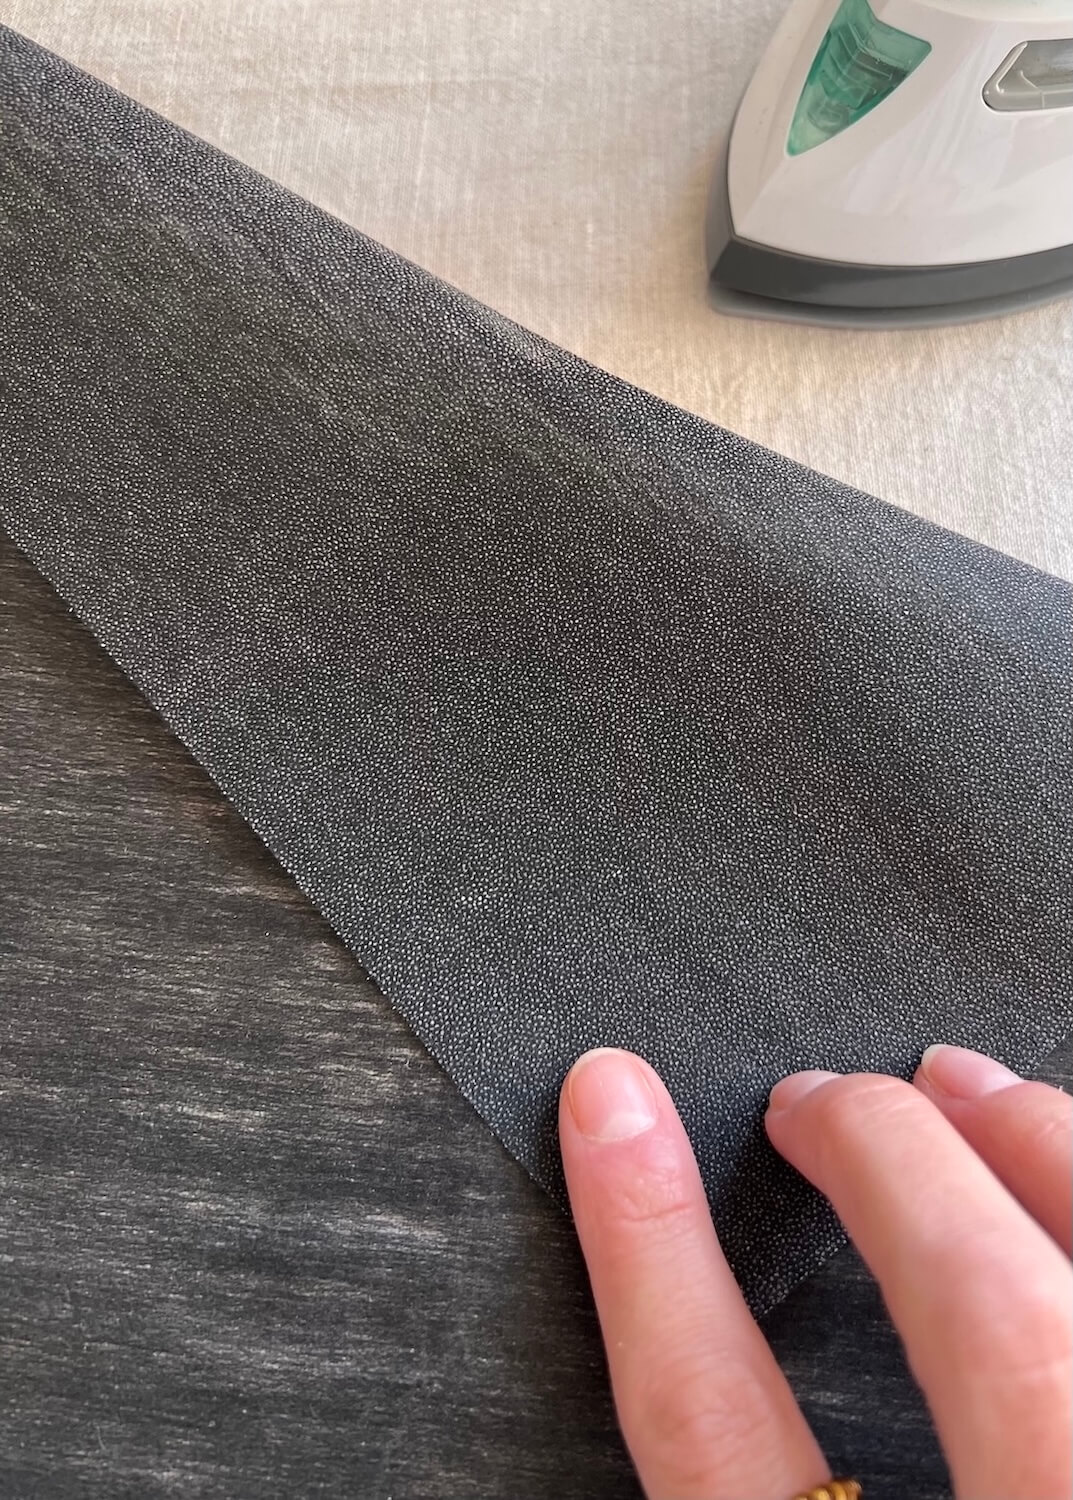
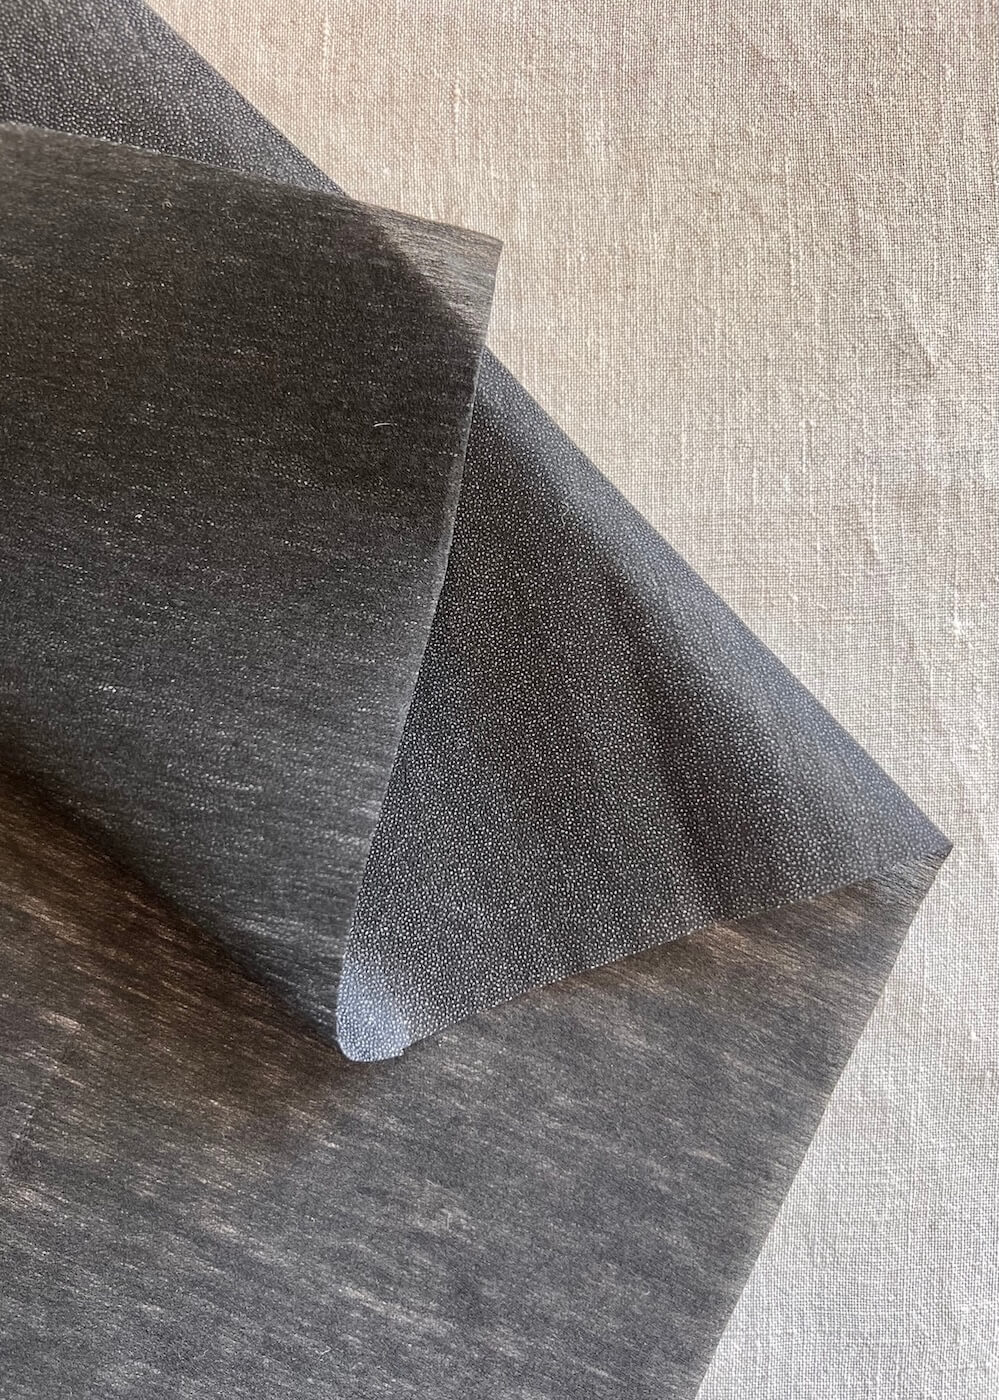
Iron-on interfacing, also known as fusible interfacing, sticks to fabric through the application of heat. On the back of iron-on interfacing, you will notice either rough dots or a shiny finish. This is the glue. When heat is applied, this adhesive layer fuses to the fabric.
Iron-on interfacing works best with fabrics that can tolerate heat, such as cotton or linen.
How to apply iron-on interfacing:
1. Cut the interfacing to match the pattern piece.
2. Lay the fabric on the ironing board, wrong side facing up.
3. Position the interfacing on top of the fabric, glue side down. Make sure the edges line up neatly and trim any overhang if necessary. Excess interfacing can stick to the iron or ironing board.
4. Cover with a pressing cloth (a tea towel also works just fine).
5. Set your iron to a dry setting (no steam) and adjust the heat accordingly to the fabric type.
6. Press the interfacing in sections, holding the iron in place for a few seconds at a time before lifting and moving to the next section. Avoid sliding the iron as this can shift and wrinkle the interfacing.
Sew-in Interfacing
As the name suggests, sew-in interfacing, also known as non-fusible interfacing, is attached to fabric by stitching.
It is ideal for projects where you want to maintain more of the fabric’s natural drape and texture, or when working with delicate fabrics like silk, or embellished fabrics that may not be able to handle the heat of an iron.
How to apply sew-in interfacing:
1. Cut the interfacing to match the pattern piece.
2. Position the interfacing on the wrong side of the fabric, aligning the edges.
Note: Sew-in interfacing typically doesn’t have a right and wrong side, unlike iron-on interfacing.
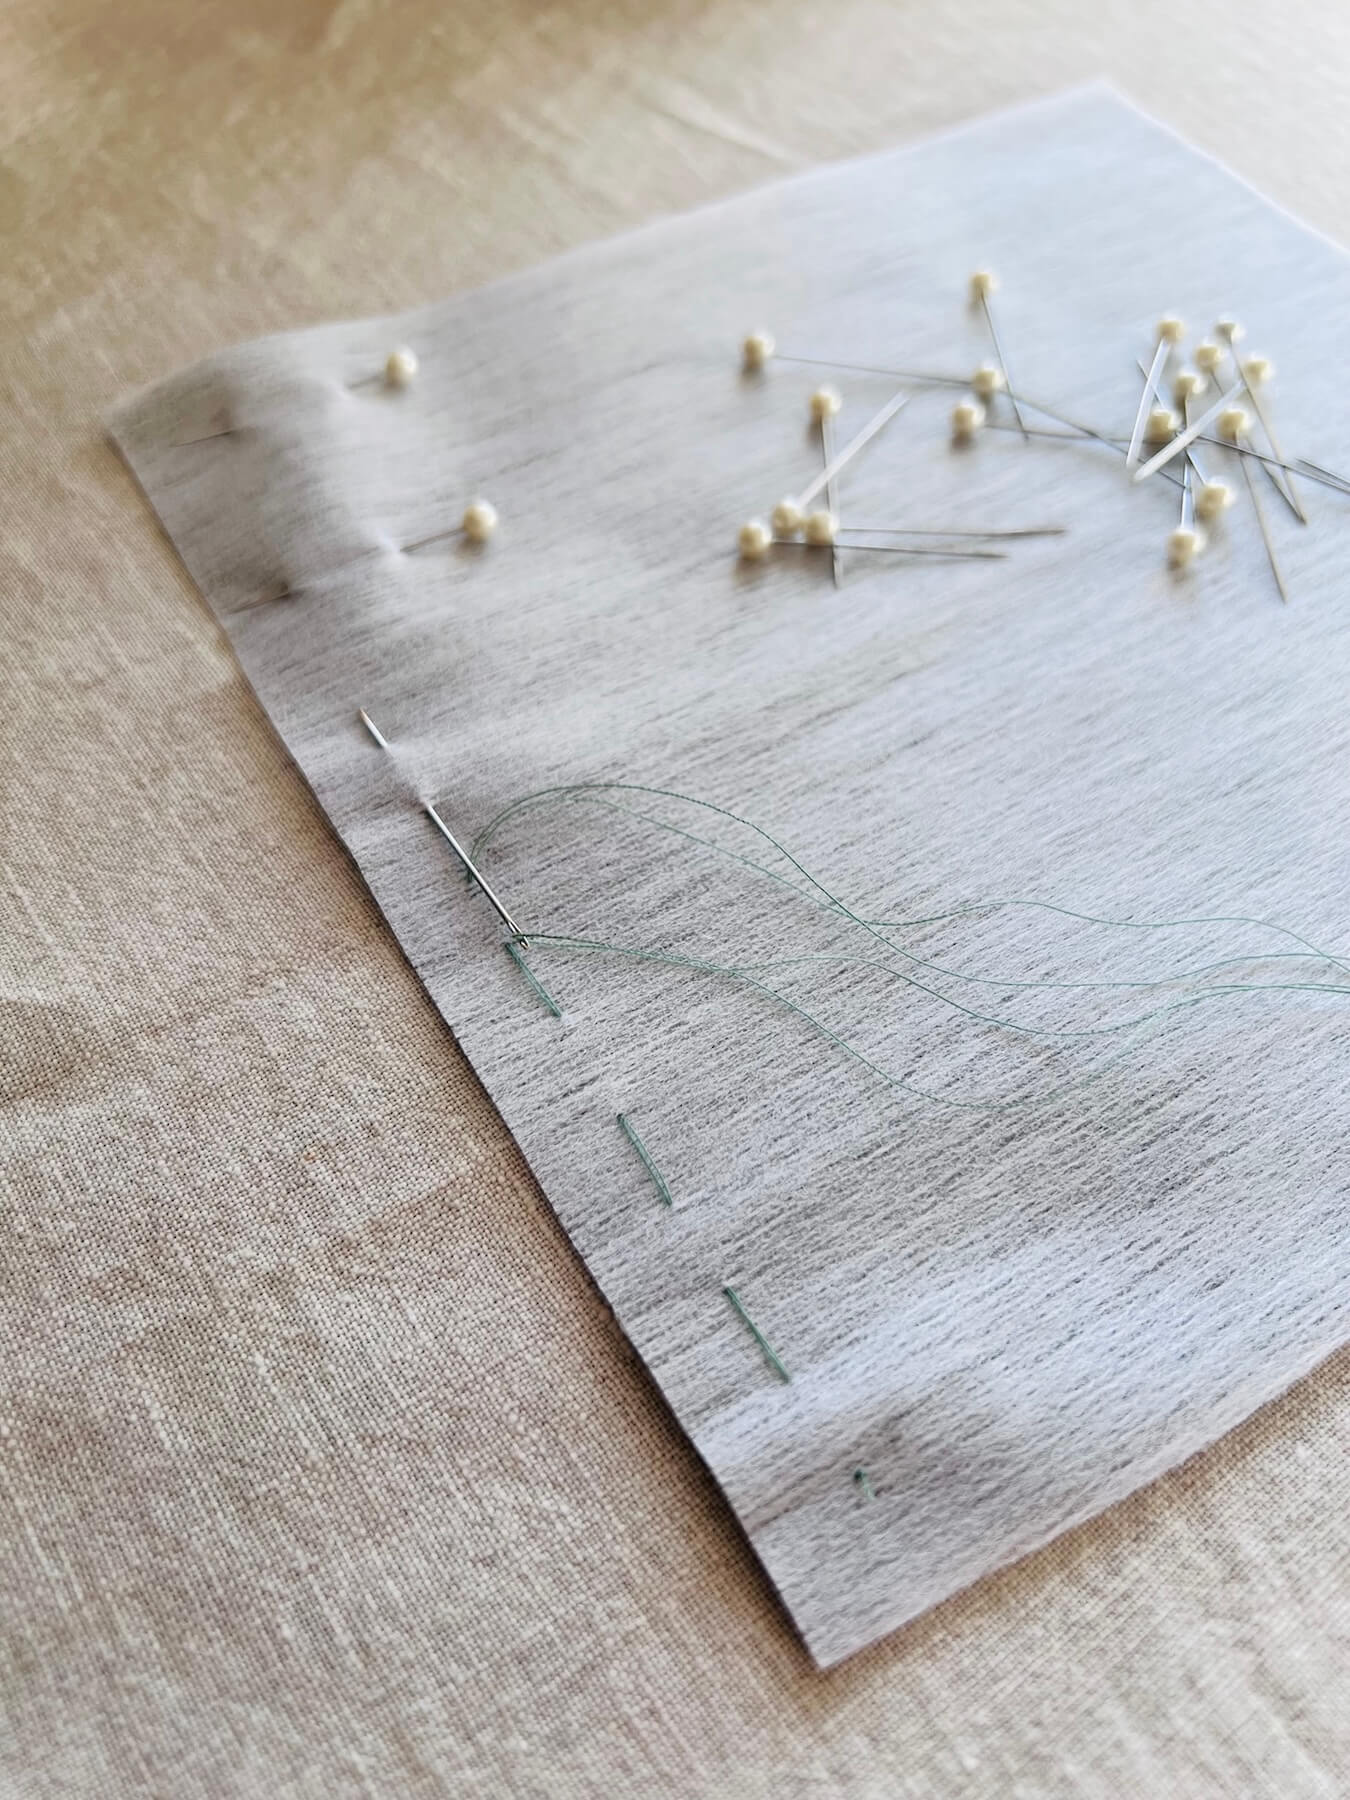
3. Pin or clip the interfacing to the fabric.
4. Baste or sew the interfacing in place to keep it from shifting while you sew. Ideally you want to stitch within the seam allowance (the area between the edge of the fabric and the stitching line).
Weaves
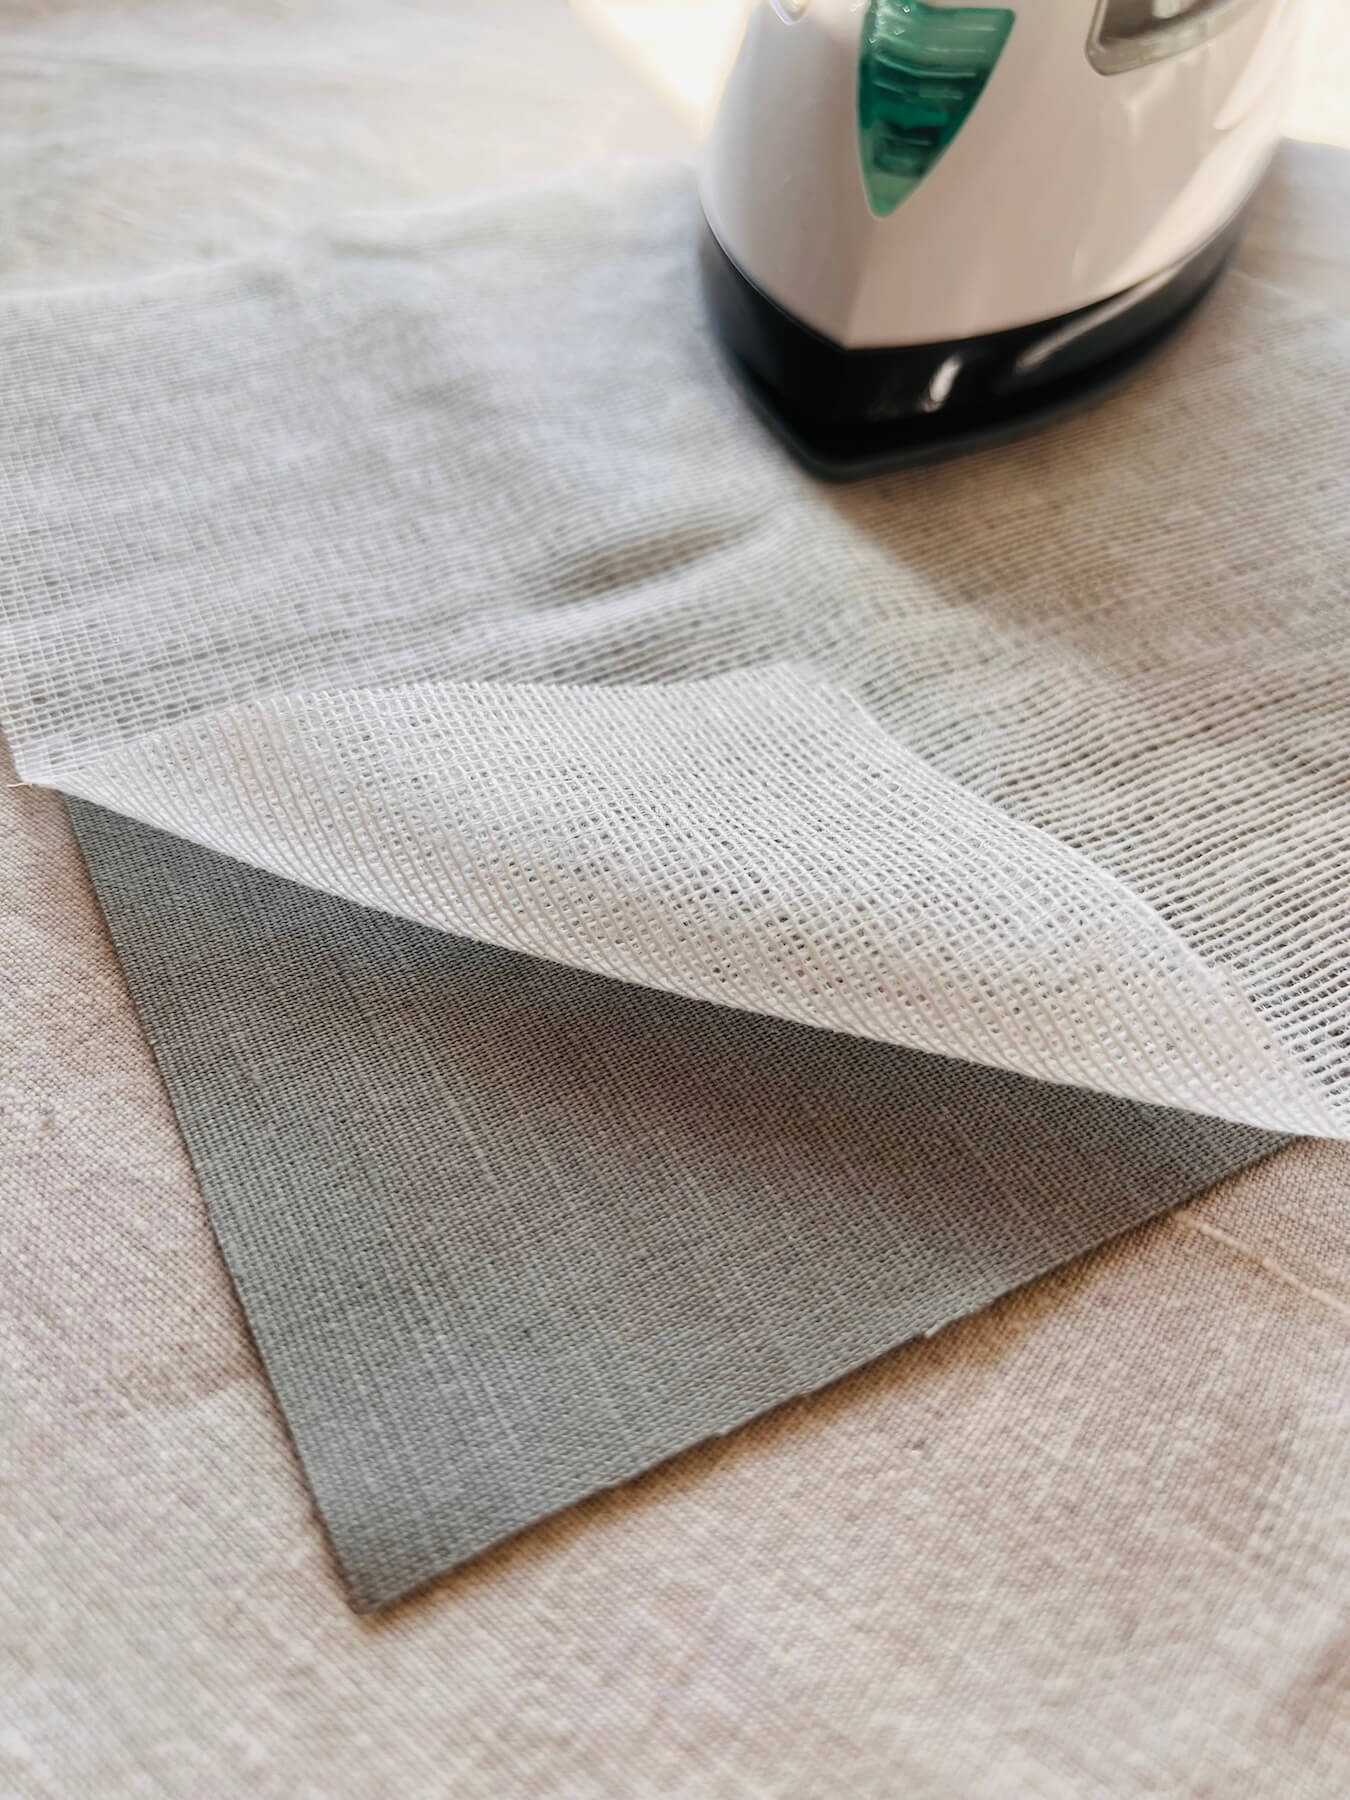
Both iron-on and sew-in interfacing can be further categorised by their weave type. The three main weaves are woven, non-woven, and knit.
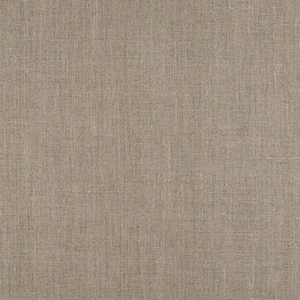
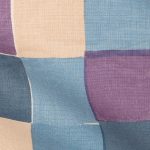
- Woven: Woven interfacing is just like woven fabric, with visible warp and weft yarns. For this reason, it is a good option for woven fabrics. Since it has a grainline, it’s important to align your pattern pieces parallel to the grainline, just as you would with fabric. This ensures proper drape and strength.

- Non-woven: Non-woven interfacing is made by bonding or felting fibres together. It is less durable than woven interfacing, particularly after repeated wear and washing, and can be a little stiffer. Therefore, non-woven interfacing is better suited to craft projects, or things like accessories. Non-woven interfacing doesn’t have warp and weft yarns or a grainline. This allows you to cut pattern pieces in any direction, making it more economical and simple to use.
- Knit: Knit interfacing is made using interlocking loops, similar to knit fabric, which gives it stretch and flexibility and allows it to move with the fabric. It is therefore ideal for knit fabrics, stretchy jerseys, or lightweight woven fabrics with some drape and stretch. Before cutting, check the direction of the stretch in the interfacing and align it with the stretch of the fabric for the best results.
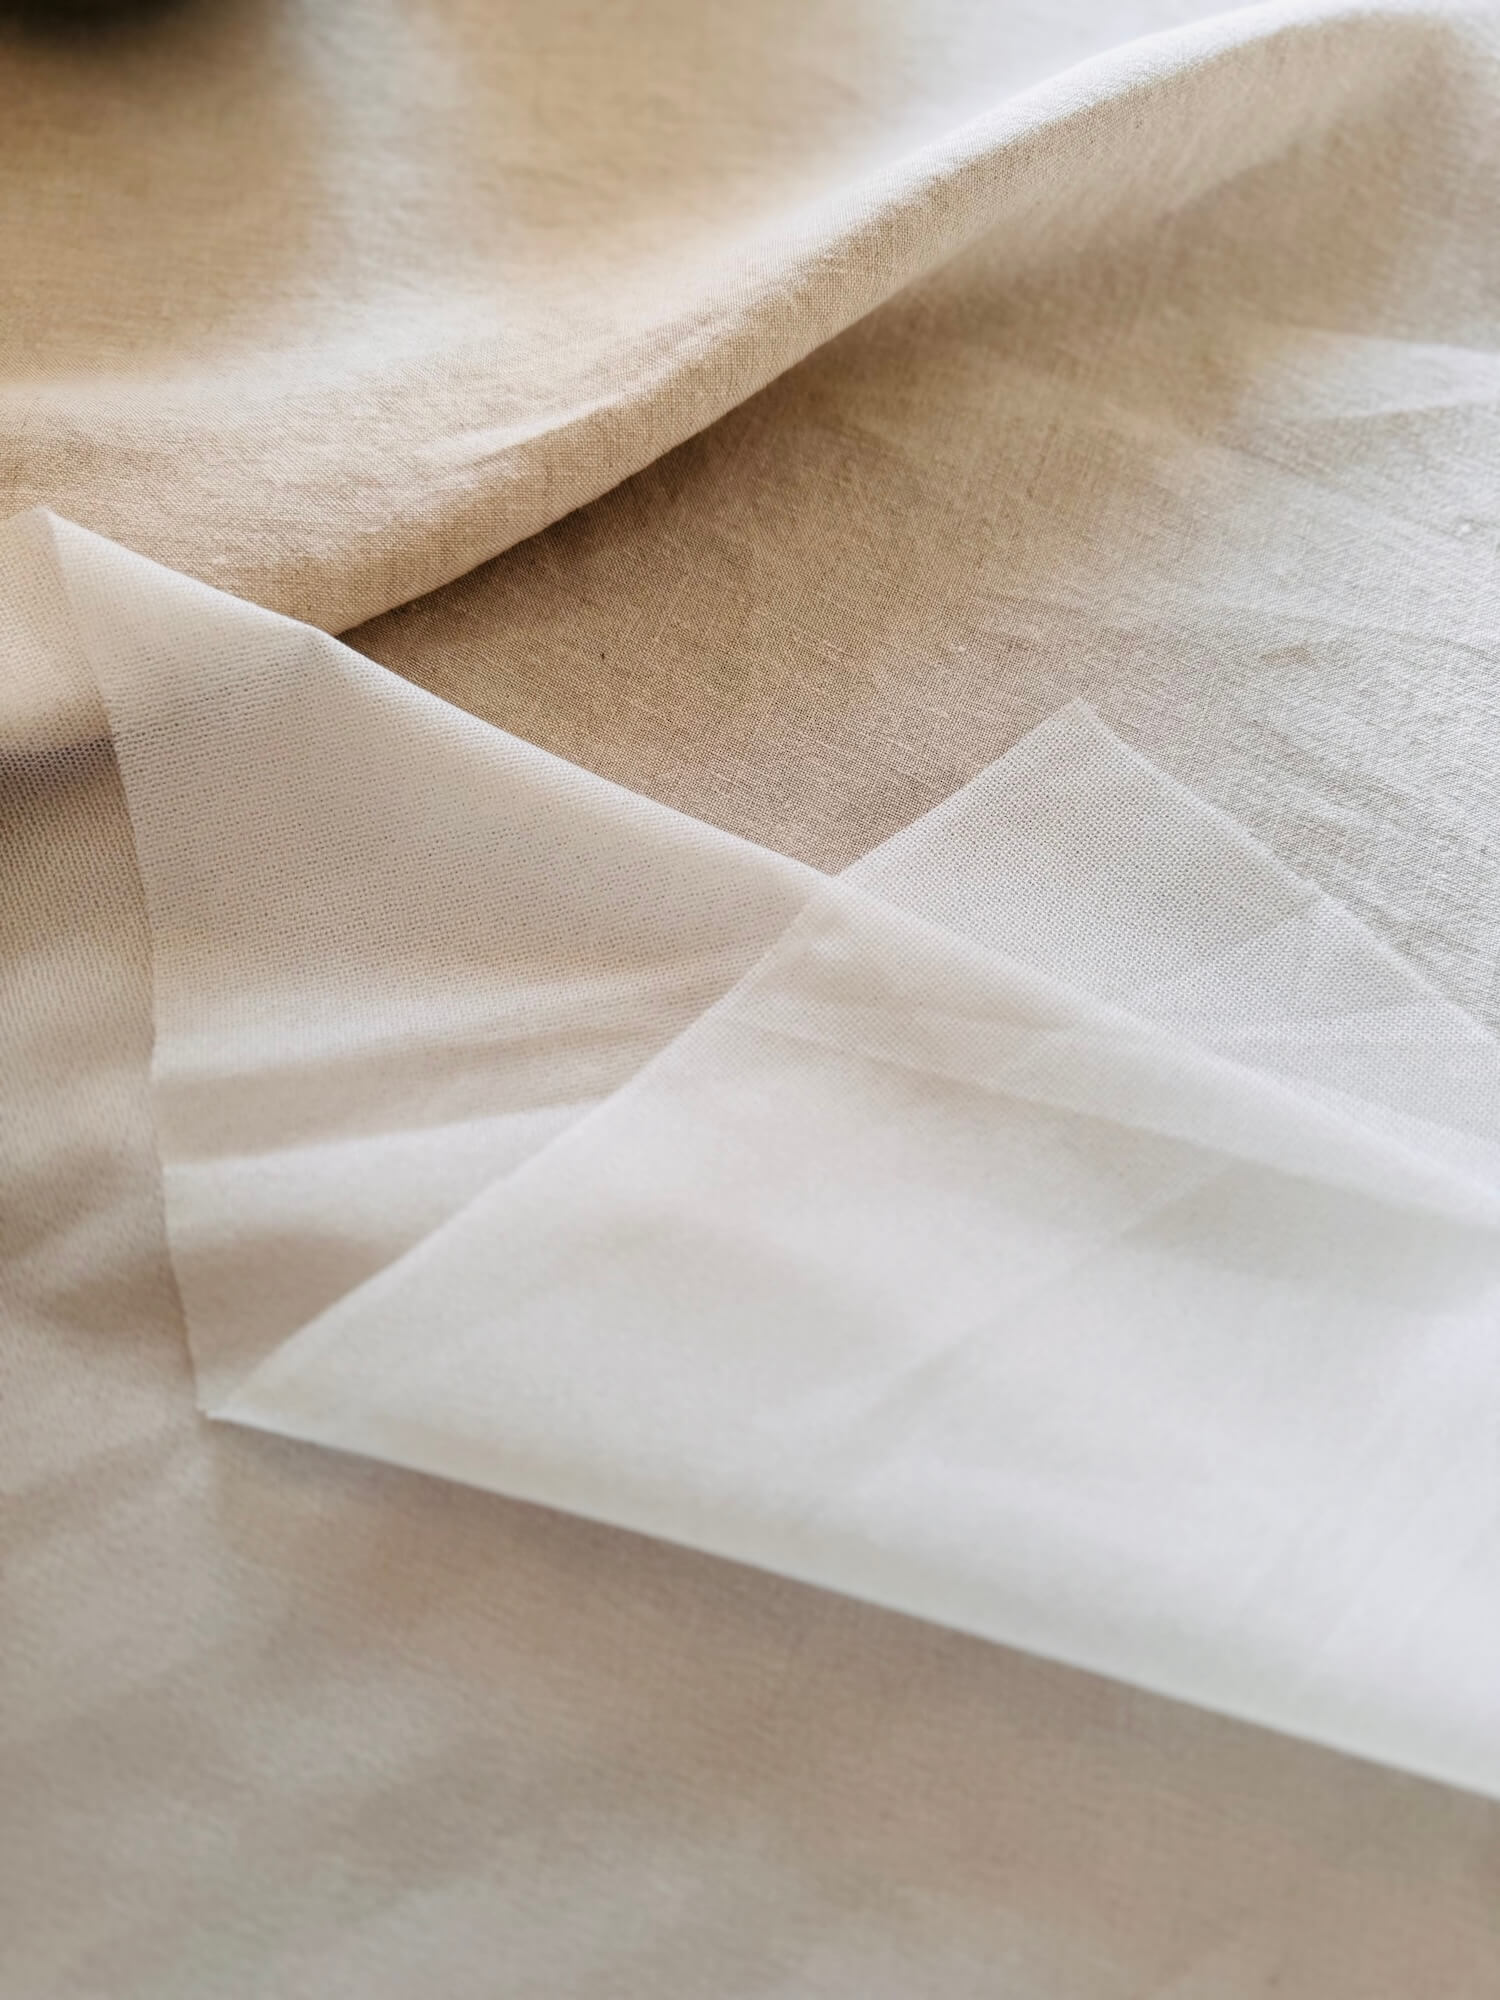
- Fabric as interfacing: As an alternative, lightweight fabrics like organza or cotton voile can be used as interfacing. This method is especially useful for delicate or sheer fabrics, where traditional interfacing might be too stiff, heavy or visible.
Weights
Interfacing is also available in various weights: light, medium, and heavy weight. Choosing the right weight depends on the fabric and the project needs. As a general rule, select an interfacing that matches the weight of your fabric or is slightly lighter than it.
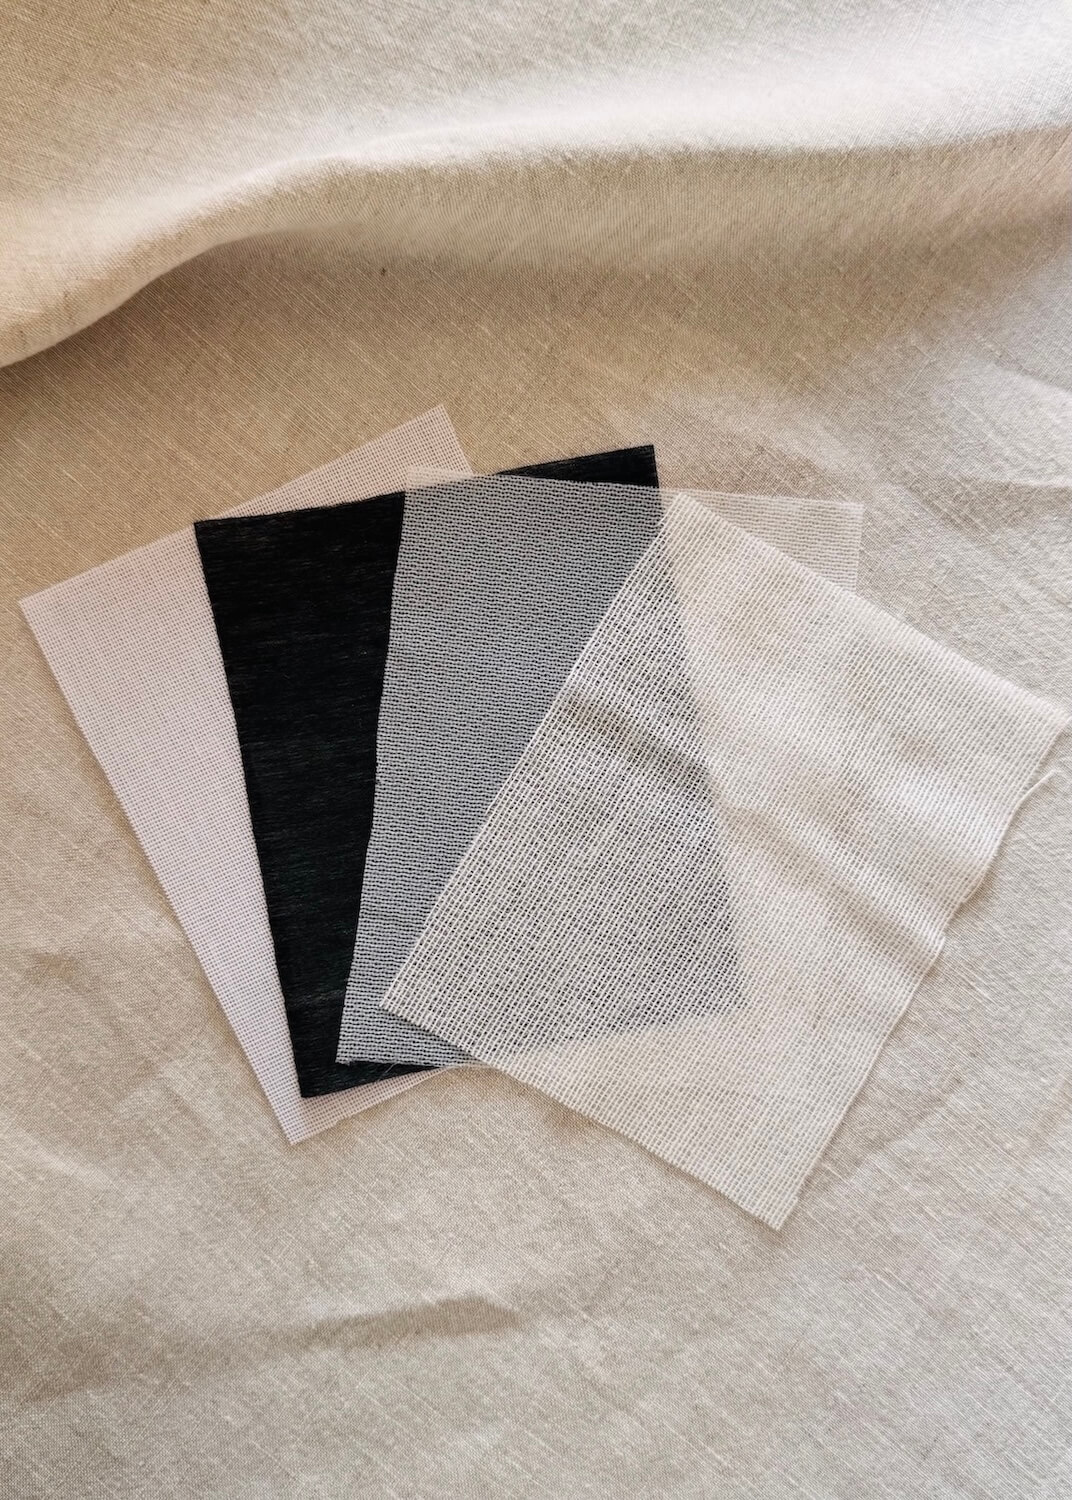
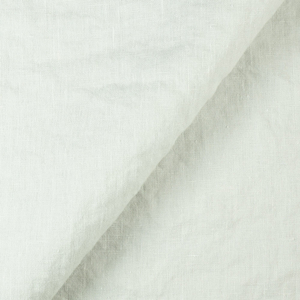
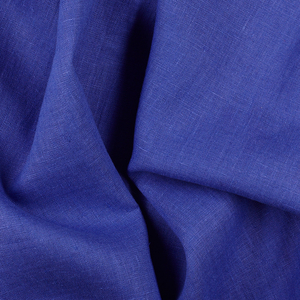
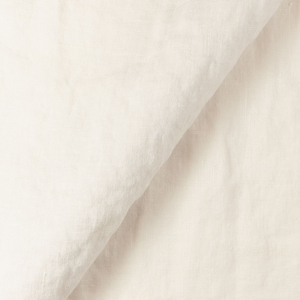
- Lightweight: Lightweight interfacing provides subtle support while allowing the fabric to maintain its natural drape. It’s perfect for delicate fabrics like silk, lightweight cotton, or chiffon.
- Medium weight: Medium weight is the most versatile and commonly used interfacing. It offers support without sacrificing flexibility, and is suitable for fabrics like cotton and linen. This weight works well for the more structured garment details like collars, cuffs, and plackets.
- Heavyweight: Heavyweight interfacing provides a lot of stability, and is often reserved for more specialised projects like bags, hats, or items that need extra structure. While it’s less common in dressmaking, it’s useful for projects requiring a firm finish.
Tips for choosing the right interfacing for your project
There are no hard-and-fast rules for selecting interfacing. It really does depend on the project and fabric. The best advice? Test, test, test! Always try out different interfacing options on scraps of fabric to ensure the desired look and feel is achieved. However, here are some general tips to help you choose and use interfacing:
- Colour matters: Use white interfacing for light-coloured fabrics and black for darker ones to prevent it from showing through.
- Prep your fabric: Always iron your fabric first to remove wrinkles, ensuring a smooth application.
- Smooth out interfacing: If your interfacing is creased, lightly spray it with water and let it dry flat before you use it.
- Working with iron-on interfacing:
- Use a pressing motion (lift and lower) instead of sliding the iron back and forth to avoid distorting the fabric and interfacing.
- Let the fabric cool completely before sewing to ensure it bonds securely.
- Protect both your fabric and iron by using a pressing cloth.
- If working with delicate or slippery fabrics, large or particularly small and fiddly pattern pieces, it can be beneficial to interface first and cut out the pattern pieces later. This is referred to as block fusing.
- Trim to reduce bulk: For heavier fabrics, try cutting iron-on interfacing slightly smaller than your pattern piece. For sew-in interfacing, trim close to the stitching line after attaching it to reduce bulk.
- Recheck pattern markings: After applying interfacing, revisit any notches, darts, or other markings to ensure they’re still visible.
- When in doubt, ask: Check the manufacturer’s instructions or ask for advice at the store where you purchased the interfacing.
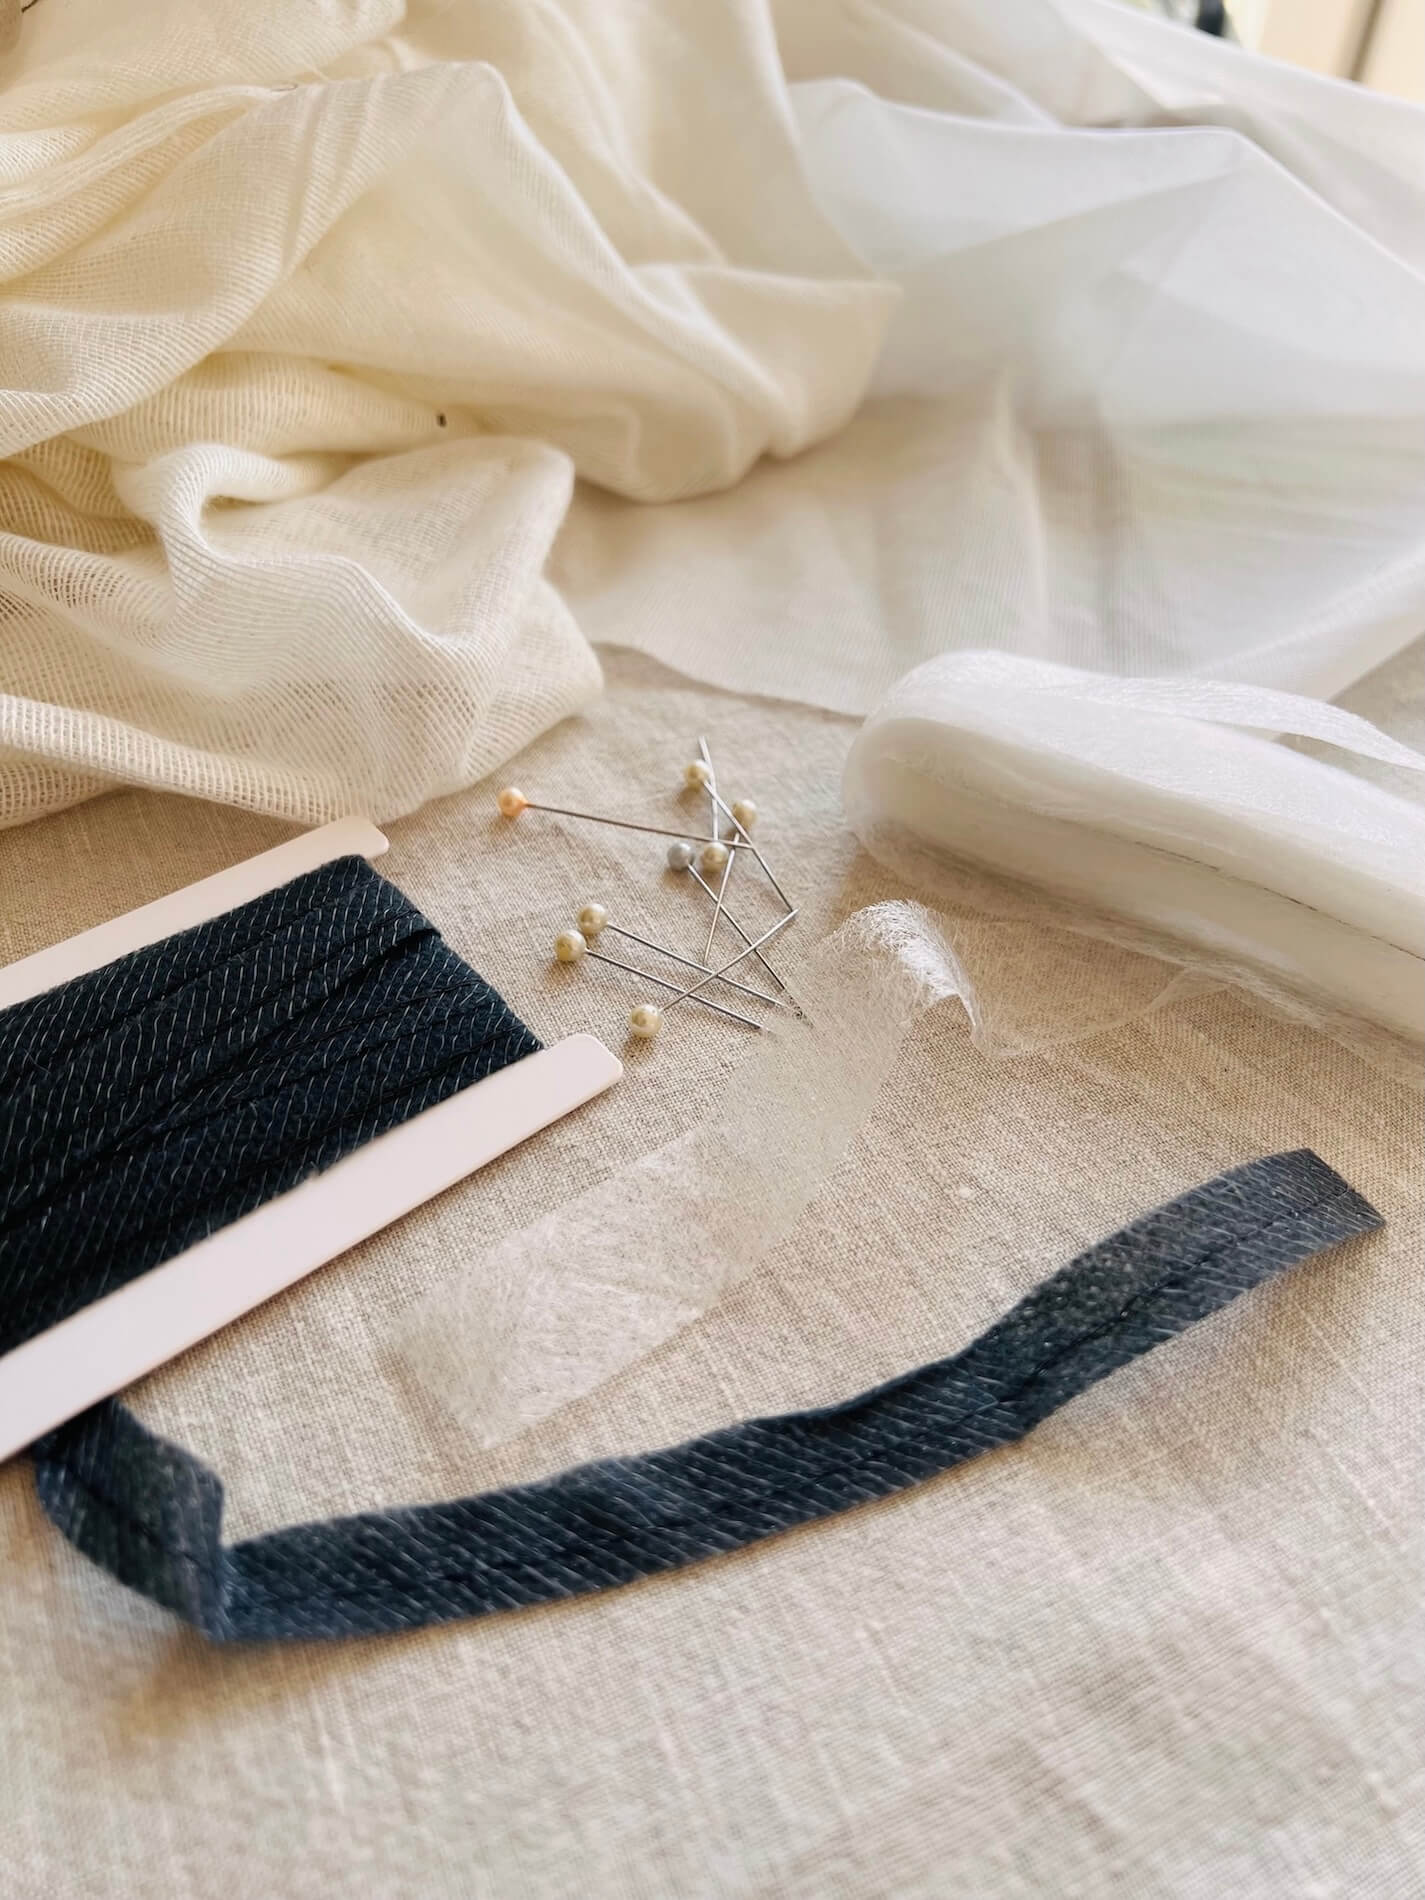
- Interfacing tape: Interfacing is also available in strips or tape form. This is a really convenient option for adding reinforcement to specific areas, including necklines, armholes, and hemlines.
The right interfacing can make a big difference to how your project looks and how well it holds up over time. Whether you go for iron-on or sew-in really just comes down to your fabric, its weight, and the kind of support you want to add.
About Author
Emma Cartmel
Heya! I’m Emma, and I'm an Aussie living in beautiful Munich with my husband Ben, and our pug Harley. I am a designer, pattern maker, and sewist, and I share my expertise and experience through my ‘cartem.sewing’ page. You can follow me on Instagram @cartem.sewingLeave a comment
Related posts
Sewing Essentials: A Guide to Sewing Threads
You might be thinking “Thread is thread… right?” Well, not always. Sewing thread is a key part of any sewing project. But just like fabric, the thread you choose matters, affecting things like the strength, appearance, and durability of your stitching. But if you have ever shopped for sewing thread, you probably know that it…

Sewing Essentials: Stitch Width, Stitch Length & Needle Position
Thinking back to my high school textiles days, I remember having to test stitch settings on every fabric we planned to use for our projects. We would cut out little squares of fabric and experiment with different stitch lengths and widths, and edge-finishing techniques. At the time, it felt unnecessary, not to mention tedious….

Sewing Essentials: A Simple Guide to Notches
I love a notch, so much so that I’ve decided to dedicate this article to these small but important markings. Here, I’ll explain why they’re so helpful, when to use them, and how to add them to your own patterns or adapt them for existing ones. What exactly are notches? Notches are small markings found…

Sewing Essentials: A Simple Method for Reversible Seams
There are so many ways to finish a seam, from good old overlocking to French seams and binding. I recently stumbled across another method that’s pretty nifty, and honestly, I kind of wish I had known about it sooner. It is a bit like binding, but topstitched in place so it doesn’t move or flap…

Sewing Essentials: Understanding Different Types of Sewing Elastic
Elastic is a really common notion used in sewing. You’ll find it on everything from waistbands to cuffs and necklines. It plays a crucial role in giving garments both support and shape. Have you ever had the waistband of your pants twist and never sit quite right? Or maybe you’ve noticed the leg opening of…


SEW THIS LOOK


Latest Posts

7 Comments
Karen Baen
I think interfacing is so difficult even with this excellent information! Like Lynn mentioned above, I’ve had trouble with some interfacings bubbling. I recently decided to try using a very lightweight linen as my interfacing and I was very pleased with the results. Knit interfacing is something I need to invest in. Thanks for this great article. ?
Jane Welle
After laundering garments with fusible interfacing, I see noticeable puckering. How can this be avoided?
Emma Cartmel
Hi Jane! When it comes to garments that have been interfaced, I always tend to hand wash them in cool water to reduce the friction that may be caused by a machine wash. Too much agitation may cause the interfacing to loosen or peel away, which may lead to puckering.
Susan Shaw
Can you explain the term “weft interfacing” and what that implies for use? Thanks
Emma Cartmel
Hi Susan,
My understanding of weft interfacing (which I know as “whisper weft”) is that it’s a type of interfacing that sits somewhere between a woven and a knit.
It usually has a knit foundation with weft yarns woven in for added stability. Because of this, it tends to have more stability than a regular knit interfacing, but it remains softer and more drapey than many non-woven interfacings.
It’s typically fusible and should be cut like fabric in relation to the grain.
Hope that helps!
Lynn Tate
I have had a lot of issues with my iron on (Pellon light weight) interfacing bubbling. This has ruined many a project around the cuffs and collars. Any thoughts as to why this happens? I was my interfacing first btw.
Thanks, Lynn
Emma Cartmel
Hi Lynn,
I’m sorry you’ve been having so much trouble with your interfacing! Bubbling with iron-on interfacing can be really annoying, but there are a few things that may be causing it:
– The fabric and interfacing may be shrinking at different rates due to their composition or weave.
– The adhesive may not be fully bonding to the fabric. Try pressing and holding the iron in place for a few seconds before lifting and moving to the next section, rather than sliding it back and forth.
– The glue continues to set as the piece cools, so moving it before it’s completely cooled can cause bubbling later.
– The interfacing might be the wrong weight for the fabric. If the interfacing is too heavy or stiff, or too light and soft, it may not move with the fabric properly, causing it to pull away over time.
Hope that helps!