


Pattern Review: Calantha Pants in Chocolate Linen + Tips for Elevating Simple Pants Patterns!
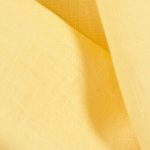
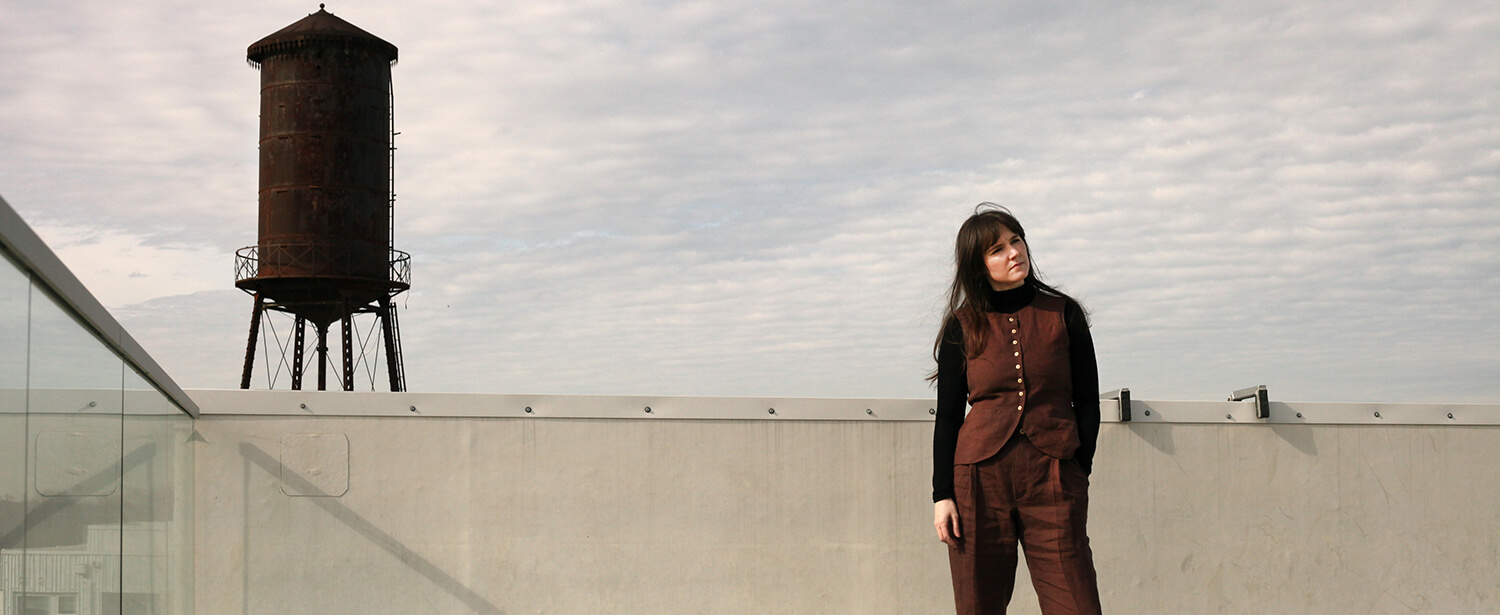
Modified FS Calantha trouser made with FS Chocolate Midweight Signature Finish
Hello hello! Today I’m sharing my newest sewing project with you – an elevated pair of Calantha pants in the most beautiful Chocolate brown midweight linen!
As a lover of trousers and “hard pants” with non-elasticated waists, I’ve been trying to make peace with the idea of elastic waist pants for a looong time. As much as I love the promise of the elastic waist pant (who doesn’t love being comfortable, right?) I always end up feeling like they are a touch too casual for my more formal and classic style. This year I was determined to figure out a way to incorporate one into my wardrobe, and I’m happy to report that I think I finally did it!
The Calantha pants are the perfect beginner sewing pattern in that they are incredibly simplified in their construction – no closures, no pockets, just a beautiful simple silhouette with a high waist and wide legs. I decided to add a few very simple details to slightly elevate the overall design to better fit my needs. I’ll walk you through all the little changes I made in hopes that it inspires you to play with your tried and true patterns for basics.
Modified FS Calantha trouser made with FS Chocolate Midweight Signature Finish
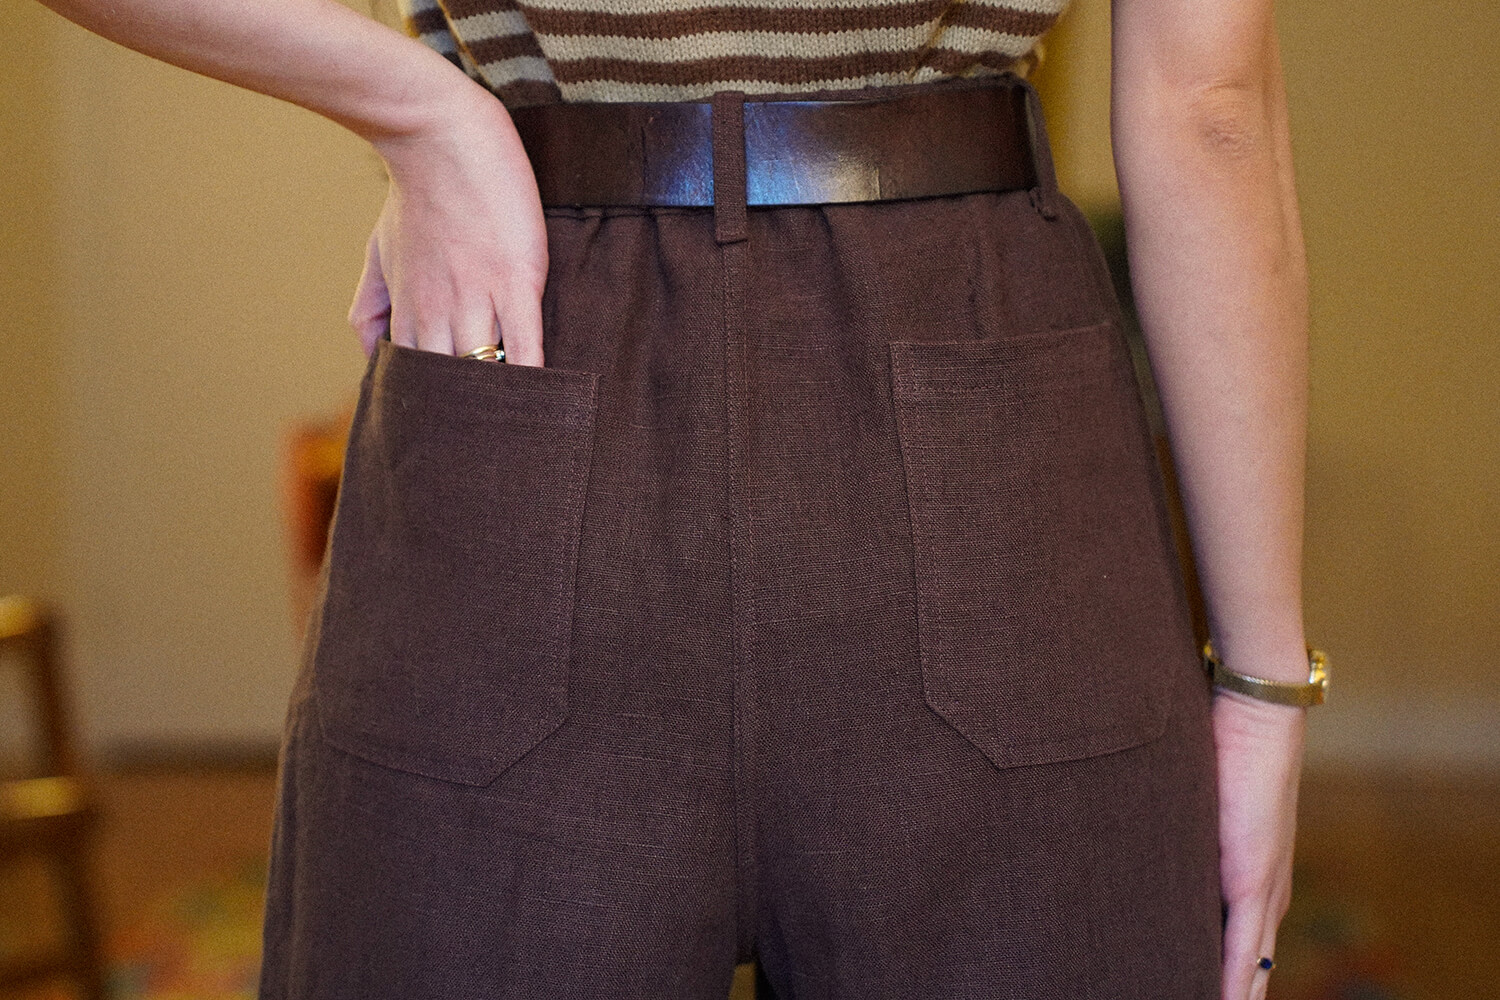
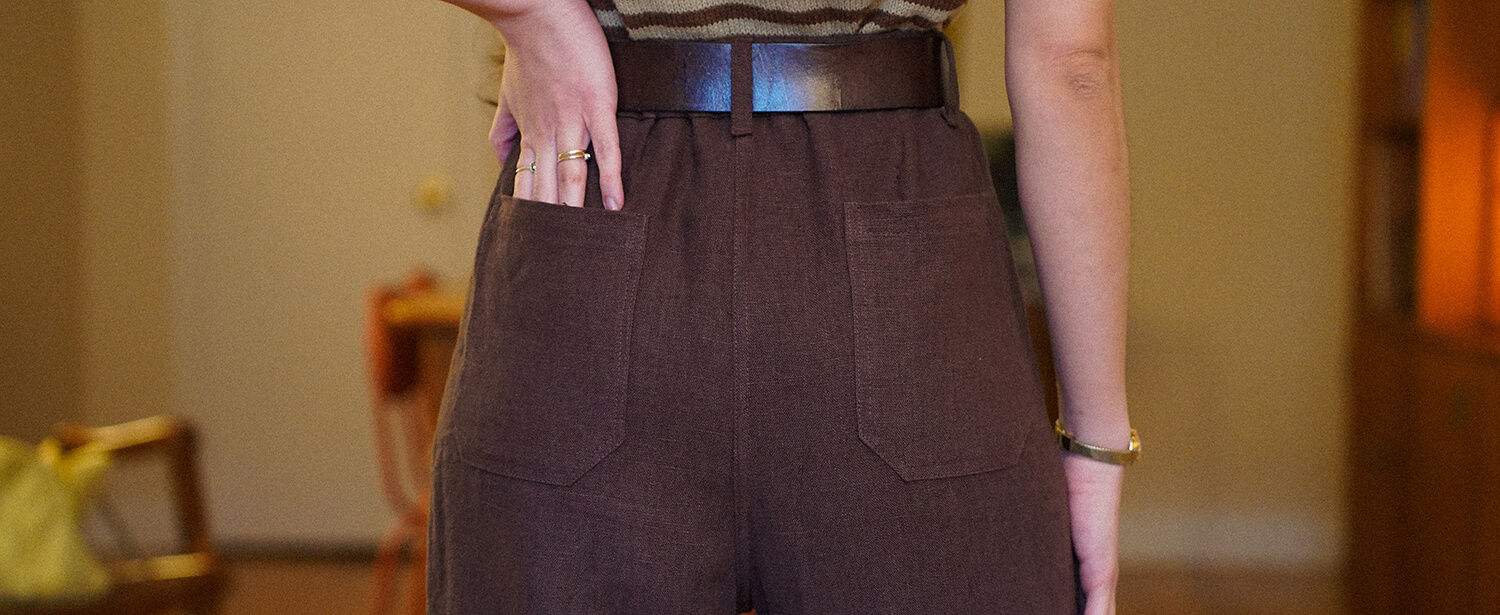
Back Pockets
My first change was to add some patch pockets to the back to give the back a little more detail, as well as make the pants a bit more functional. If you would like add the same pockets to your project, here are the dimensions of my finished pockets – don’t forget to add your preferred seam and hem allowance before cutting your fabric!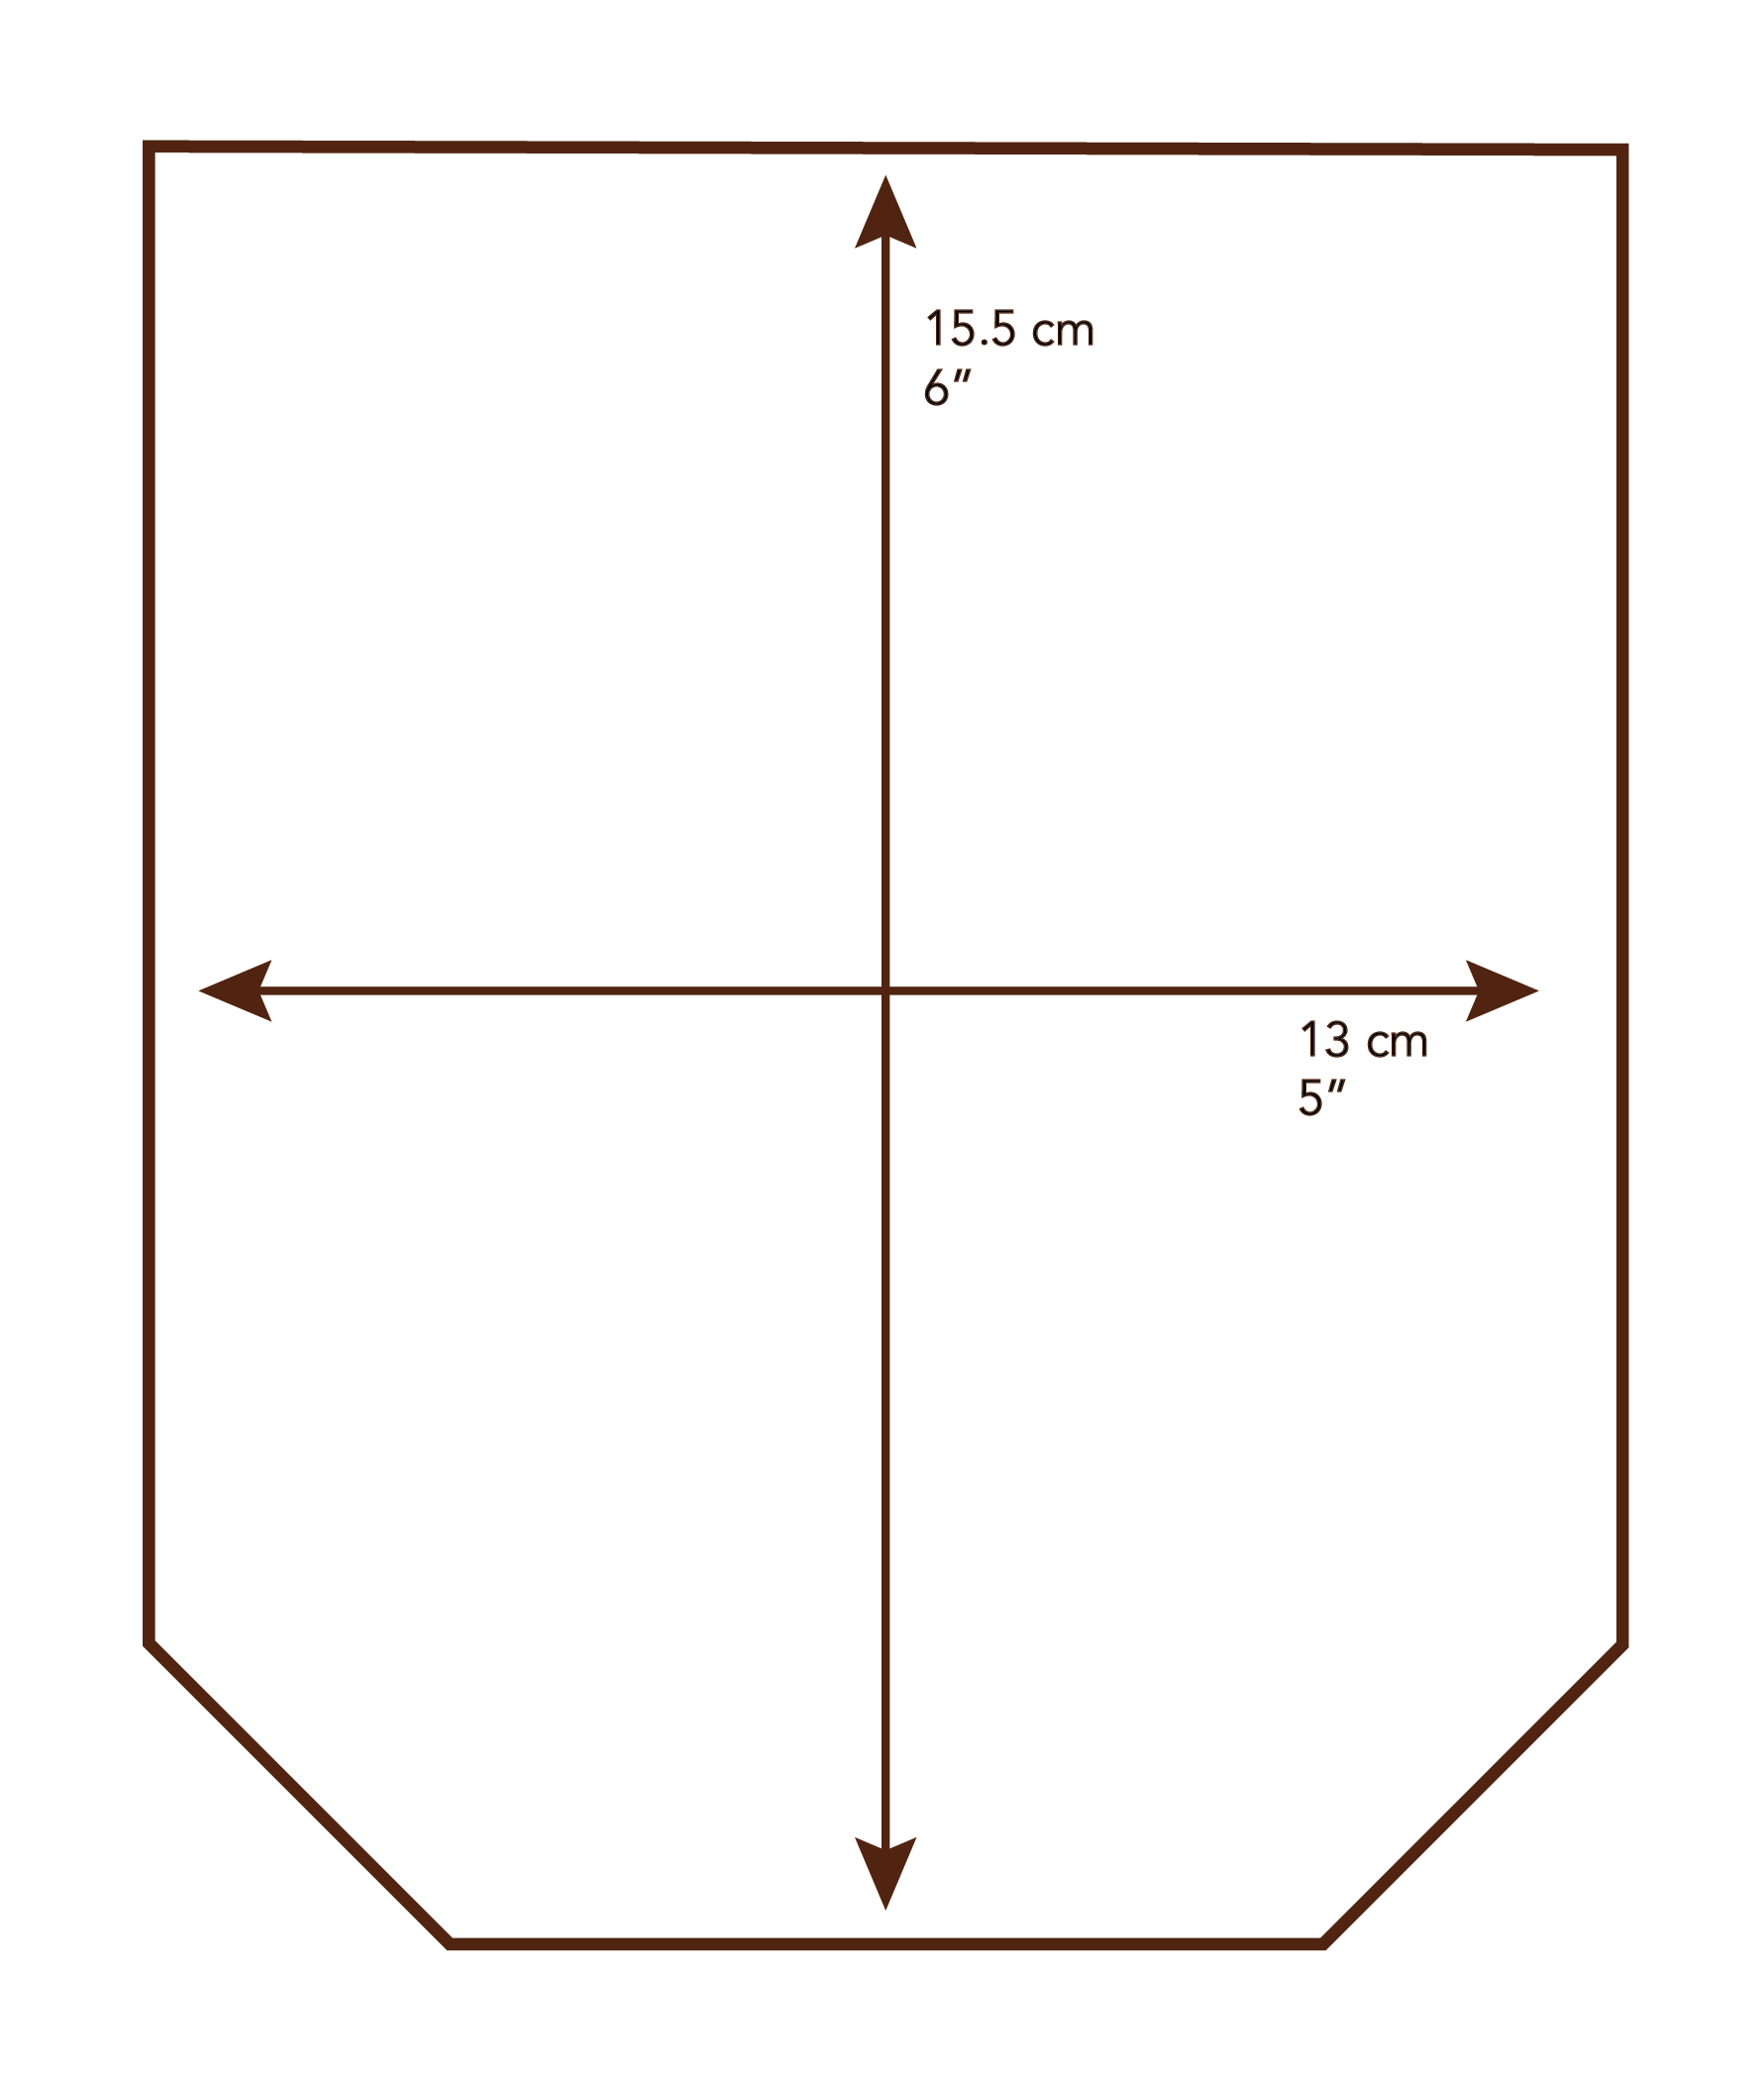
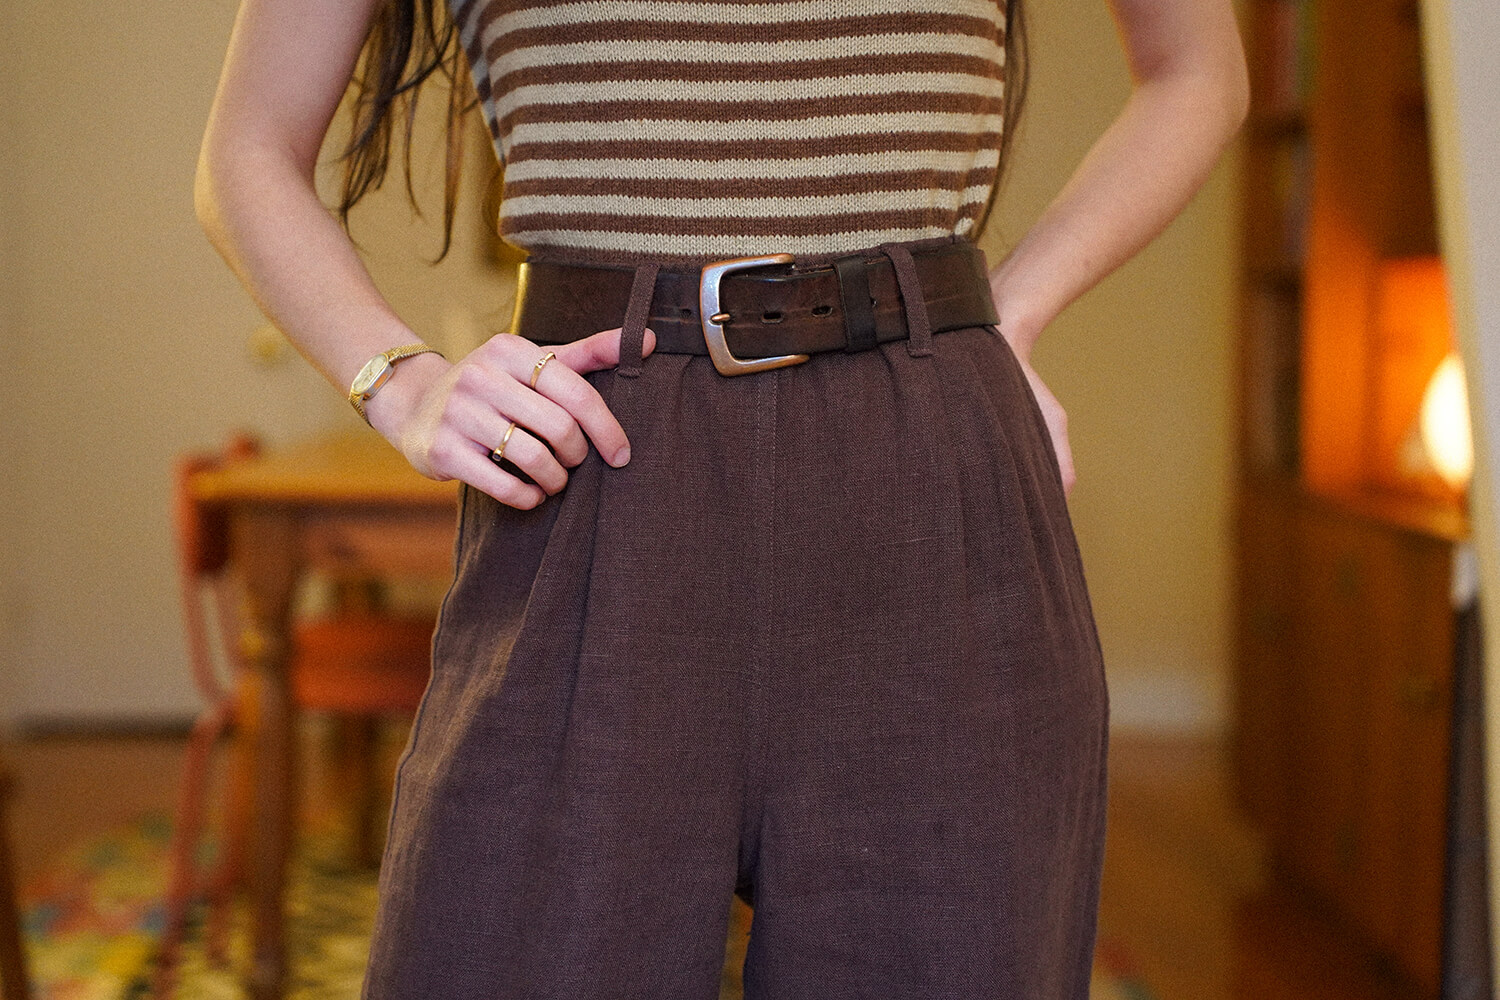
Front Pleats
My next change was to add two pleats on each front leg. Having made the Calantha shorts before I knew that the smallest size was a touch too big for me. Rather than grading the pattern down, I decided to create two small pleats along the front waistline to give the pants another simple detail and a little more structure while maintaining the lovely volume and drama of the legs. If you would like to do the same, I would recommend choosing a size up and making sure you can still pull the pants over your hips before attaching the waistband. You will also need to shorten the front waistband to fit the new, smaller waist circumference.

Modified FS Calantha trouser made with FS Chocolate Midweight Signature Finish
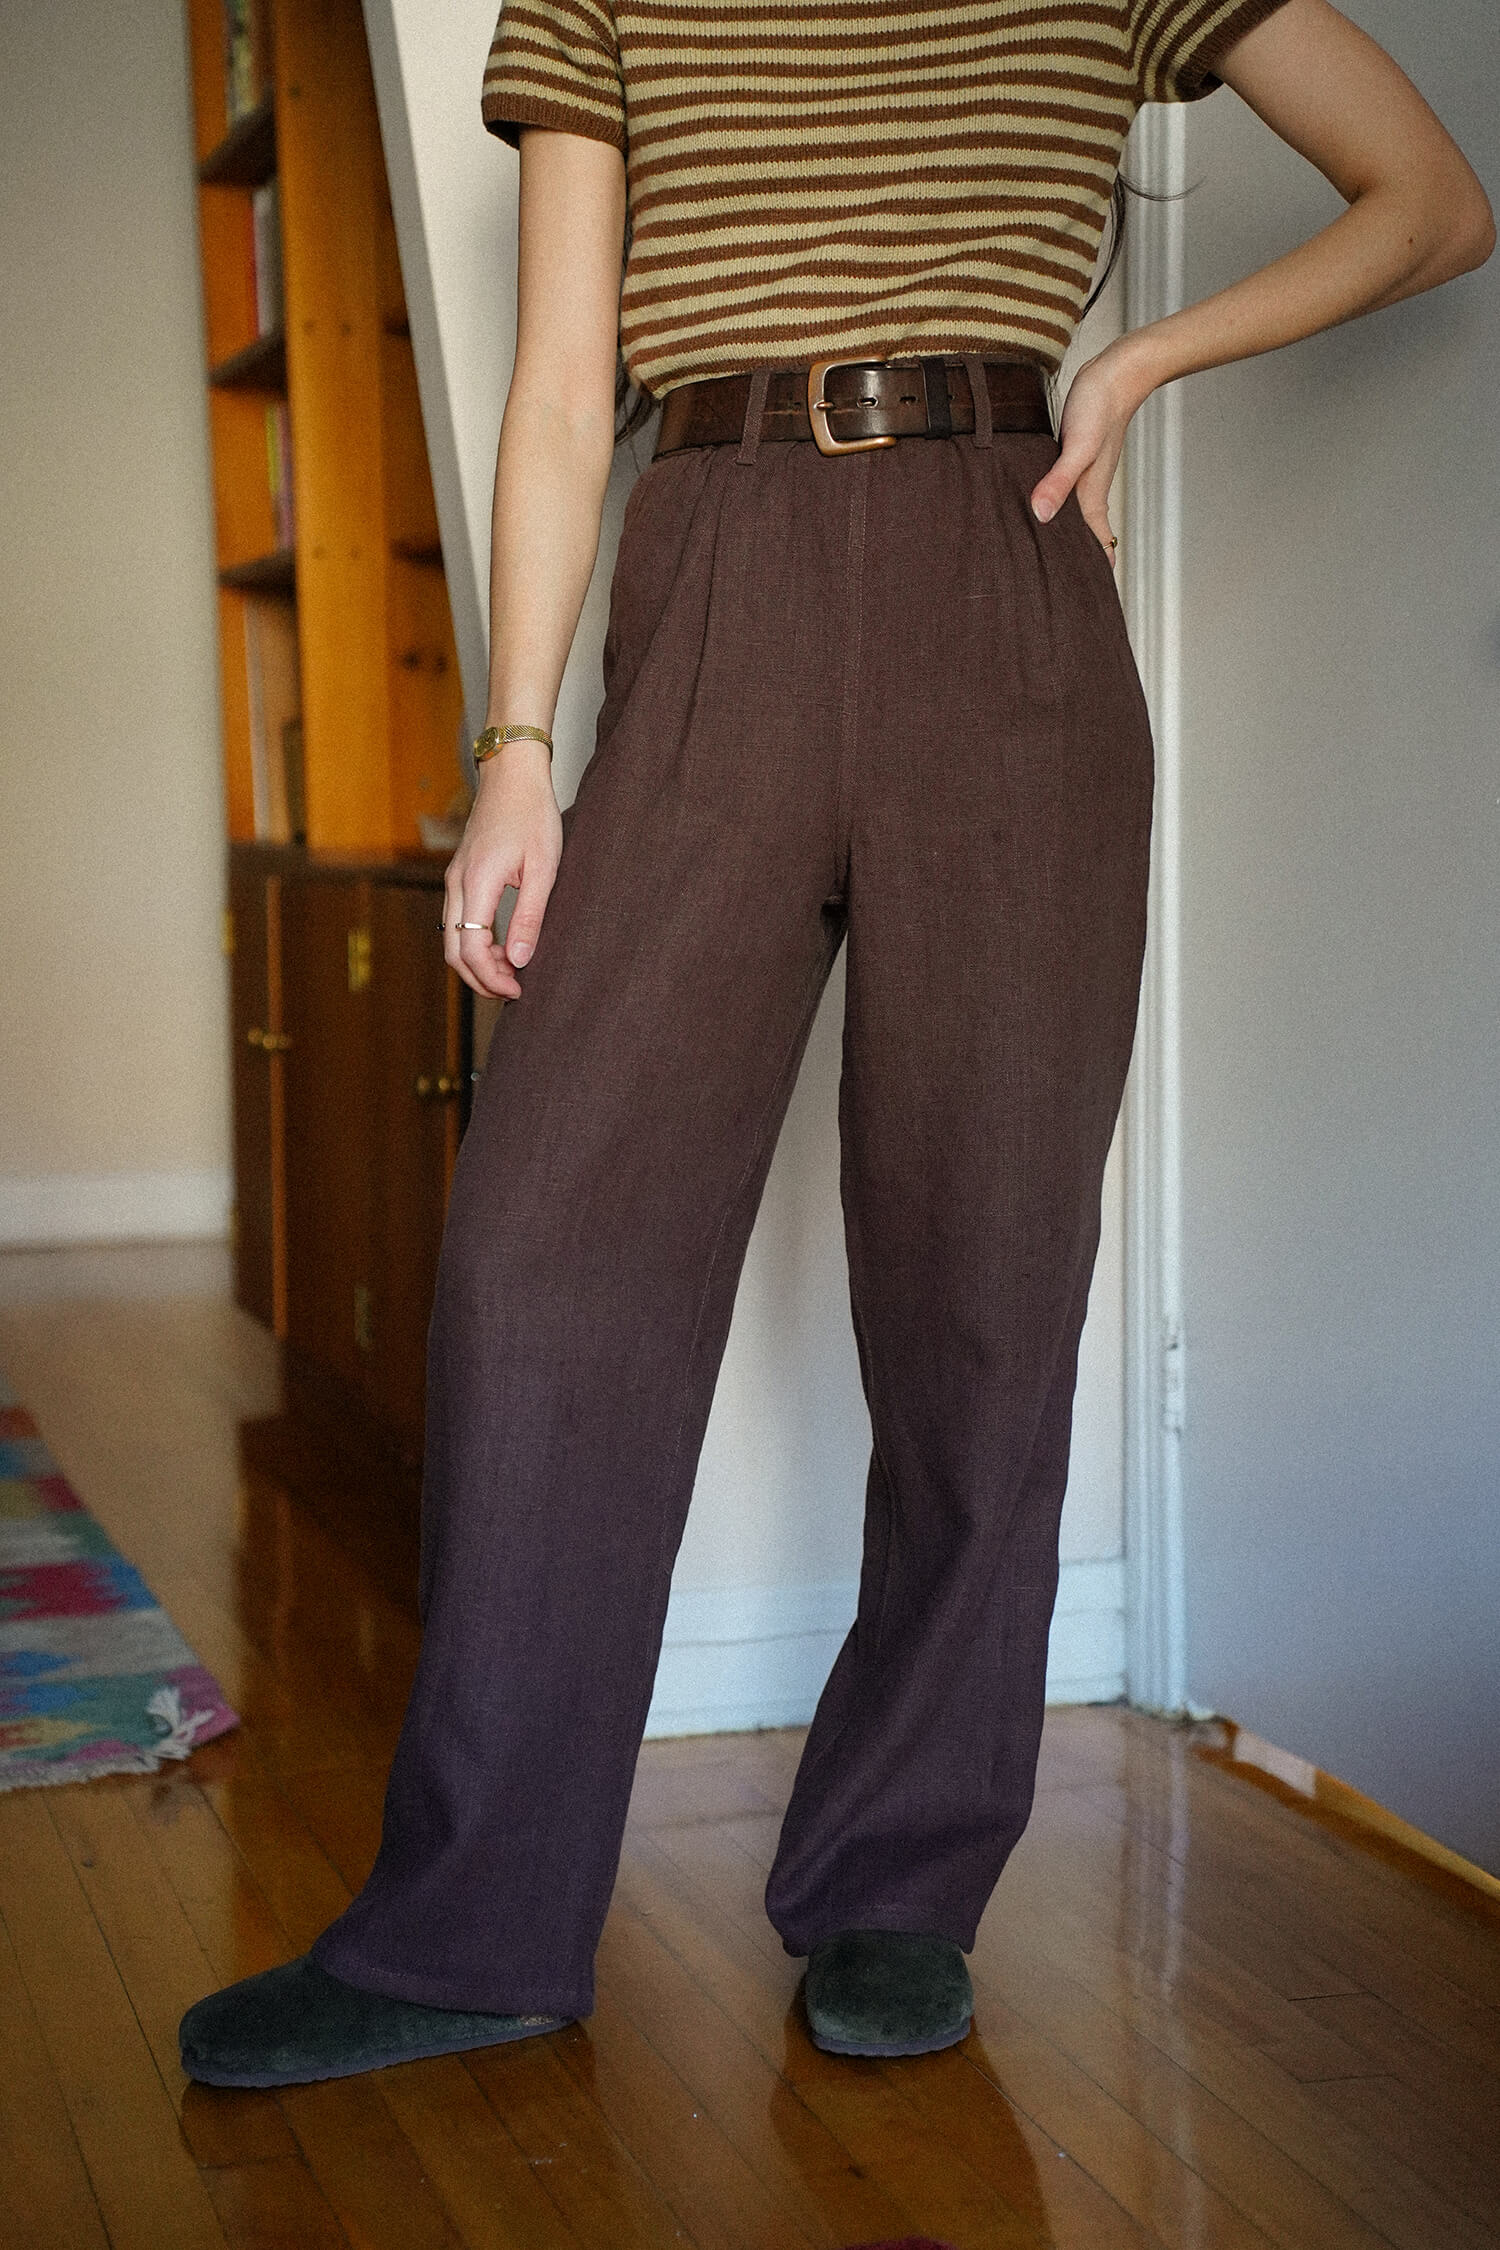
Belt Loops
Last but not least, we have the simplest but -to me- the most effective addition: belt loops! I realised that part of the reason why I don’t reach for elastic waist pants all that often in because I can’t wear my beloved belts with them, so I made some simple belt loops. I cut a strip of fabric that is 4 cm x 45 cm (1 5/8” by 18”) and folded each edge towards the middle before folding it in half and topstitching the fold into place. I cut it into 5 belt loops that are around 9 cm (3 1/2”) each, and topstitched them to my finished pants. Just being able to belt these pants have made them infinitely more functional in my wardrobe!
Modified FS Calantha trouser made with FS Chocolate Midweight Signature Finish
Seam Finishes
One final thing I would love to mention is the seam finishes. I decided to sew flat fell seams for the front and back crotch seams and the inseam. I finished the side seams with a serger, and slipstitched the inside of the waistband by hand rather than topstitching it down for an extra clean finish. I find that opting for slightly more involved seam finishes (such as flat felling by hand or machine, french seams, bias bound seams etc.) are the simplest and most approachable way of elevating a simple sewing pattern – who doesn’t love a luxurious basic?
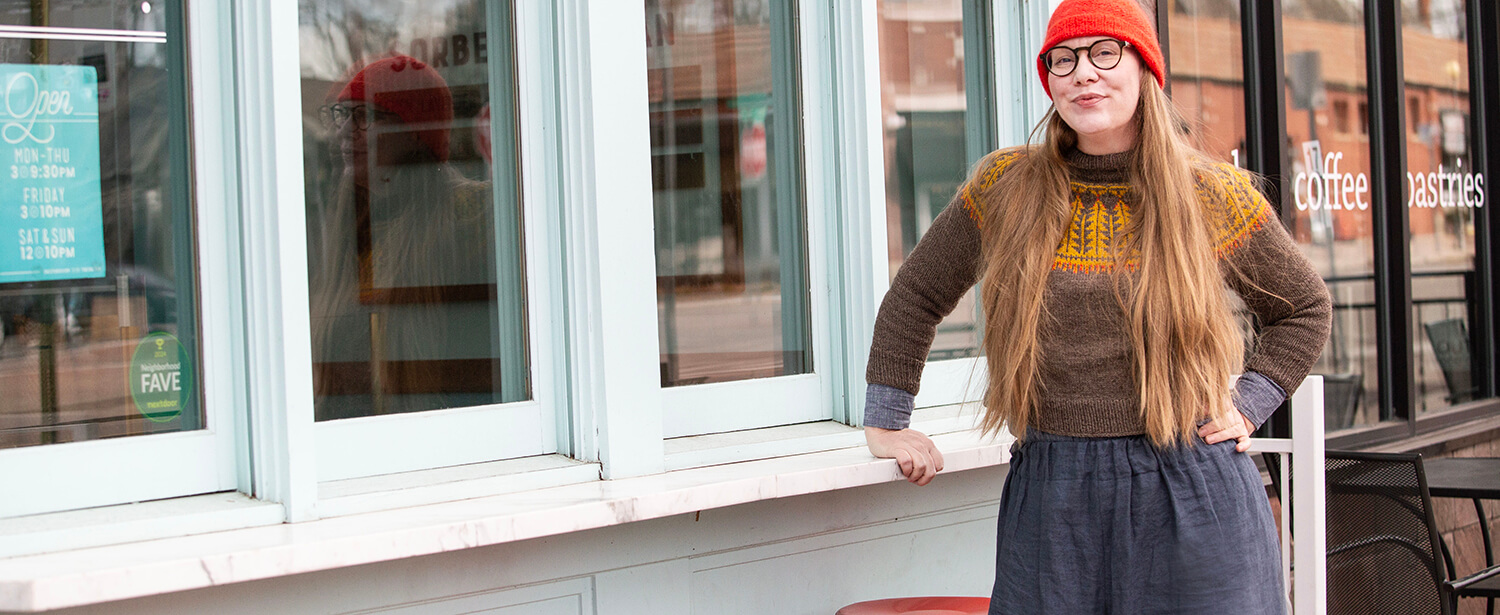
I’m really happy with my slightly fancy but infinitely comfy pair of elastic waist pants. The stunning colour and soft hand of the Chocolate linen really adds to the luxurious feel I was going for, and I’m SO excited to style these beautiful new pants with the rest of my me-mades! I would love to hear your favourite tips for elevating simple patterns and making them your own in the comments :o) Happy sewing!
About Author
Nisan Aktürk
Nisan is a 28 year old sewist based in Montréal. She approaches garment sewing as a craft and as a way of following slow-fashion ideals in her daily life. She is forever pursuing a handmade wardrobe full of menswear-inspired pieces with thoughtful details, soft tailoring, and a vintage feel. You can follow her sewing adventures @the.social.fabric on Instagram.Leave a comment
Related posts

Curated By You: Jennifer Coombes Pairs a Zero Waste Pattern With FS Linen
Could you tell us a bit about yourself and how you got into sewing? I feel like it’s almost impossible to think of a time when I wasn’t doing some form of sewing or crafting. One of my earliest memories is riffling through my grandmother’s wicker sewing basket with the shell covered lid and believing…

Embracing Imperfection: Lessons from a Perfectionist Sewist
I’m what you would call a classic perfectionist. I’m detail-oriented and I can set ridiculously high standards for myself. I often obsess over the tiniest of details and naturally notice even the smallest of mistakes. Because of this, I can interpret mistakes as signs of imperfection or even failure. I can also have a pretty…

Vibrancy and Fun: The Playful Pattern Design of Ottoline
There is a spirited and playful quality to the textile and wallpaper designs of Dutch maker Ottoline de Vries, who established her eponymous company, simply called ‘Ottoline’, in 2011; since then her work has become an international success, gracing magazine spreads and interiors throughout the world. Ottoline, now based in London, is widely recognised for…

Curated By You: Madison Best Pairs Arlo Vest with Georgia Trousers
Could you tell us a bit about yourself and how you got into sewing? Hello, I’m Madison! I have been creative since I was really little, from drawing dress designs, to ballet, to film photography. The very first time I used a sewing machine, I was a Counselor-in-Training at an arts camp. They assigned me…

Behind the Scenes With: Natasha Kelly, Founder of Studio Wylder
What is Studio Wylder? Tell us a little about how it all started. Studio Wylder is a women’s clothing brand built on strong ethical and sustainable foundations. We create small-batch collections of thoughtfully curated, effortless pieces designed to blend beautifully into your existing wardrobe. I started Studio Wylder at my kitchen table in 2020, after…


SEW THIS LOOK


Latest Posts

2 Comments
Peggy Woolsey
Hi and thanks . Always looking for pants. Yours look like there are two pleats on each side. Are there no side pickets? I’ve been working on a flat front, elastic back waistband. So far so good.
Nancy Gruber
What a great idea–thanks for sharing your process!