


How to Make Pattern Adjustments for Small Busts


I’m a small-bust lady, so this tutorial is near and dear to me. One of my daughters is also in the small-bust group, while the other has a fuller bust, so our household has experienced the challenges—and blessings—of both! We’ve often talked about shopping for clothes and customizing sewing for each body type. The friend in these photos has an average bust line, so no alterations were needed for her pattern. Hopefully this article helps you see that you can make any pattern work for you.
I’ll admit, I’ve often just omitted darts on a pattern. That works with many designs, and with today’s pattern if your bust is quite small. But while skipping darts is an option, there are proper sewing techniques worth learning and practicing. So here, I’ll show you one of those methods.
If your pattern includes a dart, here are the steps to adjust it for a smaller bust. First, decide how much you want to reduce. Remember—you only need to remove half that amount from the pattern piece, since you’re working with just one side of the bodice. For this example, let’s say you need to reduce the bust by ½”. That means you’ll remove ¼” from the pattern.
A quick note on terminology: the apex is the bust point—the fullest, most projected part of the breast. On a pattern, darts should point to this spot.
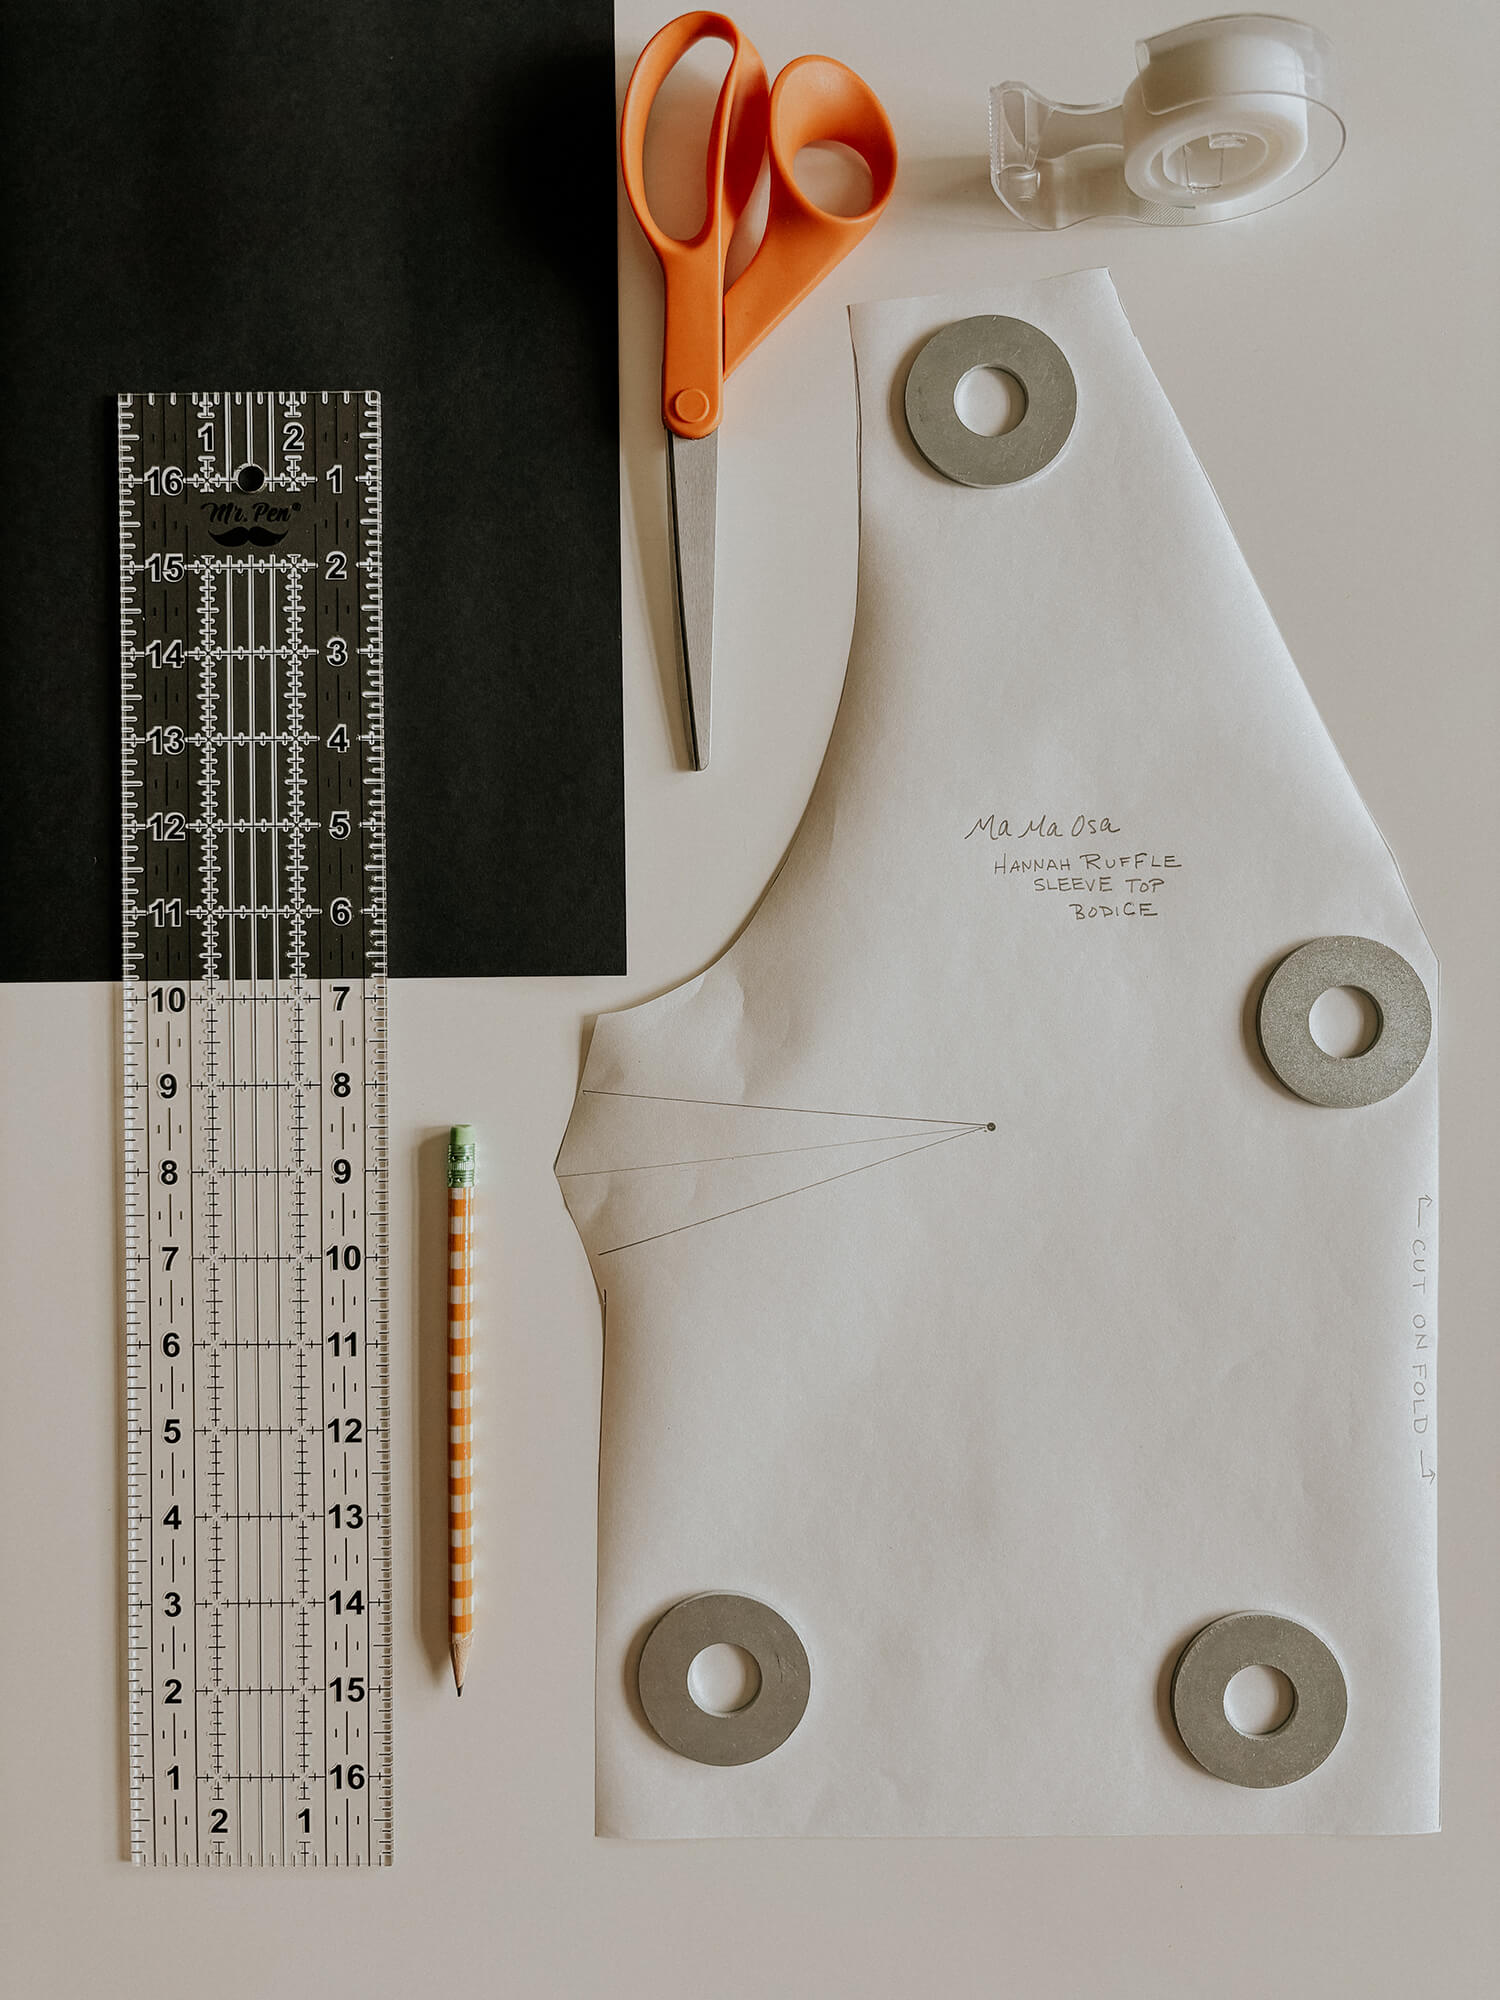
Supplies needed
Gather your supplies: ruler, pencil, scissors, tape, and an extra sheet of paper. Then follow these steps:
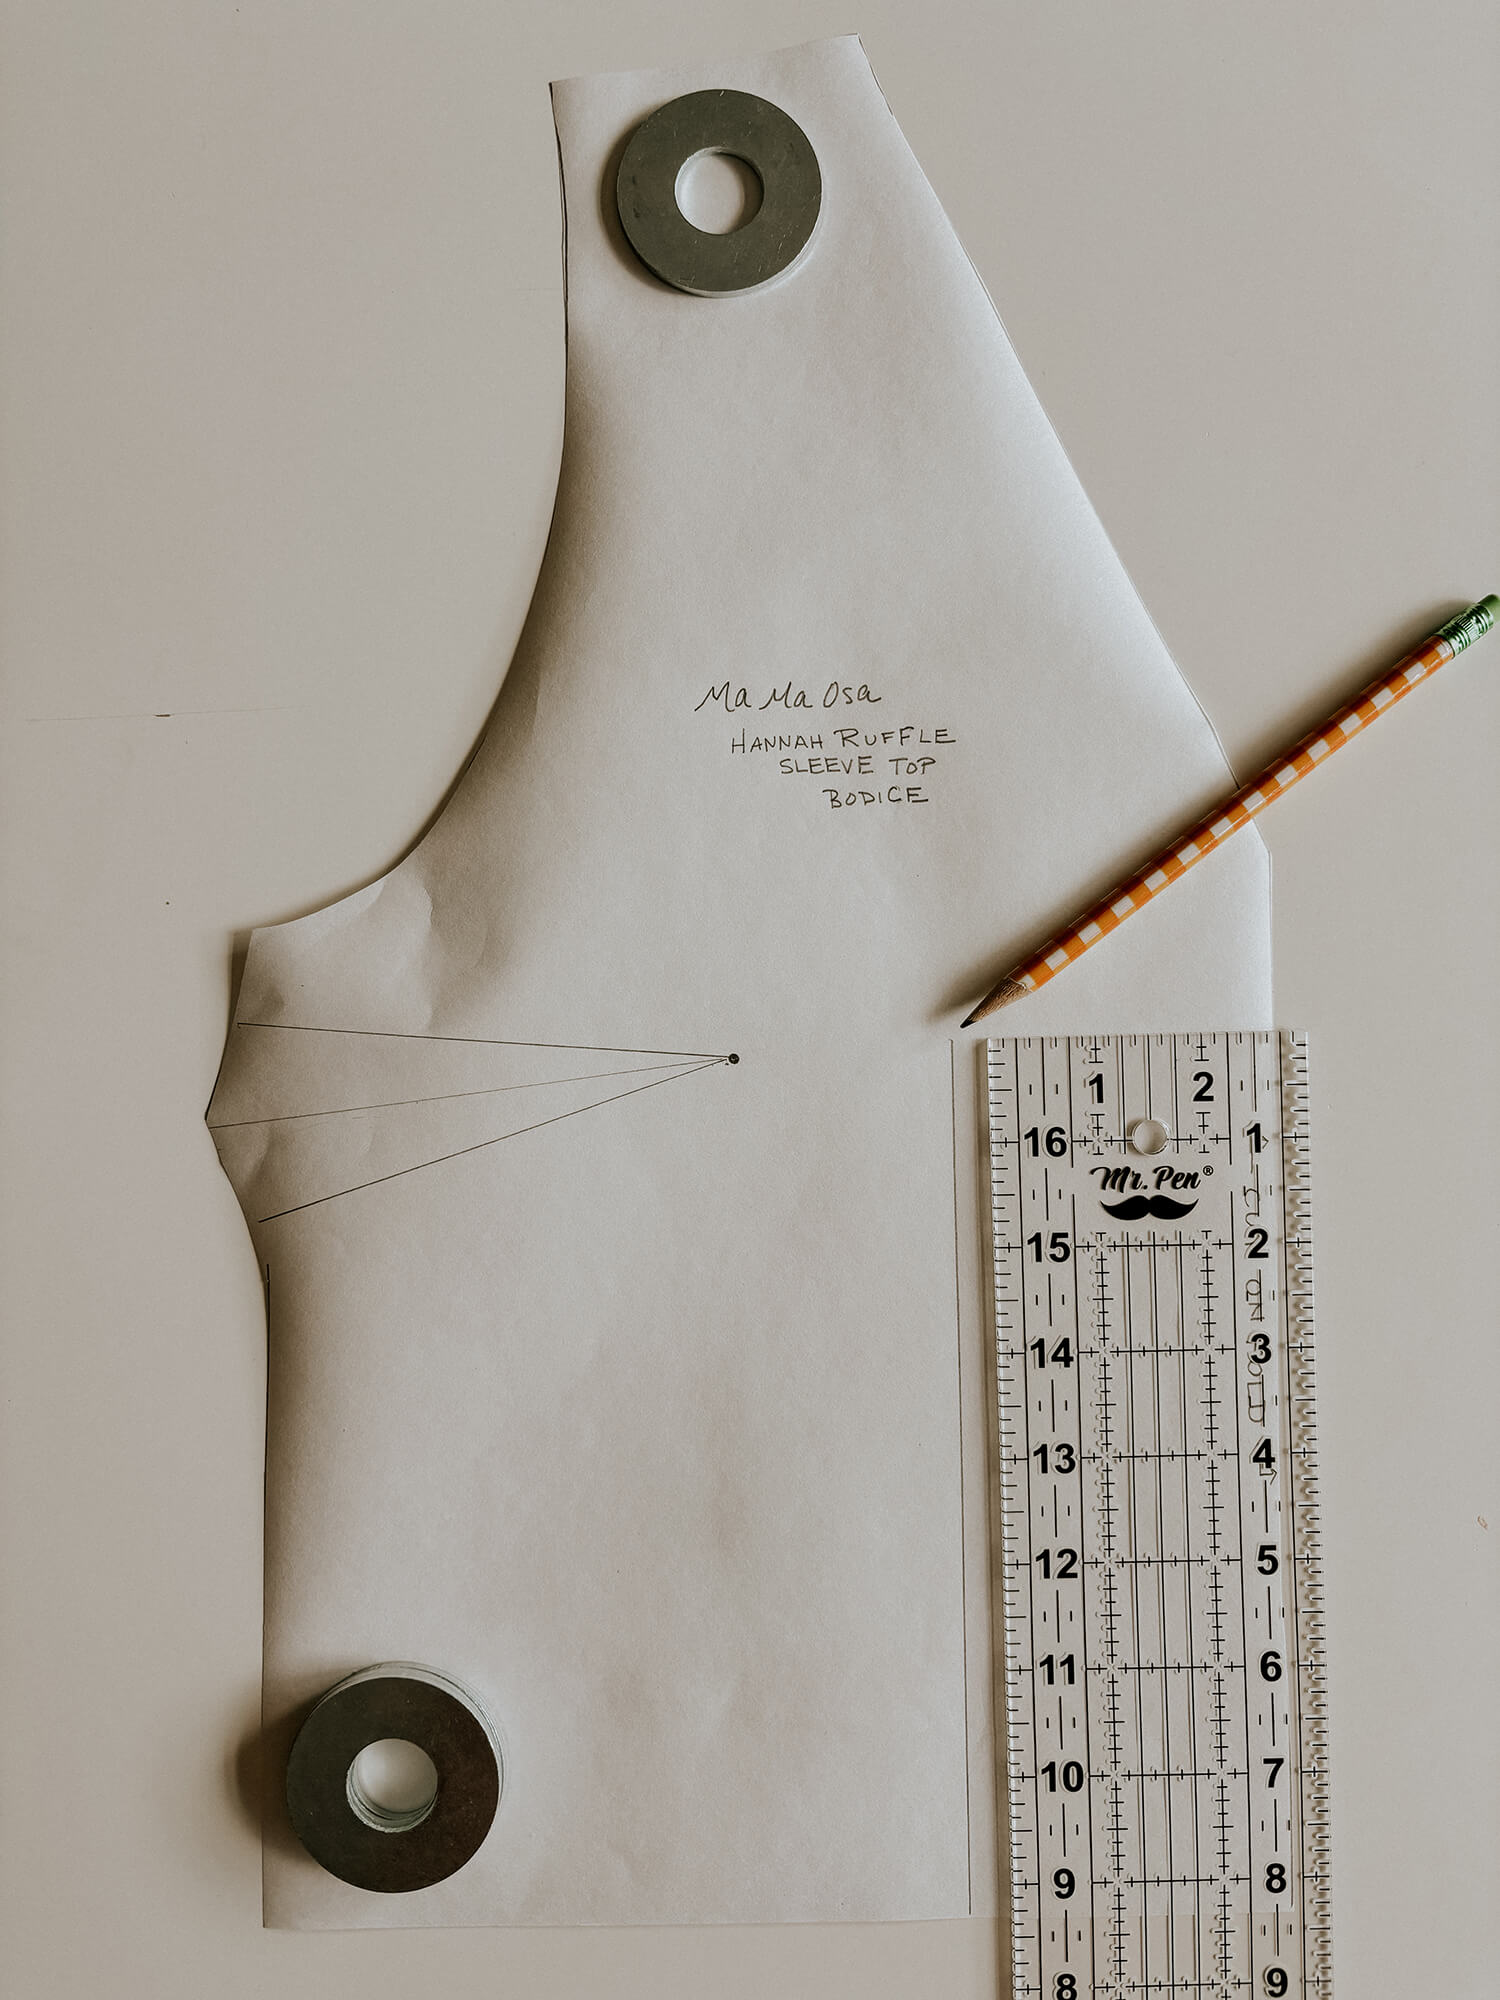
1. Draw a line from the waist up to the apex, about 2″ from the center front.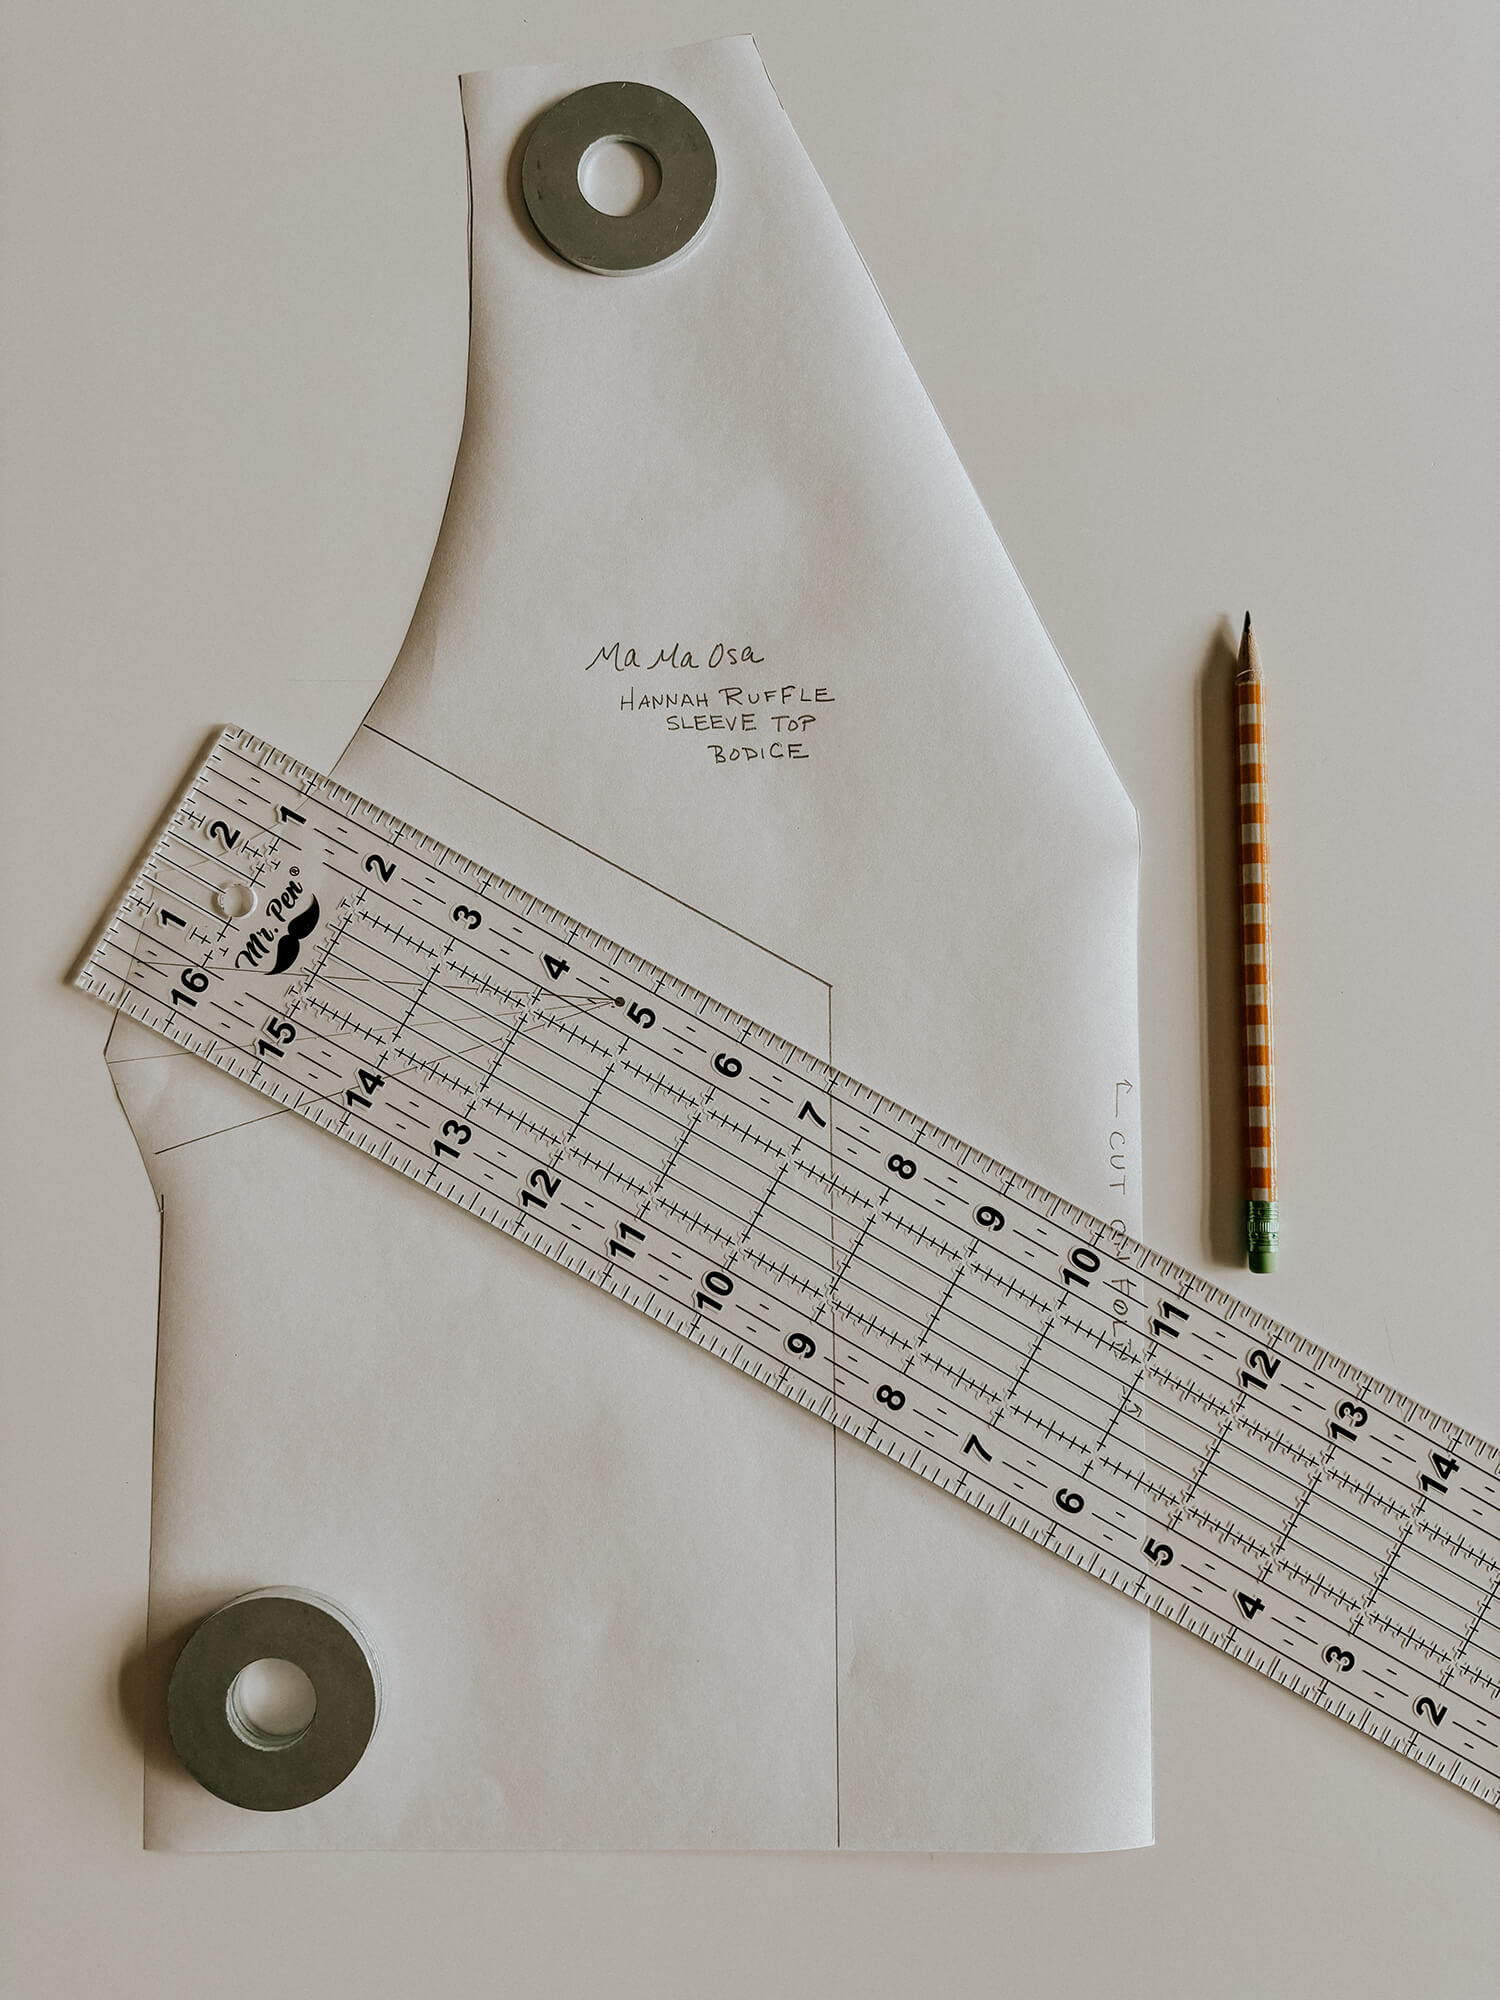
2. Draw another line from the apex to the lower part of the armhole.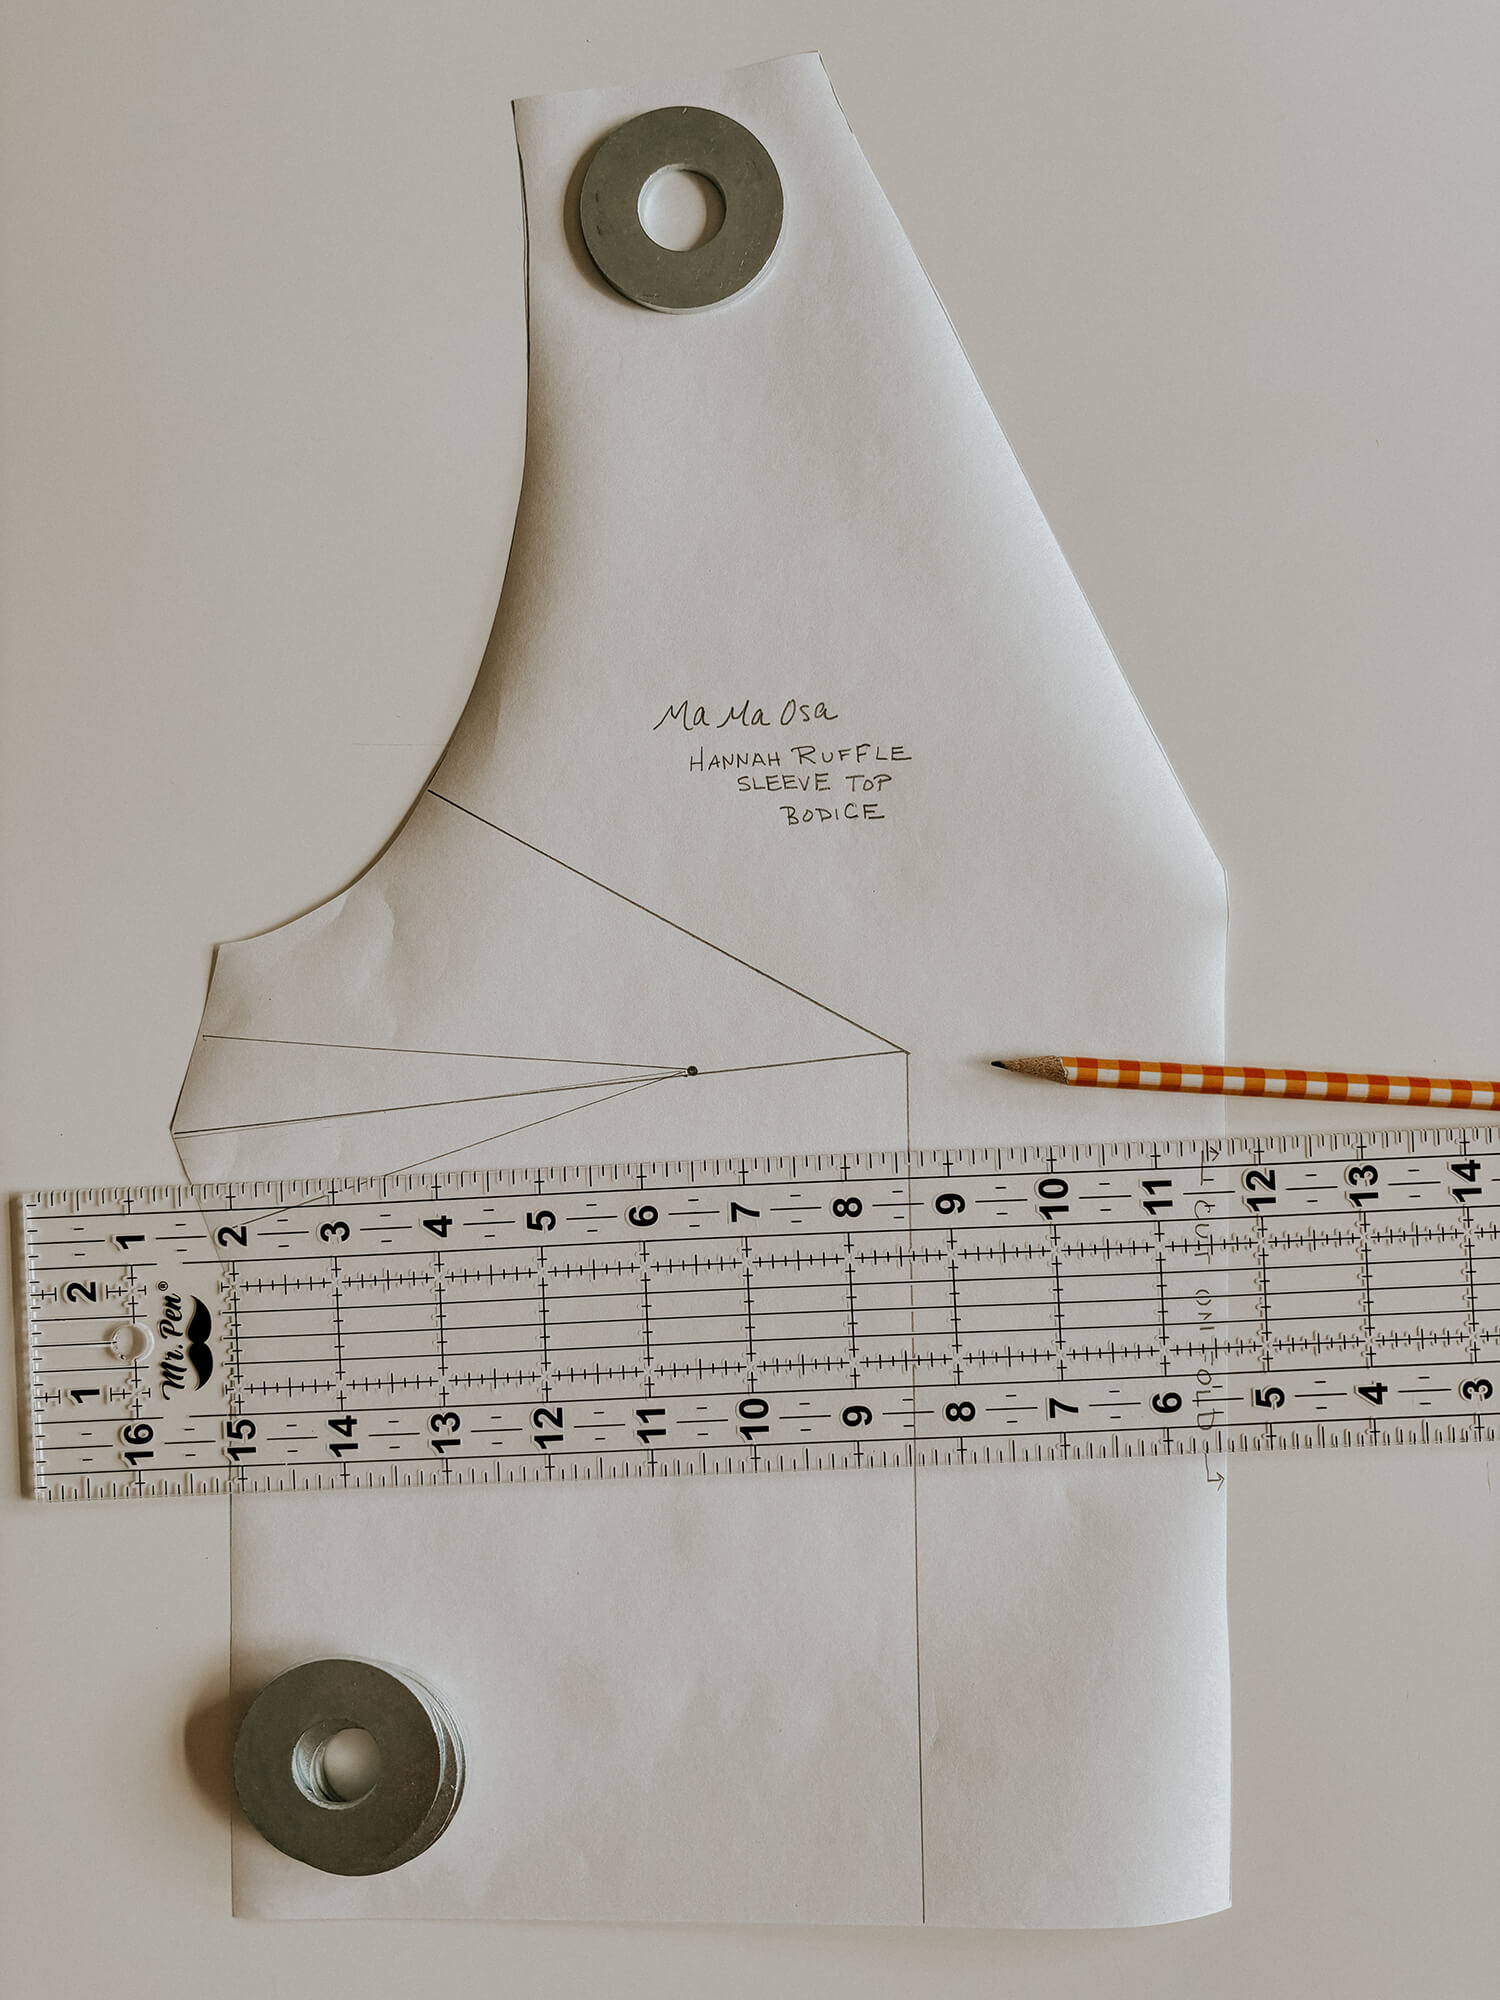
3. Draw a line through the dart, pointing to the apex.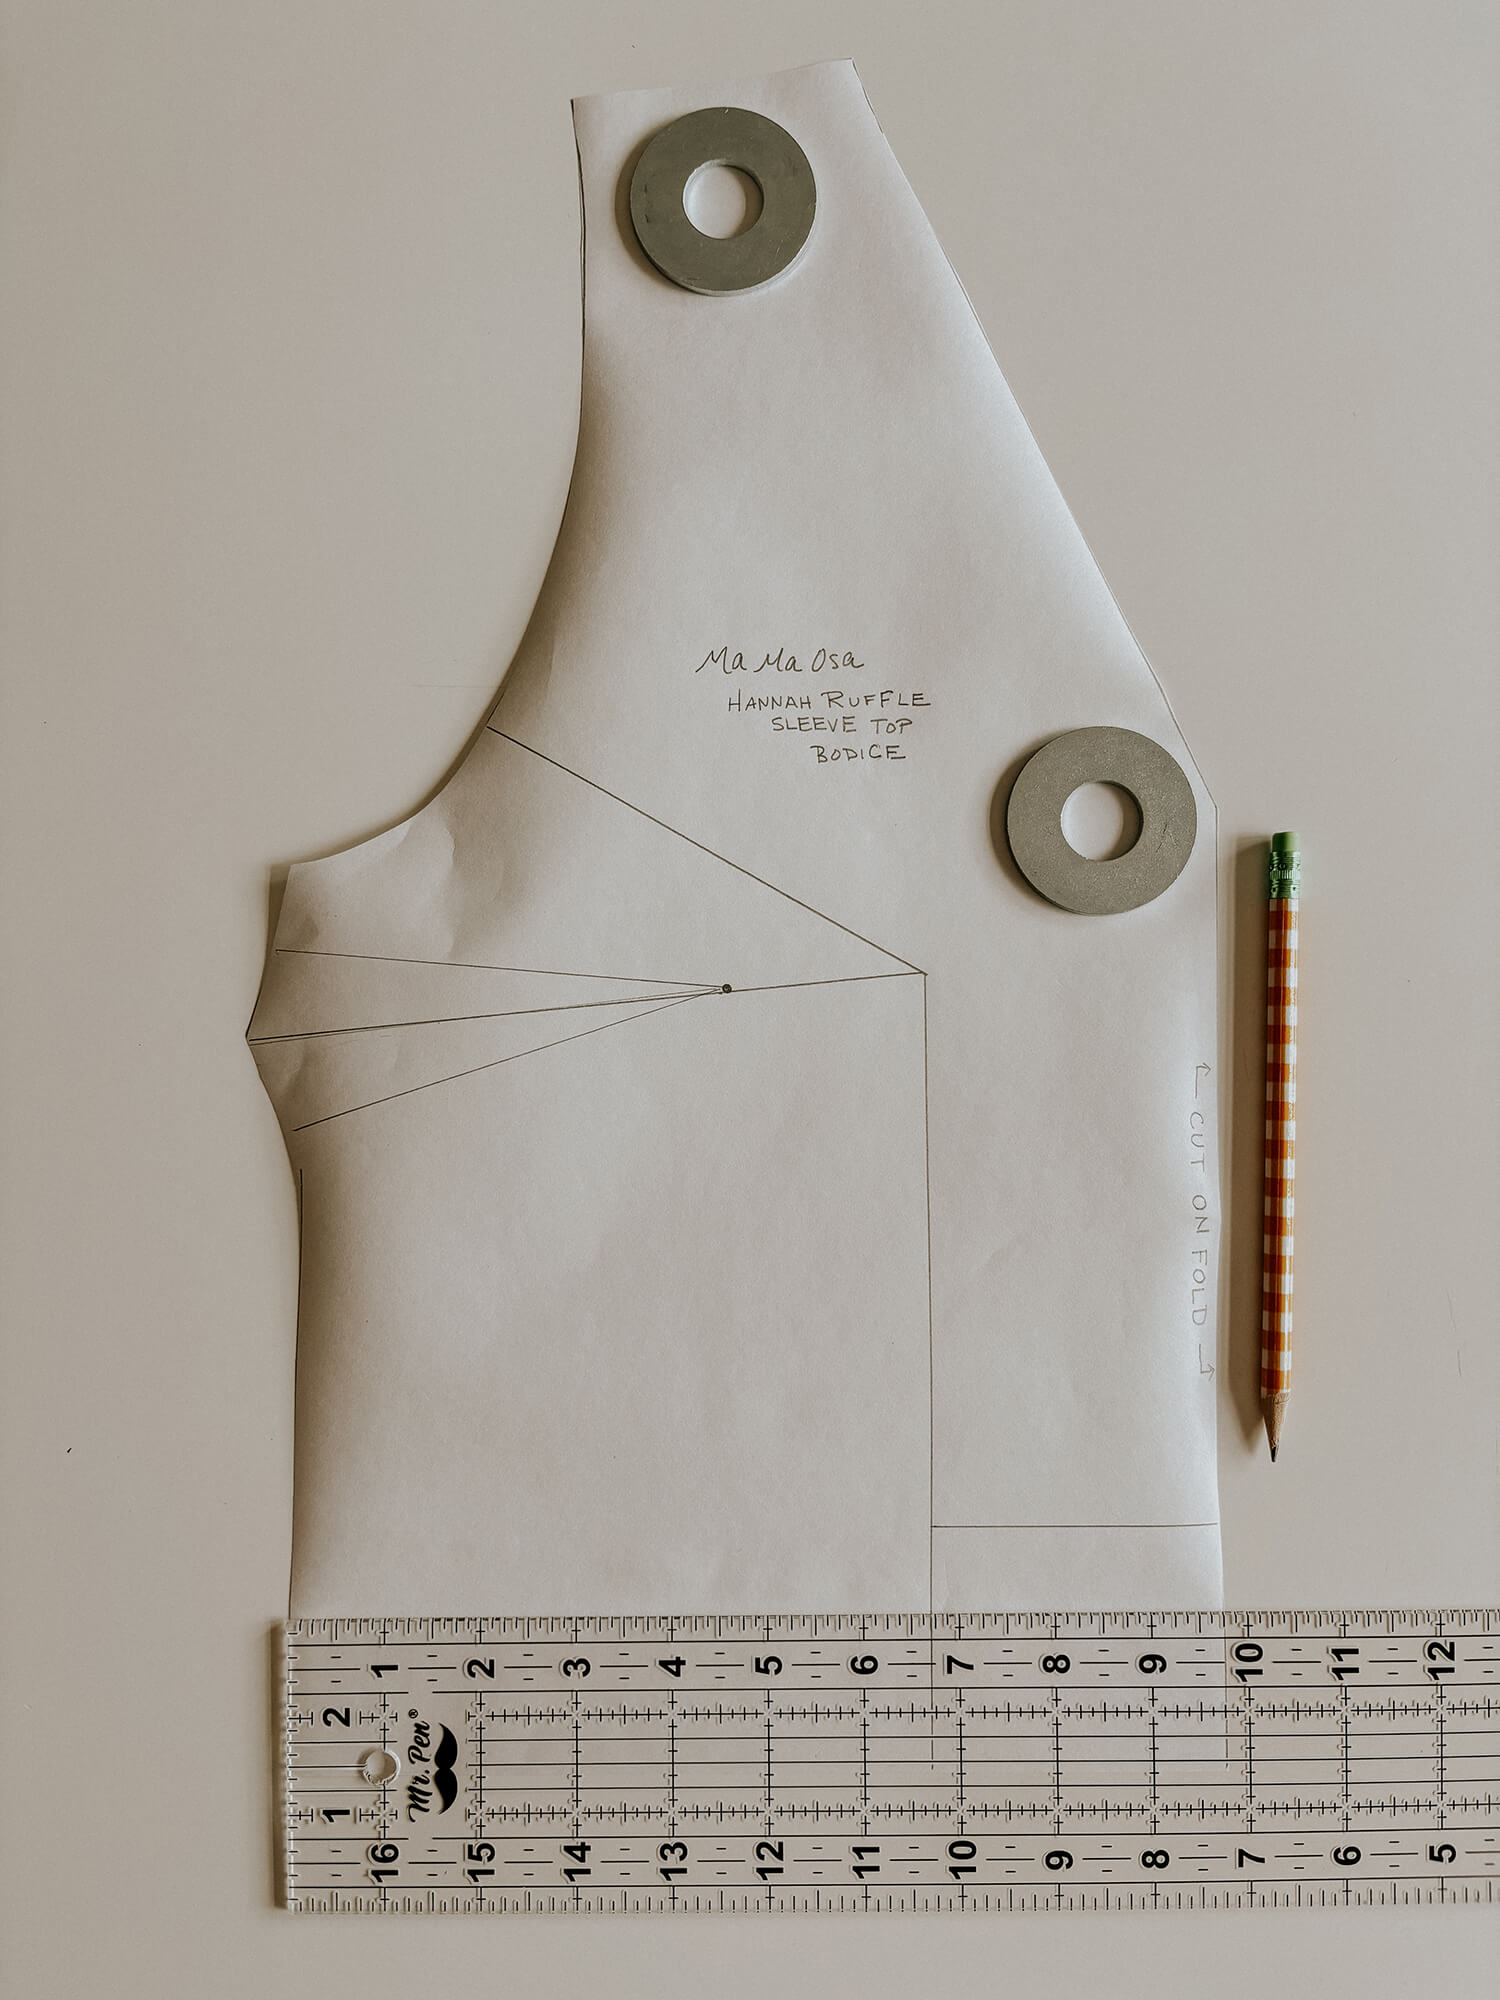
4. Add a perpendicular line from the first waist-to-apex line over to the fold line, just above the waist.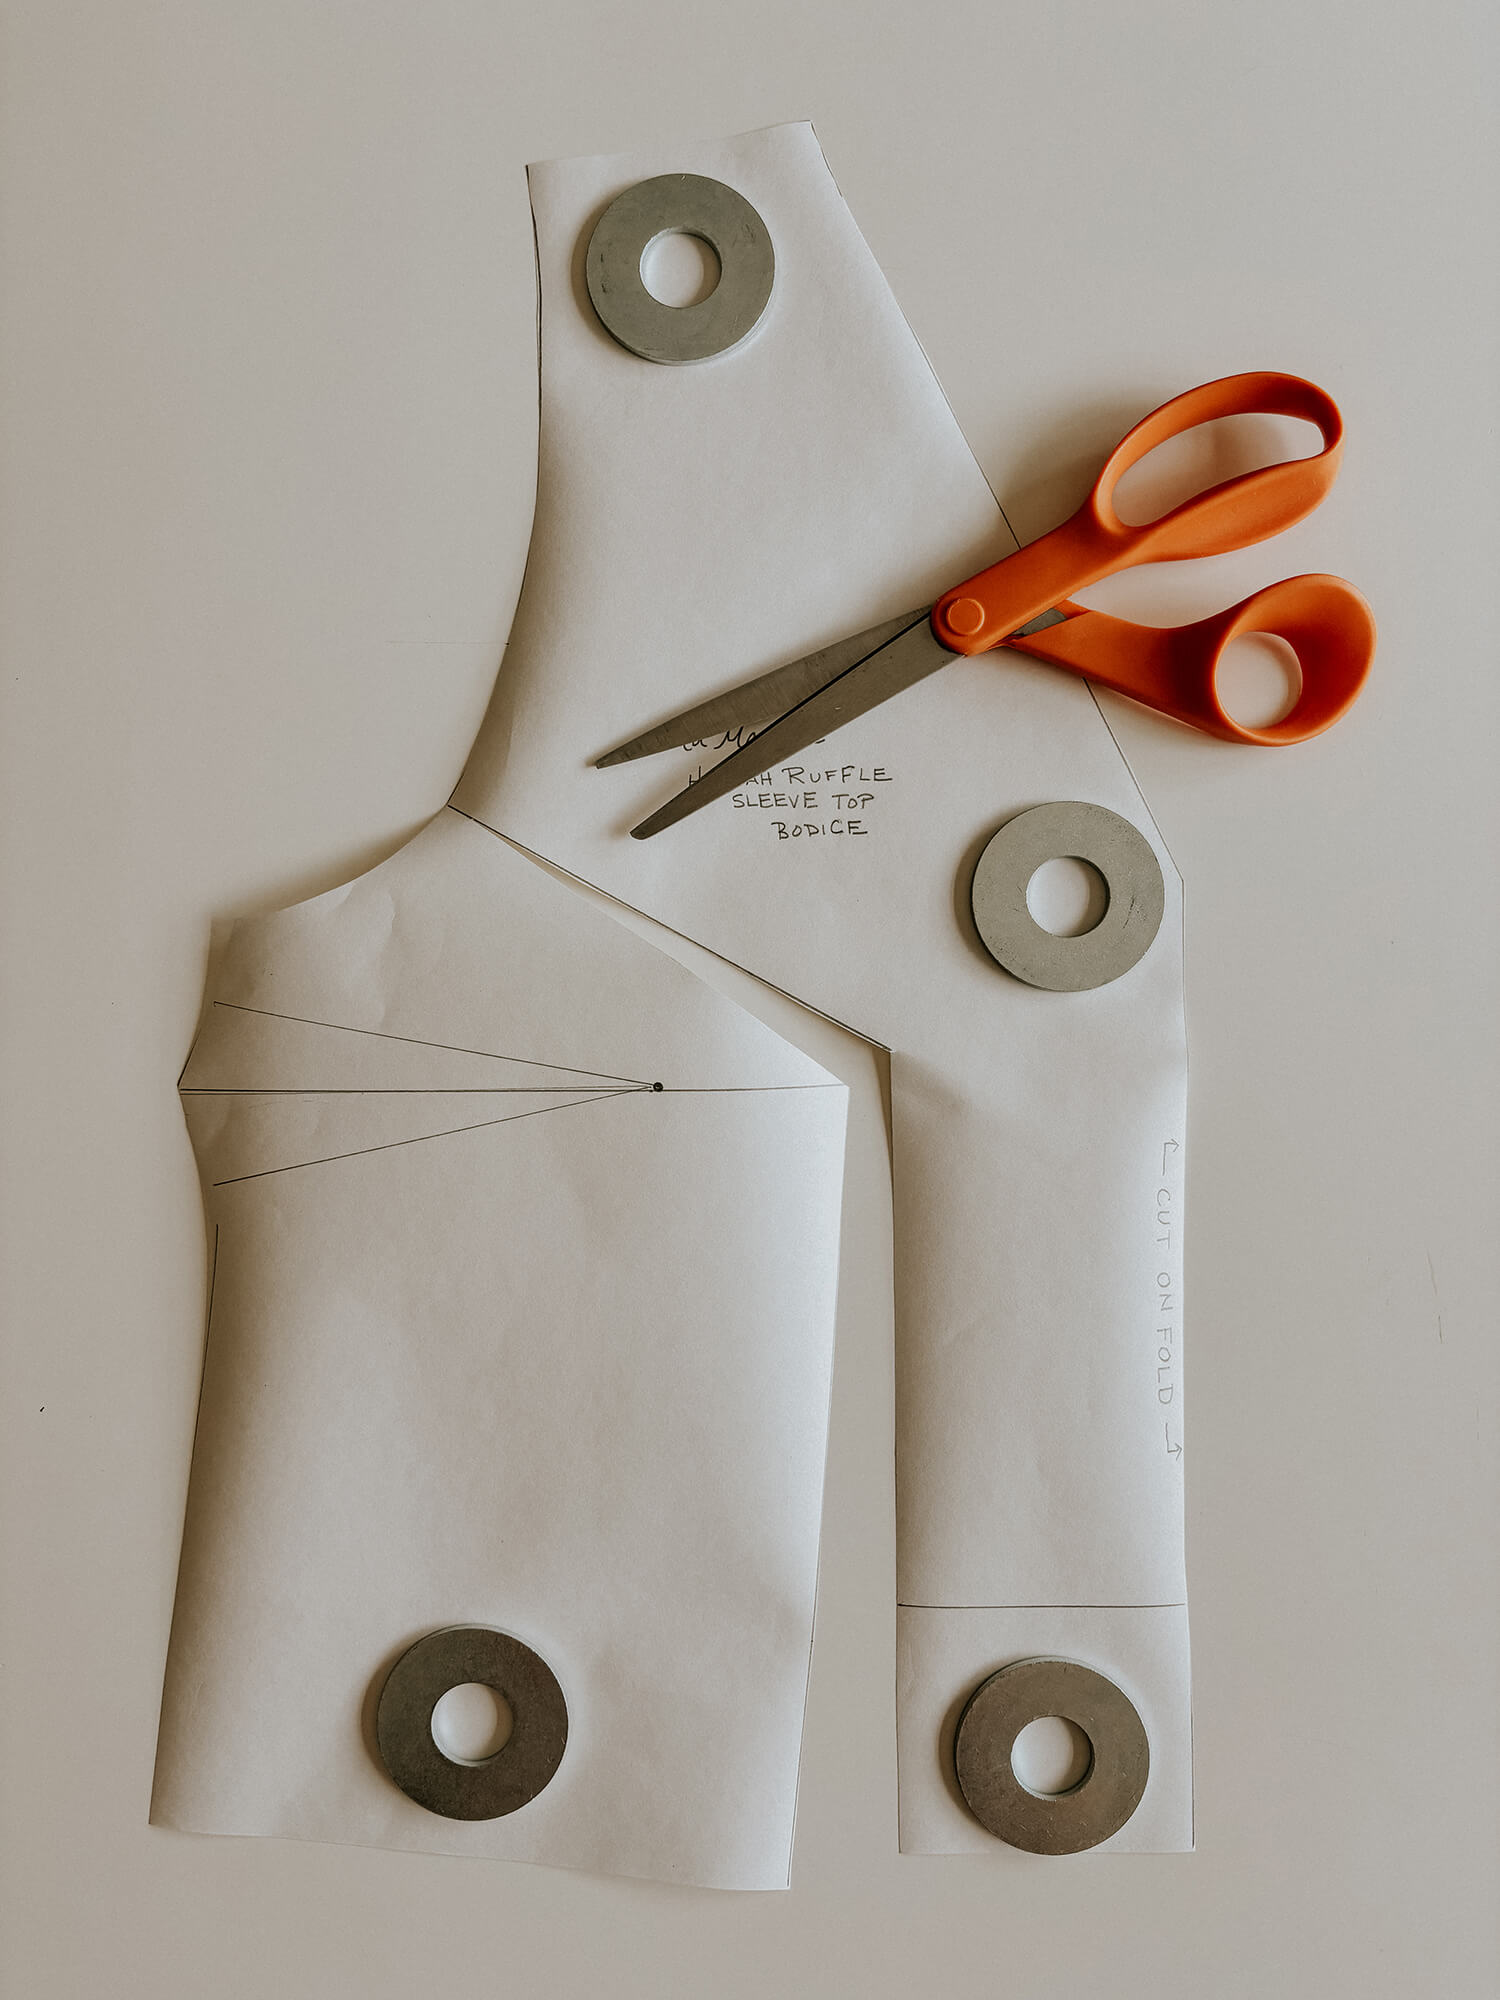
5. Cut along the waist-to-armhole line, leaving it attached at the armhole.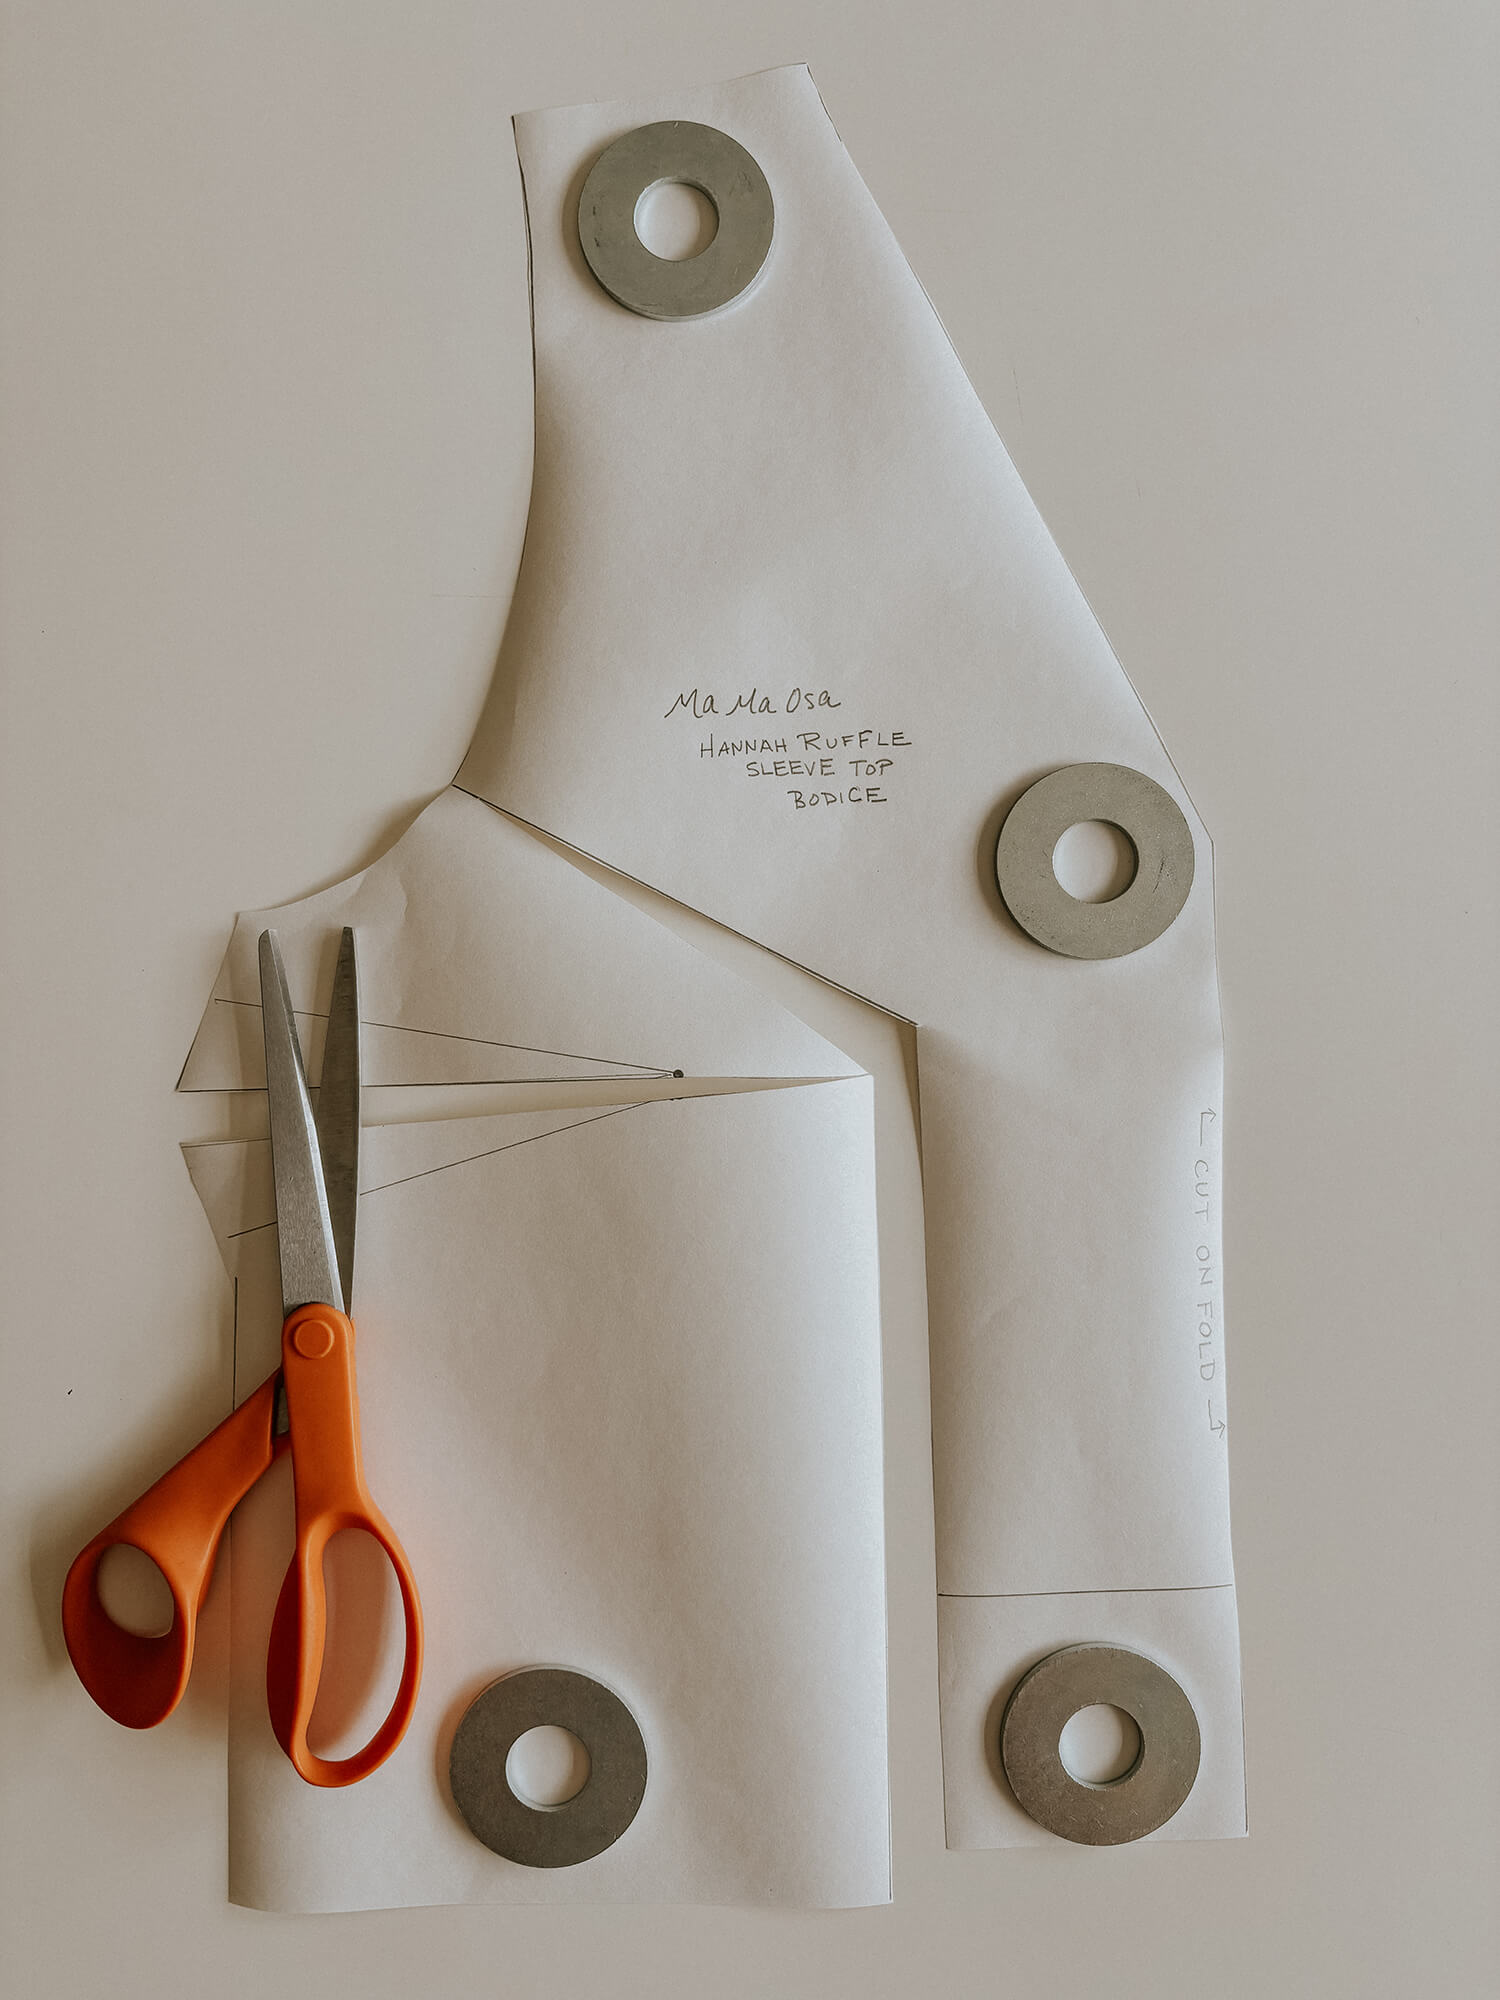
6. Cut along the dart-to-apex line, again leaving it attached at the apex.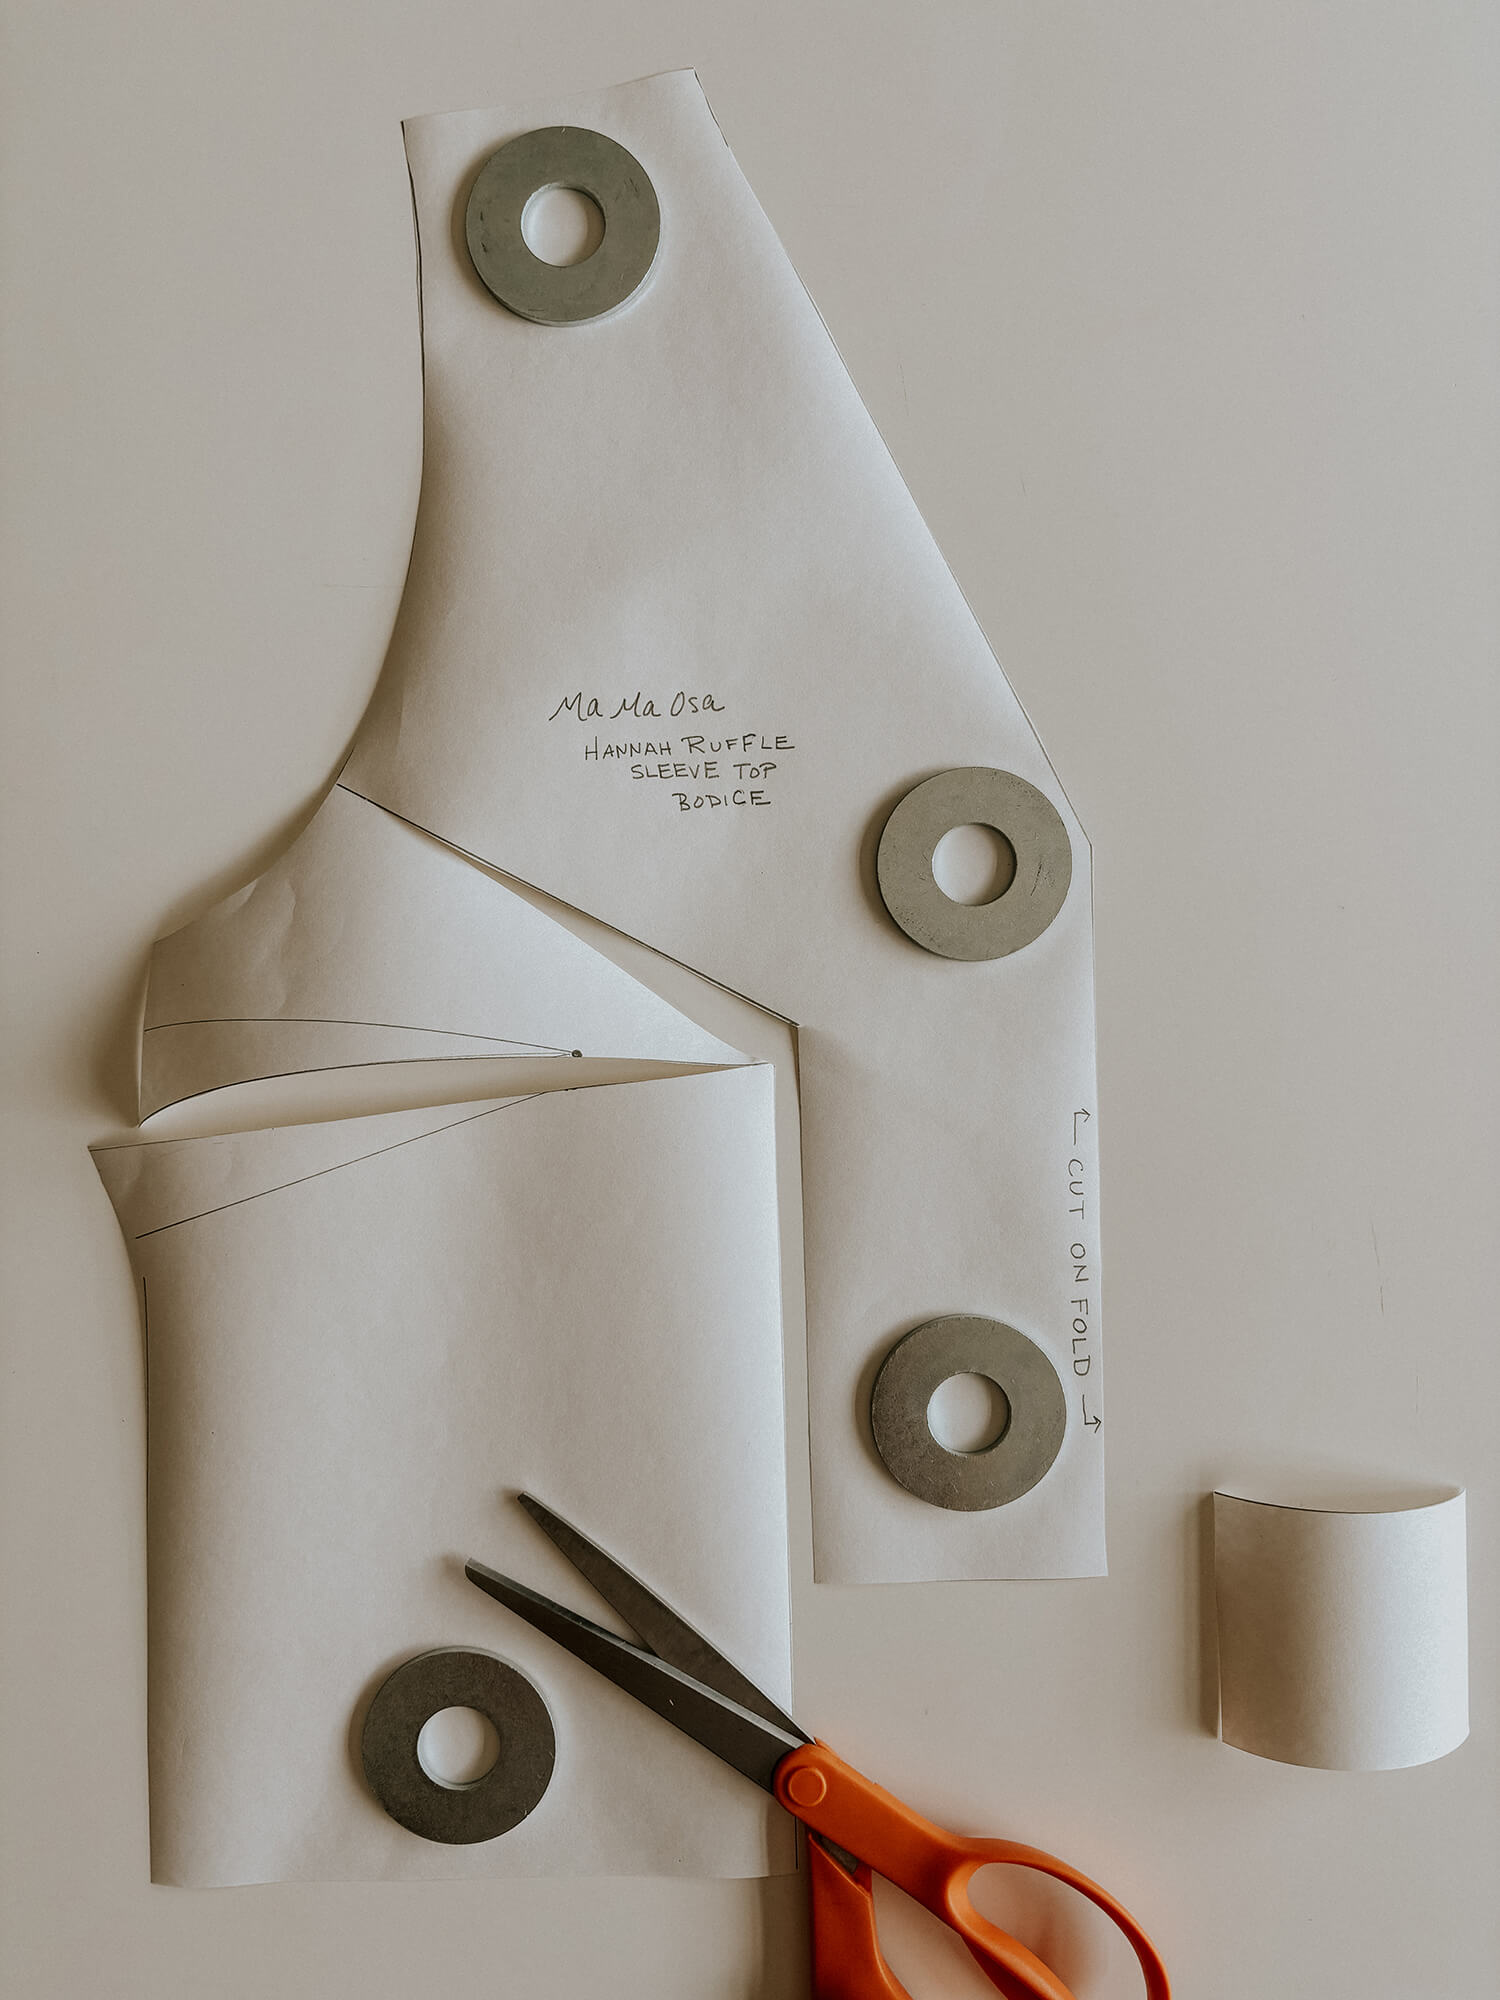
7. Cut out the little rectangle piece completely and set it aside.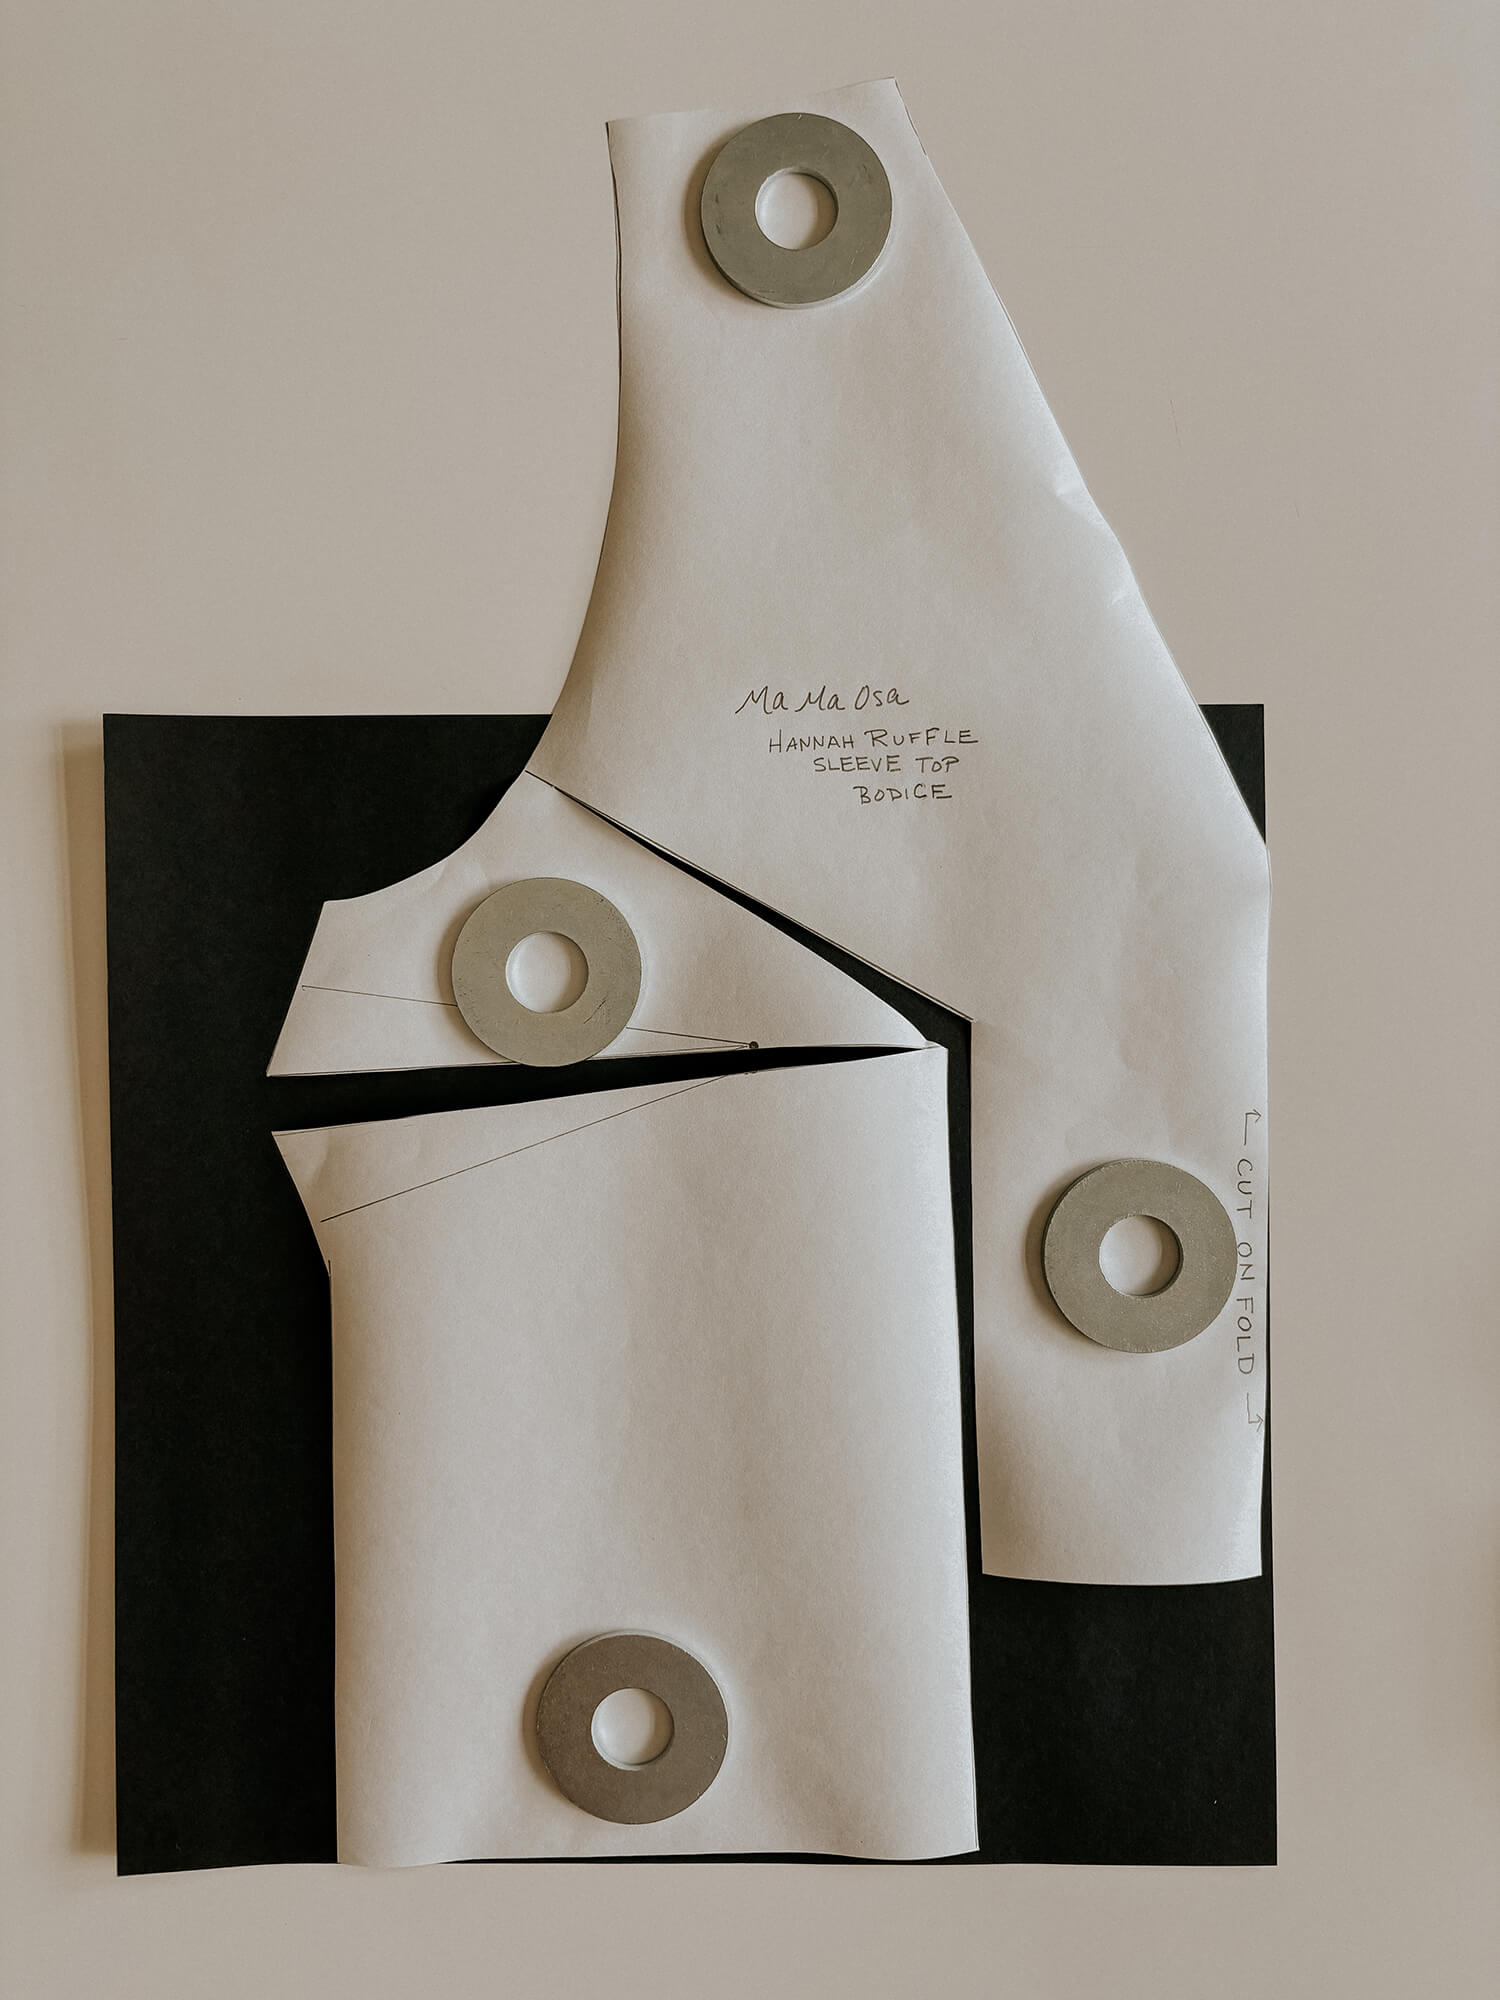
8. Place your extra paper under the pattern.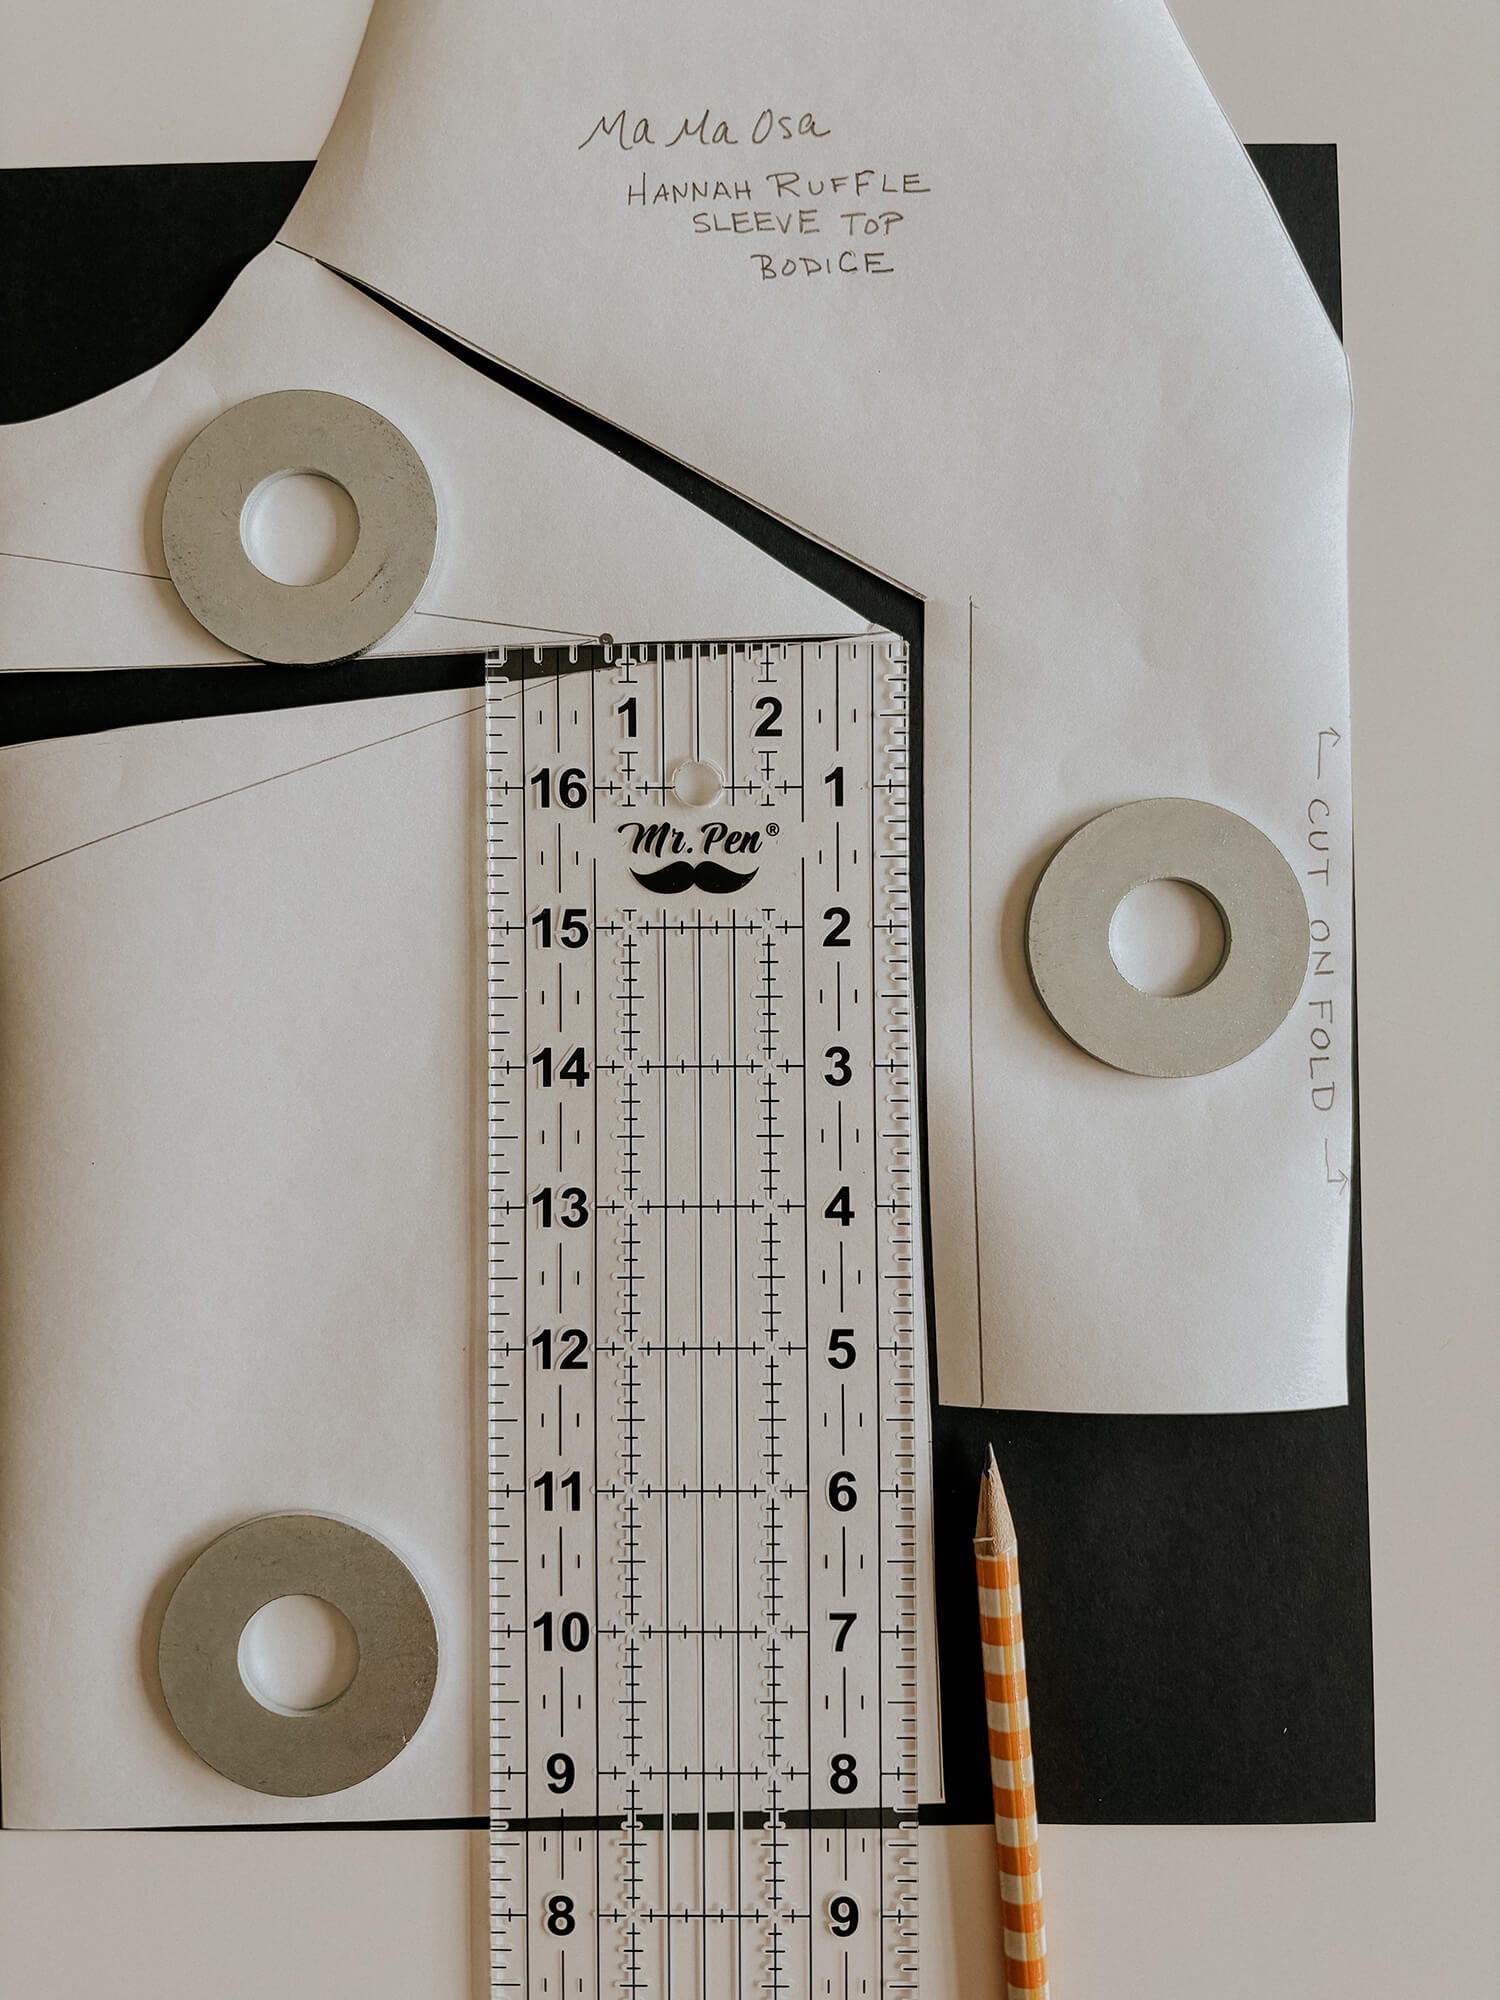
9. Mark the reduction line (¼” in our example) with your ruler and pencil.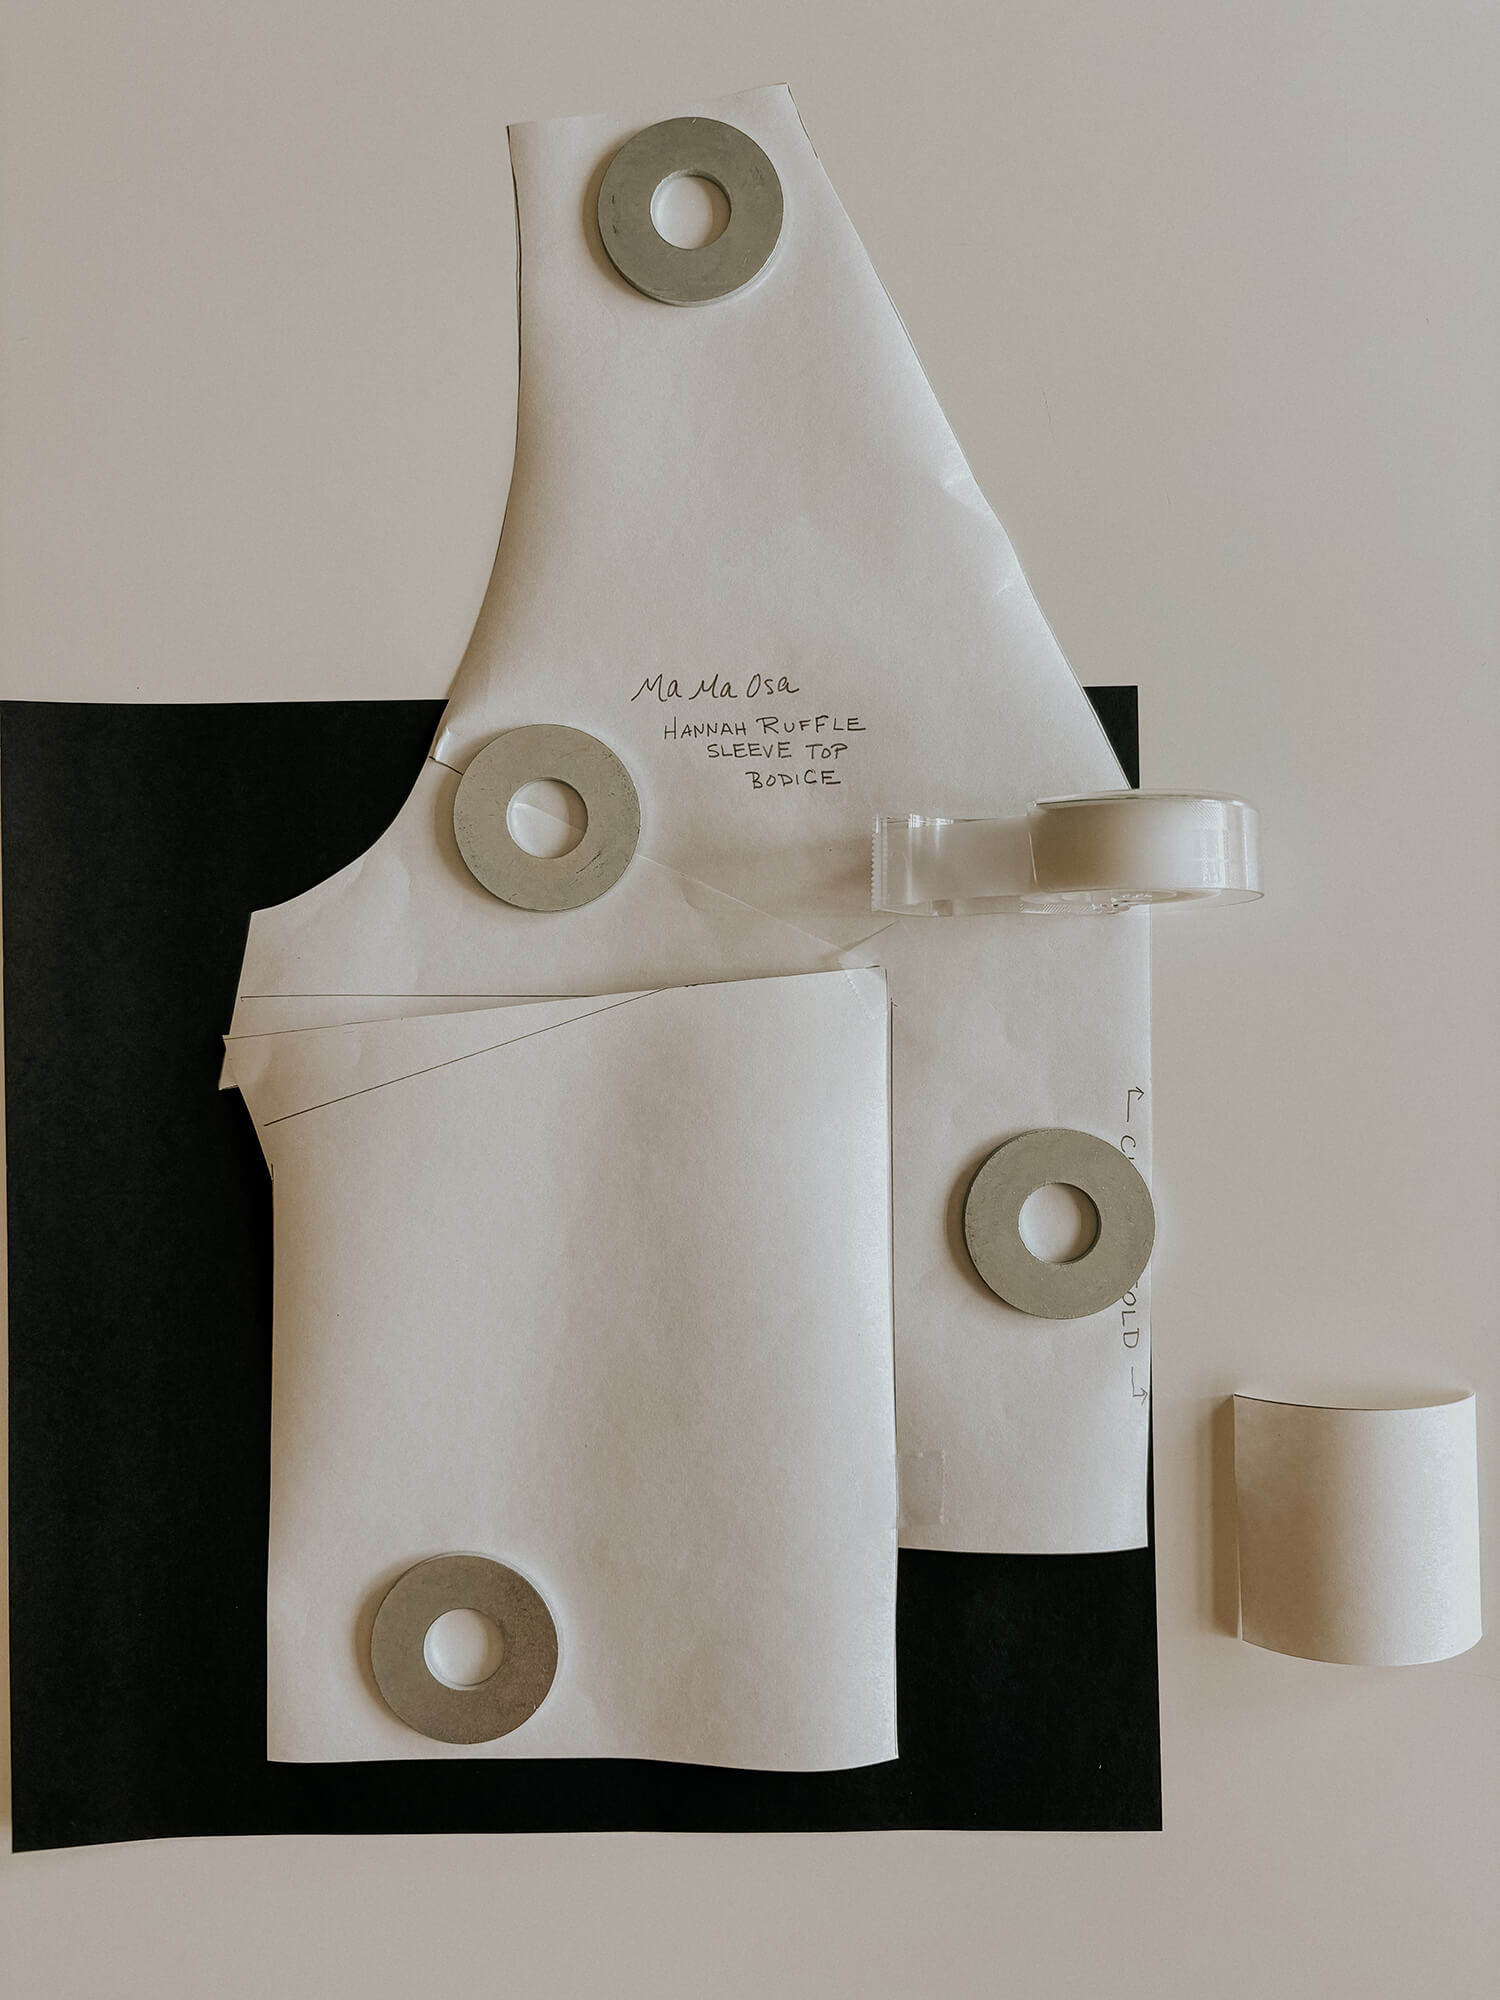
10. Slide the pattern over so it lines up with that mark. Tape it in place.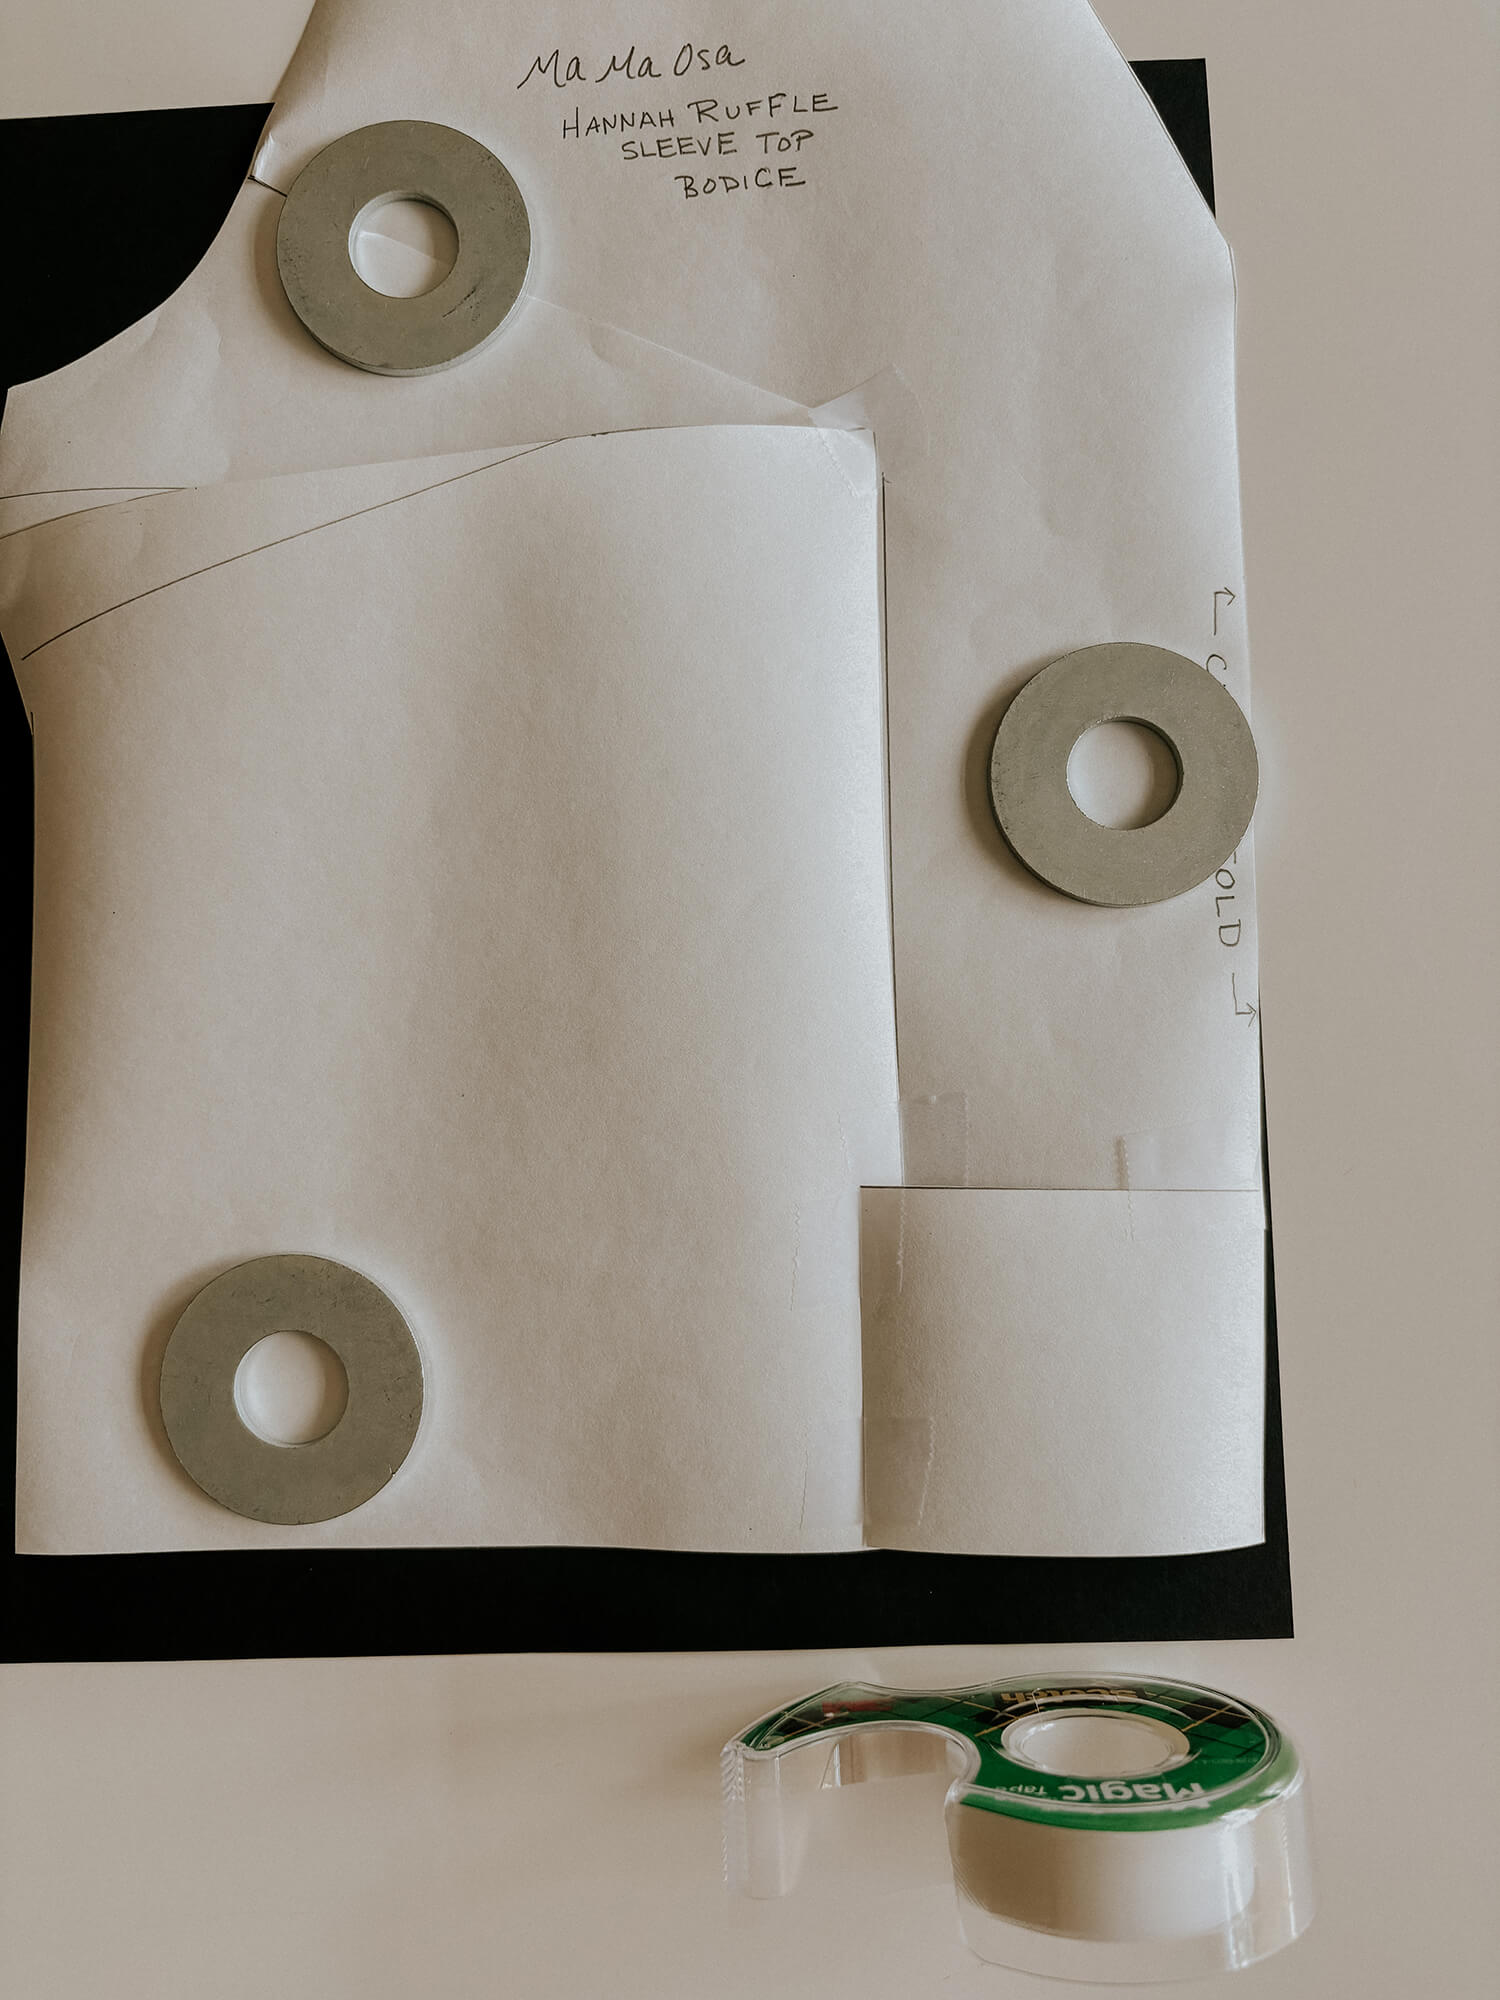
11. By overlapping, you’ll raise the waistline. Tape the little rectangle back in.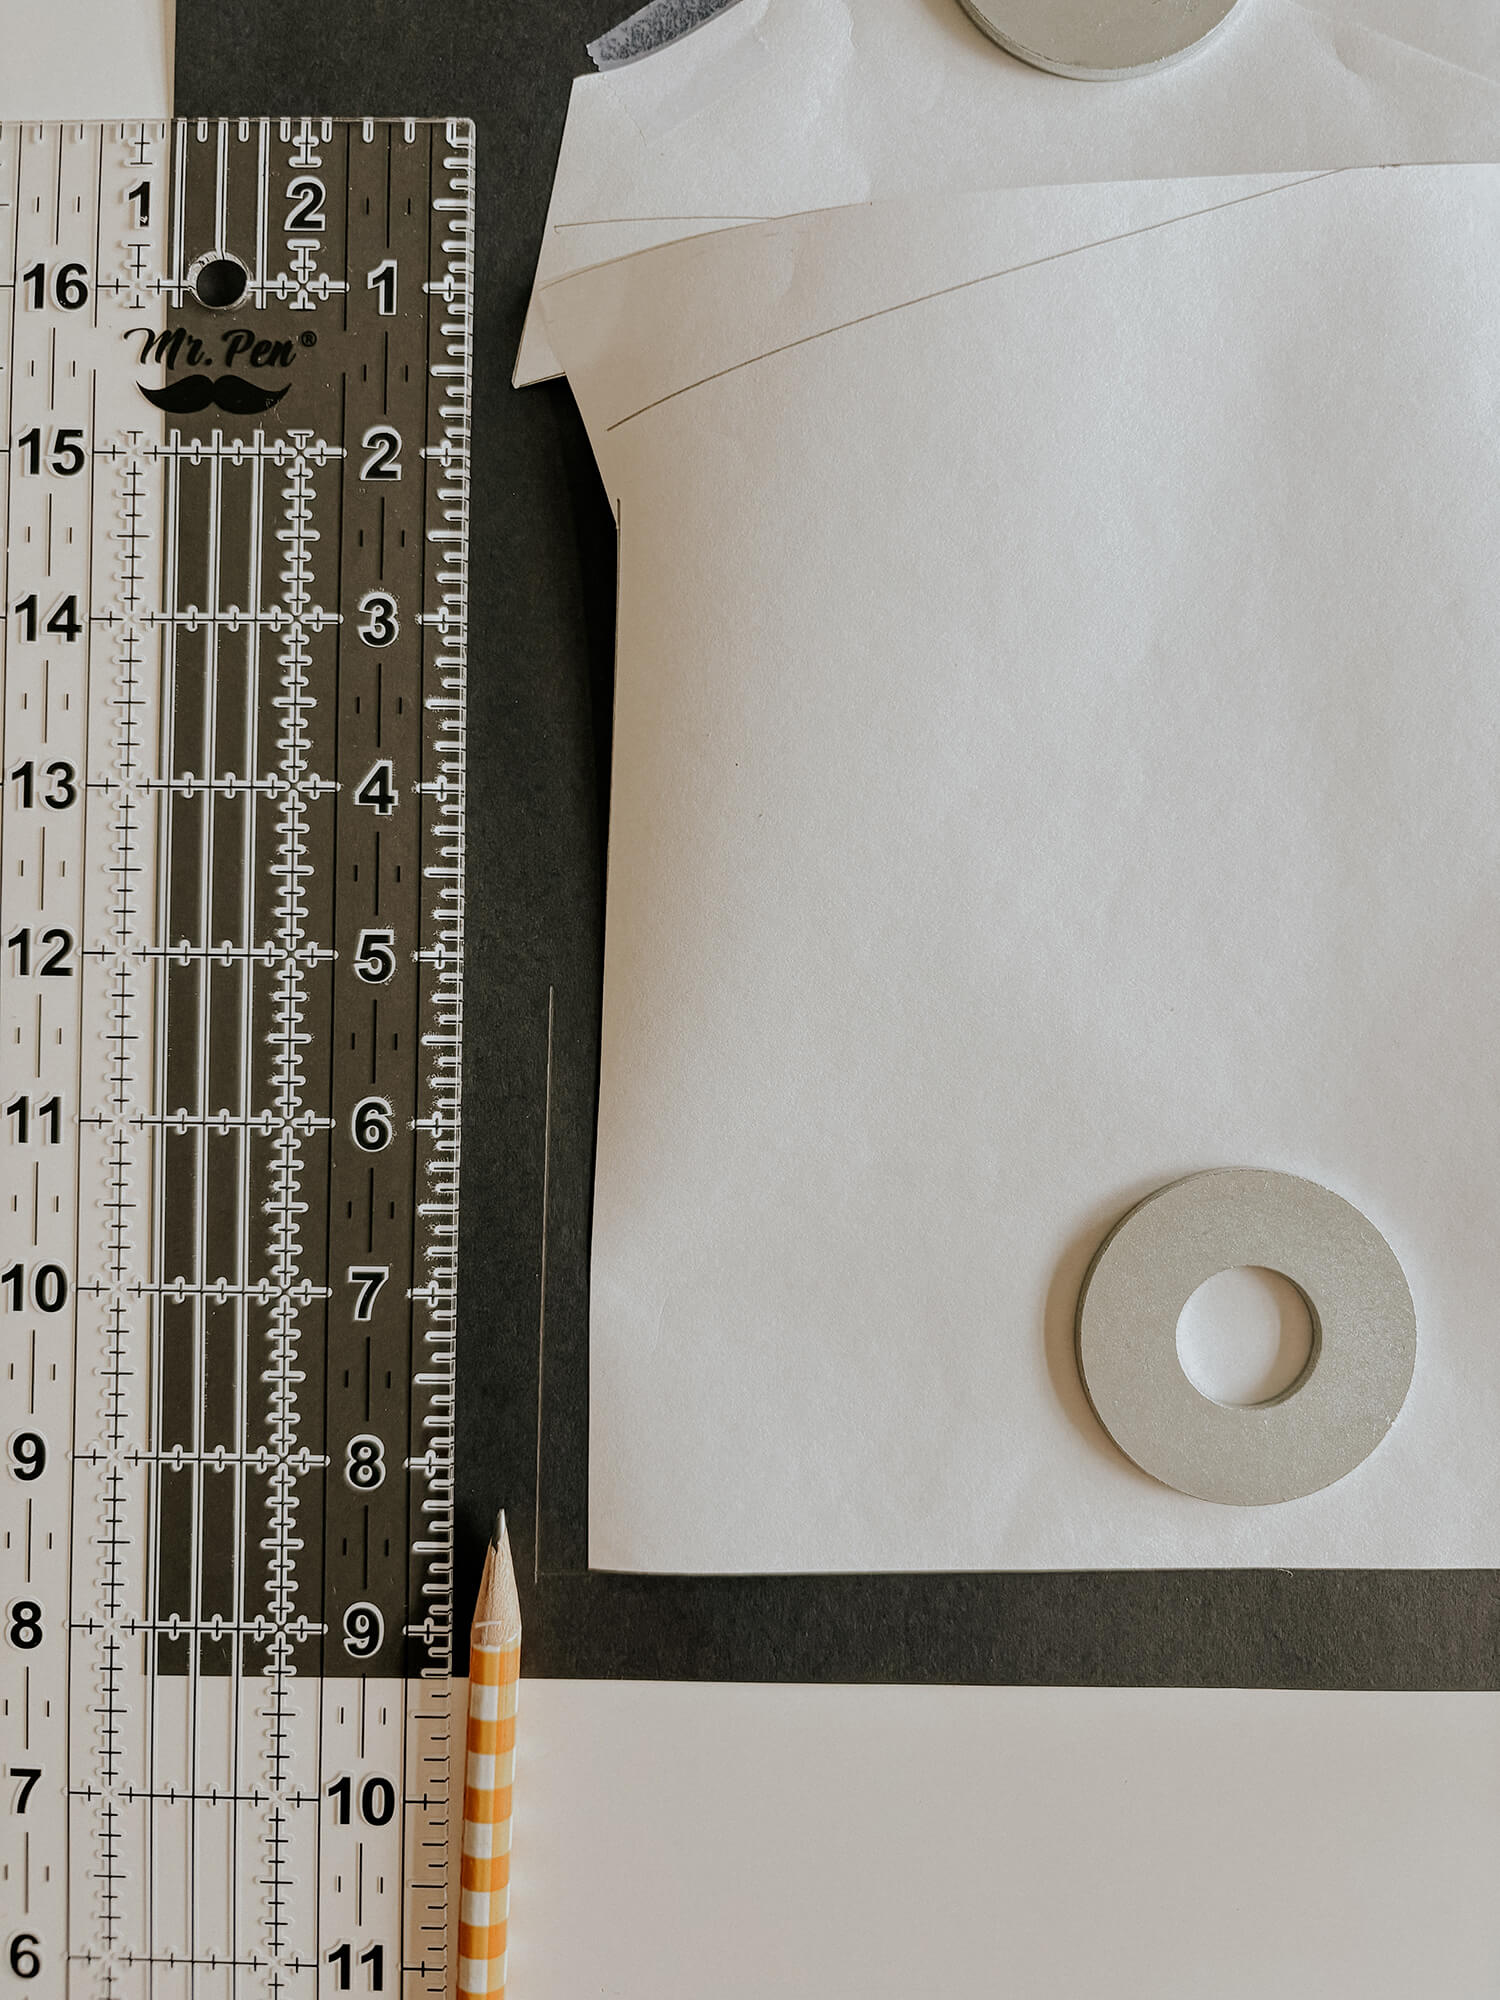
12. The waistline is now slightly smaller—if you don’t want that reduction, add the width back in on the under paper.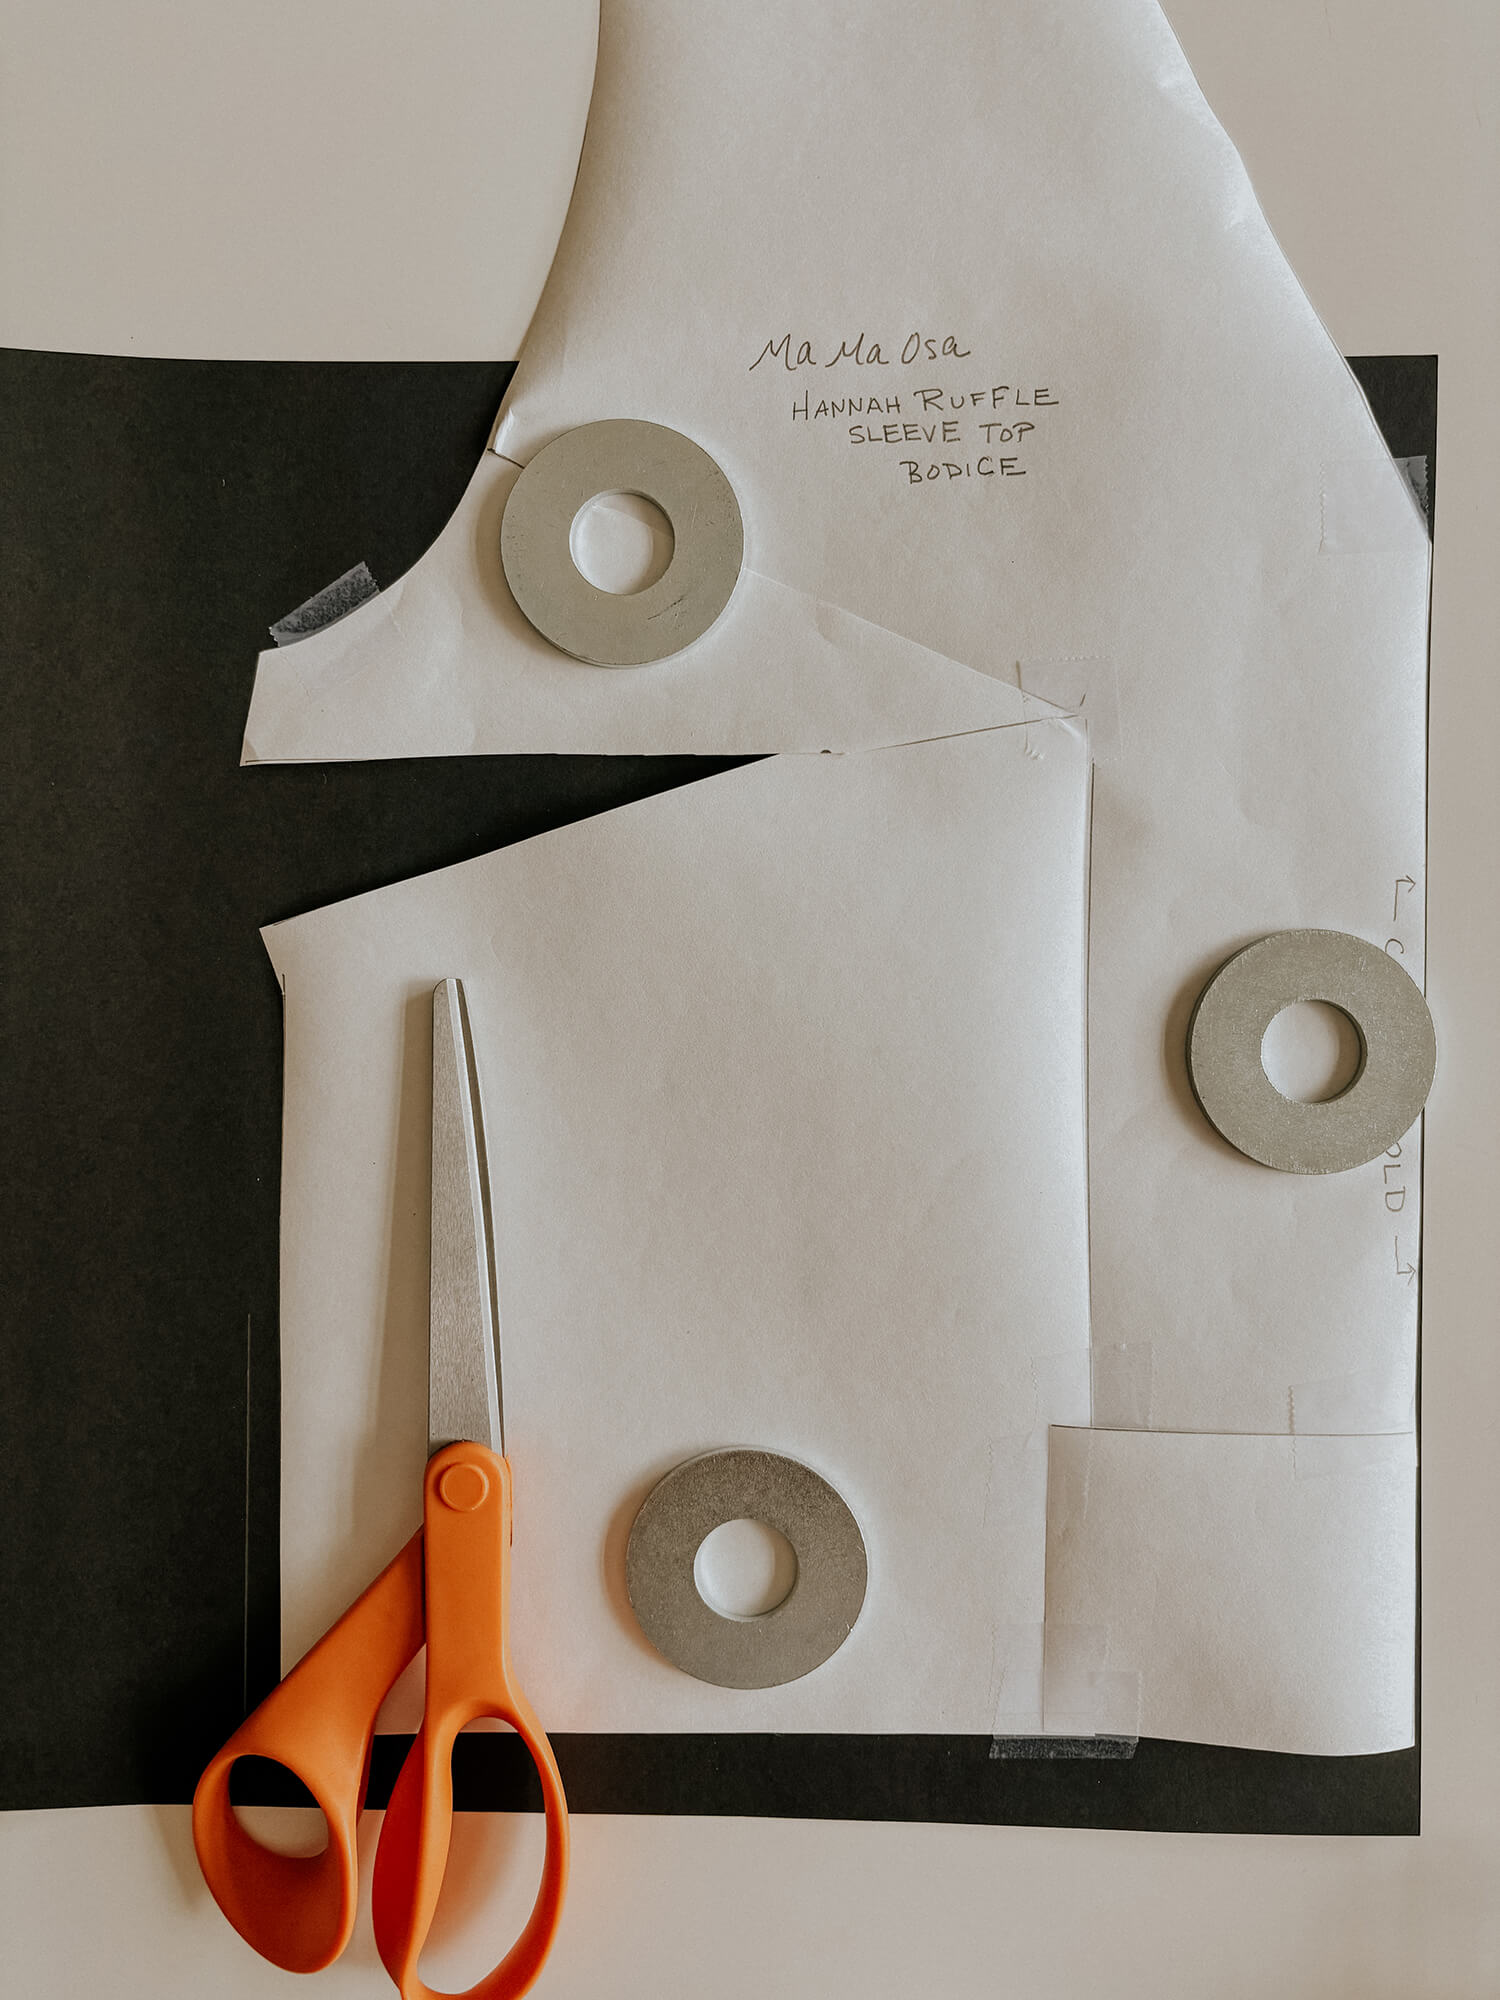
13. Cut out the dart triangle so you can see the adjustment.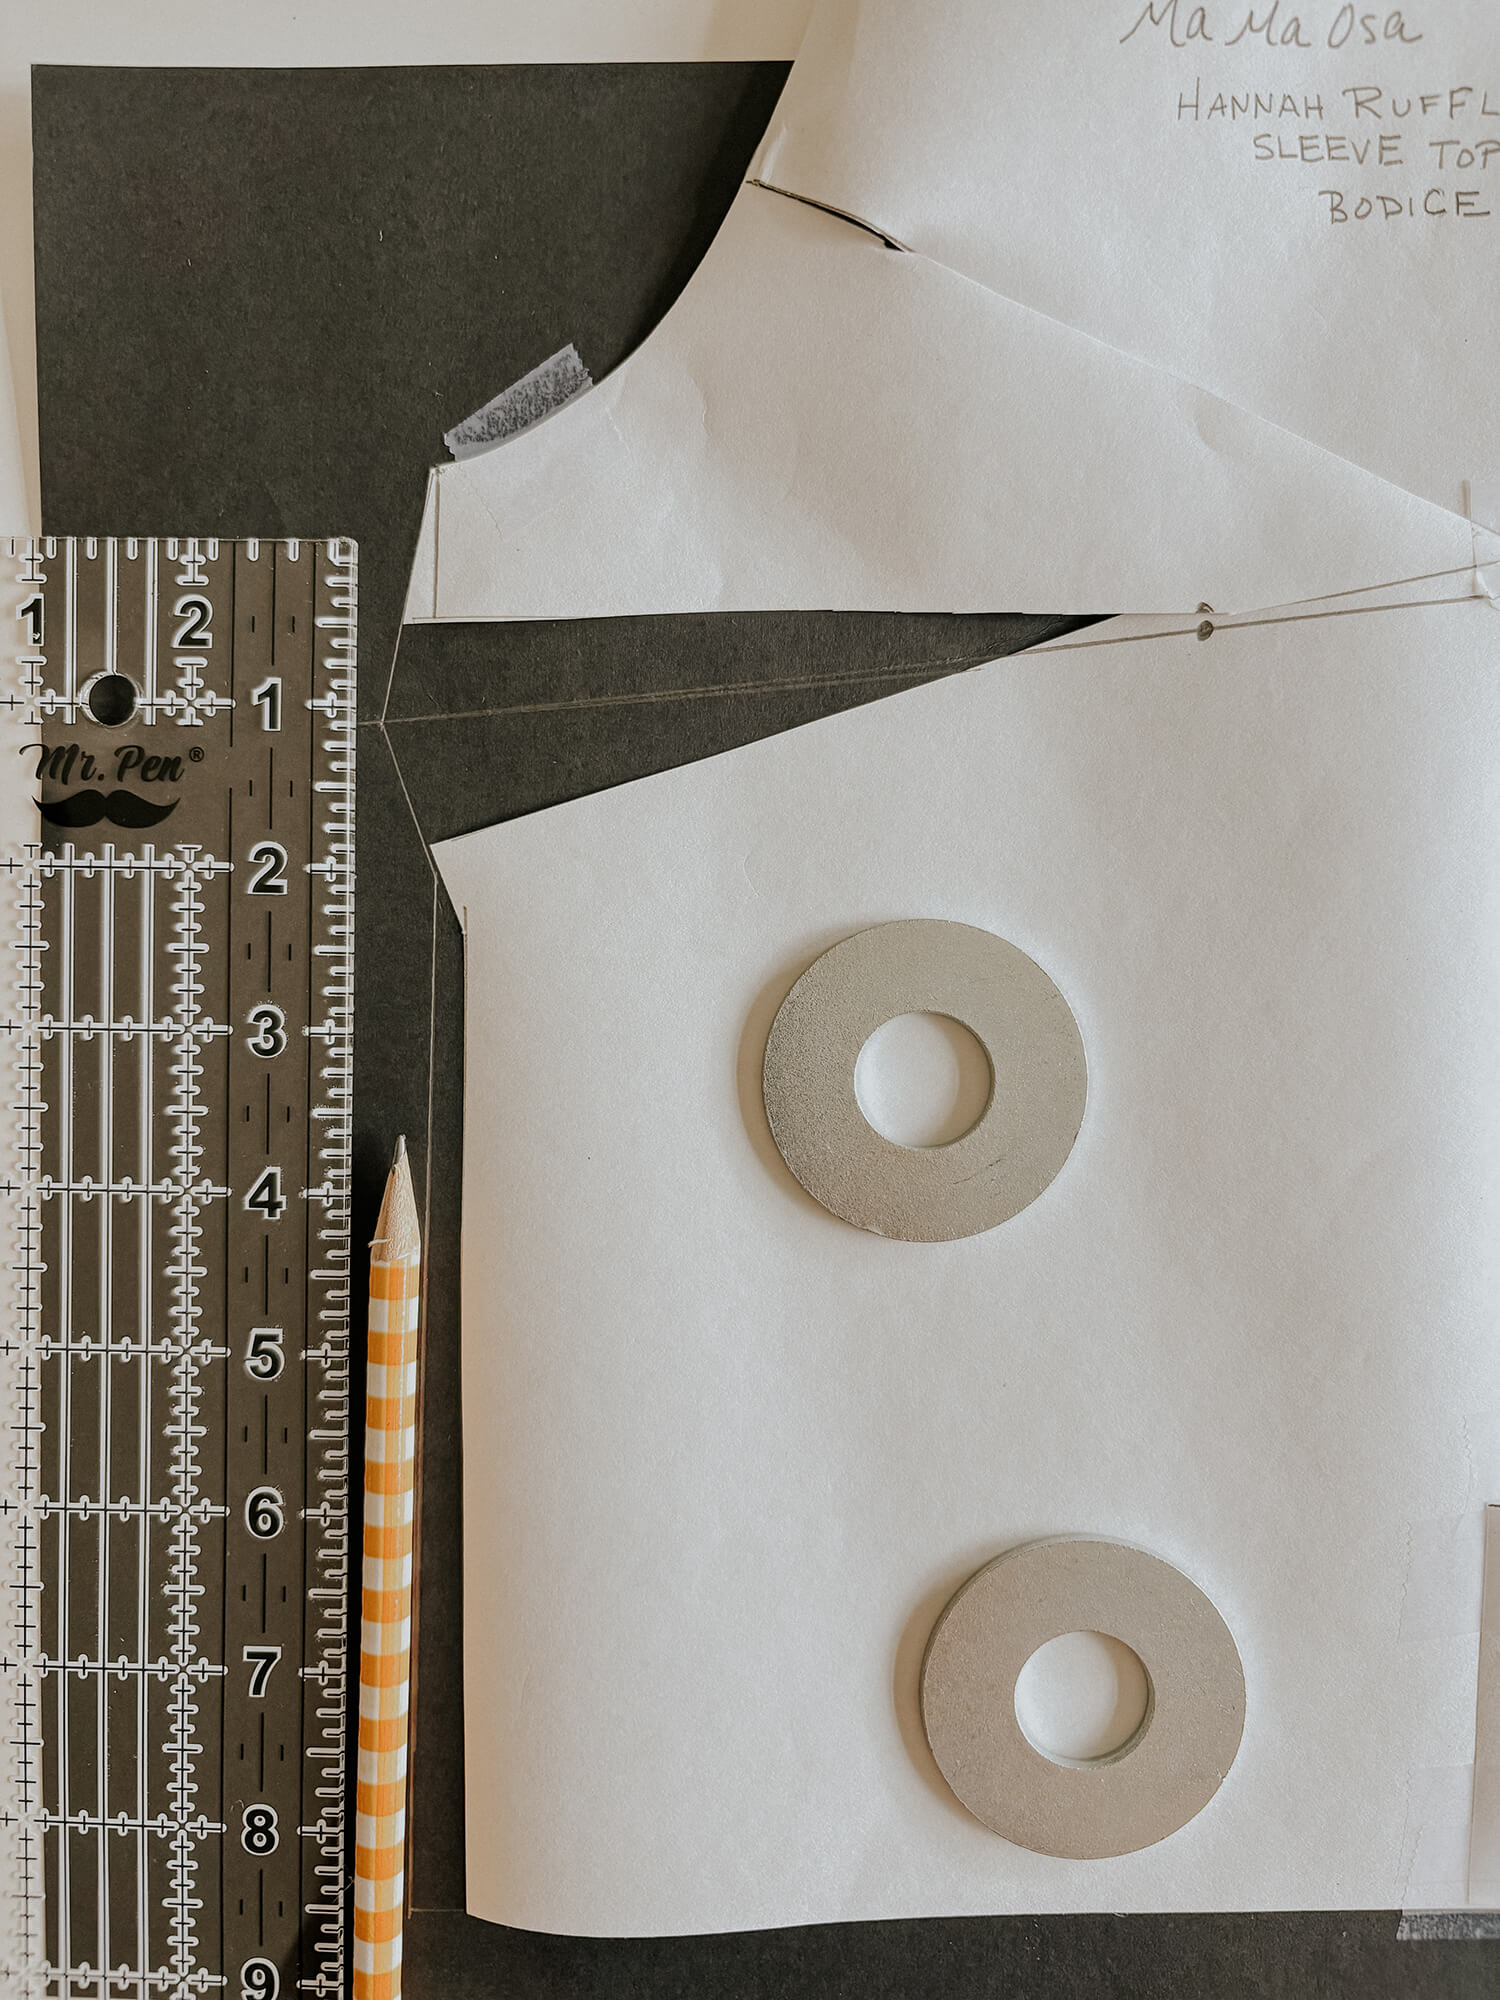
14. Redraw the dart from the apex. Fold it to check—you’ll see the dart is now smaller. 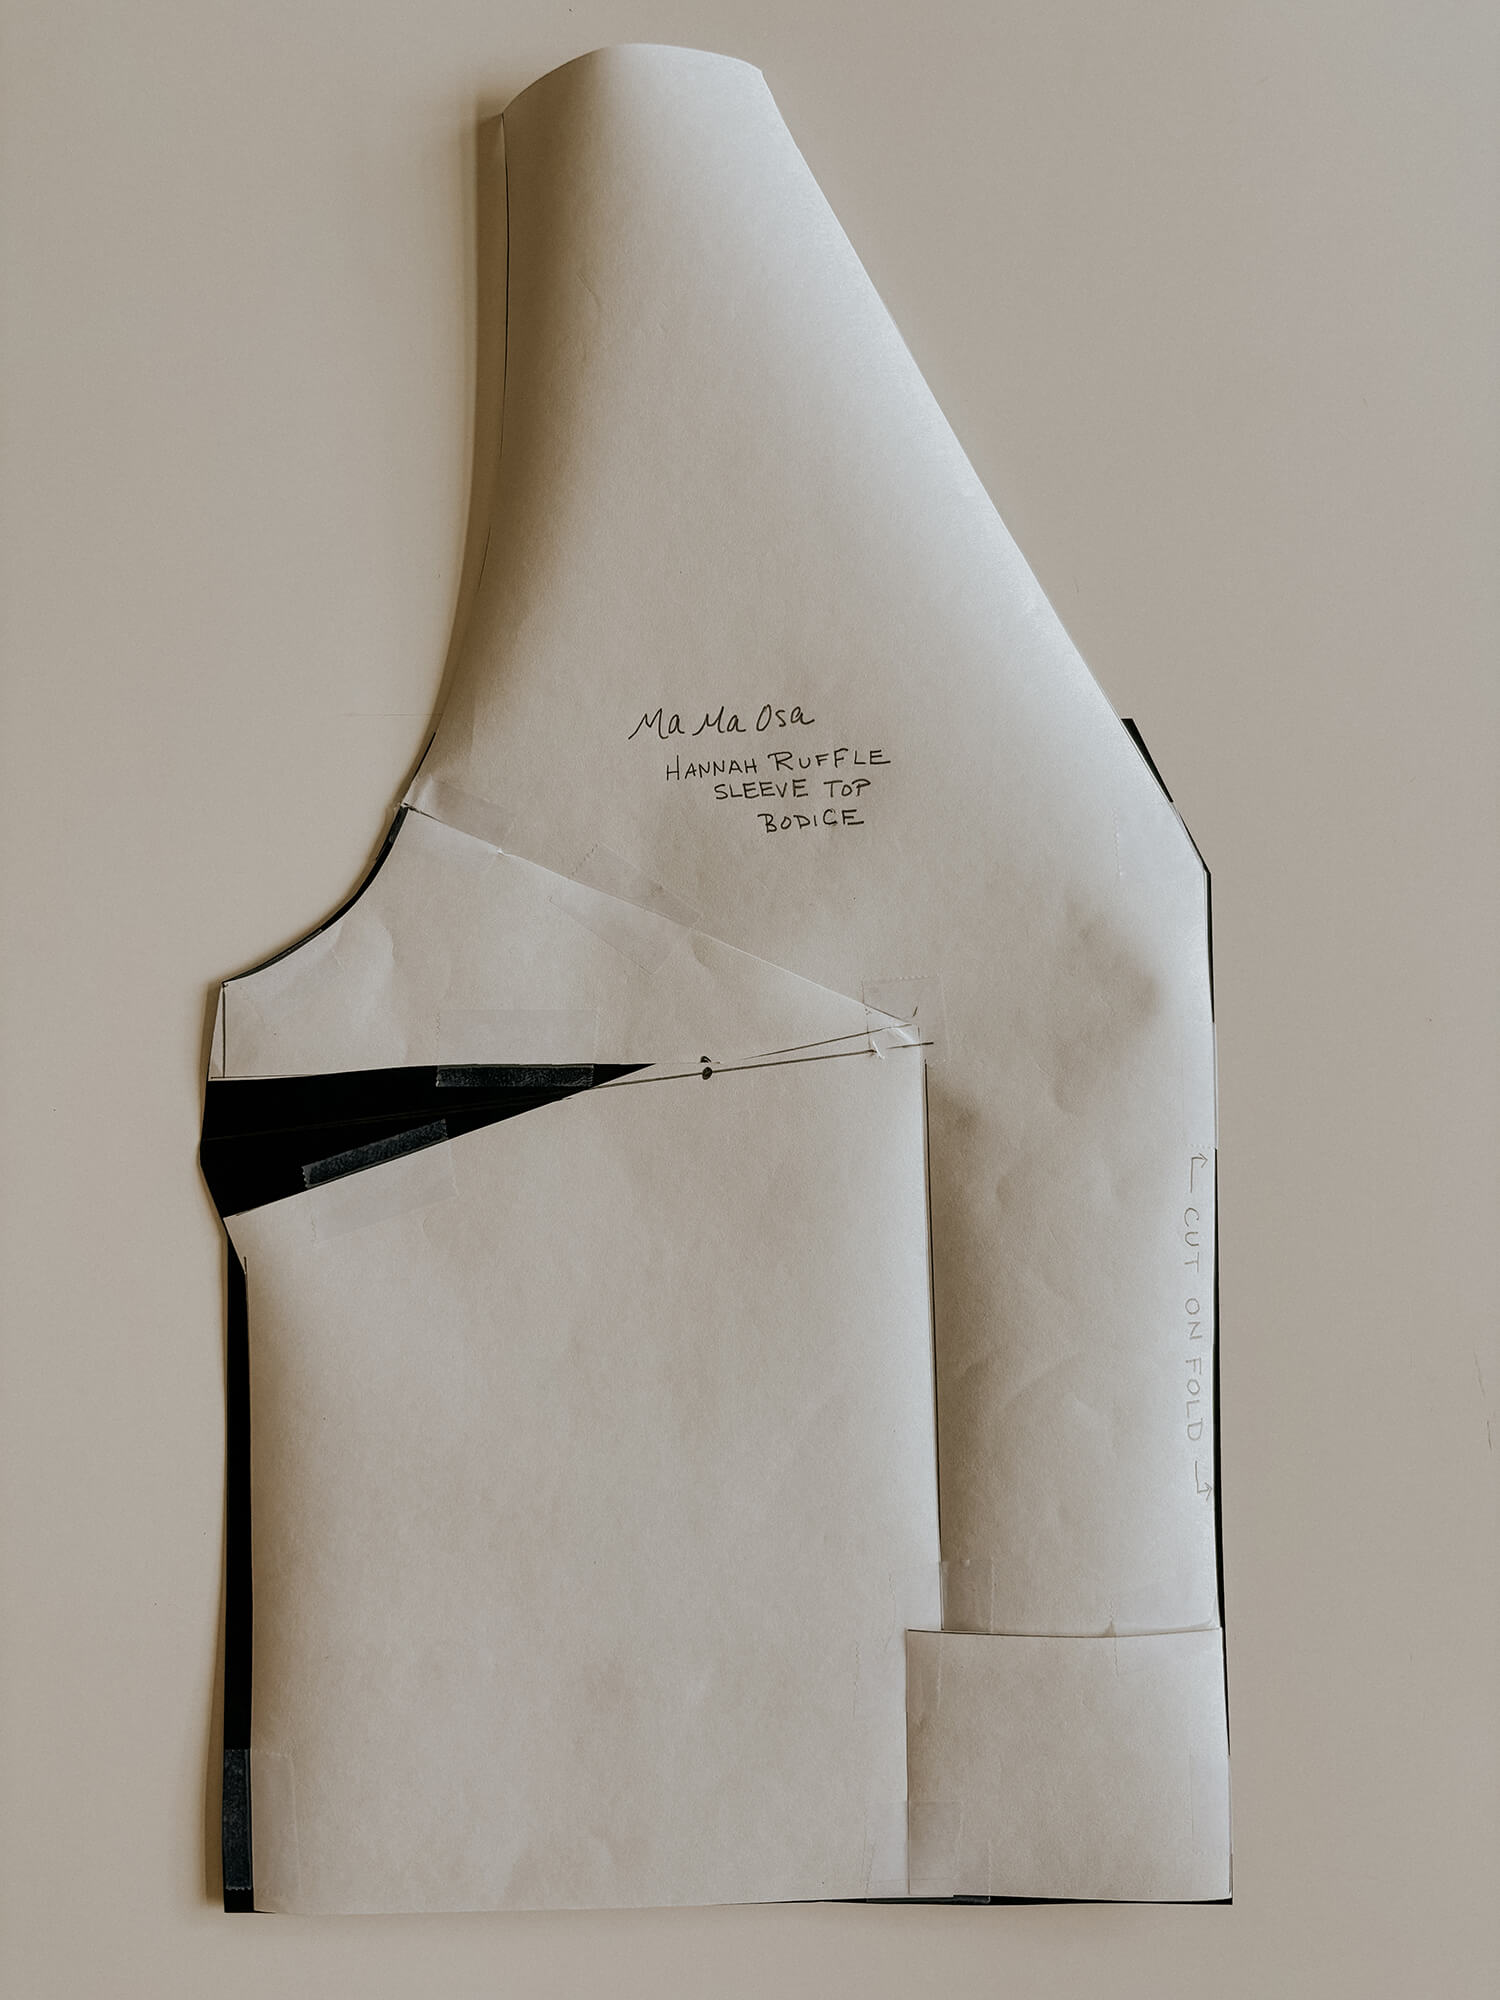
15. Trim away the excess paper underneath. Your adjusted bodice pattern is ready to use!
Done! If you have any questions or would like to add some sewing stories on the subject, you can comment below.
About Author
Alisha Cooke
Ma Ma Osa is a handmade clothing brand that offers heirloom quality garments and patterns, hand-made by a mother. We celebrate the cherished craft of sewing and seek to honor the art of slow fashion in all our practices as a brand.Related posts

Sewing Essentials: Stitch Width, Stitch Length & Needle Position
Thinking back to my high school textiles days, I remember having to test stitch settings on every fabric we planned to use for our projects. We would cut out little squares of fabric and experiment with different stitch lengths and widths, and edge-finishing techniques. At the time, it felt unnecessary, not to mention tedious….

Sewing Essentials: A Simple Guide to Notches
I love a notch, so much so that I’ve decided to dedicate this article to these small but important markings. Here, I’ll explain why they’re so helpful, when to use them, and how to add them to your own patterns or adapt them for existing ones. What exactly are notches? Notches are small markings found…

How to Select and Use Interfacing: A Simple Guide
Iron-on or sew-in, woven or non-woven, lightweight or heavyweight. With so many different types, weaves, and weights to choose from, how do you know which interfacing is best for your project? In this article, I will explain the two main types of interfacing before diving into the differences in weave and weight. Hopefully by the…

Sewing Essentials: A Simple Method for Reversible Seams
There are so many ways to finish a seam, from good old overlocking to French seams and binding. I recently stumbled across another method that’s pretty nifty, and honestly, I kind of wish I had known about it sooner. It is a bit like binding, but topstitched in place so it doesn’t move or flap…

Sewing Essentials: Understanding Different Types of Sewing Elastic
Elastic is a really common notion used in sewing. You’ll find it on everything from waistbands to cuffs and necklines. It plays a crucial role in giving garments both support and shape. Have you ever had the waistband of your pants twist and never sit quite right? Or maybe you’ve noticed the leg opening of…


SEW THIS LOOK


Latest Posts

Leave a comment