Ready to Draft Your Own Patterns? Here’s What You’ll Need to Get Started
I still remember the excitement—and slight overwhelm—I felt when I first received my pattern-making kit at university. The tools, some of which I had never seen before, felt very foreign to me. However, it didn’t take long for them to become second nature, and pattern making soon became my favourite subject.
The freedom that comes with drafting your own patterns is pretty cool. It allows you to create (almost) anything you envision, customise for the perfect fit, and express your unique personal style.
With that in mind, I thought I would share with you some of the tools I would recommend to get you started in drafting your own patterns, or altering an existing one. While not all of these are essential, they’ll make pattern-making that little bit smoother and more enjoyable.
Essential equipment for pattern drafting
Stationary
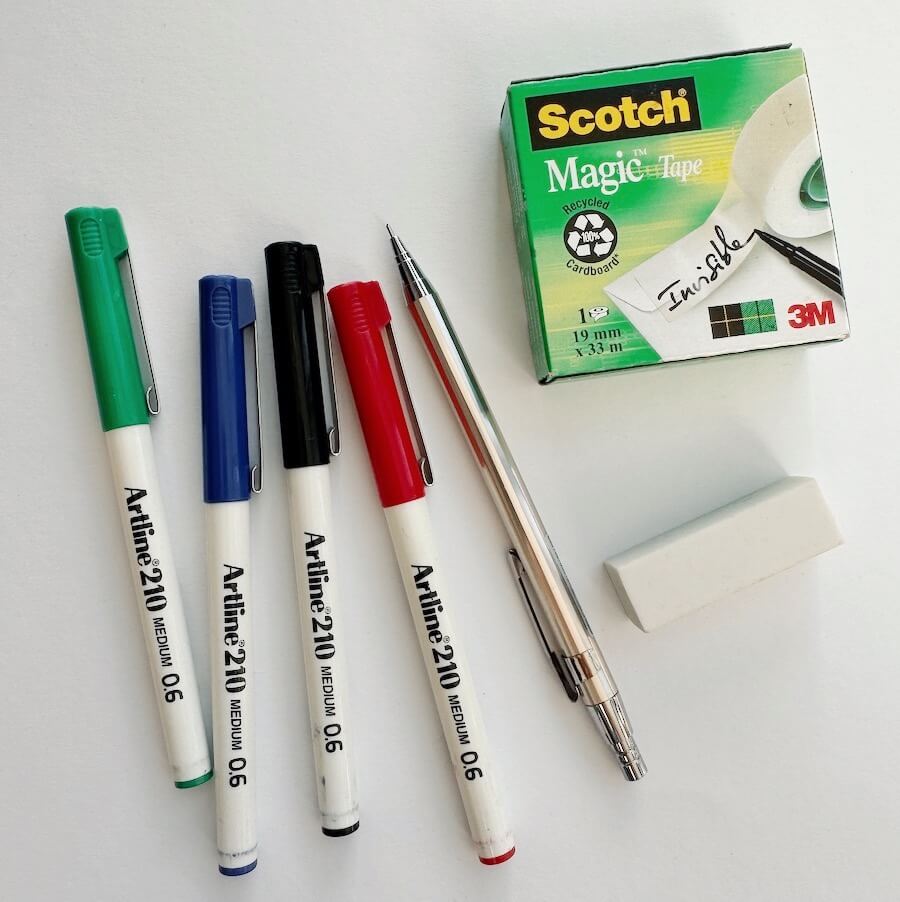
Pencil: Perfect for the initial tracing of blocks or pattern pieces and for making notes. A mechanical pencil is especially handy so you’re not constantly sharpening it.
Coloured markers: These are great for labelling different parts of your patterns. I use black for outlines, blue to indicate lining, green for interfacing, and red for grain lines. Of course, you can choose whatever system works best for you.
Sticky tape: Essential for holding pattern pieces in place, especially when manipulating darts or cutting and spreading. I recommend ‘Scotch Magic Tape’ since you can write on it with a pen or pencil, and it’s easy to remove if needed.
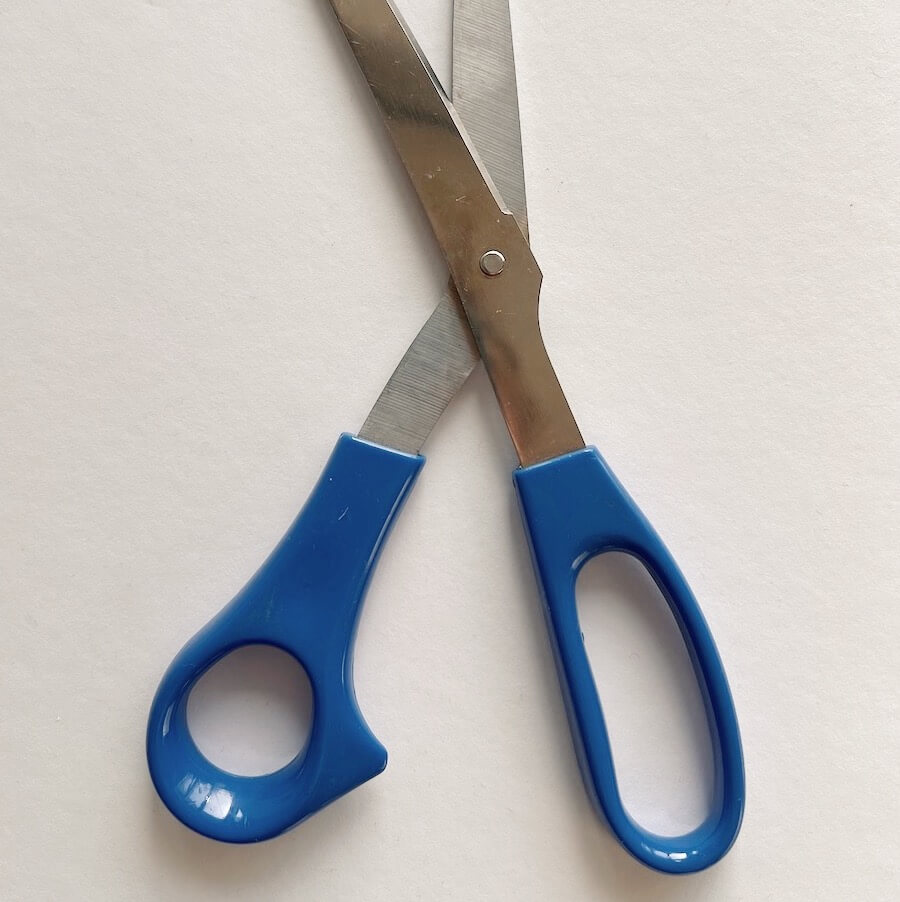
Paper scissors: These are for cutting out your working pieces and final pattern. Be sure to reserve your fabric scissors solely for fabric to avoid blunting them.
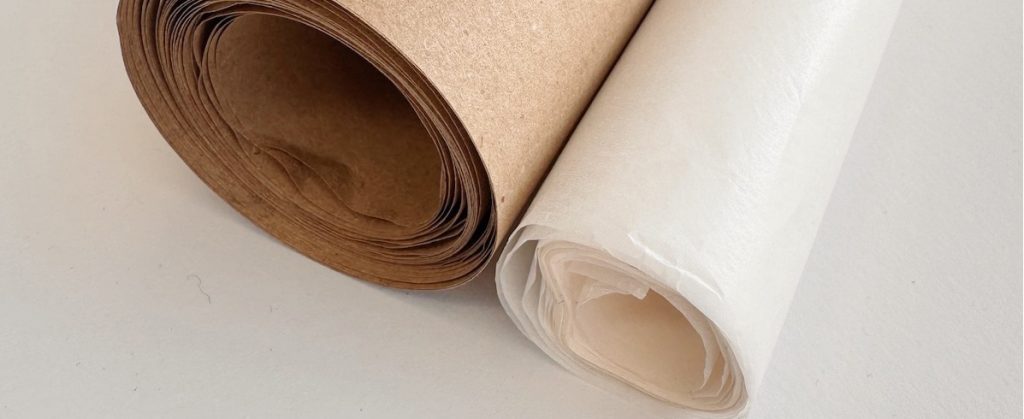
Paper: Often, one of the first steps in pattern drafting is tracing or copying your blocks or pattern pieces onto a working sheet. This is where you’ll make all adjustments, markings, and changes throughout the design process, adding notes, measurements, and important details. From this working sheet, you’ll trace off the final pattern pieces.
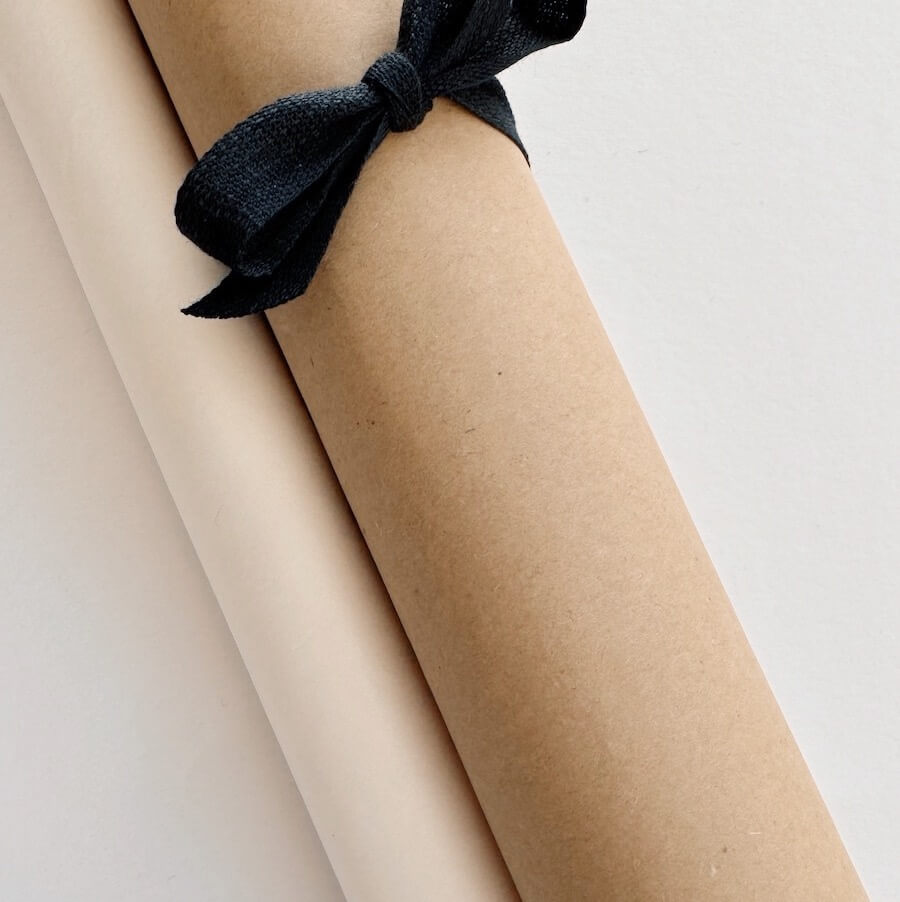
Therefore, large sheets or rolls of paper are essential. No need for anything fancy—even brown craft paper or gift wrap works well. Since some pattern pieces can be be pretty big, opt for the largest sheets you can find to avoid having to piece paper together. For those smaller working pieces, I would recommend having some transparent paper handy (kitchen greaseproof paper works well).
Measuring equipment
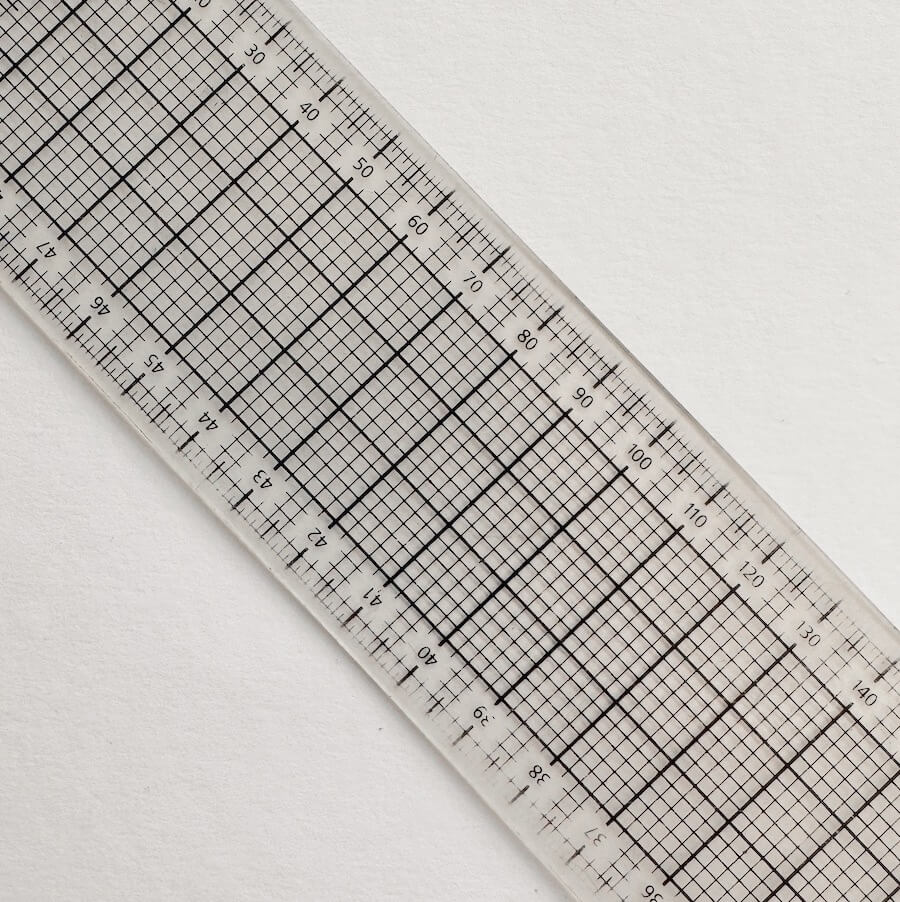
Grading ruler: My go-to ruler for most things. It is the perfect length at 50cm, allowing me to draw nice long lines in one go. It’s transparency makes positioning easy, and the clear grid lines are helpful for adding seam allowances and hems. It’s also just thick enough to use with a rotary cutter or tracing wheel.
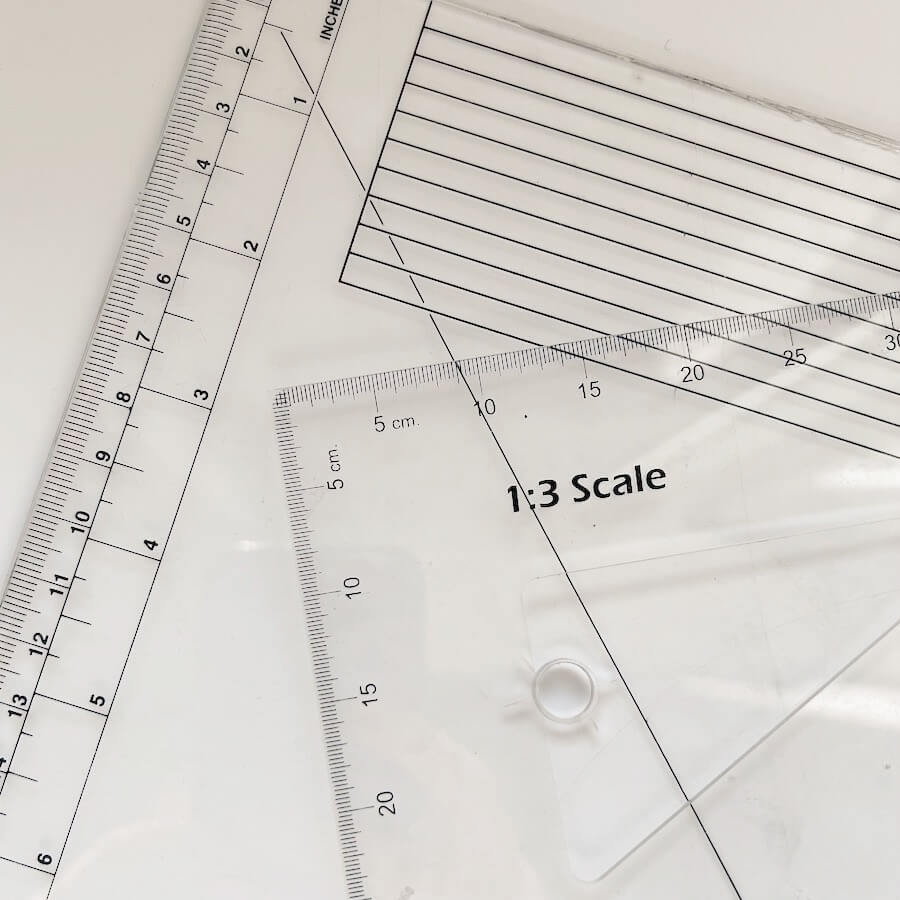
French curve: This ruler, shaped like an elongated comma, is a must-have for drafting smooth, consistent curves for areas like the waist, neckline, armholes, sleeve caps, etc. Like the grading ruler, it is transparent and includes those handy grid lines.
Right angle ruler: This triangular ruler is great for creating that 90 degree angle that is often needed for tasks like hems, or to check grain lines. It will help maintain accuracy and ensure that pieces come together at clean, right angles.
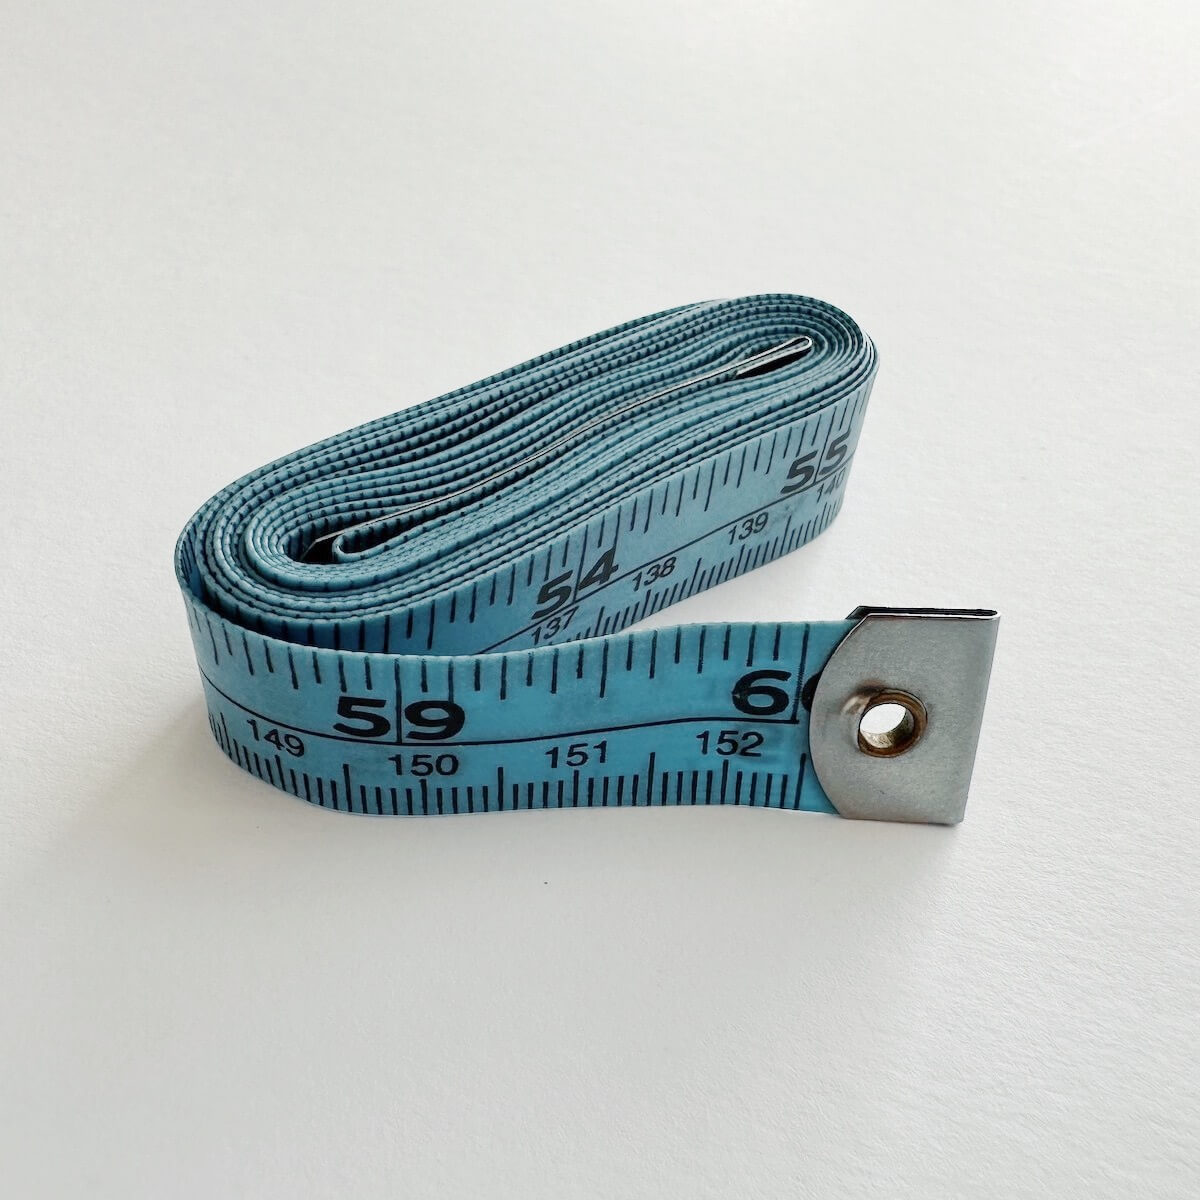
Tape measure: A flexible and essential tool for measuring both body and garment dimensions accurately. Typically 150cm in length and often featuring both imperial and metric markings, it’s perfect for taking long measurements. I recommend checking your tape measure every now and then, as it can stretch over time and your measurements may become a little off.
Tools
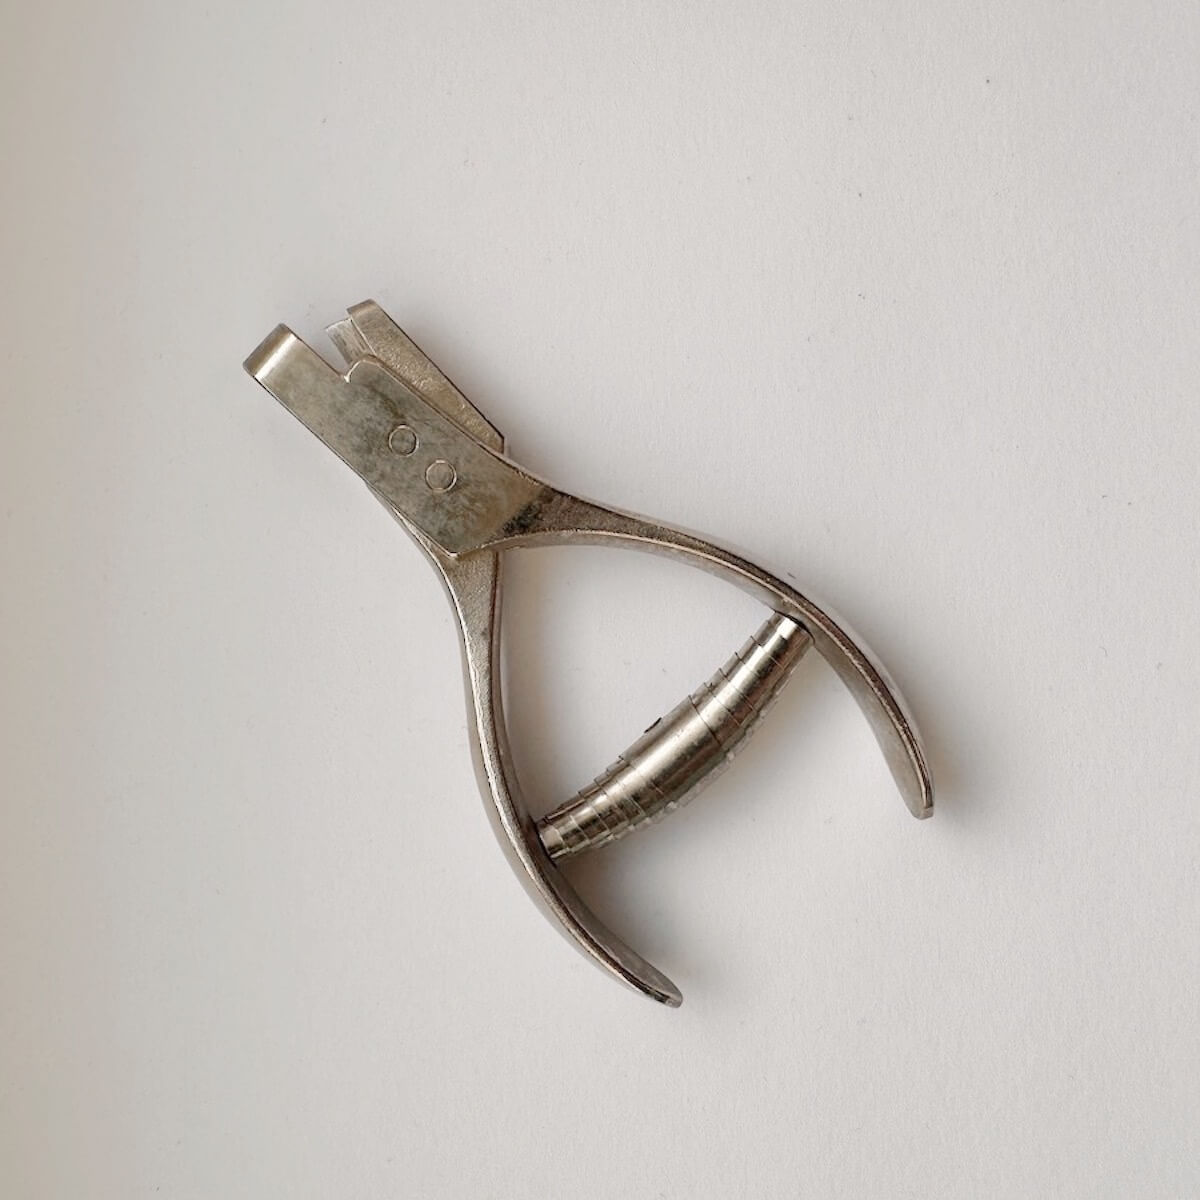
Notcher: This odd-looking tool works just like a hole punch. It provides clean rectangular cuts (approximately 6mm long) along the edges of cardboard blocks or paper patterns. These notches act as essential alignment markers for accurately matching your pattern pieces (think sleeve head and shoulder).
Using a notcher makes it easy to transfer notches from your blocks to your pattern paper—simply guide your pen or pencil along the cutouts. You can notch single layers or multiple paper patterns at once, enhancing both efficiency and accuracy. The slits also serve as perfect guides for fabric snipping, preventing over-cutting (something I’ve definitely done before!).
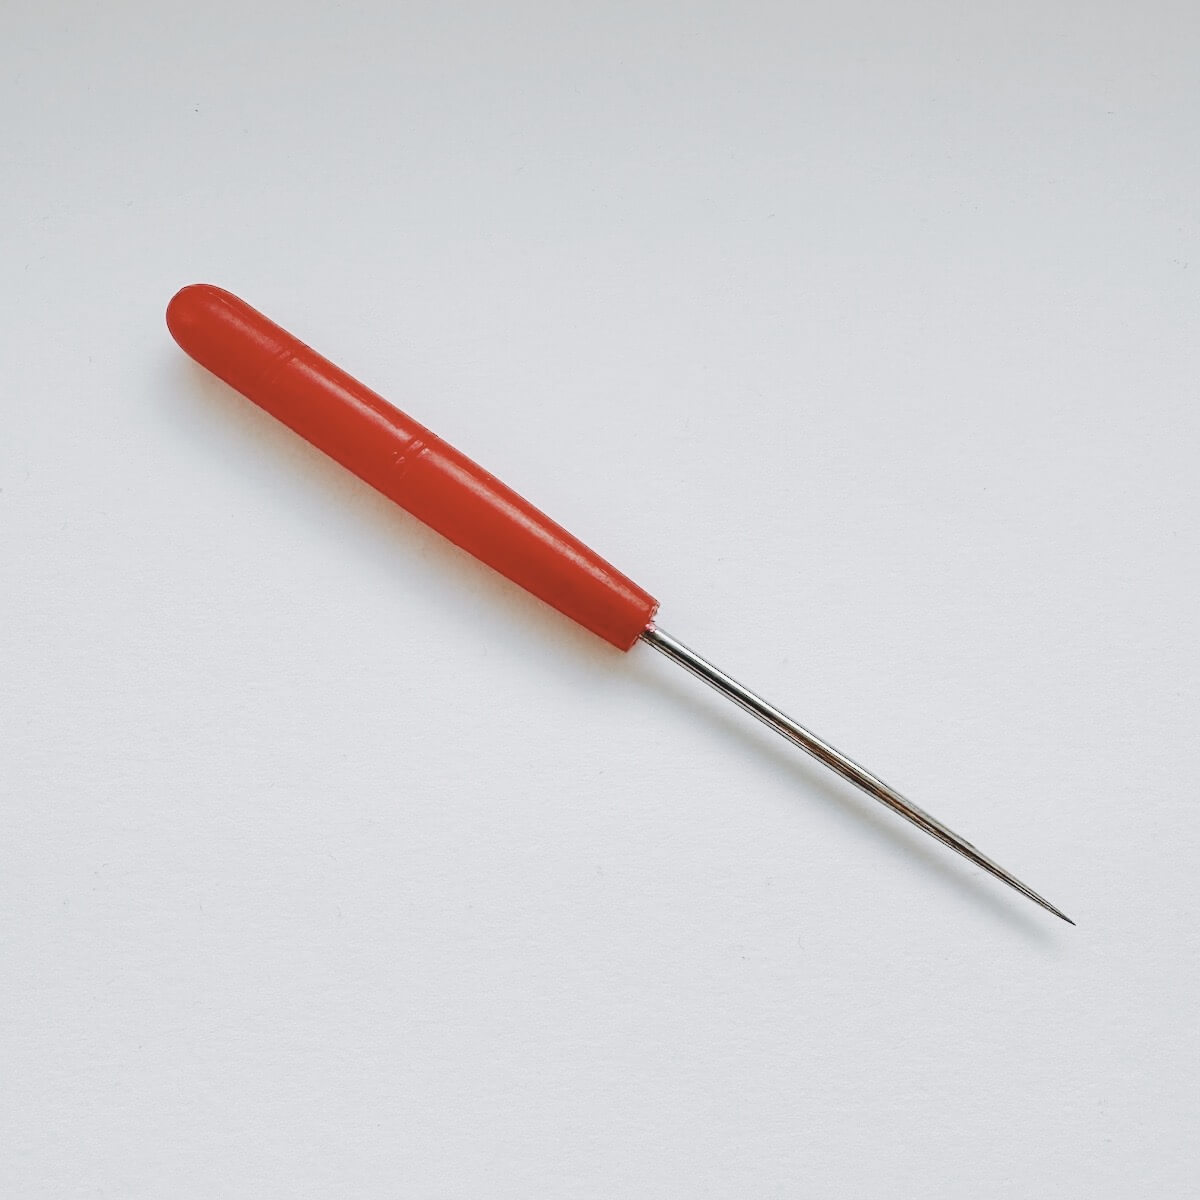
Awl: This simple yet versatile tool resembles a large needle and is used to punch small holes into your blocks or paper patterns. It’s invaluable for transferring precise markings, such as dart points and button placements. You can then either position a pin through the hole or use a chalk pencil to ensure accurate markings on your fabric.
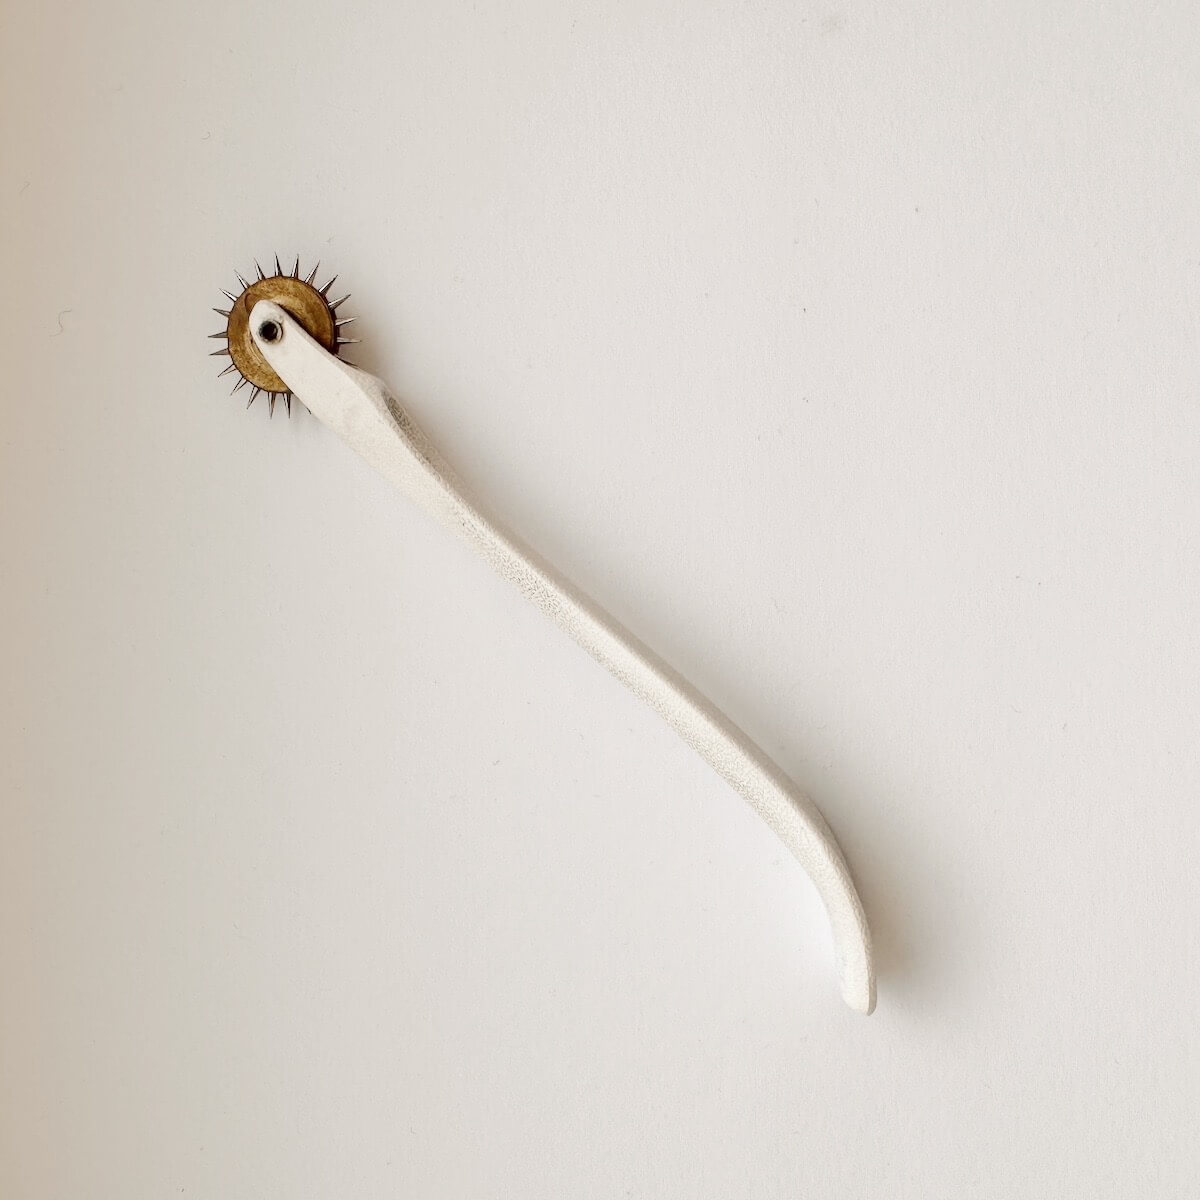
Tracing wheel: Resembling a mini pizza cutter, this tool helps transfer markings or trace your pattern onto paper without needing tracing paper. The wheel leaves a series of small perforated dots that can be traced over. Be careful though, these things are sharper than they look, so be sure to keep your fingers clear and use a mat so you don’t damage your table or floor!
Whether you’re drafting your own patterns or tweaking existing ones, these tools can make things that bit easier. Almost 18 years later, I’m still using my original kit, and it’s still going strong. Invest in a few good tools and they’ll last you for many projects to come!














3 Comments
Susan Bechamp
Amazon sells Swedish Tracing Paper in 29” x 10 yard rolls. A splurge but sometimes useful since you can draft a pattern, cut it out, baste it together, and try it on to check the fit. Adjust the pattern instead of the fabric pieces. You can’t do that with tissue paper.
Diane Kenny
Nice article! Patternmaking is logical, creative, and the end result is a springboard for more patterns. I’d add one other supply- rolls of the paper that doctors use for examinations. It’s inexpensive, strong, translucent, easily erasable.
Egle Meier
Yes, I’ve been using exam table paper for years – works perfectly!