Tutorial: How to Add a Spot of Delight to Your Home aka Make a Linen Bunting Banner
Four years ago, I found an old brick house that had been a rental property for years. The realtor wasn’t convinced this was a good house for me because it needed so much work. It was a winter day when we first visited, but the yellow sunshine streaming in the big windows made the house feel warm in my heart. It felt like home. So I bought the house, cut down the overgrown mass of trees and shrubs, removed the rotten kitchen floor and all carpet and linoleum.
Following renovations, I only had a small budget for home decor. I set out to search secondhand shops for old treasures. After years of collecting antique lamps, paintings, couches and sewing things here and there, I find myself surprised by how delightful this home has become. The warmth that made it feel like home that first day now seems to come from inside the house even after the sun says goodnight.
Through the experience of trying to slowly and carefully beautify this old house, it’s struck me that the sense of warmth is built through a series of individual pieces of delight. This project is for those wanting to add another little spot of delight to their space.
Steps
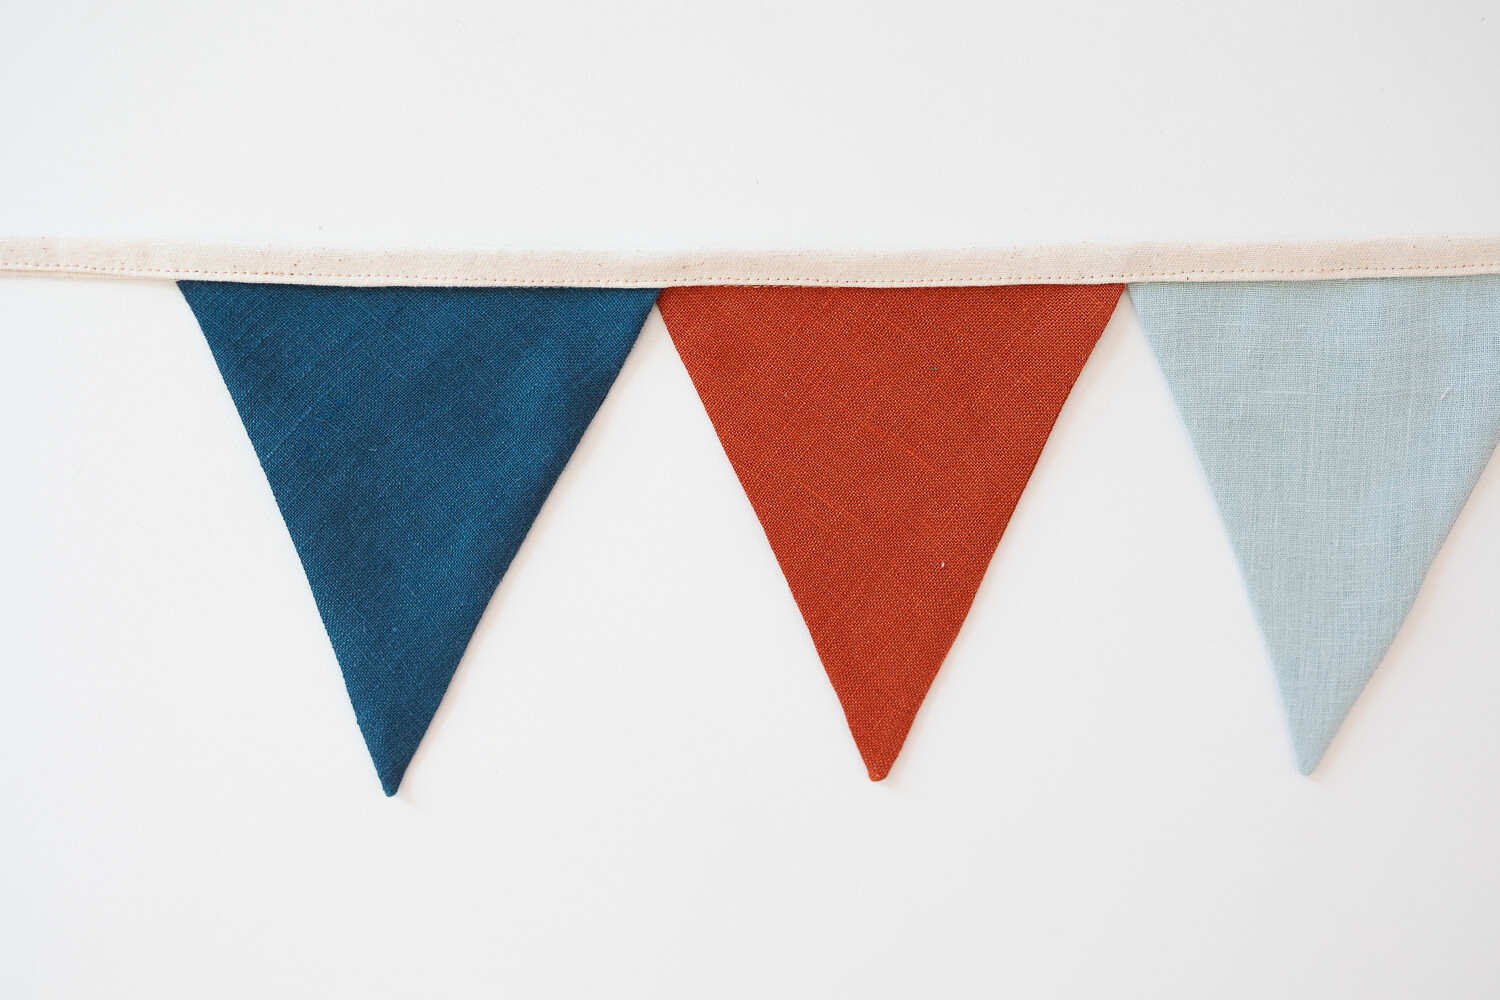
1. Pick out some lovely linen colors from your scrap pile.
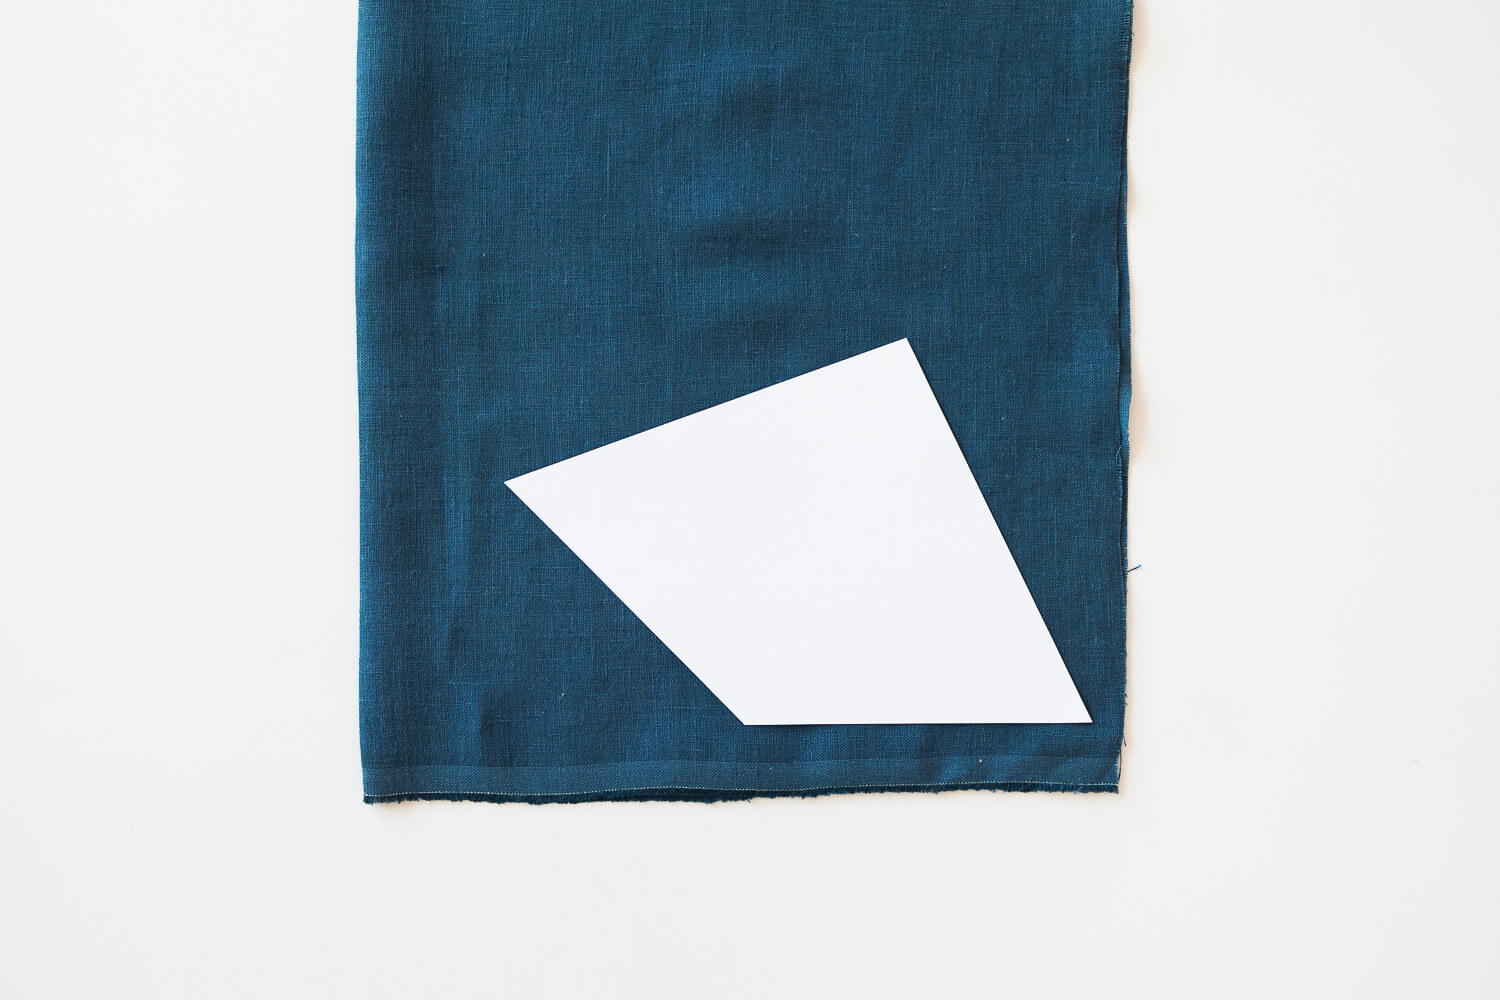
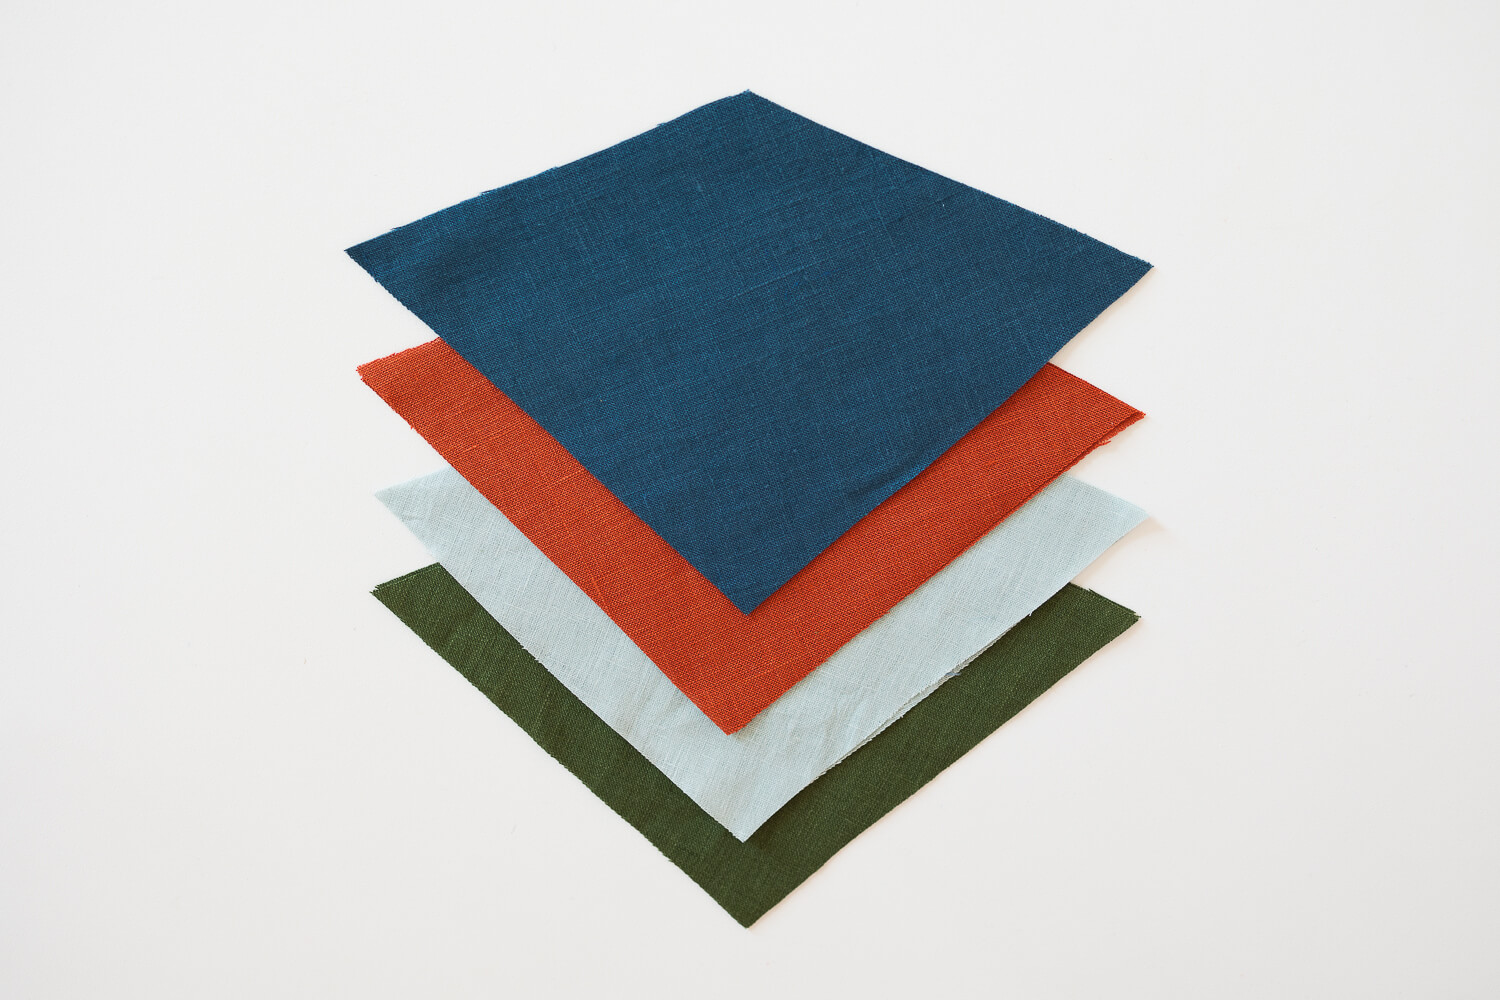 2. Print the bunting banner pattern (it’s an easy one-page pattern piece) and cut out a few in each fabric color. Each piece ends up being about 5 1/2” (14 cm) wide when finished, if that helps you determine how many you’d like to make.
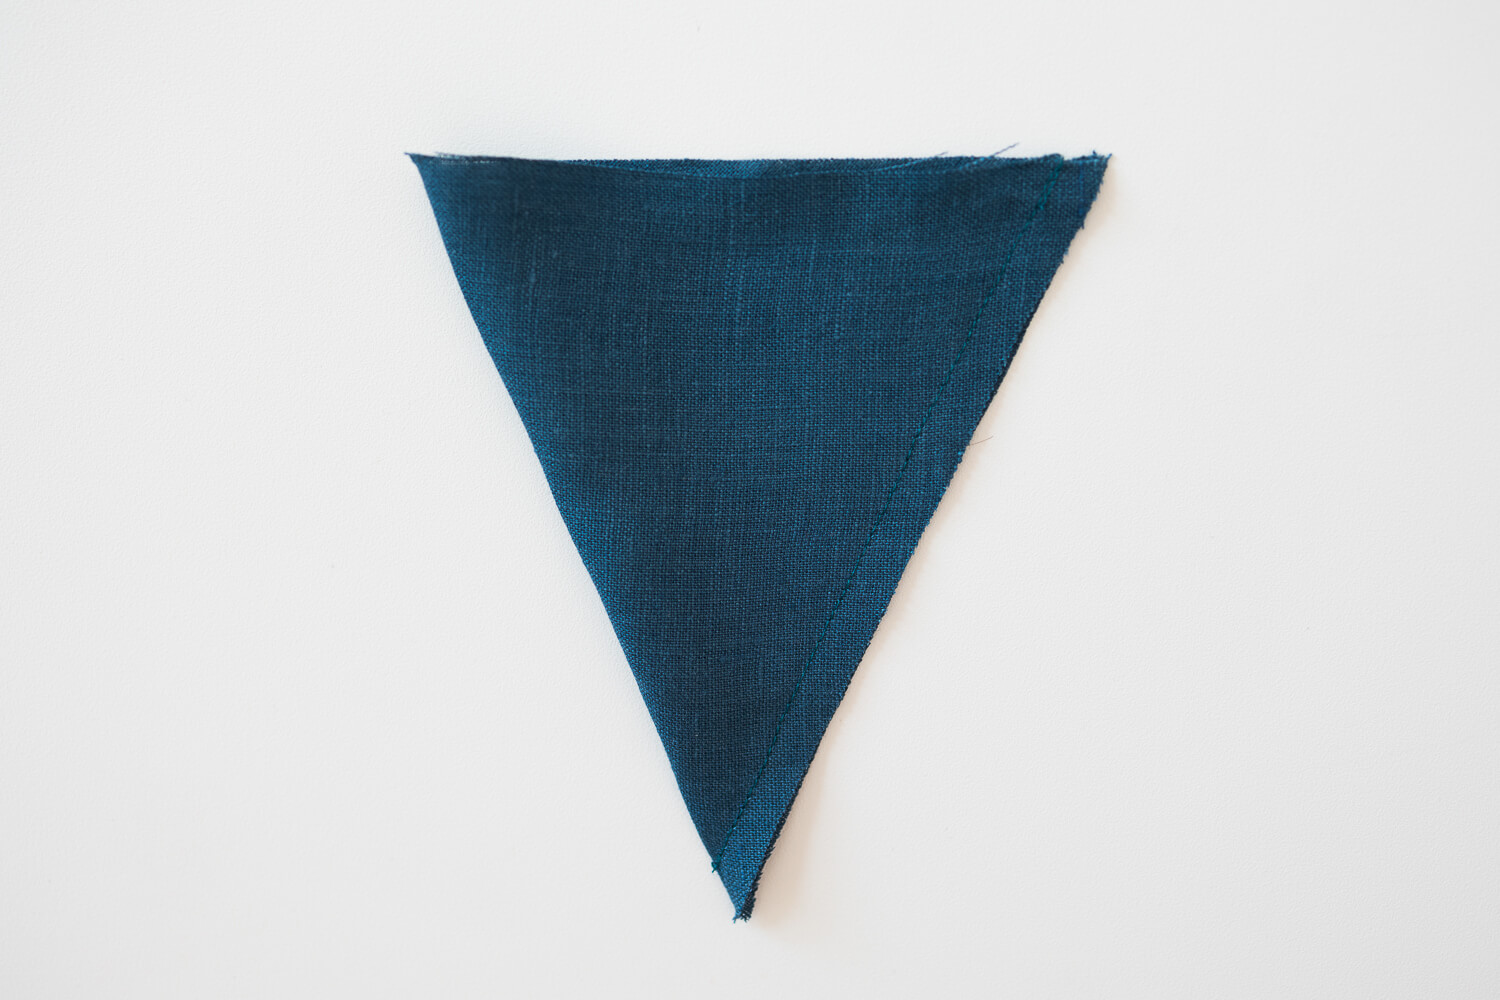
3. Fold each piece in half and sew up the side with 3/8” (1 cm) seam allowance.
To save time, sew them one to the next in one long chain.
4. Trim the seam allowance along the bottom to reduce bulk.
5. Turn the pieces right side out and press.
6. This is the hardest part. Lay out the pieces and decide what order you want them in. The more colors, that harder it is to decide! Stack the little banners in order.
7. To determine how long to cut the top strip, count how many little banners you have and multiple that number by 5 1/2” (14 cm). Then add at least 20” (51 cm) on each end.
Cut a strip 1 3/4” (4.5 cm) wide and the number you calculated above for the length.
For this tutorial, there are 8 little banners.
8 x 5 1/2” = 44” Total length of little banners.
44” + 20” + 20” = 88” Total length of little banners plus enough room for tying the ends.
So my strip of fabric is 1 3/4” wide x 88” long (4.5 cm x 2.2 m).
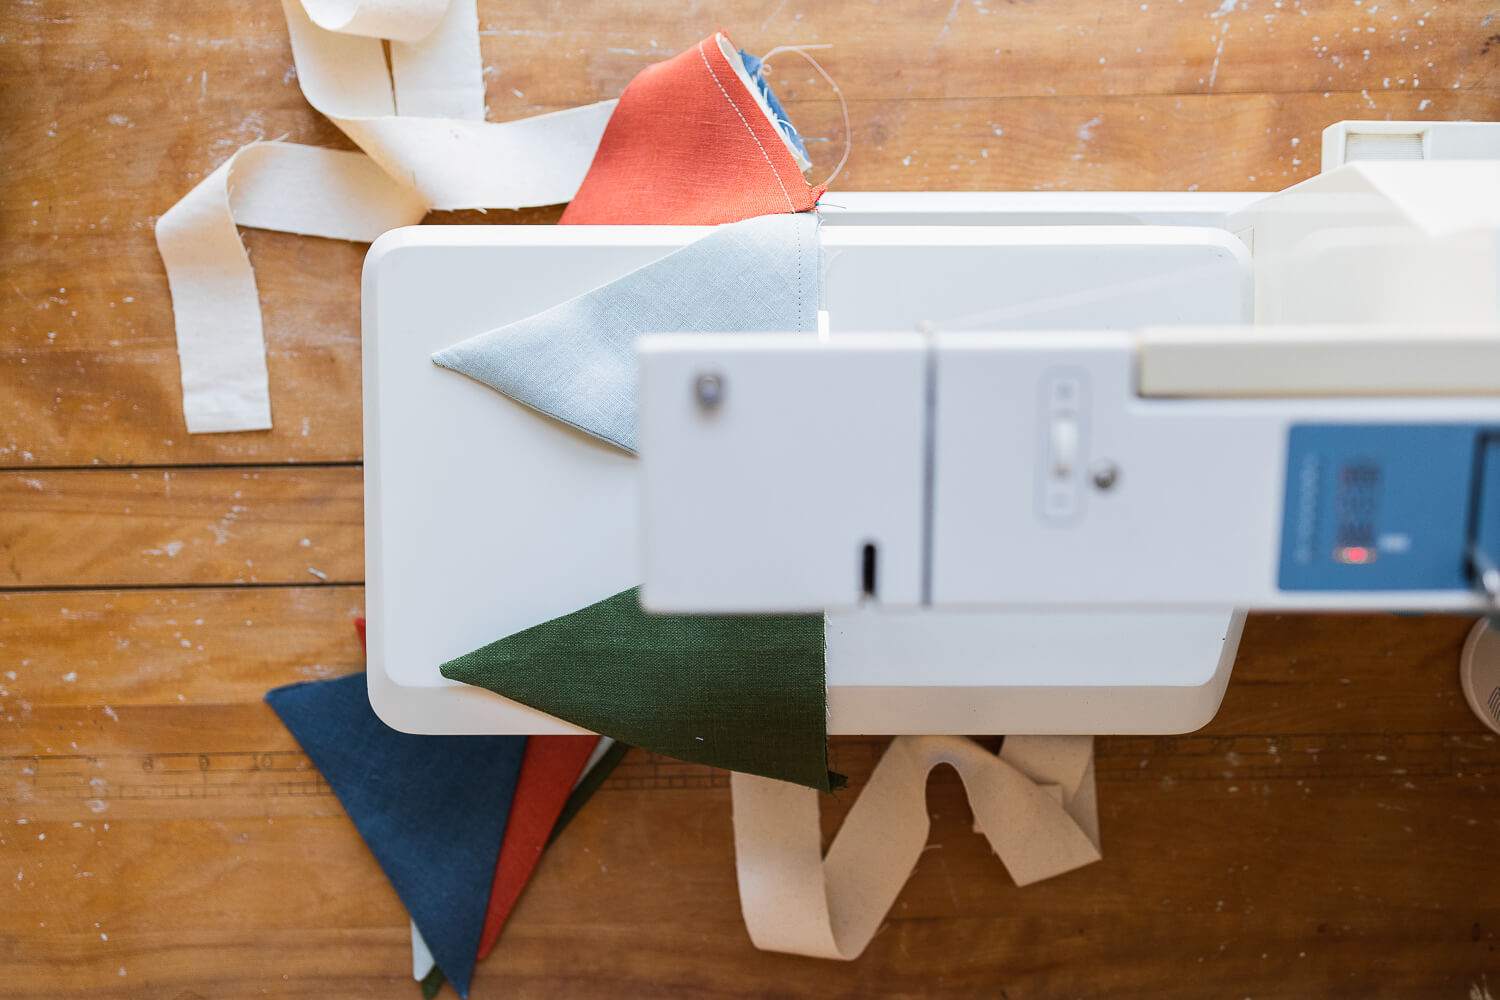
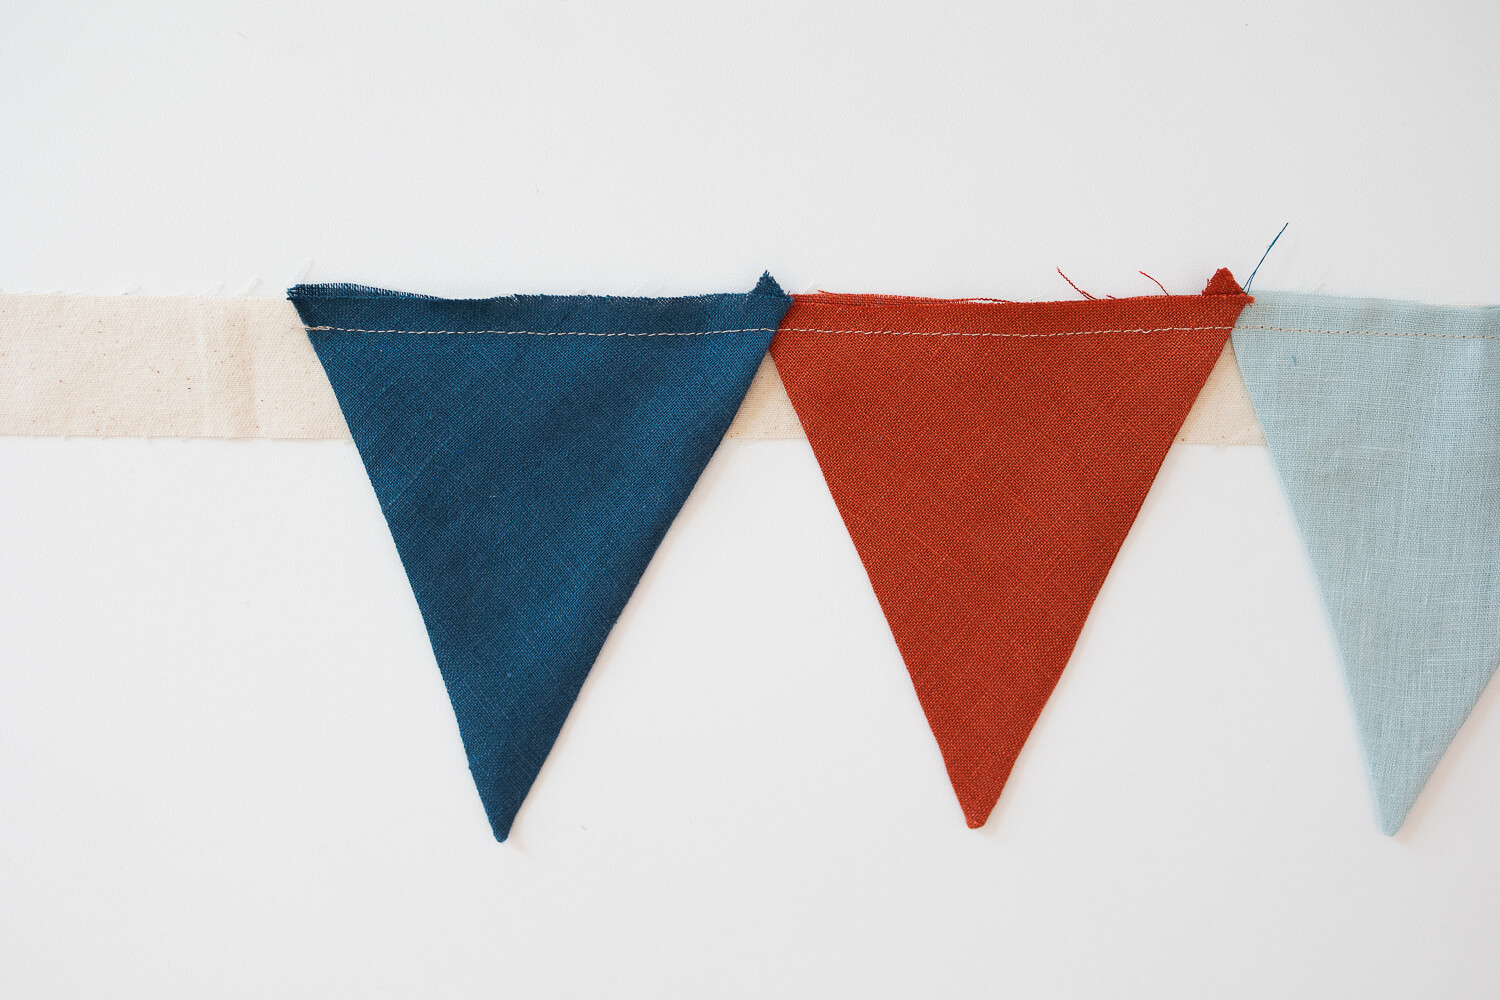
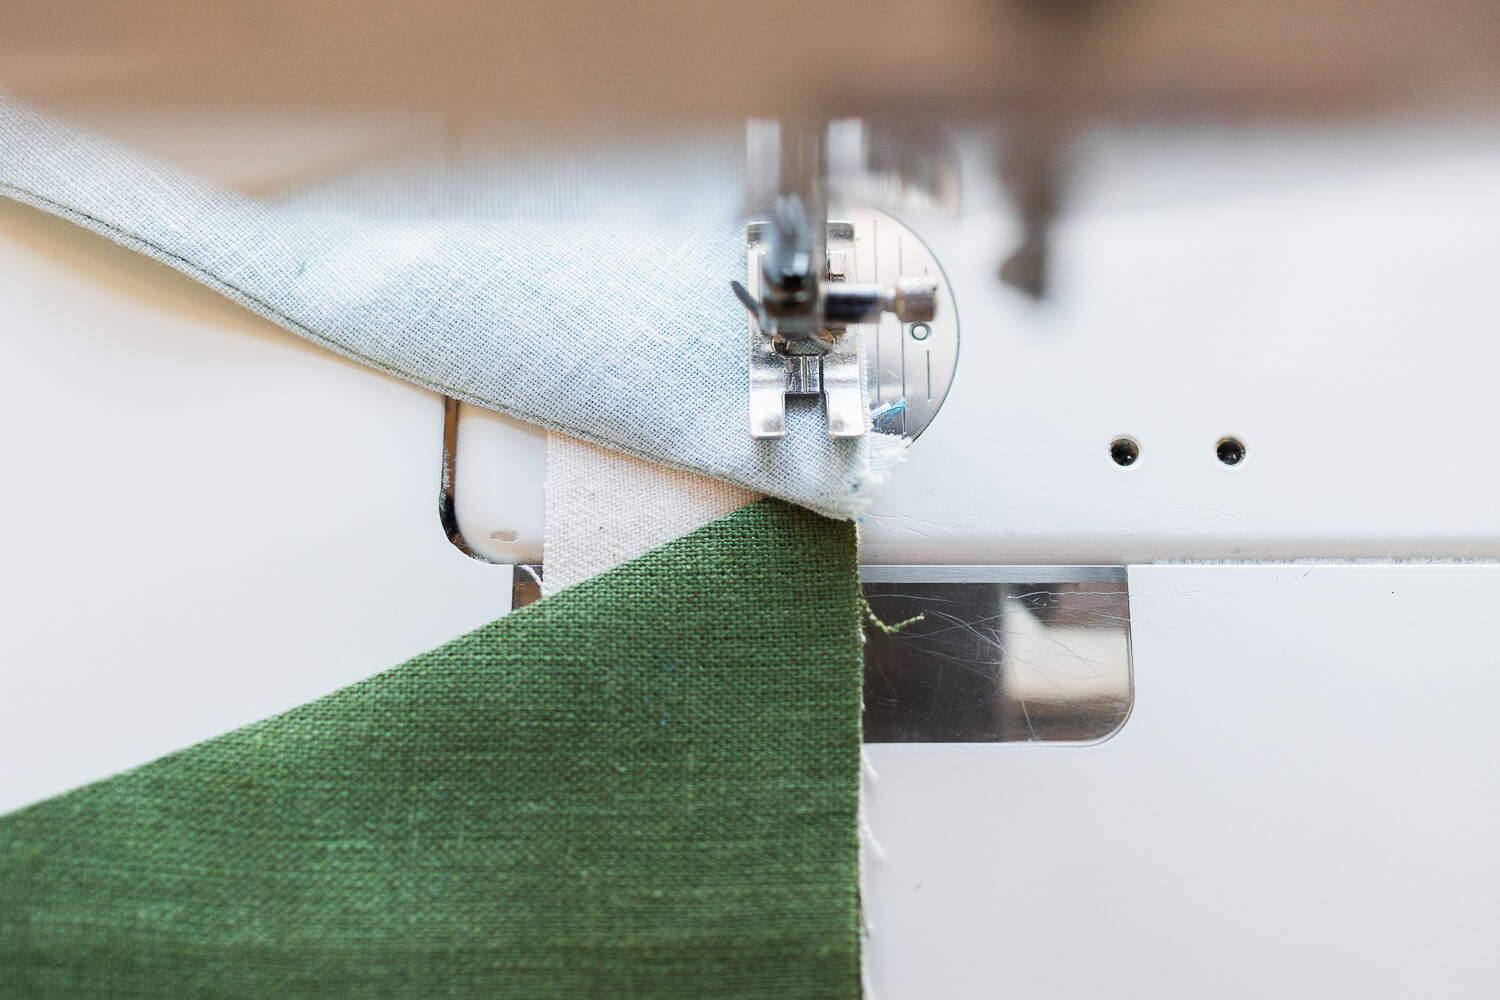
8. Sew the little banners to the right side of the strip with 3/8” (1 cm) seam allowance. To make the sewing go smoothly, you can tuck the ends of the banners under each other a little bit as you sew.
9. Fold the strip up and press.
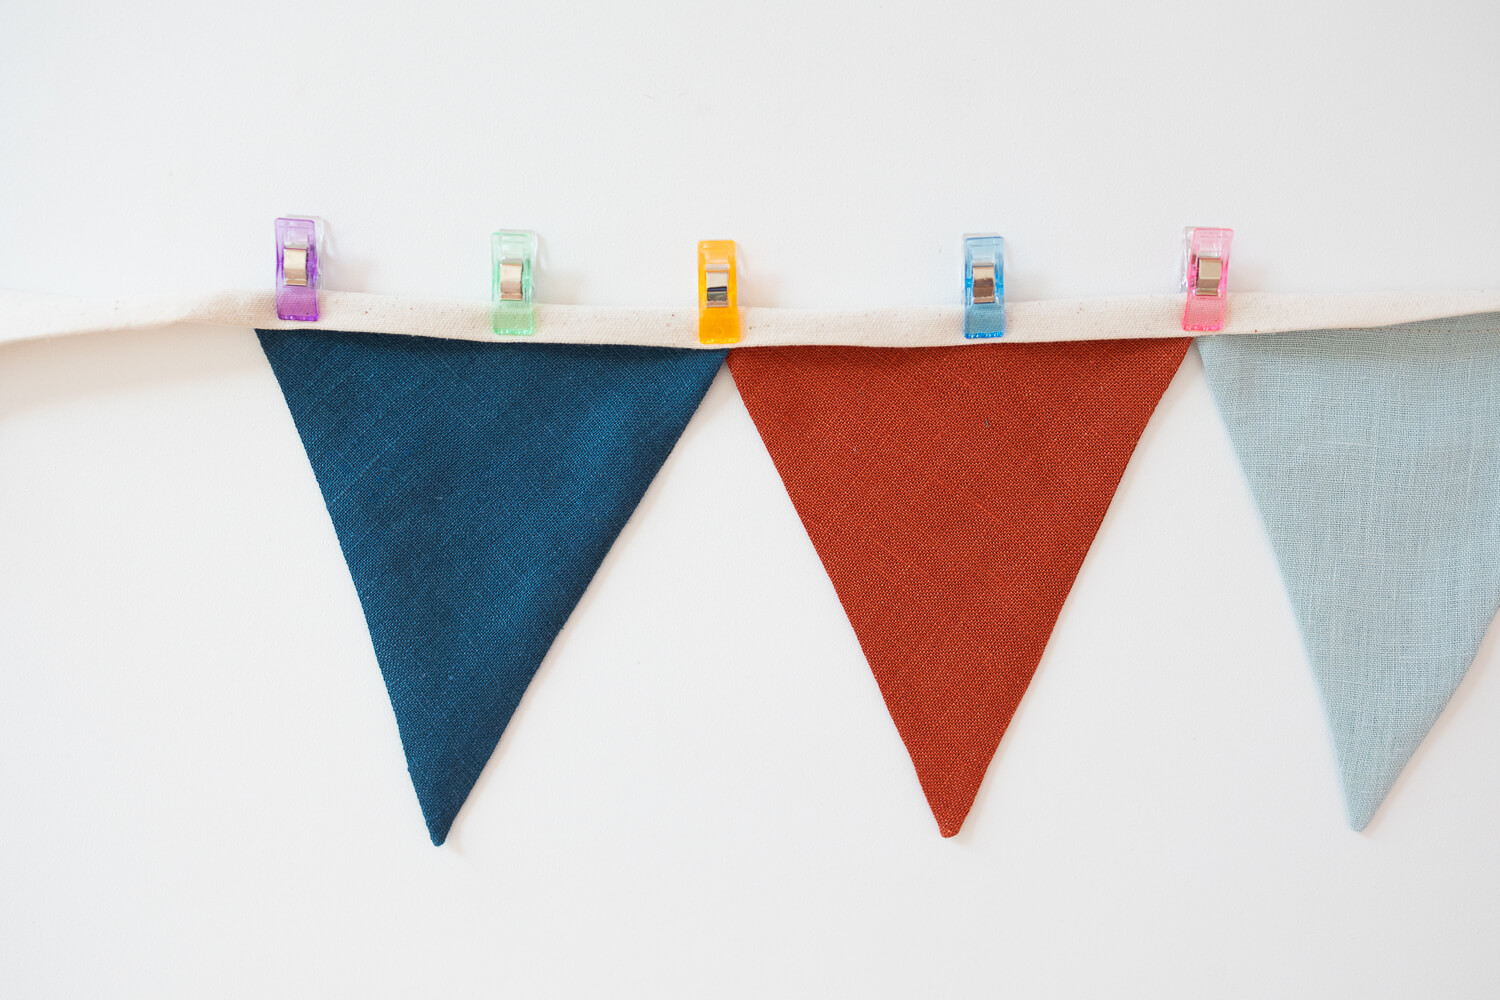
10. Fold the top edge of the strip down so it meets the raw edges of the little banners. Press.
11. Fold the strip over the top of the little banners and sew sew sew.
That’s it!
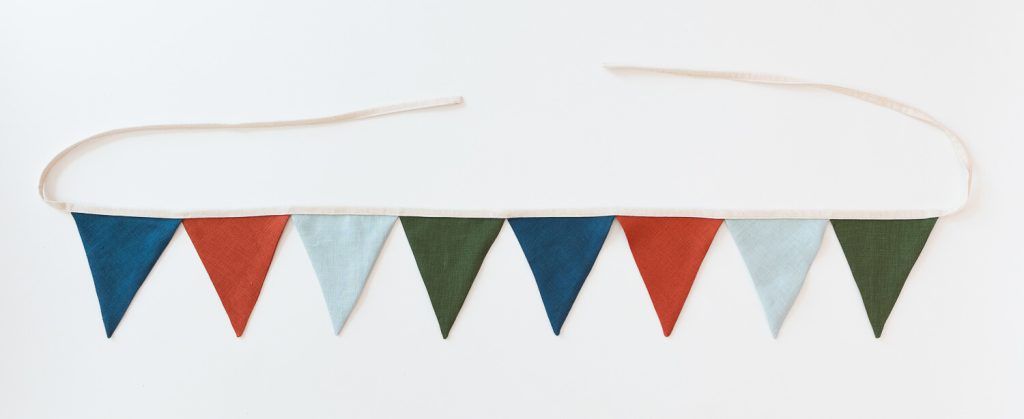
I have one bunting banner hanging in my sewing room, one I made for my new baby niece hanging in her nursery, and this colorful linen one hanging over my closet. Where are you thinking of hanging yours? Wherever you hang it, I hope it brings a sense of delight that makes your whole room feel warmed as if by the sun, and makes you feel home.
















6 Comments
Shelley McGeady
I have been making these for many years in various combinations often as gifts especially for use in children’s rooms.
Two tips: Use wide seam binding as your “cord”; it is available in many colors and is pre folded so I is easy to slide the tops of your triangles into the folds.
Unless you are looking for a more tailored finish, cut out your triangle, sew them right sides out; sew around the edge about 1/2 “ in and then pink the raw edges. I saves the trouble of having to turn all those pieces and I think it gives the banner a festive , cheerful look.
Sarah Kirsten
Oh that would be so cute to use pinking shears. Thanks for sharing that idea, Shelley!
Joan Linthicum
Thank you!!
Sarah Kirsten
Thanks, Joan!
Margaret Marcy Emerson
Thank you for this! I can’t wait to try it. I have made one of these before using very complicated directions — I love the simplicity and ease of yours.
Sarah Kirsten
Thank you, Margaret! I hope the pattern can bring joy while sewing and serve you well.