Tutorial: How To Sew FS Tea Towel Kits- A Step by Step Guide
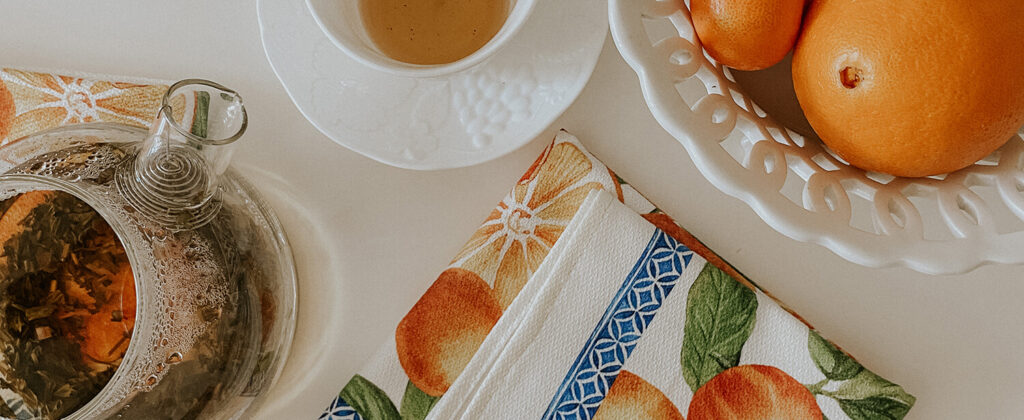
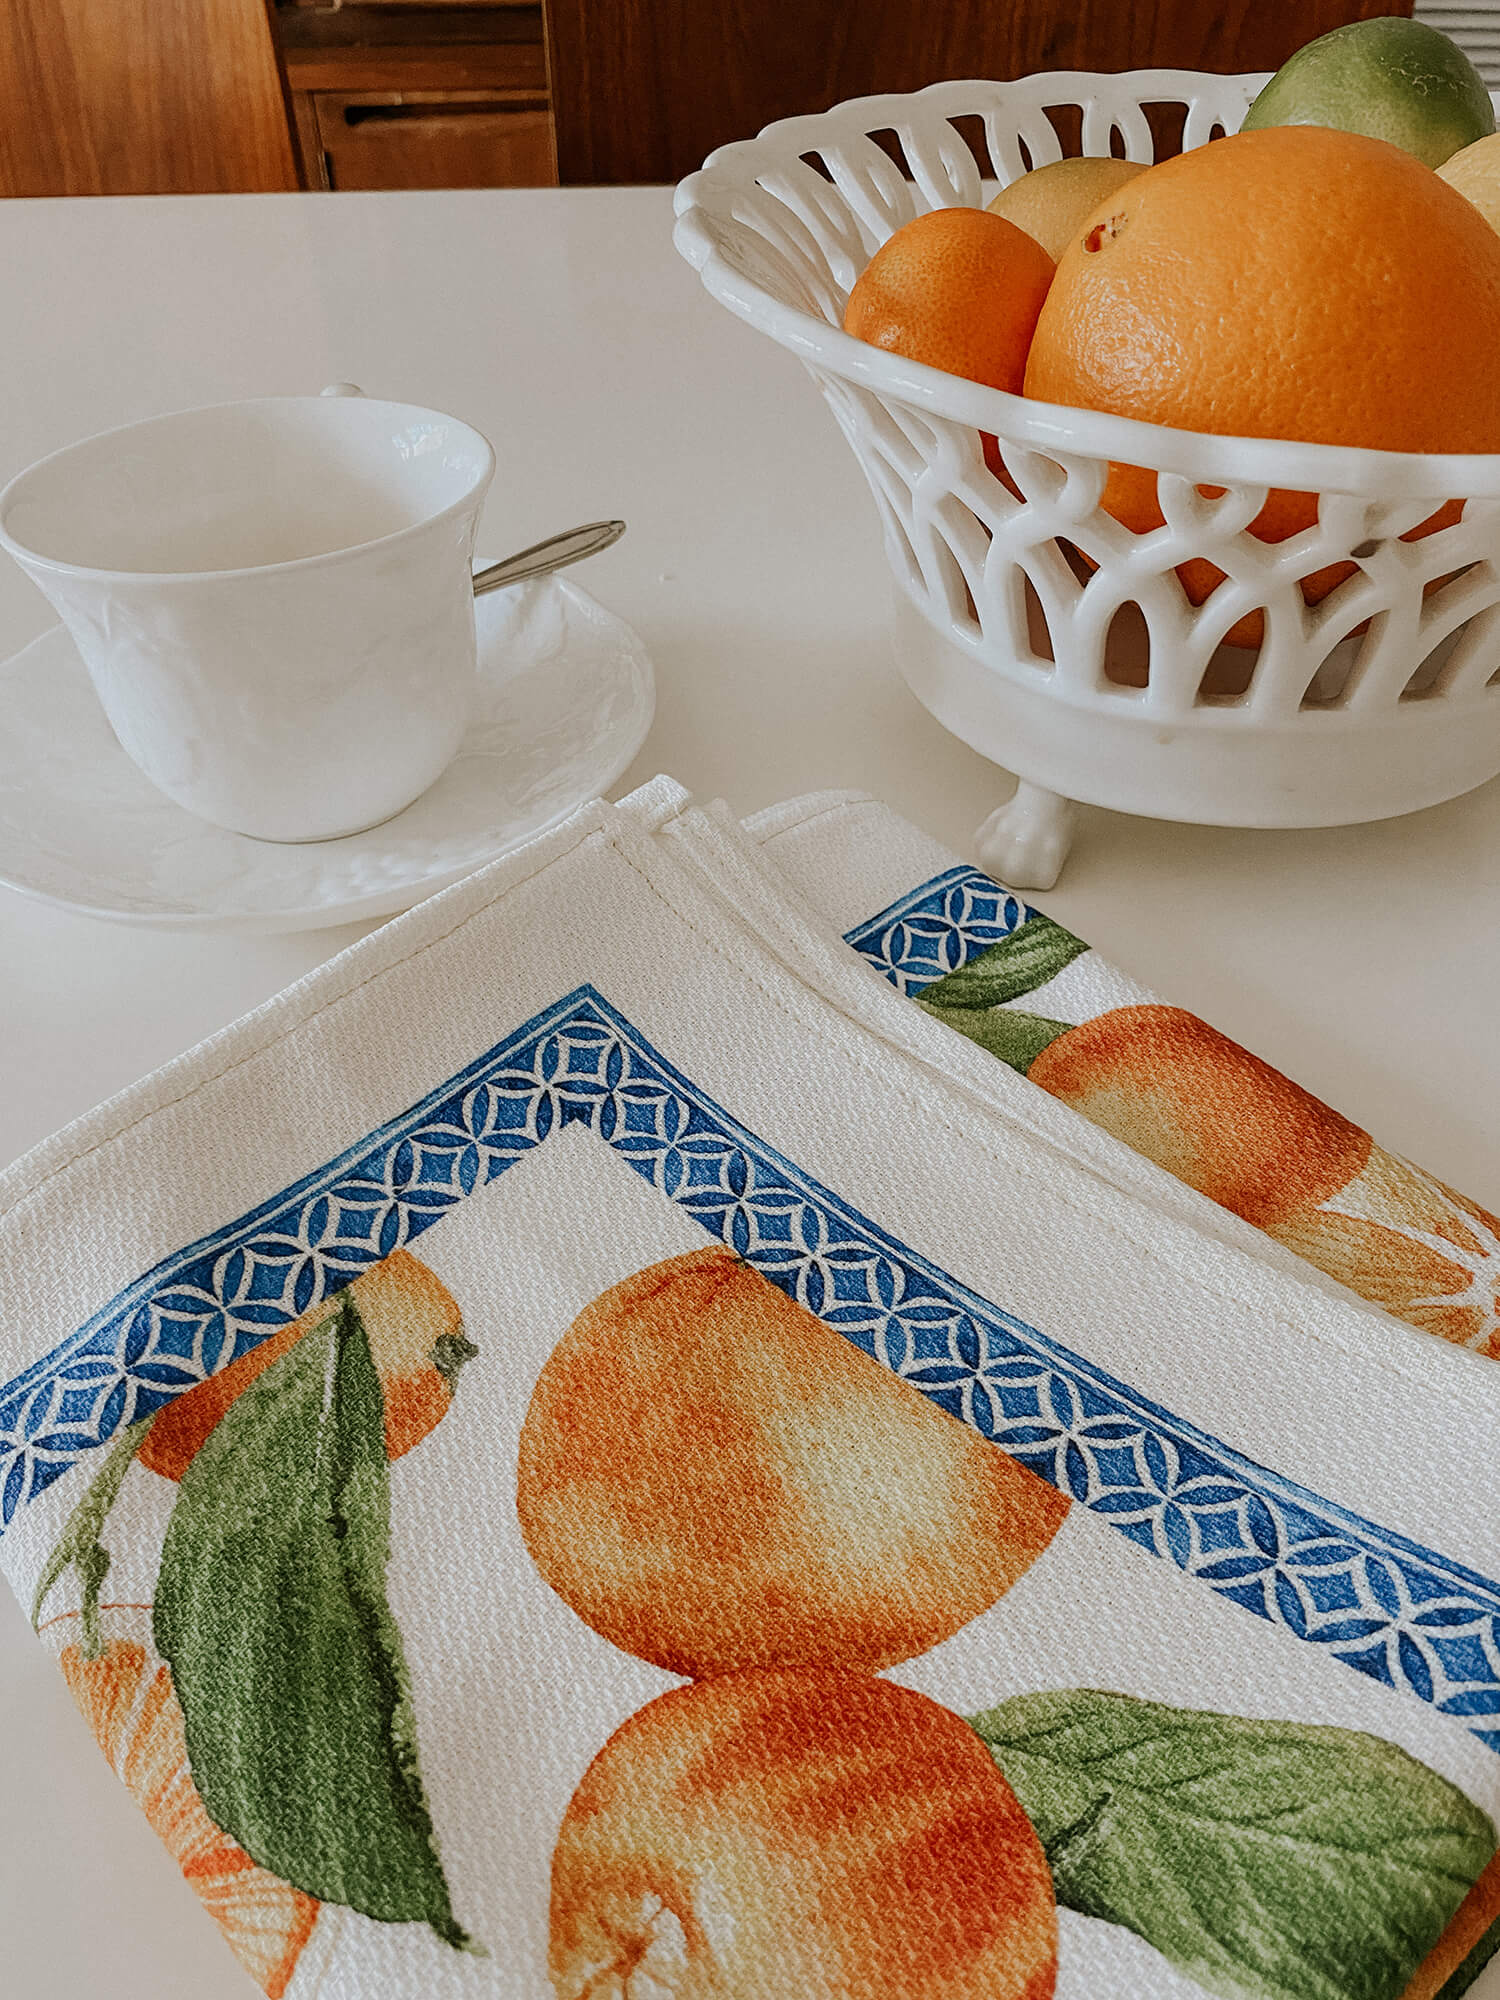
Tea towel kits from Fabrics-Store – If you haven’t checked them out, now is a great time. There are many lovely patterns with fruits, florals, mushrooms, vino and the adorable village rooster and these kits are perfect for all skill levels. If you’re just starting out and practicing sewing a straight line, or if you’ve been sewing for years and want to freshen up the kitchen. Tea towels always make great gifts for a friend. Things to note: the set includes printed fabric for 2 Kitchen Tea Towels divided by lines for cutting and the towels are 100% cotton. The two finished towels would be approximately 20×30”.
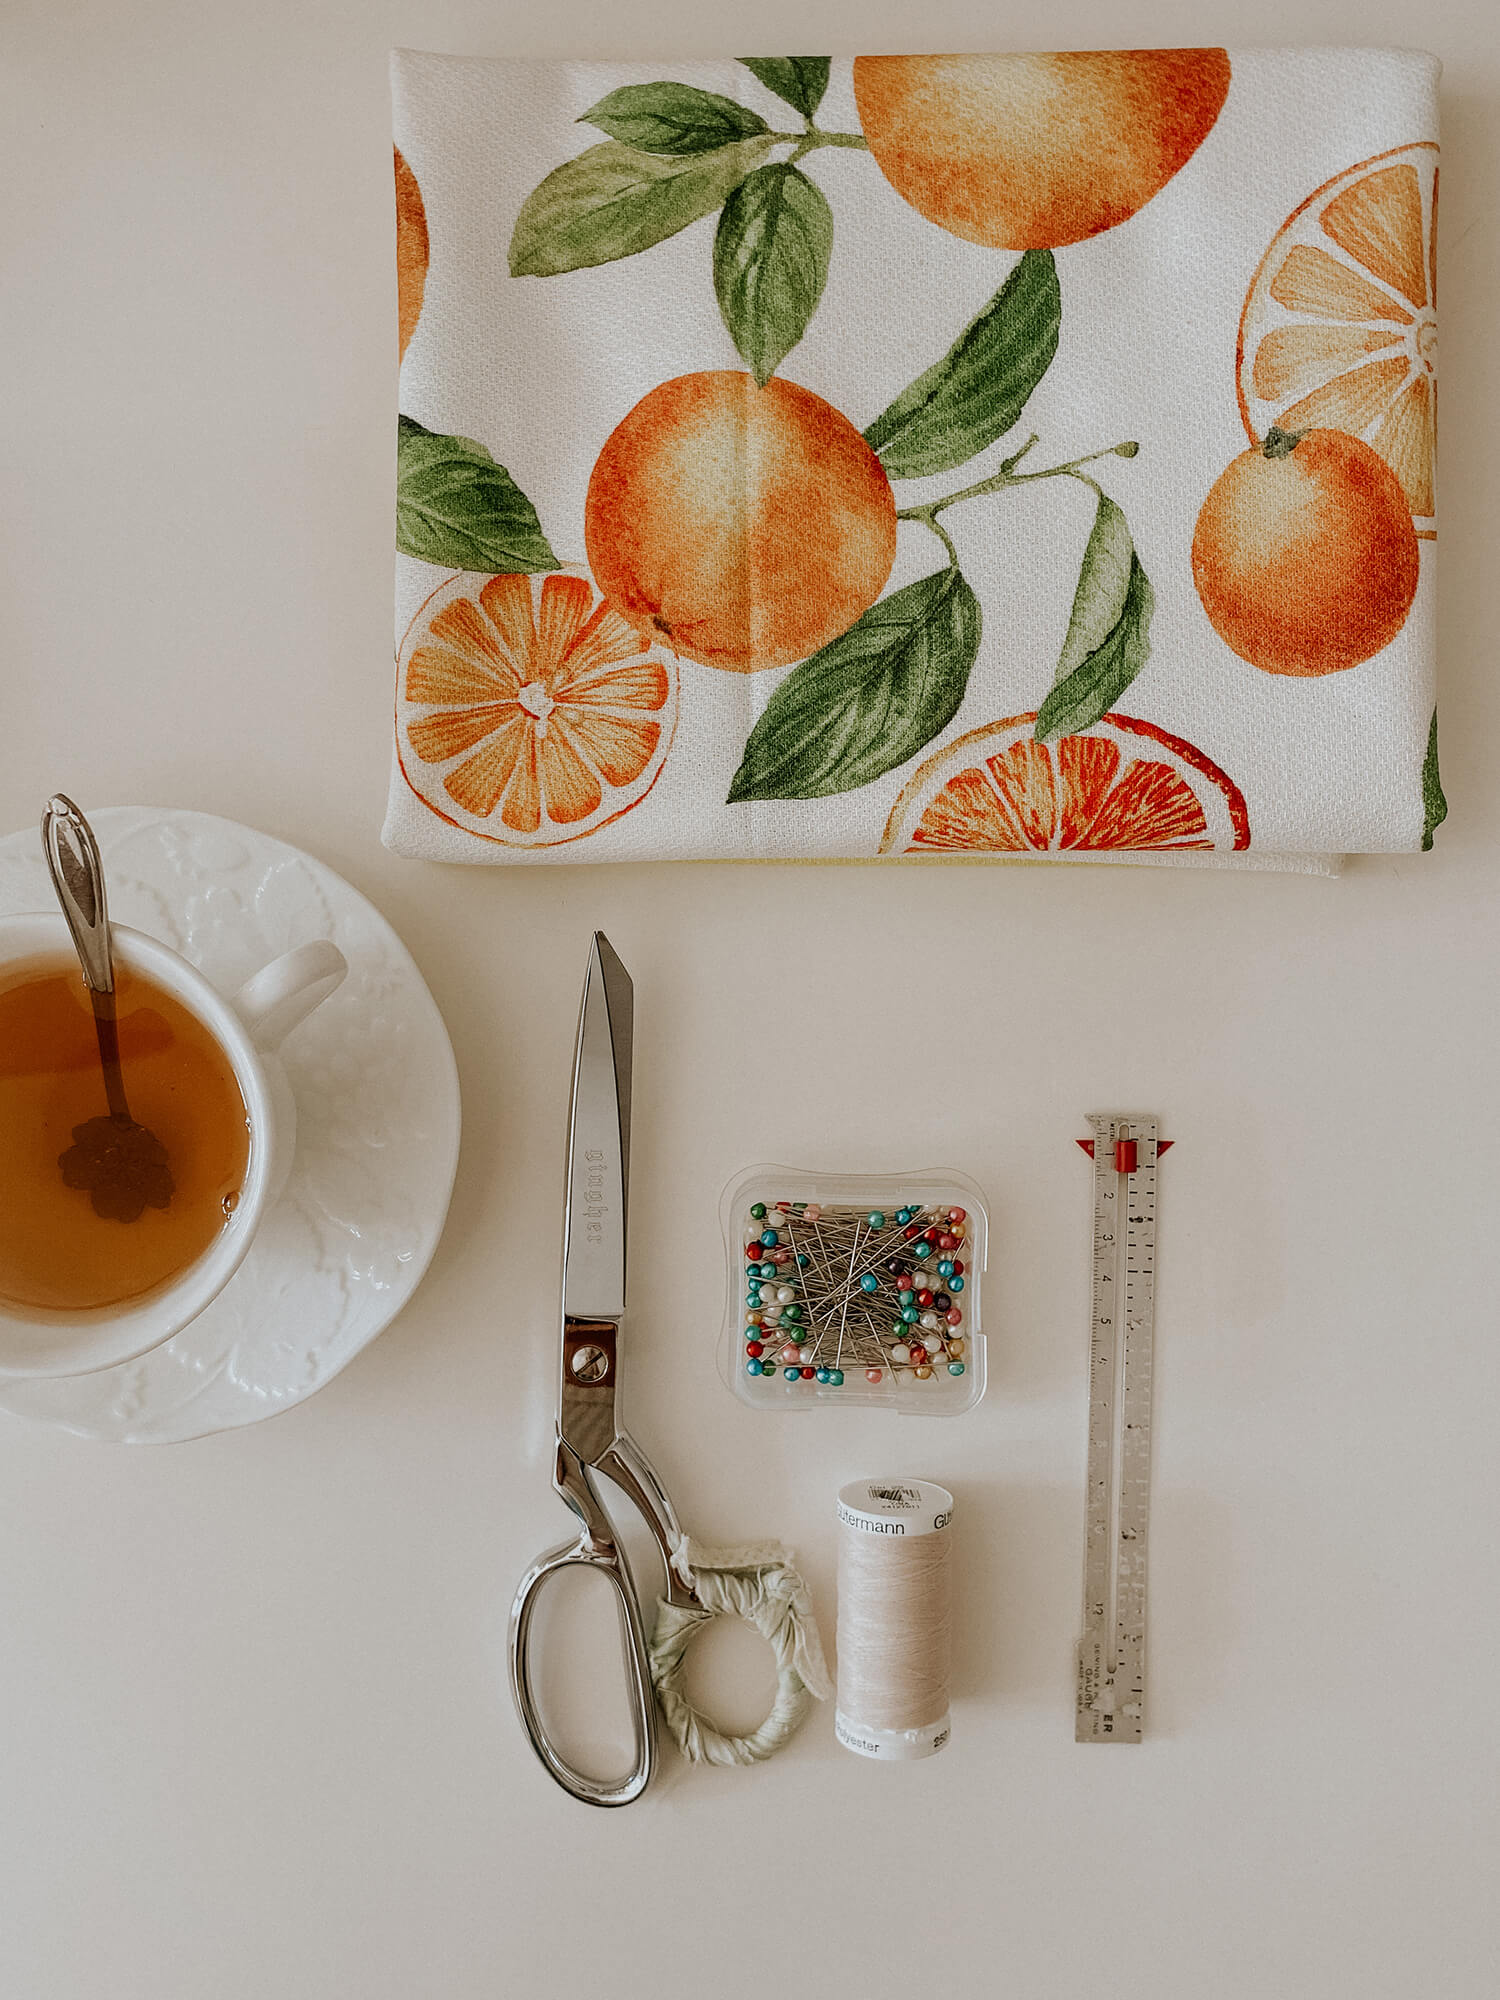
The supplies for this project are really quite minimal. Your sewing machine, iron, coordinating thread, scissors and a small ruler. I also personally think you should pour yourself a cup of tea but that’s just to stay in the spirit of things. Bring whatever drink you’d like and enjoy the process. 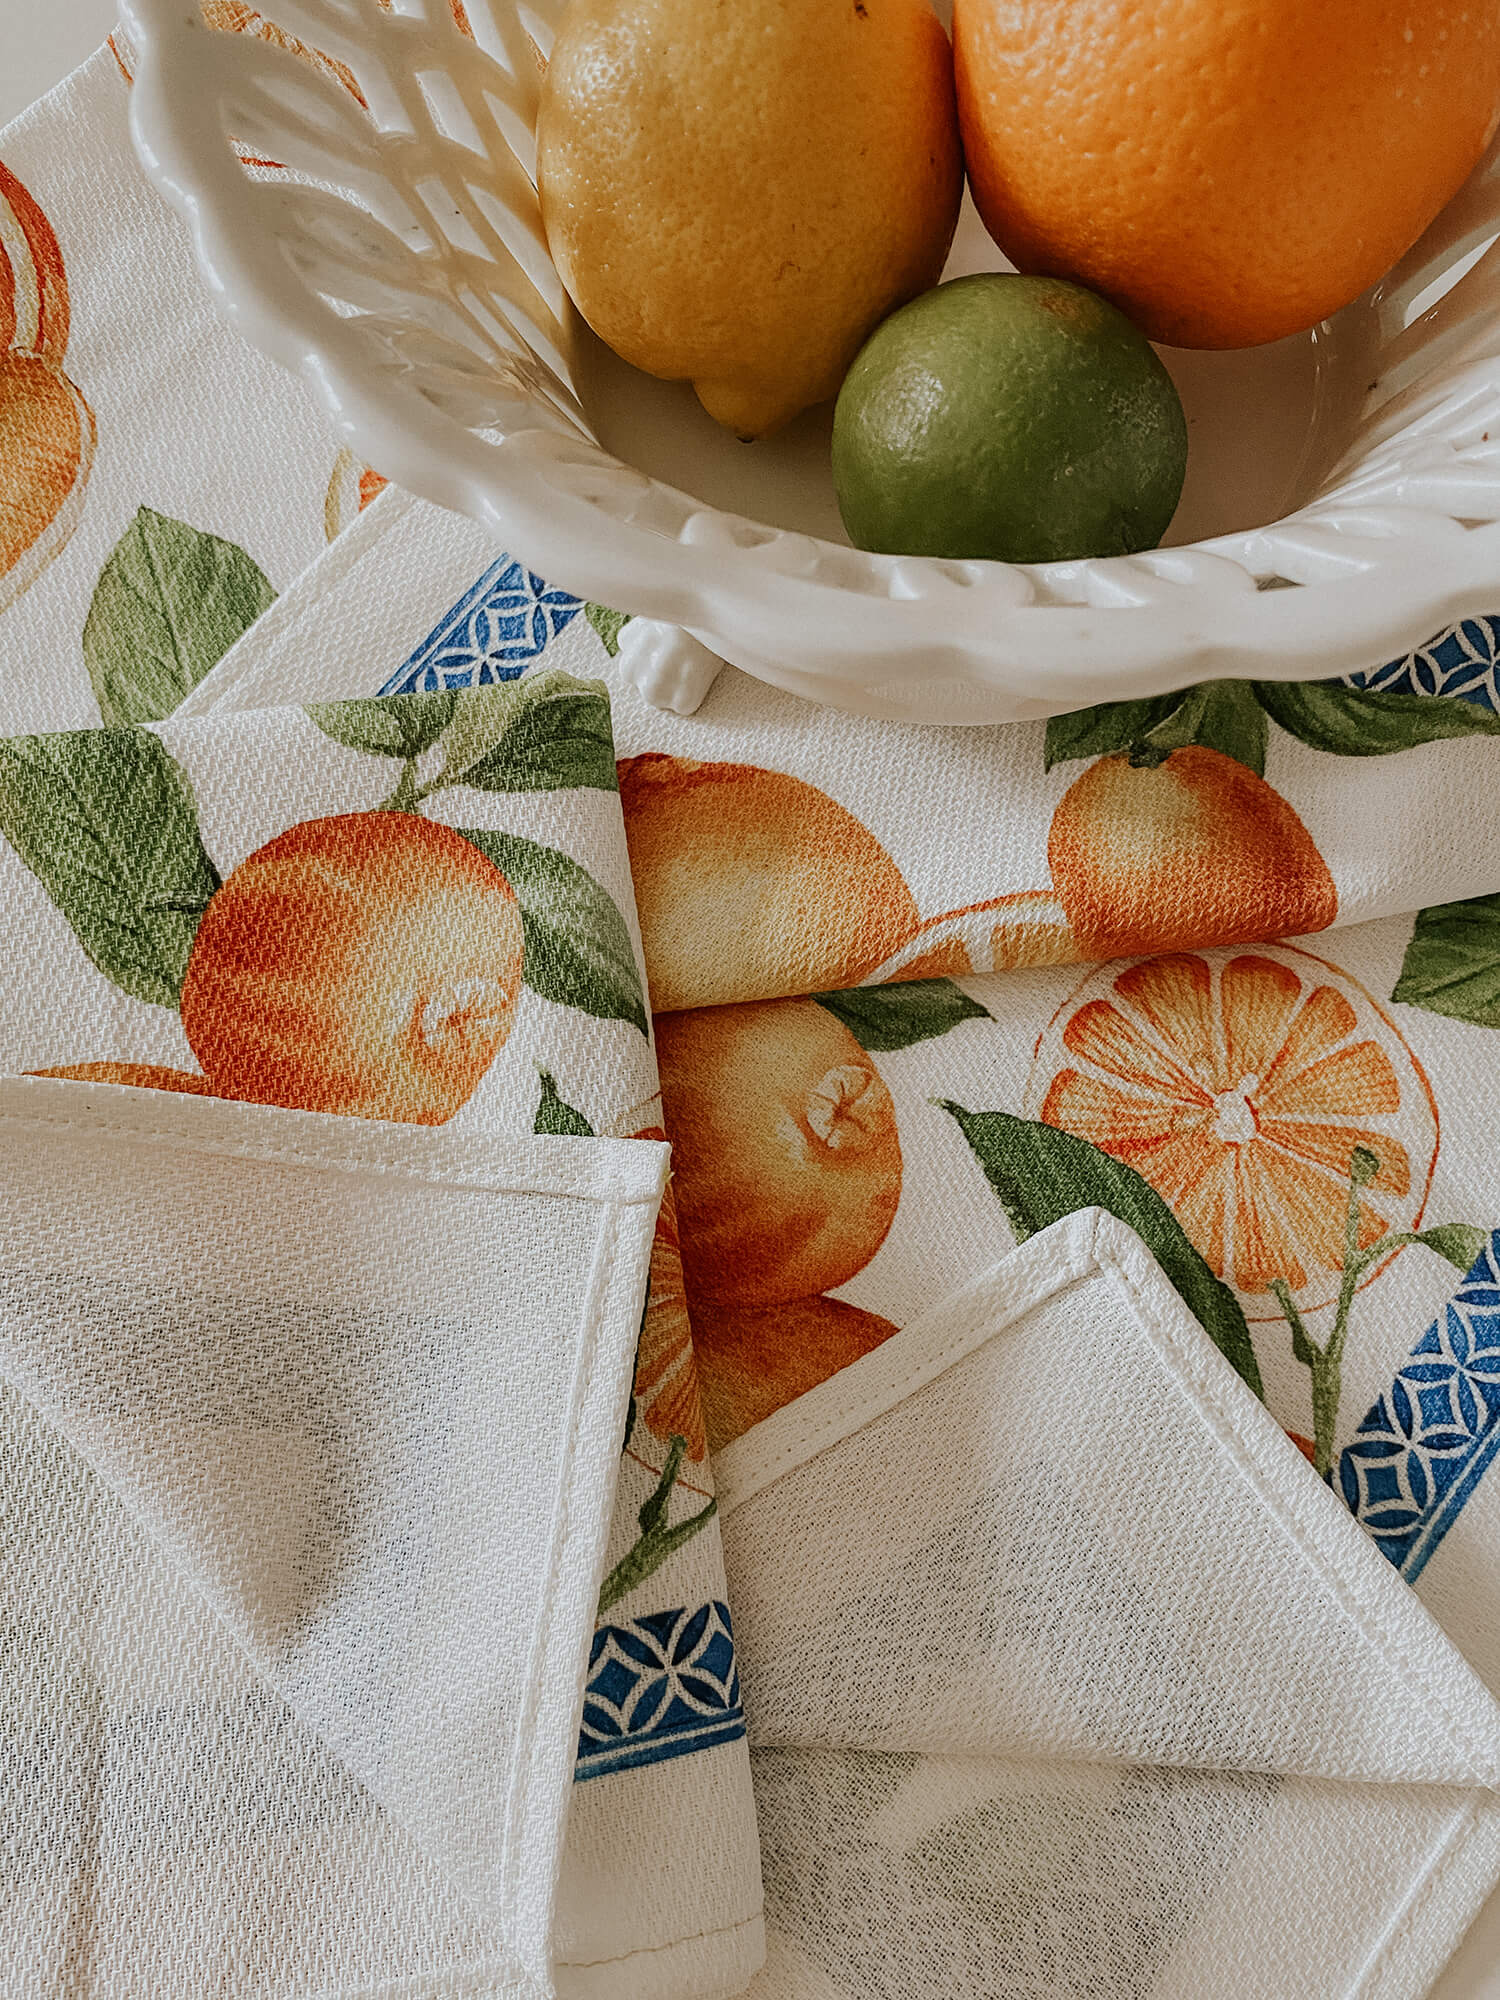
The steps are just as simple as you would hope.
1. Once you open the packaging you can iron the fold lines out to make the panels easier to work with. Then cut down the center line to separate the towels. You can also be very precise and measure all edges to make sure your cutting lines are even approximately 1.75 inches from the edge of the print.
There are two corner options I will share today, the simple double fold with a tidy square at the corners or a double fold and mitered corner. Mitered corners featured in this link look like what you see on the corner of a picture frame. Don’t over think it you can even try one of each.
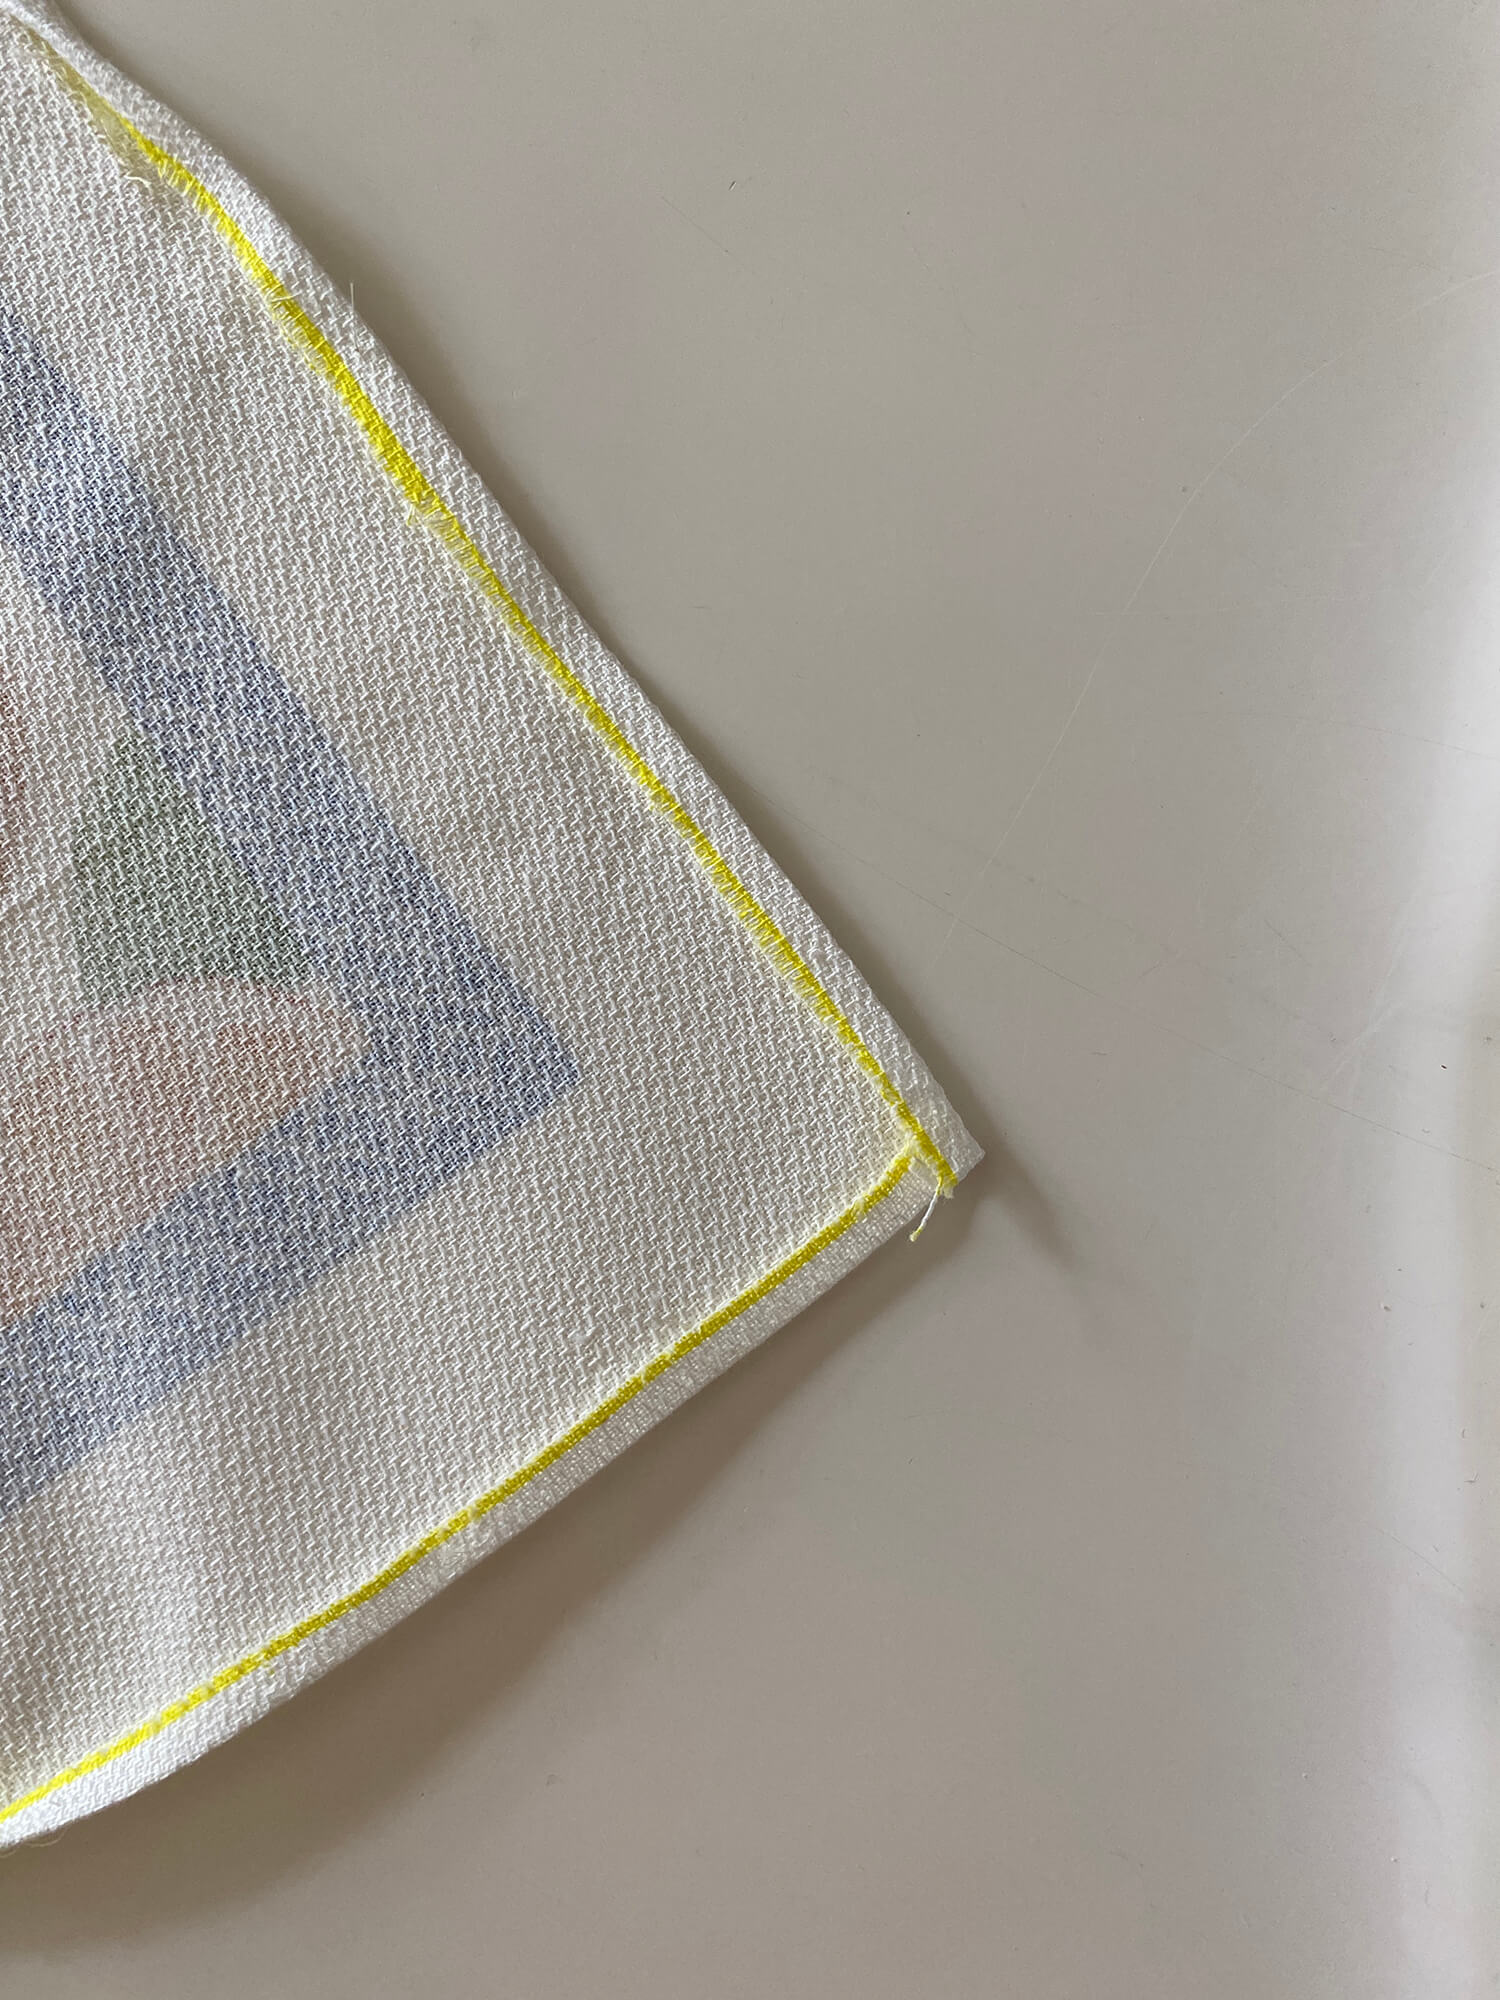
2. With both options you start by folding each of the 4 edges ¼” toward the wrong side of the towel and iron all the way around and then fold a second time at ¼” and iron all the way around again. With the squares at the corner, you can start sewing 1/4″ to 3/8” away from the edge right now on all four edges, leaving the needle down and raising the presser foot to pivot on each corner. The finished square edge is featured above in the first picture as well as in the third picture on the left.
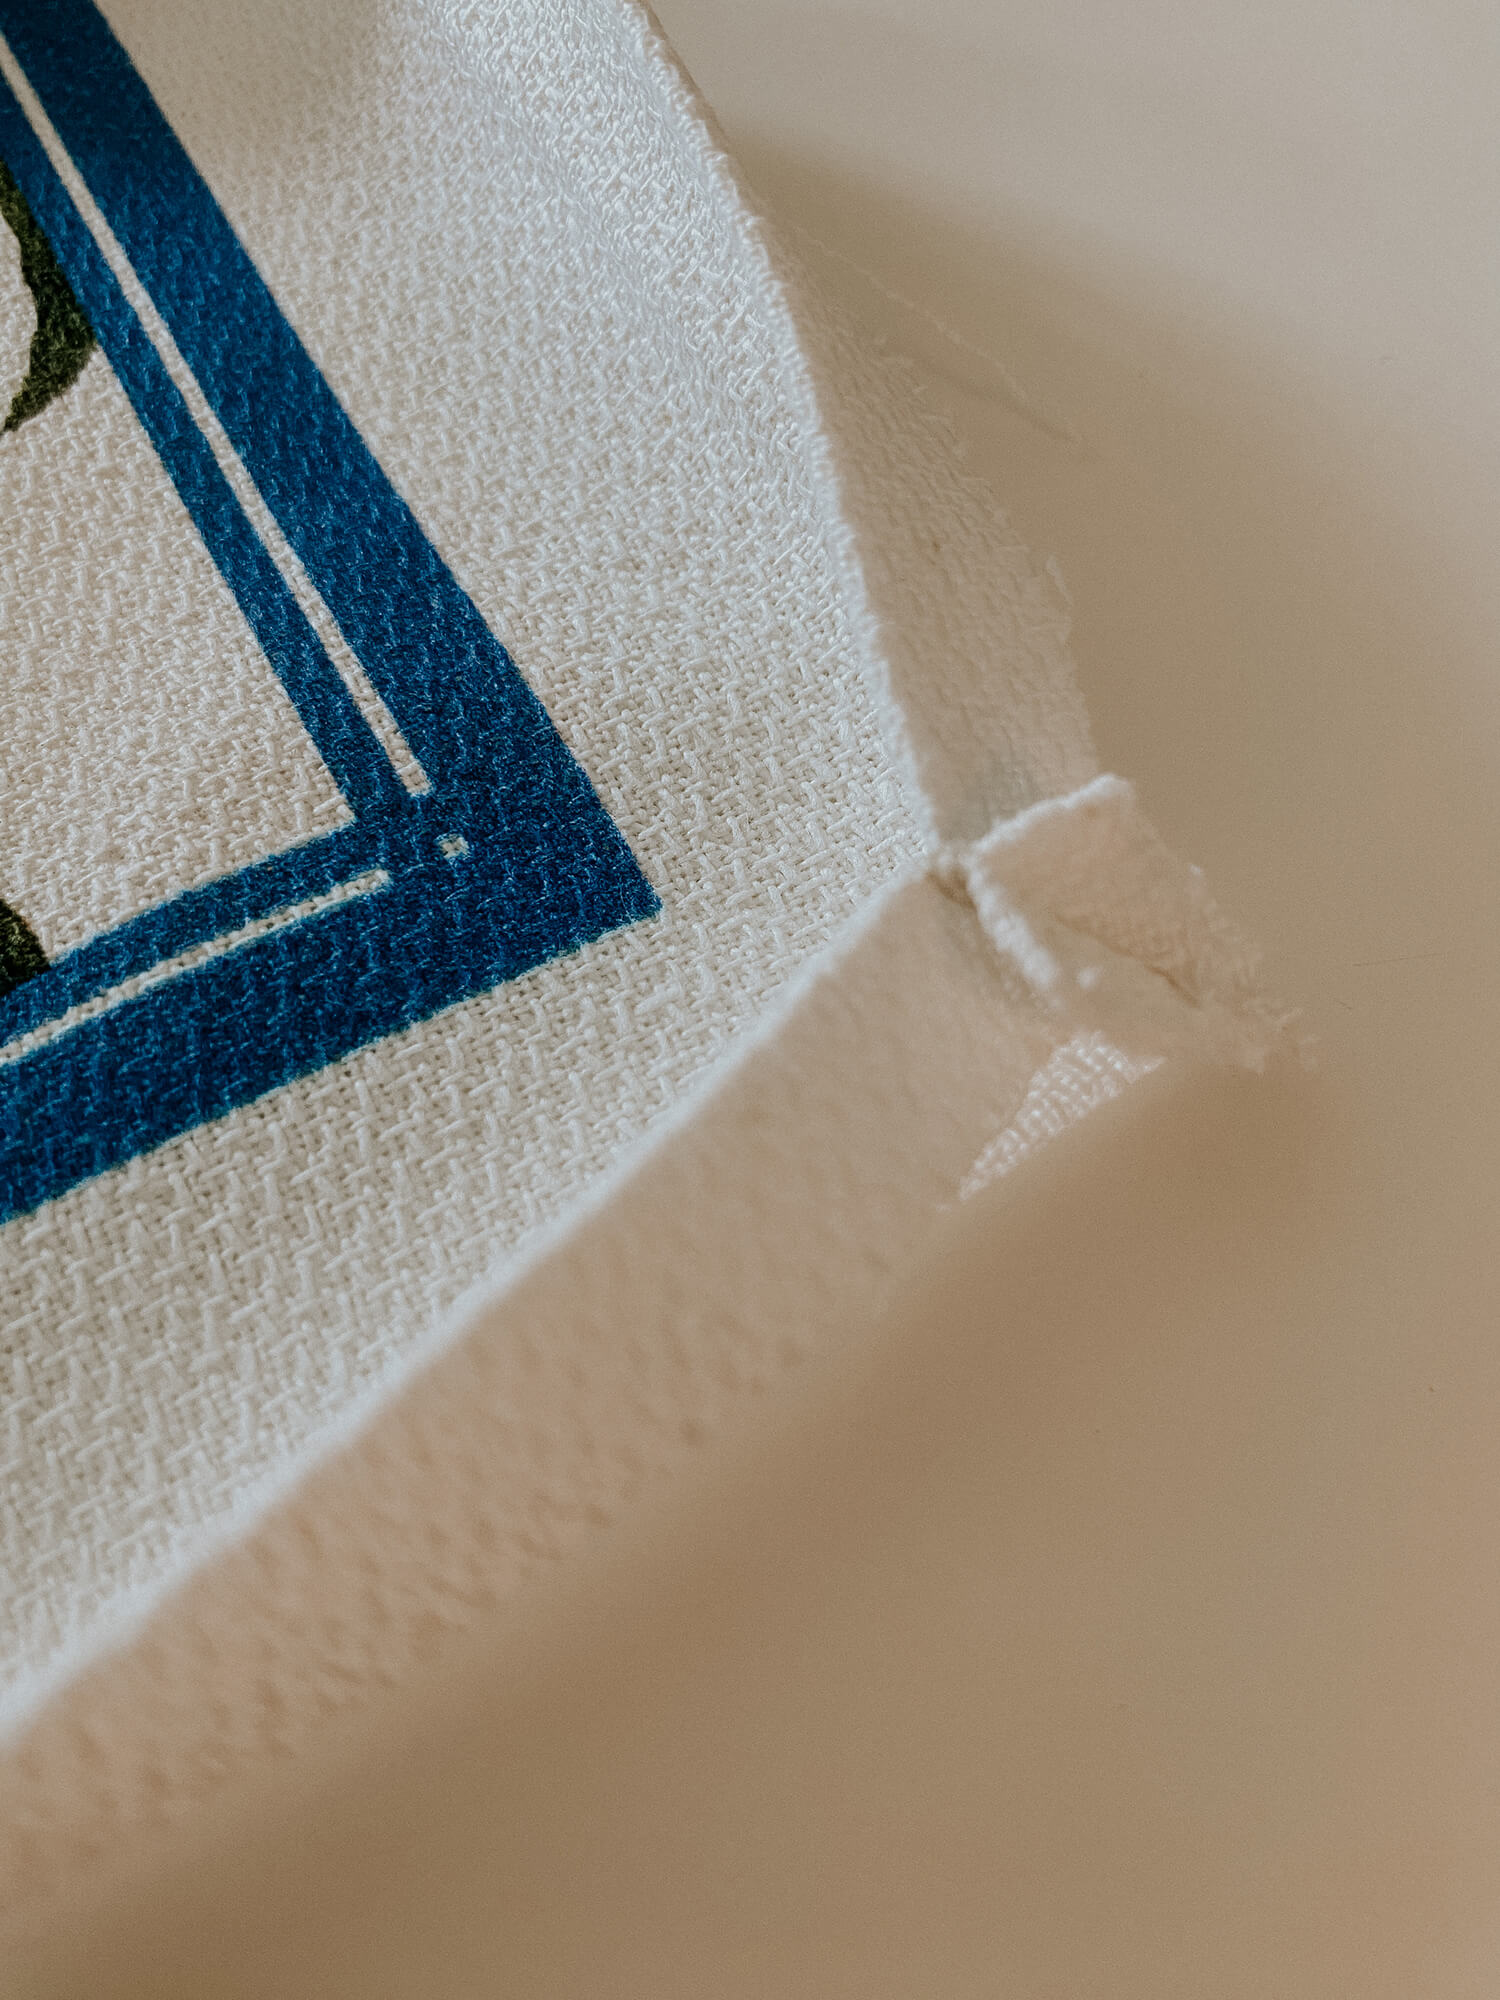
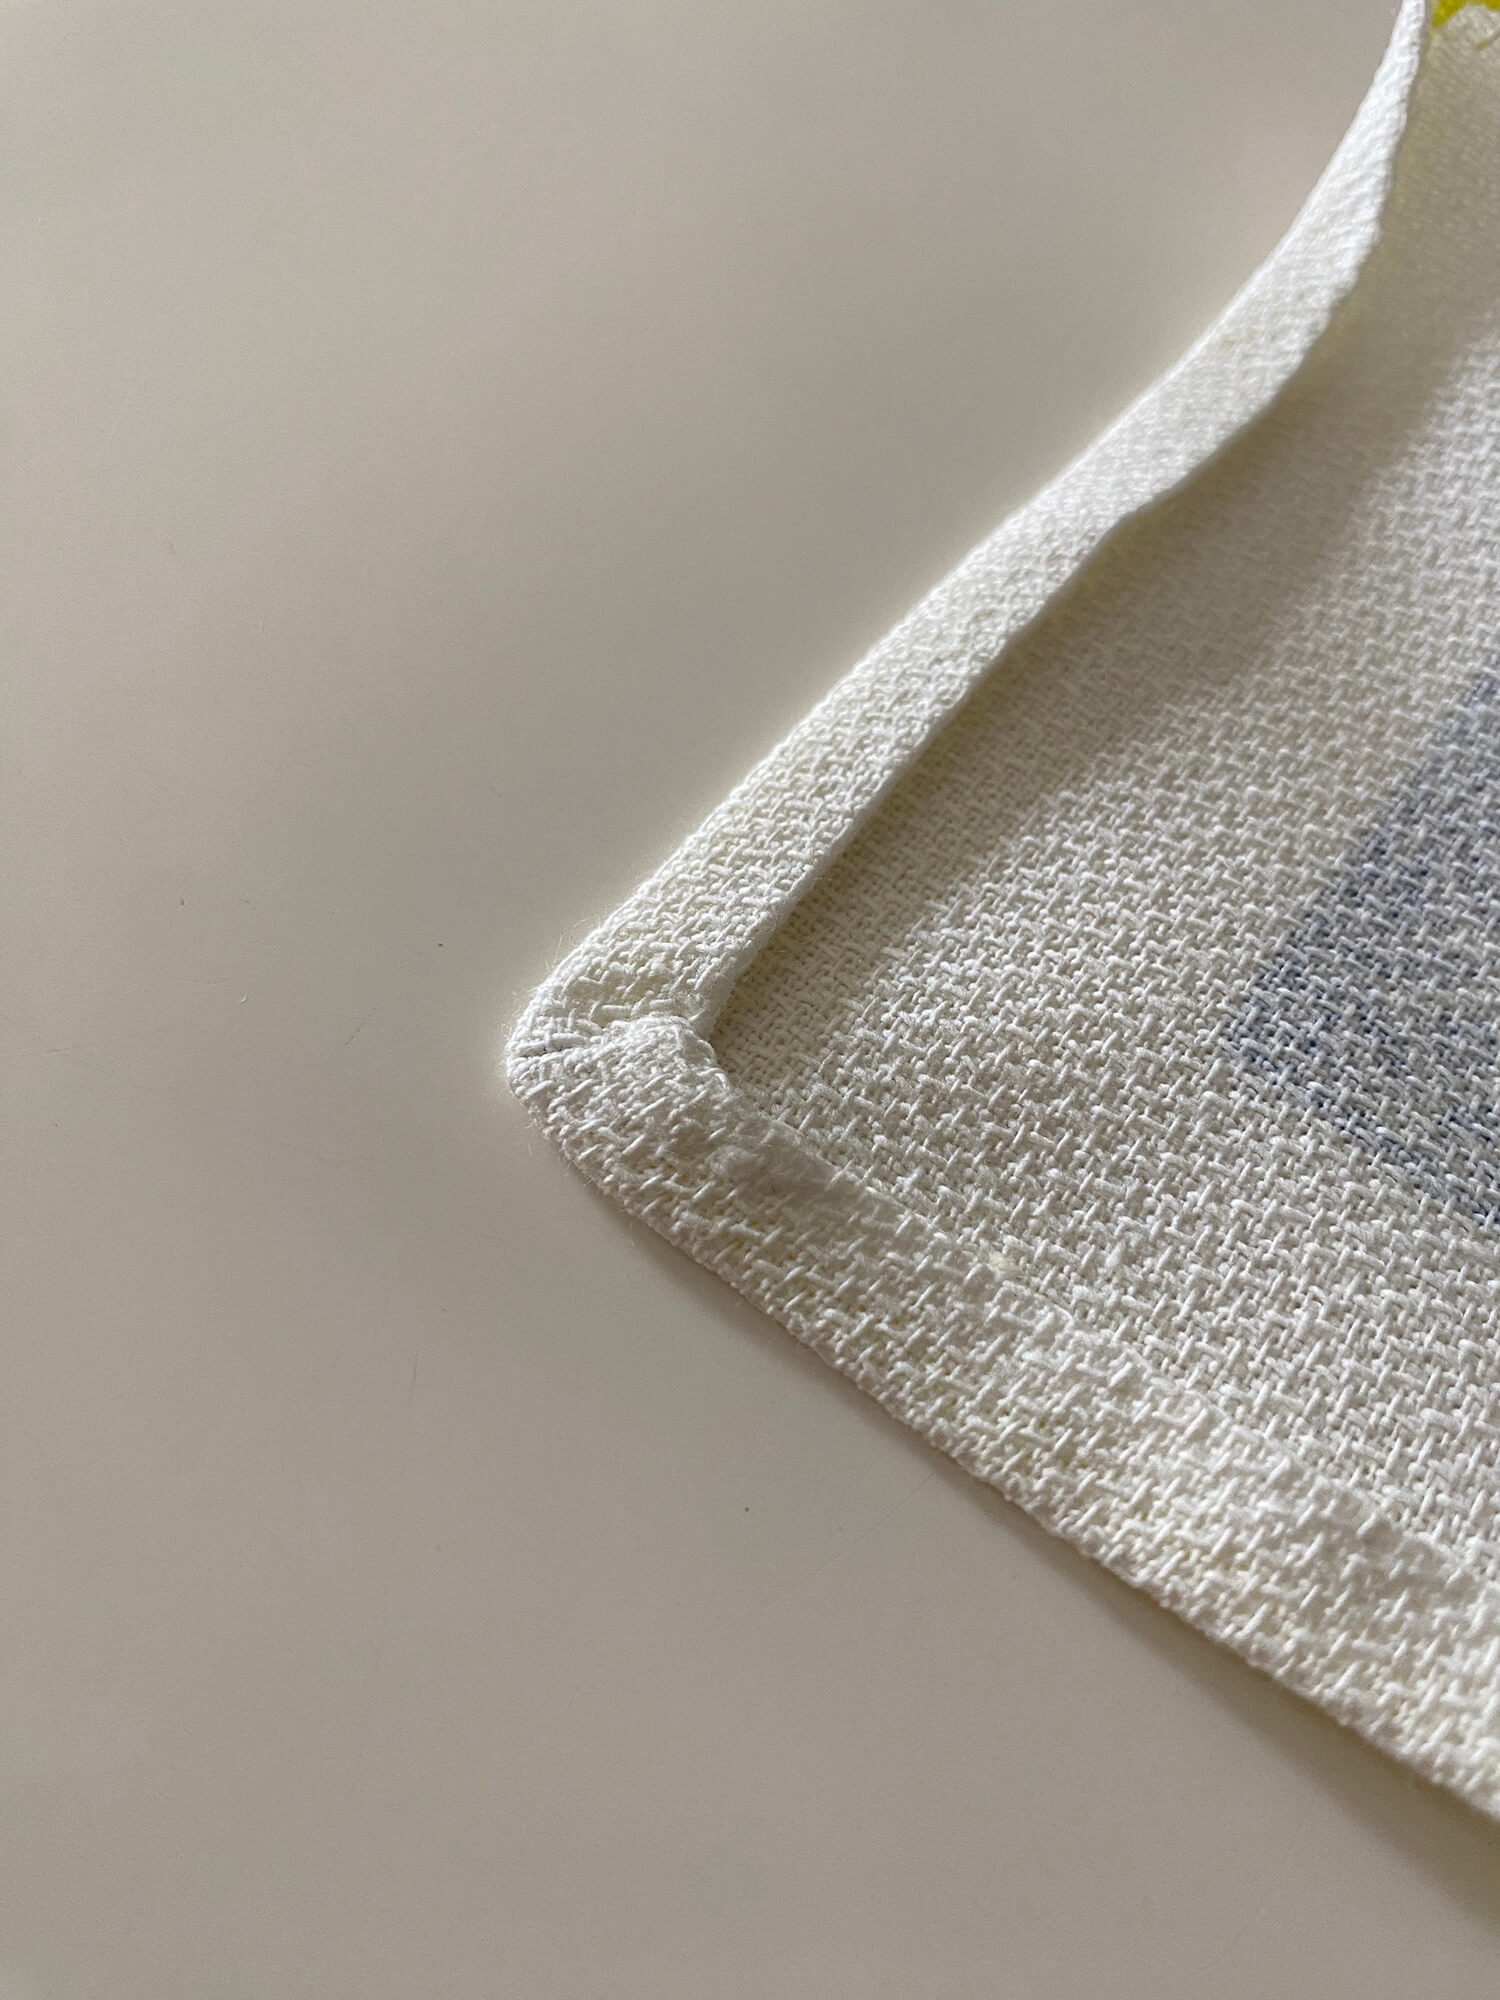
3. If you opt for the mitered corner, use the link above for a closer look or open the folds so that only one of the ¼” folds is folded in toward the wrong side of the towel and bring the two outer edges together forming a triangle at the corner. Take a ruler and draw a line as shown – perpendicular from the outside edge. Sew on this drawn line repeating for all corners. Trim away the excess tiny triangle and press the seam with your fingers and then turn the corners and edges back in so you have that second ¼” fold. Now you can proceed with that seam all the way around.
Do a little happy dance, you’ve made some lovely tea towels for yourself or for friends – who doesn’t appreciate a handmade gift?
* I made a second set of the towels and opted for ½ inch folds and found it to be even easier if you’d like to try that rather than working with those smaller folds.




6 Comments
Sue Peterson
But, how do I attach it???
Sue Peterson
How is the ribbon attached to the towel to be used as a hanger?
Sarah Kirsten
These photos are so beautiful, Alisha!
Leandra Walker
I started one of the towels…do I trim the selvage off.
These are beautiful towels anyone would love.
Msapir13@gmail.com Sapir
Hi
Wasn’t there something about attaching a grosgrain ribbon in the middle of the top of the towel to hang it up? I can’t find that instruction again. How wide the ribbon? How to attach?
Thanks,
Margaret
Lauren Linen
hello Margaret, the grosgrain ribbon comes with the towels. It is what it is wrapped in 🙂