Tutorial: How to Sew the Facings on the Capucine Robe
This tutorial is to support the collar instructions in the Capucine Pattern booklet starting on page 36.
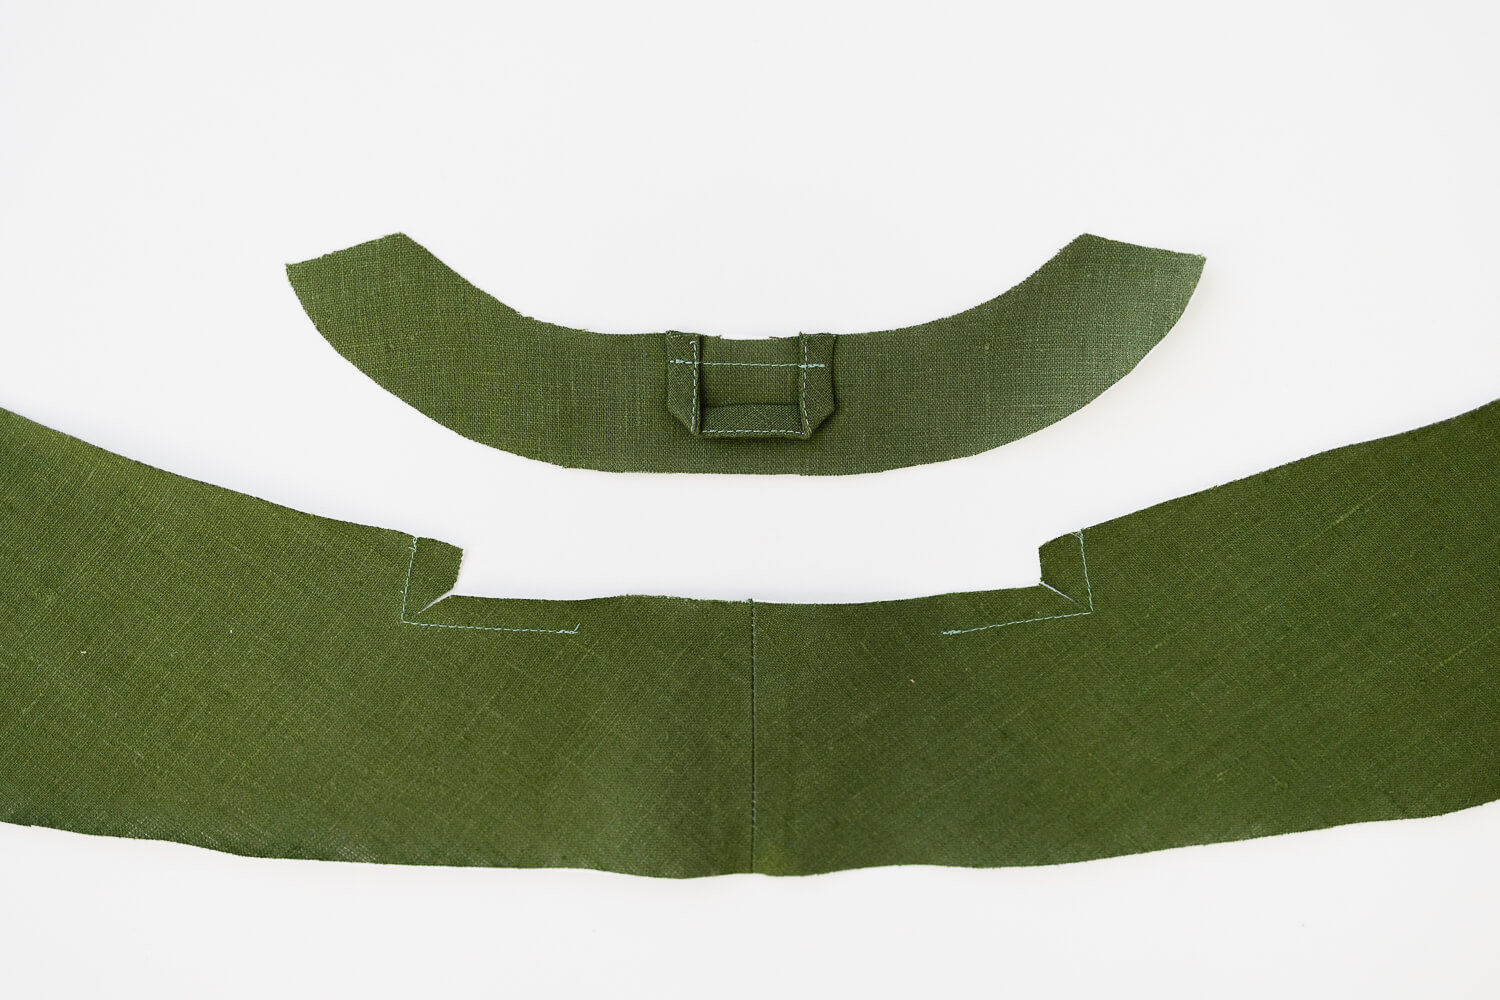
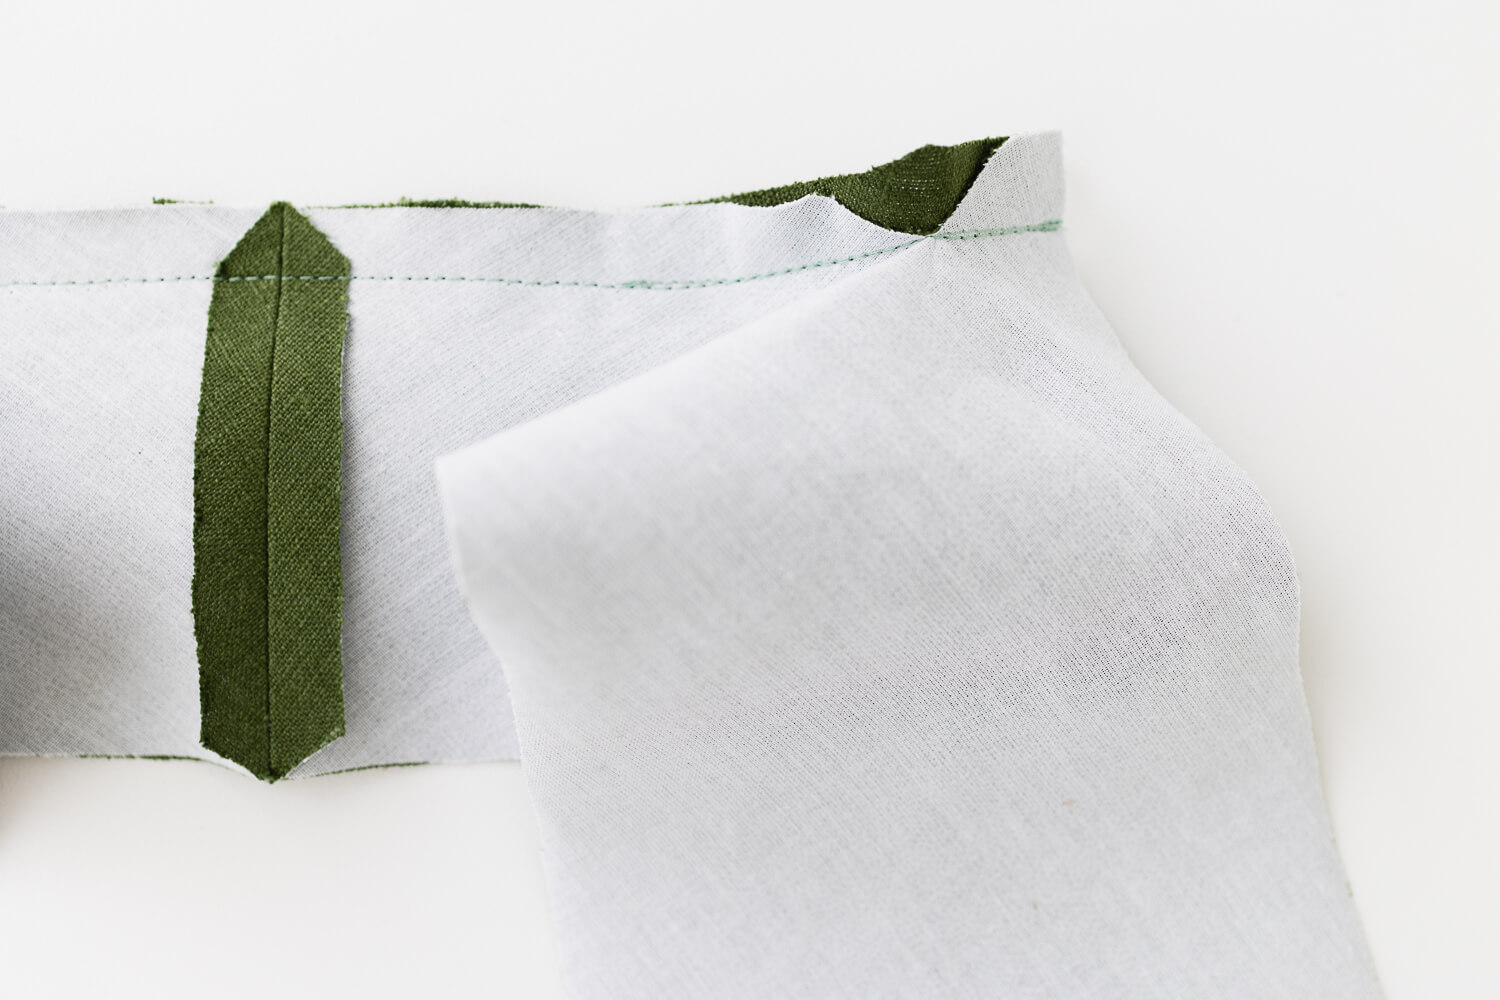
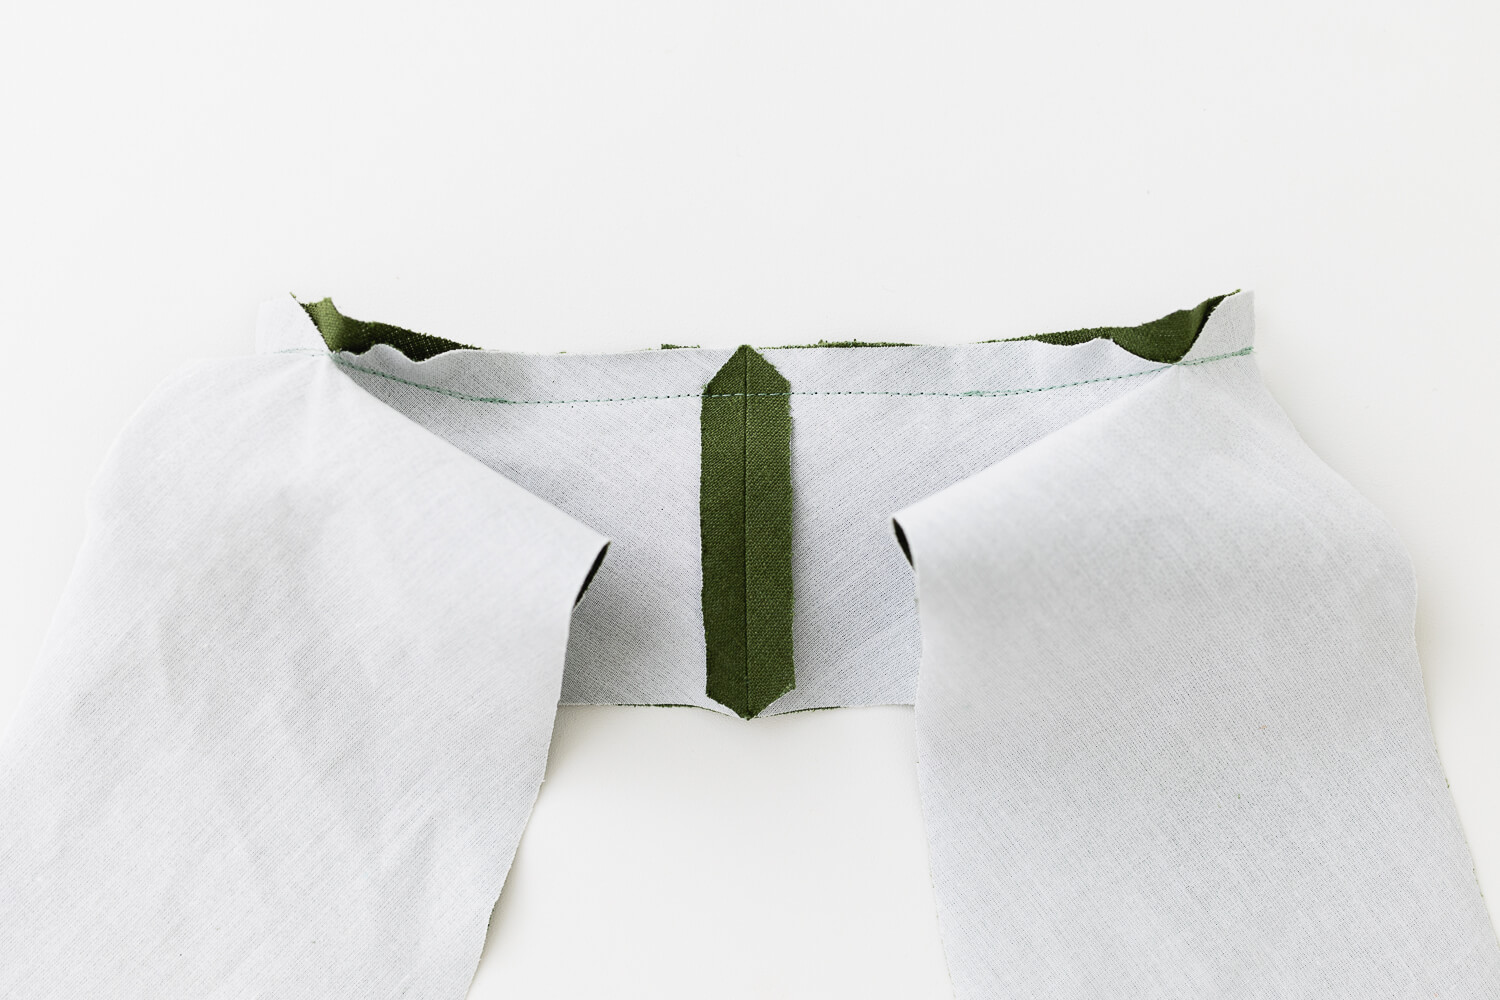
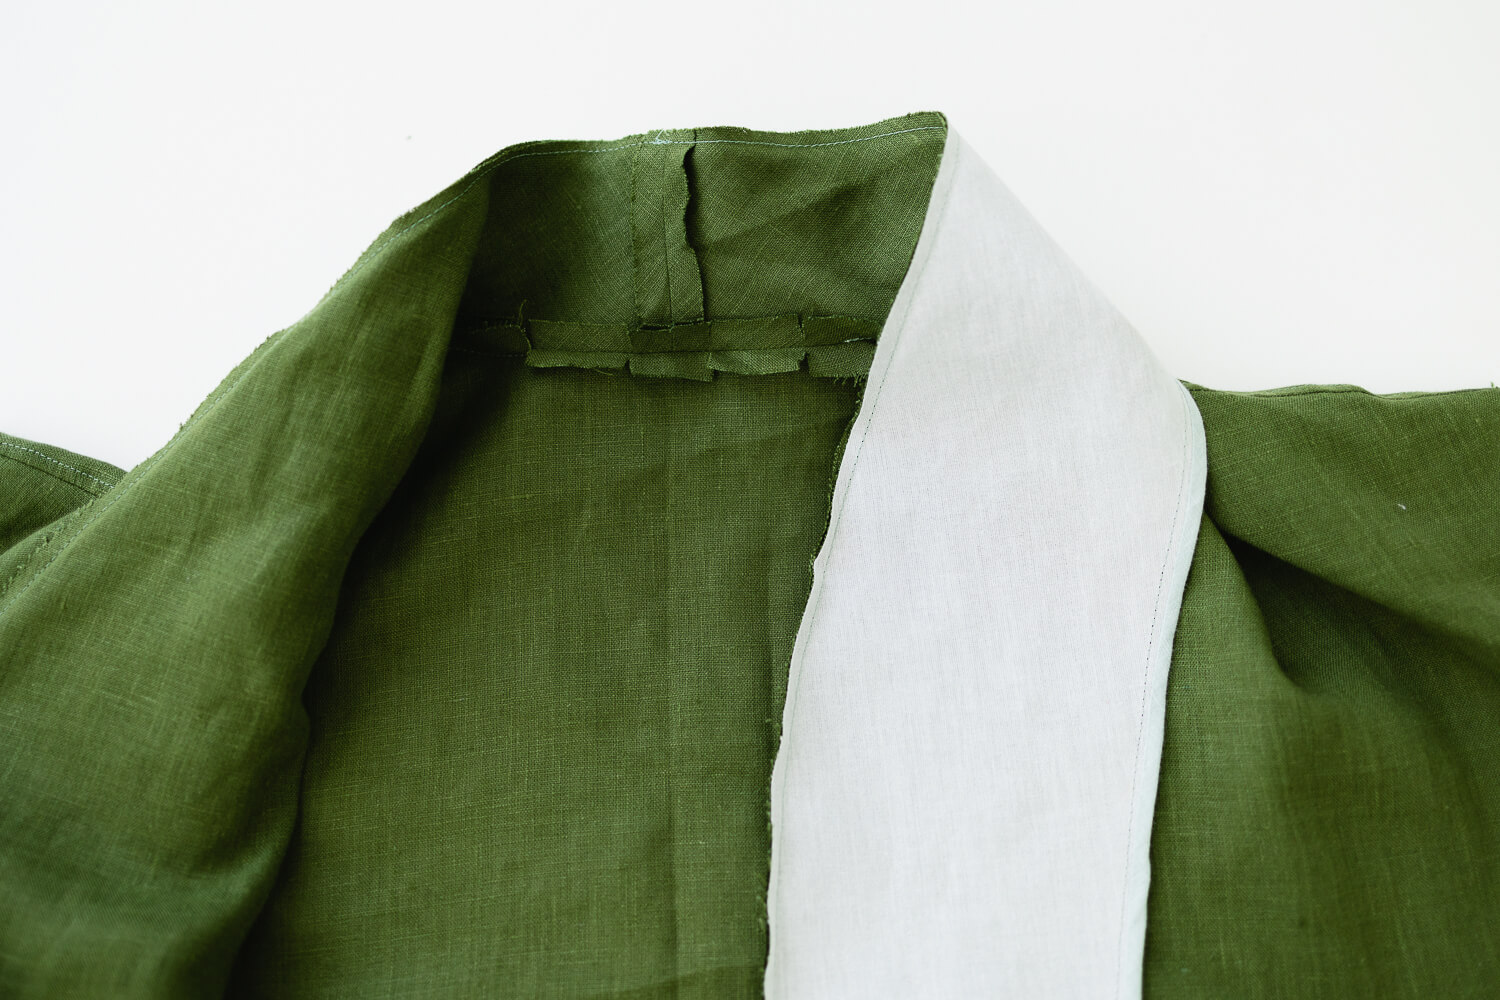
At this point in the process, the pieces should look something like this. Interfacing applied, the hang loop installed, pattern markings drawn, stay stitching in place, and corners clipped.
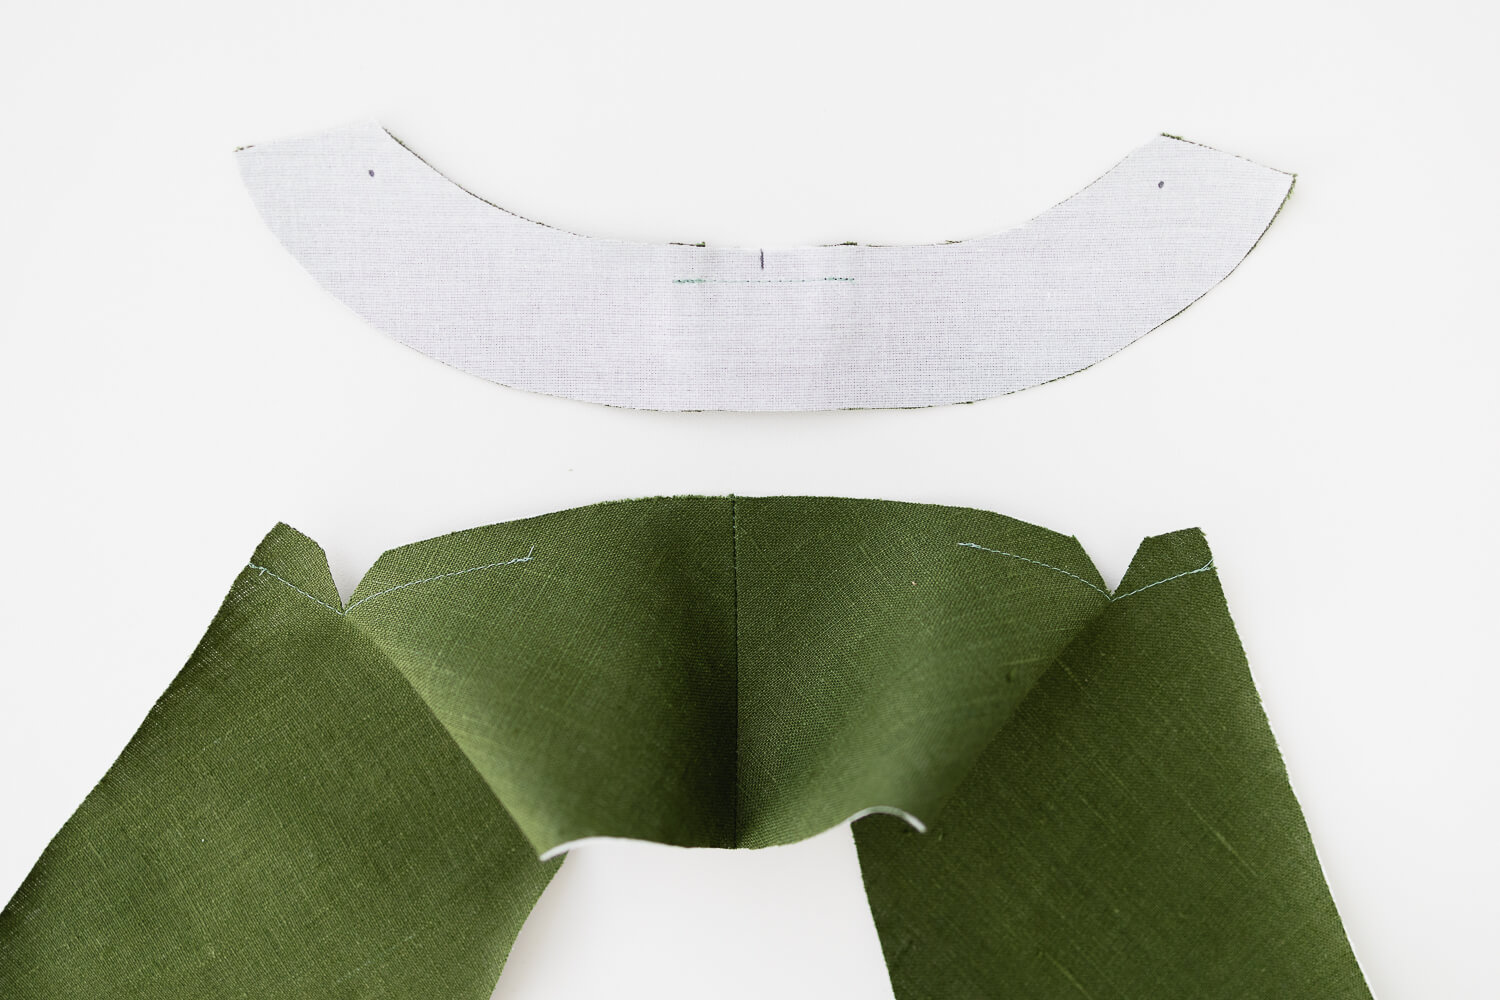
Note: Make sure the pattern markings are transferred to the right side of the Back Neck Facing.
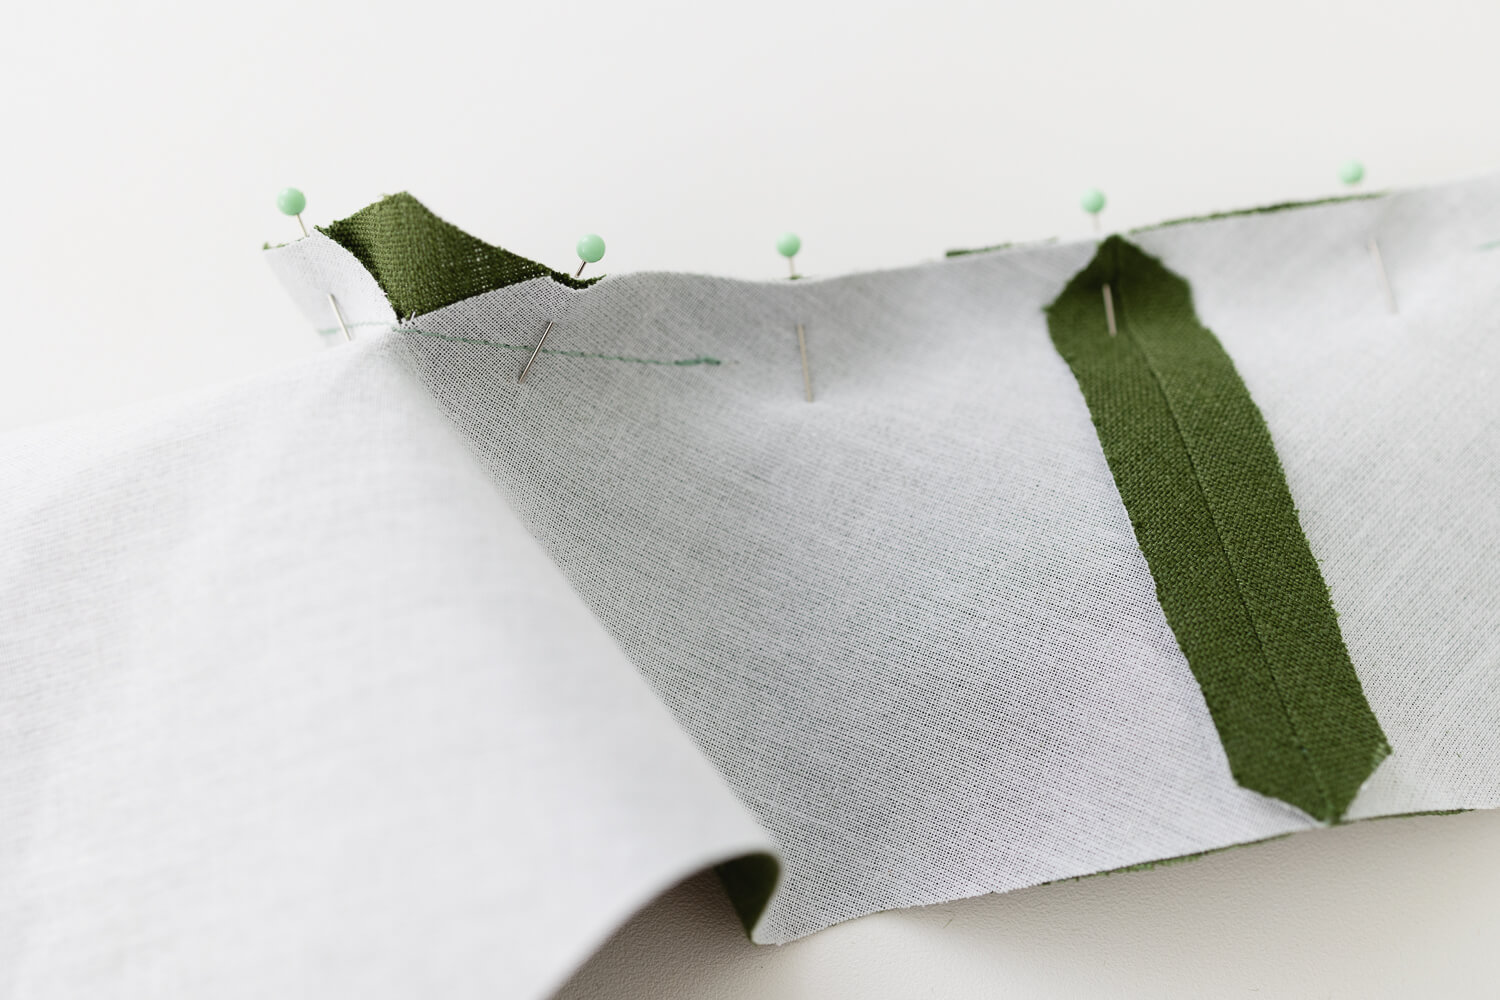
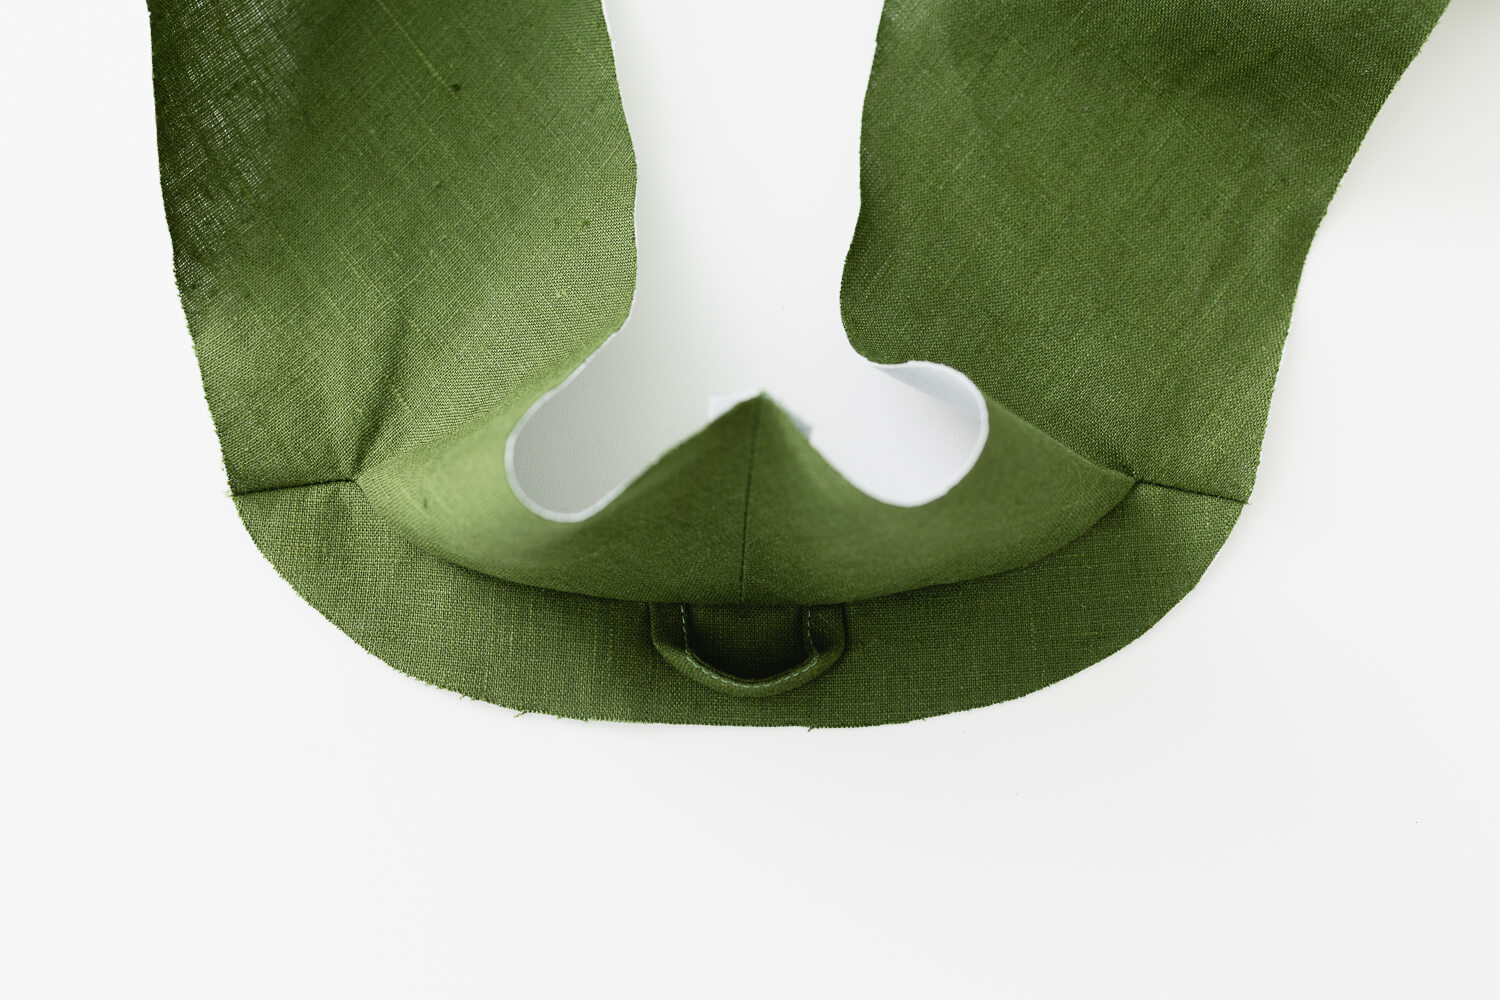
Pivot the corners of the Robe Front Facing open.
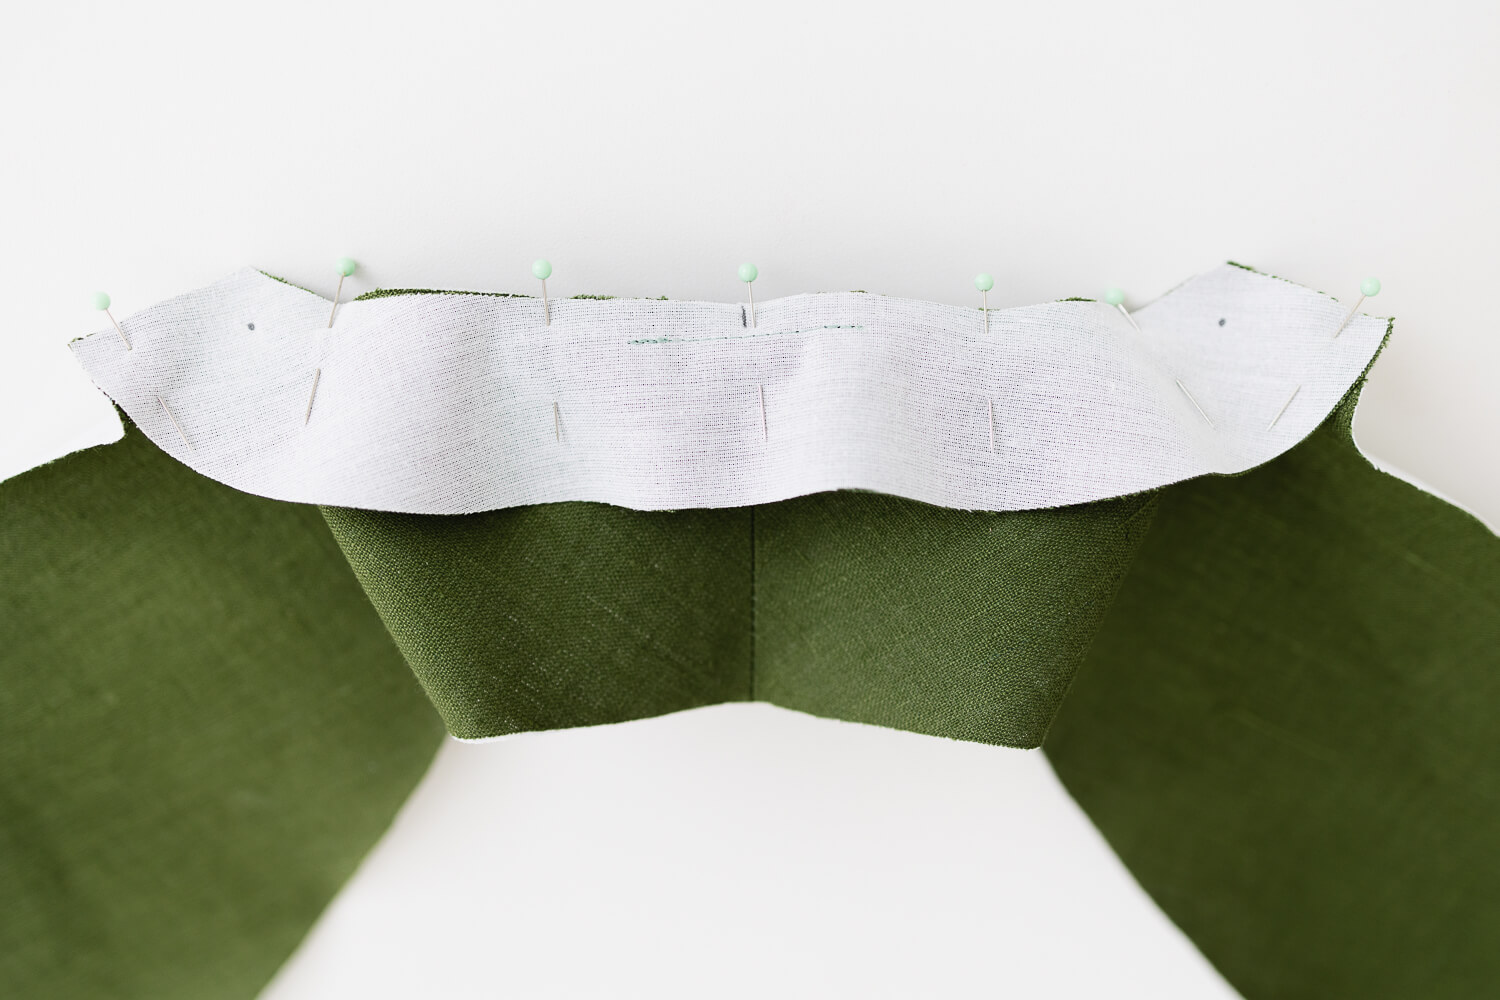
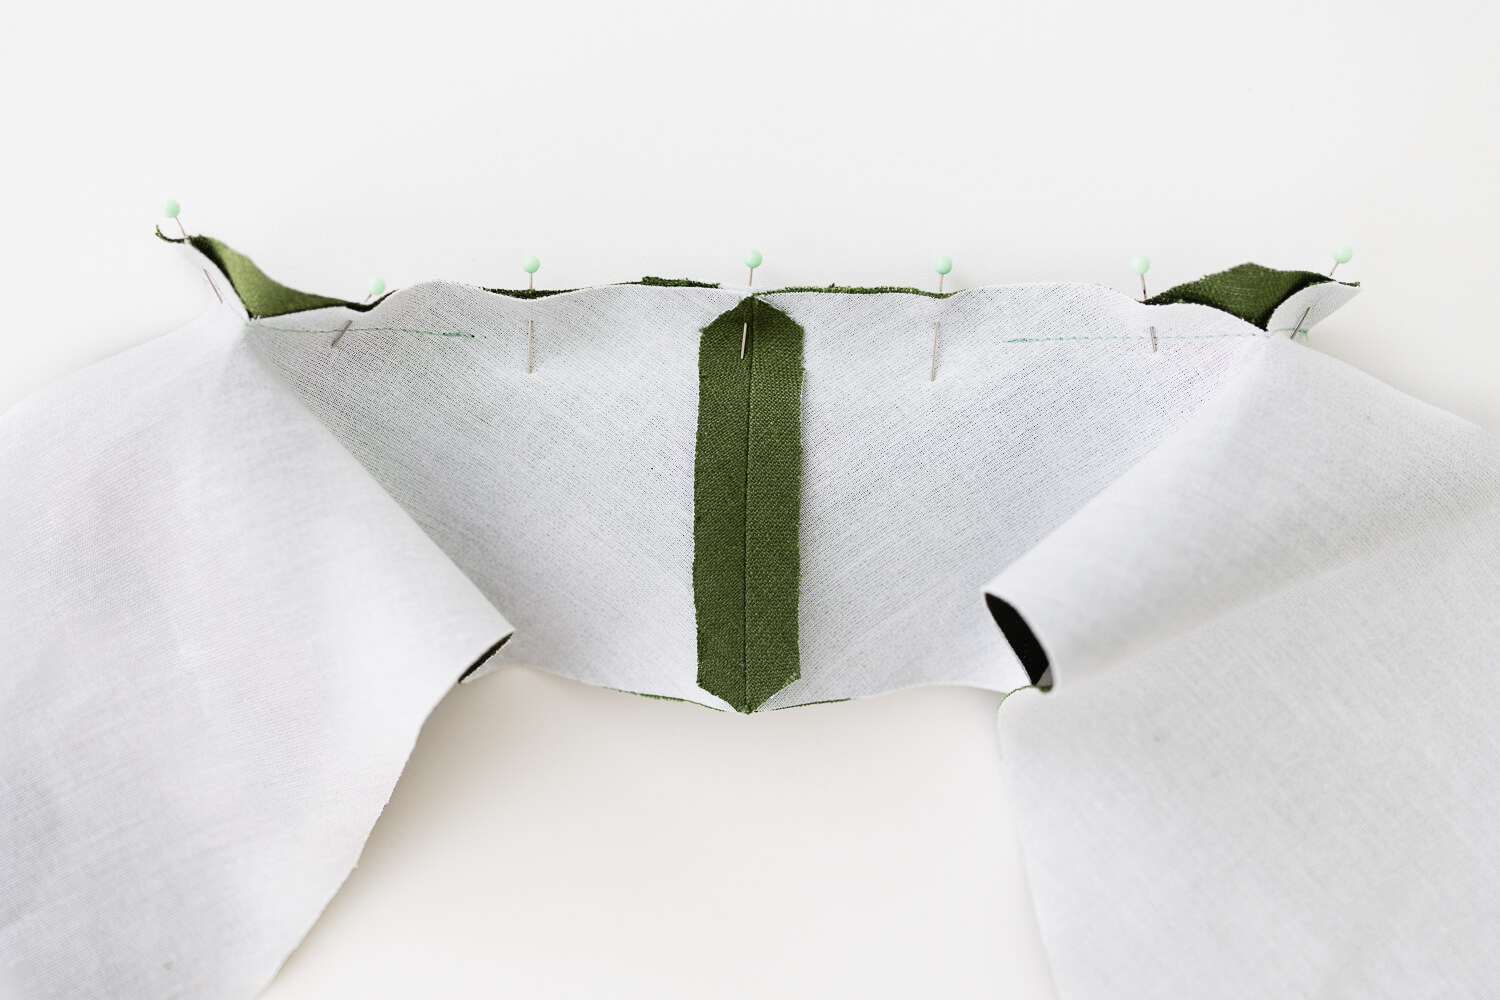
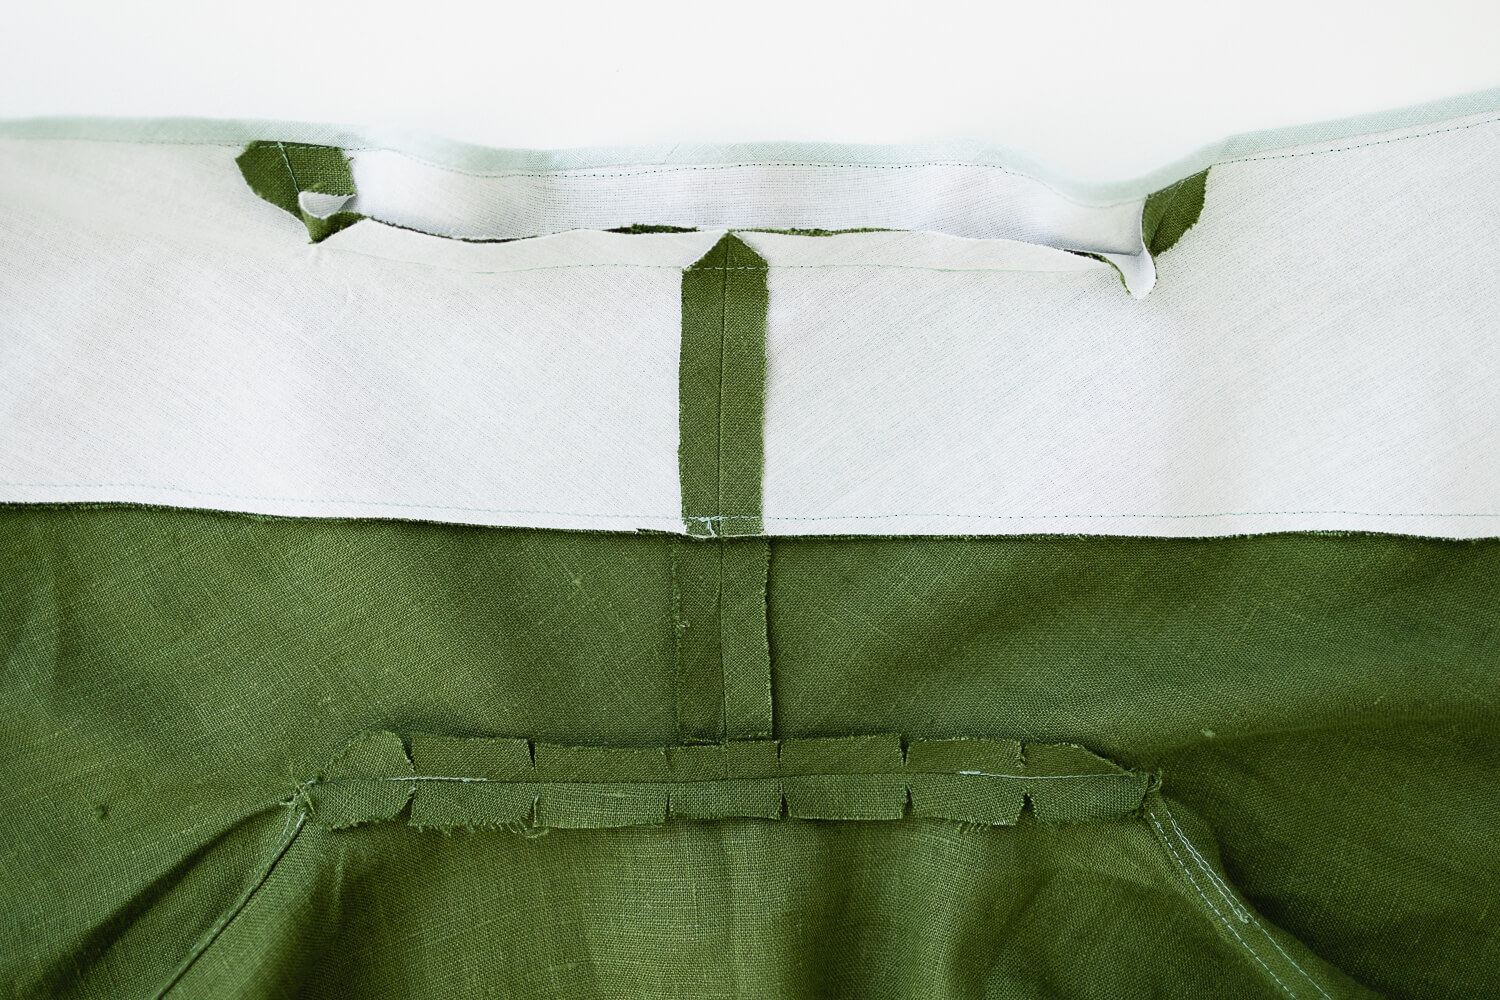
Place the Robe Front Facing and Back Neck Facing right sides together. Line up the clipped corners of the Robe Front Facing with the pattern markings on the Back Neck Facing. Pin in place.
Sew the Front Robe Facing and the Back Neck Facing together. Sew the shoulder seam with 1/2”. At the clipped corner, leave the needle in, lift the presser foot, and pivot onto the neckline seam. Pivot again at the next clipped corner.
Press seams toward the Back Neck Facing. It should look something like this with the seams pressed.
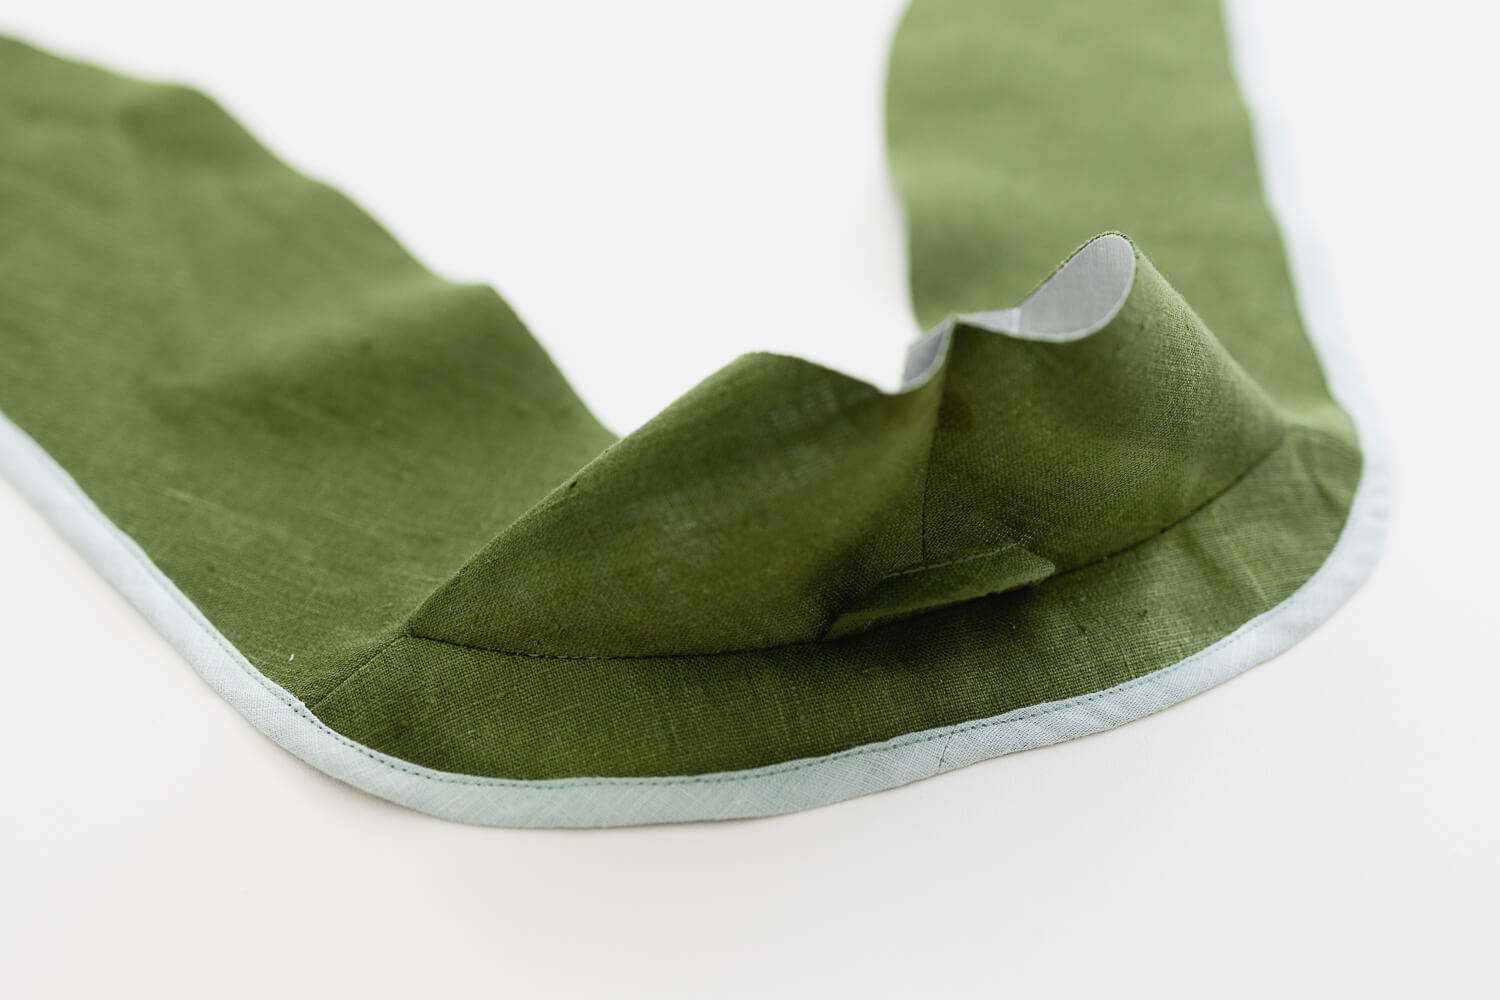
Follow steps on pages 37-38 to sew bias binding along the Robe Front Facing.
With right sides together, match up the center back seams of the Robe Front Facing and the Robe Front. Sew together with 1/4” seam allowance.
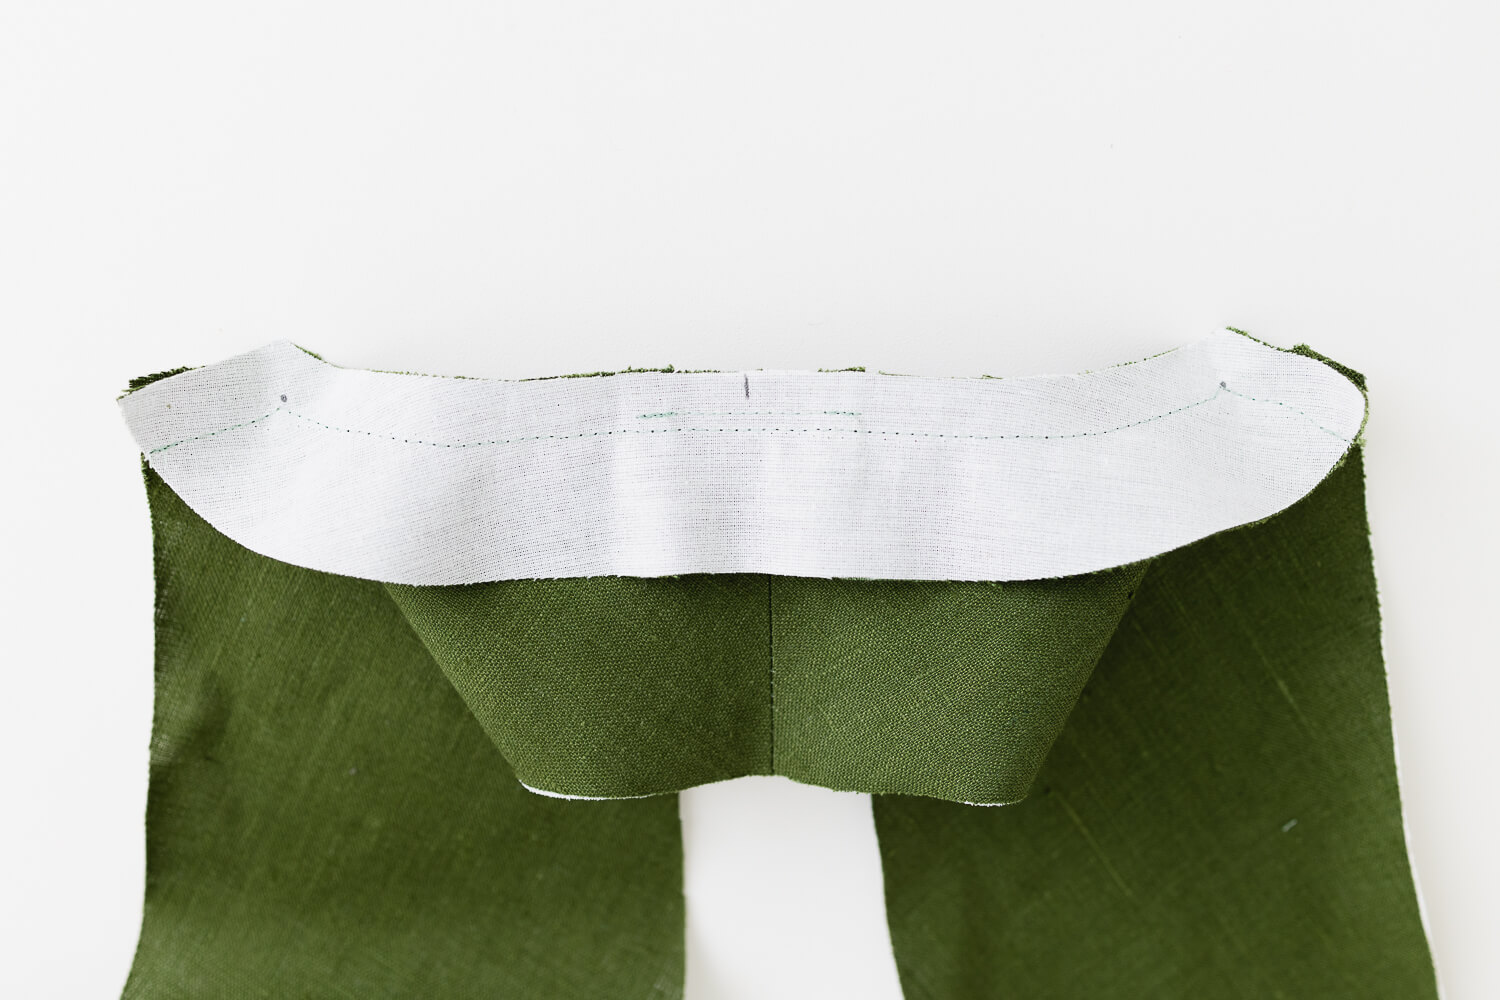
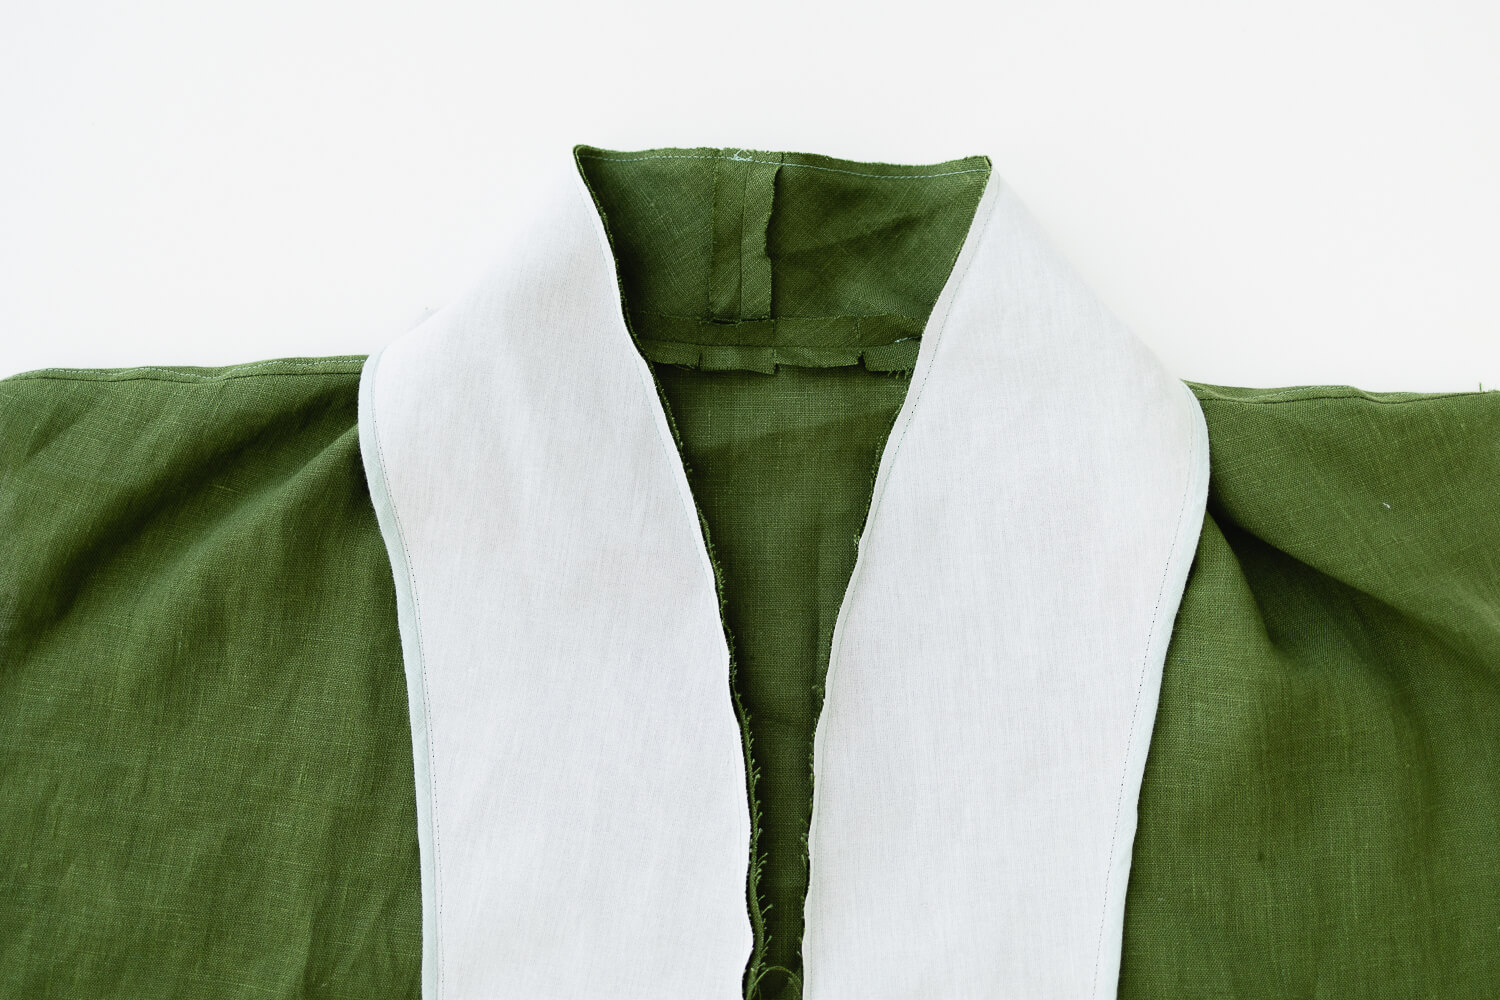
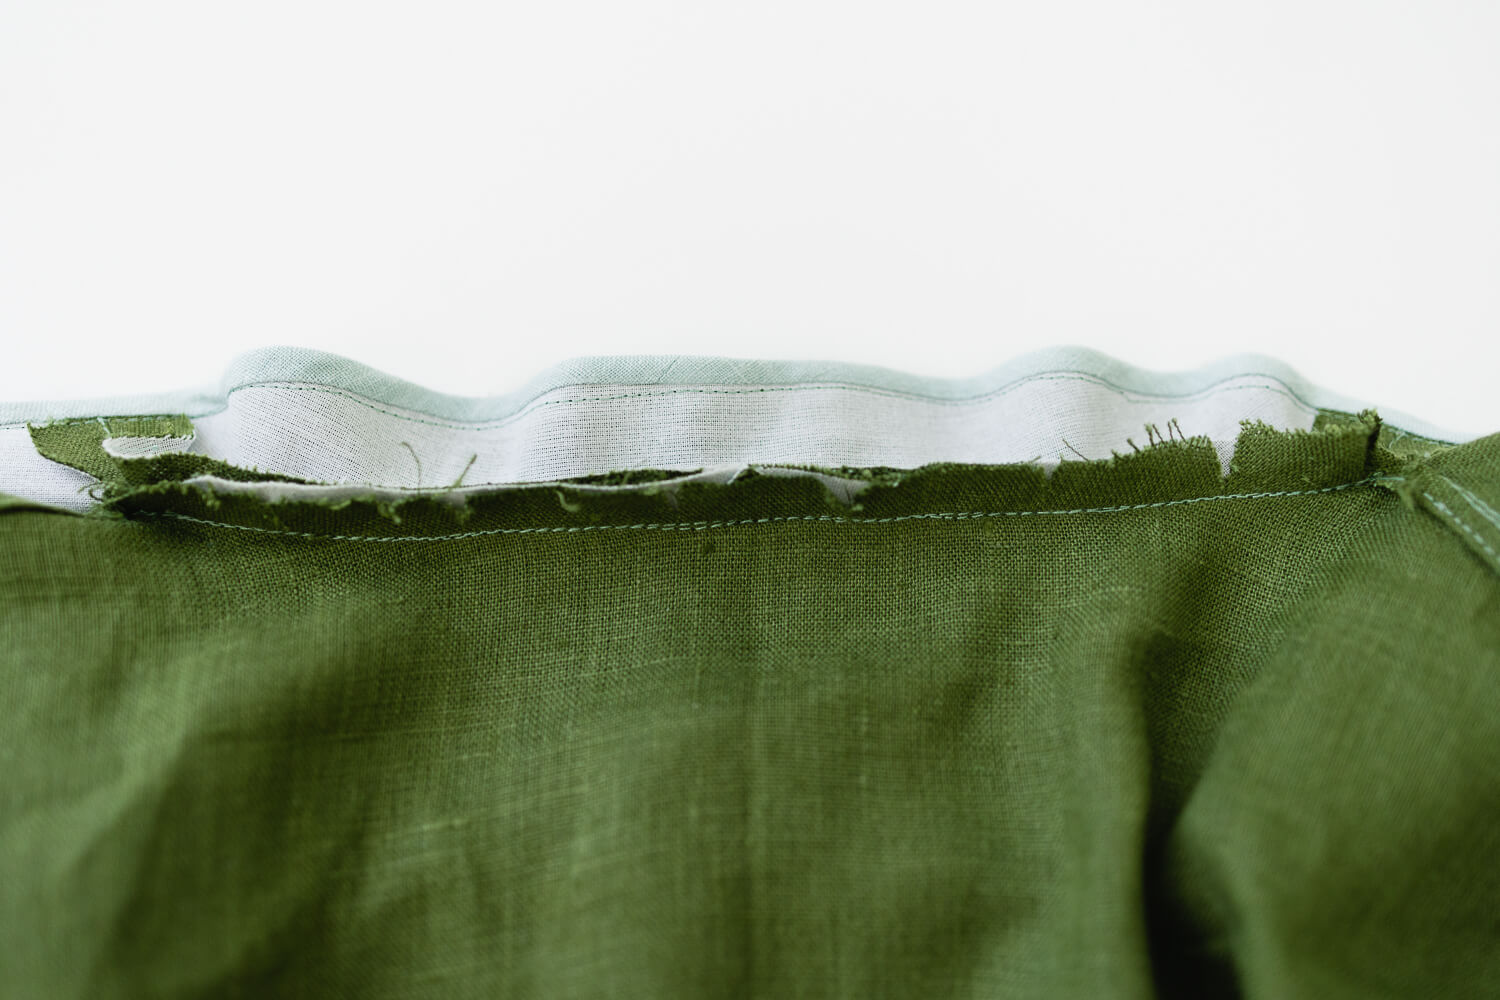
After following the instructions on page 39 to understitch the facings, the final step is to sew the seam allowances of the neckline together.
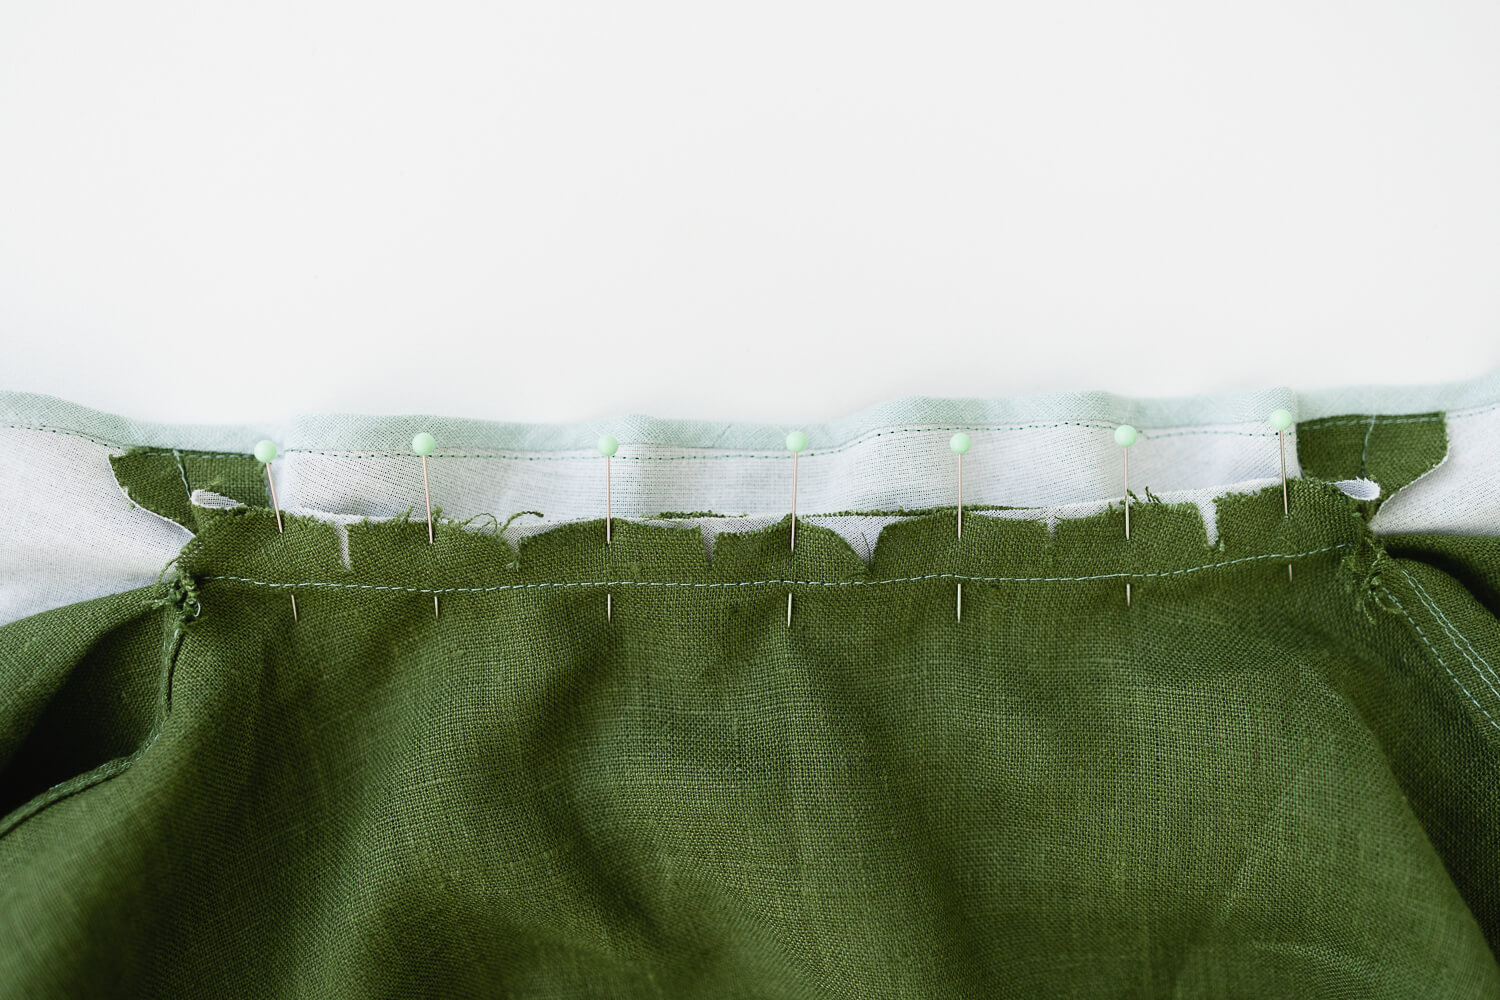
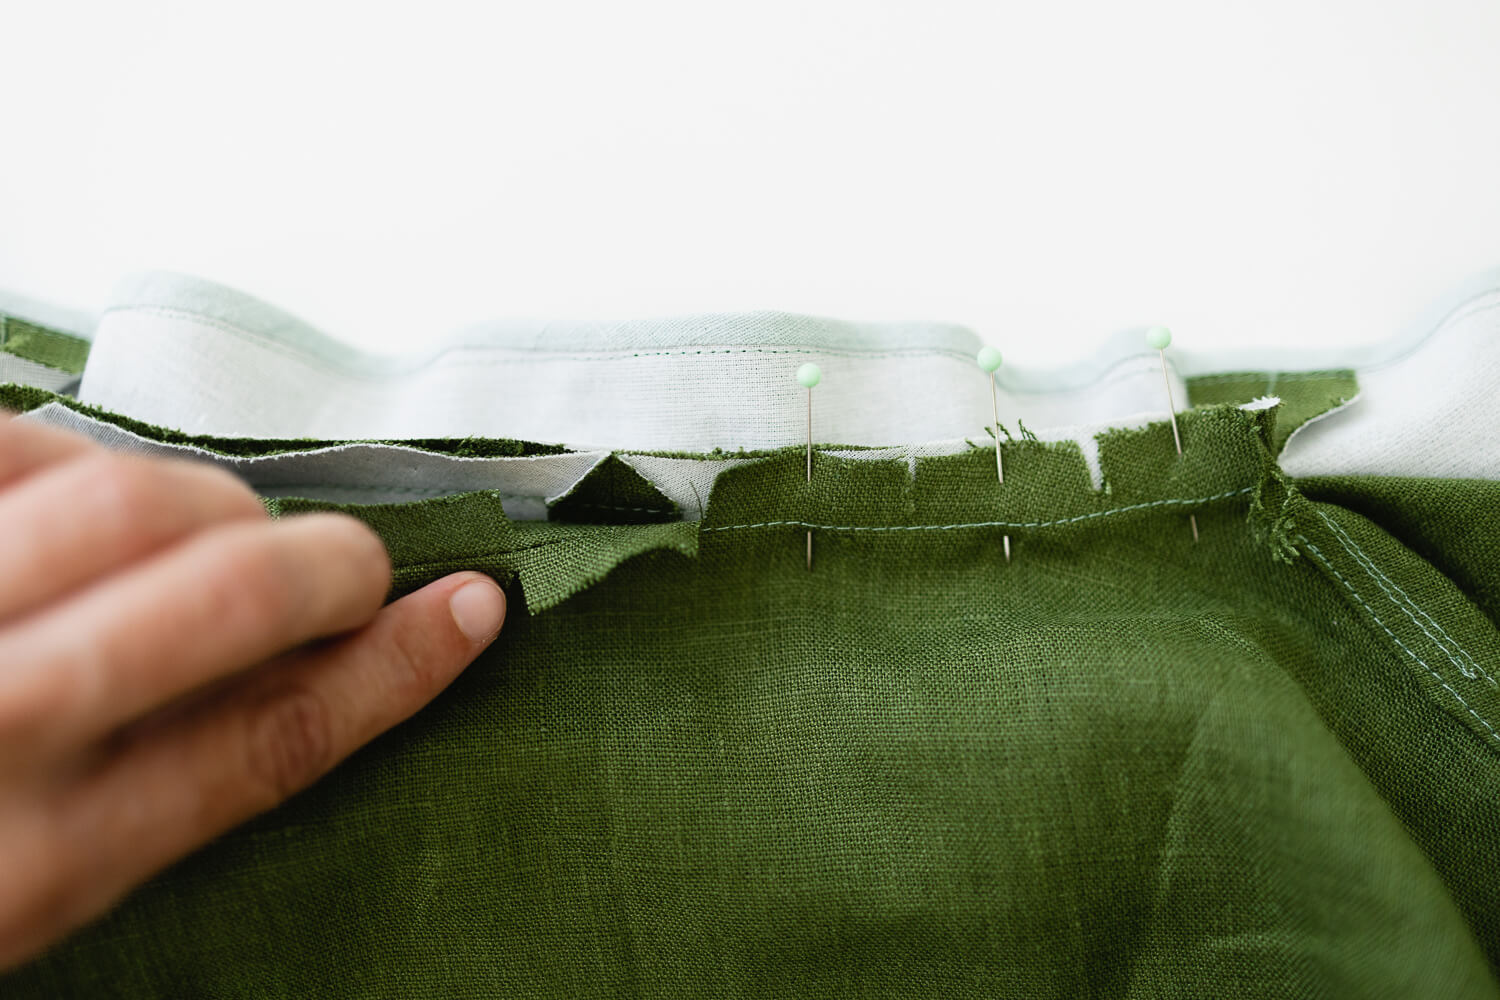
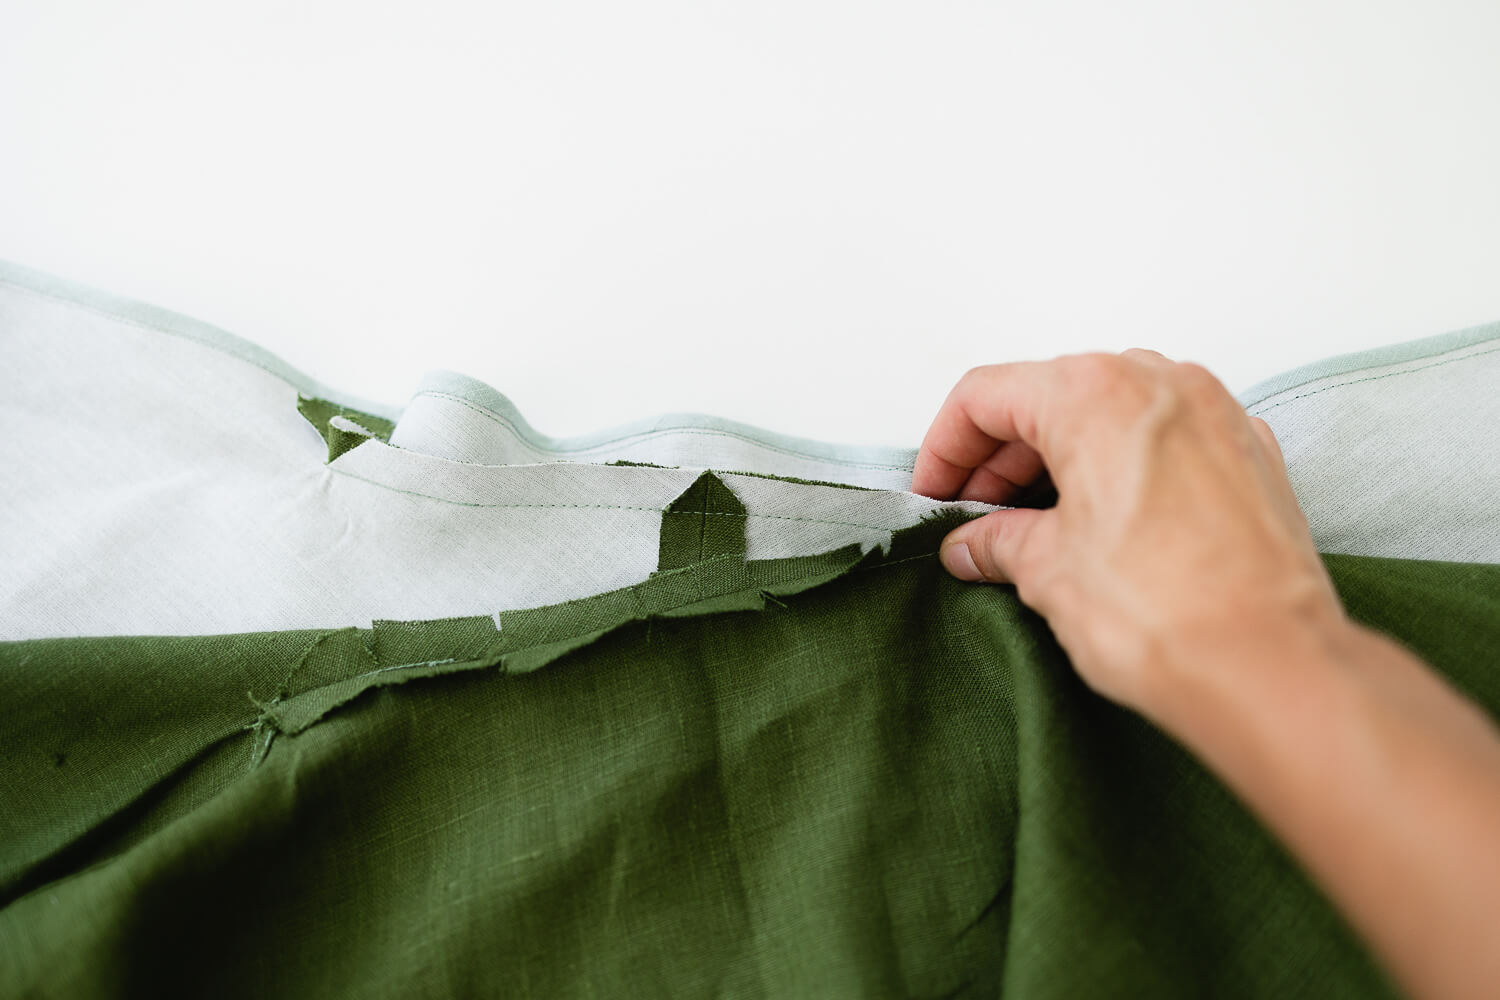
Place the seam allowance of the Robe Back with the seam allowance of the Back Neck Facing together. Pin in place.
Sew on top of the existing line of stitching to sew the seam allowances together.
That’s it! The Capucine facings are done!





Leave a comment