Tutorial: How to Sew the Collar on the Capucine Robe
This tutorial is to support the collar instructions in the Capucine Pattern booklet starting on page 27.
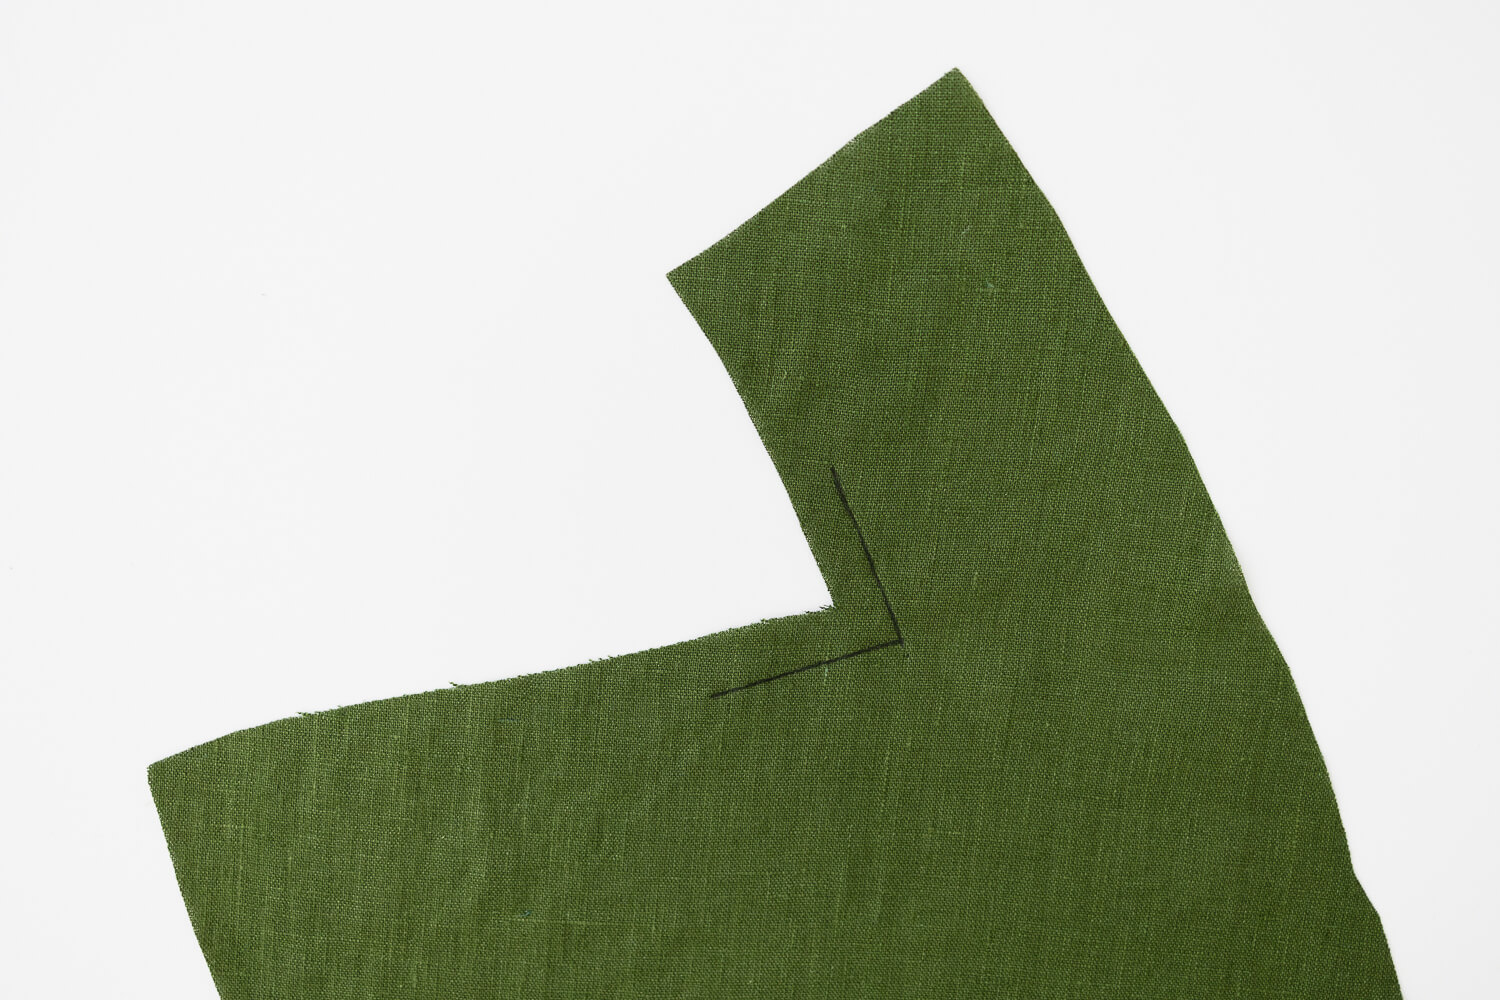
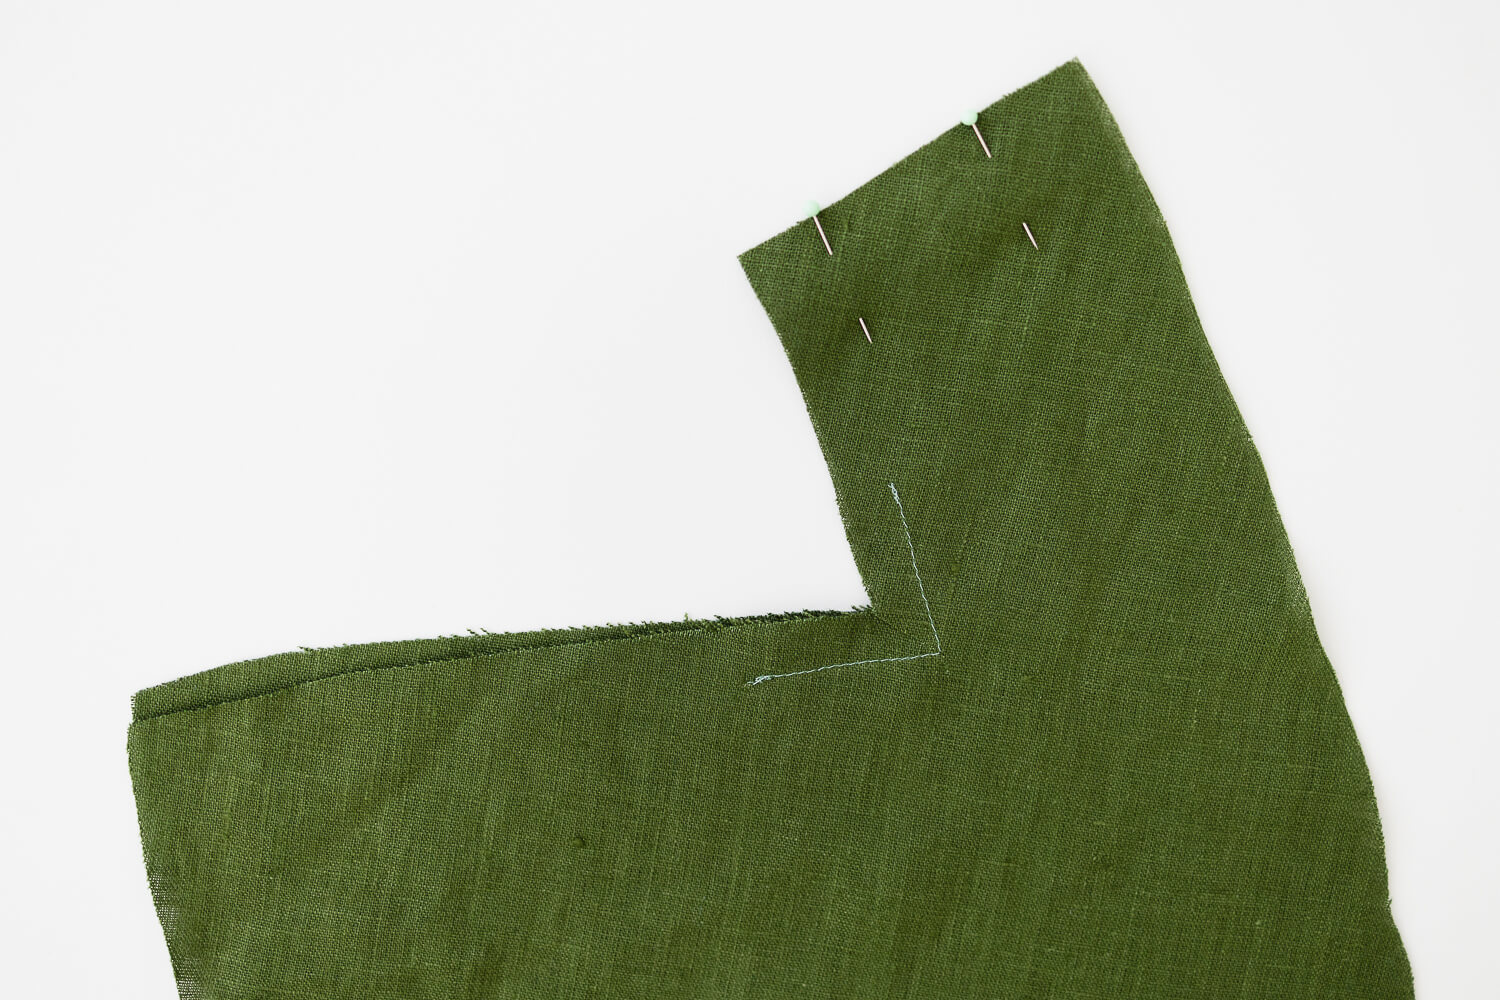
Transfer the collar pattern marking to the fabric. Then mark a stitch guide line 2” up and 2” over from the dot marking with a fabric chalk or pen. Note: The line along the collar is 1/2” from the edge. The line along the shoulder is 5/8” from the edge.
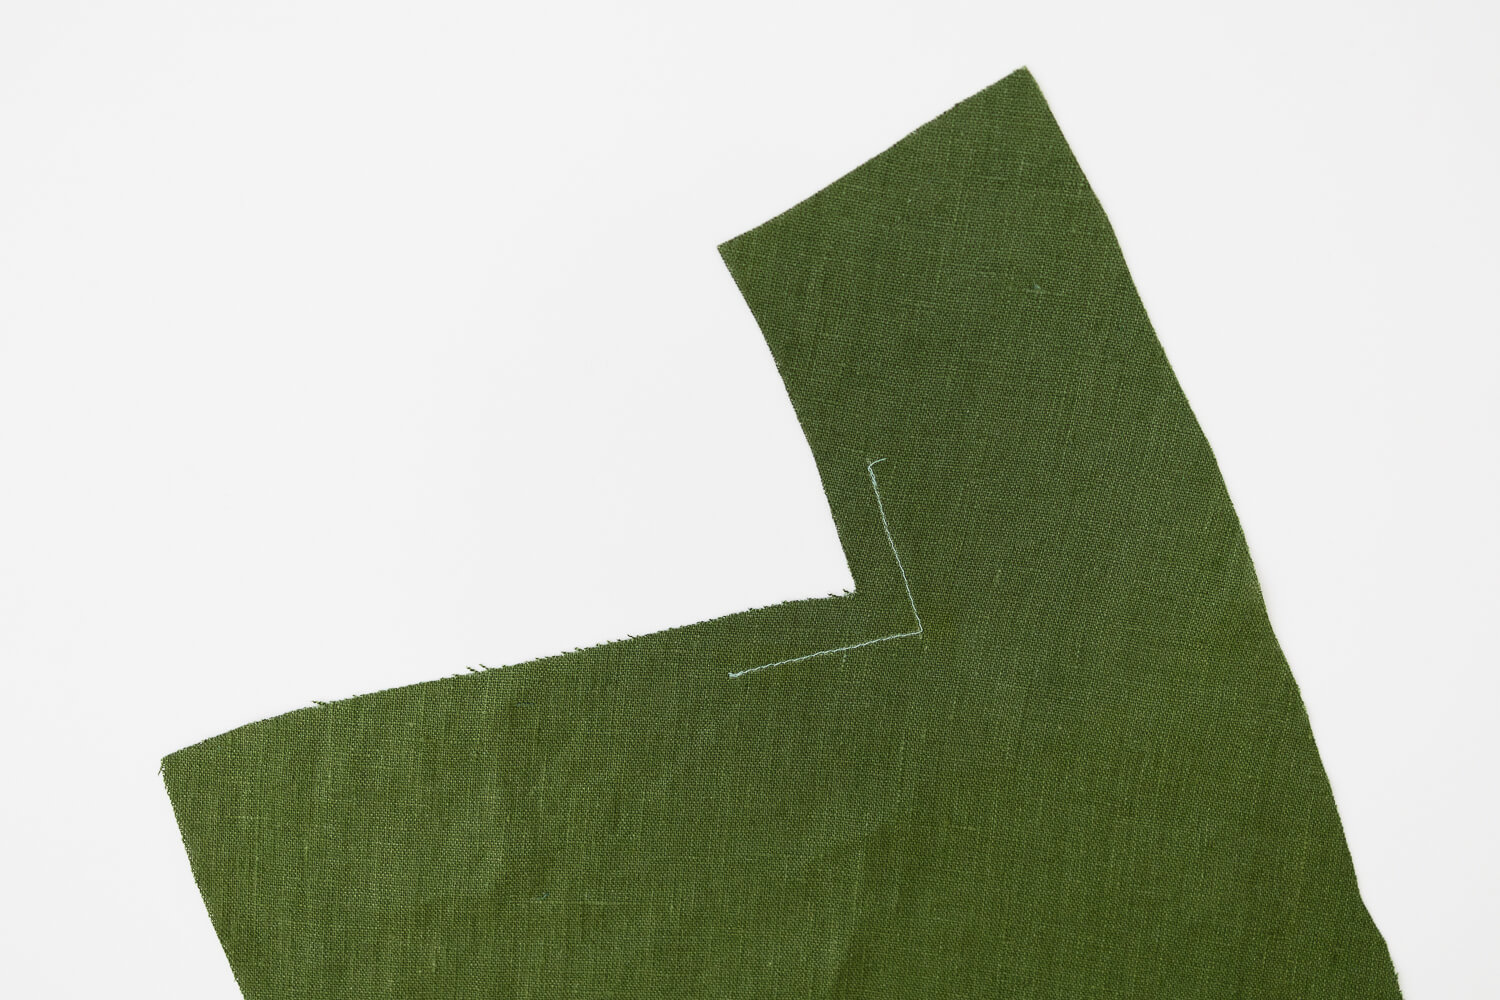
Stay stitch along the stitch guide marking made in the previous step.
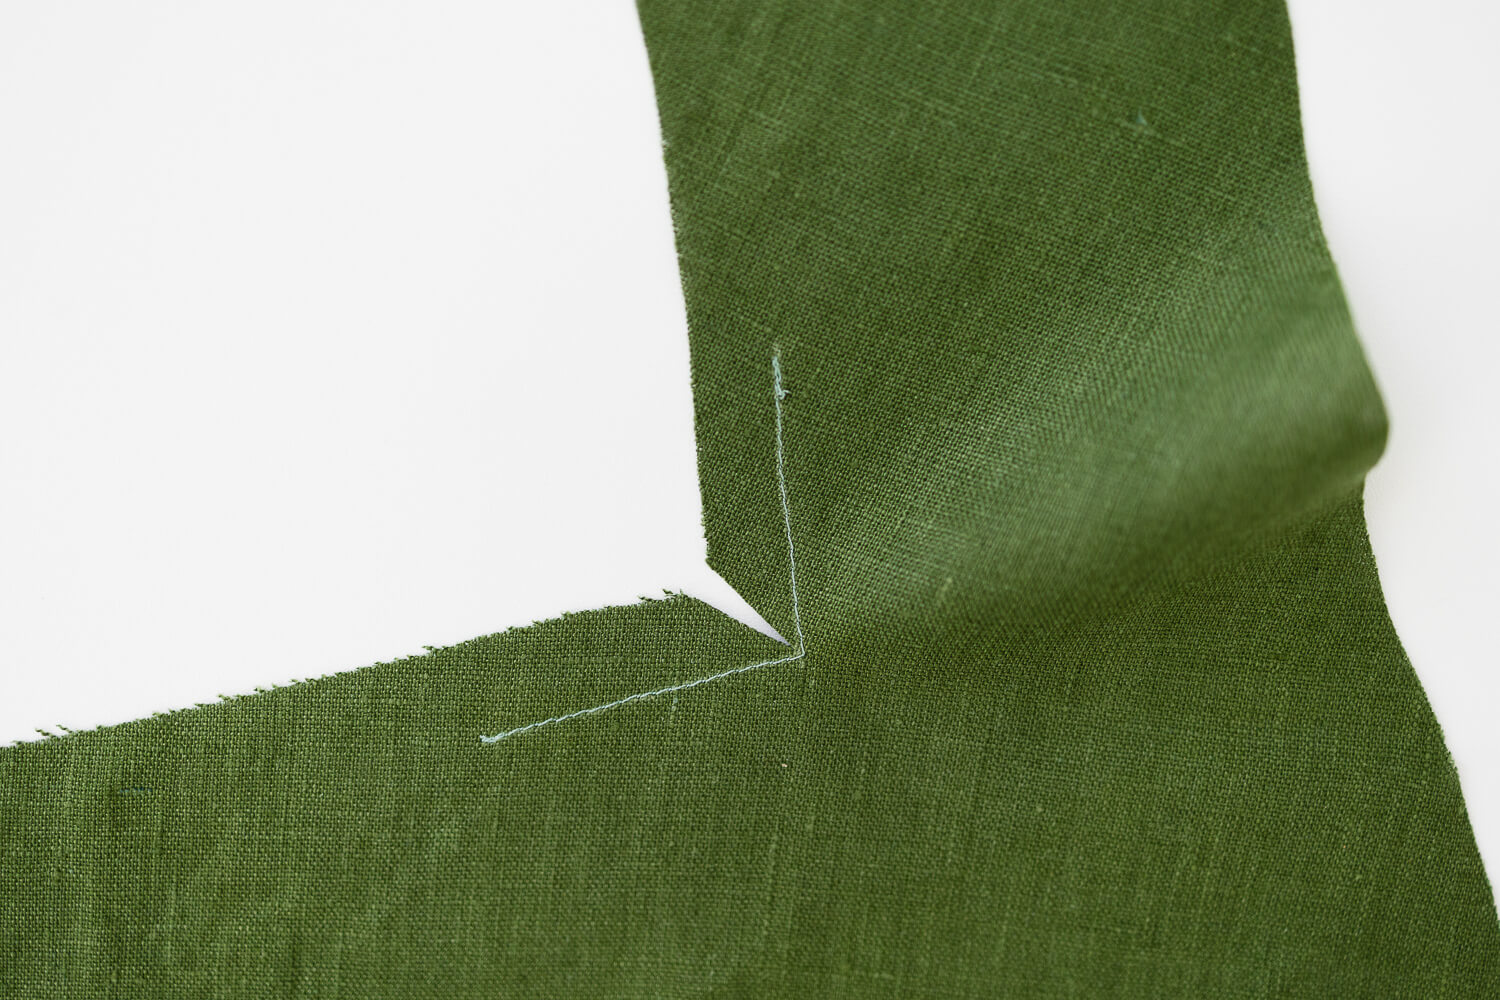
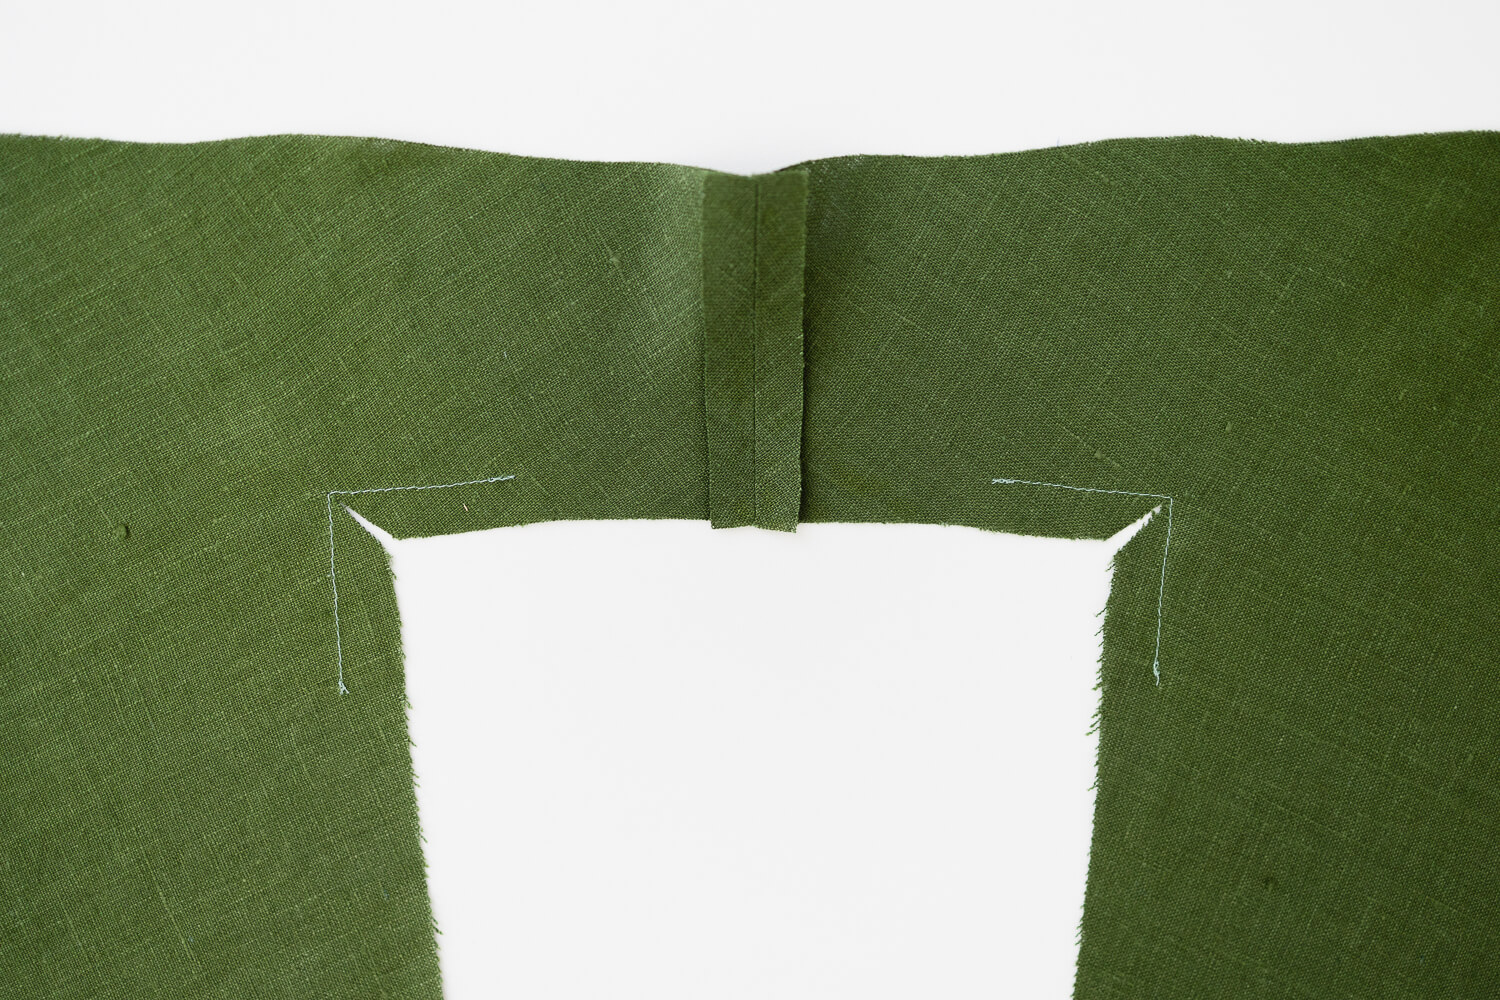
Clip the corner to the stay stitching.
Repeat for the other Robe Front.
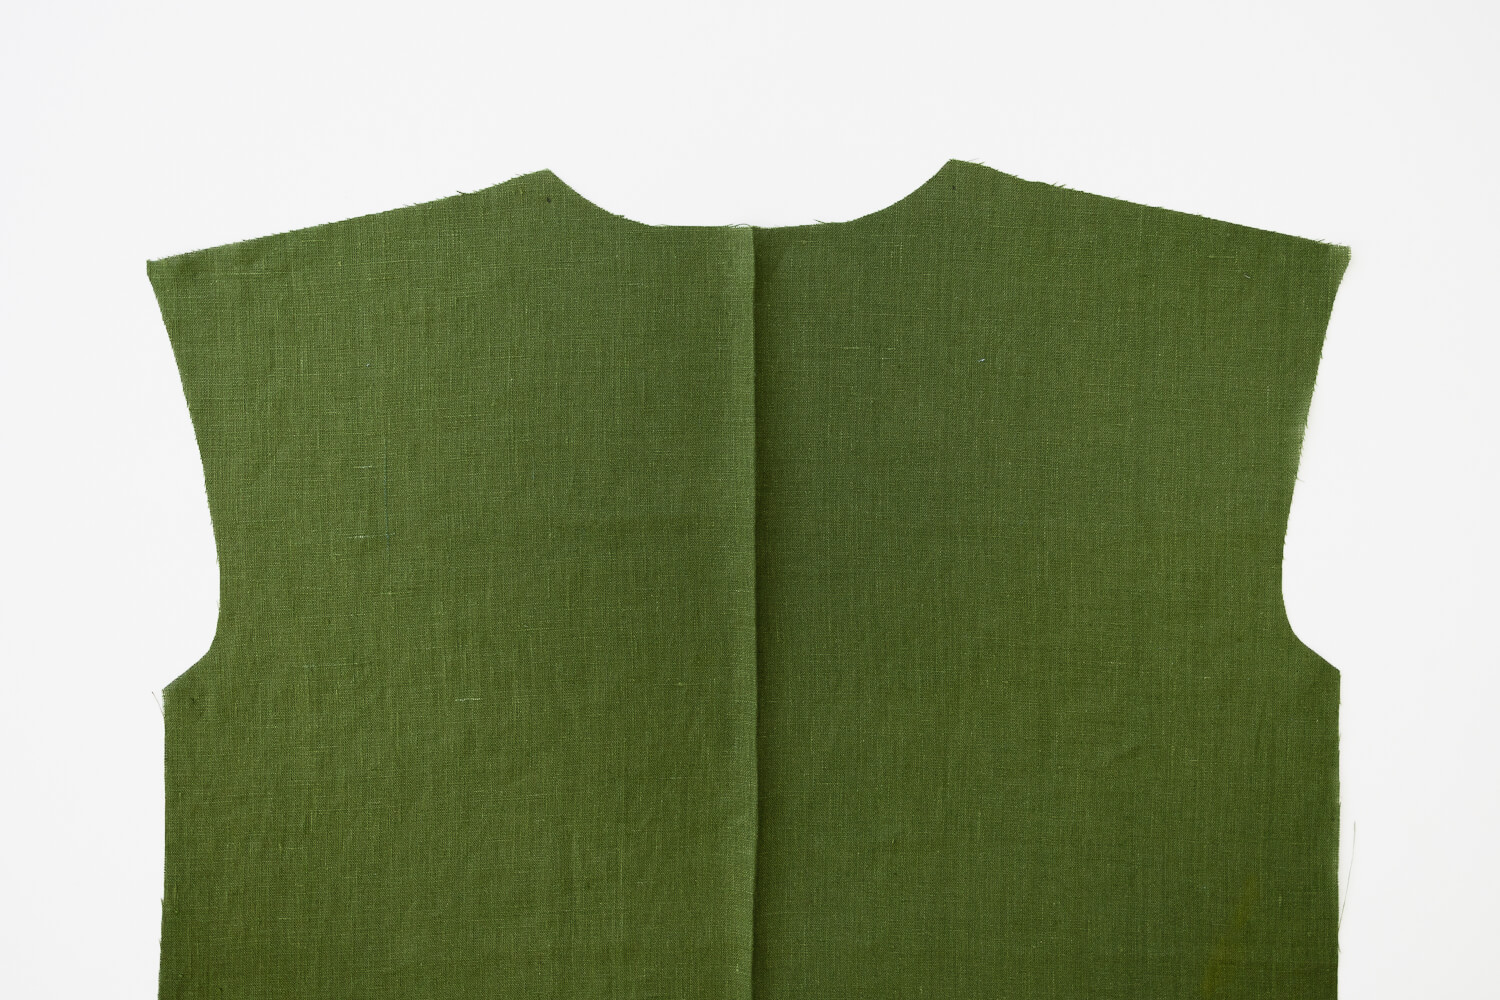
Place Robe Fronts right sides together. Sew with 1/2” seam allowance. Press seams open.
Place the Robe Back and Robe Fronts right sides together. Line up the center back with the center seam in the collar. Leave the fold in the Robe Back to determine the center back.
Note: Make sure the pattern markings by the shoulder/neck corner are transferred to the Robe Back for the next step.
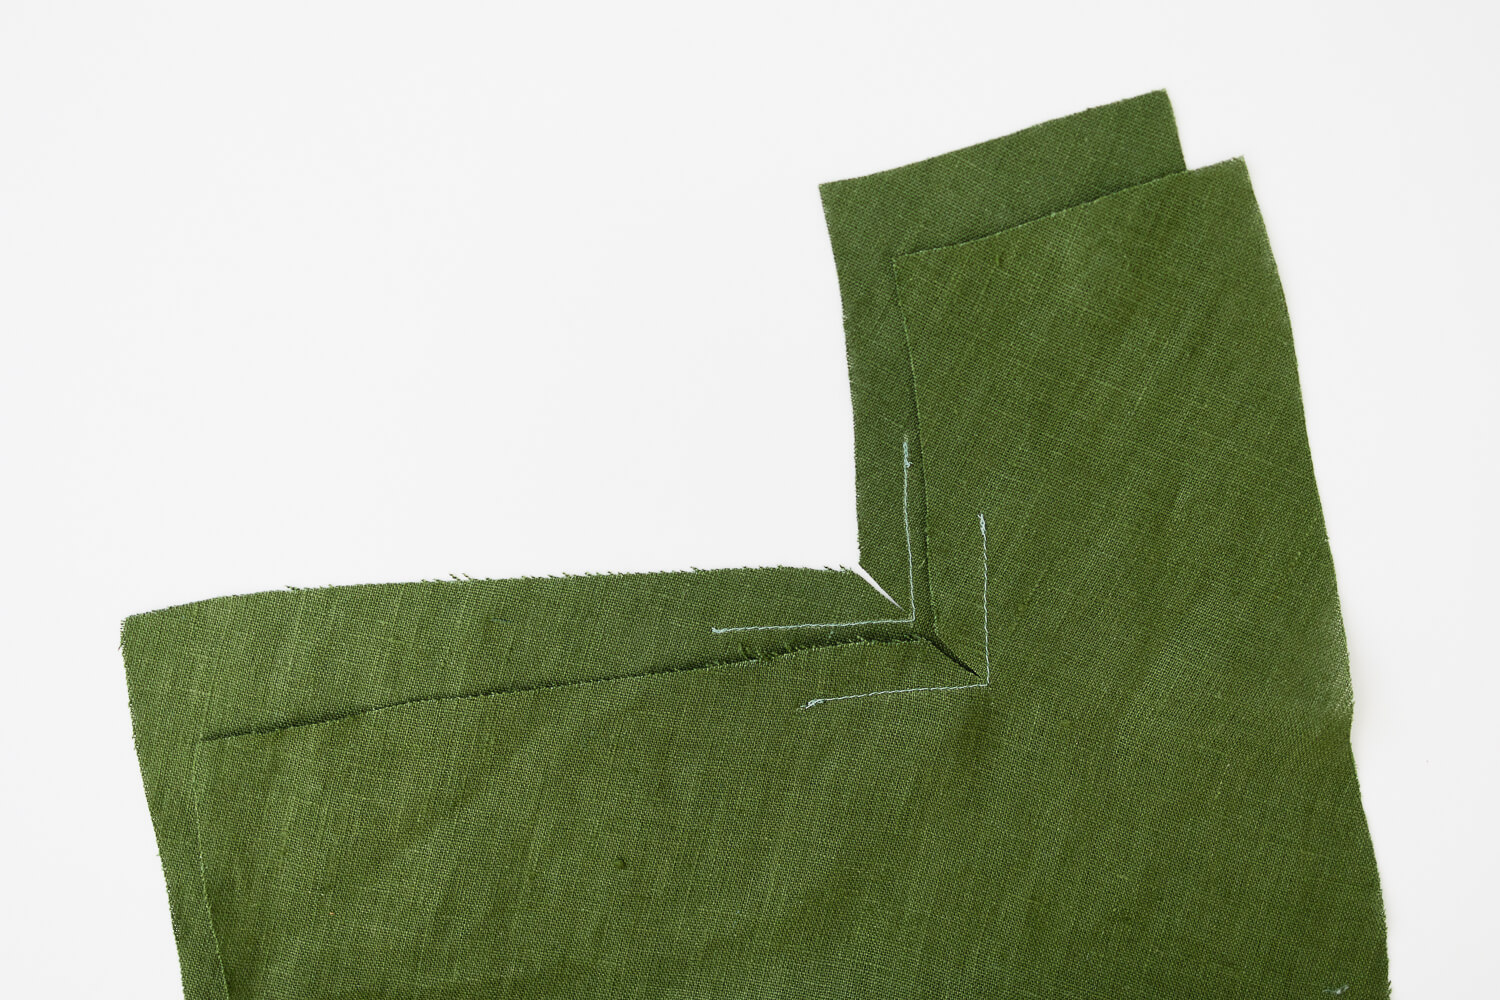
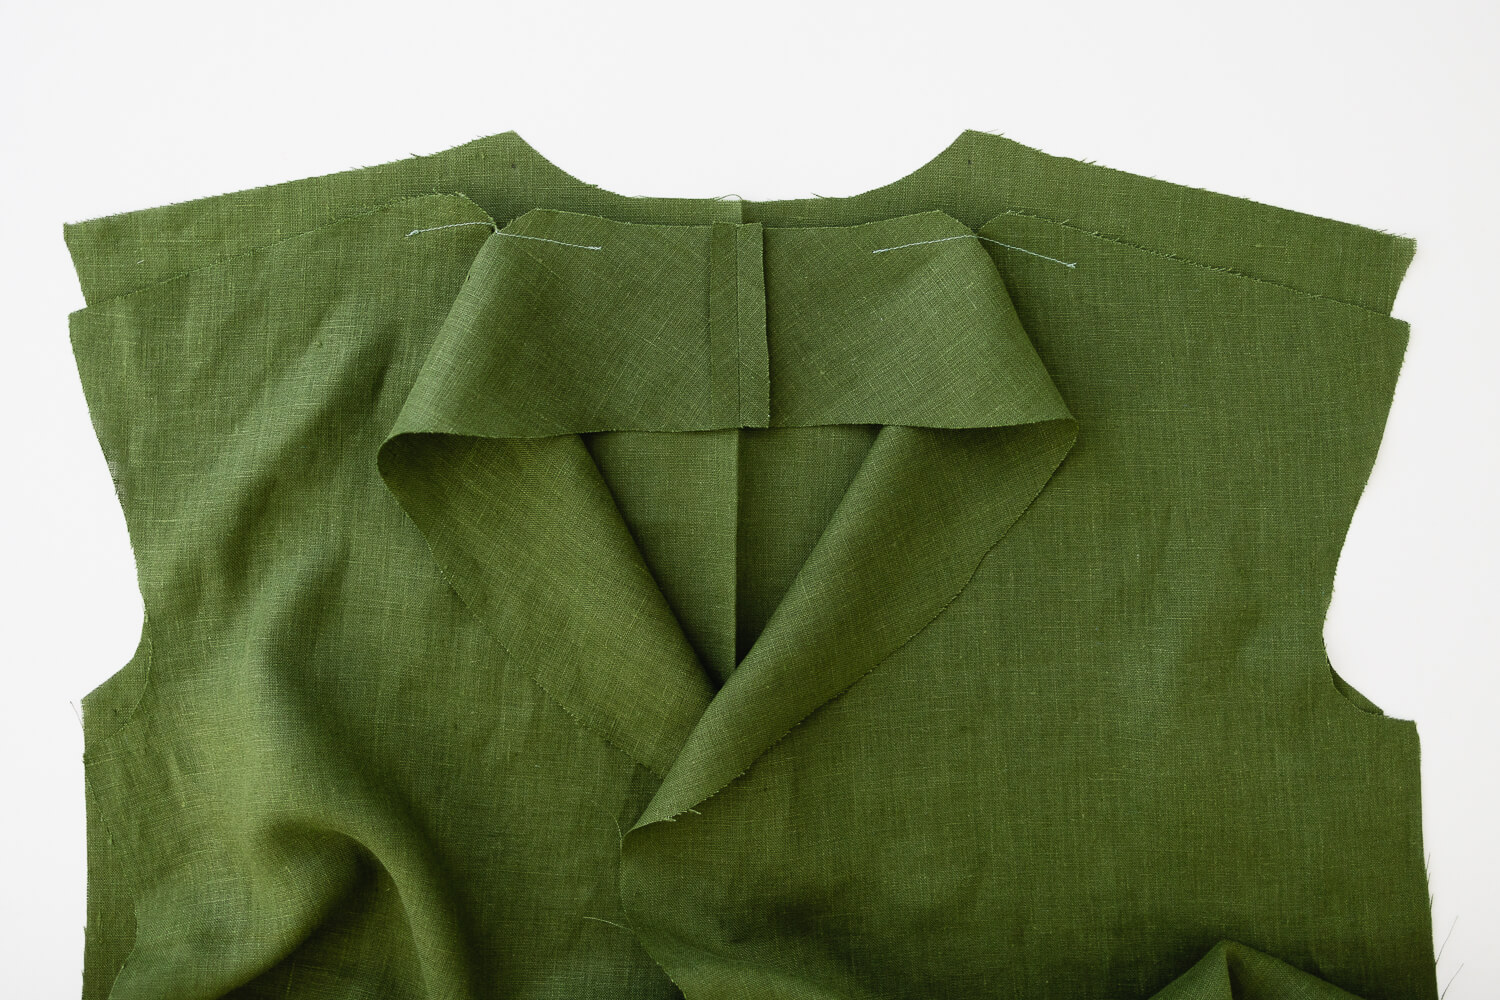
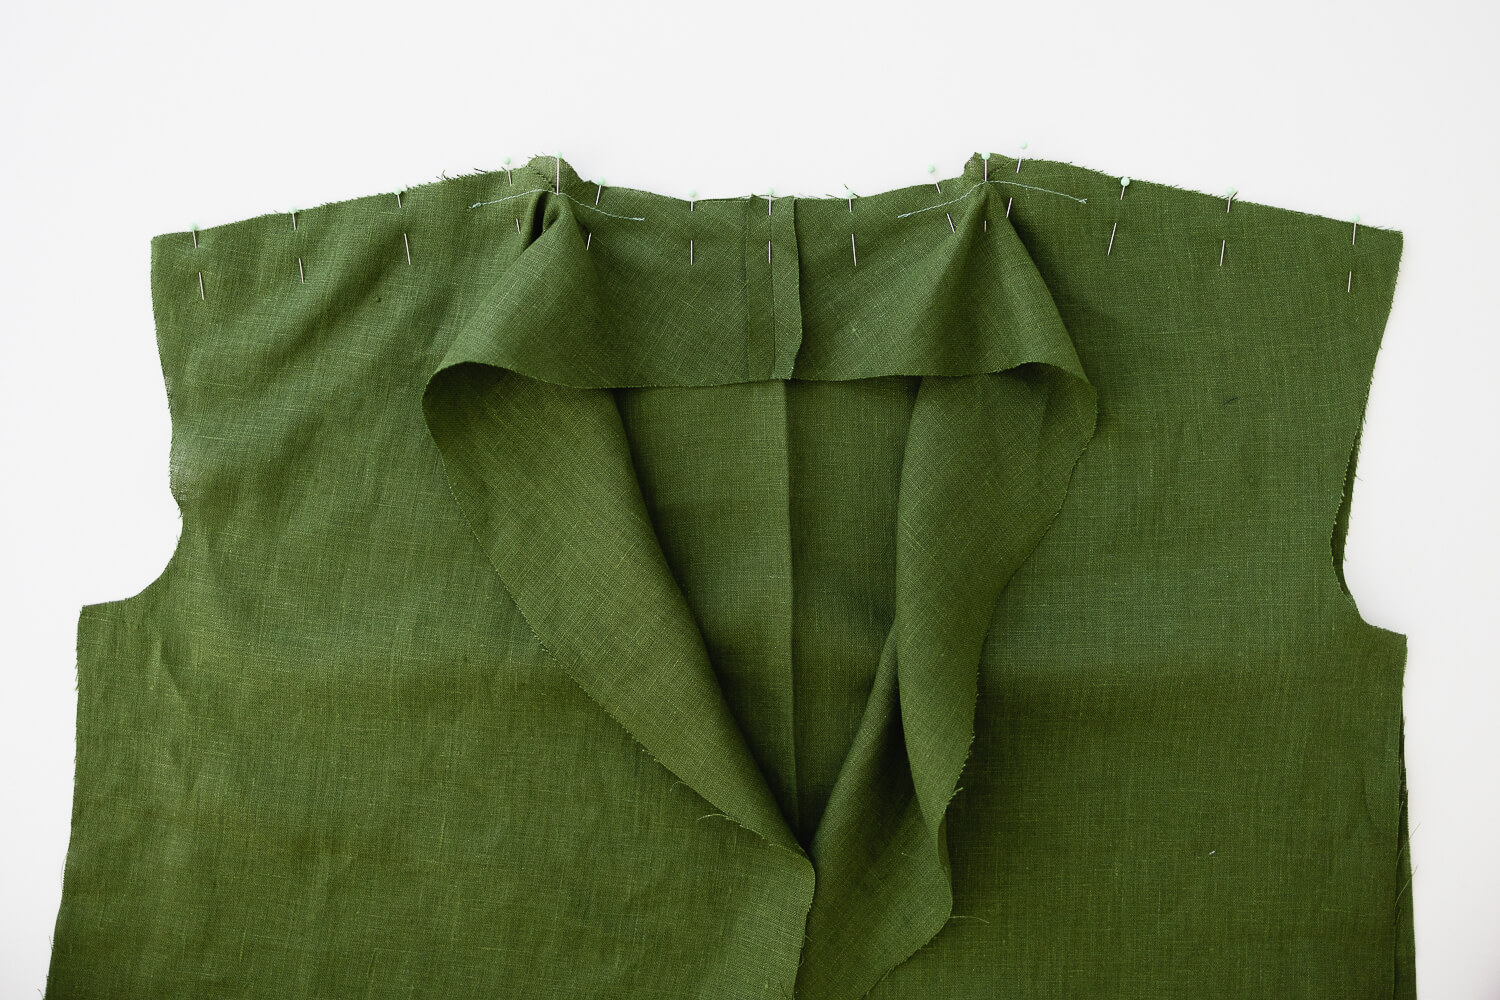
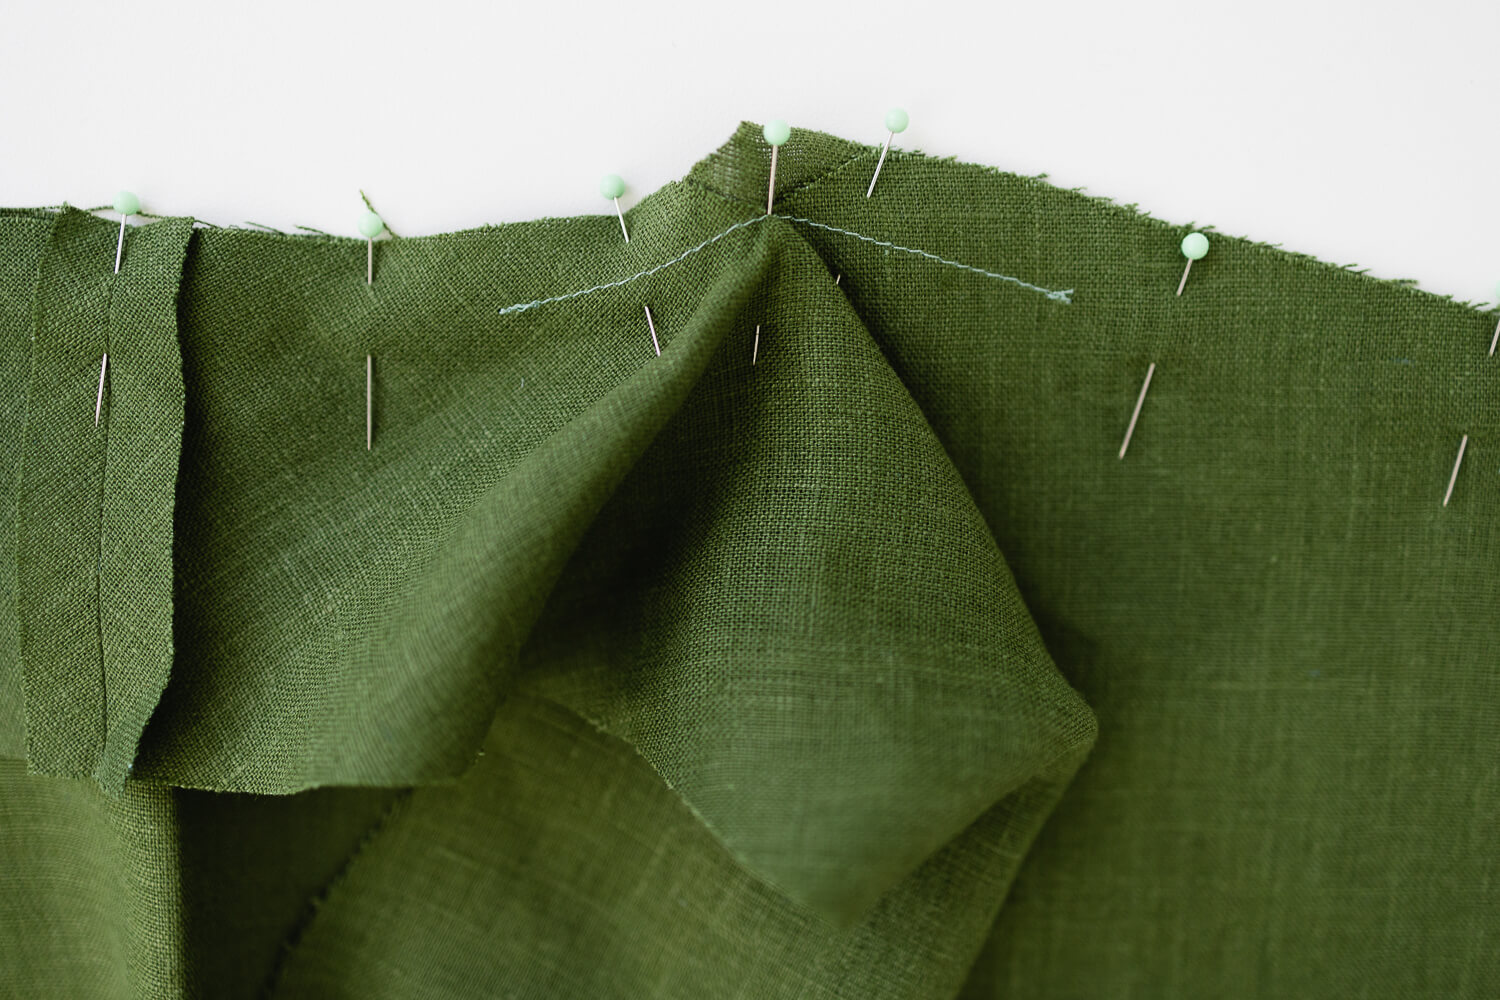
Line up the shoulders and neckline/collar and pin in place. The clipped corners should line up with the pattern markings on the Robe Back.
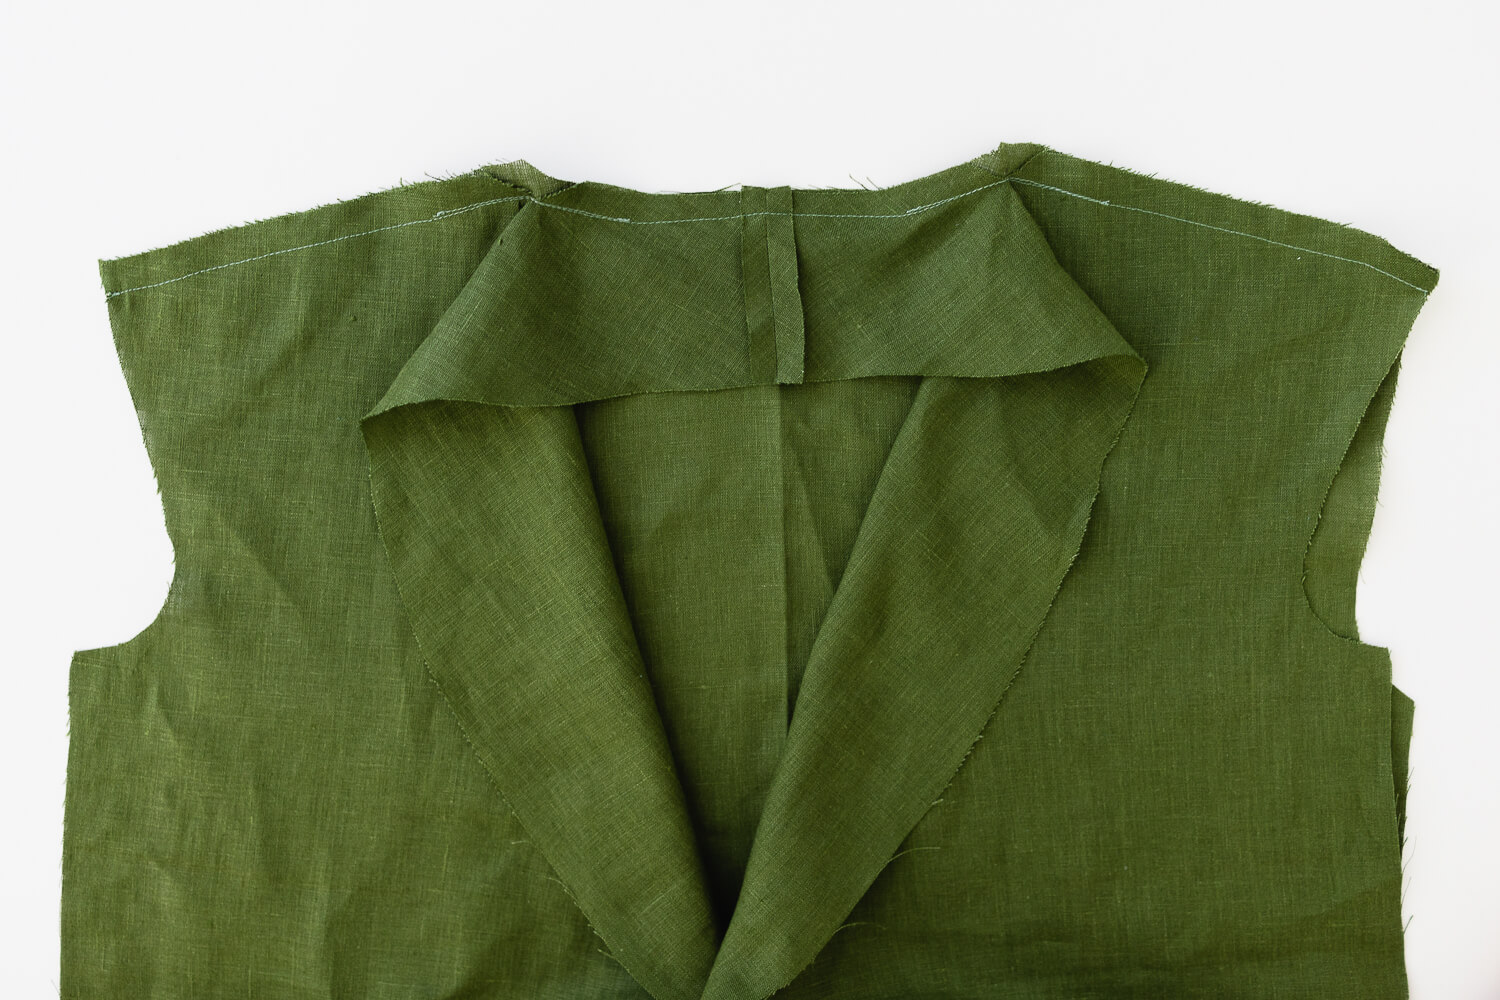
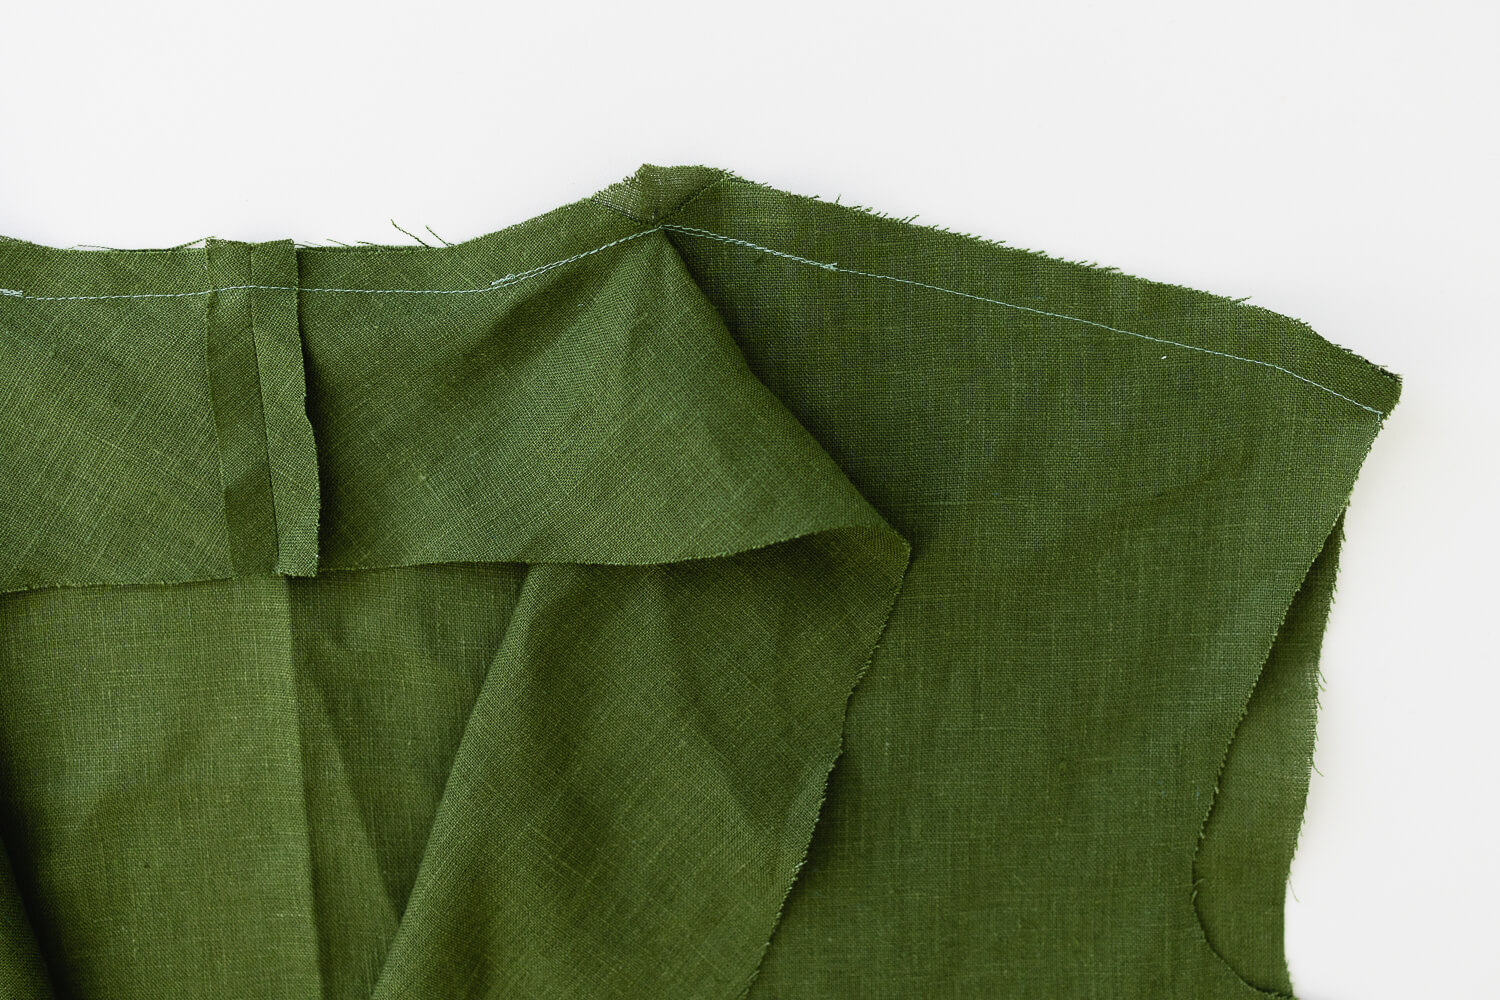
Sew the shoulder seam together with 1/2” seam allowance. When you come to the clipped corner, leave the needle down right in the corner of the clip. Lift the presser foot and pivot to the neckline. Sew neckline with 5/8” seam allowance. Then pivot again at the next clipped corner and sew down the other shoulder with 1/2” seam allowance.
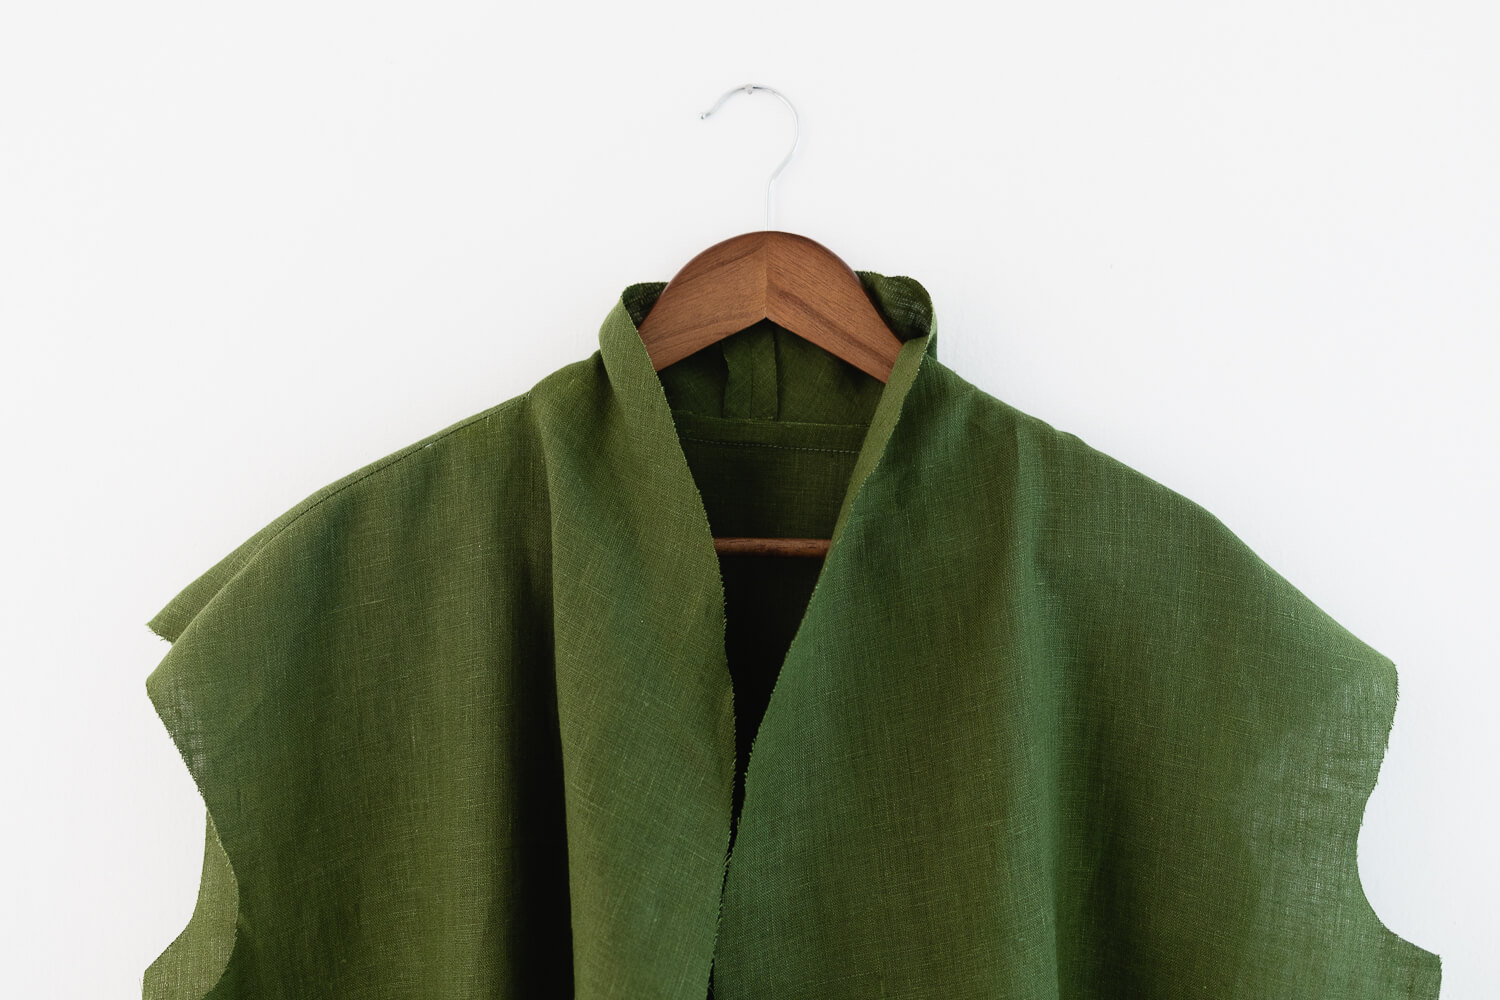
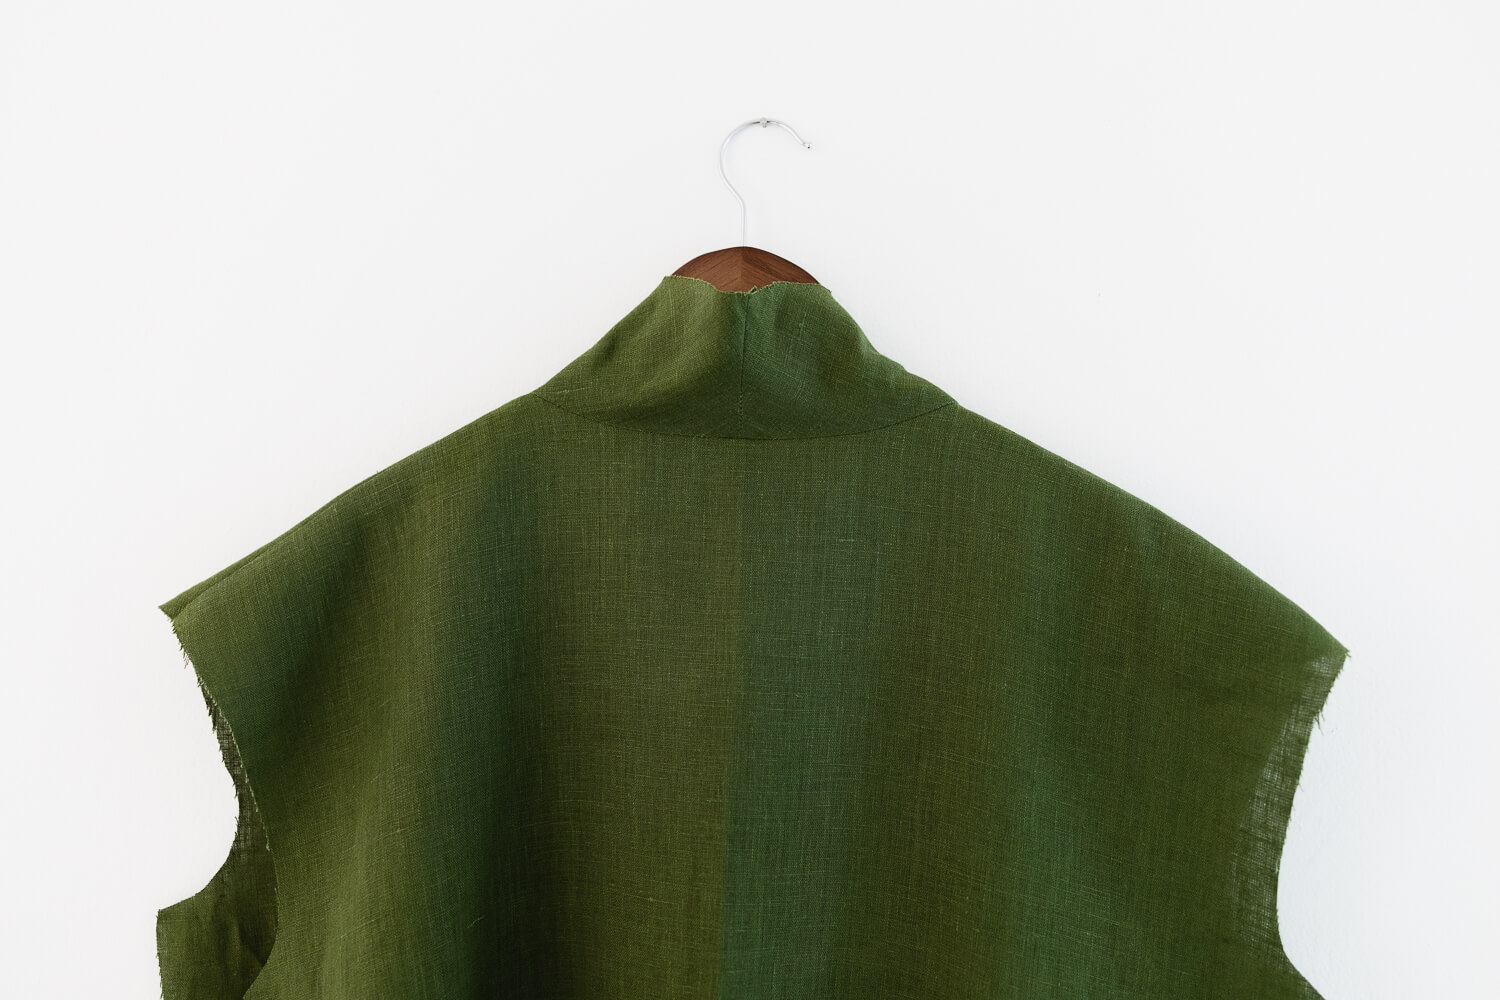
That’s it! Your Capucine collar is assembled!















2 Comments
Vicki Lang
Thank you for the sewing tutorials you have been posting lately. You make everything so simple.
Sarah Kirsten
A fellow lover of simplicity! Thank you, Vicki.