Tutorial: How To Take In (Adjust) Your Pants
The ability to make clothes that actually fit your body is one of the most rewarding aspects of sewing. Have you ever gone shopping for new pants only to try on 20 pairs in different stores and end up not buying any because they are all too tight in the bum and too loose in the waist? It’s such an uncomfortable fit! Let me assure you, it’s not your body’s fault the pants don’t fit. It all comes down to the shape of the pattern pieces. And the good news is, we can change the shape of the pattern!
Many of us have the problem of pants being too tight in the bum and too loose in the waist. I’ve run into this problem from the time I started shopping in the little girls department. Encountering this issue over and over caused me to look down on my body. But thanks to sewing, I’ve experienced a transformative healing. I’ve come to realize that one way we can honor our bodies, honor our unique design, is to wear clothes that not only have room for our natural shape, but to wear clothes that show off our natural shape.
Are you someone who is tired of experiencing pants that don’t fit and want some healing through sewing?
Here are steps for what to do if:
Scenario One: You are about to sew a new pair of pants and want to make sure they fit correctly in the bum and waist.
Scenario Two: You are in the middle of sewing a new pair of pants and discover they need some adjustments to fit correctly in the bum and waist.
Scenario Three: You have an existing pair of pants that you want to alter to fit your bum and waist.
Scenario One: You are about to sew a new pair of pants
1. Start by choosing the pattern size that fits your hips. If your waist is one size and your hips are one or two sizes larger, always start with the larger size. You can always take away fabric but you can’t always add fabric.
2. Measure the pattern pieces along the waist to figure out roughly what the finished measurements will be. Add up the total width of all the pattern pieces, then subtract all seam allowances and any darts and pleats. This can at least serve as a starting point for figuring out what you will need to do with the pattern. Don’t cut away all the excess fabric before sewing because you never fully know how a pattern will sew up before it’s finished, but if there are several inches of excess fabric larger than your waist measurement, you can tackle some of it before starting to sew.
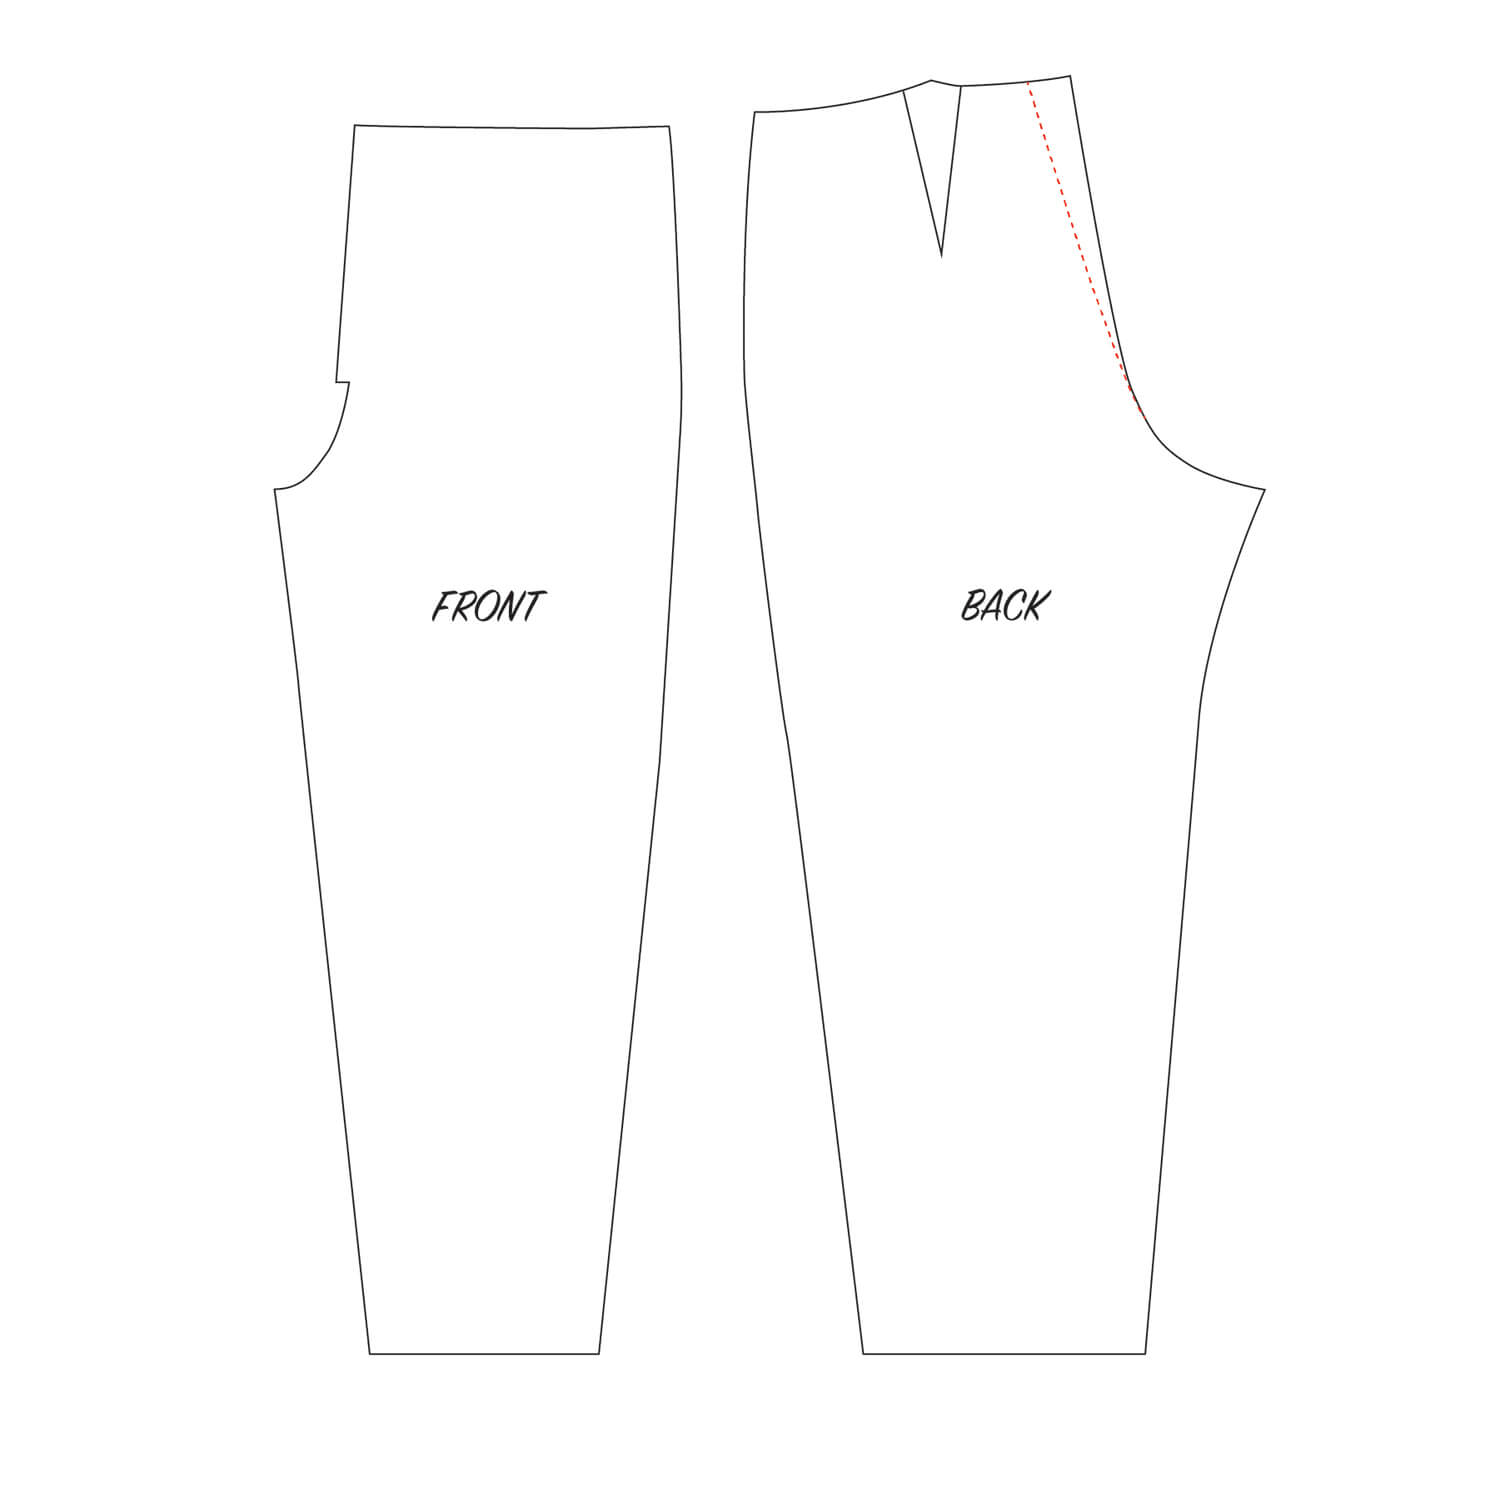
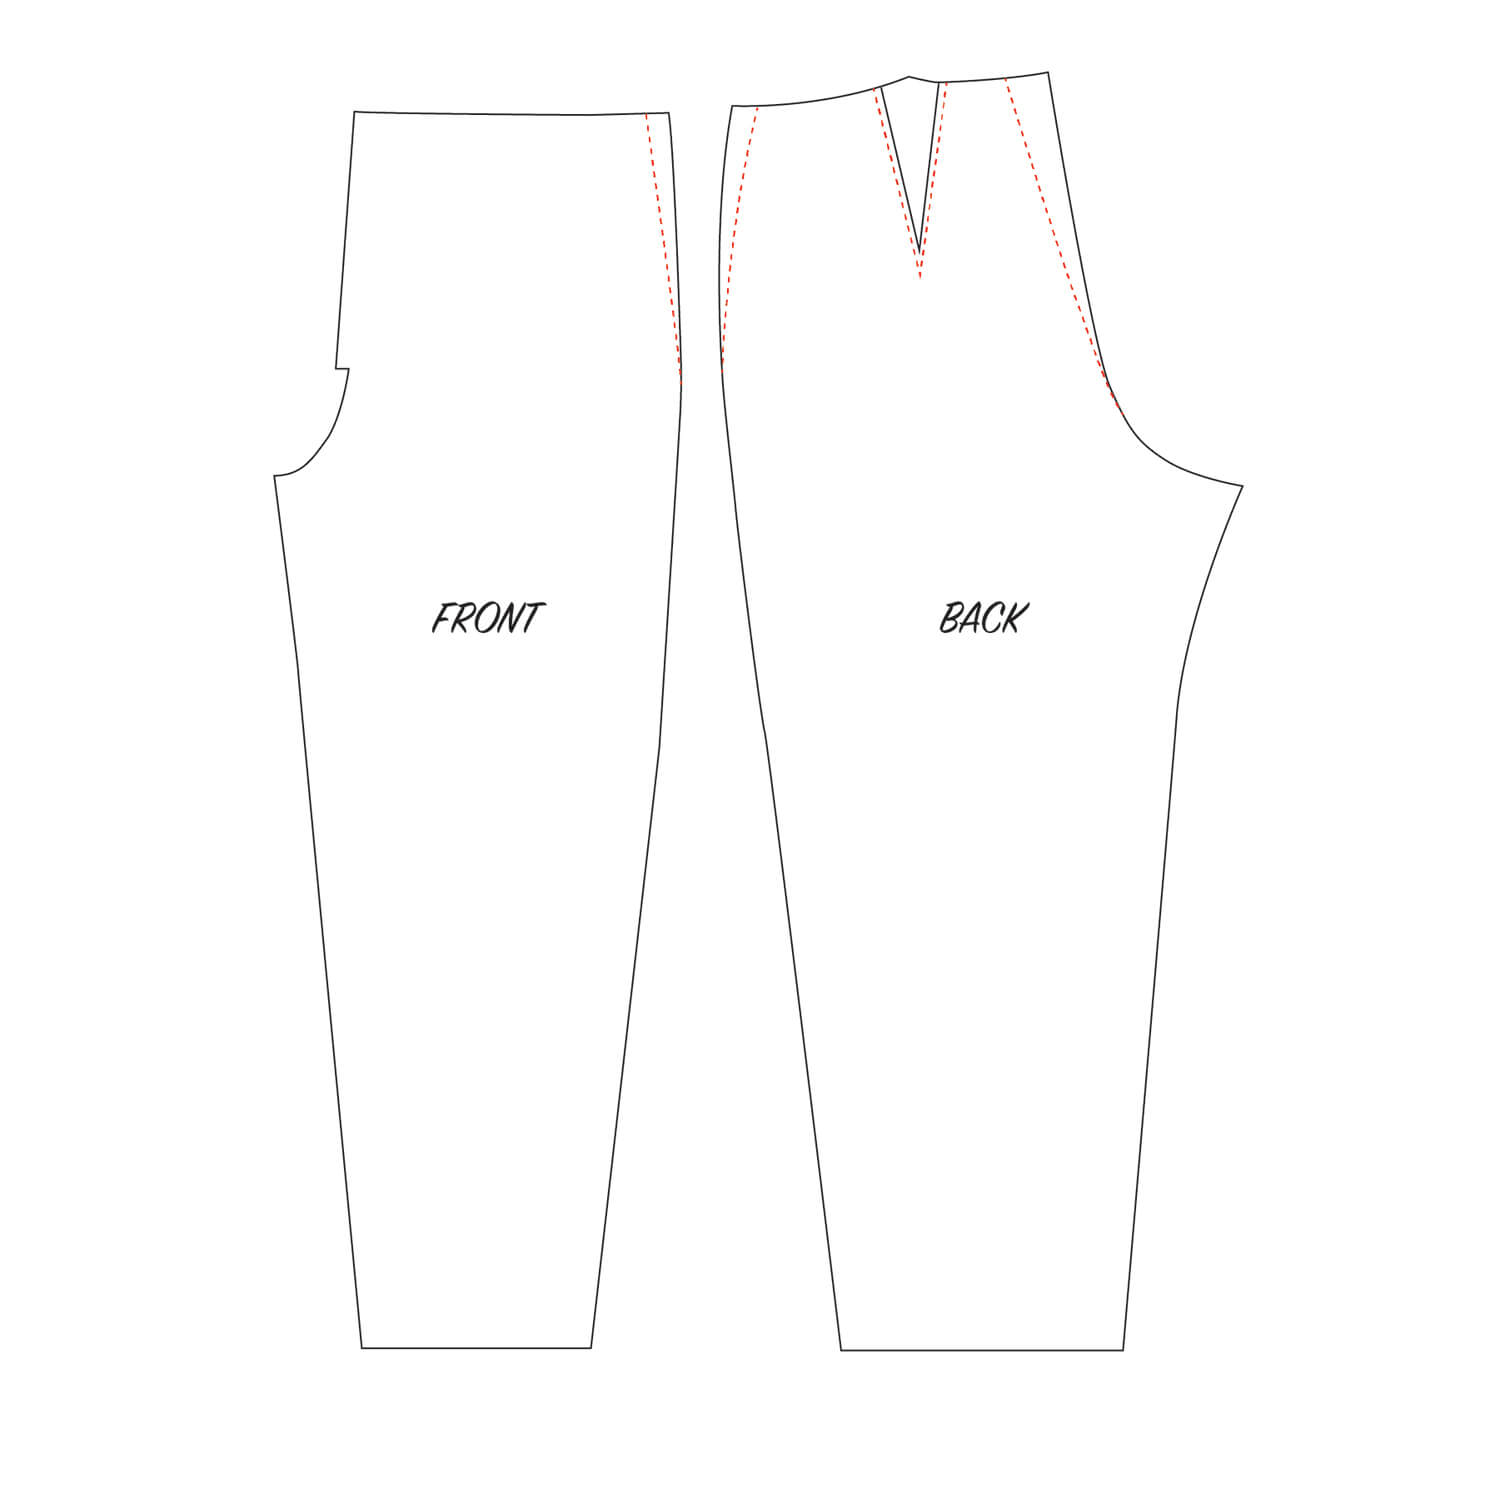
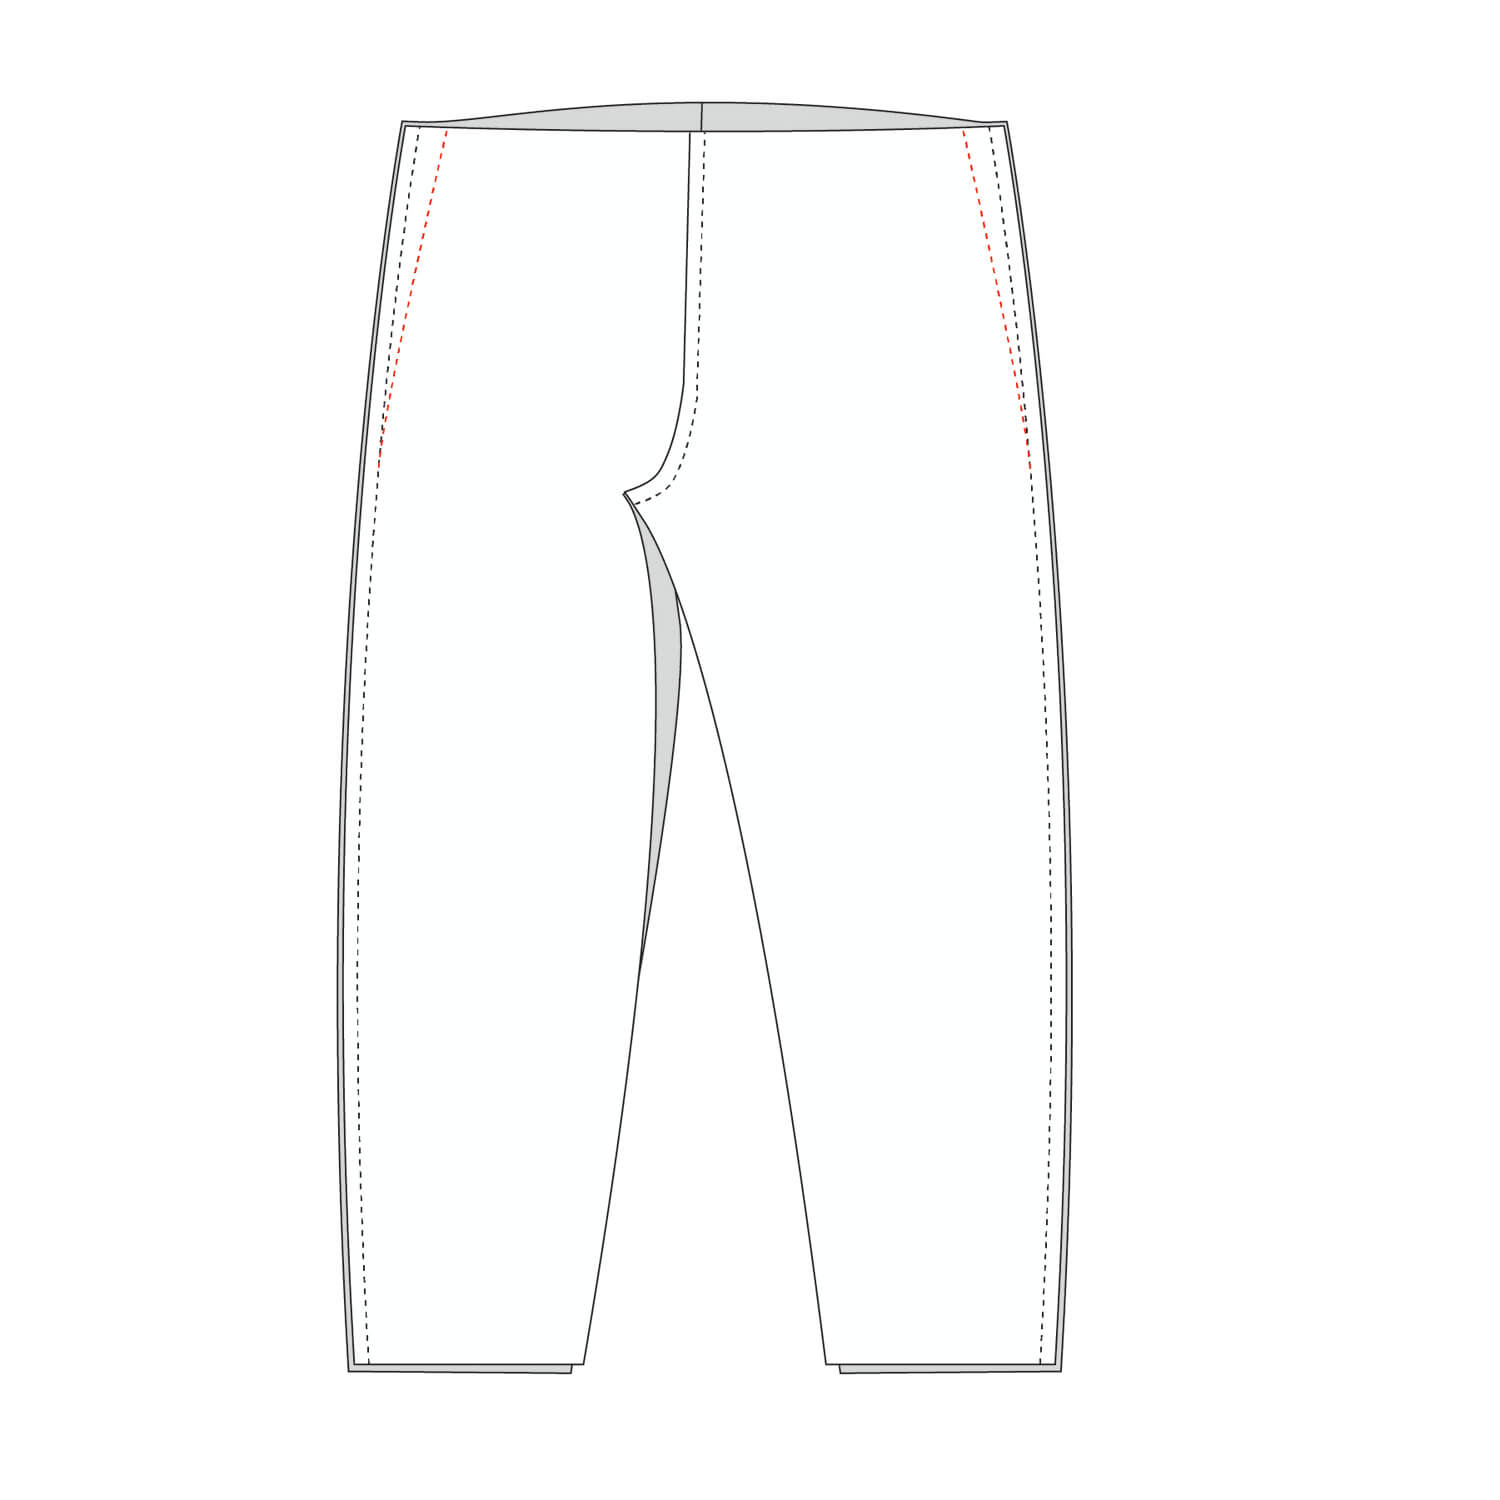
3. If you estimate, for example, the pants waist will be 3” too large, start by cutting around just 1/2” from the back center of the pattern piece and 1/8” from the side seams. That will remove a total of 1 1/2” before starting to sew and will put you in a good place to make more more fine-tuned adjustments when you can try on the pants. A general rule of thumb I follow is if pants need to be taken in 2” or less, it can all be removed from the back center seam. If the pants need to be taken in more than 2”, distribute the amount through the back center seam and the two side seams and optionally any darts and pleats. Be sure to blend the new pattern lines gracefully. Any sharp change in angles will show up while wearing the pants. The easiest way to do this is to extend the new lines down the center back and down the side seams many inches so they can merge with the existing pattern lines inconspicuously.
Scenario Two: You are in the middle of sewing a new pair of pants
1. With the front center and back center sewn together, you can either baste stitch the side seams and inseam together, or go full blast and sew with a permanent stitch.
2. Try the pants on. Measure how much excess width is in the waist. Keep in mind you don’t want them skin tight — you do want to be able to sit down and eat, after all. Measure how much excess there is while standing up and while sitting down and choose the measurement that makes you most comfortable. I personally choose to have my pants slightly tight while sitting so they don’t feel and look too baggy while standing.
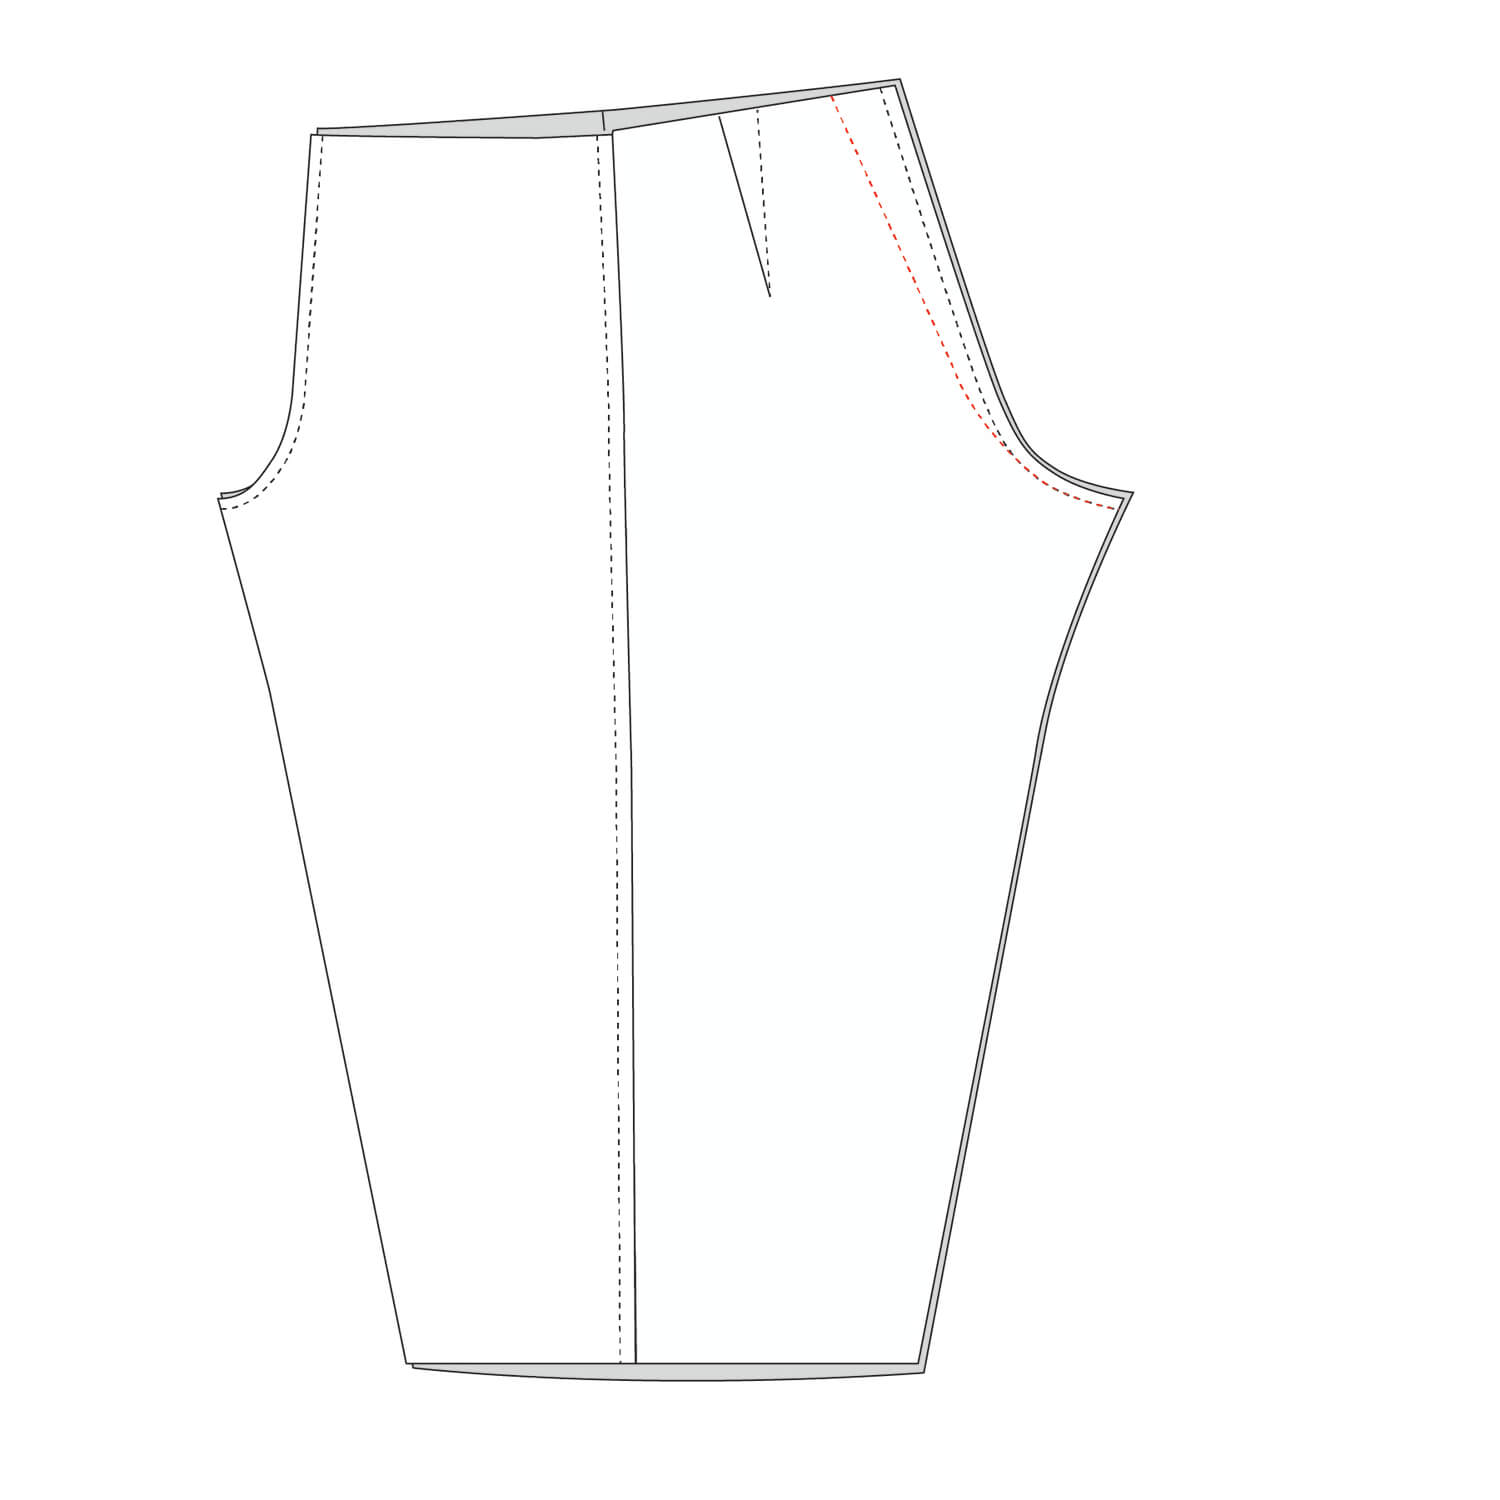
3. Repeating from the scenario above, a general rule of thumb I follow is if pants need to be taken in 2” or less, it can all be removed from the back center seam. If the pants need to be taken in more than 2”, distribute the amount through the back center seam and the two side seams and optionally any darts and pleats. Determine if you should to take the width from the back center or a combination of the back center and the side seams. Using a fabric pen, mark a new line of stitching along the center back and side seams and sew along the line. Be careful to blend the new line of stitching with the existing line of stitching. The easiest way to blend the two lines is to extend the new line of stitching many inches down so the two lines merge without any obvious changes in angle.
4. Try on the pants again. Continue fine-tuning the lines of stitching until they fit just right. It’s okay to try it several times and end up with several lines of stitching along the seam. No one will be able to tell your seam allowance has multiple stitching lines, but you will be able to tell if you don’t like the way your pants fit.
5. When you are happy with the fit, trim down the excess seam allowance and sew the edge of the seam with a serger or zigzag stitch for a nice, clean seam finish.
Scenario Three: You have an existing pair of pants
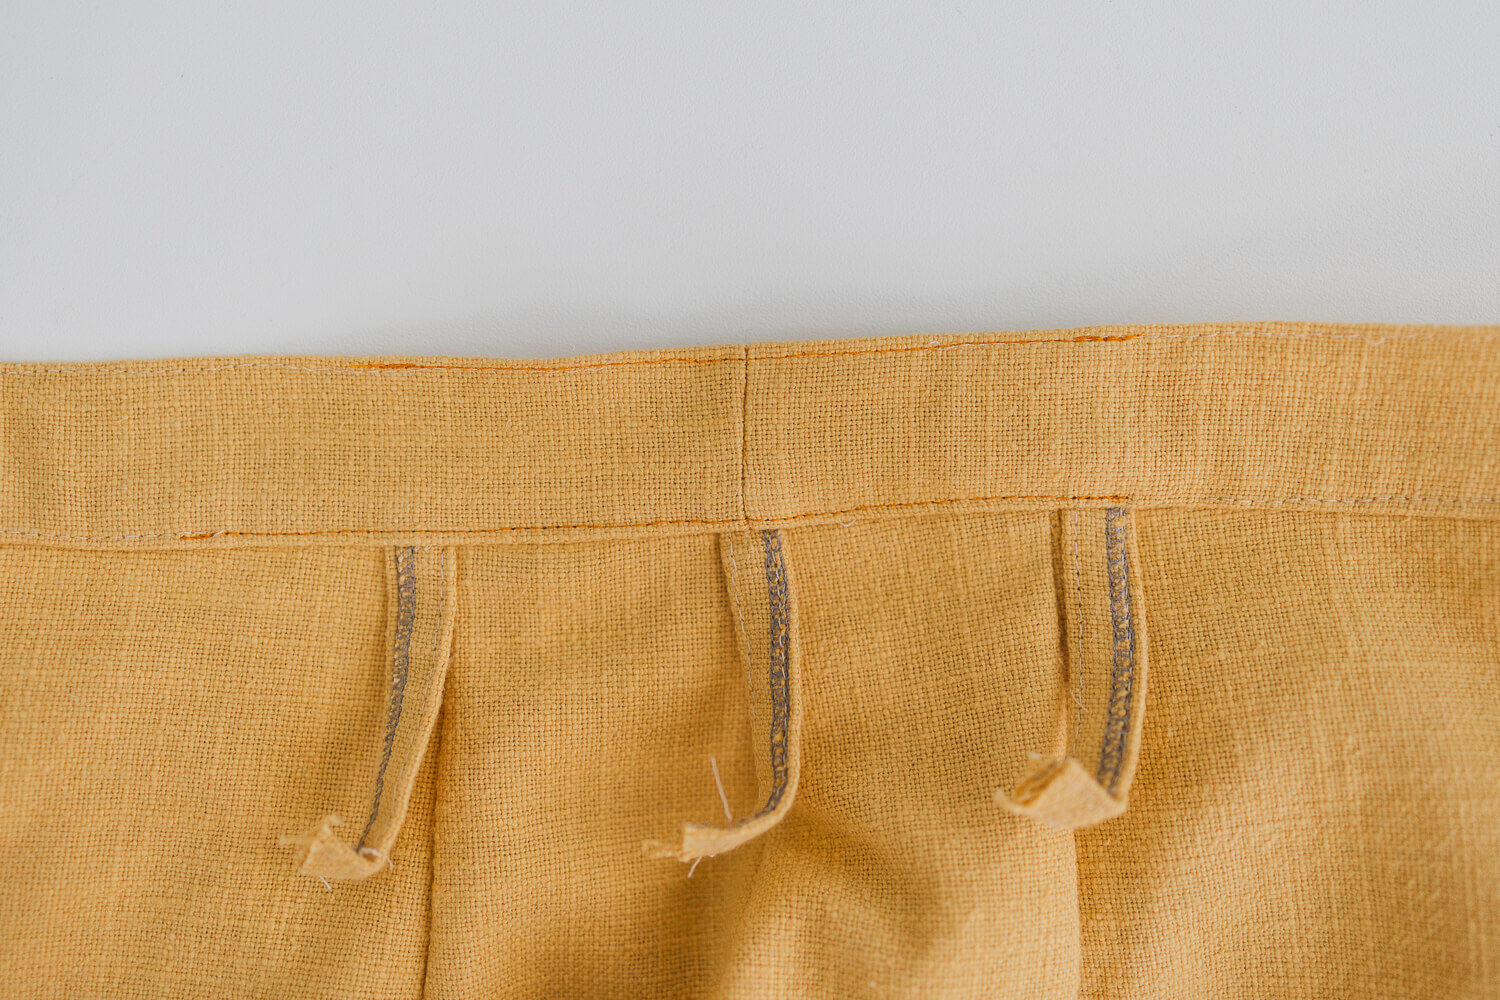
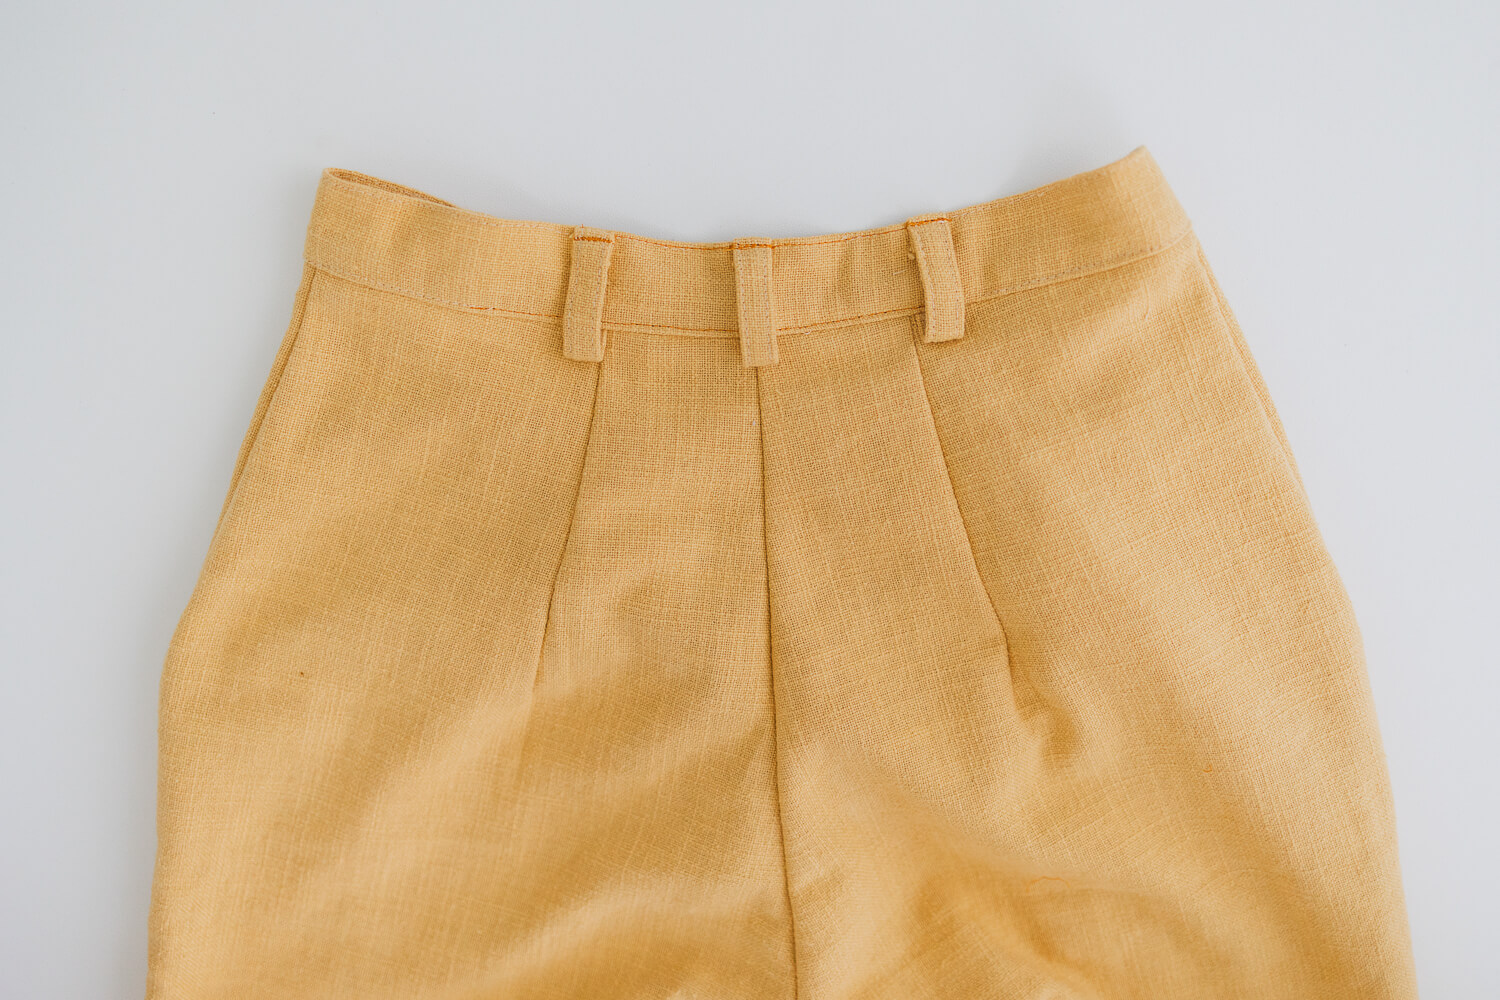
Note: use matching thread to help hide the new stitching. This tutorial uses different colored thread to make the new stitching visible.
1. Try on the pants and measure how much you want to remove from the waistline.
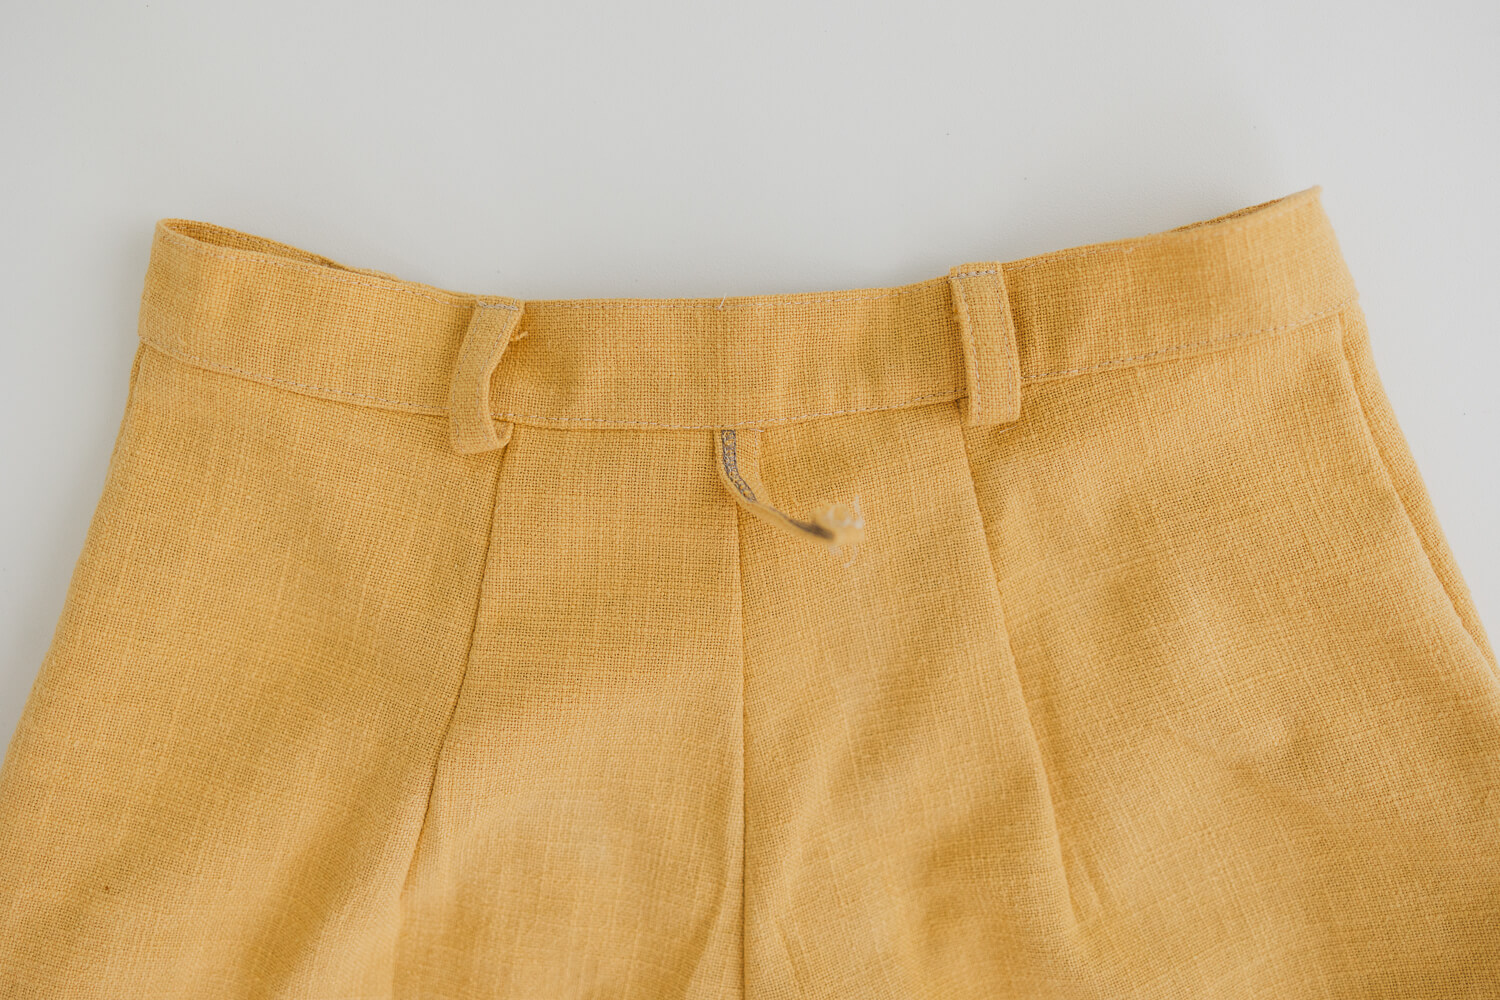
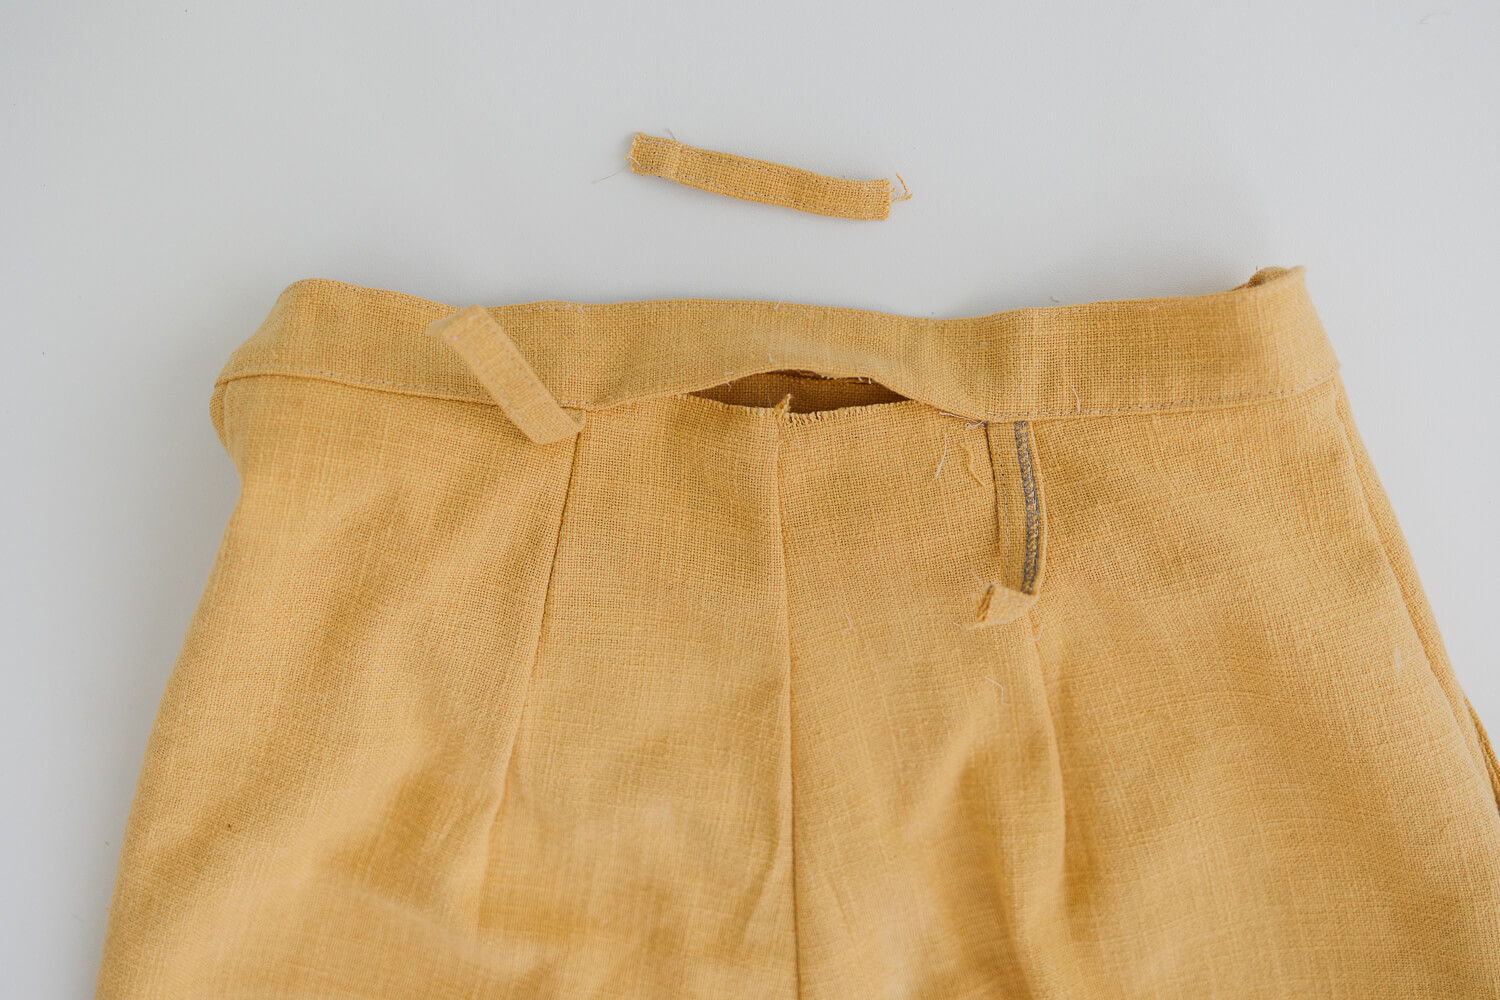
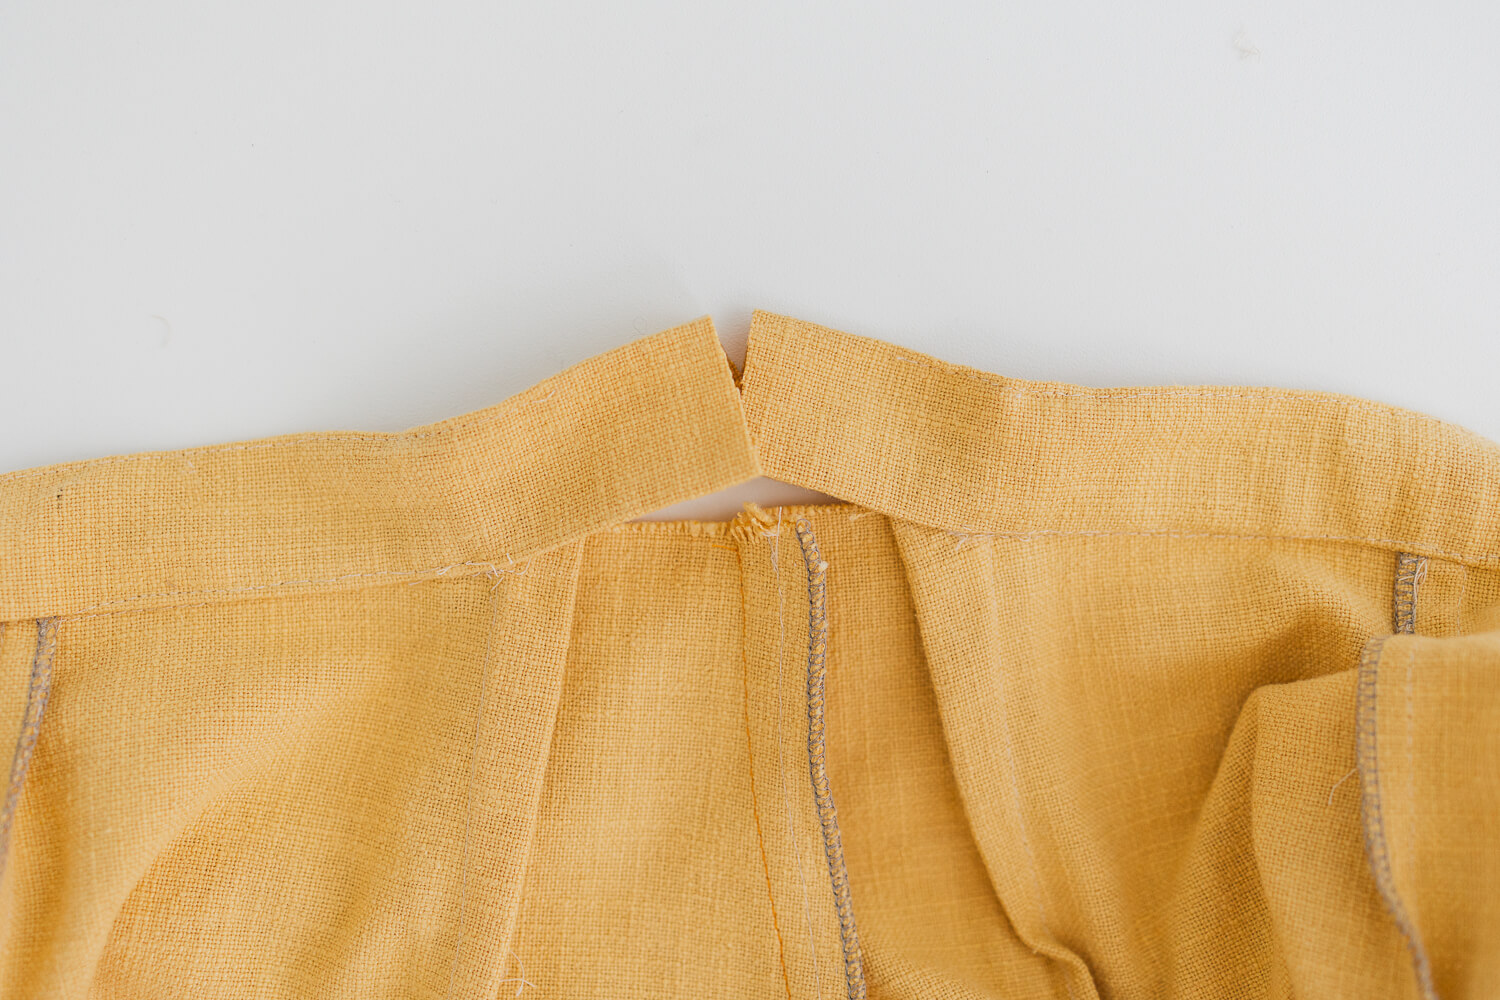
2. Seam rip the top of any belt loops near the back center seam.
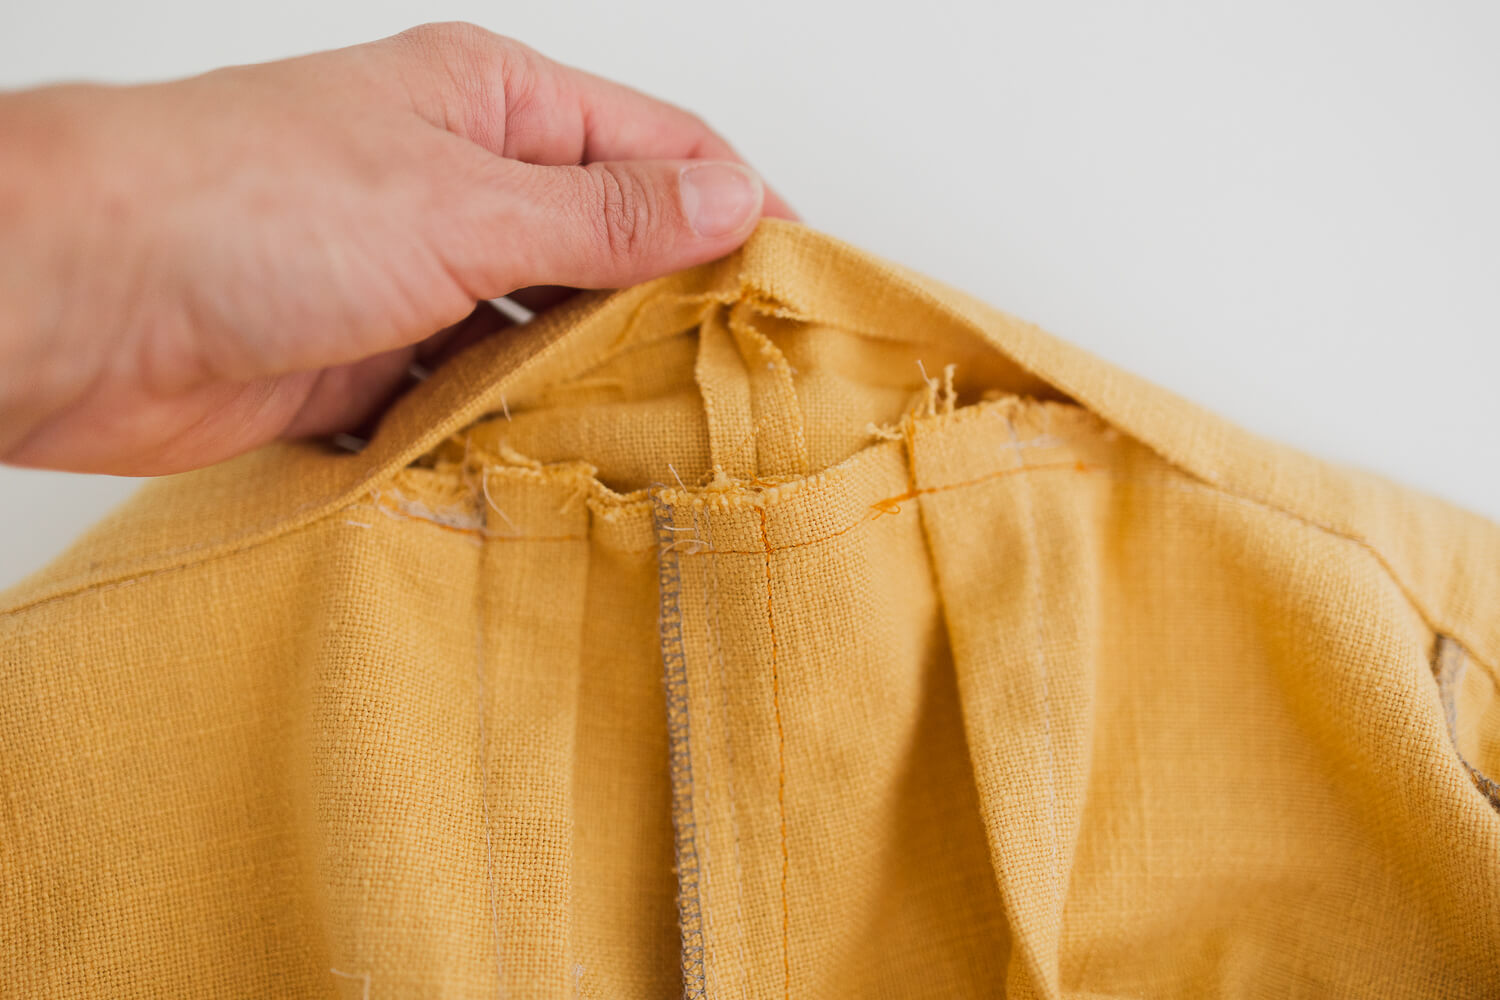
3. Seam rip the stitching connecting the waistband to the pants several inches on each side of the back center seam.
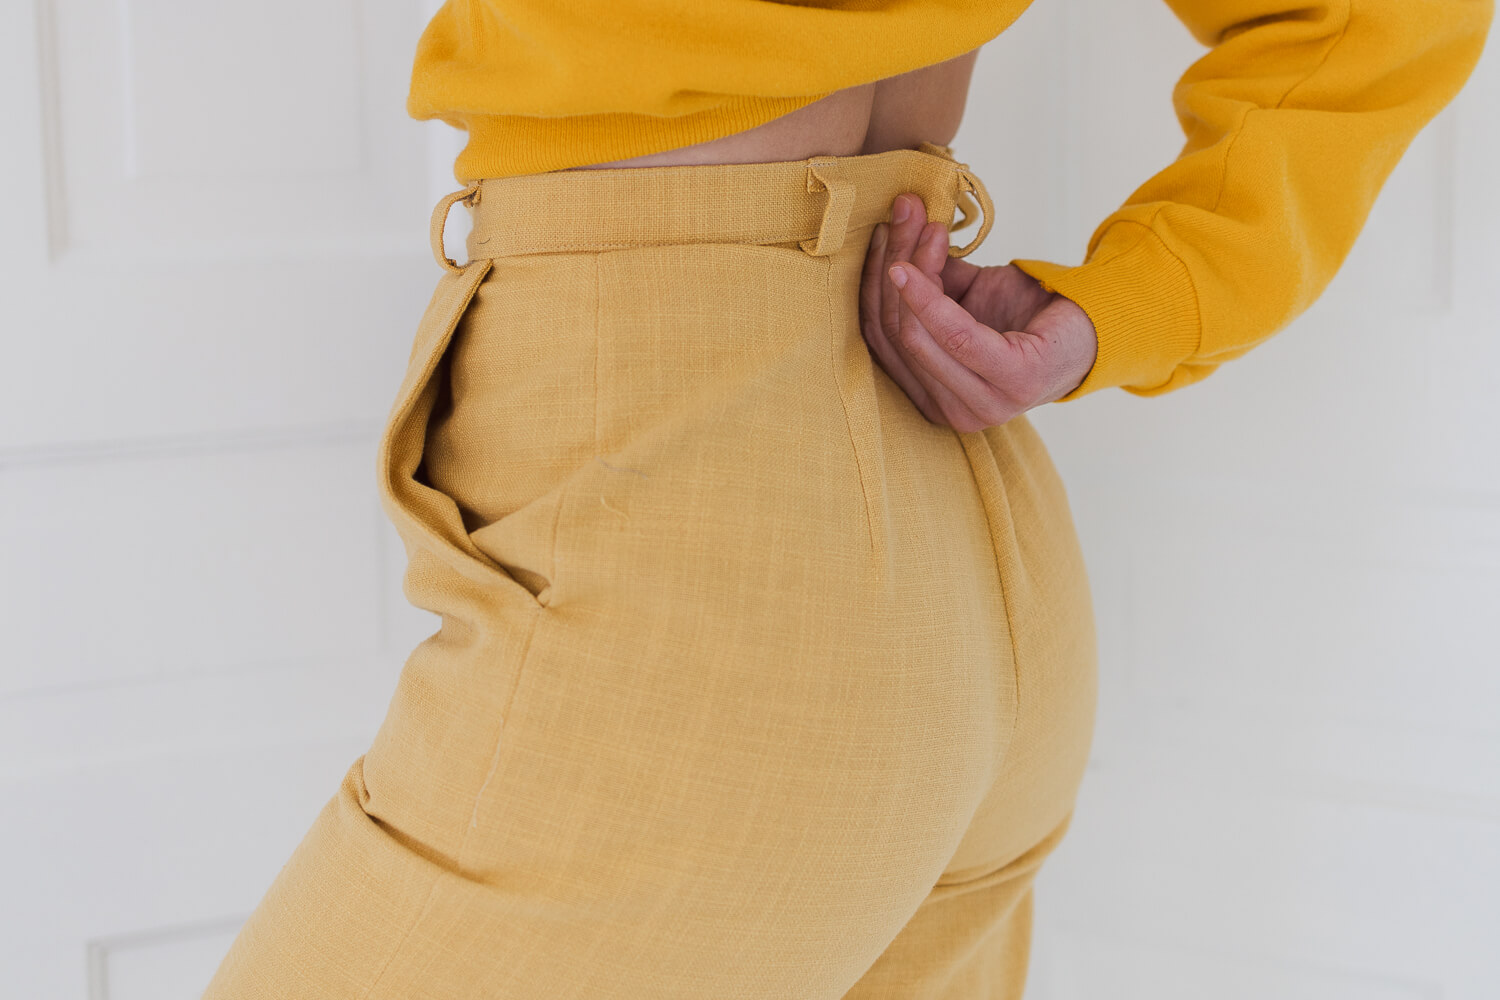
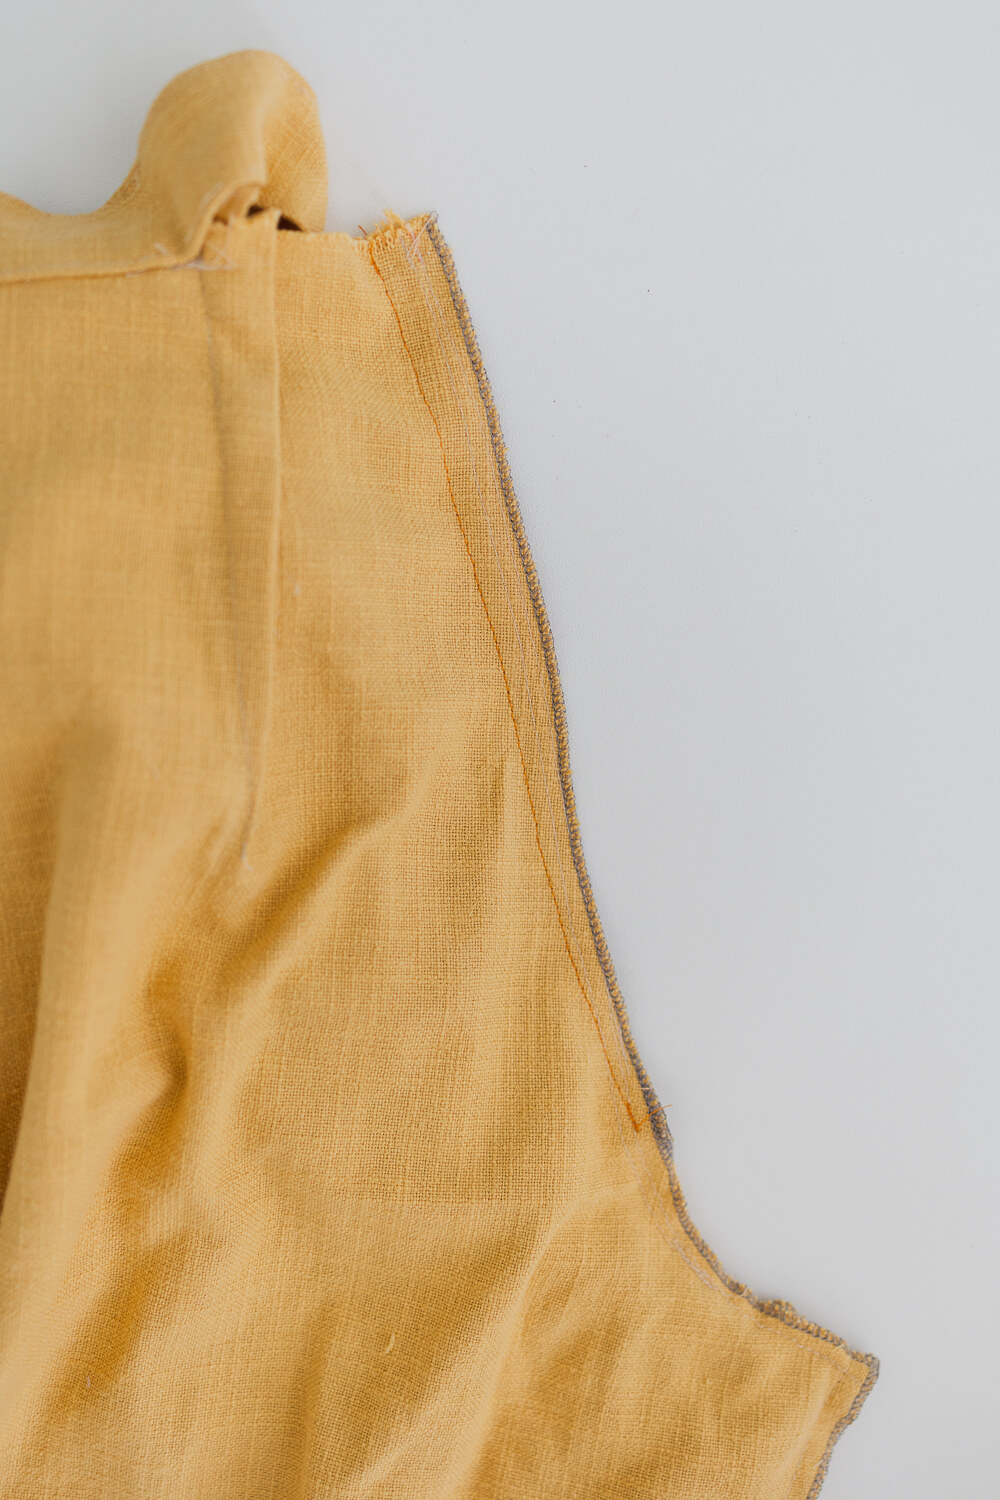
4. Resew the back center seam using a larger seam allowance. For this pair of pants, only about 3/4” needed to be taken off, so I added 3/8” to the seam allowance along the top of the pants. Carefully blend the new stitching into the existing line of stitching.
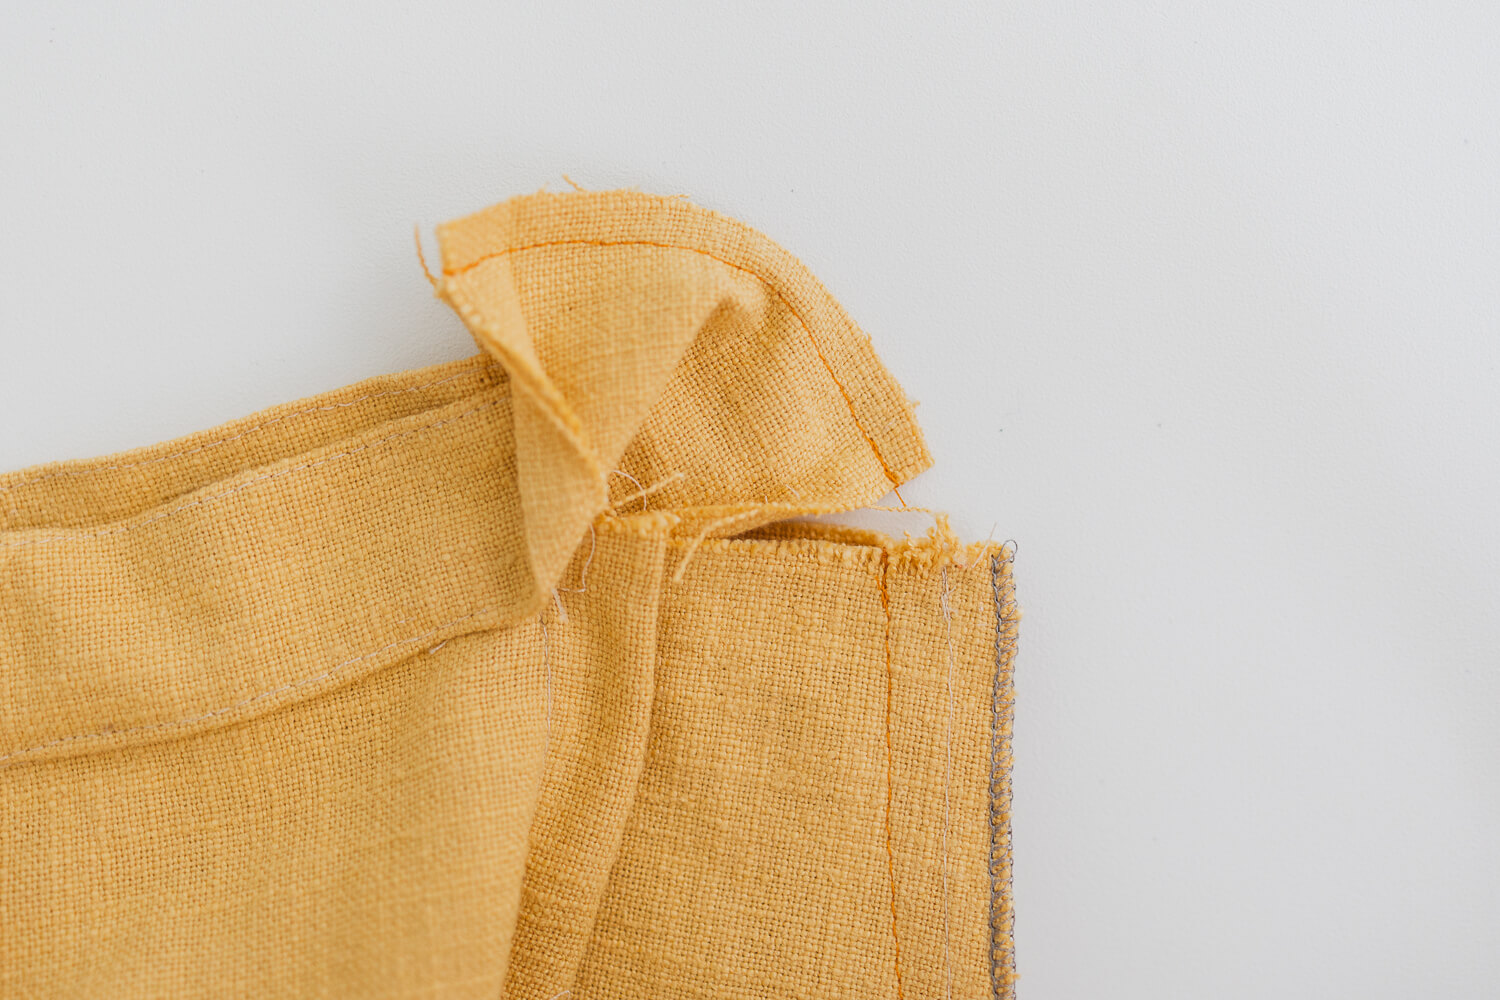
5. Remove any stitching along the top of the waistband. Cut through the waistband. Cut where you know a belt loop will be placed to cover the new seam.
6. Sew the waistband together with a seam allowance that removes the same excess width you removed from waistline. So if you took in the pants by 3/4”, you’ll use a 3/8” seam allowance to also take 3/4” away from the waistband. Trim seam allowance and press seam open.
7. Resew the waistband and belt loops to the right side of the pants.
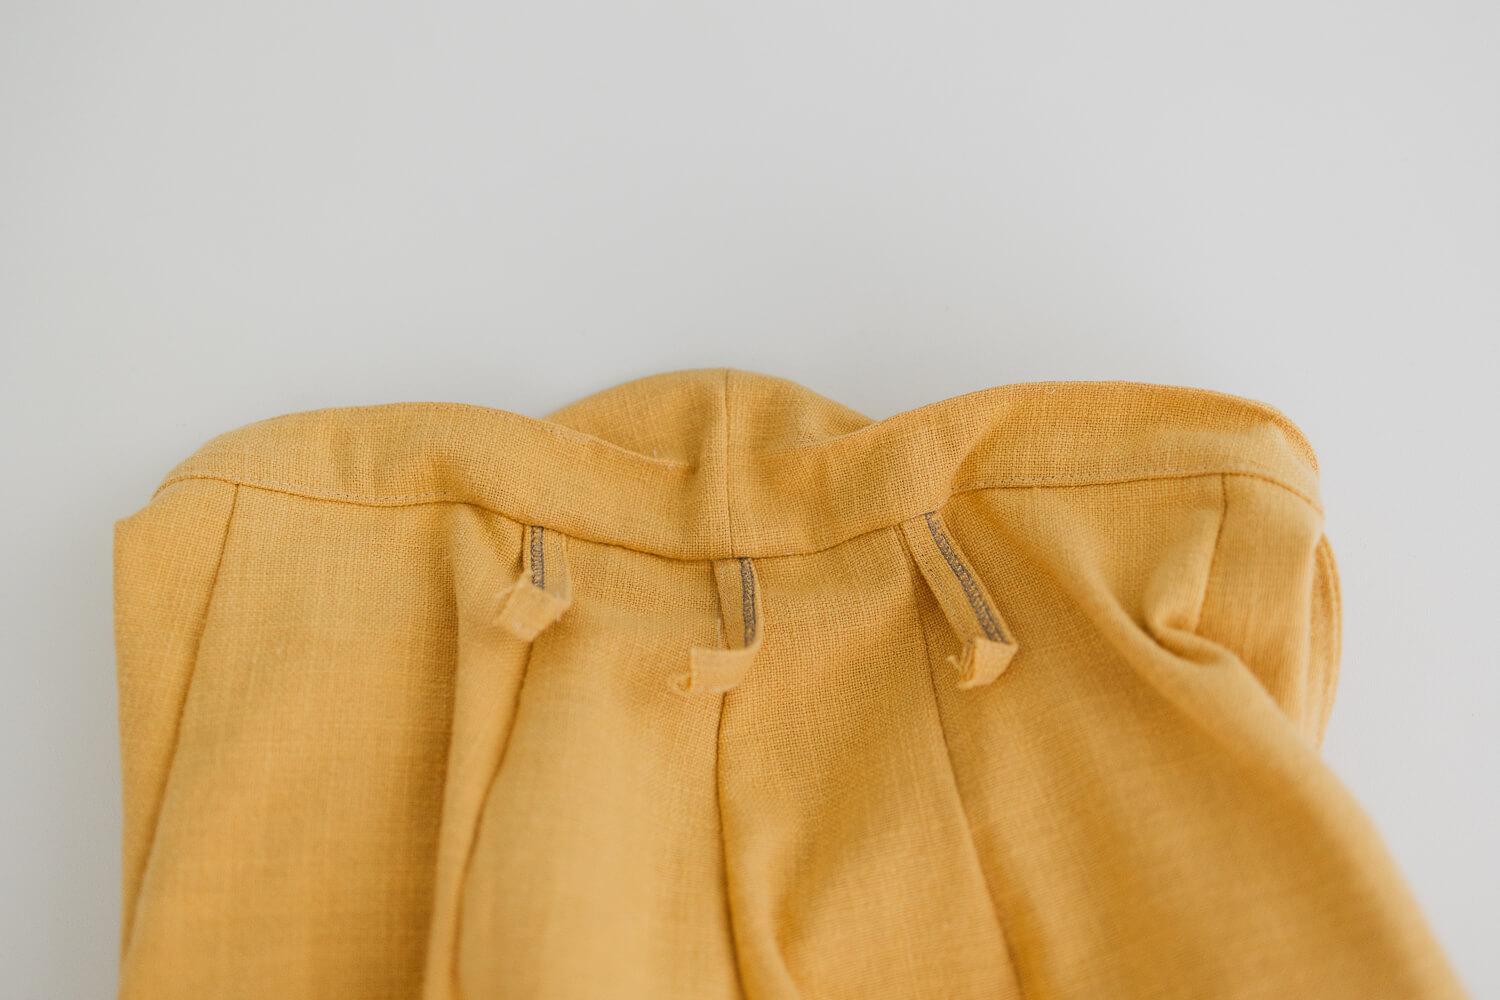
8. Resew the top and bottom stitching along the waistband. Start and stop under where you know a belt loop will be, if possible.
9. Reattach top of belt loops.
You can have pants that fit you. You can feel amazing in pants. You can, you can, you can. I know well that it can be disheartening to not find pants that fit year after year. Maybe it’s time to see how pants that do fit can make you feel.
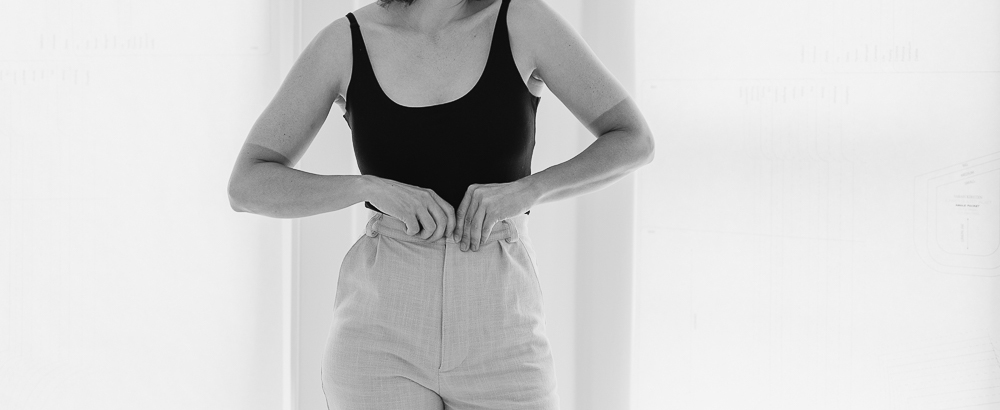
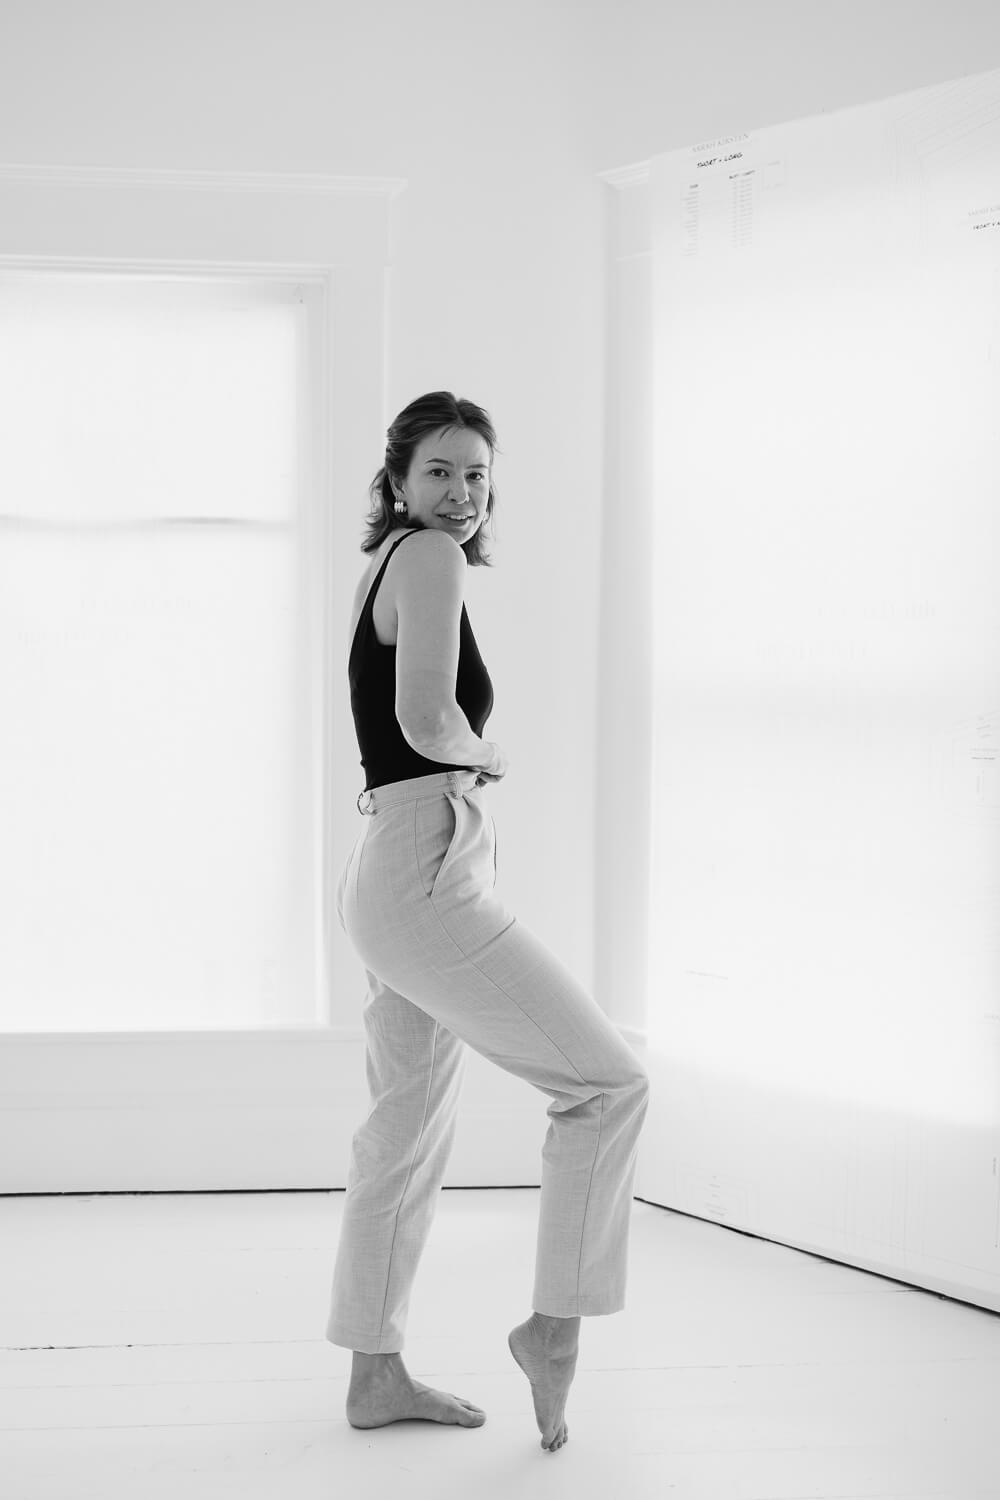
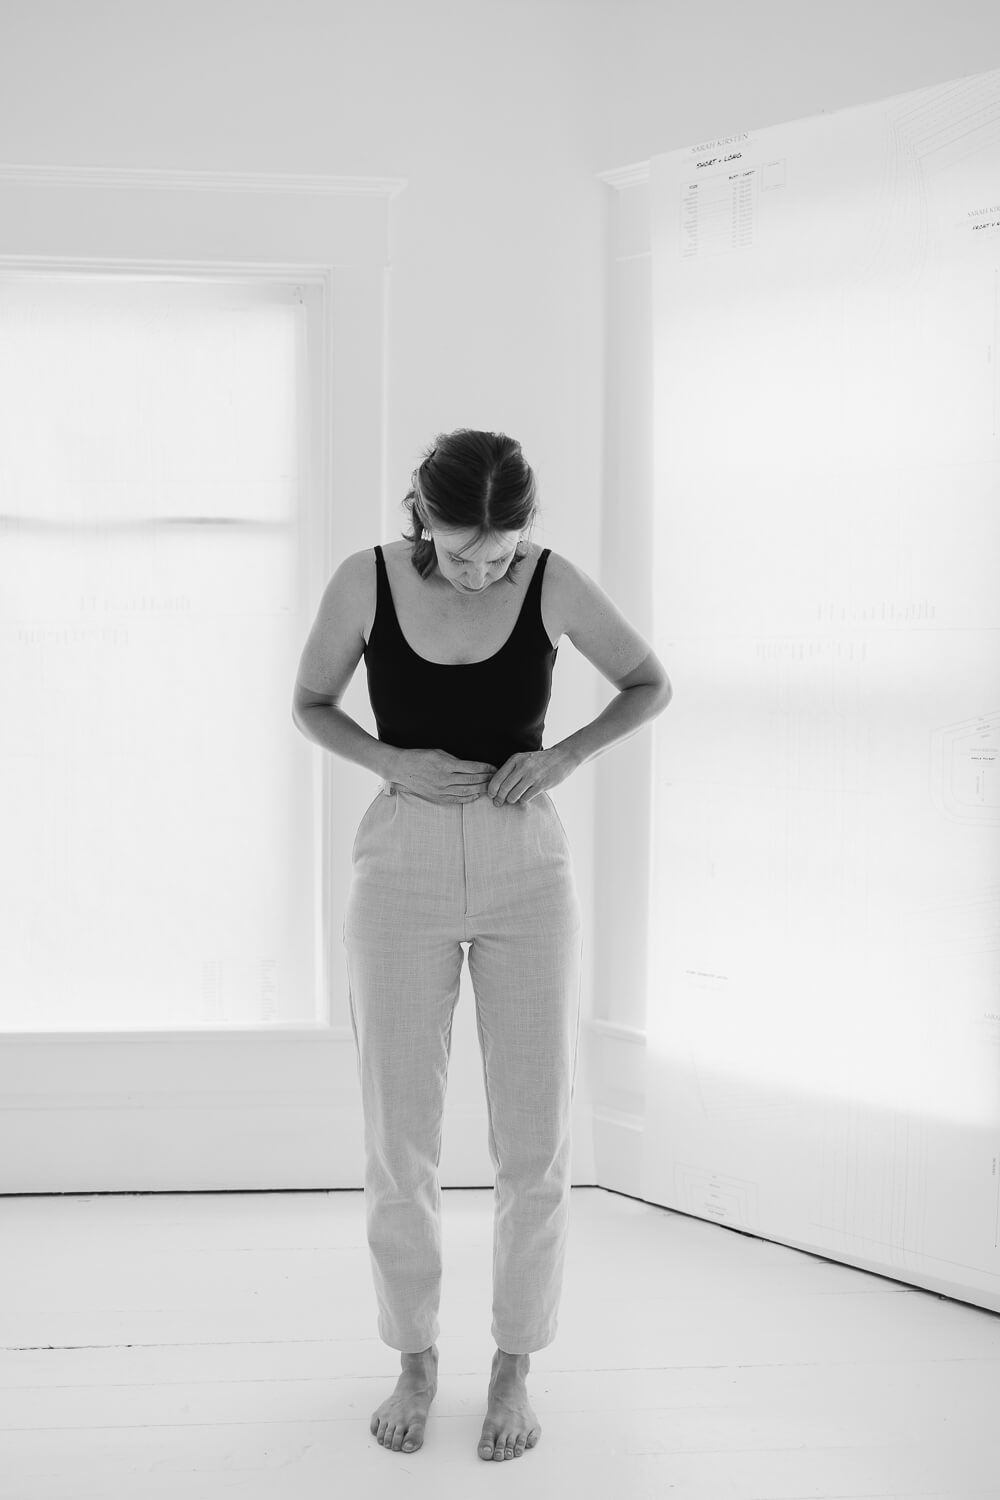
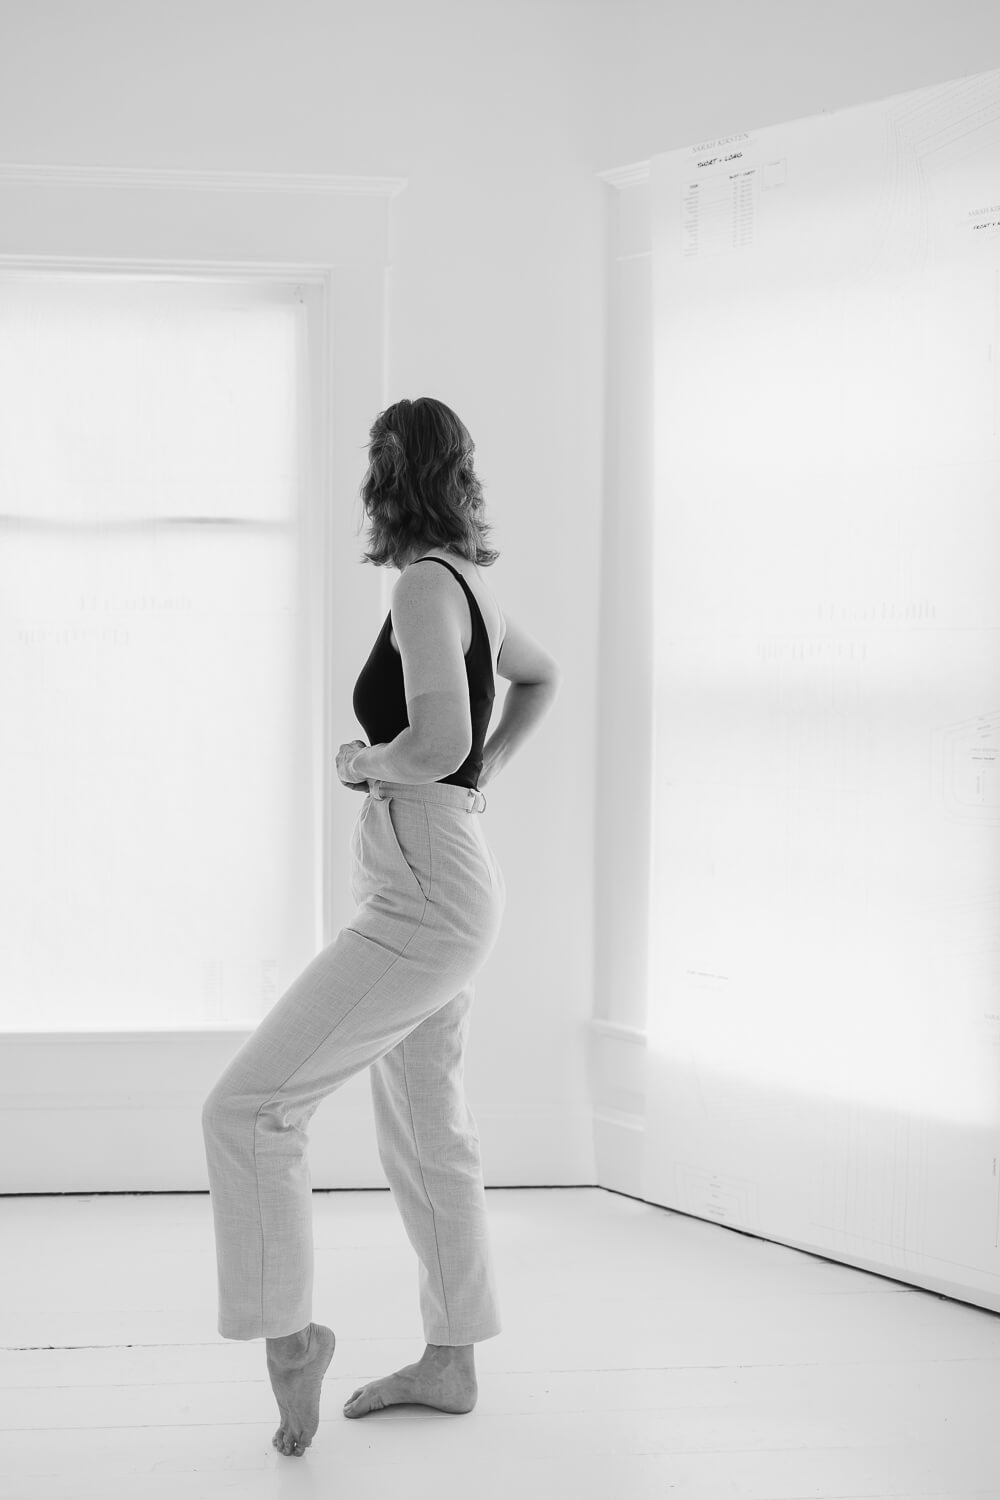
Pants pattern: Sara Pleated Pants, a fantastic free pattern from Fabrics-Store.












7 Comments
Peggy Straathof
HI Sarah, Thank you for that tutorial. I have been struggling with fitting pants; big butt syndrome. I like the idea of starting with a pattern size fit for the hips. I’ll give it a try. Thanks !
Sarah Kirsten
Hi Peggy, let me know how it goes if you give it a try! Have to show off that big beautiful bum 🙂
Dorothy Stuit
Could you address the best way to alter a pair of pants that you are making when the back waist band is too low and the front band is too high and has excess fabric. I have a hard time getting the crotch length changed and keeping the back center from having a pucker at the lower part of bum
Thank you
Linda Hamilton
I would very highly recommend using the instructions in Jenny Rushmore’s book “Ahead of the Curve” as those are the only instructions that have ever worked for me. I used to use the Nancy Zeiman method but I still didn’t get pants that fit correctly. Jenny’s instructions show how to add a full bum adjustment that doesn’t just add to the length of the crotch curve but actually adds fabric where it is needed across the bum. I also have to add extra across the front for a poochy tummy now that I didn’t used to have to do! But Jenny’s book addresses both how to add and how to remove excess so the pants fit correctly. If I had a less curvy body (like I used to when I was in my teens, twenties & early thirties) I would be able to follow Sarah’s instructions above, but I don’t, so I had to find instructions specifically for someone with more curves. I discovered also that tops don’t fit me correctly as I was buying the size by the full bust & that is 2 sizes bigger than I needed for my shoulders/top bust. I’ve learned how to make a full bust adjustment on the smaller sized pattern that fits me great with Jenny’s instructions. I can make my Fabrics-store patterns now that fit, knowing how to make the adjustments I need.
Linda
Sarah Kirsten
Thanks for sharing this, Linda! Great suggestion!
Janet Kofoed
Wonderful article! I have had to alter my clothes since I was a teenager (tearful shopping trips with my mother when there was literally nothing in any size that would fit), but my issue is the opposite. My hips are a 6-8, my waist is a 10, and my top is a solid 14 because of wide shoulders. I used to complain that I was built like a golf tee. I fit pants to my waist and take them in on the sides, and sometimes in the back seam because of my lack of a butt. Sometimes I have to take in dresses or blouses, because if it fits my shoulders, it will be too beg in the waist. Knowing how to alter clothes to fit your body is essential.
Sarah Kirsten
Thanks for sharing this, Janet! I love how we are all built differently and how learning to alter clothes provides us with clothes that fit our unique bodies. So beautiful. No more teary trips to the store.