Tutorial: How To Make Lining For The Mariana Jacket Pattern
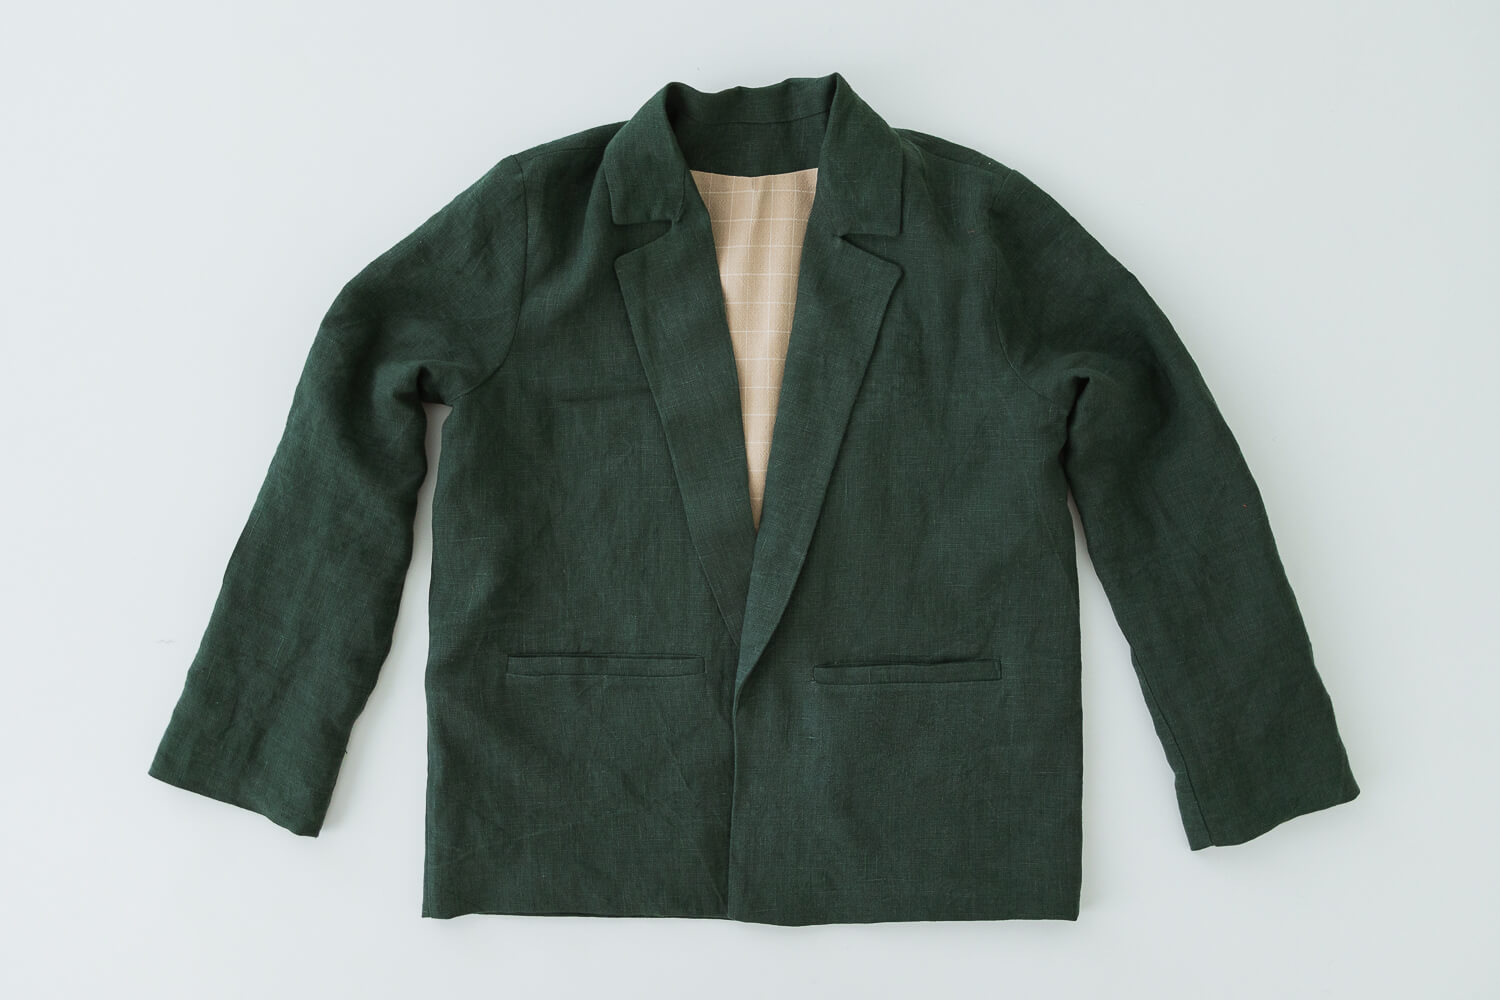
Follow along for all the steps to add lining to the Mariana Notched Collar Jacket pattern. Linings can be tricky to figure out, that’s partly what makes them so fun!
Pattern Notes
All seam allowances 3/8” (~1 cm)
I changed a few minor style elements of the jacket — I moved the pocket placement, used a slightly different welt method, extended the lapel a few inches, and omitted the button.
Materials
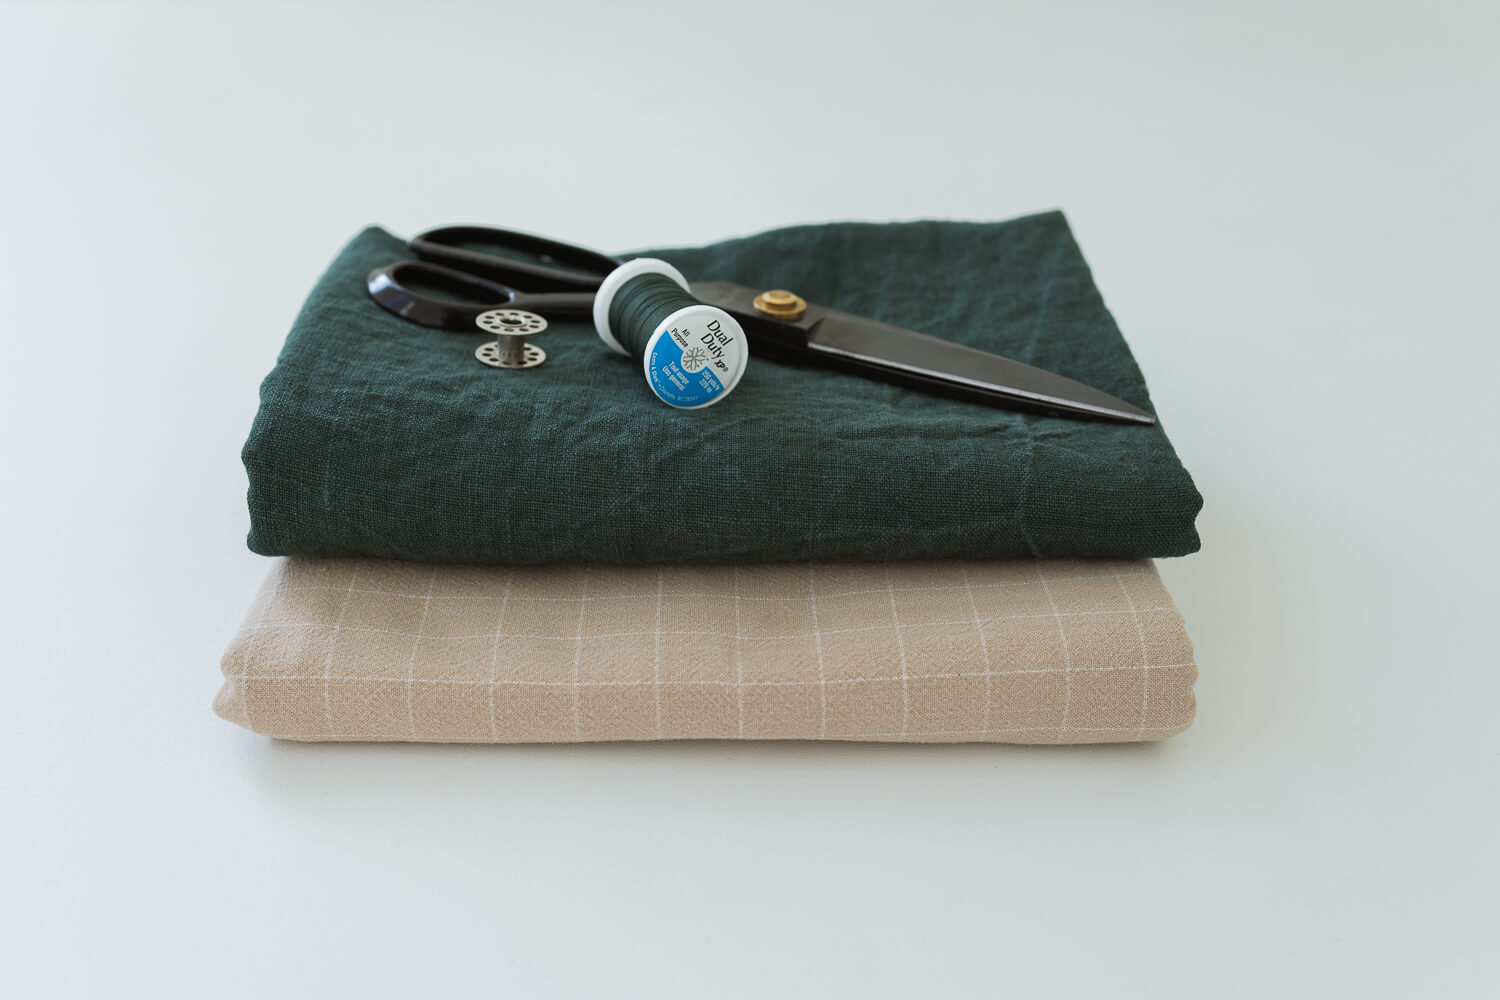
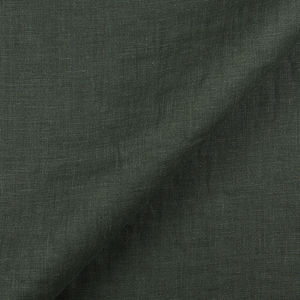
Fabric used in this tutorial is FS Rustic Emerald Softened Heavyweight Linen.
Let’s Jump In!
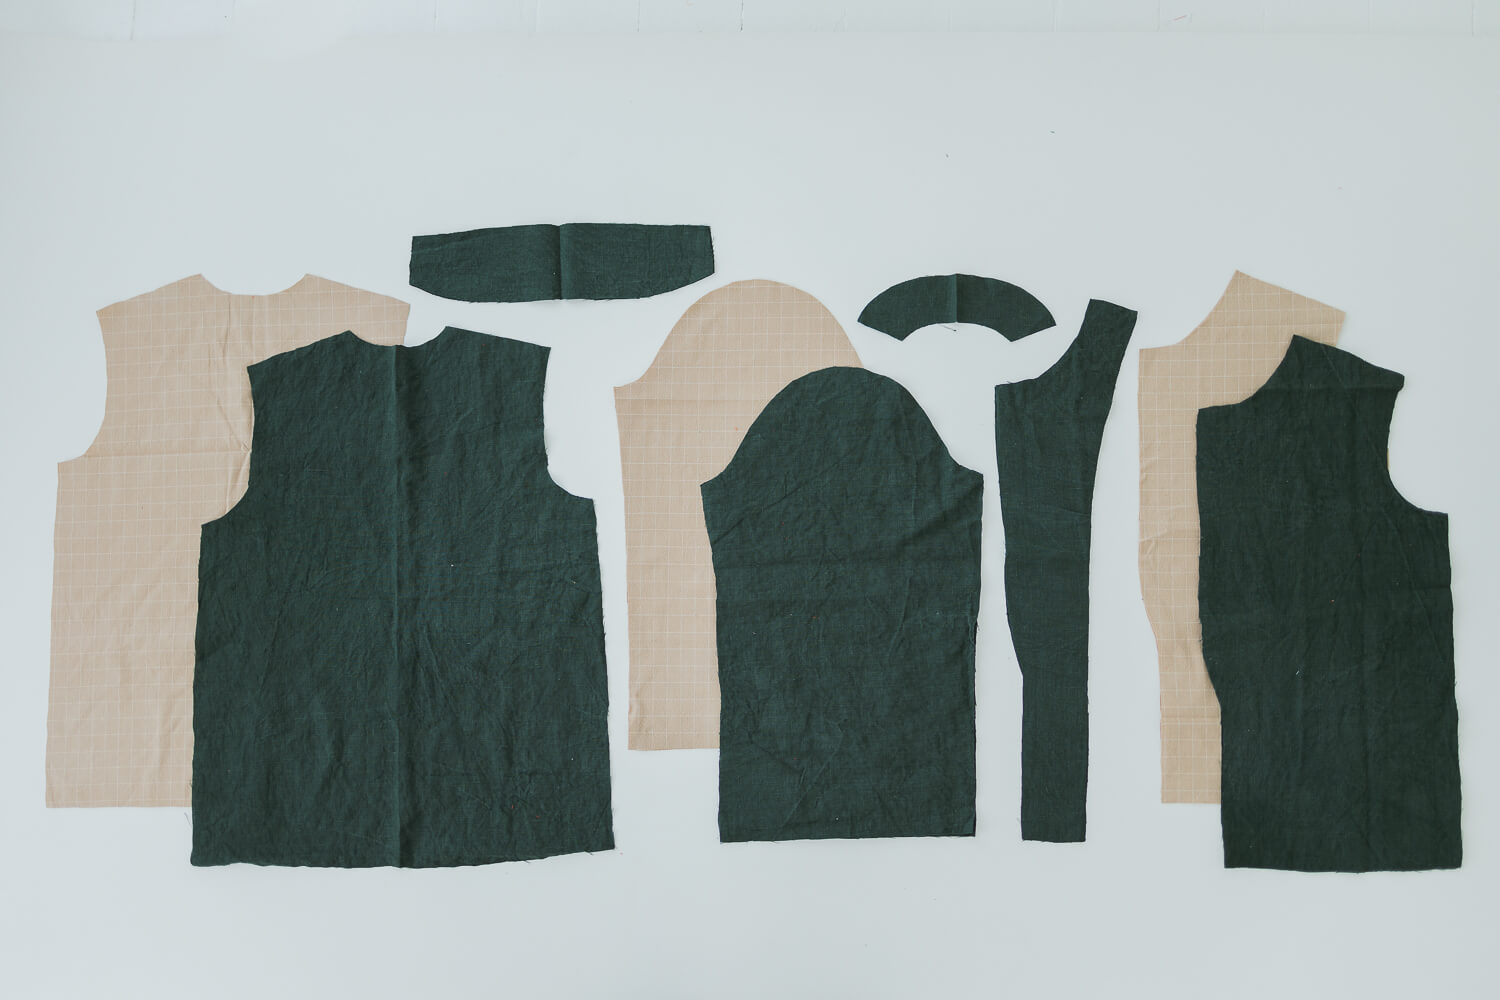
1. Cut out all the pieces called for in the Mariana Notched Collar Jacket pattern PLUS one back bodice, two sleeves, and two front bodices for the lining out of your fabric of choice.
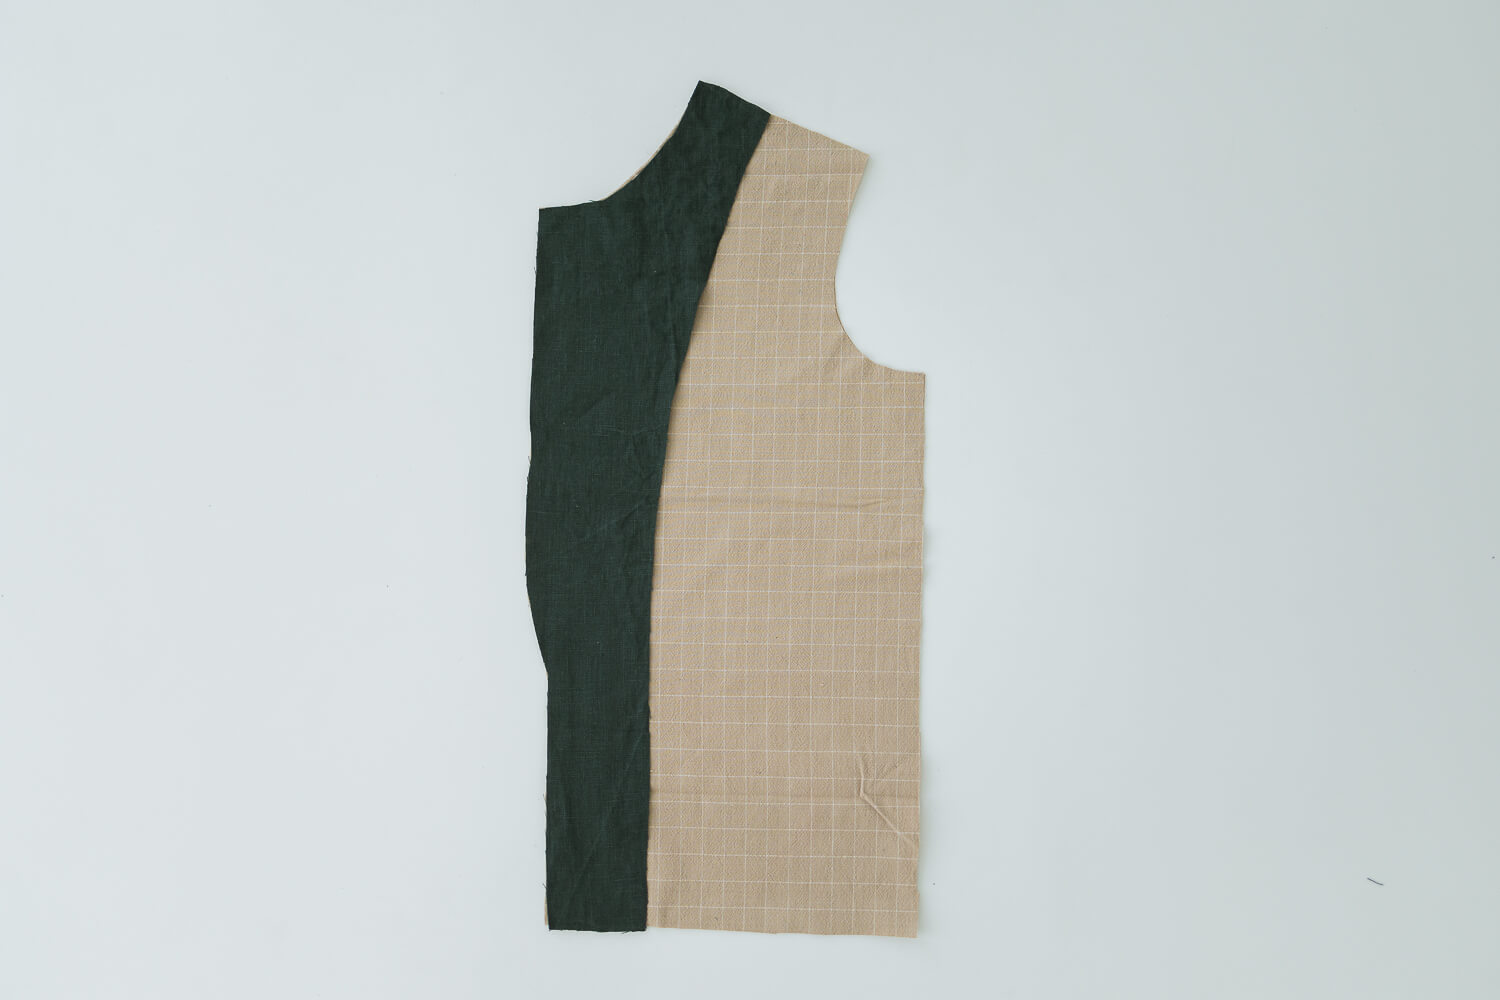
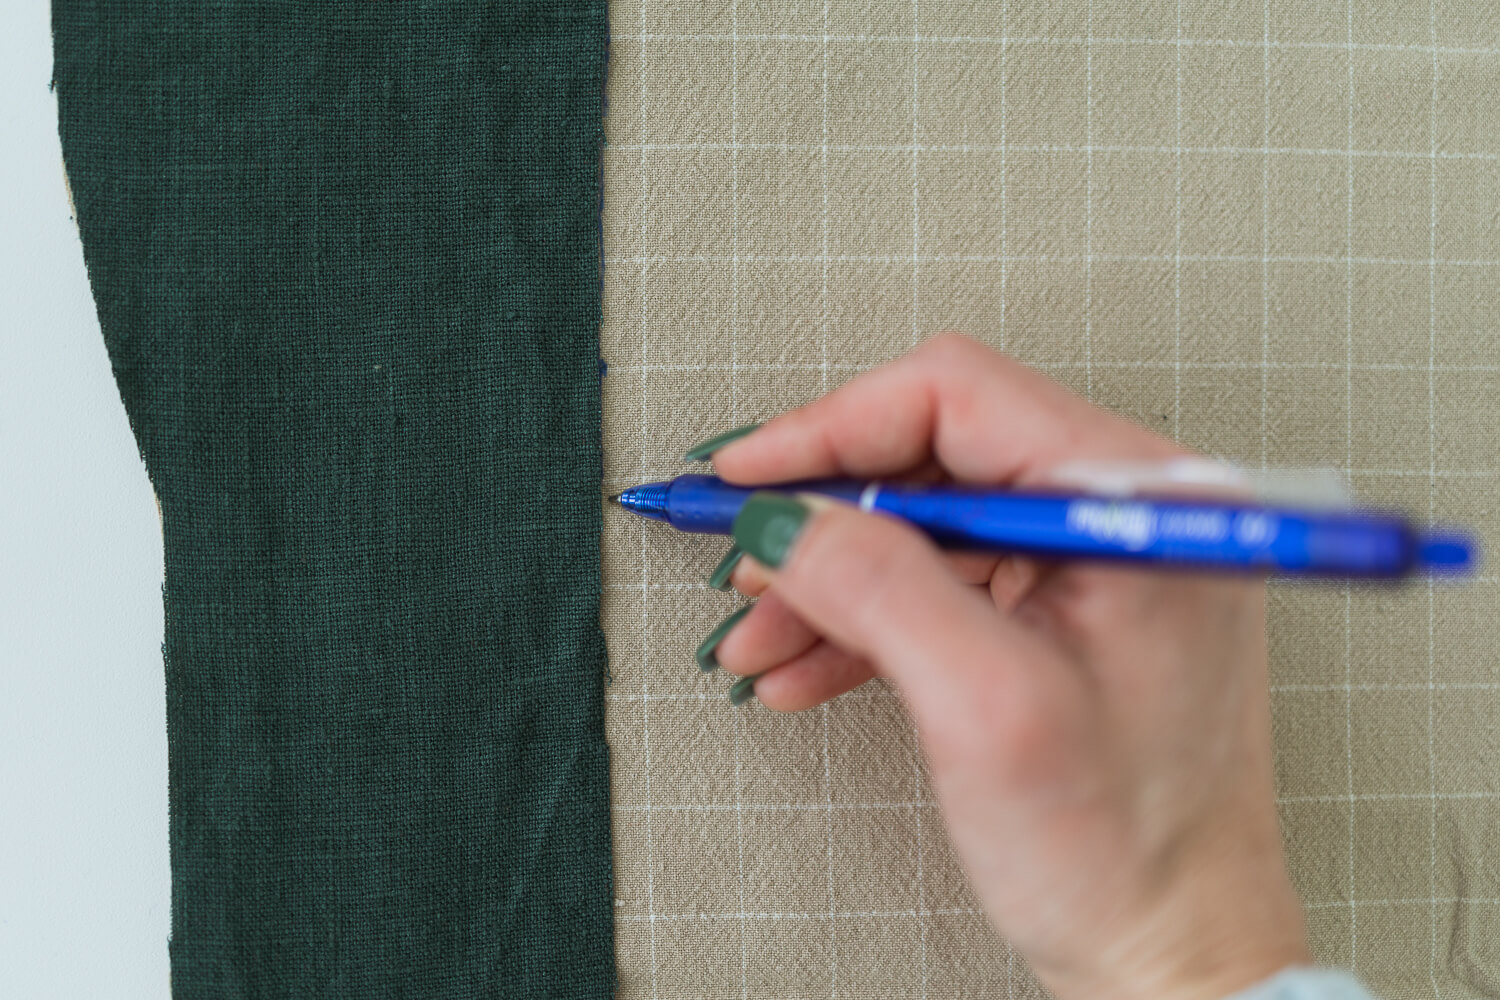
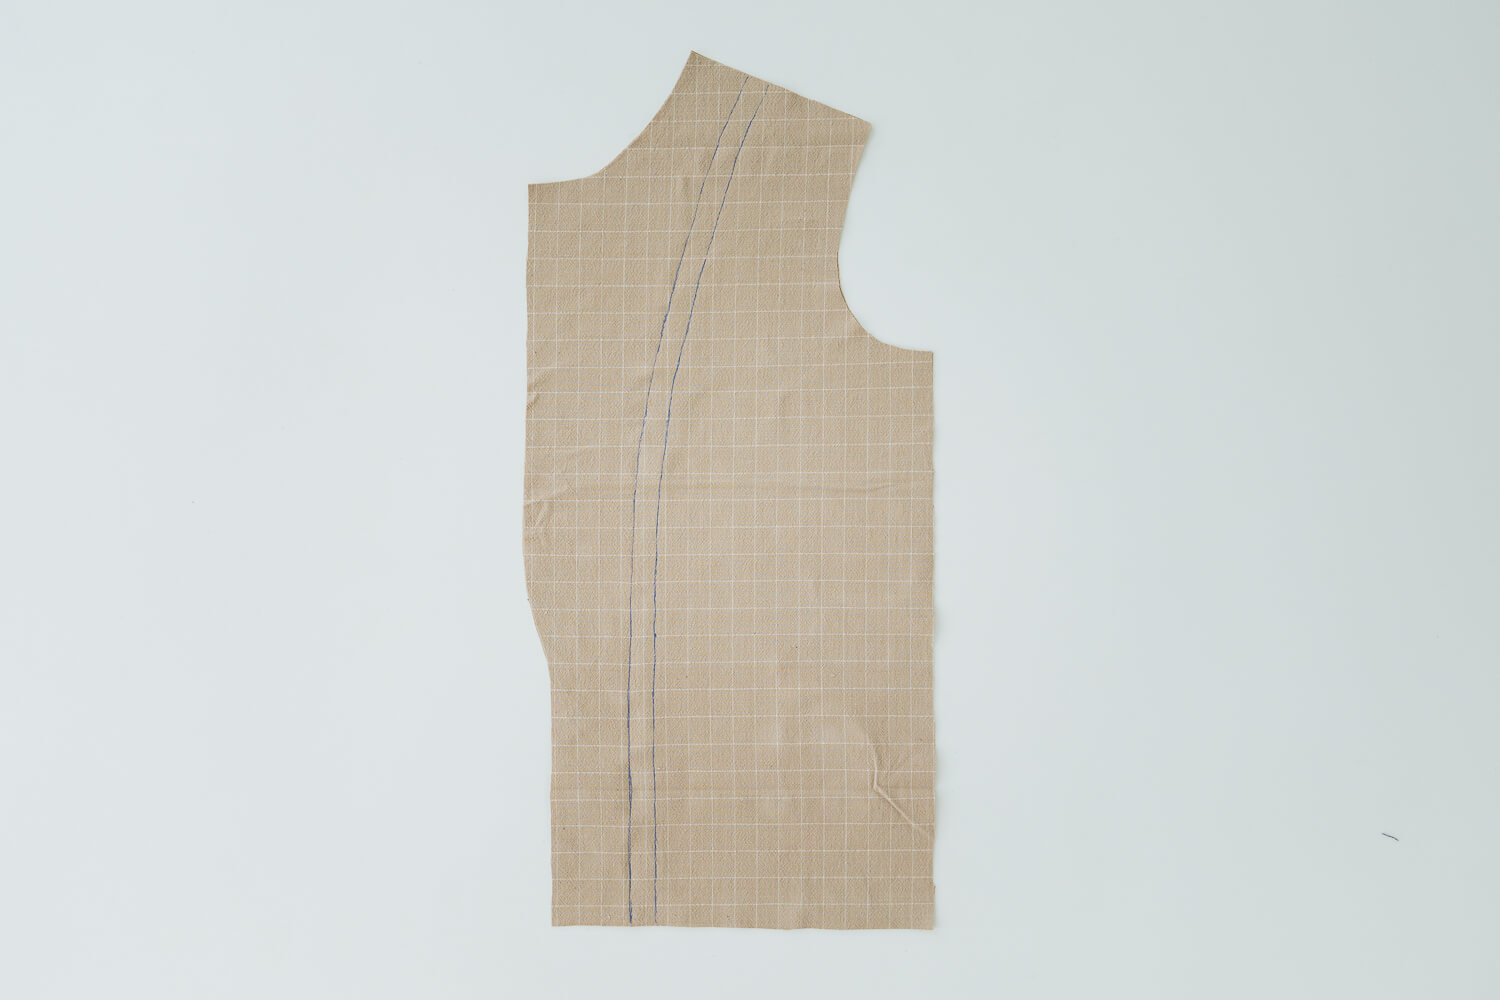
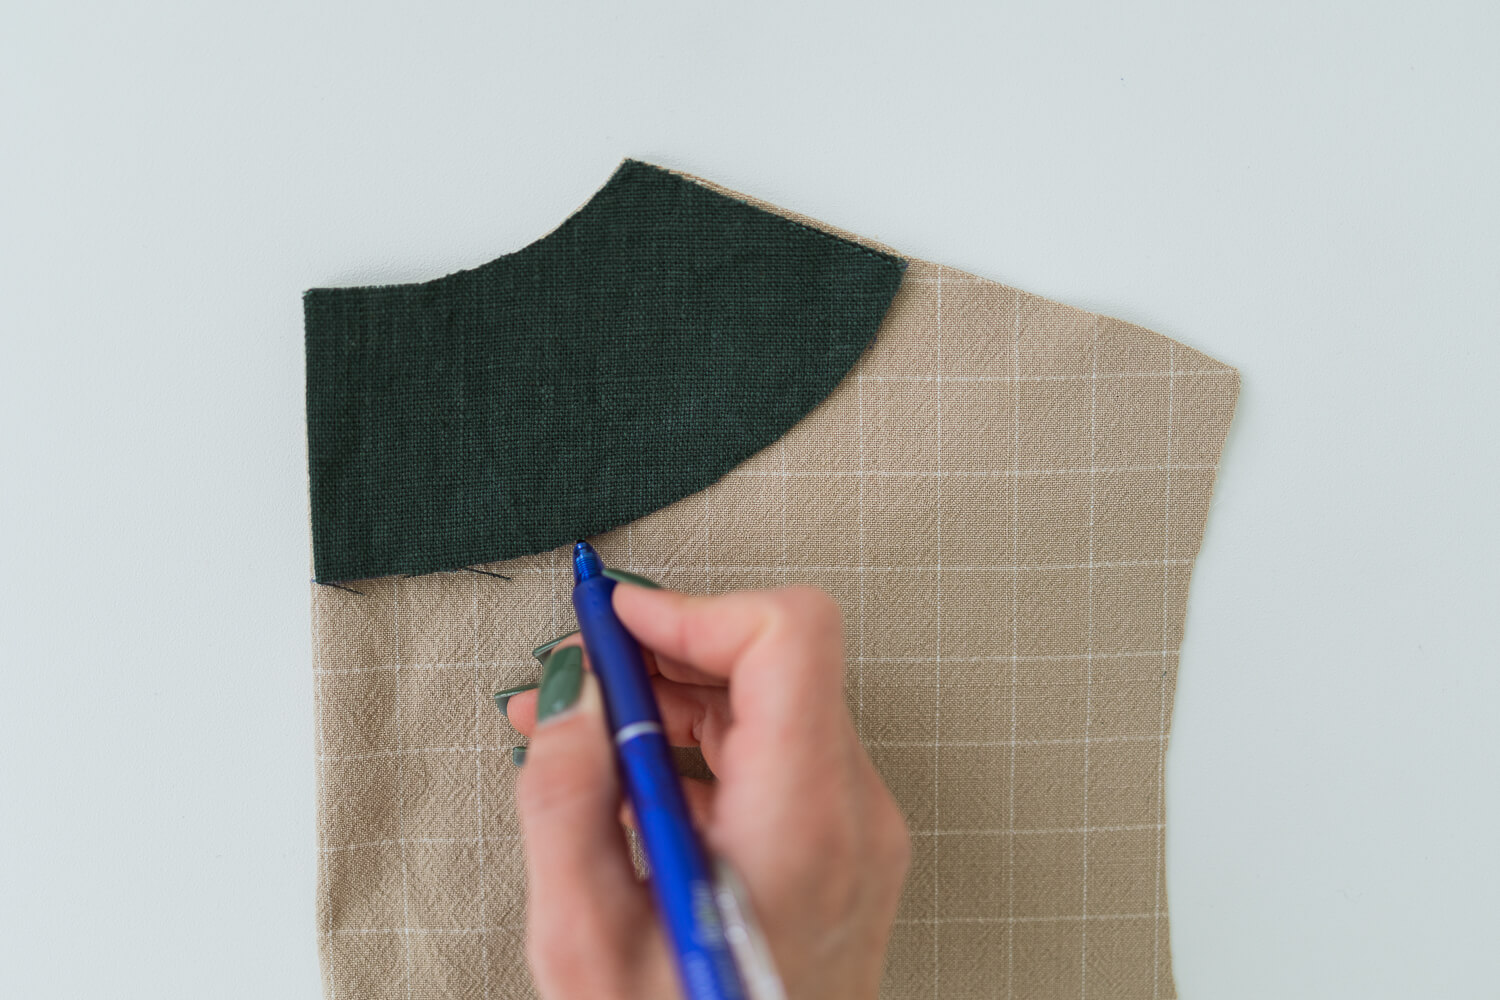
2. To trim the front lining pieces to the correct shape, place the front facing on the front bodice lining and draw along the inside edge with chalk or erasable pen.
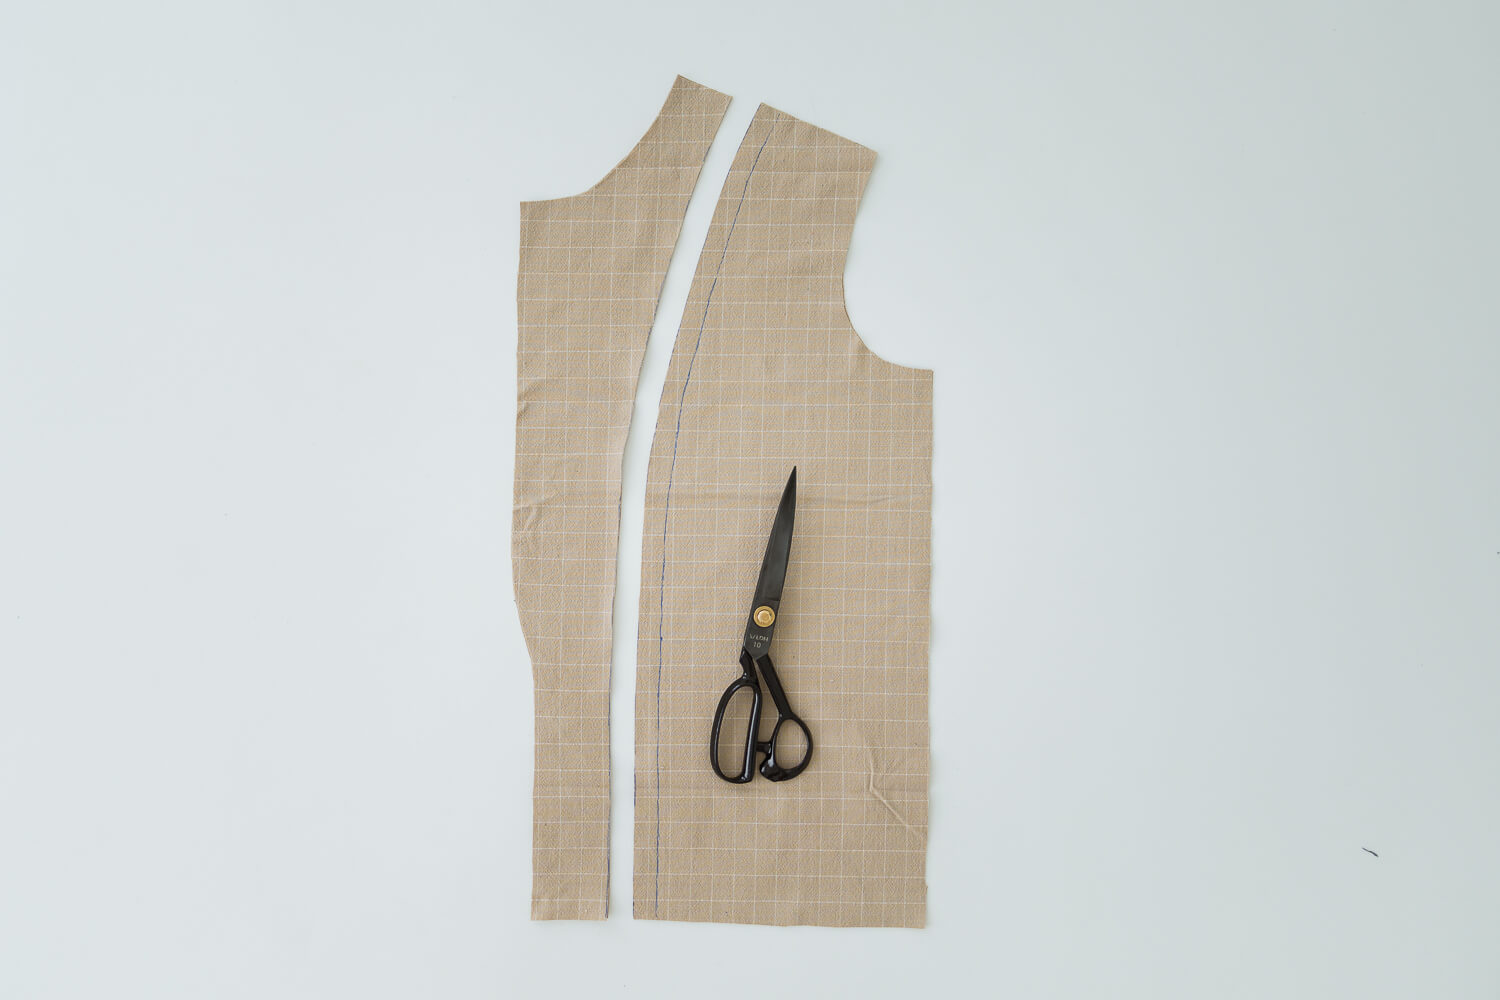
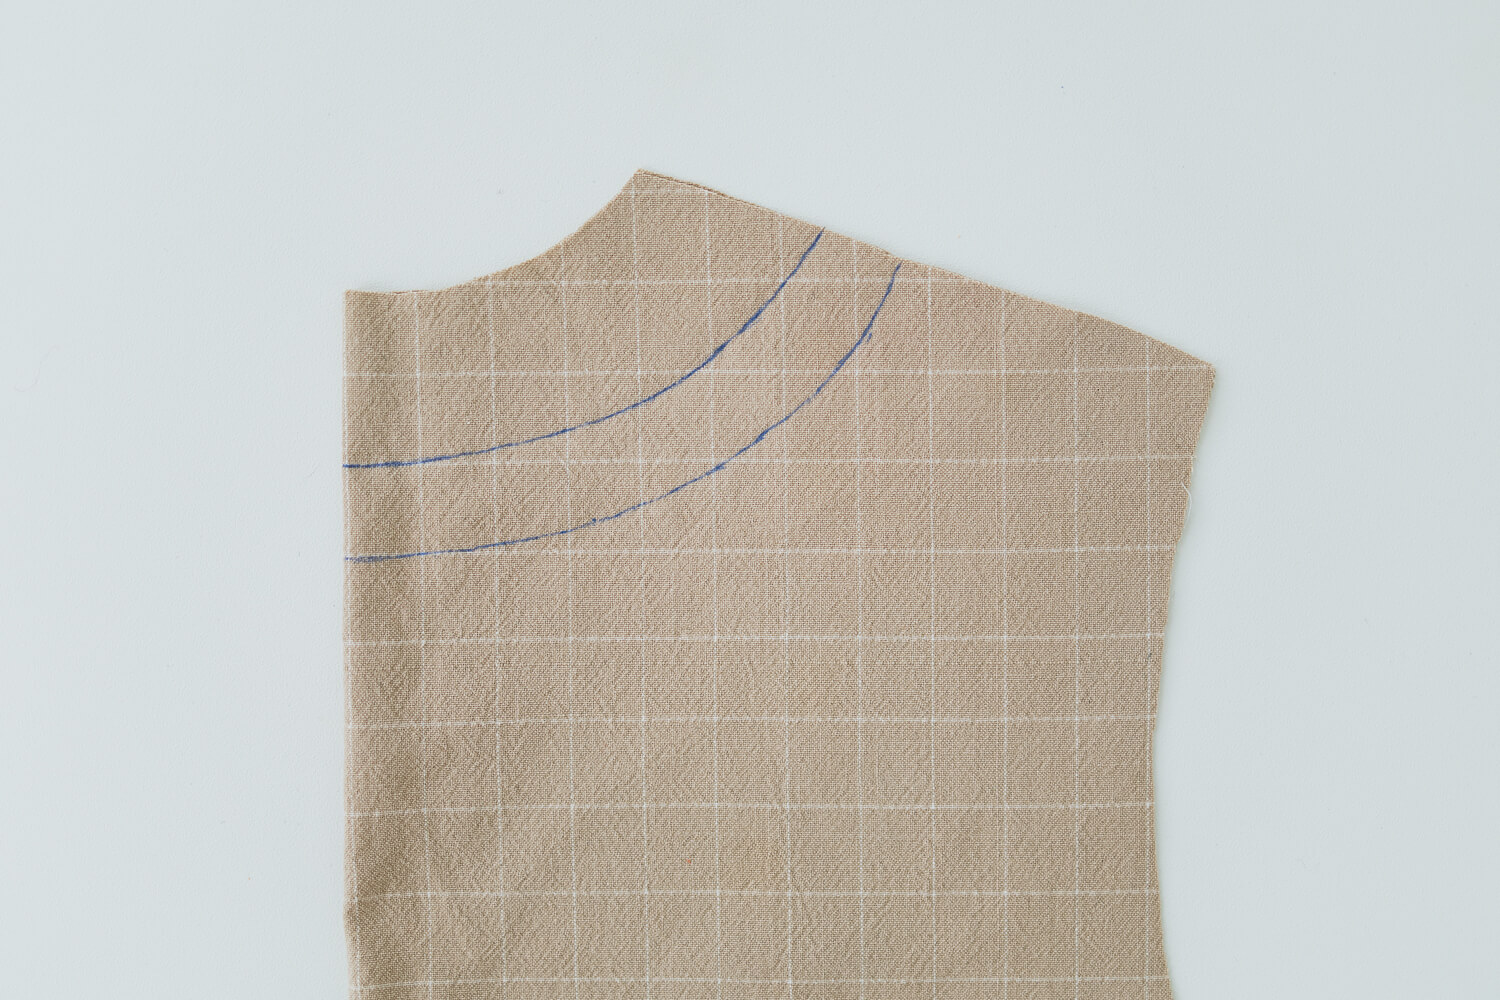
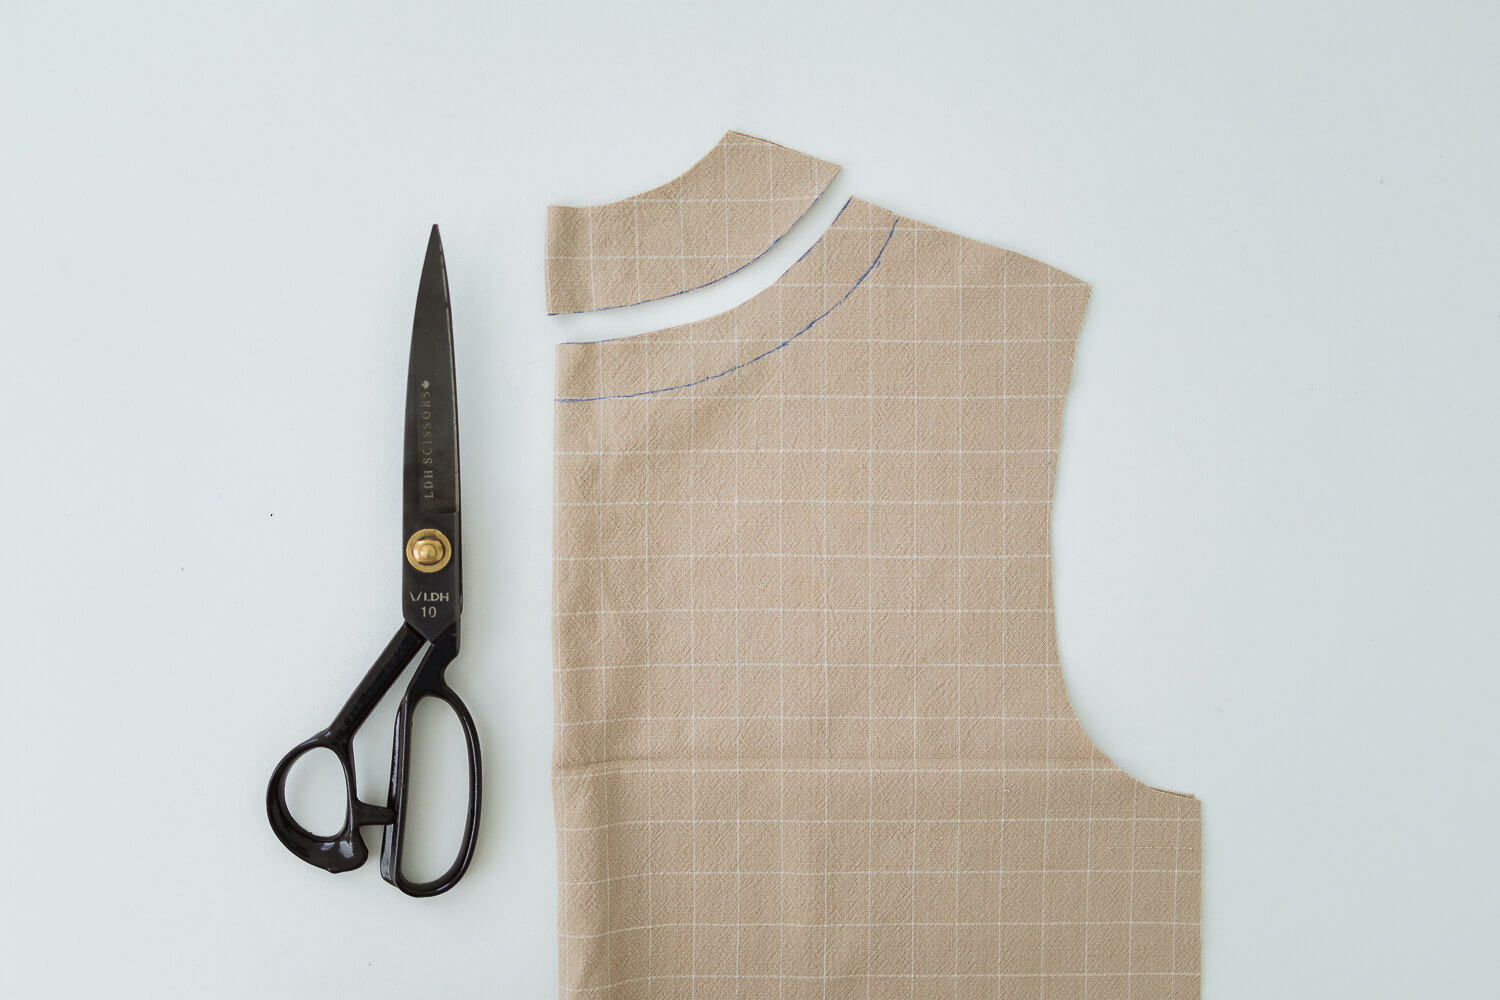
3. To add the seam allowance, move the front facing out 3/4” (~1.9 cm) from the first line and draw a second line. Cut front bodice lining along the second line.
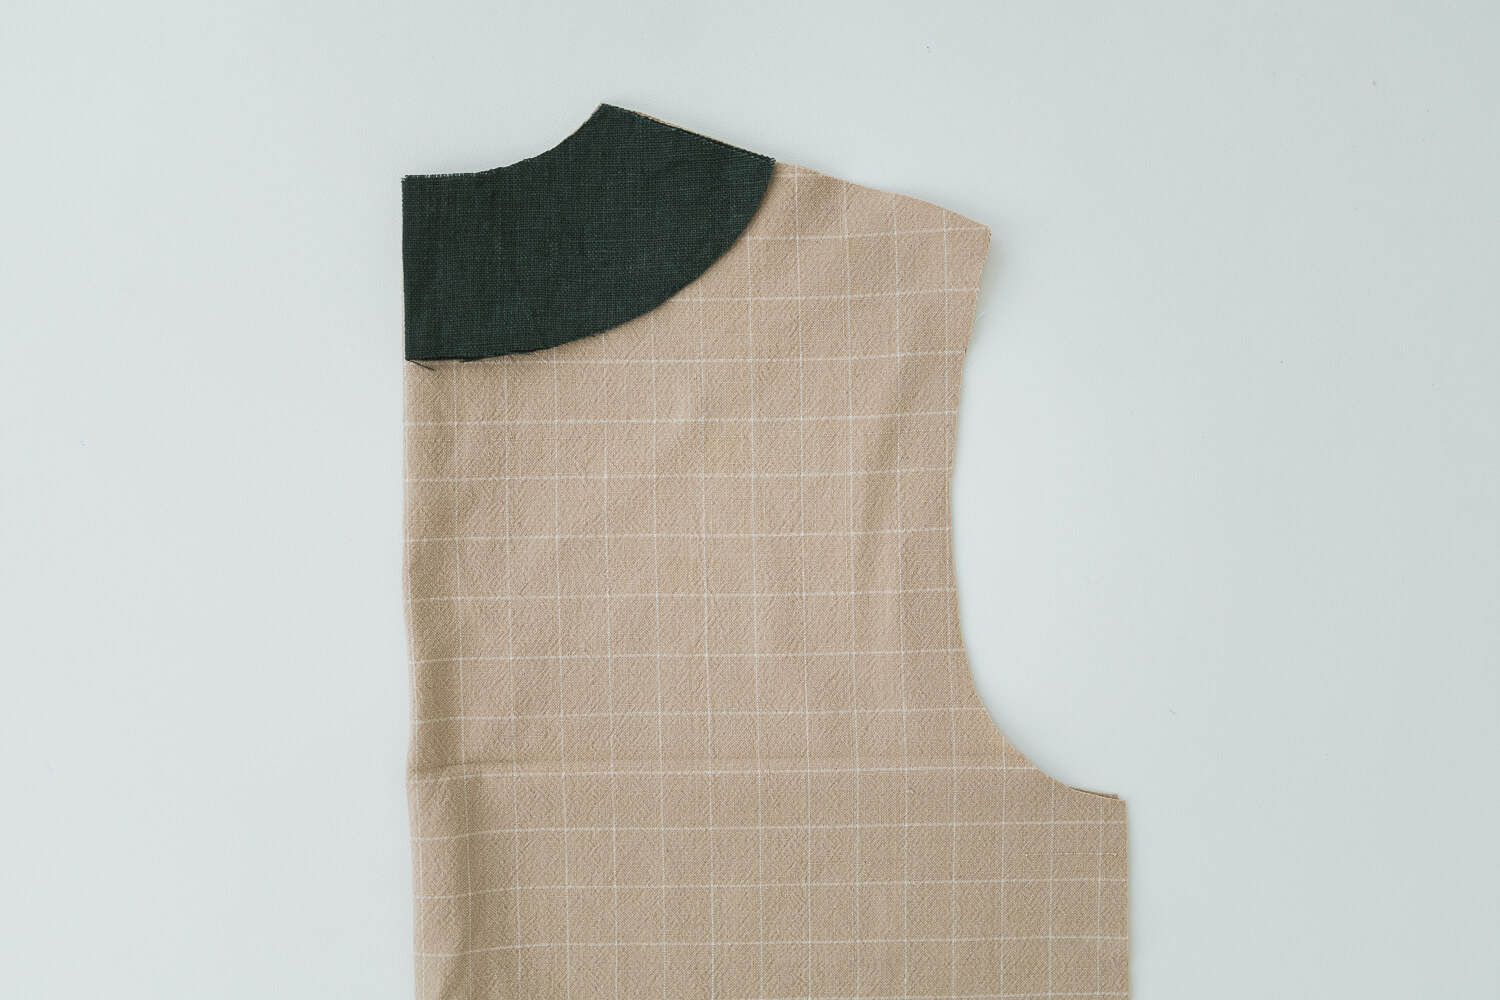
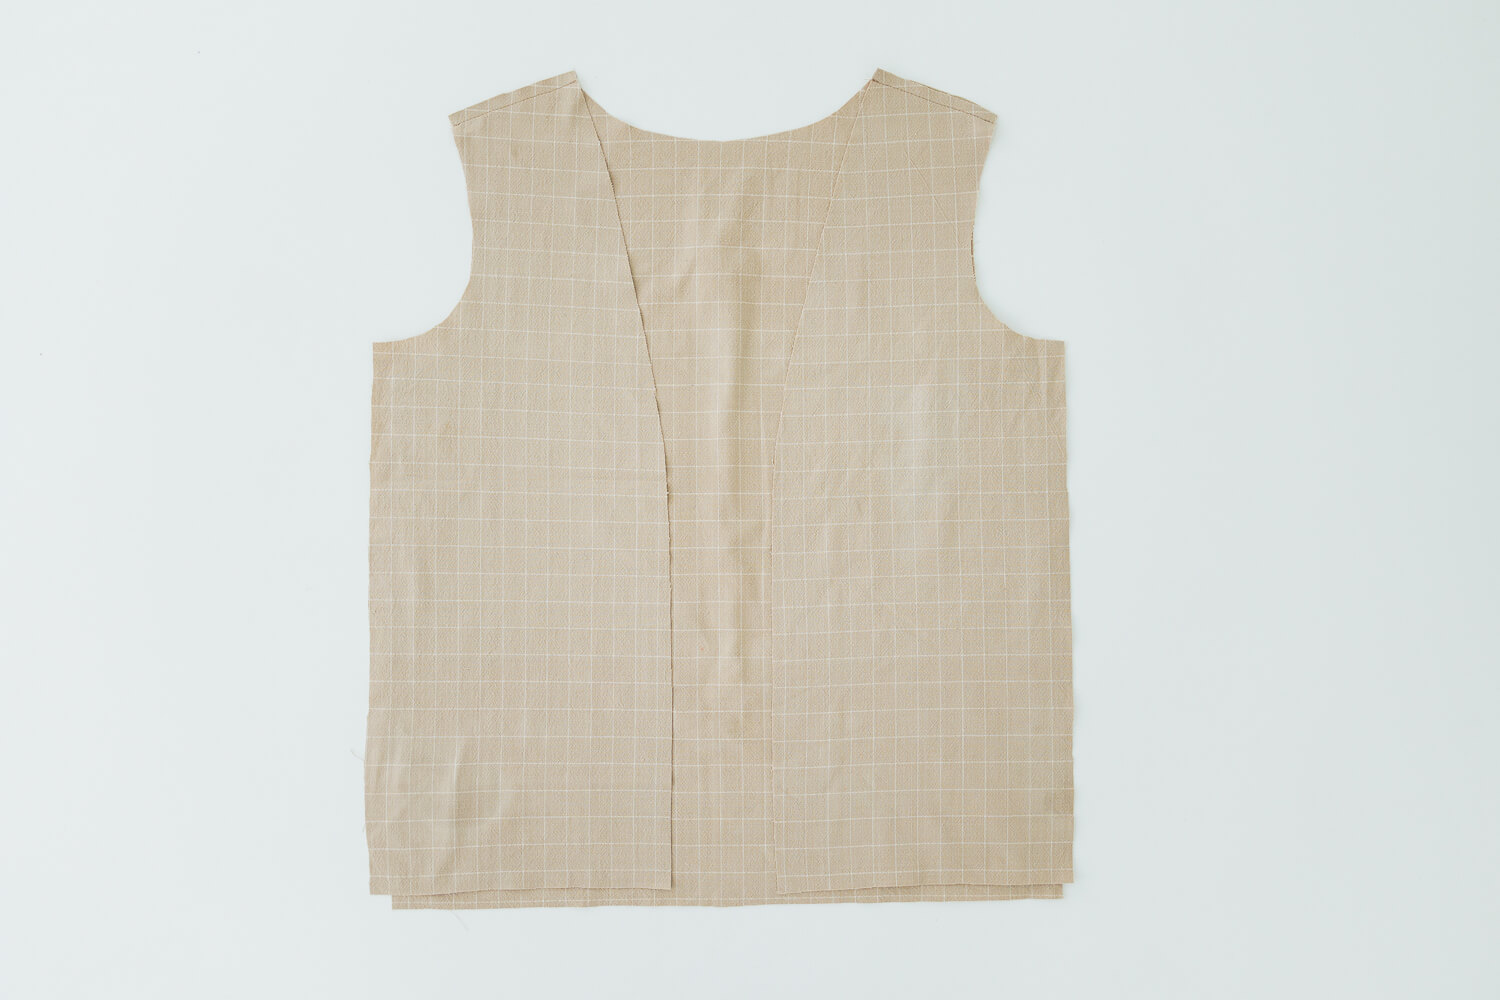
4. To trim the back bodice lining to the correct shape, place the back facing on the back bodice lining and draw along the bottom edge.
5. To add the seam allowance, move the back facing up 3/4” (~1.9 cm) from the first line and draw a second line. Cut the back bodice lining along the second line.
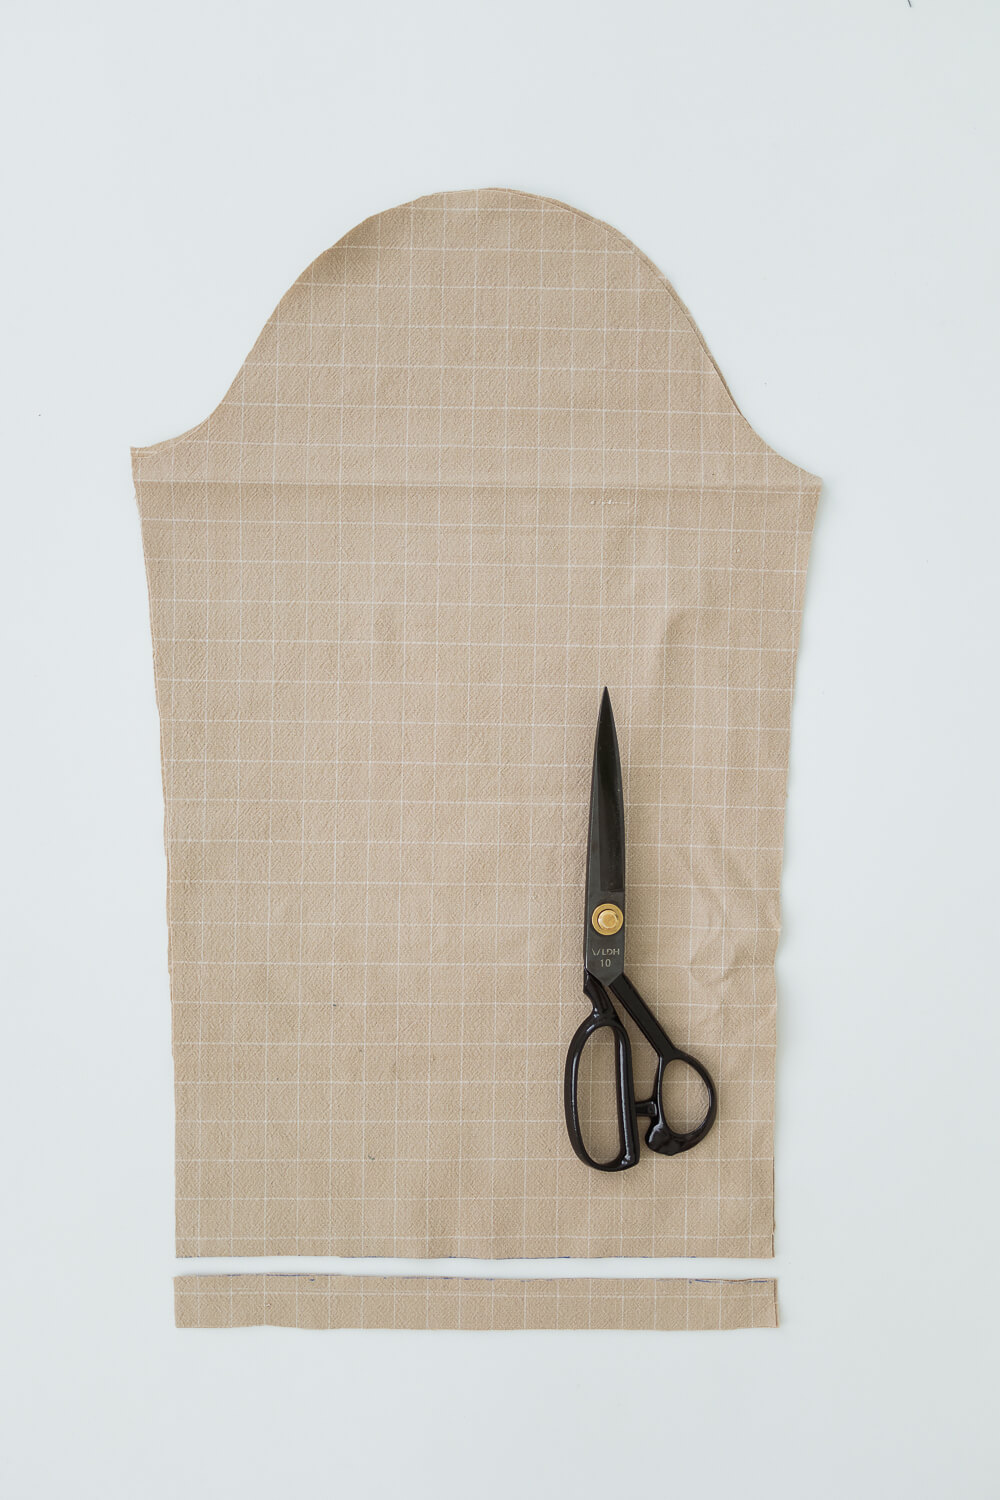
6. Trim 1” (~2.5 cm) off the bottom of the sleeve lining and trim 2 5/8” (~6.6 cm) off the bottom of the front and back bodice lining.
7. Sew the front and back bodice lining together along the shoulders with right sides together.
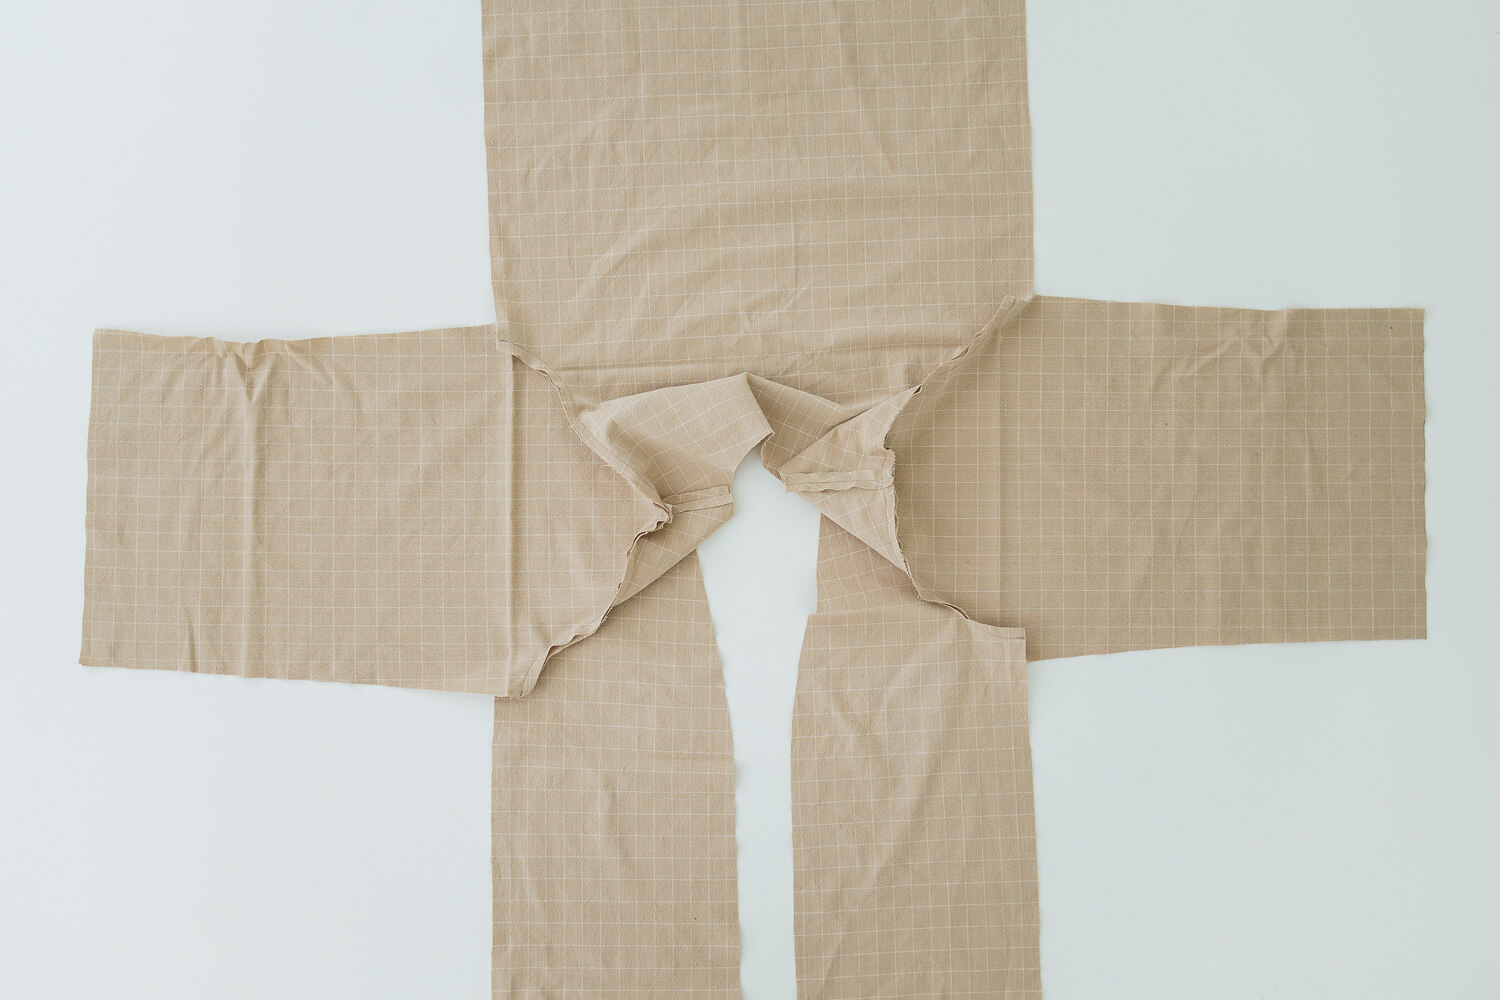
8. Sew the sleeve linings, right sides together, to the bodice.
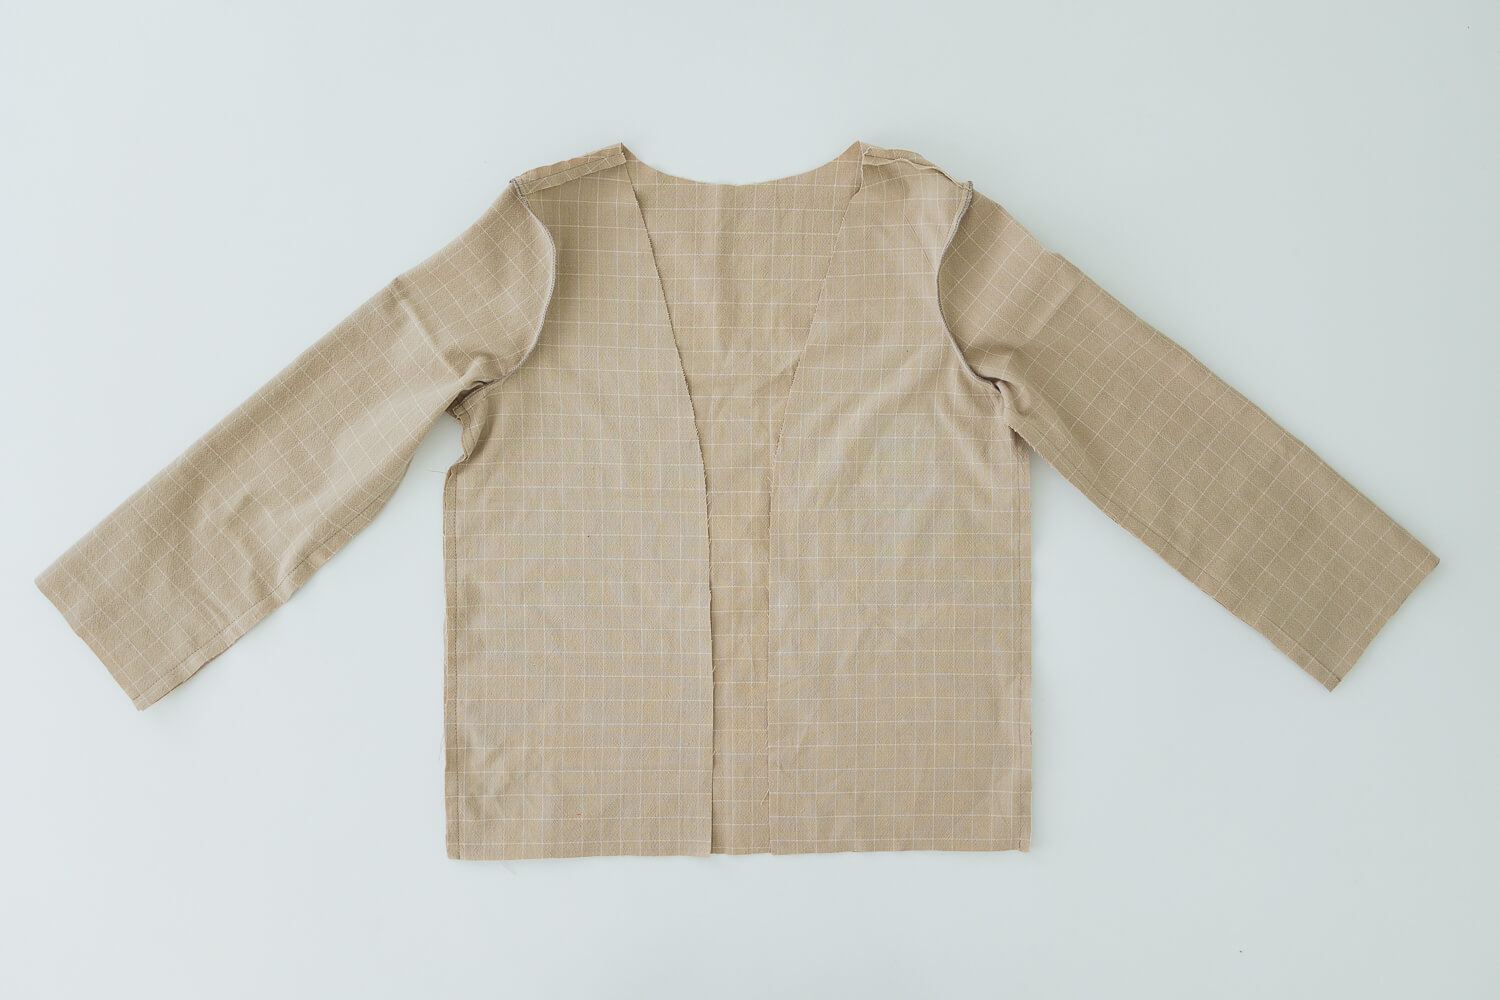
9. Sew up the sides and down the sleeves of the lining with right sides together.
10. Follow the steps in the Mariana tutorial to assemble the jacket. Leave the sleeves and bottom unhemmed. Give the jacket a good steamy press.
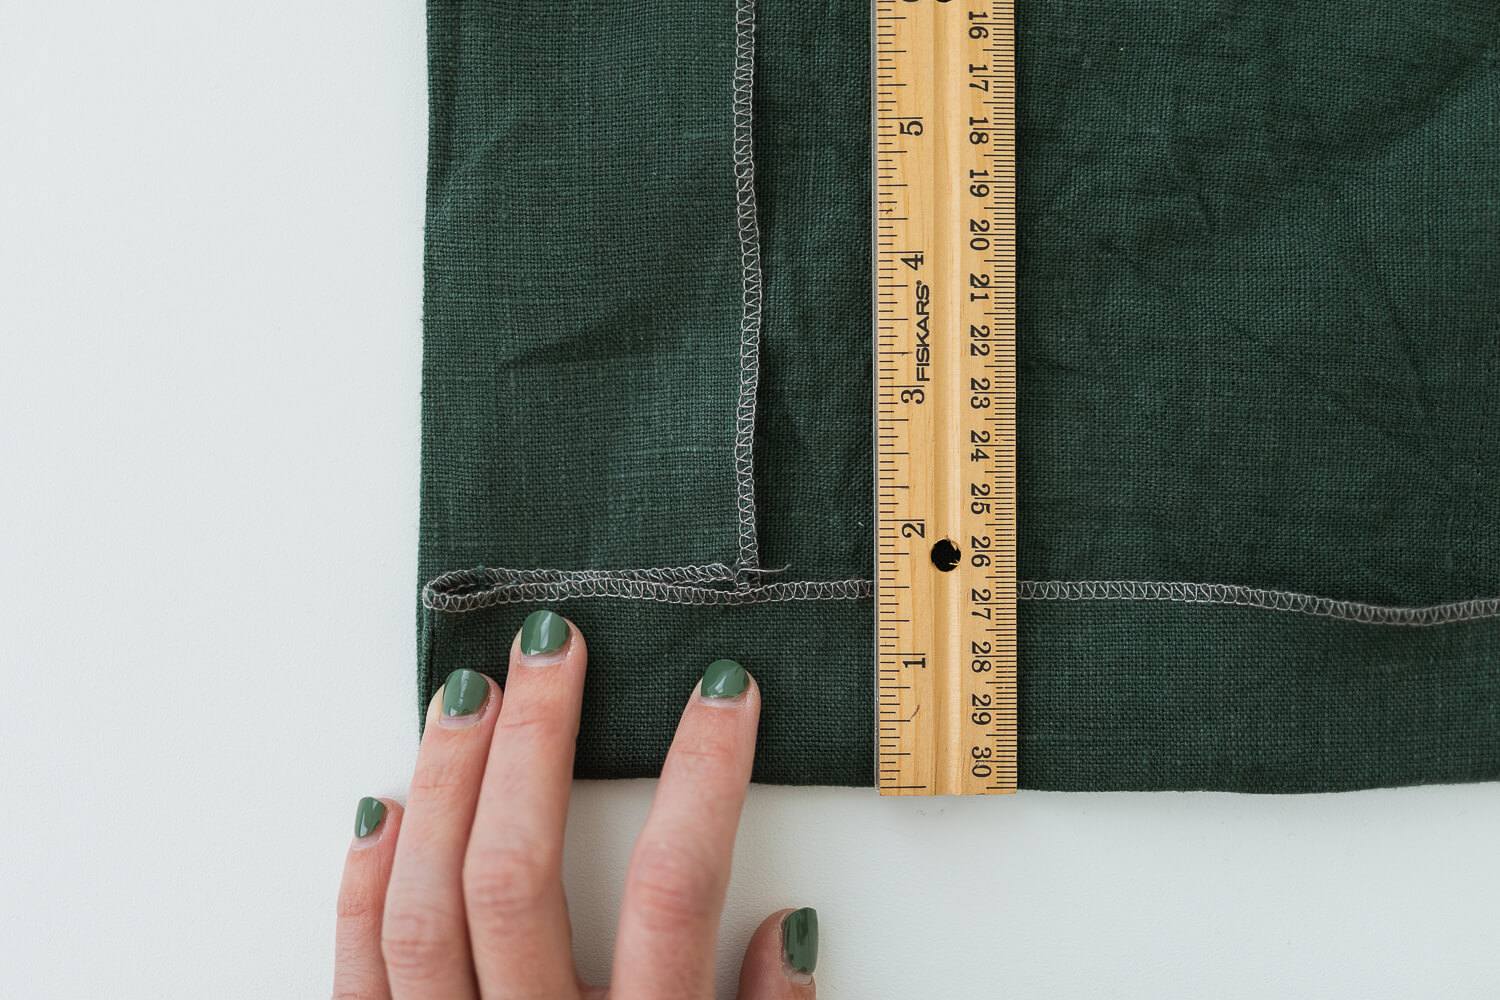
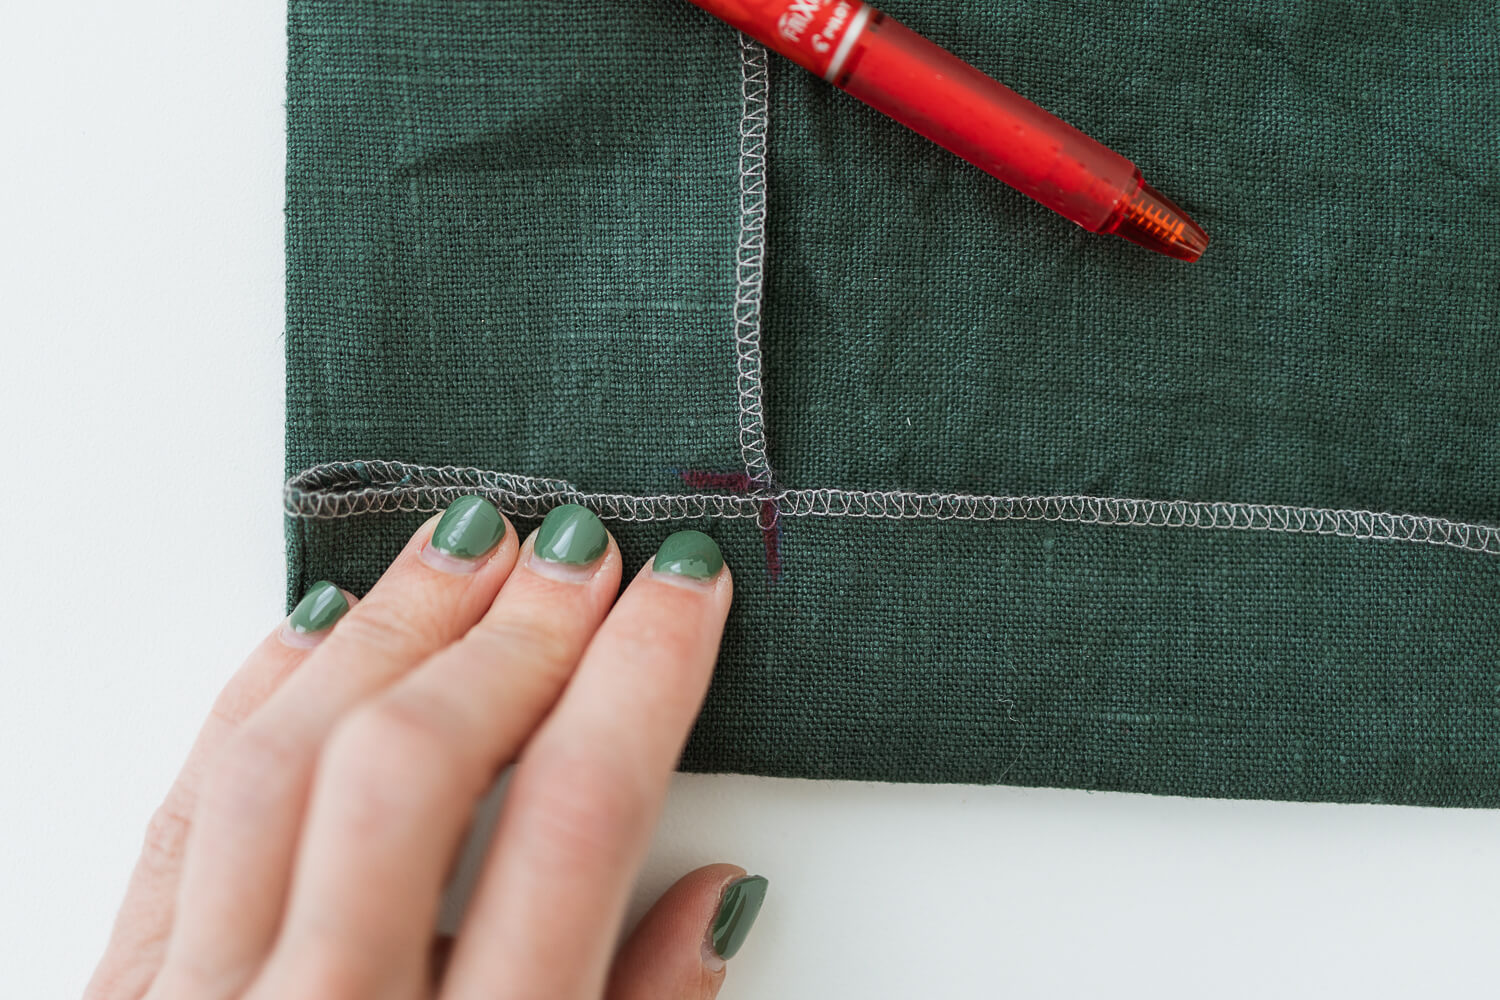
11. Fold up the bottom edge of the jacket 1 1/2” (~3.8 cm) along the front facing.
12. Mark the fabric on both the facing and the bottom edge of the jacket where the inside corner meets.
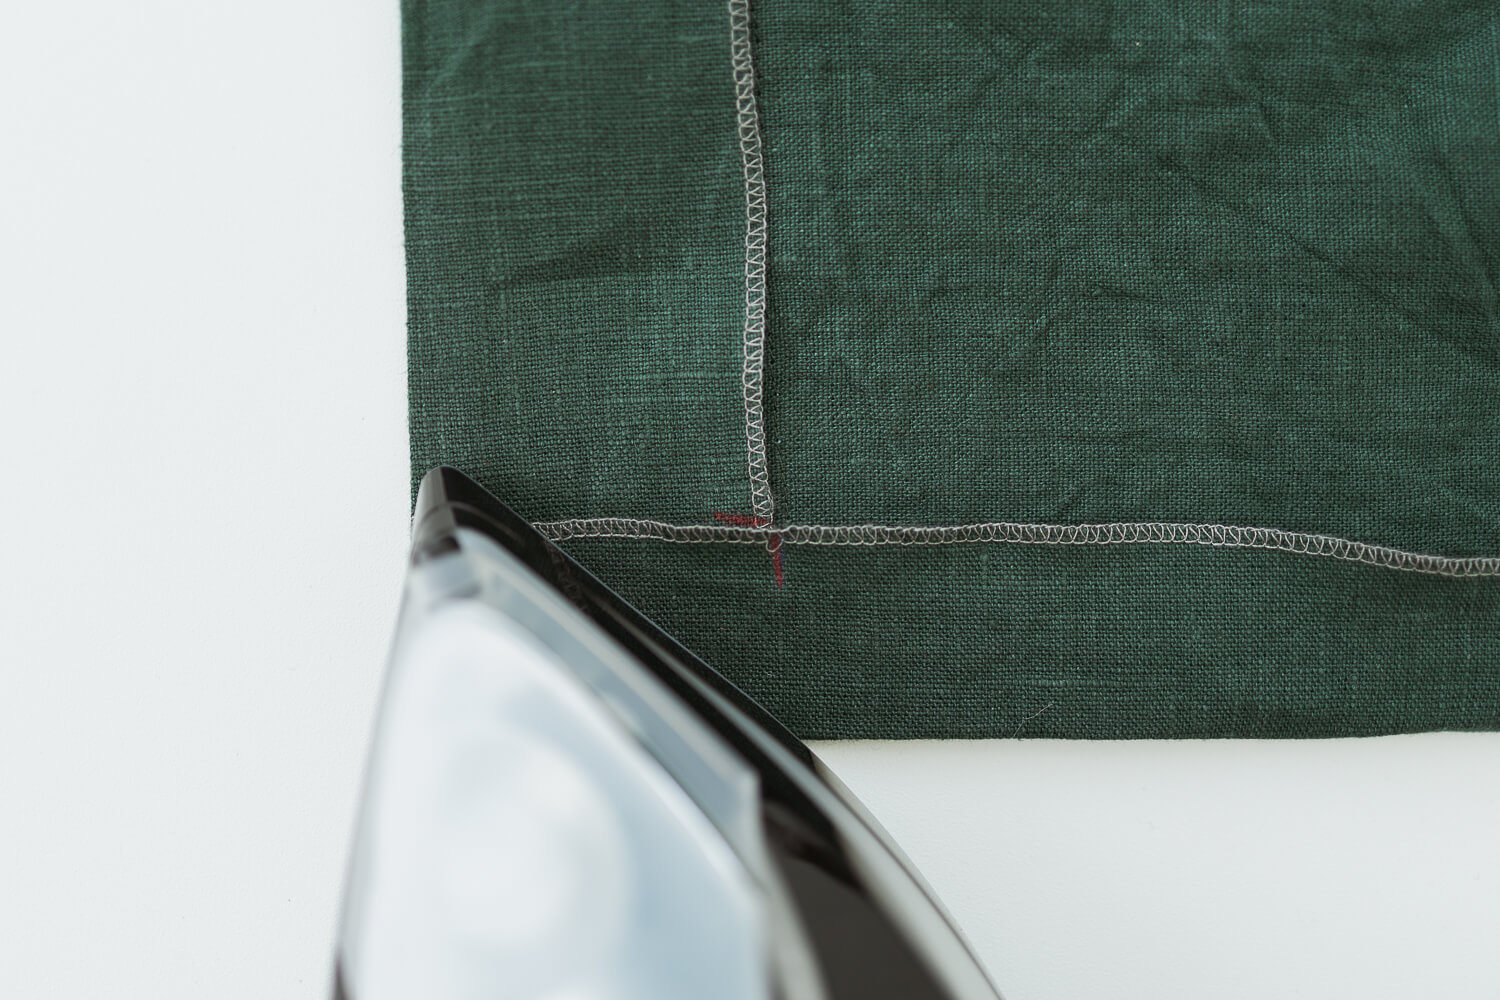
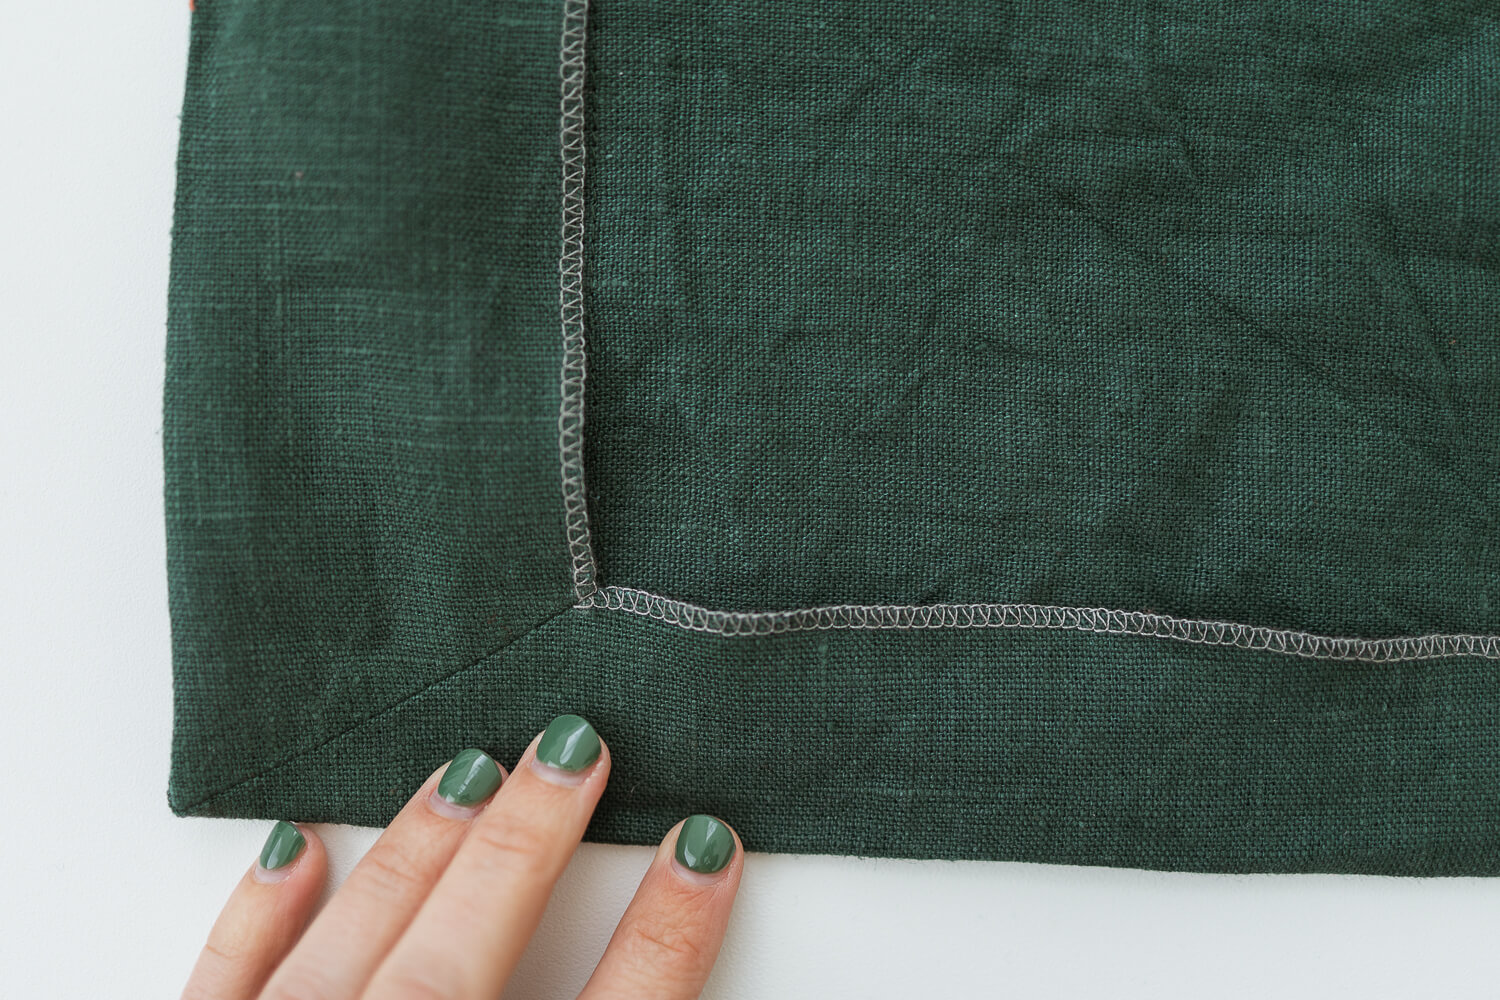
13. Press the outside corner with a steamy iron so the fold lines are clear to see.
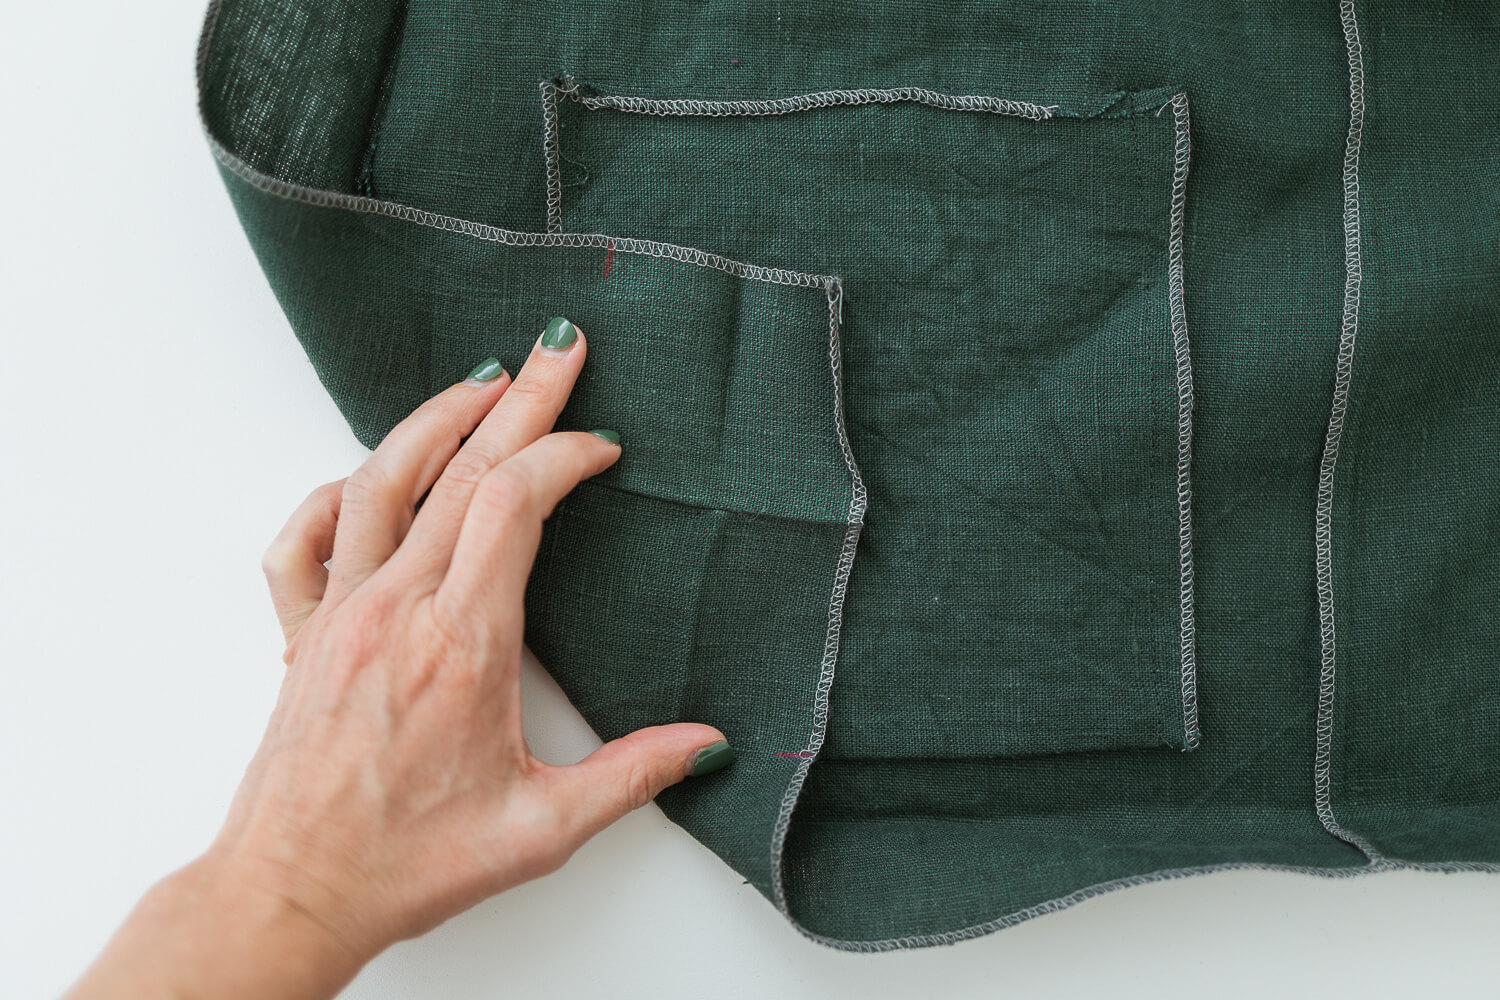
14. Open up the hem and fold the fabric diagonally so the two marks are together.
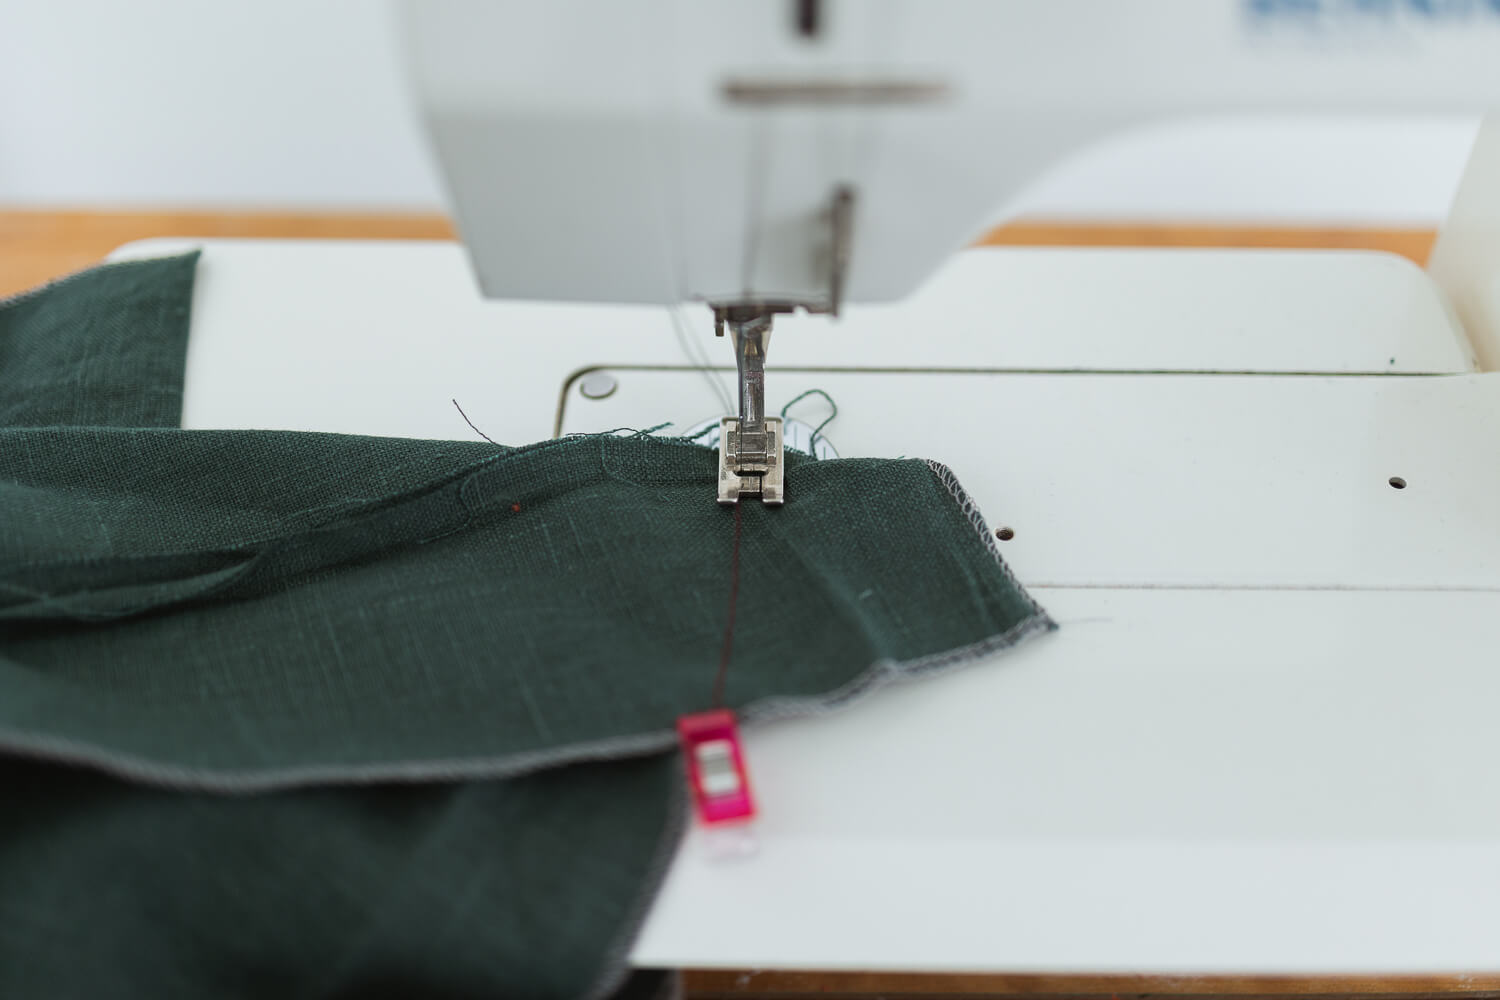
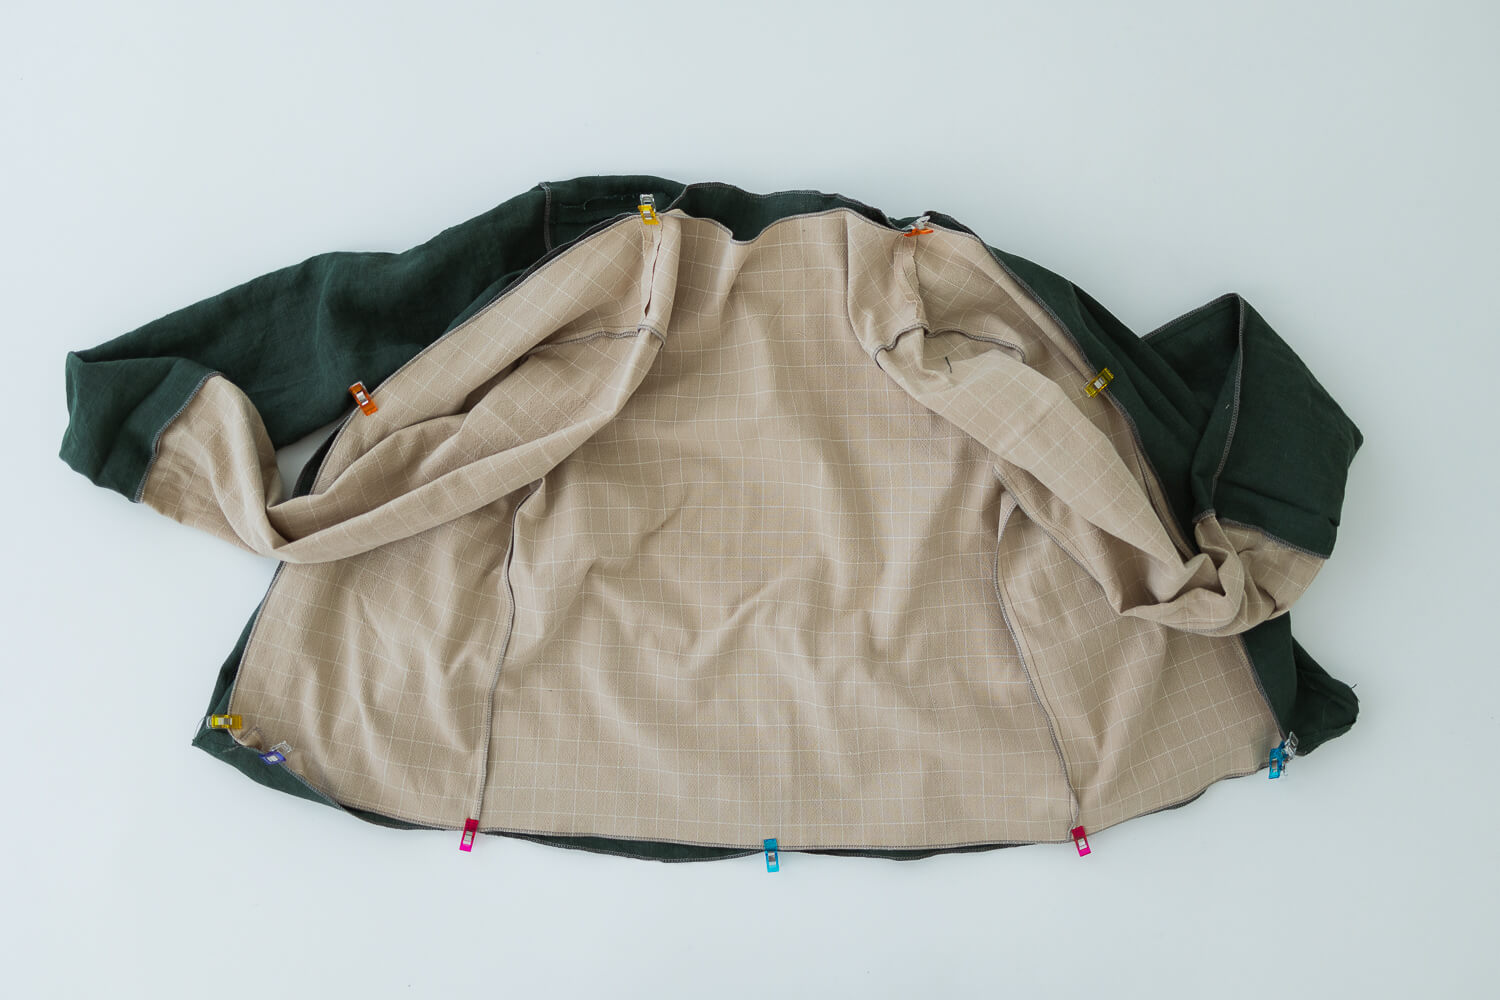
15. Draw a line diagonally from where the two marks are touching to the fold line ironed in step 13. Sew along the line. Don’t sew beyond the line of stitching joining the front facing to the front bodice. Sew to the line but not beyond it.
TIP: If this feels awkward to finagle, you’re on the right track! It is indeed awkward, but possible. Just get it as flat and as well matched up as you can. And remember to not sew beyond the line of stitching.
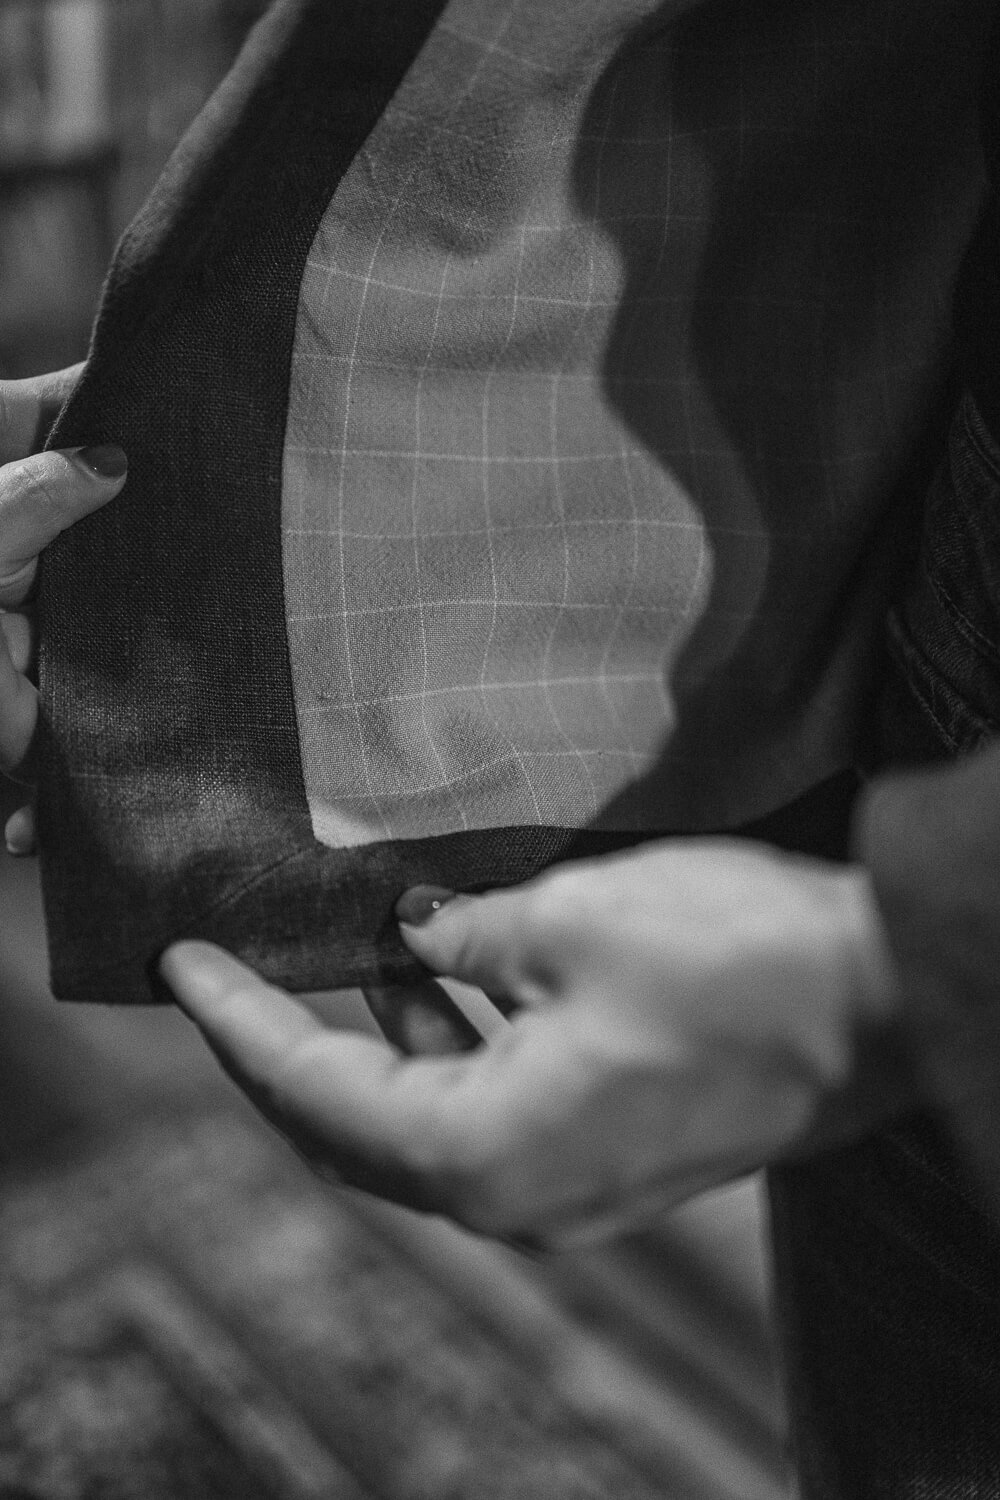
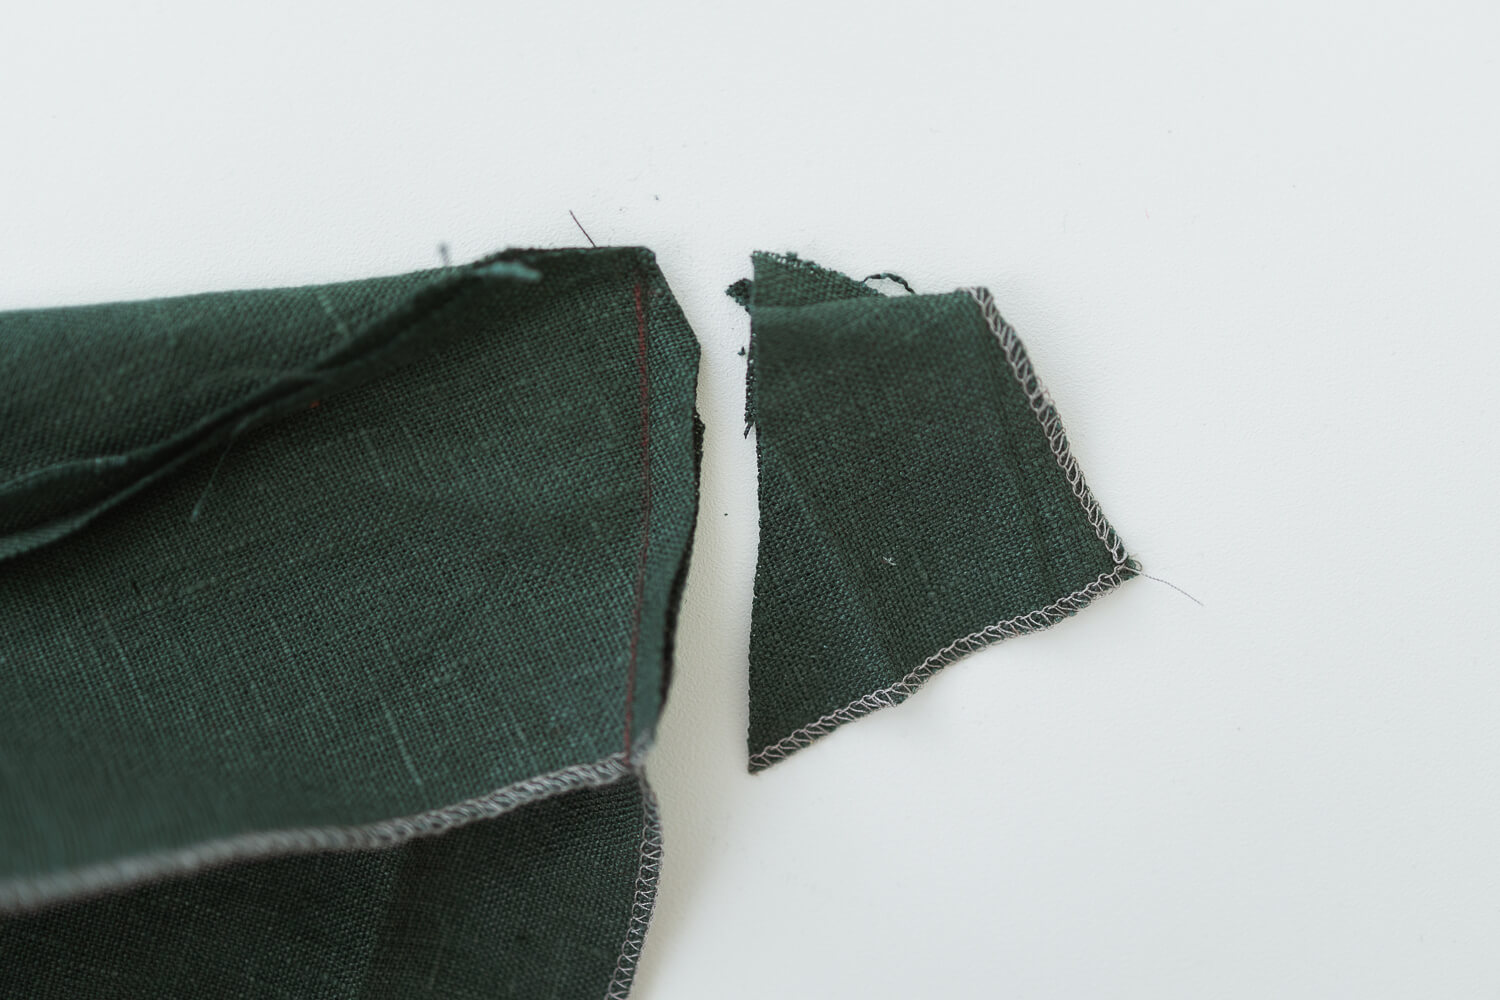
16. Trim the corner to 3/8” (~1 cm) and press the seam allowance open.
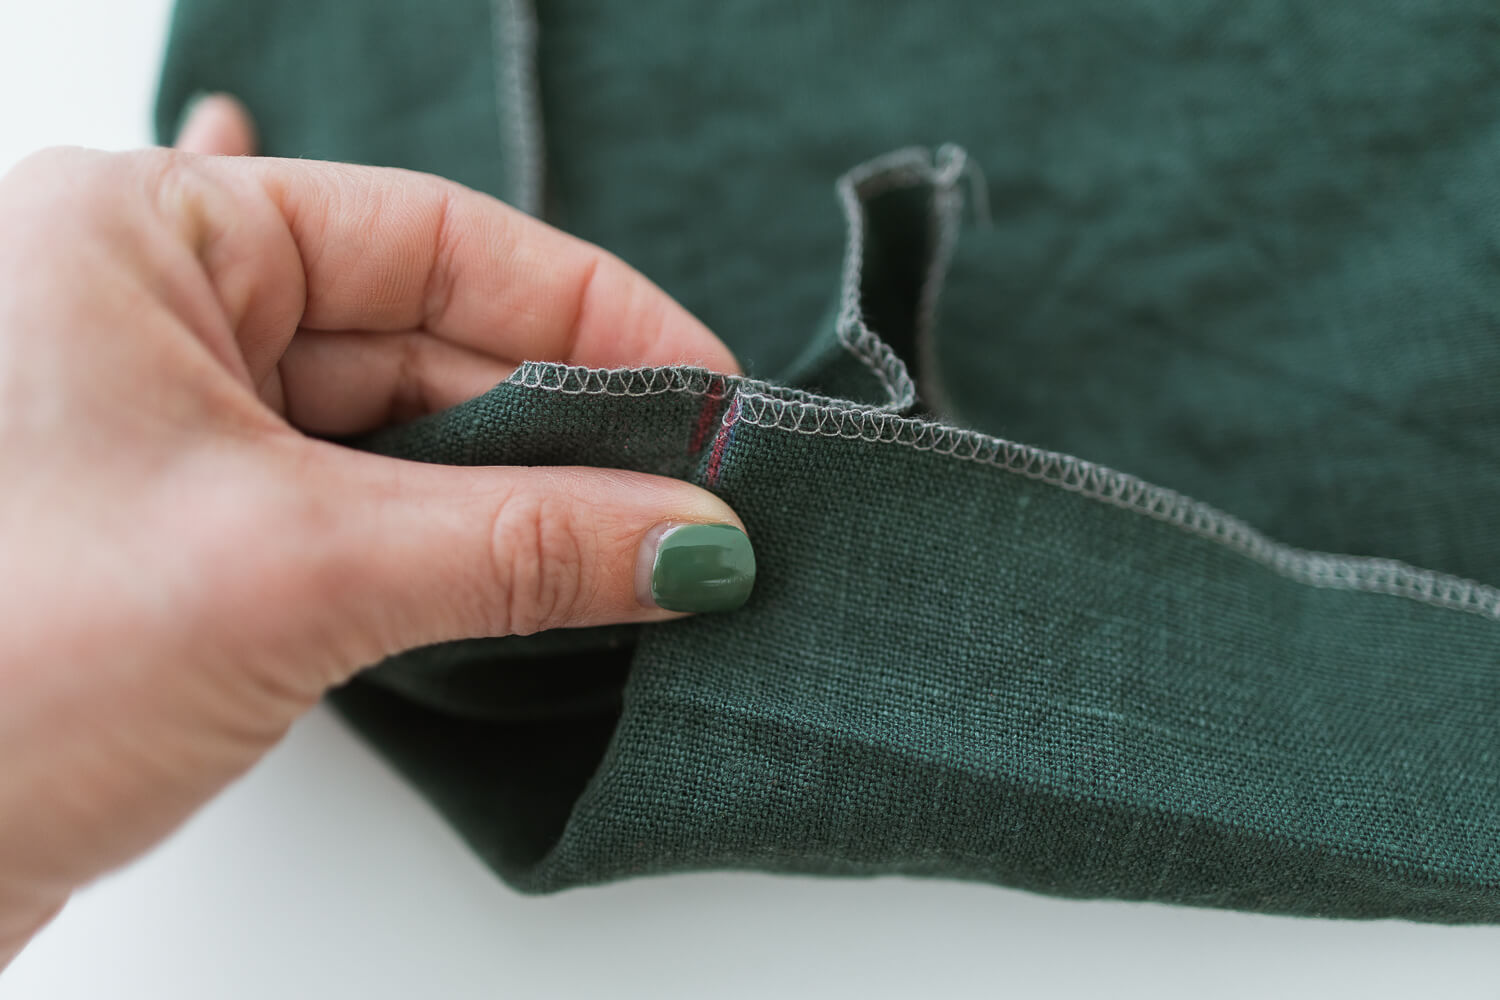
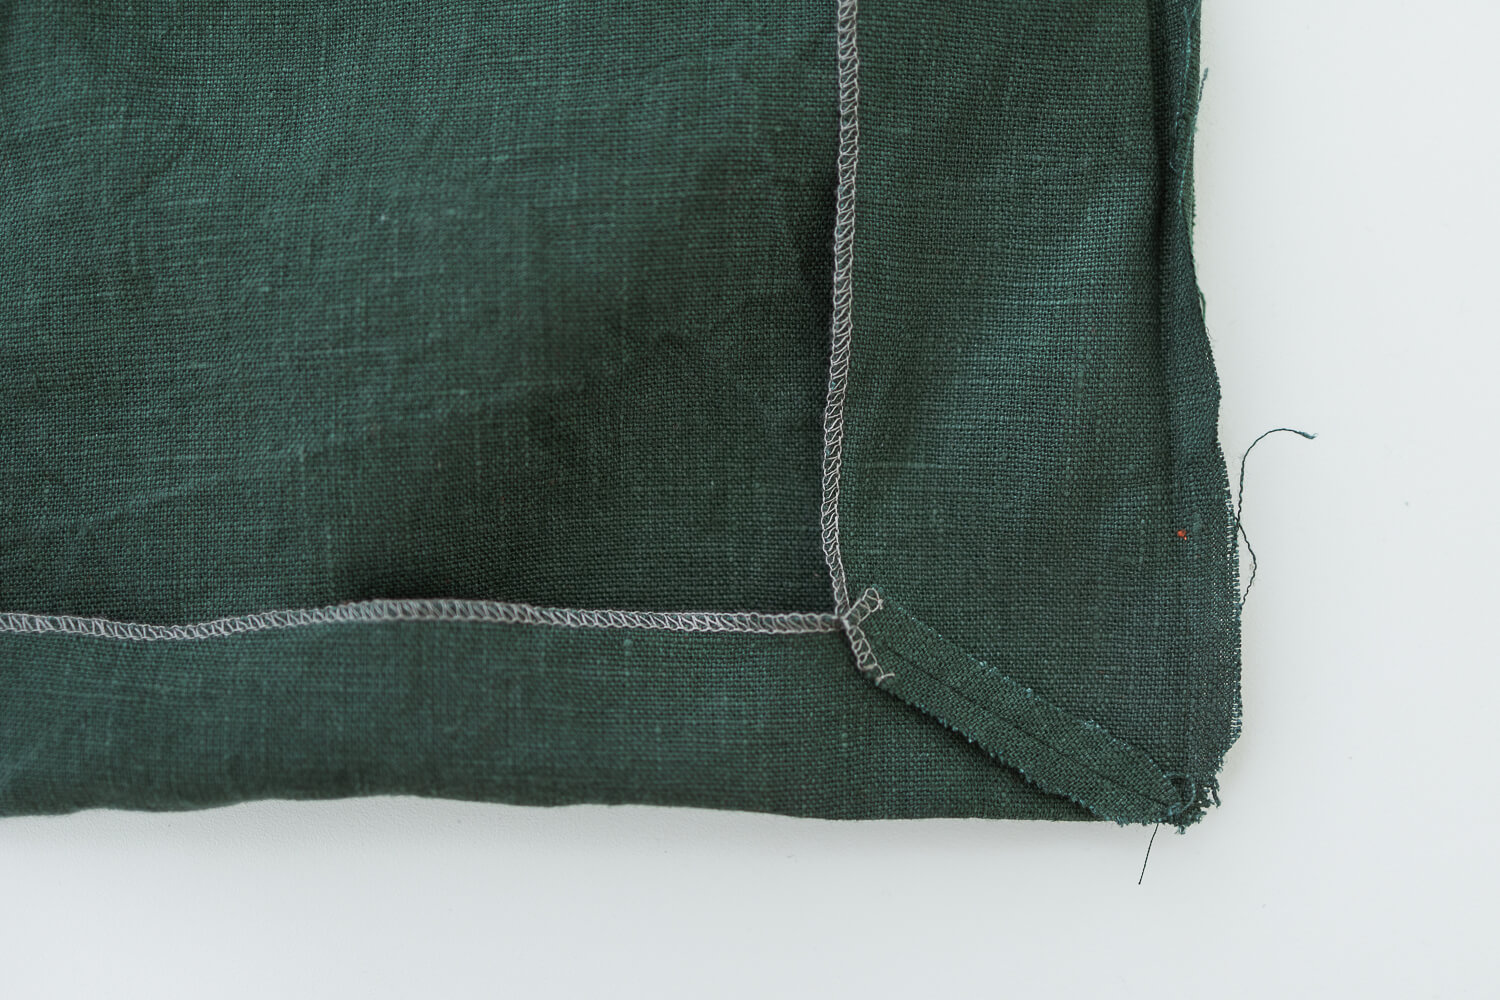
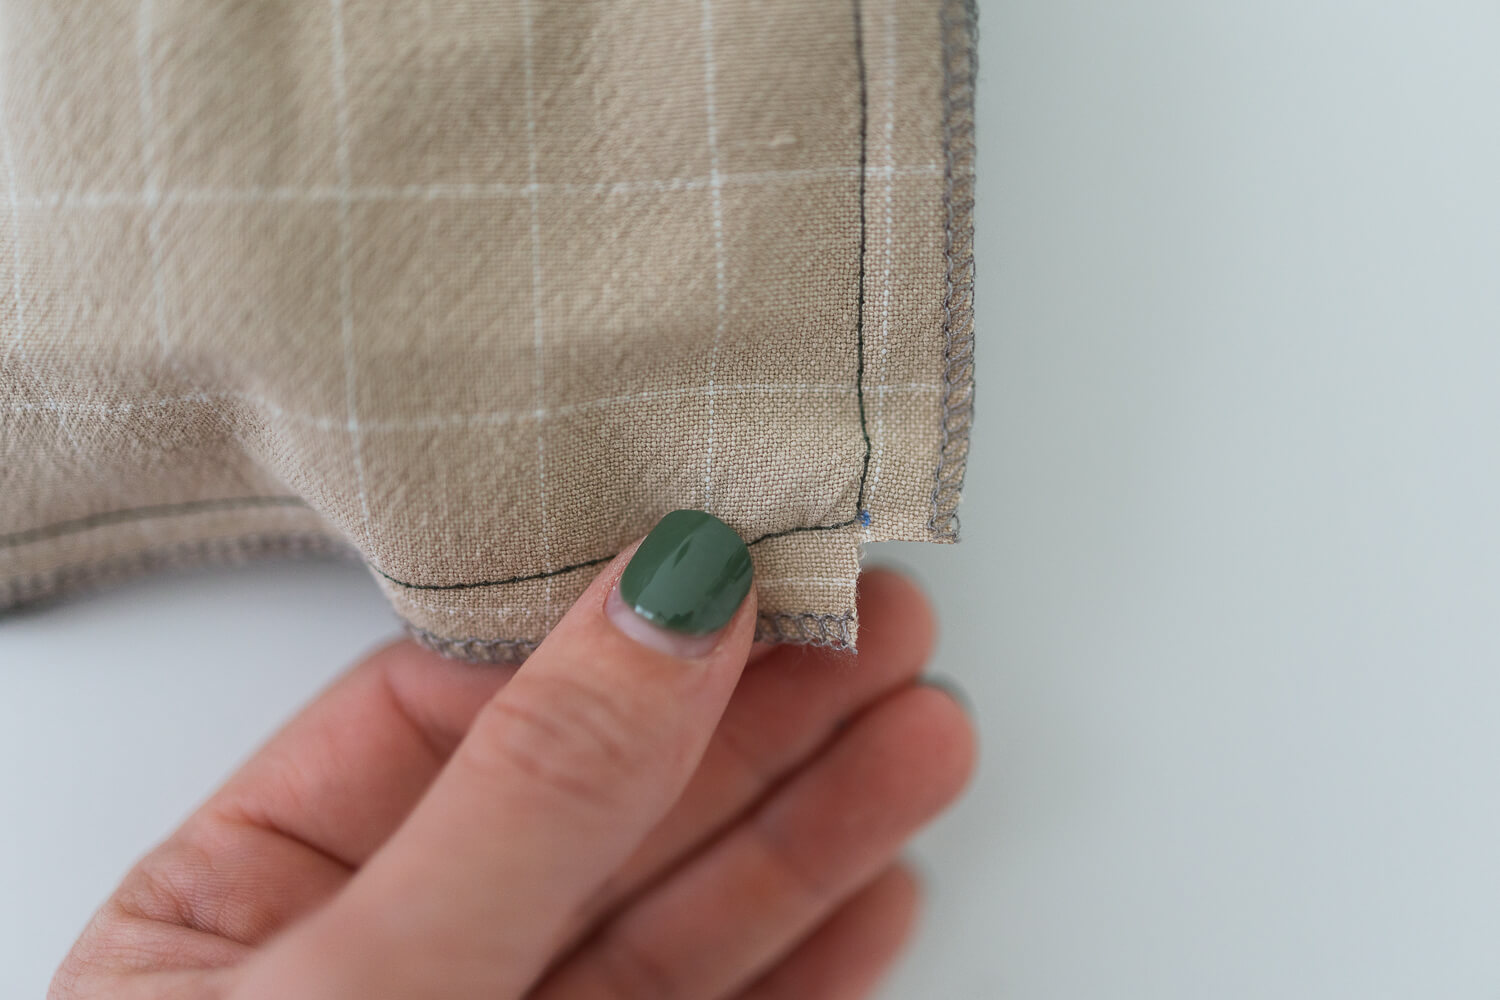
17. Flip the corner to the wrong side and give it a good press. It should look something like this.
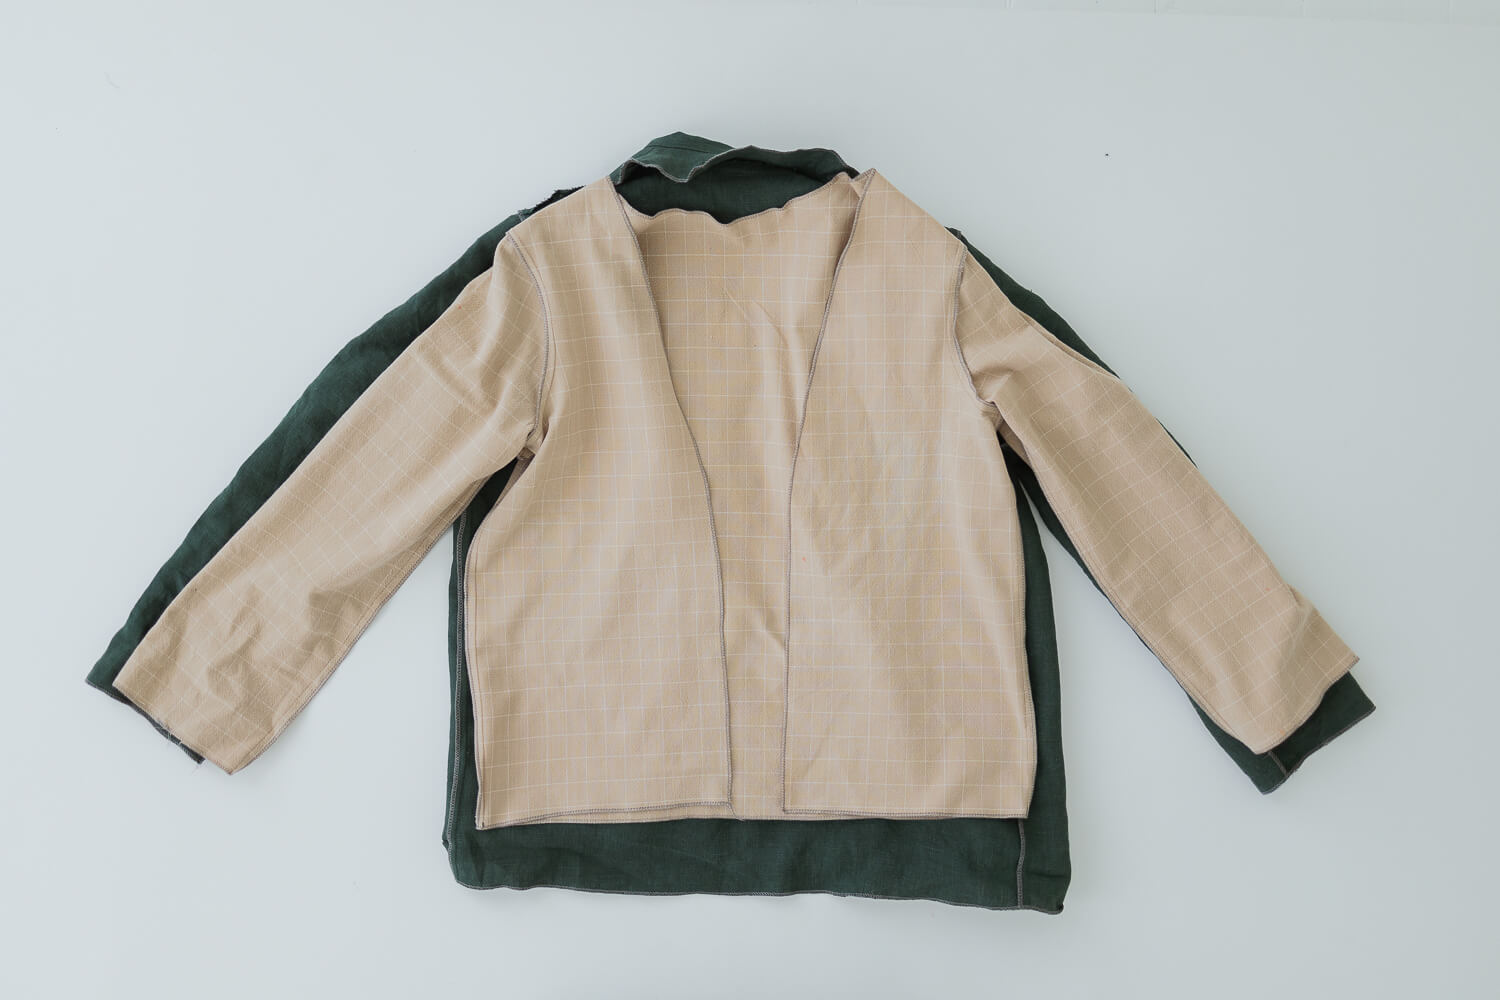
18. Place the jacket and the lining with wrong sides together on top of each other.
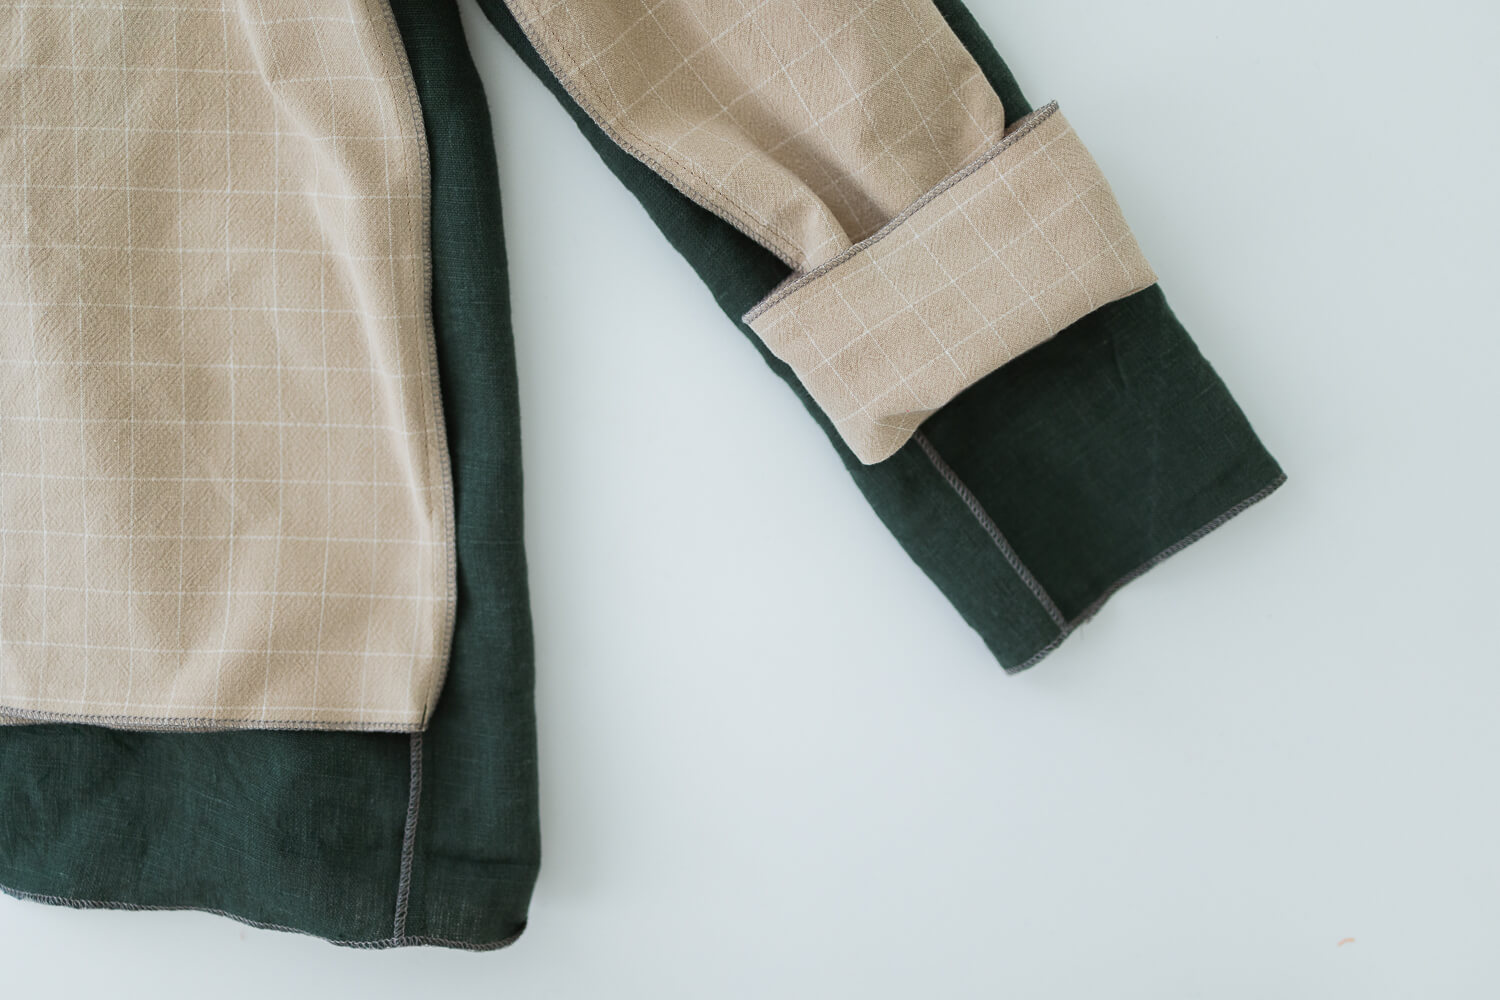
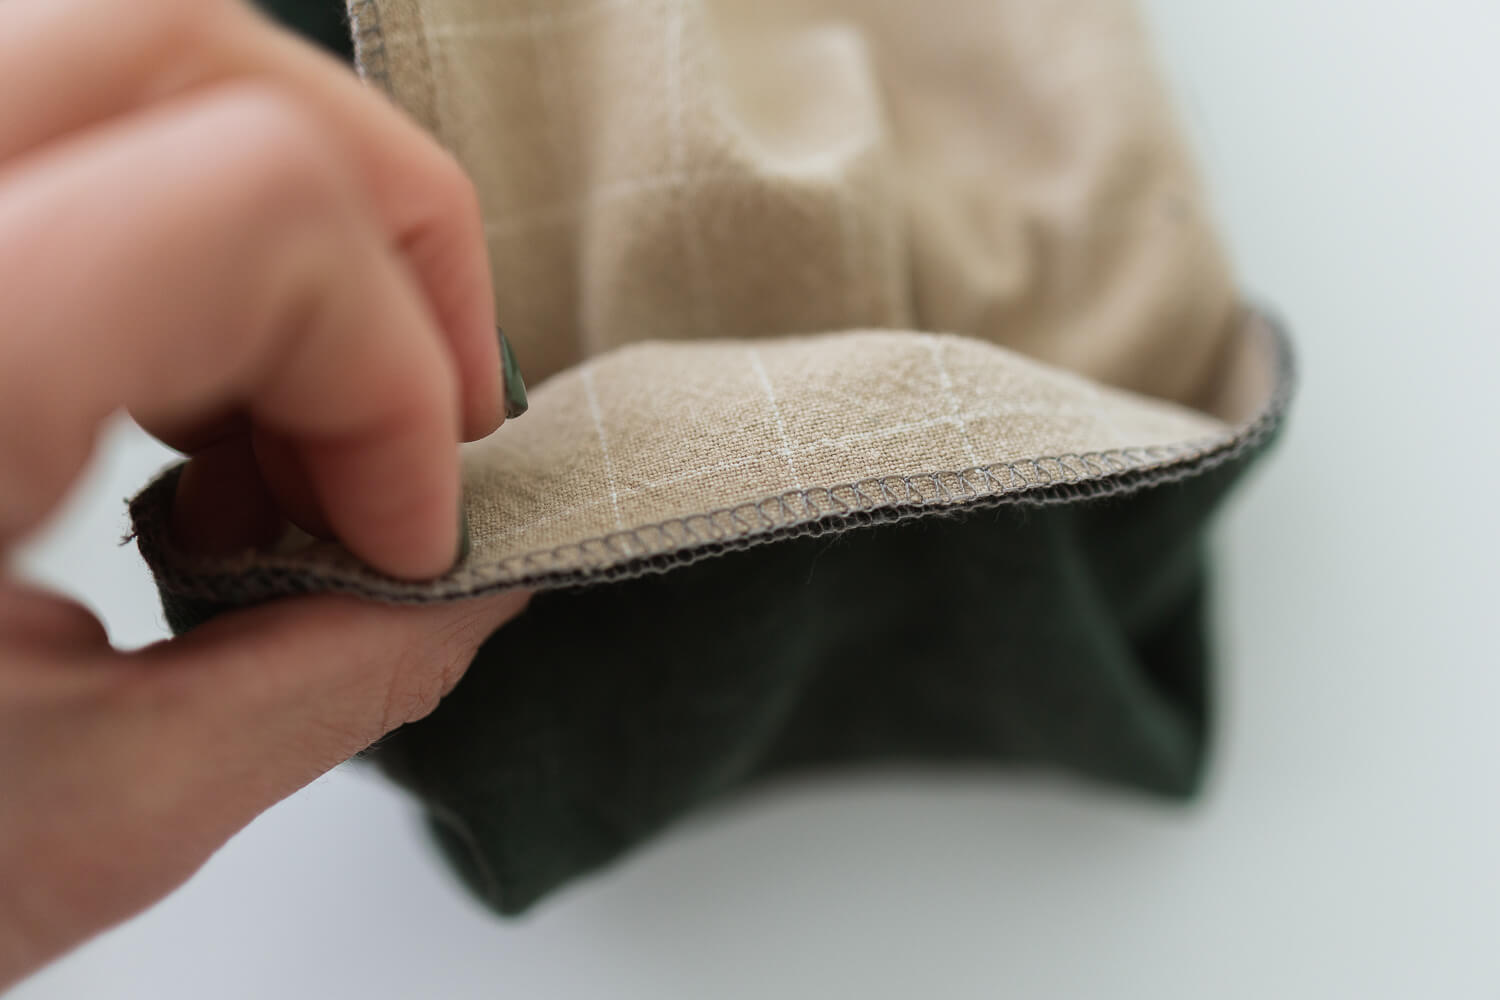
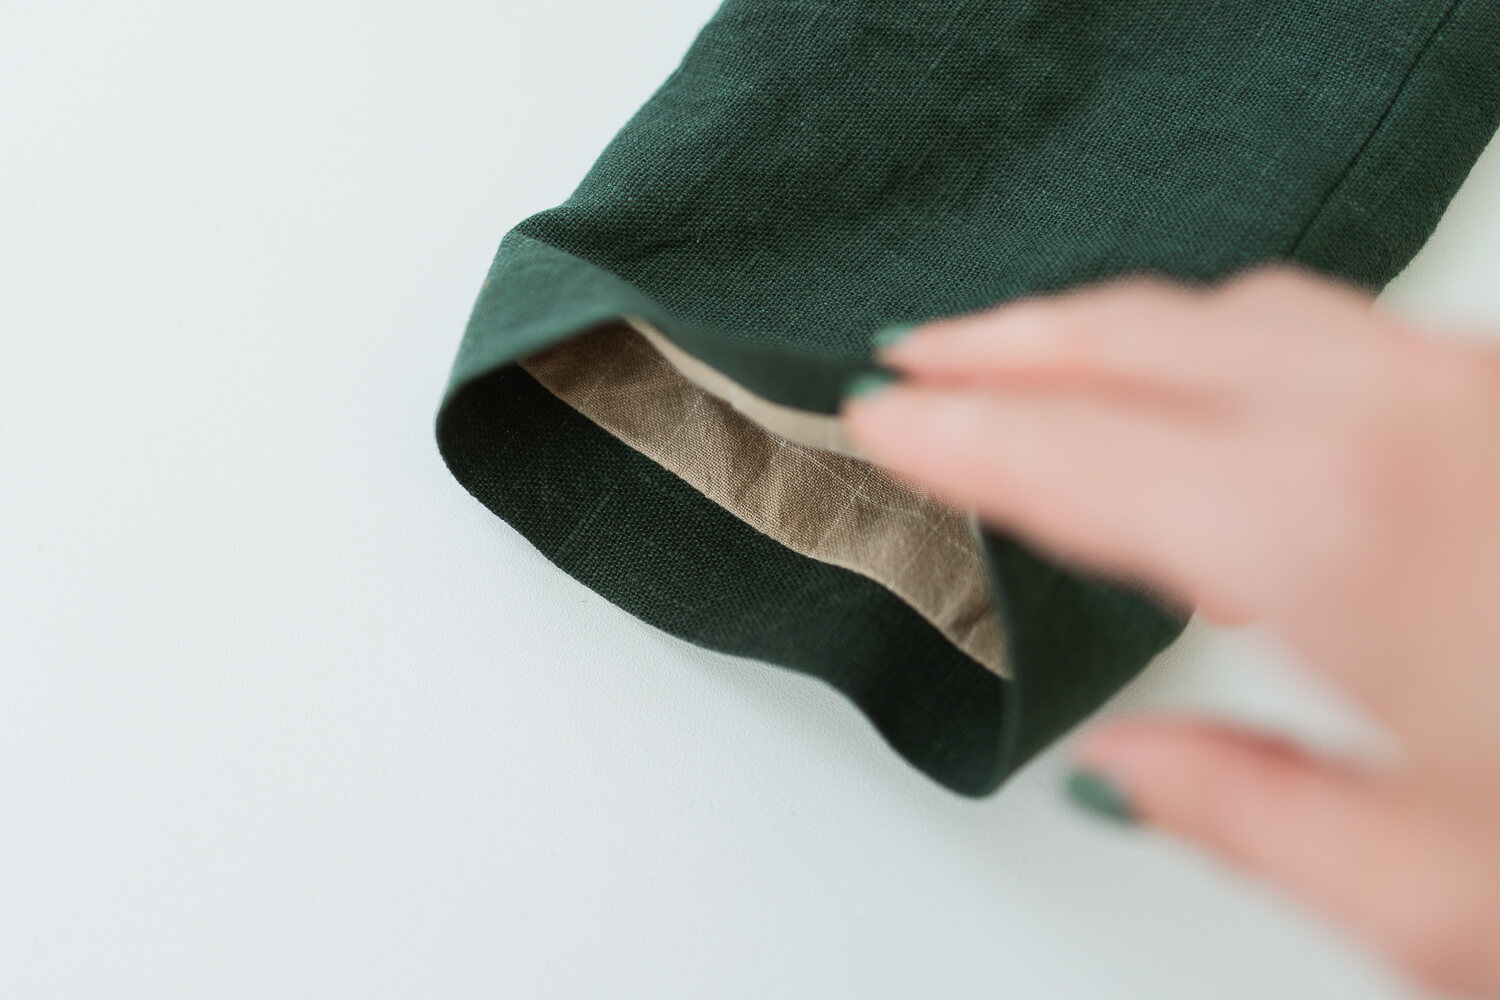
19. Fold the end of the lining sleeve right side out. Insert it inside the jacket sleeve so the right side of the jacket and lining is together.
20. Line up the seams and edges.
21. Sew all the way around.
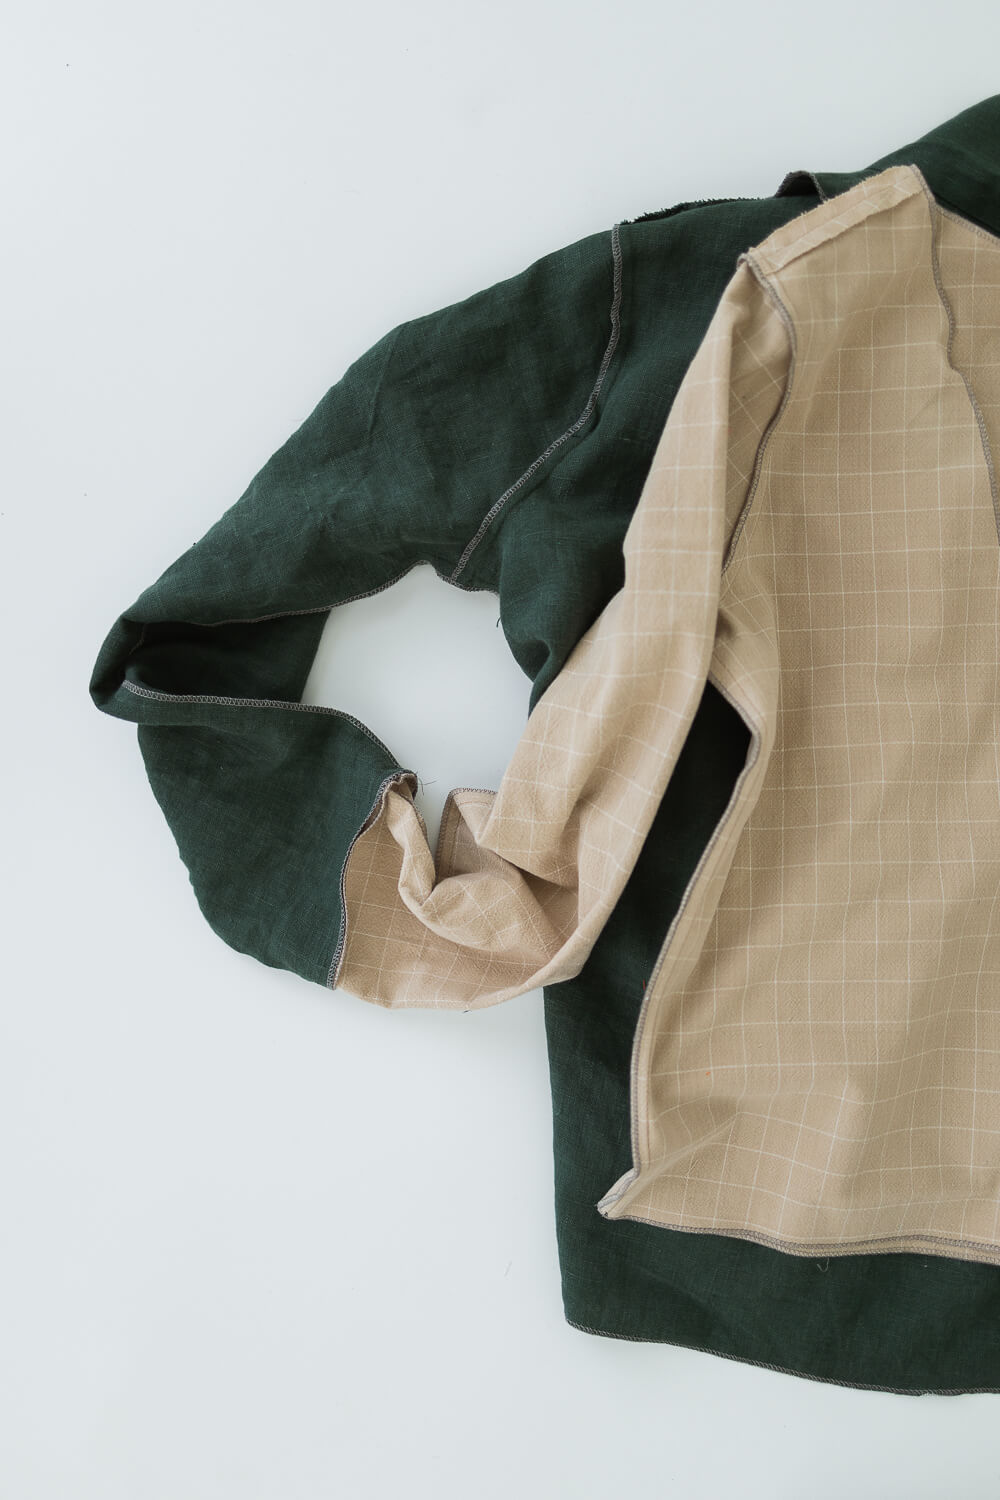
22. Flip the blazer and the lining so they are now facing right sides together and pin or clip all along the perimeter. Line up the lining shoulder seams with the seams in the back facing. Match up the side seams along the bottom edge. The bottom corners can be tricky. They will bunch up a bit in the corner, but there should be just enough lining for 3/8” (~1 cm) seam allowance along the front bodice facings and along the bottom edge.
TIP: Precision is important for this step. Clip in several places to make sure all the fabric is evenly distributed and there is enough for the bottom corners.
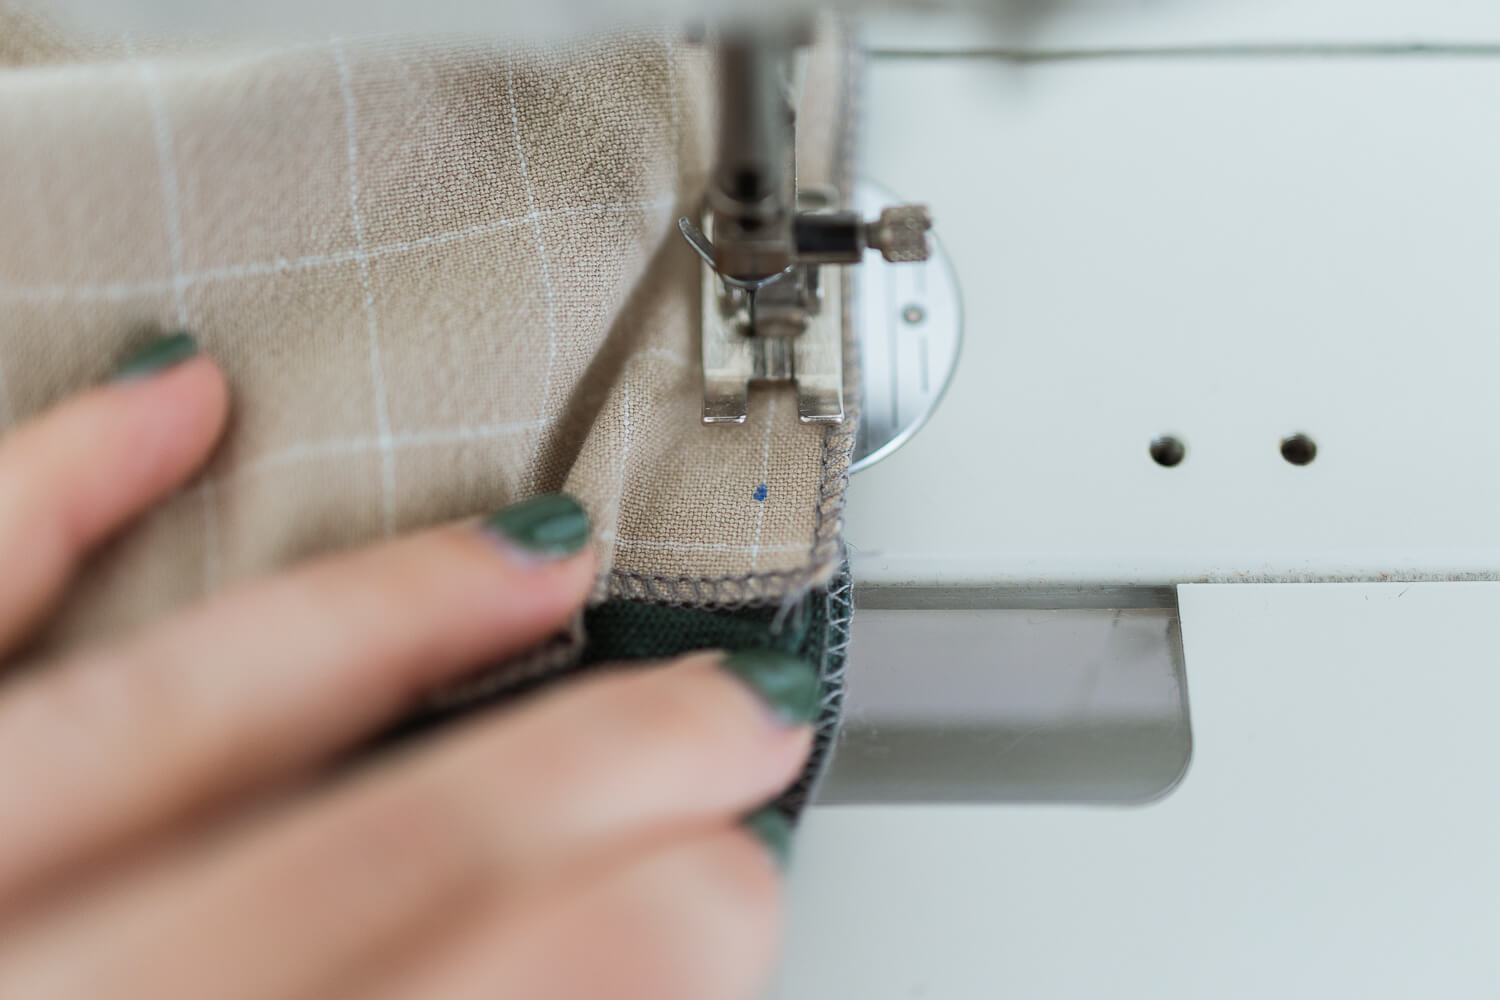
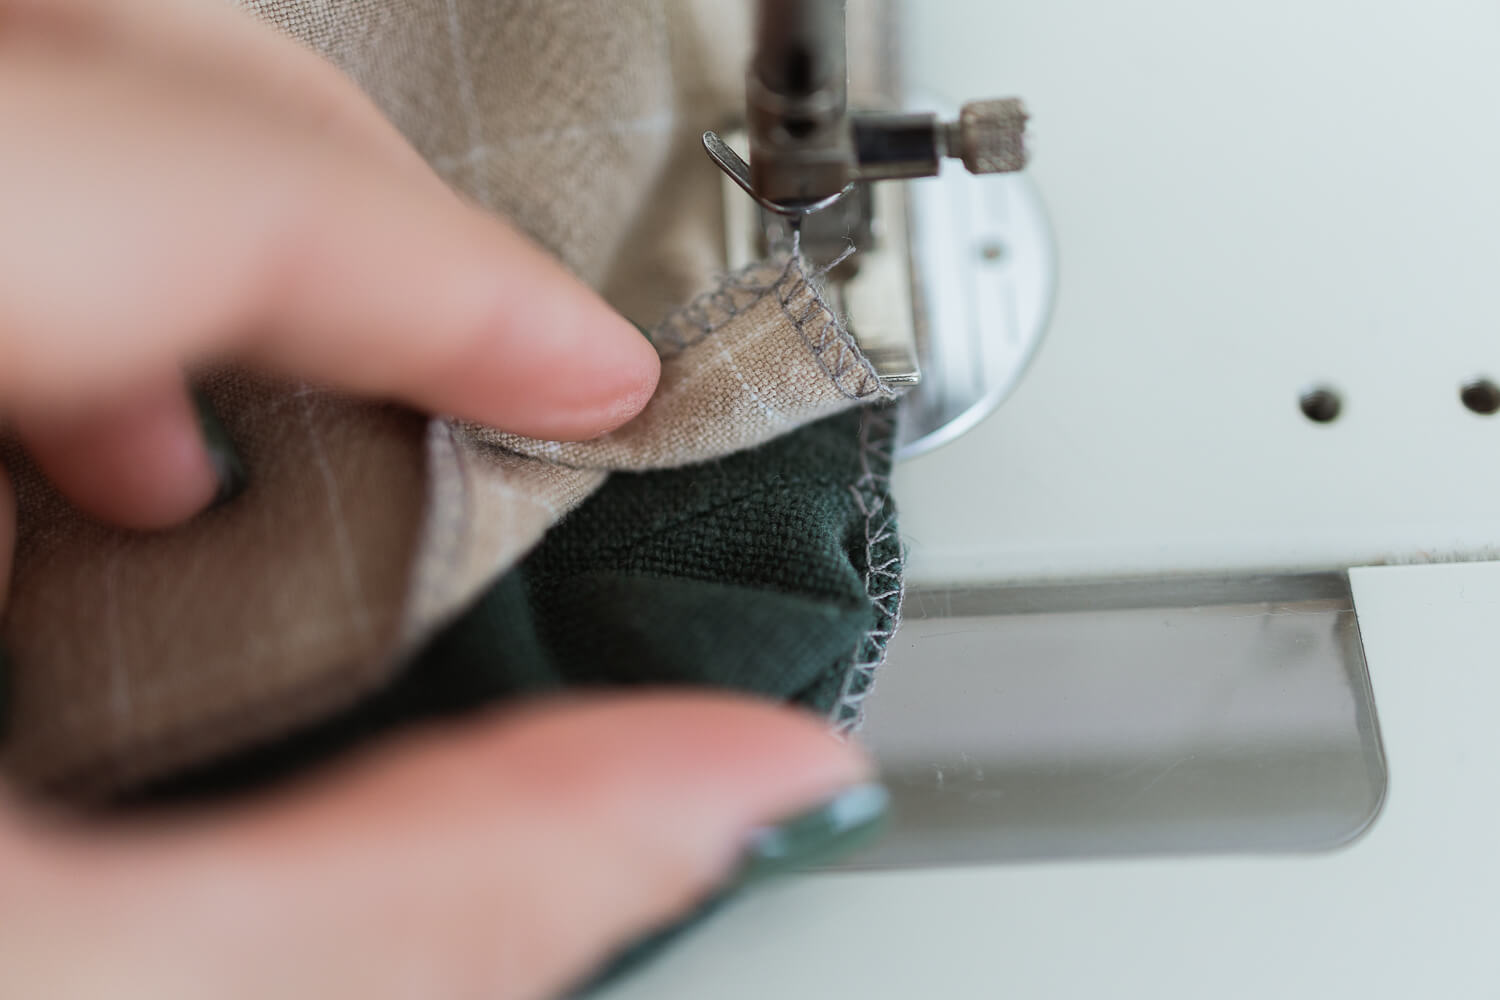
23. Start along the top and sew all the way around. When you come to the bottom corner, mark the spot on the lining right on top of the diagonal corner seam underneath. It should be about 3/8” (~1 cm) from the edge of the lining. Sew to that mark, leave the needle in, lift up the presser foot, and pivot the fabric. Continue sewing to the next corner and repeat the process.
TIP: This is another one of those awkward maneuvers. But you can do it! It doesn’t have to be perfect. Sew slowly and carefully for this step.
24. Clip the corners and snip along the curves.
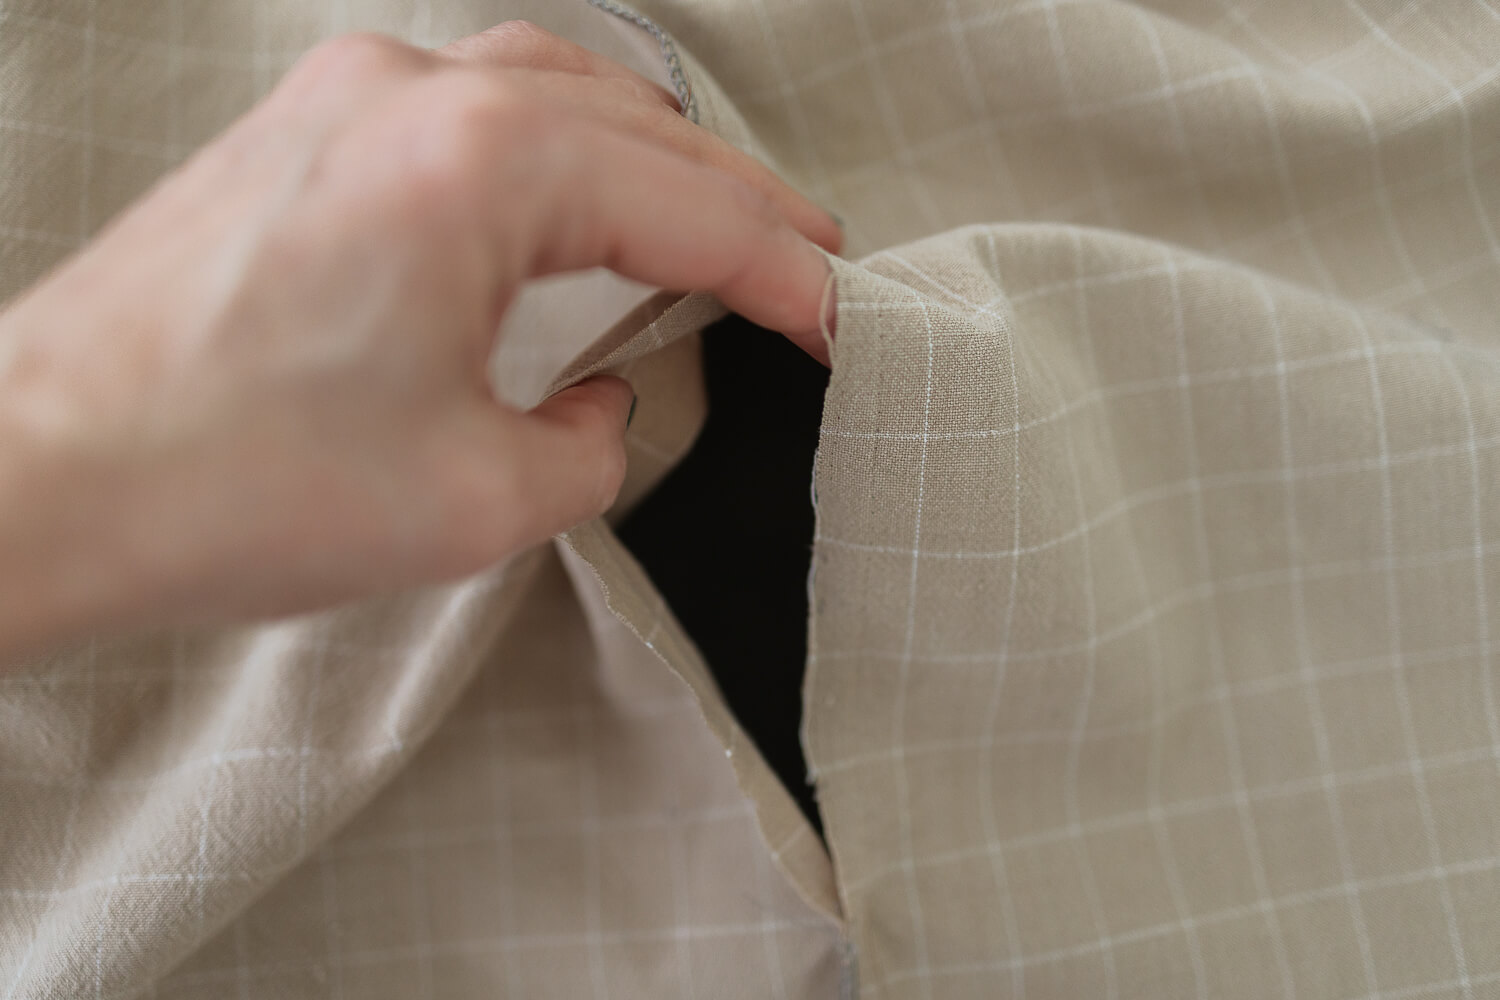
25. Seam rip an opening in the side seam of the lining. Turn the jacket right side out through the opening.
26. Hand sew the opening in the lining shut using a blind stitch.
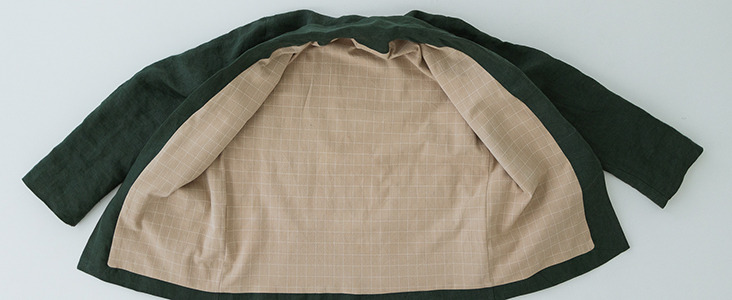
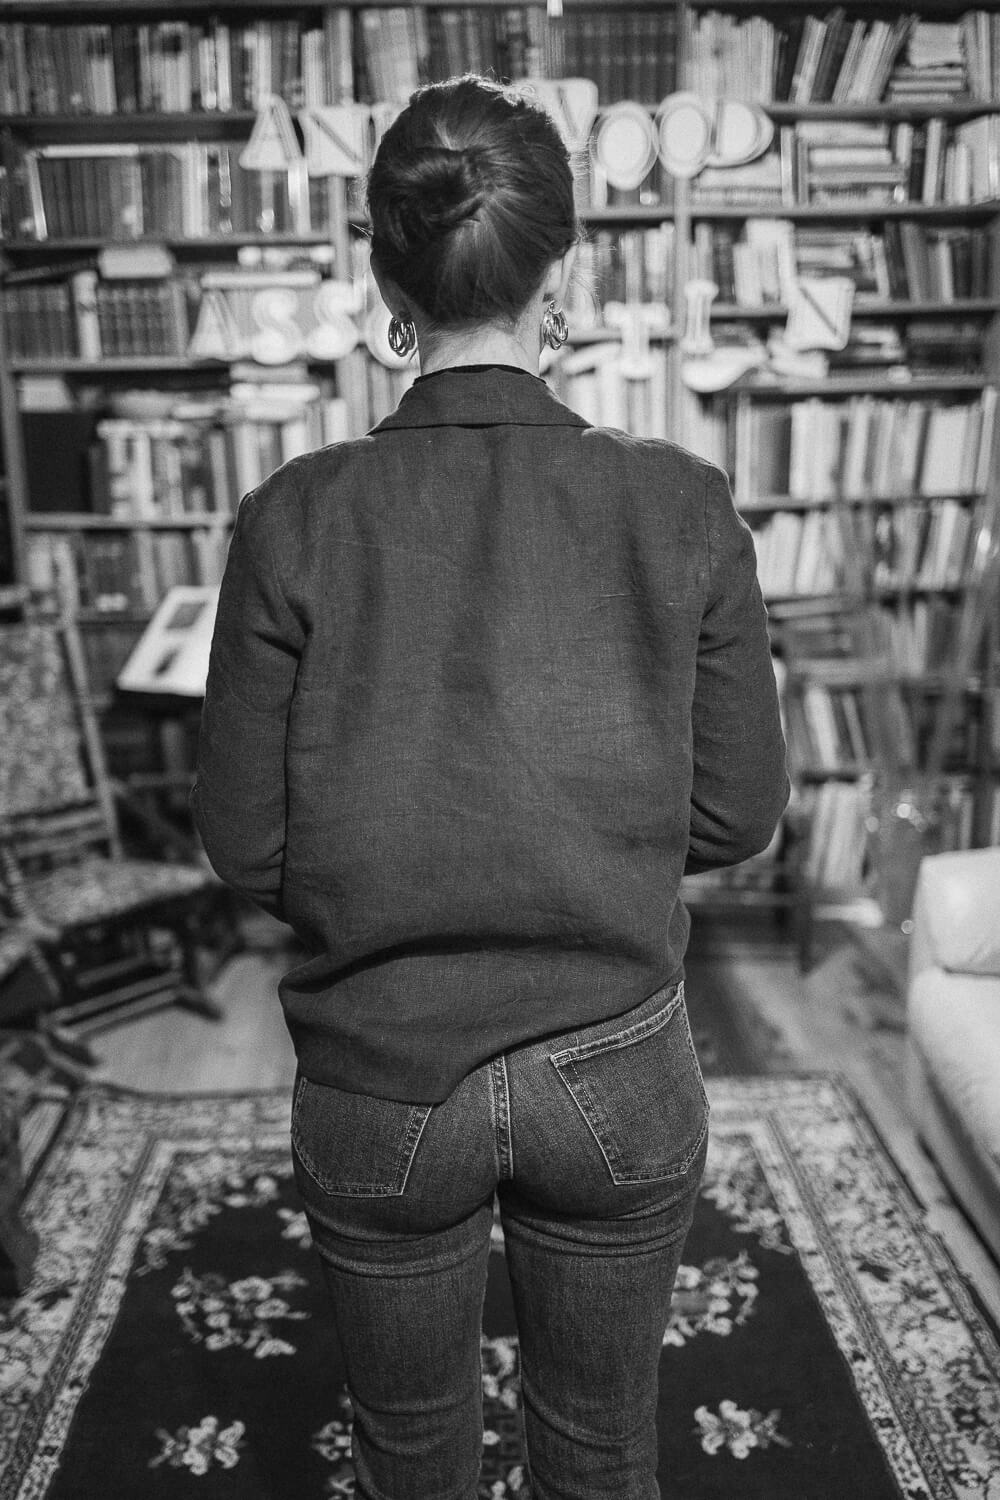
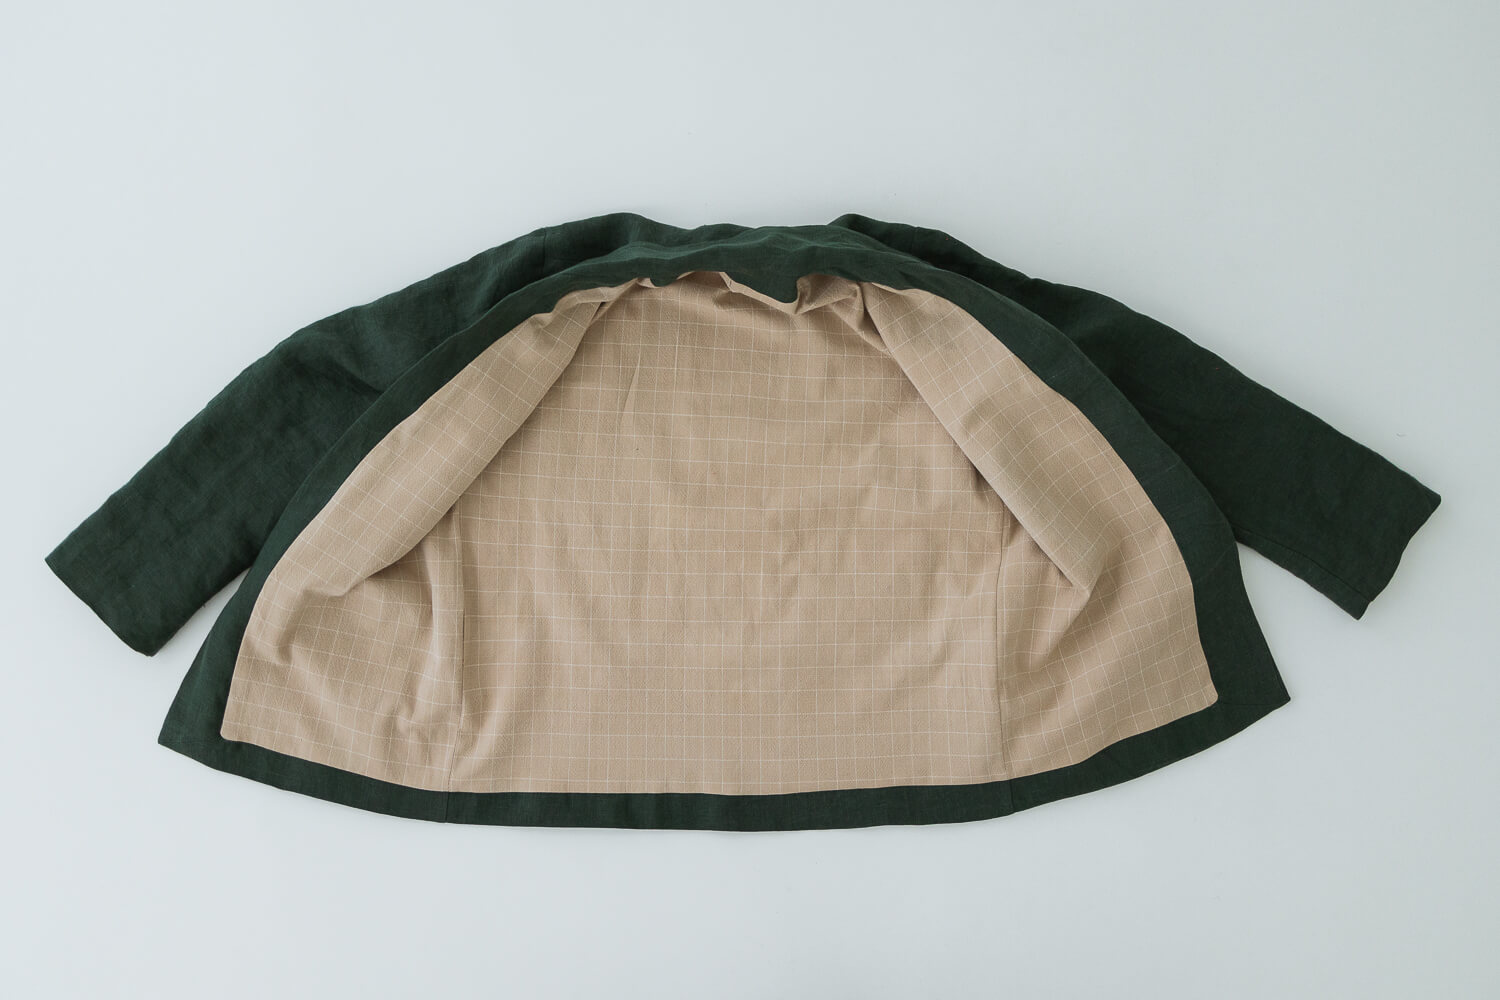
27. Give the jacket a good press and admire your new creation!
























9 Comments
Elena Walker
On #17 do you do this to both corners or just the first? I’m confused.
Kathleen Shepard
Excellent tutorial, Sarah. Your pattern tweaks are appreciated. What fabric content/weight did you use for the lining? Washable?
Sarah Kirsten
Thanks Kathleen! Good question — for the lining I used a mid weight 100% cotton I had in my stash, definitely washable. I tend to get cold easily, so I wanted something a little more substantial to add warmth to the jacket.
Peggy Straathof
Hi Sarah,
Thank you for this tutorial. I love the way you finished off the bottom front corners!
Sarah Kirsten
Thanks Peggy! It’s a fun project to sew. I always like the big reveal at the end of a lining project when you pull everything through to the right side. Feels magical.
Kate Renwick
Do you not make a small pleat at the center back neck for ease? It’s all so incredibly neat! They are great instructions but just wonder about a bit of ease.
Sarah Kirsten
Hi Kate, yes, no pleat on this lining. I felt the slightly oversized fit of the jacket would do okay without the pleat. But I’d love to see how yours turns out if you decide to make one and add the pleat!
Patricia Lynch
Great tutorial. Very clear instructions. Thanks for using CONTRAST fabrics so it is easy to see what you are doing. Very helpful.
Sarah Kirsten
Hi Patricia, I’m with you on the contrasting fabrics! It’s much easier to understand what is what when different colors are used.