PATTERN REVIEW: Noor Wrap Dress in Shibori Dyed Linen
A few weeks ago, I wrote a tutorial on how to make a natural indigo vat, this was followed by a tutorial on how to create patterns using Indigo dye combined with Japanese shibori techniques. It seemed fitting to apply the techniques to linen and create an item of clothing from the fabric. I have been wanting to make a dress for some time, the last dress I made my daughters told me I looked like a pilgrim (and just to clarify, not in a flattering or stylish way!) needless to say, I haven’t put that dress back on. With my past dress a no go, I thought a wrap dress would be a more flattering fit and something I could wear on warmer days ahead. I had a look through the patterns on FS and I was delighted to see the NOOR wrap dress pattern.
This was my first time using a pattern from FS and I found it so simple and straightforward, the instructions along with the pattern itself and the blog tutorial made the entire process very simple. The Noor pattern is free, which is always a bonus!
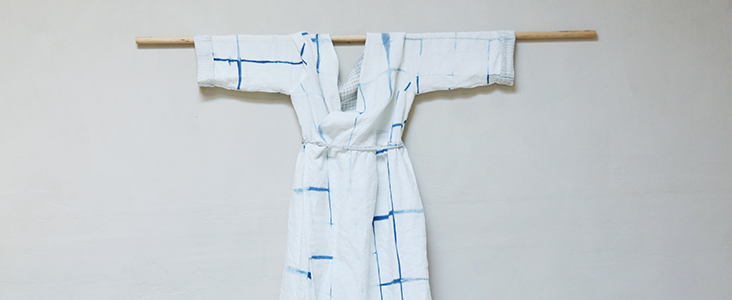
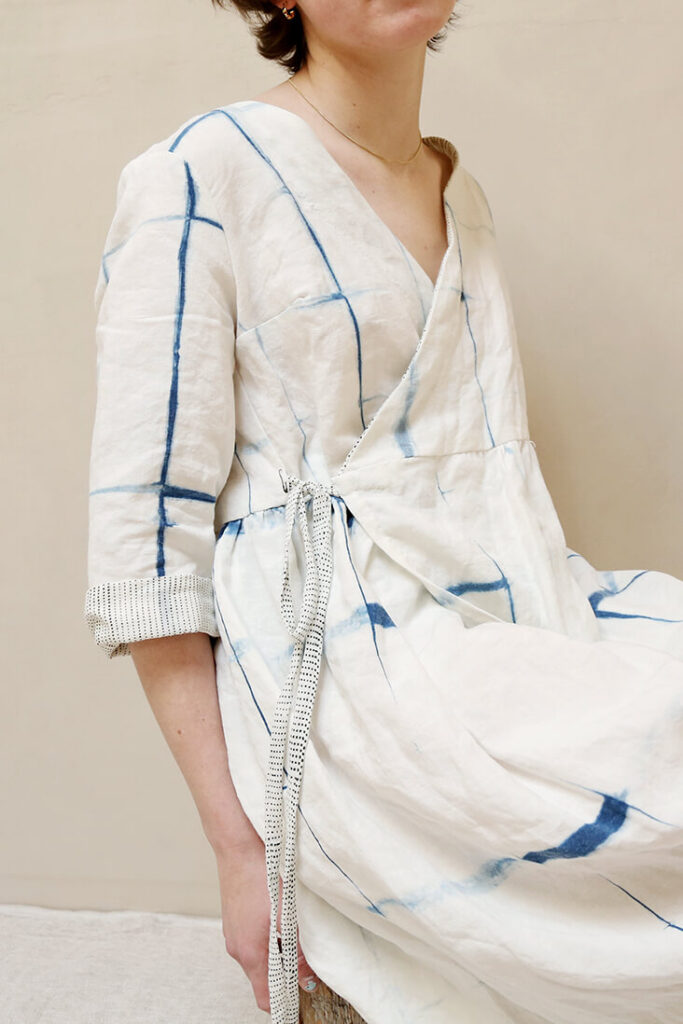
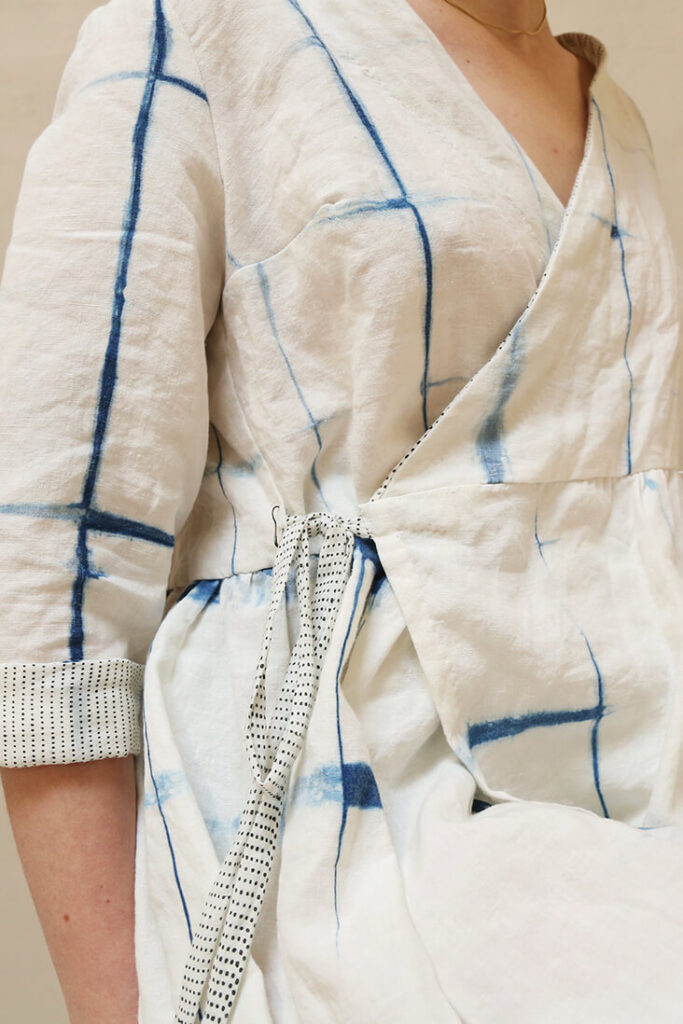
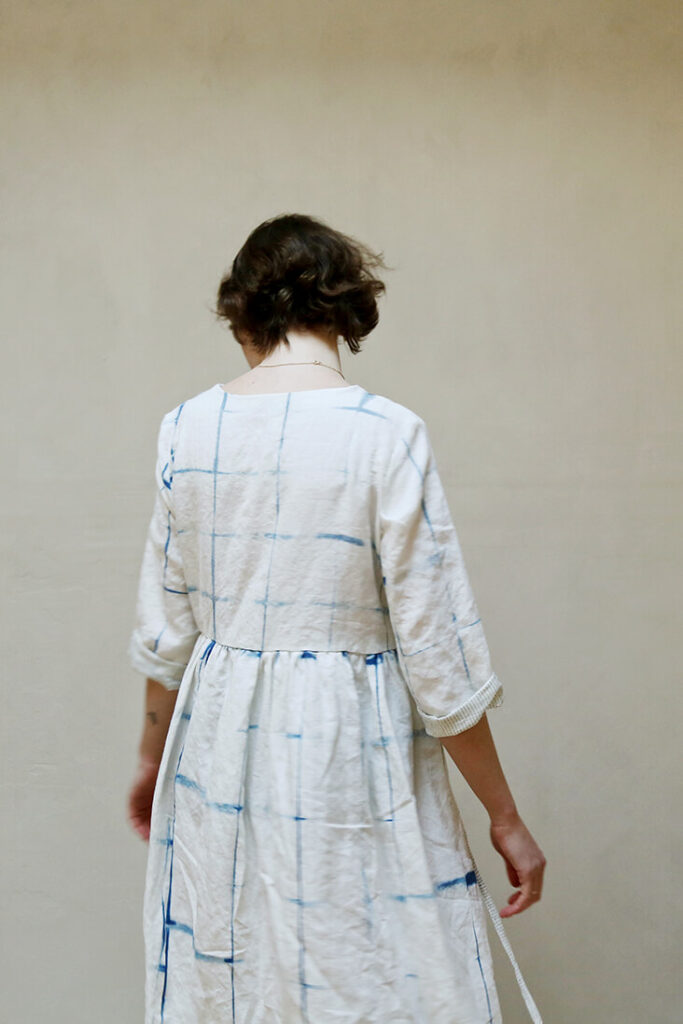
I choose BLEACHED Midweight Linen and using the shibori tutorial I mentioned, I incorporated a simple itajme fold, dipped in indigo. For the sleeves and waist ties, I used a block printed cotton that I had in my fabric stash. For the inner neck lining, I used a beautiful piece of khadi cotton also from my stash.
I decided to make a few modifications to the pattern, I wanted the dress to be loose-fitting across the chest so I went with a Medium 8-10 size and as I am a little fuller in the chest, I added a dart into both of the front pieces. I modified the sleeves so they were ungathered and I added a lining to the end of the sleeves so that when they were rolled up the contrasting fabric would show. I used roughly 4″ of fabric for this and a combination of machine and hand stitching to sew in place. When adding the bias to the front opening I decided to hide the bias on the inside. I did this by sewing the bias to the front edges (right sides facing), then ironing it at the seams and folding it behind the front edge, so it doesn’t show. I then hand-stitched the inside edge in place, using the stitching as a detailed feature.
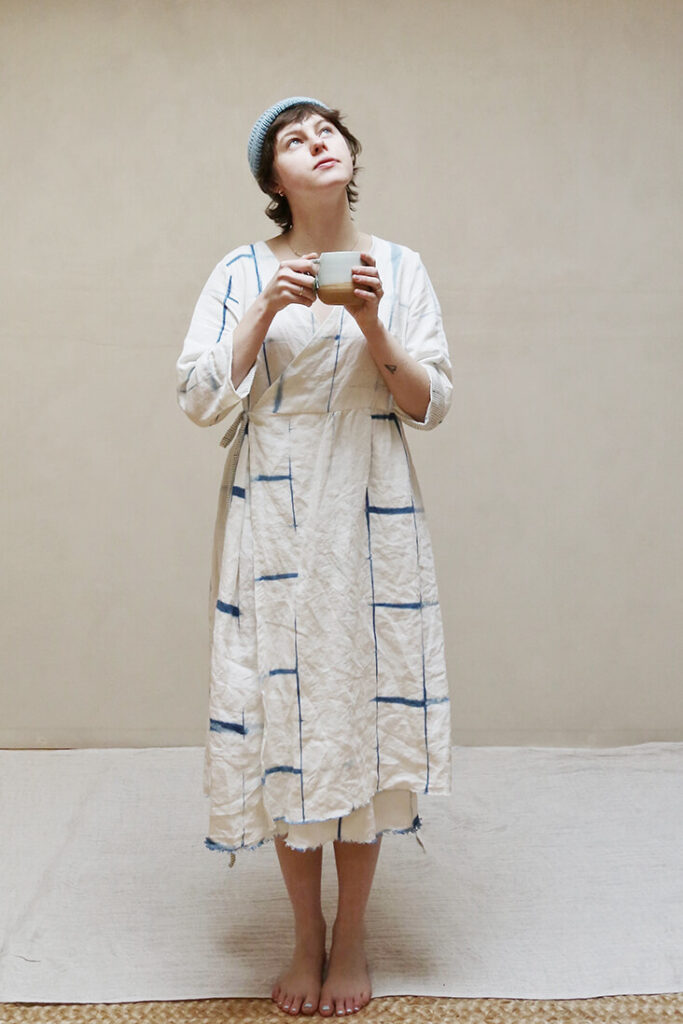
I wanted this dress to fall at mid-length, so I adjusted the skirt panels to make sure the length was right for me, I also decided to leave the bottom on the skirt unhemmed. I fully intended to hand-stitch the hem as I much prefer how it drapes with hand-stitching, sometimes I feel a machine hem adds a structure to clothing that I don’t always want. For now, it is unhemmed with a raw selvedge edge, which I like, I may decide to stitch it in the future. For the waist ties, I made them extra long and used the same fabric I used on the front chest panels and the sleeves.
Fabrics-Store did an excellent job with the Noor pattern and I think this could easily be made by a beginner. The fact that you get the pattern and a step by step tutorial, takes a lot of the usual guesswork out of the equation and simplifies the entire process. Once you figure out the layout its very straightforward and could made beautifully without the modifications I incorporated. I don’t make clothes as often as I would like but when I do, I always enjoy adding details that personalise the piece and make it that bit more bespoke, I find lining the end of sleeves and the inside neck a great place to start.
If you have been wanting to make a dress, I think the NOOR pattern is a wonderful place to start and if you decide to incorporate the indigo dye or shibori techniques be sure to let me know how it goes, I would love to see photos of your work. Special thanks to my lovely daughter Alannah for letting me take photos of her in the dress (Alannah is roughly a size 4-6 and the dress size is size 8-10)














8 Comments
Sienna Evans
This looks absolutely incredible! It makes me want to get back to my fabric-dyeing days to make something truly unique. Can’t wait to start on this dress!
Kathy Guttosch
This is wonderful on you! And I adore the hem–perfect, especially with your shibori dyeing!
Kathryn Davey
Hi Kathy, Thank you so much for your lovely comment, it is actually my daughter in the photos, I don’t think it looks as good on me as it does on her:) Happy you like how I left the hem undone. x Kathryn
MaryJane Brodsky
Kathryn, I love everything about your dress! The subtle way that you used the itajime shibori to obtain the indigo crisscrossing lines (less is more!), the accent fabric, and the unfinished hem – these are all things that make your version so lovely. And now I must figure out how to make my own!
Kathryn Davey
Hi MaryJane, thank you so much for such lovely feedback. I am happy that you like my modifications & if you need any help with yours let me know. x Kathryn
Nancy Stockman
Please tell how you modified the sleeve…I love your look!!
Kathryn Davey
Hi Nancy, Thank you. It might be hard for me to explain simply but here goes: I basically extended the sleeve by sewing an extra piece of fabric onto the end of the sleeve (right sides of both fabrics together). Then I folded the addition in and handstitched it in place so when it is turned up, you see the newly added piece of contrasting fabric. I hope this helps? x Kathryn
Lorraine Urquhart
The original pattern for the Noor dress had a gathered sleeve cap. You appear to have removed the gathers – how do you do that?