


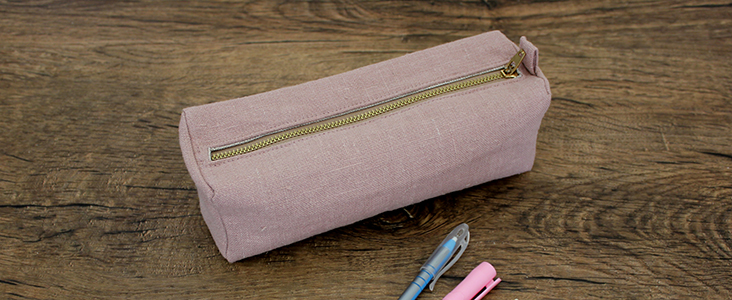
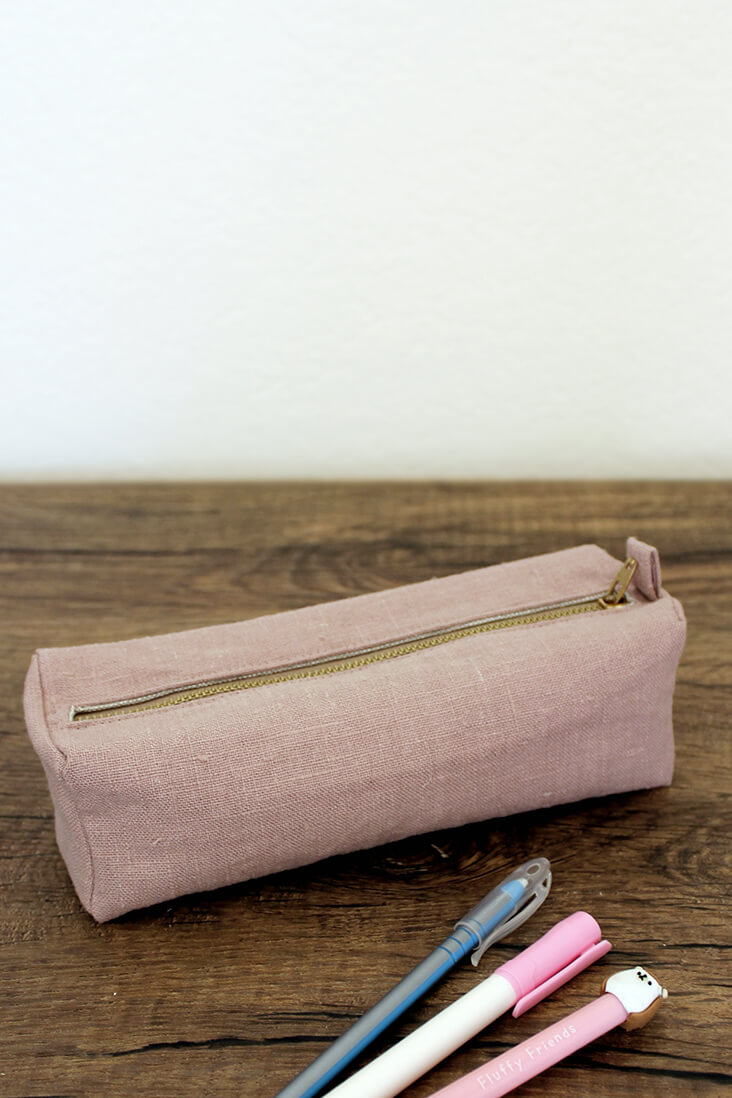
Sewing With Teens: How to Sew a Boxy Pencil Case Tutorial
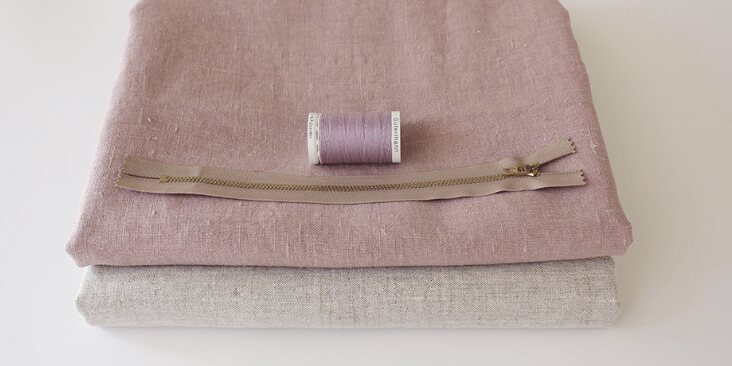
Materials

Fabric marker, scissors, pins, ruler, zipper foot, iron, sewing machine
Difficulty
Intermediate
Sewing Time
3-4 hours
Pattern
You can access the printable PDF cutting guide by following this link HERE. All seam allowances are included and are 1/2” (1.3 cm) unless otherwise specified.
Steps

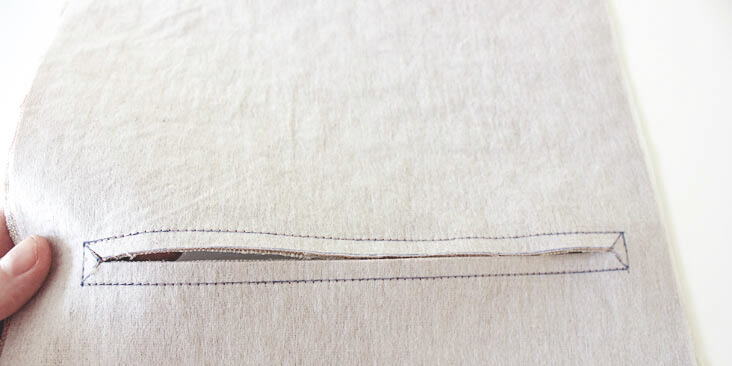
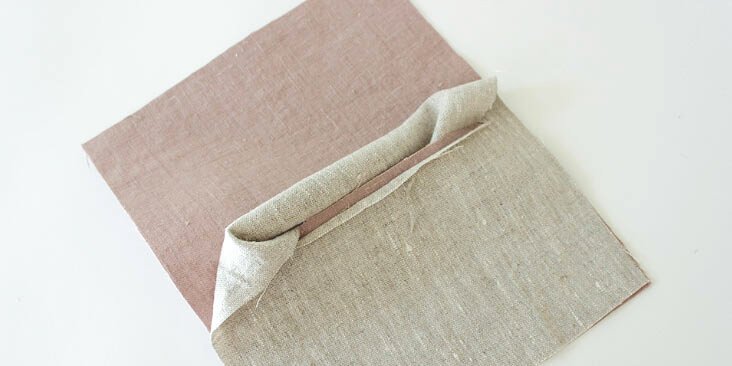
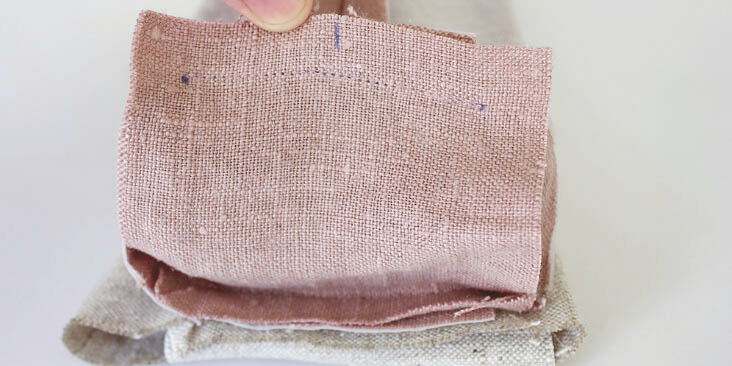
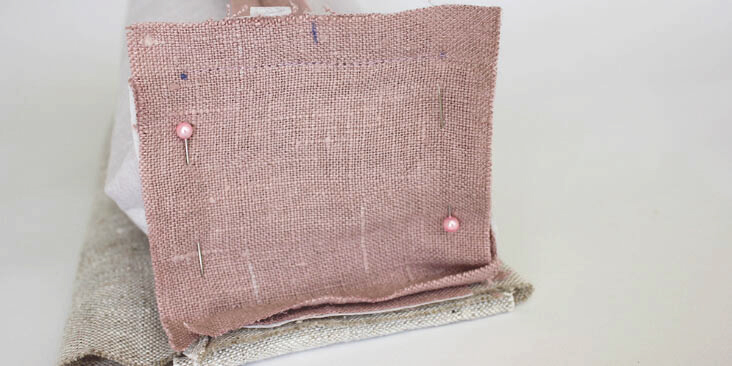
3. Push the lining through the hole you have just cut and flatten in line with the outer. Press.


About Author
Lauren Linen
Lauren is a knitting pattern designer and part of the fabrics-store.com pattern team. For a decade, Lauren was a high school Fashion and Art teacher in Australia before relocating to Los Angeles.Leave a Reply to Becky Elder Cancel reply
Related posts

Know Your Craft: Why I Analyze My Practice (and a Peek into My Data)
One of the most empowering choices I make in my sewing and adjacent crafts practice is to track and analyze data. Every year I keep a robust spreadsheet that contains detailed information about each project. At the year’s end, I ask myself, What stories are here? What do I want to know? I then use…
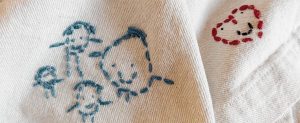
Modern Heirloom: Tracing Memories onto My Jacket
A little over two years ago when I was only a few months postpartum with my second daughter, I had decided I wanted to make a jacket for my husband for our anniversary. We had two daughters close together and felt like we were just trying to make it through the day, so making him…

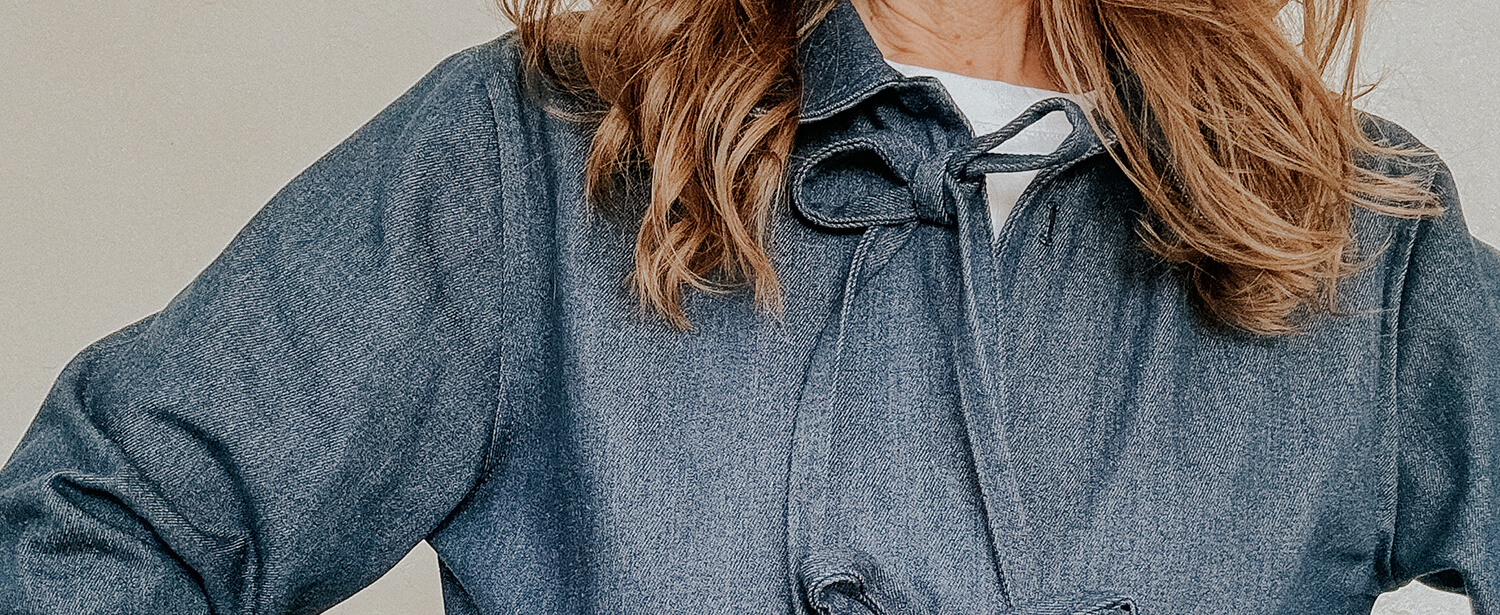
How to Add Bows to FS Paola Jacket
A fun new twist on the Paola Workwear Jacket is exactly what we wanted! I adore this pattern and I’m starting to lose count on how many of them I have made. The pattern is so versatile of a shape and so easy to switch up the look in interesting ways with various fabrics, patterns,…

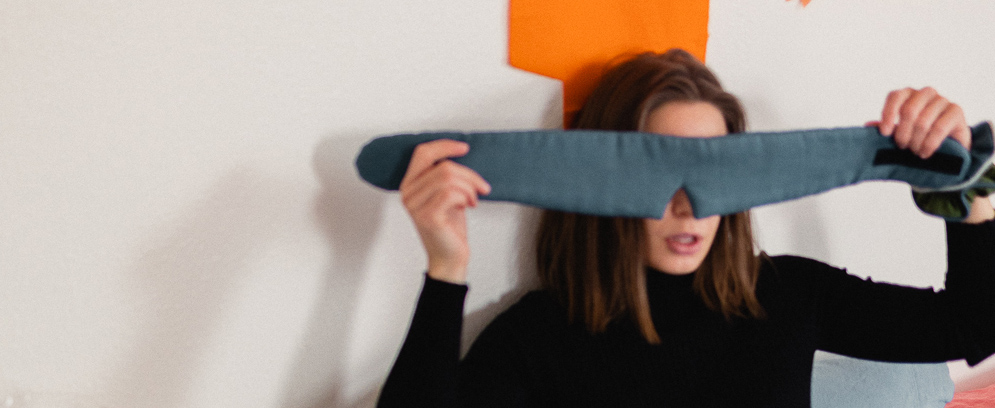
Valentine Self Love Special: How to Make a Linen Sleep Mask
Here’s the situation so far. Valentine’s Day. I think I’ve had about three years of feeling terribly lonely, two years of awkwardness with boyfriends I quickly decided I needed to break up with, 26 years of feeling indifferent, and the crown jewel, one year of exchanging silly valentines puns while a gentle romance unfolded. So,…

Sewing Project: How to Make a Linen Ruffle Tote
If you have a bit of extra fabric and want to make something equally whimsical and practical, might I suggest a ruffle tote? Here’s how to do it! Step 1: Select some lovely linen and cut out the tote bag pieces. I used midweight signature finish linen in Evergreen. Ruffle – two pieces 4” x…


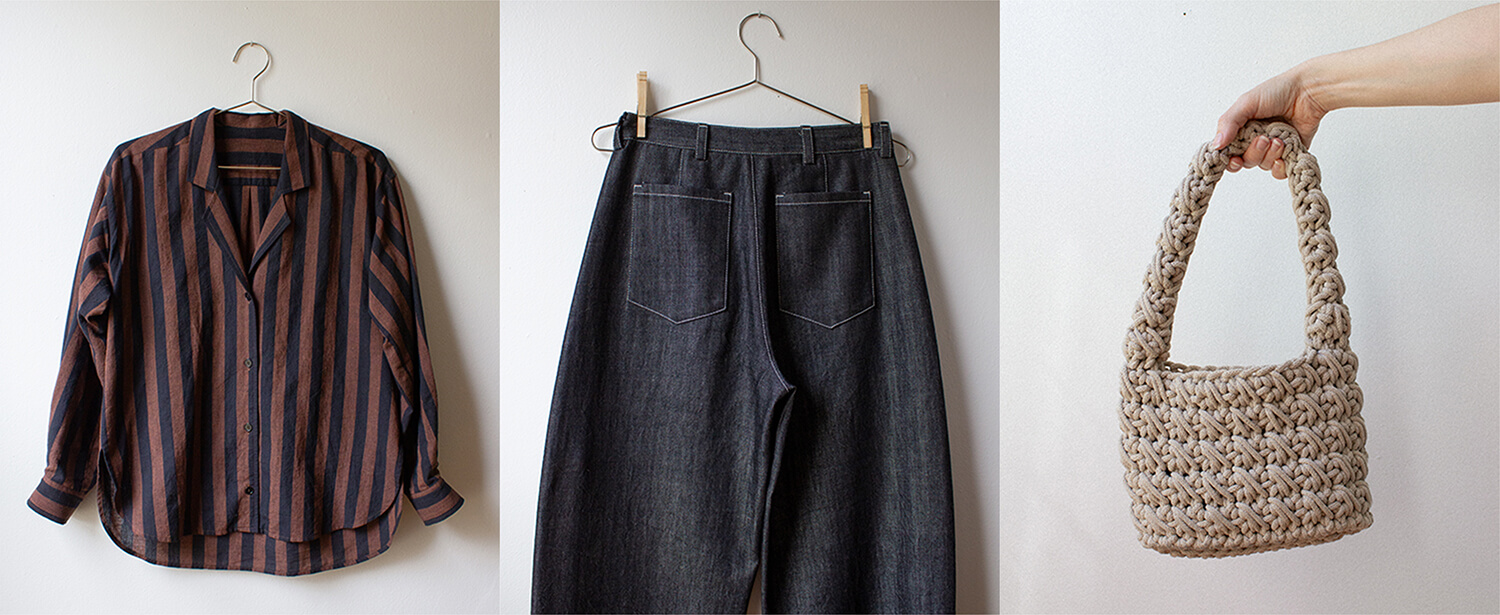
SEW THIS LOOK


Latest Posts


7 Comments
McKenzie Reints
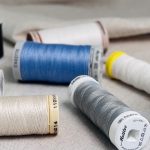
What gutermann color thread is that? 355?
Lauren Gates
Hello Mckenzie I used Guterman thread color: 910
Jennifer Miller
This is for teenagers to sew? This is so complicated!!!
Lauren Gates
It’s designed for you to sew with your teen Jennifer. I didn’t sew this project with my beginners, it is definitely a great project for intermediate sewists who want to perfect their skills.
Our teens are quite talented and capable with the right training, I had many groups of teens create everything from self-drafted garments to intricate patchwork quilts by their senior year.
Patricia Woosley
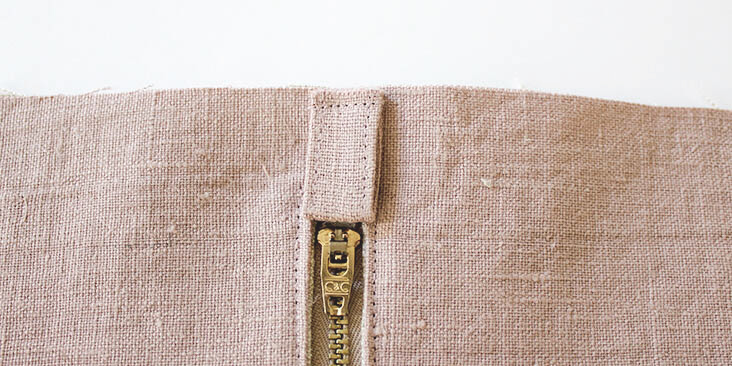
The pull tab is to hold as you open the zipper.
Becky Elder
What is the purpose of the pull tab? Just for looks?
Lauren Gates
Just like Patricia said, Becky. It’s to hold as you pull the zipper. Some of my students like to create beaded charms to hang from them too.