Faye Linen Duster Tutorial and Pattern
Adaptive layering is something we feel can be practiced all year round. If you are looking for something light to throw on, or feel you need to add a little flair and colour to your warmer layers but still look effortlessly chic, then you probably need a duster!
What exactly is a duster you might ask? The original dusters were born in the late 18th century and were full-length, light-colored canvas or linen coats worn by horsemen to protect their clothing from trail dust. Today, the word and style are so popular that ‘’duster’’ seems to refer to any number of styles – an overcoat, a shirtdress worn open, a painter’s coat, etc. But the main feature that defines the style is the openness. To us, a duster is anything that you can wear open, a lightweight layer of clothing, falling mid-thigh to full length.
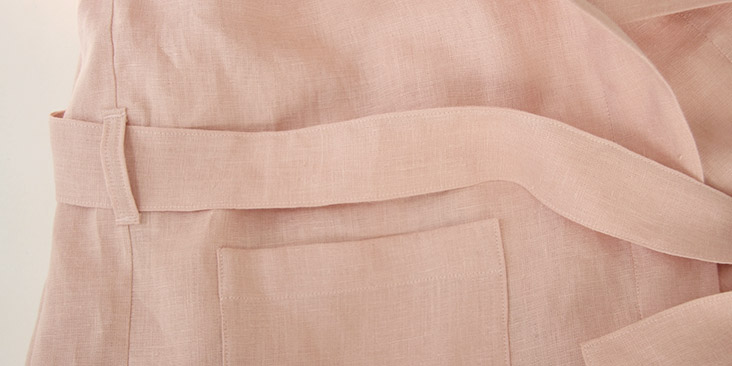
Our Faye duster pattern has a loose fit, maxi length and open front. Styled with a neckband collar, two patch pockets, and a detachable belt with two belt loops, Faye has all the integral elements to create a perfect look. It is super easy to sew and would make a great addition to your handmade wardrobe. Lightweight and flowy, it adds a fashionable touch to any outfit while providing an extra layer of warmth.
Materials
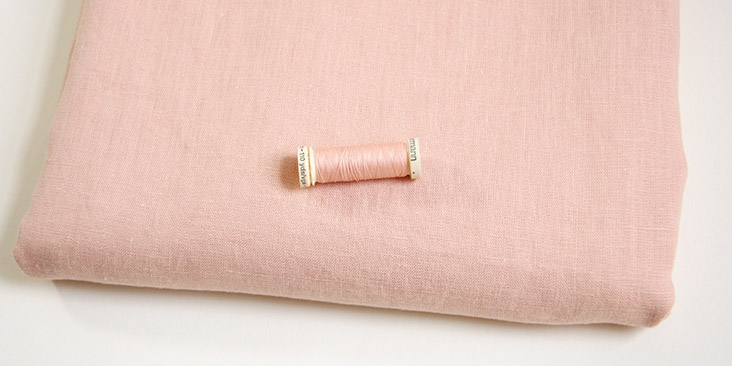
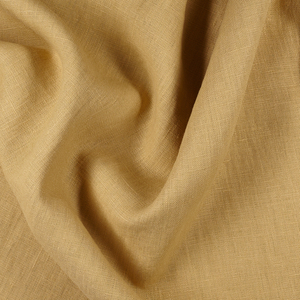
For our sample size XS pictured in this tutorial we used 3 yards of 4C22 HONEYBLOSSOM Softened Heayweight Linen
For other sizes, please refer to the yardage table in the PDF pattern to determine the required amount of fabric.
Matching sewing thread.
Tools
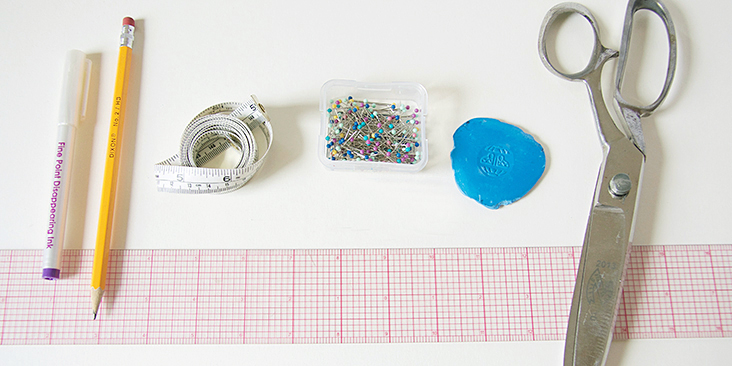
Scissors, pins, ruler, chalk, measuring tape, seam ripper, sewing machine
Difficulty
Beginner
Sewing Time
3-4 hours
Pattern
You can access the multi-sized printable PDF pattern by following this link HERE. All seam allowances are included and are 3/8” (1 cm) unless otherwise specified. The model is wearing size XS.
Remember to transfer all the notches onto your fabric.
Steps
Note: Prewash your fabric and tumble dry it until it is still slightly moist, dry at room temperature. Iron the fabric so it is easier to work with.
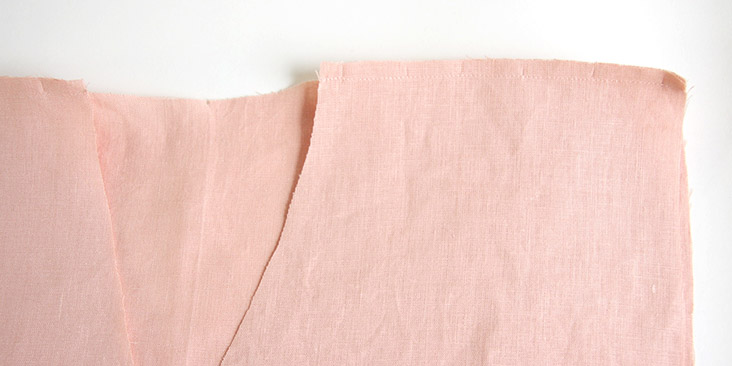
1. With right sides together, pin and stitch the front and back pieces at the shoulders at a 3/8” (1 cm) seam allowance.
2. Finish the seam allowances together using your preferred method (serge or zigzag). Press towards the back.
3. Snip a notch at the center fold of the sleeve cap. With right sides together and shoulder notch aligned to the shoulder seam, pin the sleeve to the bodice and stitch at a 3/8” (1 cm) seam allowance. Finish the seam and press towards the sleeve.
4. Repeat step #3 for the other sleeve.
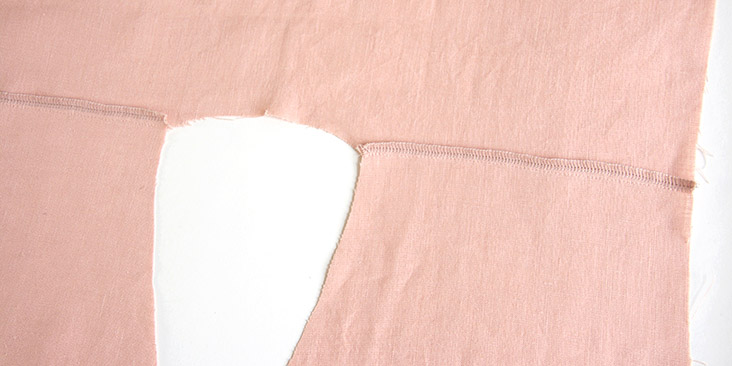
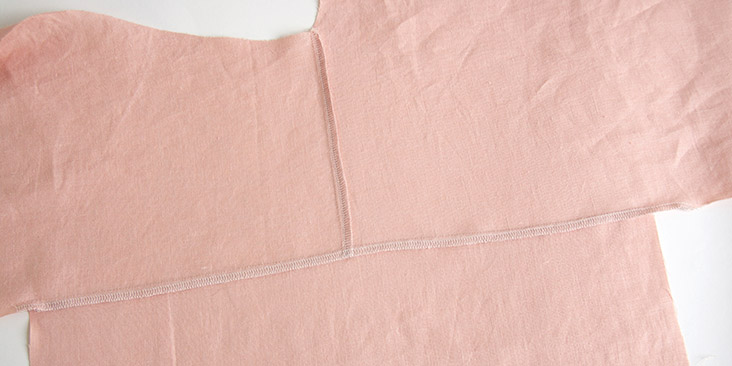
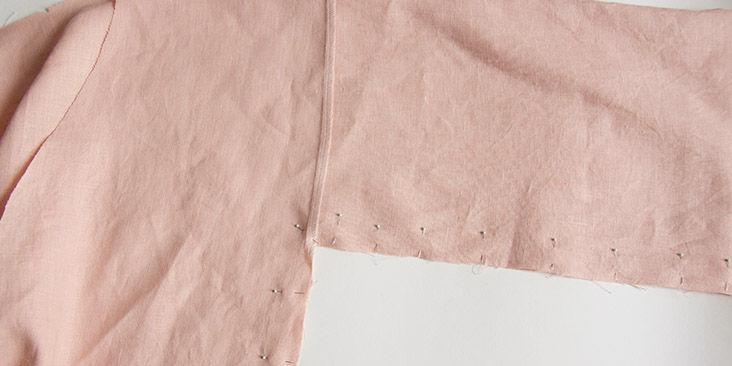
5. With right sides together and seams aligned, pin the underarm and side seams.
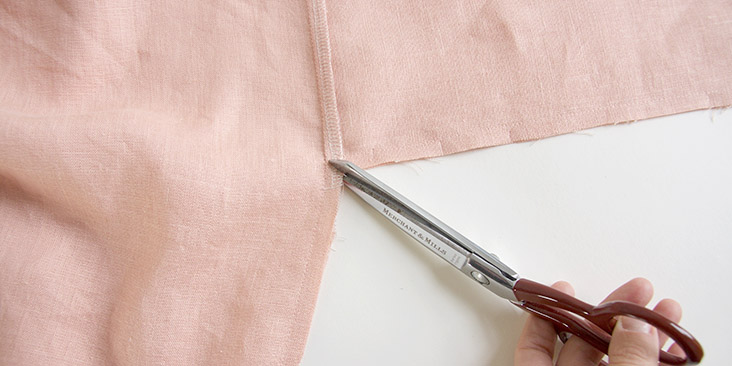
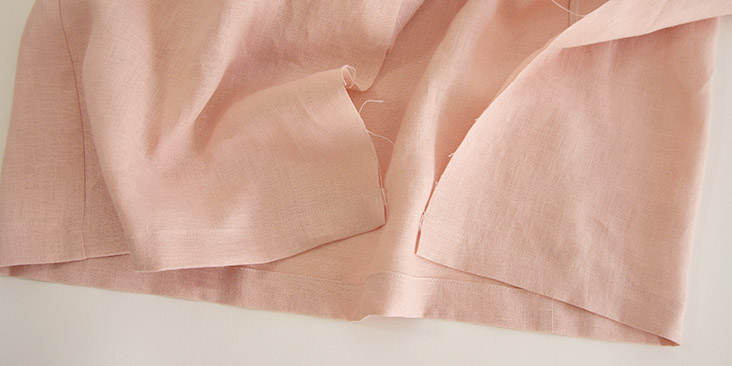
6. Stitch from sleeve opening to hem all in one seam. Clip into the underarm corner to release the tension. Be careful not to clip through the stitches.
Serge/zigzag the raw edges together and press towards the back.
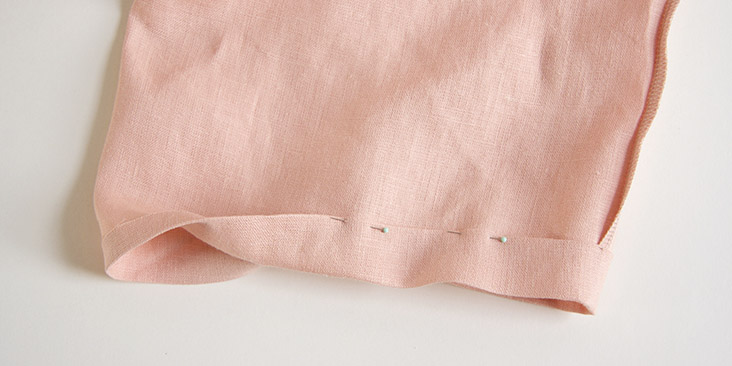
7. Hem the sleeve opening. Fold the fabric twice to the wrong side (first 3/8”, then another 1”). Press, pin and edgestitch.
8. Hem the bottom of your robe. Fold the fabric twice to the wrong side (first 3/8”, then another 1”). Press, pin and edgestitch.
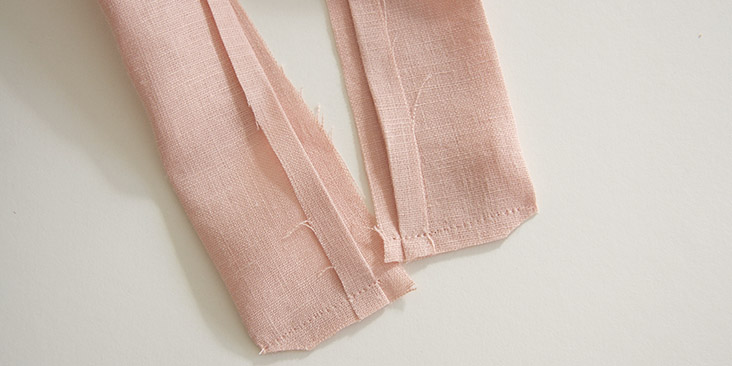
9. To assemble the neckband, pin and stitch the neckband pieces at the short edges right sides together. Press the seam allowances open. Press the 3/8” seam allowance to the wrong side along one long edge of the neckband.
10. Stitch the two short ends of your neckband at a 3/8” seam allowance. Clip the corners to reduce bulk.
11. Turn the neckband right side out and press flat.
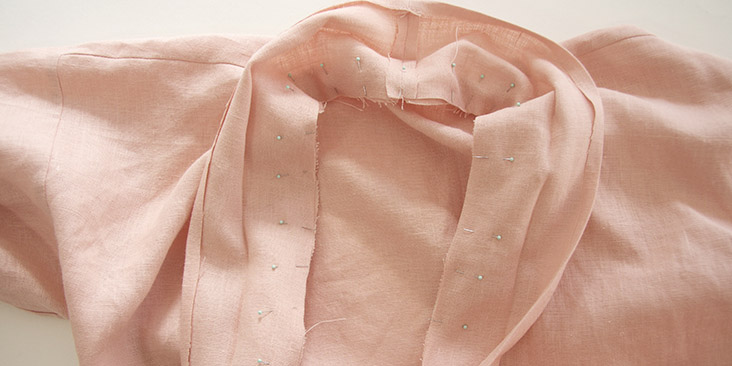
12. Pin the non-folded long edge of your neckband to the neckline/front opening. right sides together and aligning the seam to the center back notch.
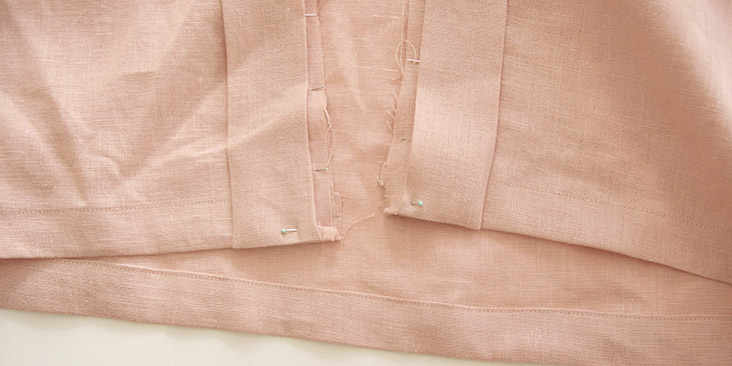
The ends should align with the hem of your robe.
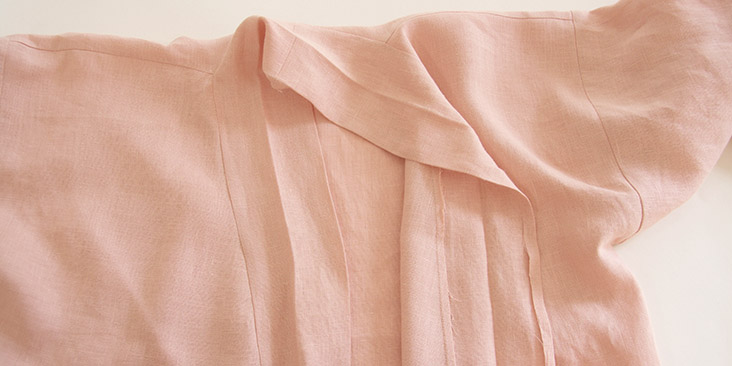
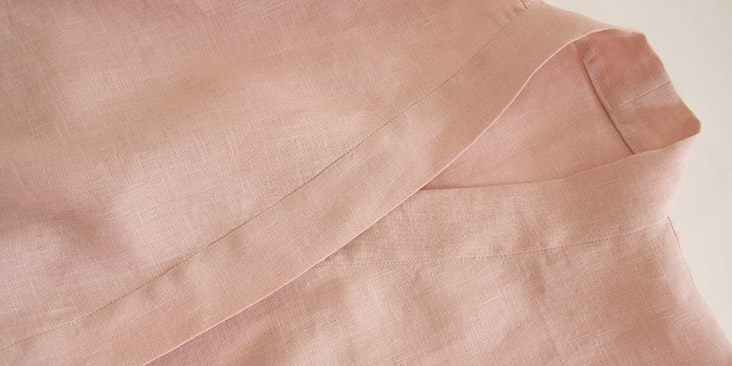
13. Starting at the center back, stitch one side of the neckband all the way to the hem at your standard 3/8” (1 cm) seam allowance. Then stitch the other side. Remember to backstitch. Trim the seam allowances down to ¼” and press towards the neckband.
14. Fold the neckband to the wrong side of the robe. Pin it in place making sure that you cover the line of stitching as you go. Working from the right side stitch in the ditch of the existing seam line making sure to catch the other edge as you sew.
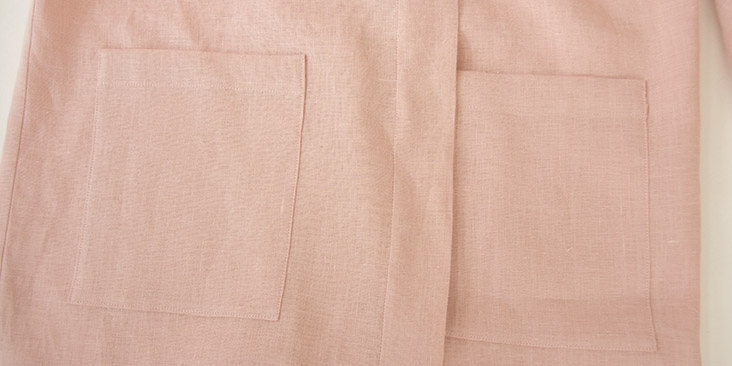
15. Refer to the pocket placement marks on the pattern and attach the patch pockets to the front. Follow this detailed tutorial HERE on how to sew patch pockets. The top fold should be 1″ tall, so fold your seam allowance twice (3/8″ and then another 1″) to the wrong side and topstitch.
Time to sew the belt and attach the belt loops.
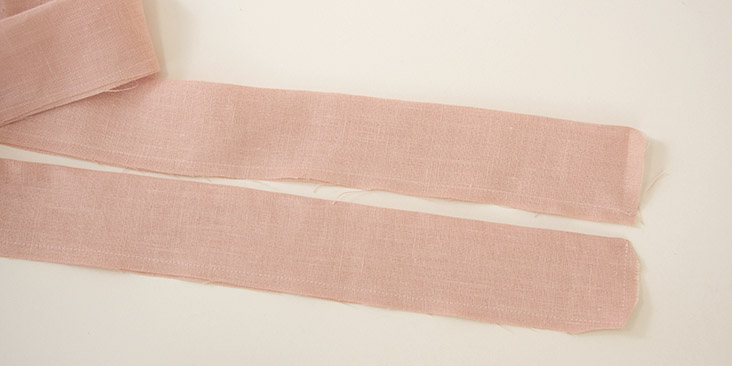
16. Fold your belt fabric in half lengthwise with right sides touching. Leaving one end open, stitch along the long edge (1/4” away from the raw edge) and then pivot at the end corner and finish the end. Backstitch at the start and finish of the seam. Clip the corners.
17. Turn the belt right side out, use a sharp tool or a chopstick to turn the corners and press. Tuck in the raw edges into the opening, then stitch along the perimeter of your belt 1/8” from the edge to close the opening and prevent the belt from twisting in the future.
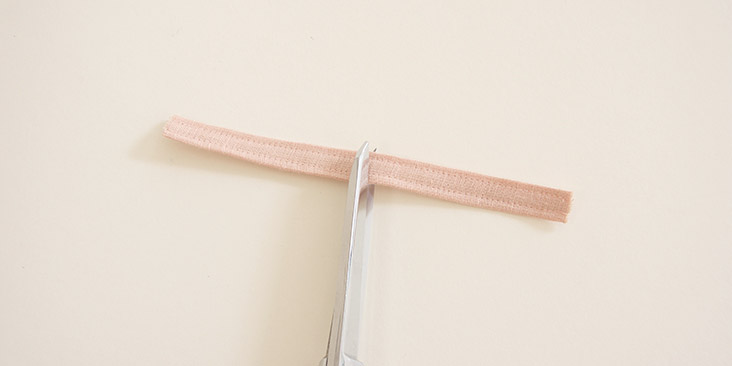
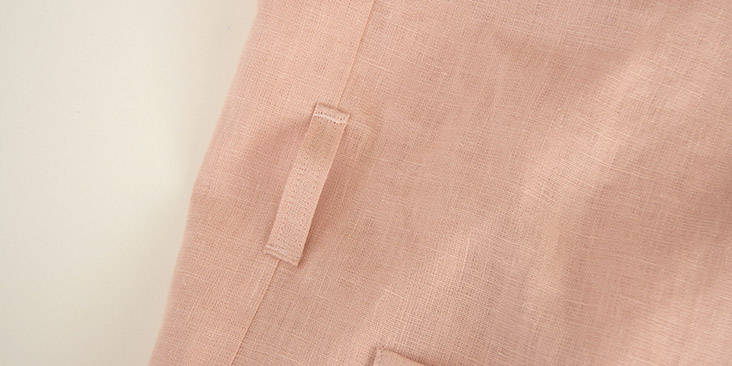
18. Lastly, sew and attach the belt loops to the side seams at the waist (refer to the notches provided in the pattern) following this detailed tutorial. Note: Cut your belt loop fabric in half to get two belt loops.
Et voila! We love seeing what you make! Don’t forget to share your pictures and tag your creations with #FabricsStoreFayePattern hashtag.















12 Comments
Ambar Rivera-Perez
Can other woven fabrics be used? I’m thinking of using a lightweight/flowy/sheer fabric for this
Sylvia B
Hi there, the link to the actual pattern is not available. Is this still available for download? Have been looking for a pattern like this for a while! Thank you in advance!
Pingback:
Faye Linen Duster Tutorial And Free Pattern - Do It Yourself For FreeKathryn Walsh
Is there a layout available for this pattern?
Thanks!
Lauren Gates
Hello Kathryn, in order to offer so many patterns for free, we have kept the booklets fairly simple.
When Laying out your pattern pieces, we recommend folding your linen in half, matching selvages, then laying your largest pattern pieces on the fabric first, lining them up with the grain line. Then fit in the remainder of your smaller pattern pieces in around them, again, paying attention to the grain line.
If you’d like some extra assistance with this, feel free to email us: ask@fabrics-store.com
Kathryn Walsh
Thank you!
Glenna Quilat
Hello, I’m so glad I saw this. I finally know how to sew the neckband part. Thank you! ?
May I ask if I can use this pattern using silk?
Lauren Gates
Hi Glenna, I’m glad we were able to elevate your neckband sewing. Our patterns are designed for our 100% linen, so you’ll have to make adjustments for your silk since it won’t behave the same way linen does.
Deb Show
I can’t find the pdf for the pattern to print. Help!
Many thanks
Lauren Gates
Here is the link to the pattern Deb. Just open it up in Adobe, and follow the steps in the booklet to access the pattern pages.
https://fabrics-store.com/sewing-patterns/faye–faye-linen-duster-pattern
Stefanie Riggs
Hey there it looks like the sleeve template for the 4/6 pattern is missing. I’ve tried to switch layers and it appears that the other sizes have proper sleeve templates but when I printed the 4/6 pattern in its entirety there is no sleeve. I’m just going to try to draft something between the 0/2 and 8/10 sleeve templates but just thought y’all would like to know!
Lauren Gates
Thanks so much for catching that Stefanie! We will get that fixed up ASAP!