FS Lily Dress Pattern Sewalong
Do you need some additional help putting together our LILY Pattern? This sewalong will take you through the pattern construction with step-by-step photographs and in-depth instructions. You’ll find loads of helpful tips and extra details beyond the instructions provided in the booklet. We hope that with this little extra guidance the sewing process will be a breeze from start to finish!
LILY is a feminine and versatile pattern collection that offers four great-looking variations: a pullover dress, tunic, blouse and a skirt. You can choose between short or 3/4 length sleeves for each style and wear yours loose and flowing, or cinched at the waist with a belt. The LILY collection offers stylish and effortless clothing choices for everyday wear.
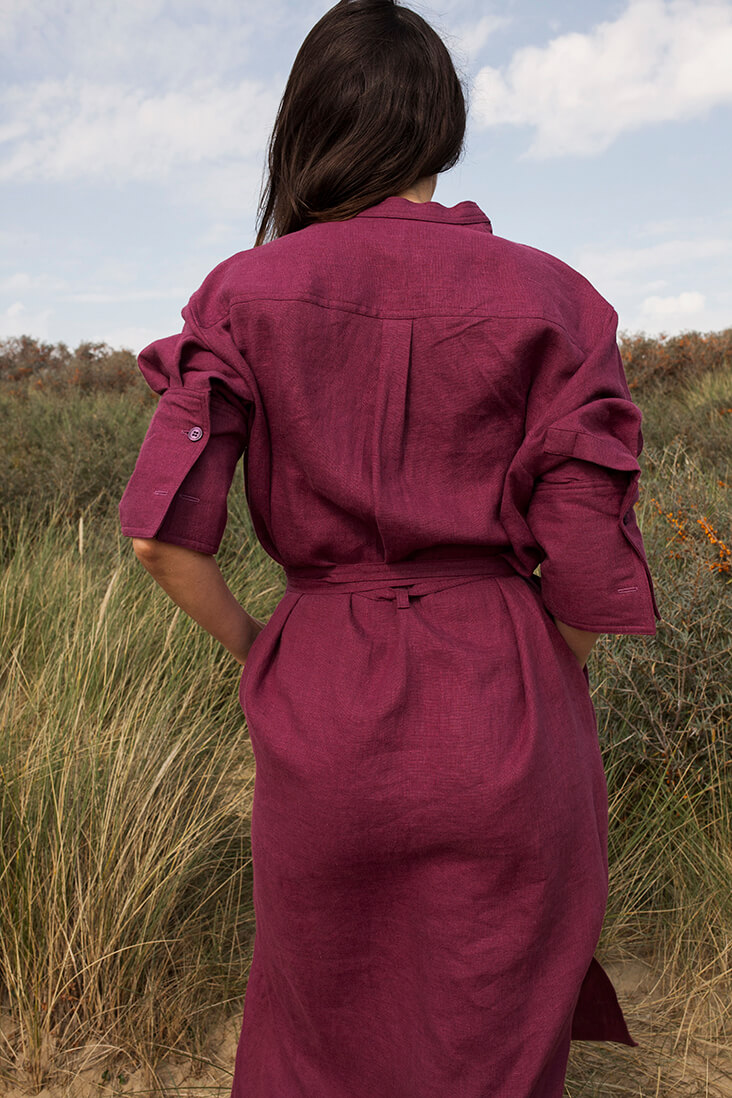
In this sewalong, we will be making the LILY dress. Inspired by traditional shirtdresses, this pullover dress features a button placket, side slits and has a modest length of approximately 51” from the shoulder. It has a loose-fitting silhouette that can be tied at the waist with a belt.
This pattern is classified as “intermediate” because there are several advanced techniques used in its construction like sewing the partial button placket, tailored sleeves with cuffs, neckband and pockets. But even beginner sewists can give it a go since we’ll provide you with easy to follow step-by-step instructions to guide you through the process.
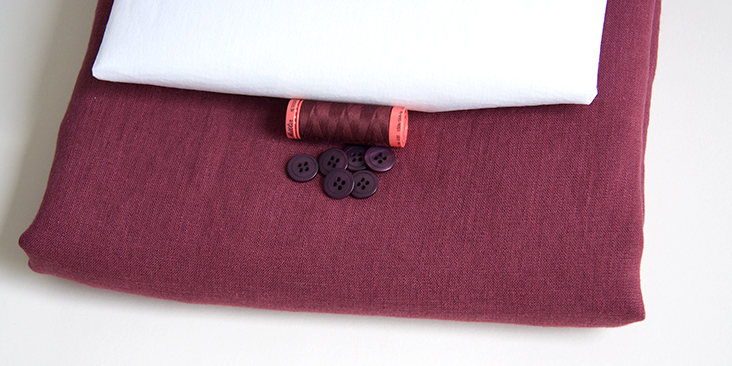
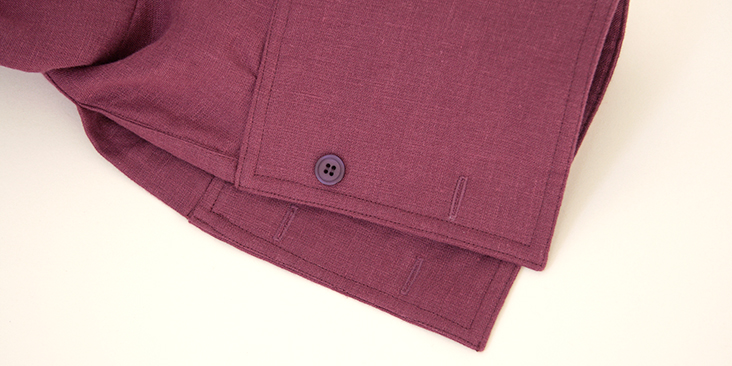
For this project, we chose to work with our medium weight IL019 WILDCHERRY Softened 100% Linen. With its smooth look and tighter weave, this linen is neither sheer or heavy, but just the right in-between weight you will need for these breezy top.
We’re so glad to have you join us for this sewalong! Follow our step-by-step instructions and make your own Lily dress in our fine linen!
Materials
Medium-weight woven linen of your choice, at least 55” wide. For this project, we chose to work with our new medium-weight IL019 WILDCHERRY Softened 100% Linen.
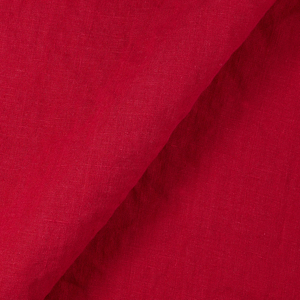
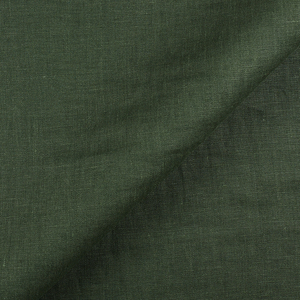
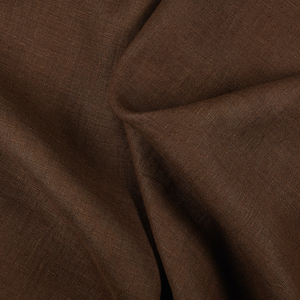
Browse our selection of linen fabrics and find the color that inspires you for this project! Please refer to the yardage table in the instructional booklet to determine the required amount of fabric.
Matching all-purpose thread, six buttons (3/8” to 5/8” diameter), fusible interfacing for plackets, collar and cuffs approximately ¾” yards for all sizes.
Tools
Scissors, pins, ruler, chalk, measuring tape, fabric marker, buttonhole foot, needle, seam ripper, sewing machine
Difficulty
Intermediate
Sewing Time
8-10 hours
Pattern
If you don’t have your copy of the LILY pattern yet, you can order it from our shop.
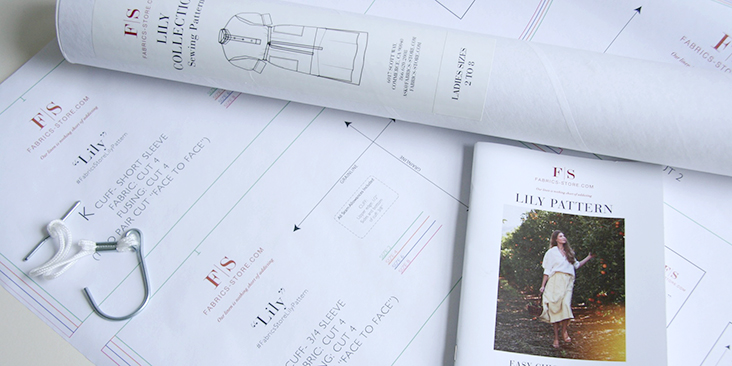
Lily comes printed on crease-free, professional quality rolled plotting paper with only the sizes you requested printed in vibrant colors. Which means less clutter for easier cutting. Accompanied by an illustrated instructional booklet with easy to follow diagrams and all necessary information about yardage, sizing and supplies. You will also receive a complimentary pattern storage tube and a pattern hook.
LILY is available in Ladies single sizes 2 -24. The size chart and cutting layout are provided in the instructional booklet. Lily dress, tunic and blouse are designed with ample ease and are relatively easy to fit. We recommend going with your bust measurement as a base for picking up the right size for you.
All seam allowances are already included and are ½” unless otherwise noted in the pattern instructions. Refer to the cutting layouts for your size and view and remember to transfer all the notches and markings to your fabric.
Steps
Note: Prewash and dry your linen fabric in the same manner you would your finished garment. This will soften your fabric and eliminate further shrinkage.
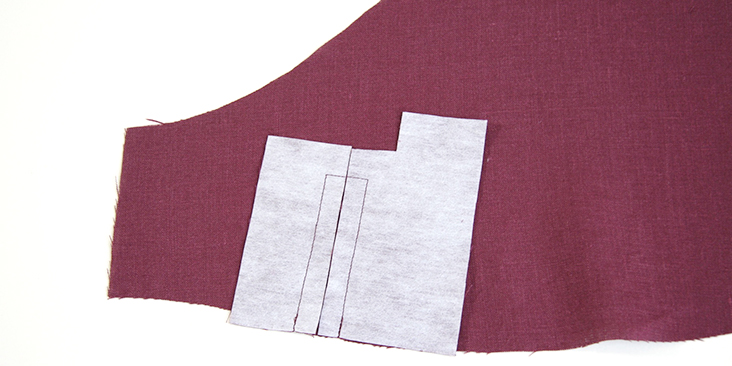
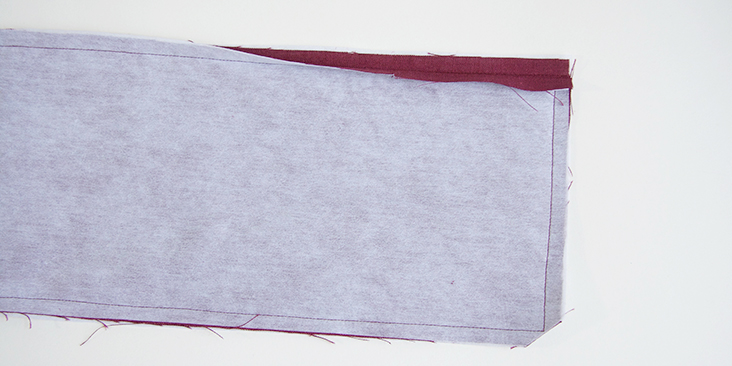
1. To start, prepare all of the pieces that need fusible interfacing: Cuffs (K), Neckband (F), Neck Placket – Top for Buttonholes (H). Apply fusible interfacing to the wrong side of your pieces as per your product instructions.
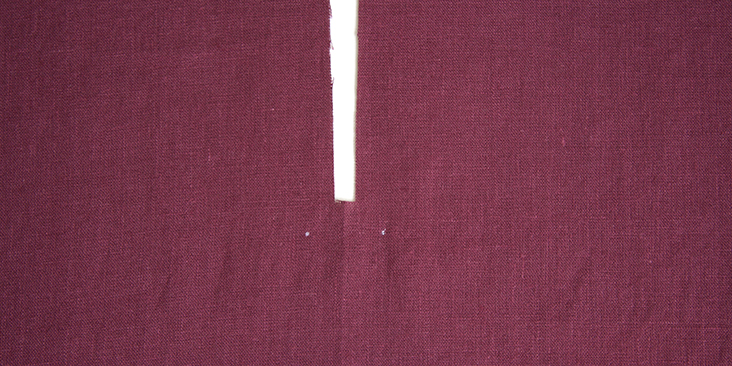
Now that the preparation is over, it’s time to sew your front placket. Make sure that you’ve transferred the two dots from the inner corners to the wrong side of your front bodice fabric as indicated on the pattern.
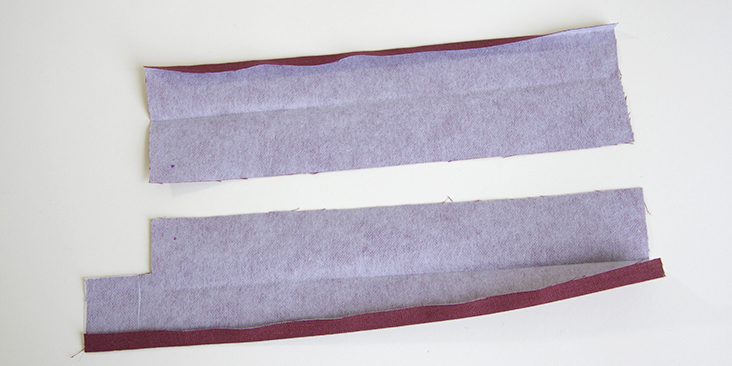
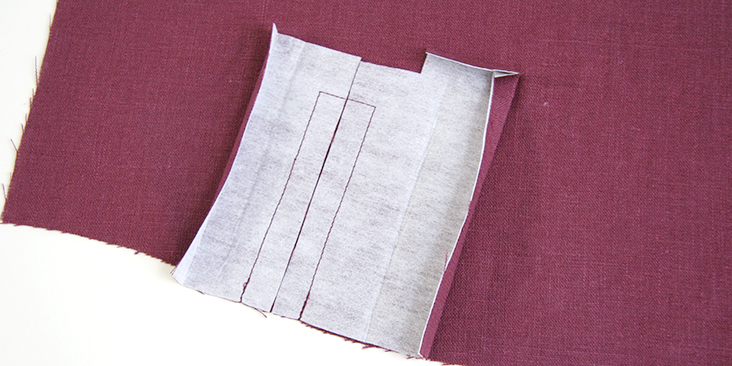
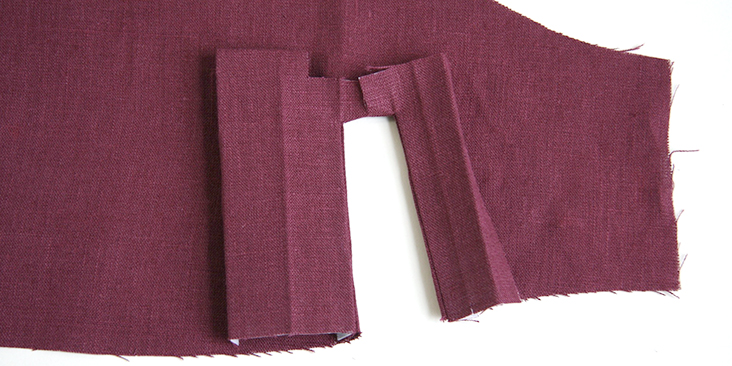
2. Place the two placket pieces (H and I) wrong side facing up. Fold in half lengthwise and press lightly. Open the pieces and press the outer edges inward 1/2″.
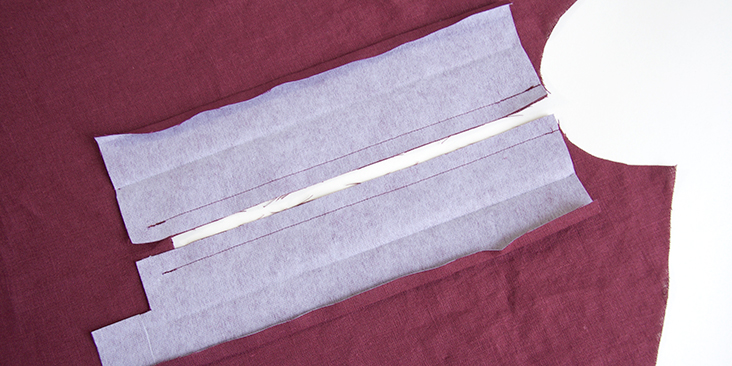
3. Place placket pieces on top of your front body piece, all with wrong sides facing up. Align the raw edges with the center front slit and pin in place. Match the dots at the bottoms of the plackets and slit. Stitch the plackets along the pinned edges with 1/2″ seam allowance from the top of the neckline to the dot mark. Remember to backstitch at the beginning and end of your seams.
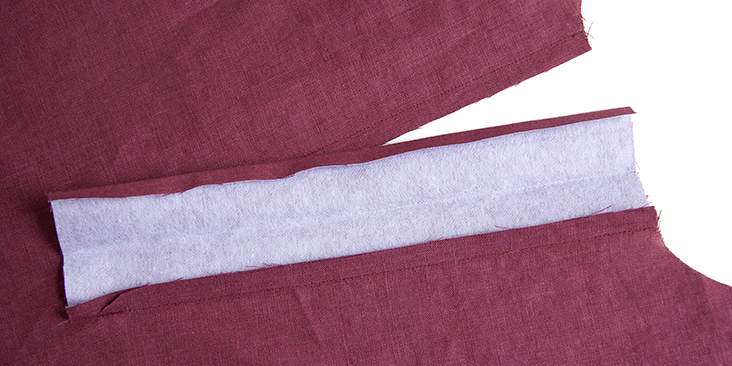
4. Make a diagonal snip in the inner corners of the neckline as shown (view from the right side):
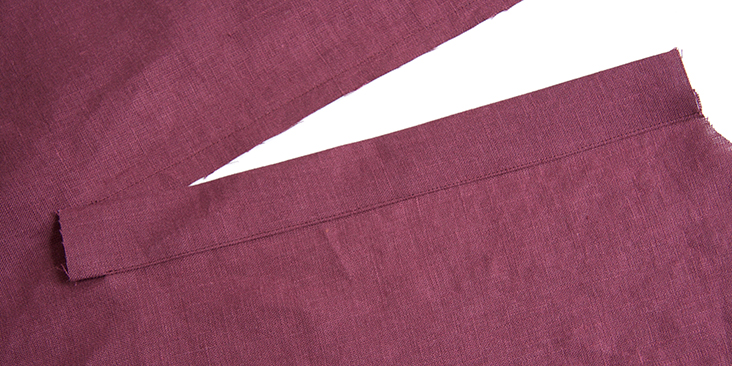
5. Turn placket piece (I) to the right side of your dress. Then press the seam allowances towards the inside of the placket.
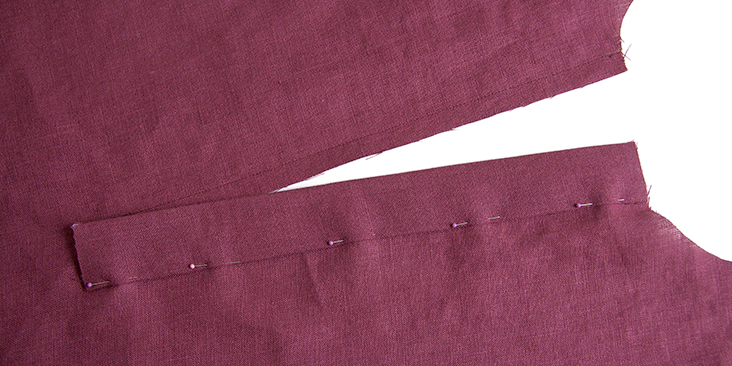
6. Fold the placket in half at the crease and align the seam allowances. Press neatly and pin.
7. Edgestitch 1/16” in place to conceal the previous stitchline. Stop at the triangular snip and take care not to catch the seam allowance of the other placket.
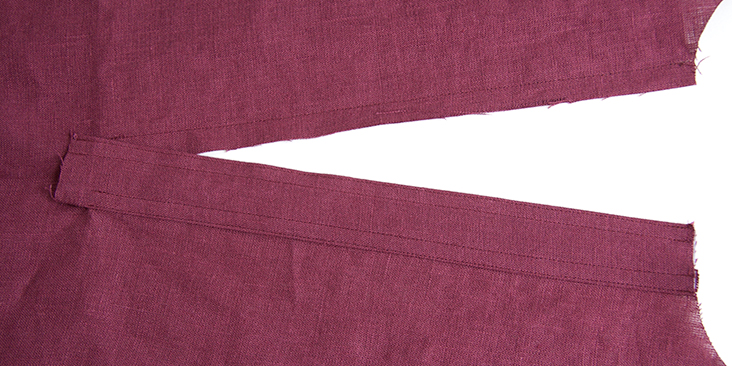
8. Sew another row of topstitching 1/4″ from the previous 1/16” stitchline. Likewise, topstitch the folded edge at 1/16” and 1/4″ to create identical rows of topstitching on both sides.
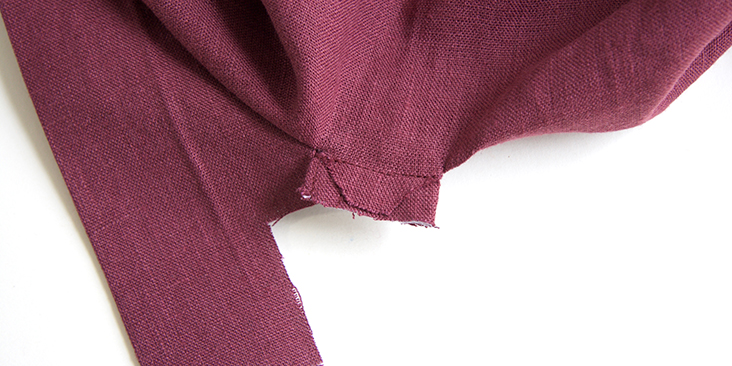
9. To secure the triangle snip at the bottom of the placket, pin and stitch the fabric triangle to the underside of your topstitched placket (I).
View from the right side:
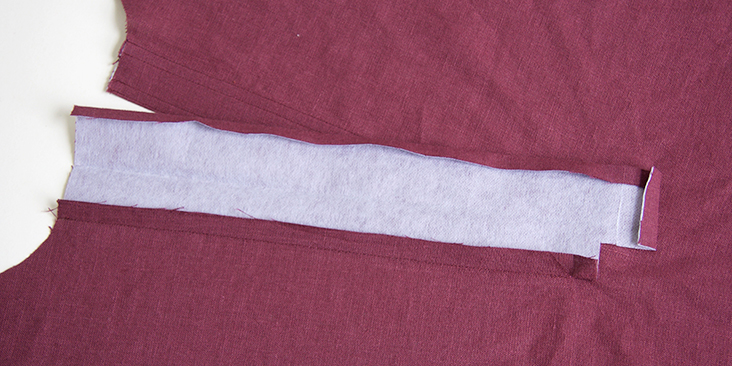
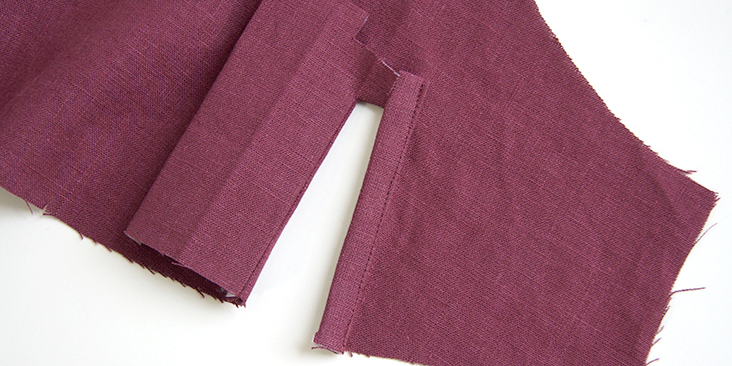
10. Repeat steps 6 to 9 to complete the other side of the placket (H). First, bring the placket to the right side, press the seam allowance towards the inside of the placket and press the bottom edge 1/2″.
11. Fold the placket in half at the crease and align the seam allowances. Press neatly. Double topstitch around edges at 1/16” and 1/4″, stopping 1 1/2″ from the bottom edge. Remember to backstitch and take care not to catch the other placket edge.
12. Clip the loose corners of you under placket (I) to reduce bulk.
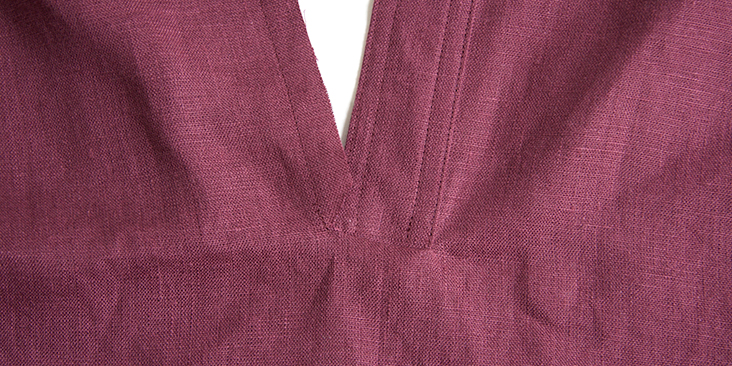
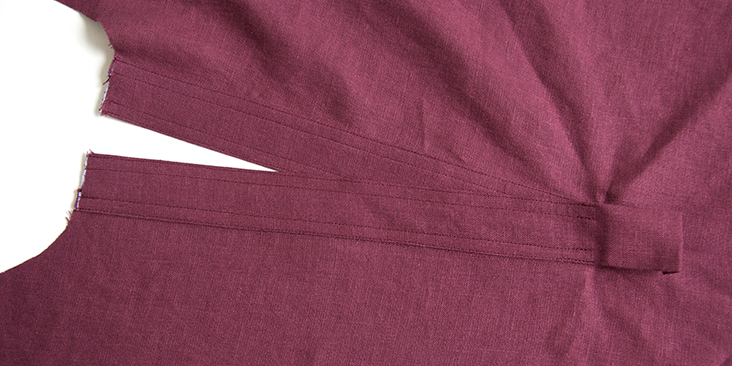
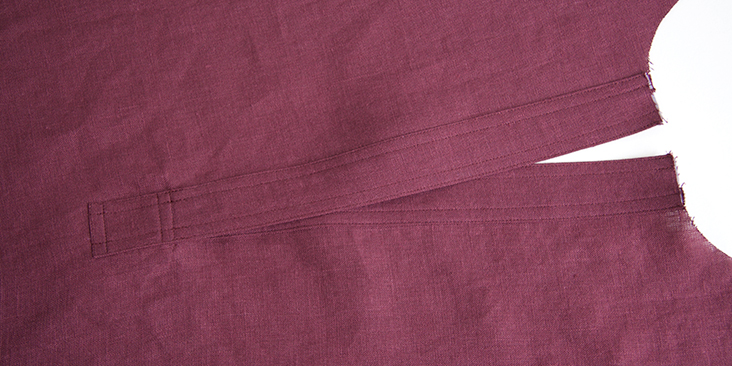
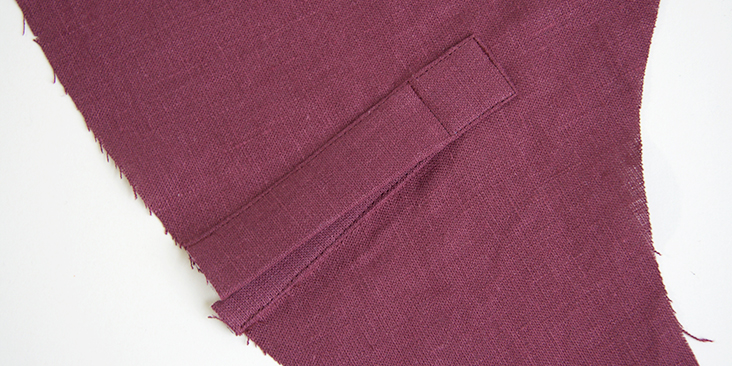
13. Neatly place the outer placket (H) over under placket (I) and pin in place. Double topstitch around all sides of the lower tab, 1/16” and 1/4″.
Congratulations! Your placket is finished.
Next step is to sew the side seams and attach the pockets. Before we start sewing, make sure that you’ve transferred all the pocket notches and markings from pattern to the wrong side of the fabric.
14. Prepare the side seams. Serge the raw edges of the side seams of Front and Back bodices, stopping at the lower notch that indicates the side-slit opening.
Note: this example shows the Lily dress. The skirt and tunic will look slightly different according to your style’s cut line.
15. Align the sides of Front and Back bodices with right sides together. Pin, matching the notches. Stitch the side seams together with 1/2” seam, except for the pocket opening and slit opening. Remember to backstitch at the beginning and end of each seam.
16. Pin the notched edges of pocket pieces (P & Q) right sides together. Sew the upper and lower seam edges at a 1/2″ seam allowance, leaving the pocket opening between the notches unsewn.
17. Lightly press open the seam allowances of the bodice’s side seams and the pocket seams.
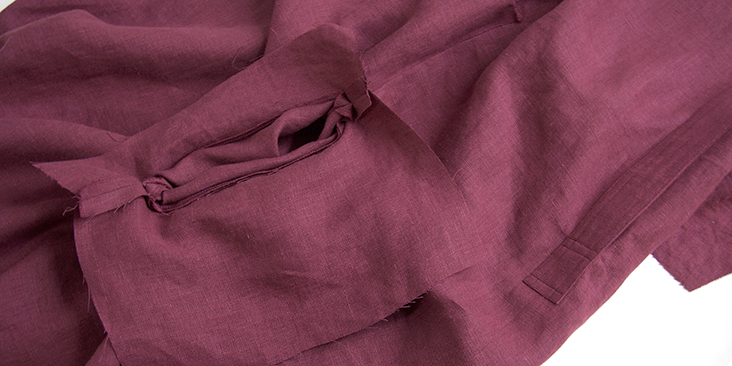
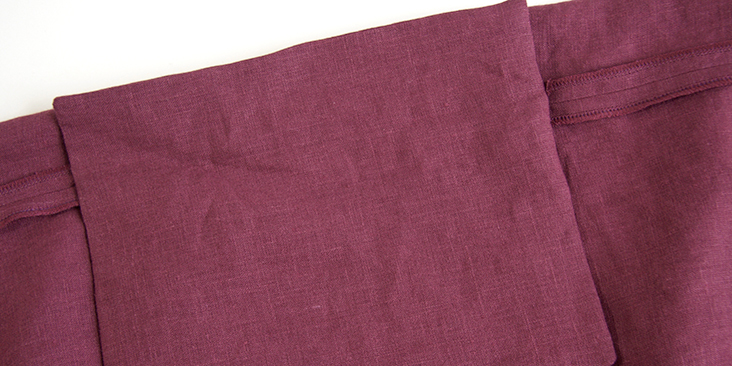
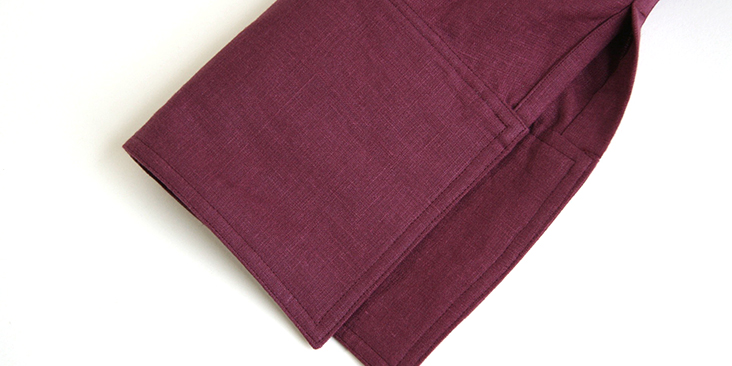
18. Place the pocket over the side seam of the body with wrong sides together. Fold back the pocket edge to reveal the seam allowance of the opening. Pin the pocket seam allowances to the seam allowances of the opening on the bodice, both Front and Back.
19. Sew the 1/2” seam allowances of the pocket opening to the corresponding opening of the body. You will sew only through the seam allowances, not through the body of the dress.
20. Understitch the pocket facing to the seam allowance with 1/16” stitch along the pocket opening. This will keep the pocket facing in place and prevent it from showing. Remember, you are sewing only through the facing and the seam allowance, not through the outer layers of the dress.
21. Pull the pocket facings through the opening so that they are exposed on the right side of the garment. Place the pocket piece (R) over the pocket facing right side facing up. Pin around outer edges.
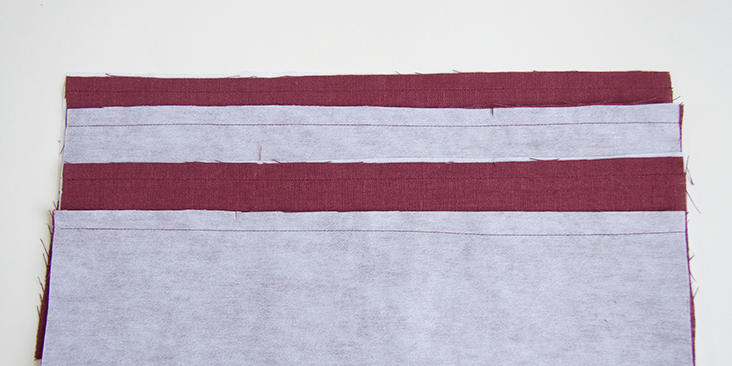
22. Stitch the pocket to the facing with a 1/4″ seam around all four edges. Trim down to 3/16” and clip the corners to reduce bulk. Finger press the seam allowances open. This will help set the edges for the next step.
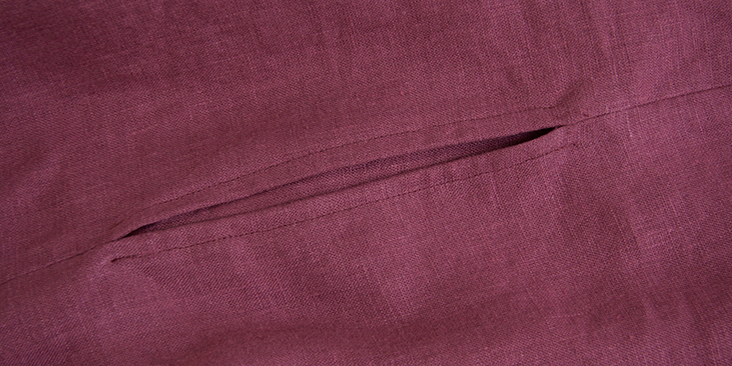
23. Pull the pocket back through the opening to the inside of the garment. Press the pocket edges flat.
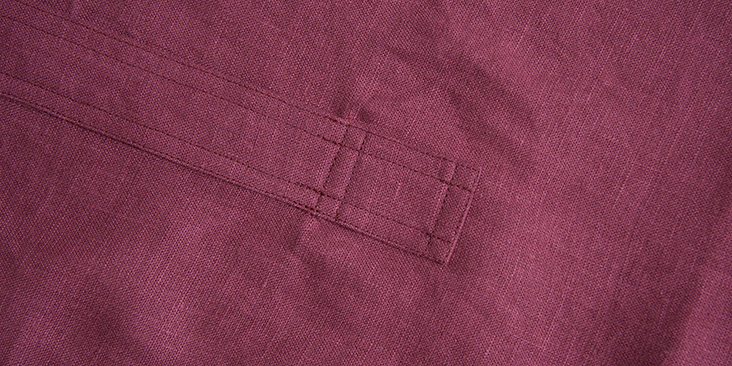
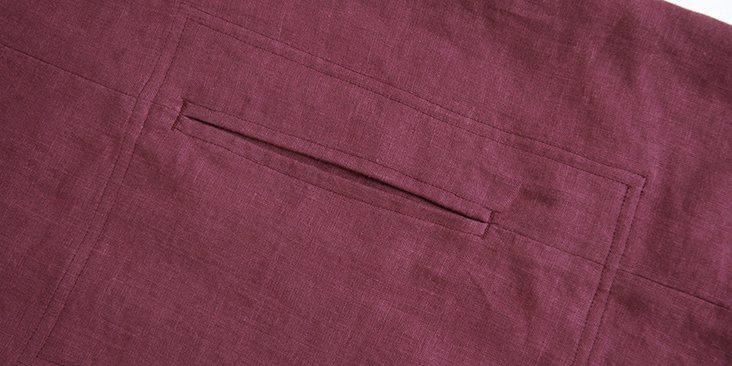
24. Working from the right side of the garment, run two lines of topstiching along the pocket opening 1/4″ from the edge. Do not sew through the pocket bag, only the edges of the opening.
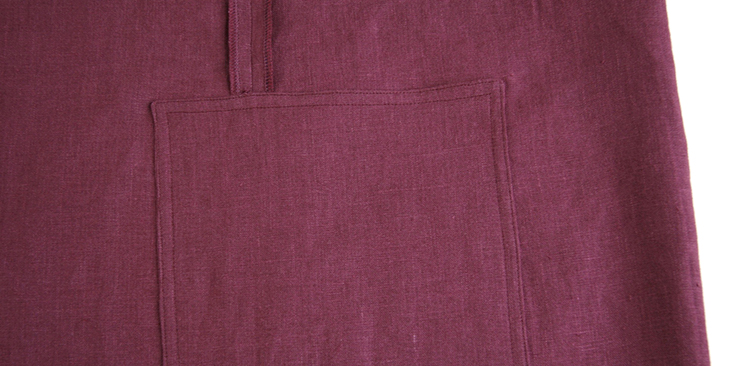
25. Turn the garment back around so that the wrong side faces up. Refer to the markings on your pattern and pin the pocket to the body of your dress around all edges. Double topstitch around the edges of the pocket 1/16” and 1/4″ from the edge.
26. Working from the right side of the garment, secure the top and bottom of the pocket opening with a horizontal bartack or several back-and-forth straight stitches.
The pockets are now complete! Next up – the yoke.
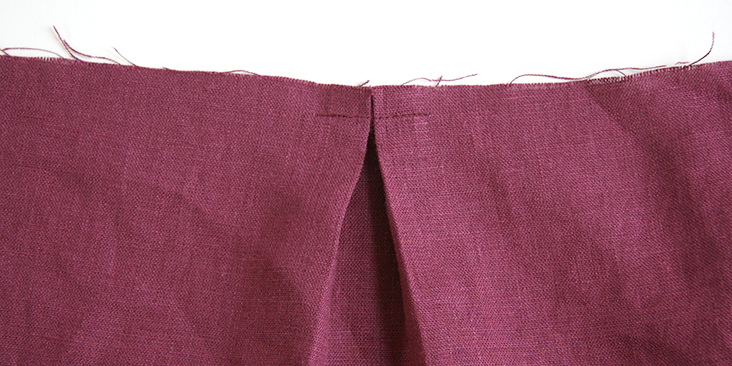
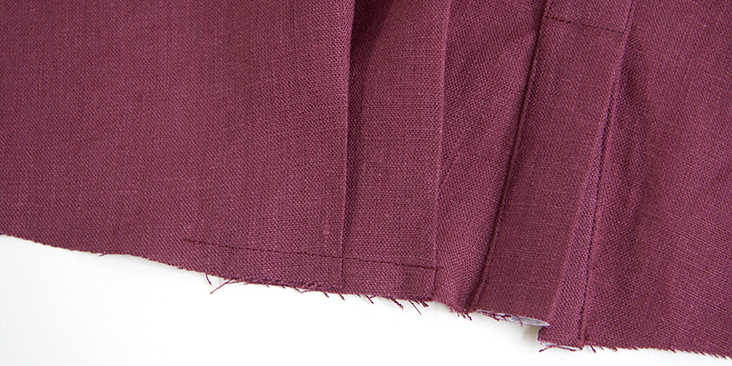
27. To start, create a box pleat at the center of the back body piece. To do so, place the back bodice wrong side facing up, then match and pin the notches at the top edge to create the pleat, per the pattern notations. Stitch across the pleats at a scant 1/2” to secure in place.
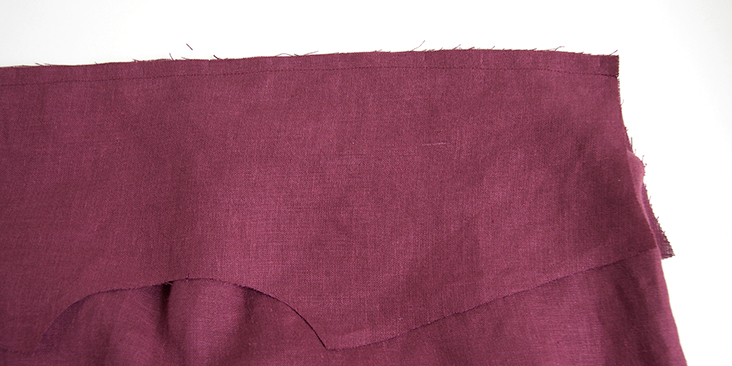
28. Next, place one of the yoke pieces right side facing up. Place the back bodice right side up (wrong side touching the yoke) and align the raw edges. Then place the other yoke piece wrong side facing up on top of the back (right sides touching). Align the edges and pin.
29. Sew all three layers together with a 1/2″ seam.
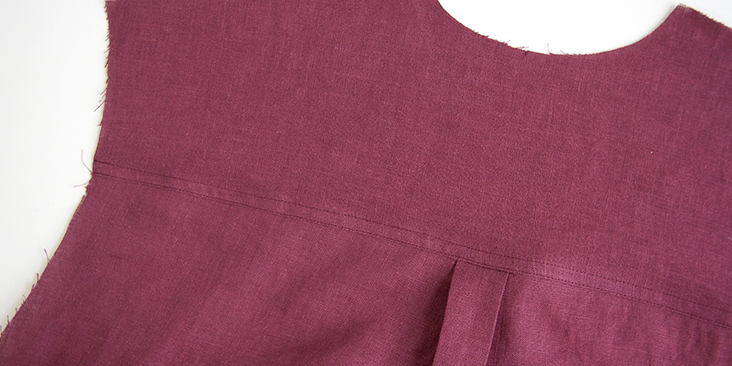
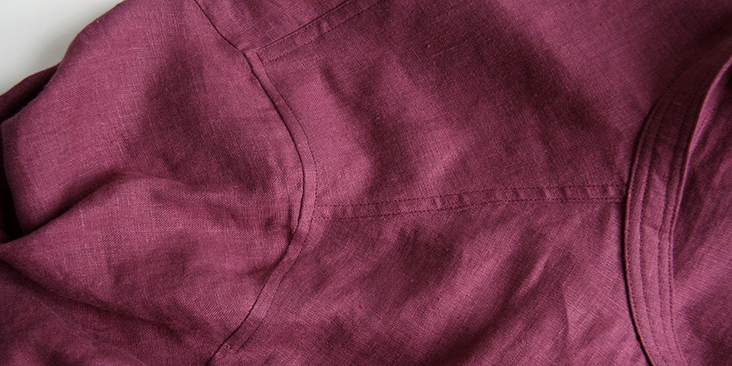
30. Press both yokes upward and sew two rows of topstitching on the yoke through all layers: 1/16” and 5/16” from the seam.
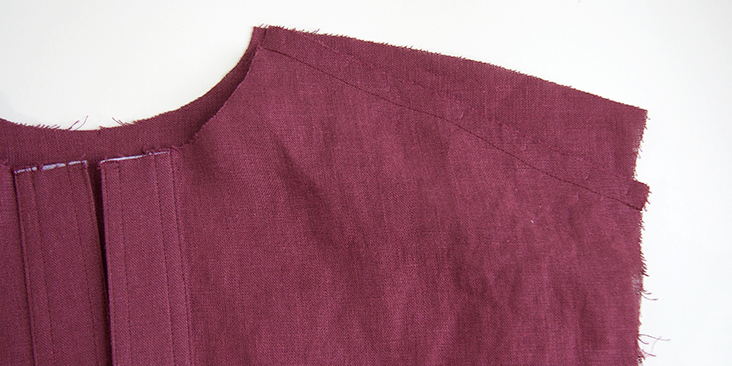
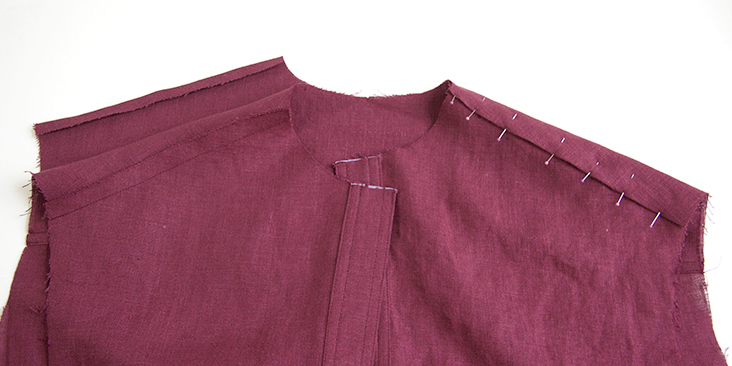
31. Place the back body wrong side facing up and the front body right side facing up. Pin the right side of its front shoulder edges to the shoulders of the inner yoke (wrong side of the body to the right side of the inner yoke). Sew with a ½” seam.
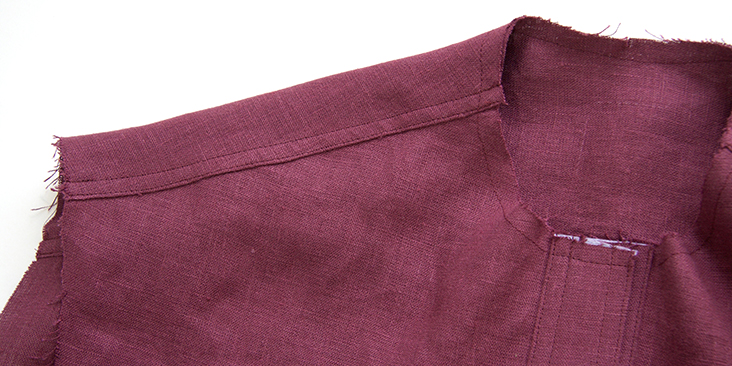
32. Press the seam allowance towards the inside of the yoke. Press the shoulder edges of the free outer yoke 1/2″ to the wrong side. Pin the outer yoke to the front bodice, making sure that the folded edge covers the seam line so that when you stitch from the front it catches all layers neatly. Make sure to smooth out any wrinkles before you pin. Sew two rows of topstitching through all layers, 1/16” and 5/16” from the folded edges of the seam allowance.
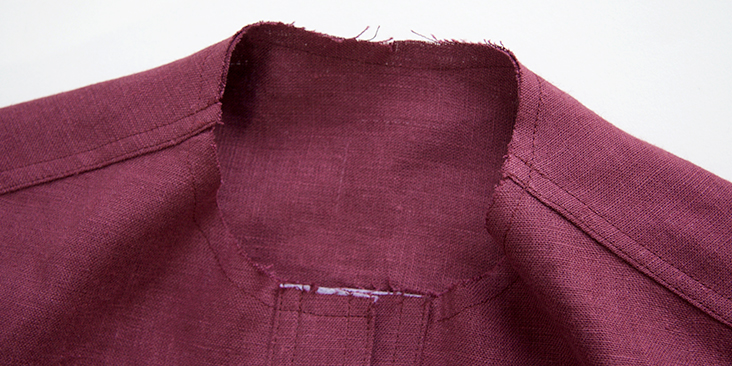
33. Staystitch around the entire neckline at 3/8” from the raw edge to prevent stretching.
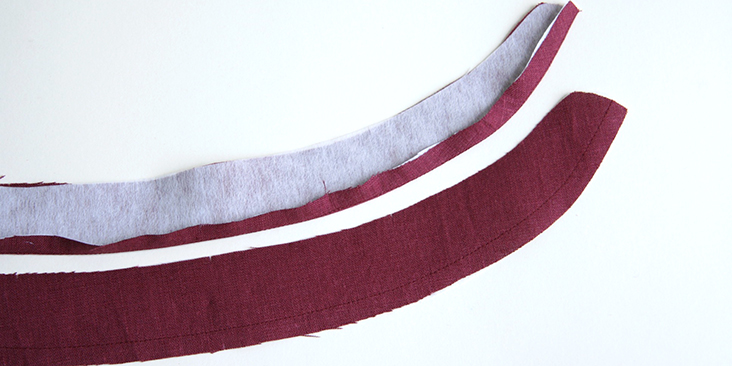
34. Prepare your neckband pieces by staystitching the lower edge of each neckband pieces 3/8” from the raw edge. Turn the lower edge of one neckband a scant ½” inward and press.
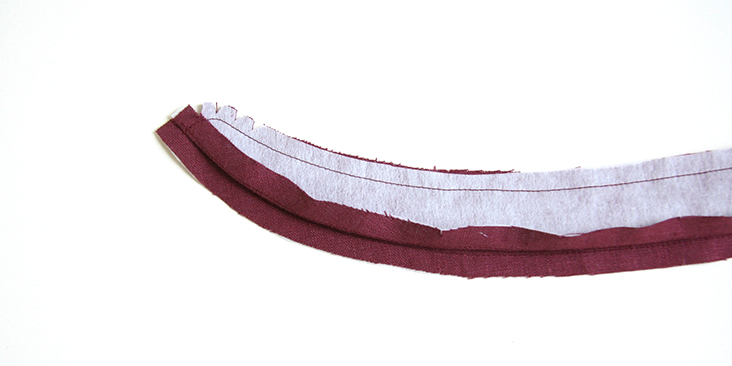
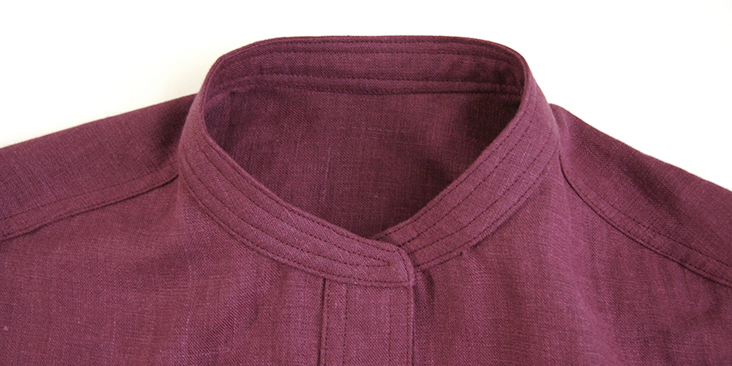
35. Pin the neckbands right sides together across the top edges. Sew the two together with a 3/8” seam allowance. If desired, use the template guide provided in the pattern (G) to aid in evenly stitching the curved sections. Clip wedges from the outer curves to reduce bulk.
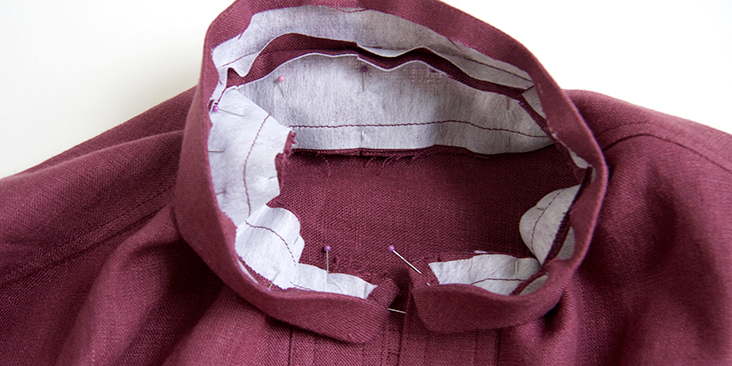
36. Turn right side out and neatly press. With wrong side of the garment facing up, pin exposed seam allowance of the neckband to the neckline.
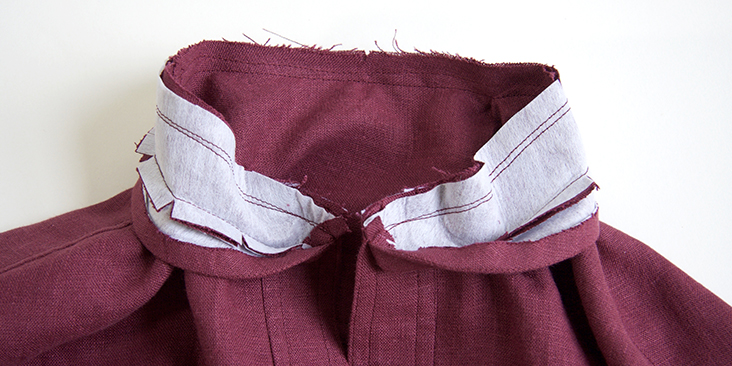
37. Stitch together with ½” seam.
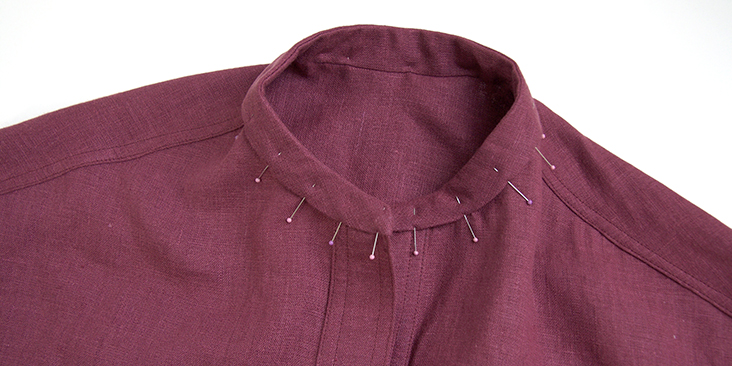
38. Press the neckband and the seam allowance upward and away from the garment. Pin the folded edge of the unsewn neckband over the raw seam allowance hiding the stitchline underneath.
39. Topstitch 1/16” from the edge to secure in place. Keep topstitching around the remaining edges of the neckband. Sew the second row of topstitching at 5/16” from the edge.
Your neckband is now complete! Next, we will be sewing the sleeve plackets and attaching the cuffs.
40. Working from the wrong side of the sleeve, pin the placket pieces M and N along the slit opening. Make sure that you have a mirrored left and right sleeve. The placket placement is different on each side. Sew a 3-sided box 1/2″ along the sides and top of the slit.
41. Fold the length of each placket piece in half, wrong sides together and press to crease. Press a scant ½” along outer edges of both plackets to the wrong side. Press the upper edge of the top placket (M) a scant 1/2″.
42. Cut along the slit and clip to the inner corners as shown:
43. Turn the placket pieces through the slit and place the sleeve right side facing out. Press along the seamed edges.
44. Press the seam allowances of the bottom placket (N) towards the slit, then fold along the placket’s crease to cover the raw edges of the seam. Pin in place covering the stitchline.
45. Edgestitch the placket in place 1/16” from the edge.
46. Repeat the same steps for the other placket. Fold the top placket (M) along its crease to cover the slit seam allowance and pin in place. Stitch along the seam and edges 1/16”. Stitch the upper portion of the placket tab one inch from the top to create a square tab.
47. Place each sleeve right side facing up. Create two pleats at the bottom of the sleeve: follow the direction of the arrows on the pattern and pin the pleat notches together. Baste the pleats in place 3/8” from the edge.
48. Sew a row of staystitching along the upper curve of the sleeve a scant ½” from the edge.
49. Sew the inseams of the sleeves right sides together with a ½” seam. Serge the raw edges of the seams and press them to one side.
50. Take your four cuff pieces and sew a scant ½” staystitch across the upper edge of each of the four cuff pieces. The upper edge of the cuff is where the notches are.
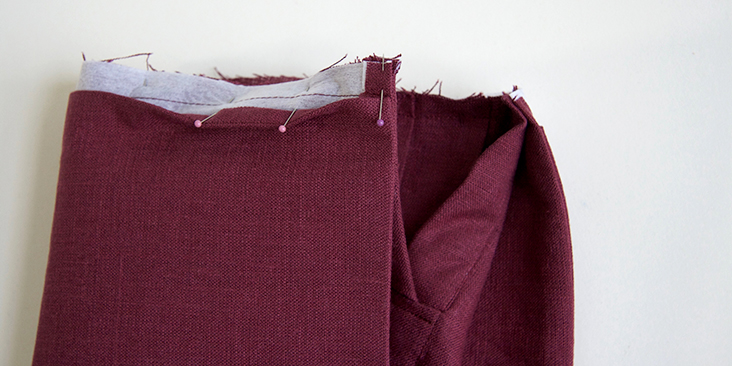
51. There are four cuff pieces total, to sets of pairs. Pin the first two cuff pieces right sides together matching the upper notches. Stitch 3/8” along the sides and bottom, stopping/starting just before the staystitch you previously made (1/2” from the raw edge). Clip the corners to reduce bulk, finger press the seam allowances and press one side of the open seam allowance downward.
Repeat with the second set of cuffs.
52. Turn the cuff right side out and press neatly. Pin the cuff’s open seam to the edge of the wrong side of the sleeve matching the cuff’s notch to the inseam.
53. Attach the cuff to the sleeve with a ½” seam.
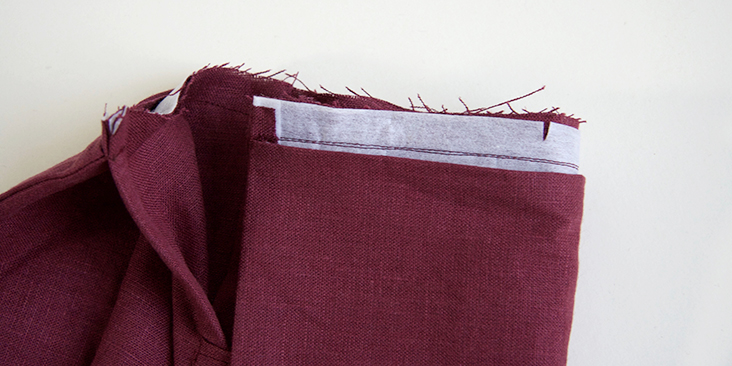
54. Turn the sleeve right side out. Press the seam allowance downward towards the inside of the cuff. Overlap the folded edge of the cuff seam over the seam allowance to cover the seam stitching and pin as needed.
55. Topstitch 1/16” along the top edge of the cuff to secure. Then continue the 1/16” topstitching around all edges of the cuff. Sew a second row of topstitching at 5/16” from the edge.
Now that your sleeves are completely prepared, it’s time to sew them into the armholes.
56. With right sides together, pin each sleeve to the armhole, matching the notches. Sew a ½” seam, starting and stopping at the inseam of the sleeve. Serge the raw edges together.
57. Press the seam allowance of the armhole towards the body of the garment. Topstitch the cap area ¼” from the seam. This will be fro the lower edge of the yoke to the front armhole notch.
Great! Your sleeves are all done!
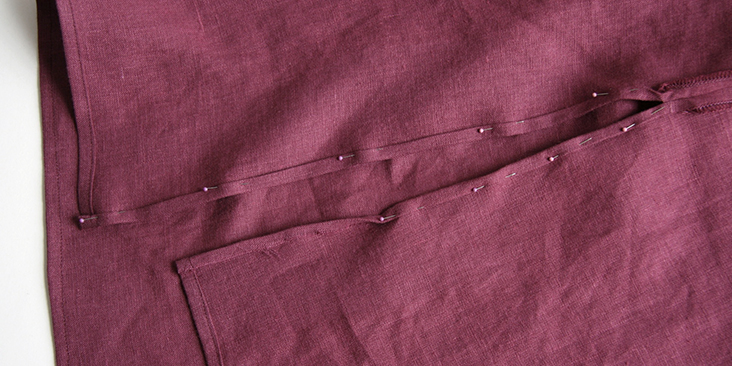
58. Prepare the hem: staystitch along the bottom edge of your garment a scant ¼” from the raw edge. Turn under ¼” and press. Then turn another ¼”, press and pin.
59. Topstitch the hem at a scant ¼”.
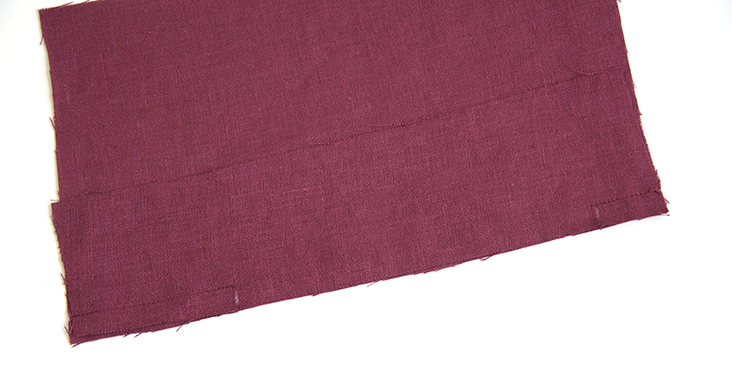
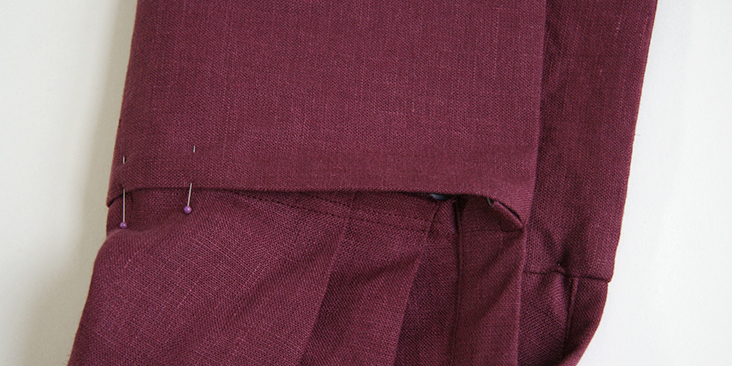
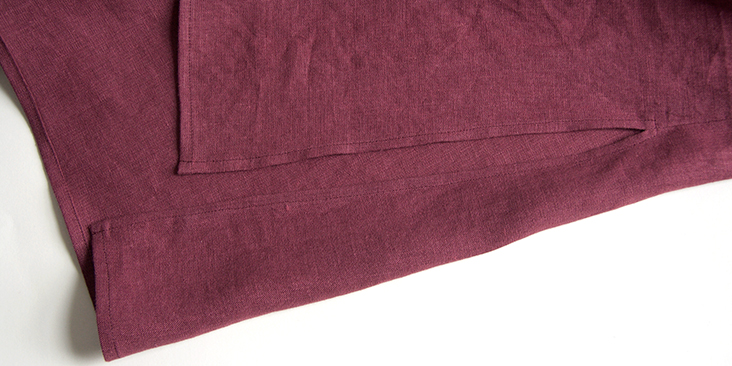
60. To complete the side slits, first, turn the slit edges a scant ¼” and press. Turn again ¼”, press and pin.
61. Topstitch at ¼” to finish. Sew several stitches back and forth at the top of the slit for wearing durability.
Next, we will be sewing the belt loops and the belt.
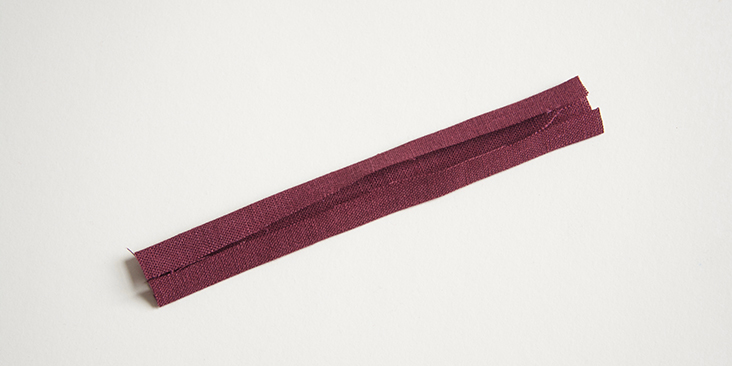
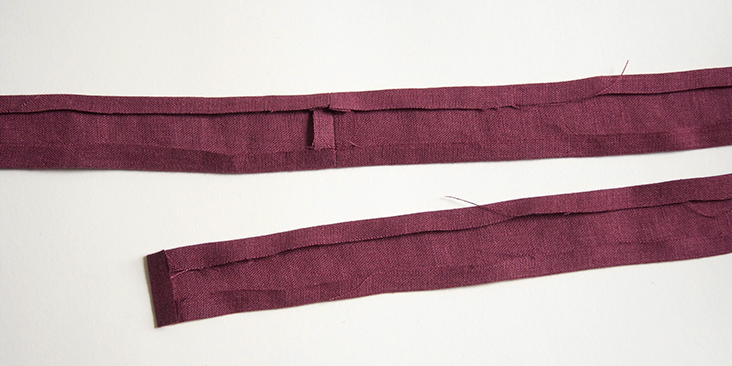
62. Take your belt loop piece, fold in half lengthwise and press (right sides should be facing up). Unfold, and then fold each side meeting at the center crease and press again.
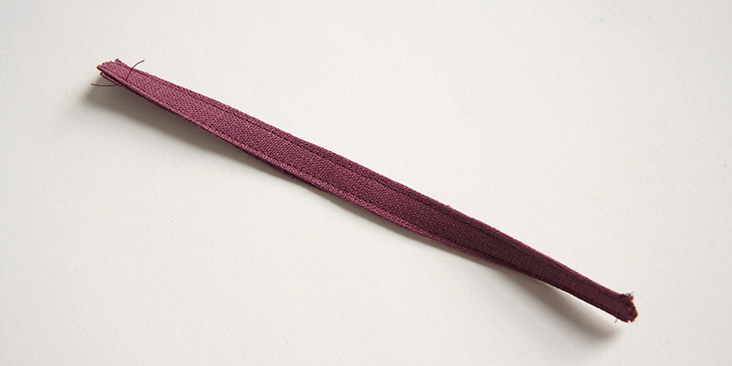
63. Refold at the original crease to encase raw edges. Topstitch each long edge 1/16”.
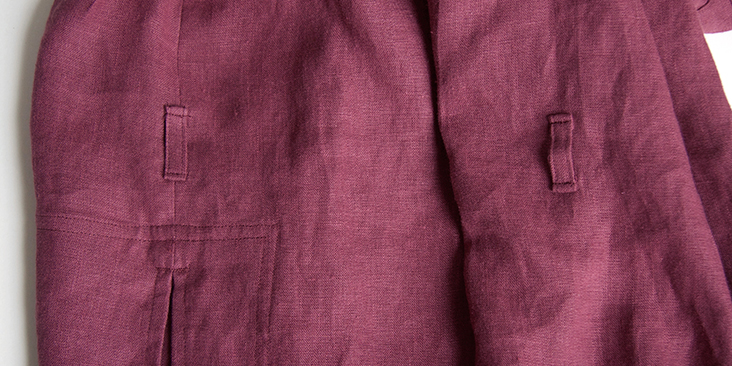
64. Cut the strip into three equal parts, press under each edge ¼” and attach the belt loops to the right side of your garment where indicated on the pattern: one at each side seam and one in the center back. Topstitch 1/16” along the top and bottom of each belt loop using several back and forth stitches.
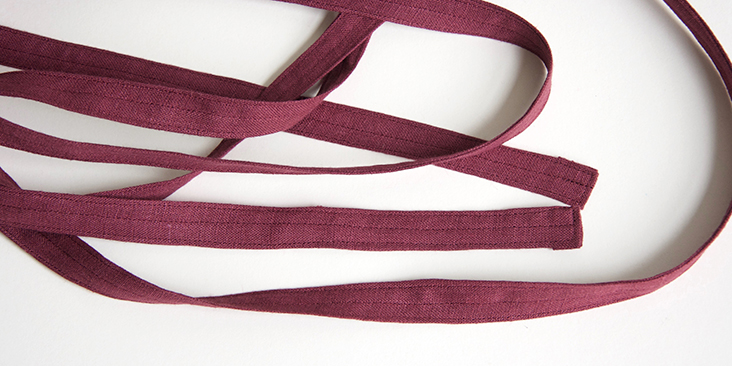
65. Take your two belt strips and join the two short edges with a 3/8” right sides together. Press the seam open. Turn under all four edges 3/8” to the wrong side and press.
66. Fold the length in half and press again. Edgestitch around all four edges 1/16”. Sew a row of topstitching down the length of the center.
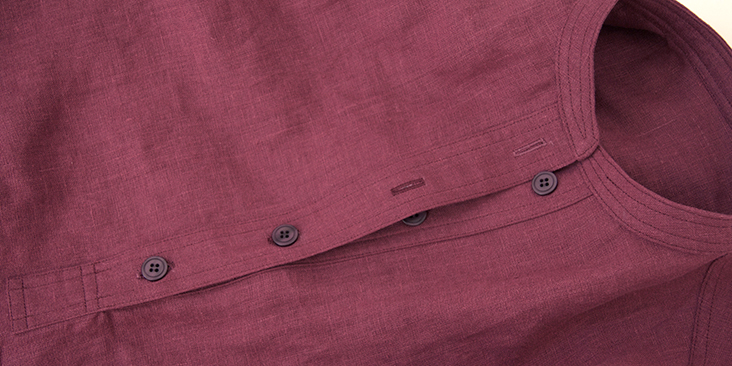
Lastly, it’s time to sew the buttonholes and attach the buttons at the neck placket and the cuffs. Use the templates provided in the pattern to mark the location of each buttonhole/button. Note that there’s no button or buttonhole on the neckband and that each cuff has 3 buttonholes and 1 button. Be careful to have the button at the top of each cuff on the under–placket side.
67. Sew your buttonholes and buttons using your preferred method.
Congratulations! You have now successfully completed your Lily dress! Thanks for sewing-along with us!
We can’t wait to see your beautiful versions of our Lily pattern collection. Don’t forget to share your pictures and tag your creations with #FabricsStoreLilyPattern hashtag.


























2 Comments
Danuta Snyder
Overall, the printed instruction plus this tutorial are very clear! (Especially helpful when making the pockets.)
However there are a few places where they conflict with each other. The tie belt pattern piece says to cut 2, and this tutorial also uses both pieces. But the printed instructions only uses one piece of tie belt. If I had looked more closely to this tutorial, I’d have noticed that the belt is wrapped around the model’s waist twice. Oh well, my using only one piece for the tie is long enough to go around once and hang some. I made the skirt. The printed booklet’s photos show belt loops, but the written instructions tell us that the skirt does not have belt loops; however, the pattern layout for cutting does show belt loops to be cut. Lastly, the pattern piece for belt loops says to cut 3. I learned that I only needed to cut one and that that piece (as shown in this tutorial) is then cut into thirds.
Tanya Callahan
hi, rima—beautiful dress, edible color!
the construction of the dress is substantial until the hemline. may i suggest facing the side slits and making a minimum hem of one inch, each with top stitching matching the rest of the dress? this would be a more durable finish for the bottom of the dress and would, i believe, be more in keeping with the construction of the top of the dress than is the narrow seams finish.
thank you for the excellent tutorial.