Ana Sofia Pencil Skirt Pattern and Tutorial and Pattern
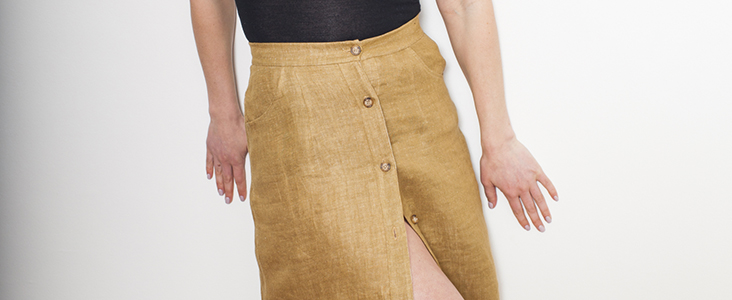
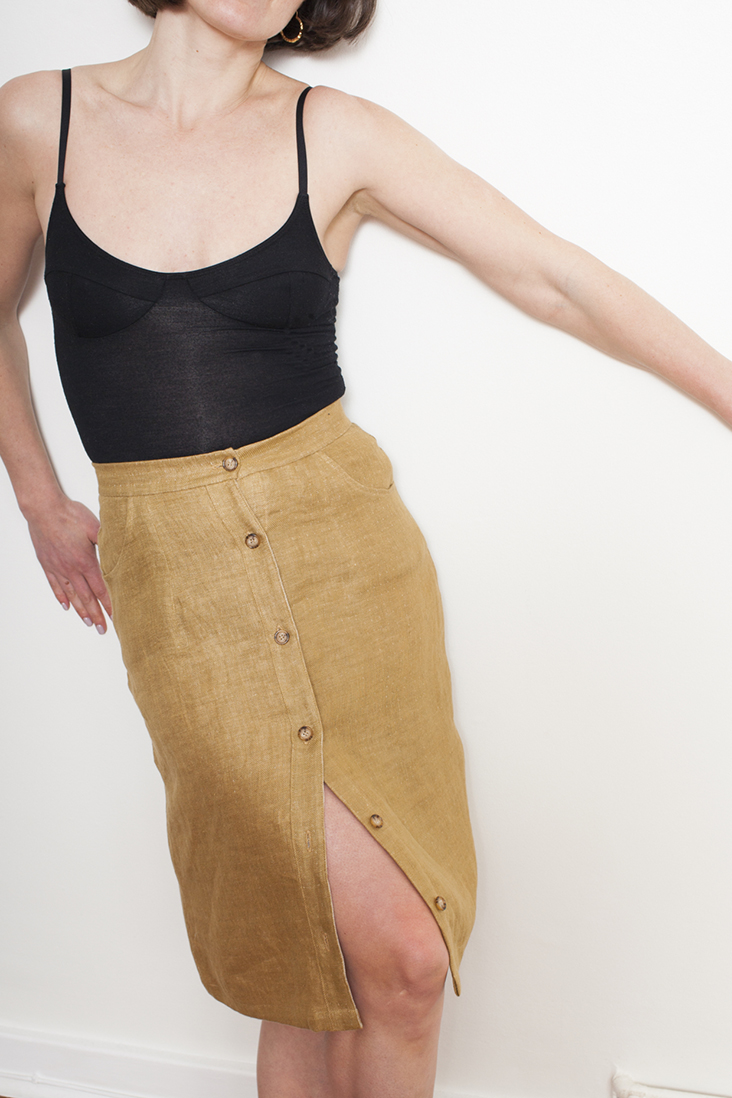
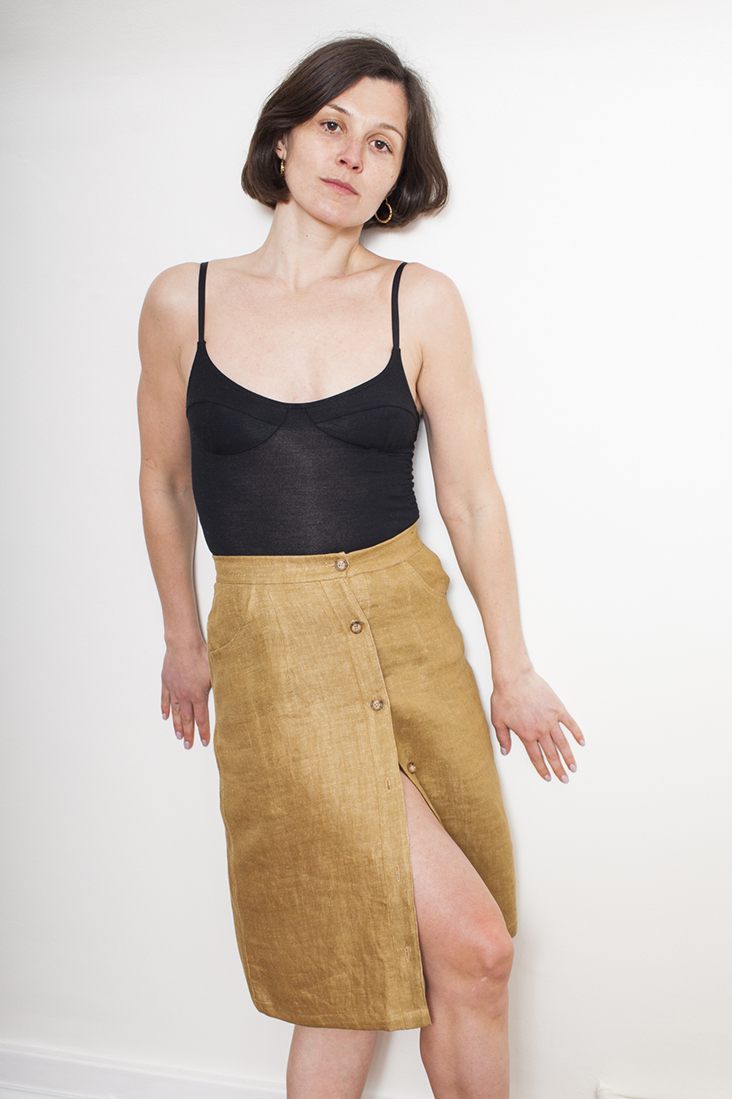
Just like timeless elegance comes in simple shapes, our Ana Sofia is the iconic pencil skirt with a fresh linen look. Feminine and timeless, it sits at the natural waist, has a practical knee-length and buttons at the front. It fits so well your body, hugging your curves and enhancing all your assets. That’s the power of a pencil skirt!
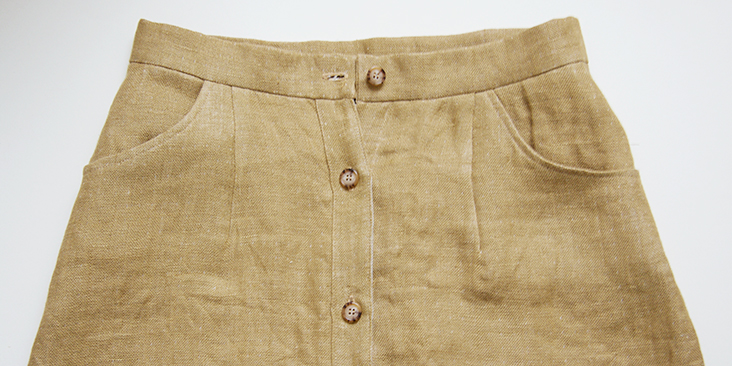
Ana Sofia has all our favorite details like a high waistline, tailored button bands, pockets and a back yoke. The reversible medium weight linen we chose for this project adds an interesting detail to this classic design and provides enough body and weight to hold the pencil silhouette.
This pencil skirt is something that you can easily build a casual and stylish outfit around and is a perfect project for all sewing levels.
Materials
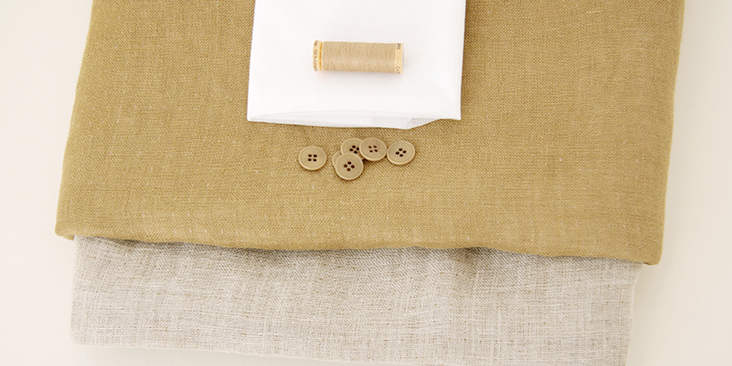
For our sample US size 6 pictured in this tutorial we used 2 yards of IL028 GOLDEN WHEAT-NAT Reversible Medium Weight Linen
For other sizes, please refer to the yardage table in the PDF pattern to determine the required amount of fabric.
Matching sewing thread, fusible interfacing, 6 medium buttons (5/8” to 3/4”)
Tools
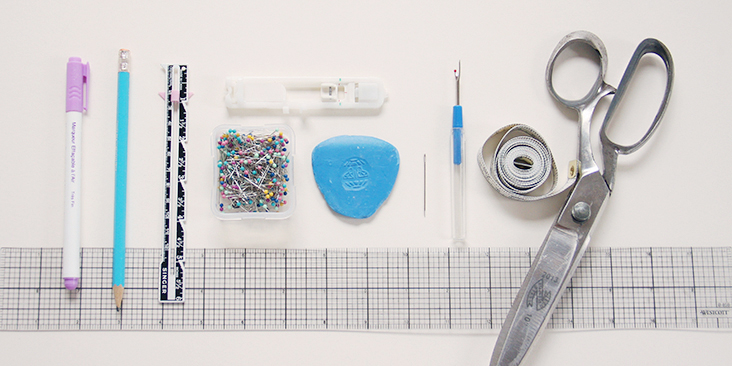
Scissors, pins, ruler, chalk, measuring tape, fabric marker, buttonhole foot, seam ripper, needle, sewing machine
Difficulty
Advanced Beginner
Sewing Time
4-5 hours
Pattern
You can access the multi-sized printable PDF pattern by following this link HERE. All seam allowances are included. The model is wearing US size 6.
Remember to transfer all the notches onto your fabric.
Steps
Note: Prewash your fabric and tumble dry it until it is still slightly moist, dry at room temperature. Iron the fabric so it is easier to work with.
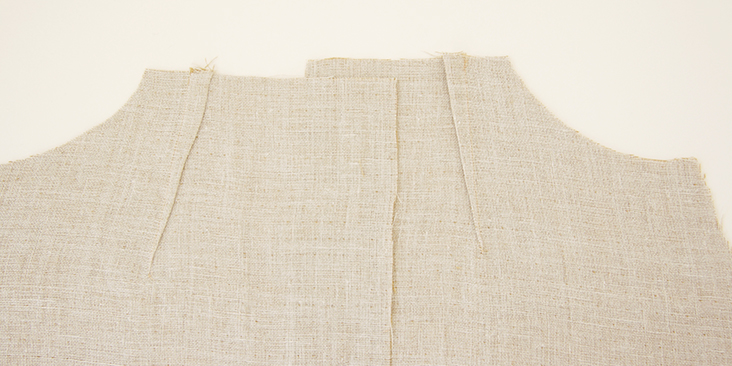
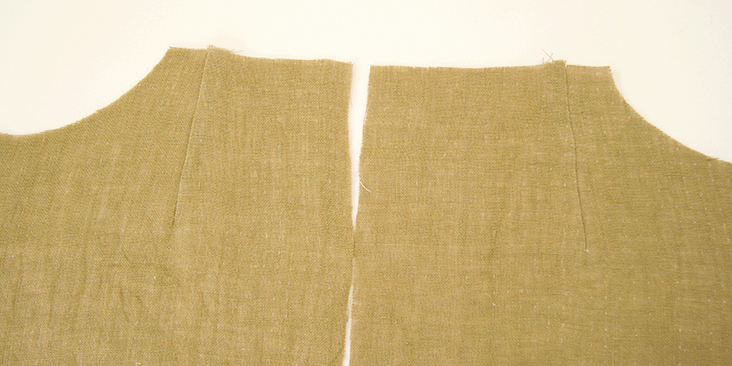
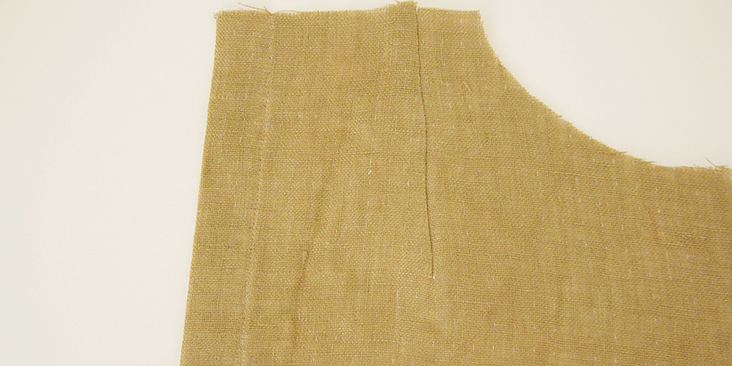
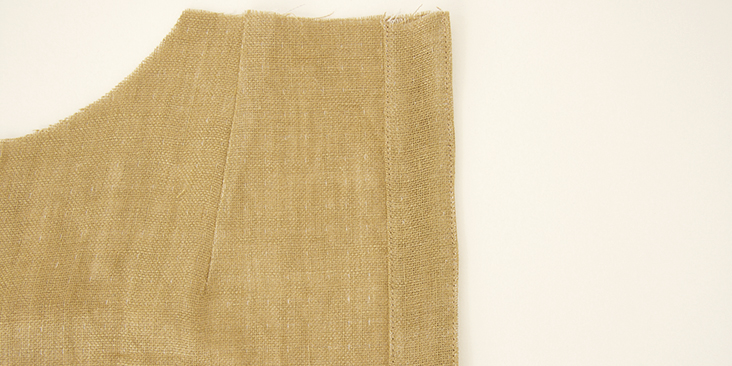
1. To start, sew the front darts following the instructions in this detailed tutorial.
Press the darts towards the center front.
Next, let’s sew the front button bands. The fabric we are using for this project has enough weight and body to support buttonholes and buttons, so we decided not to interface it. However, if you are working with our regular all purpose linen, we strongly recommend interfacing the button bands to make this area more sturdy.
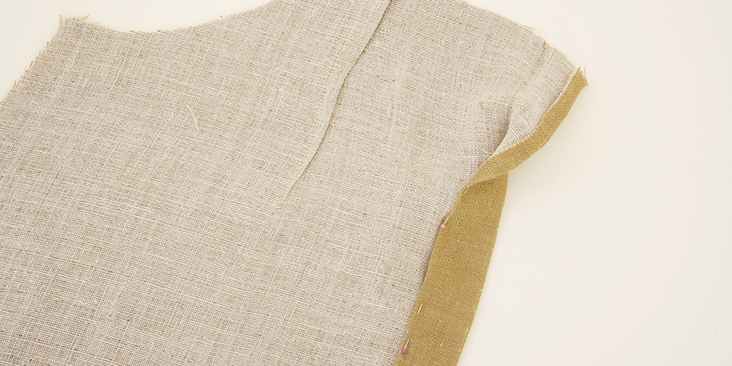
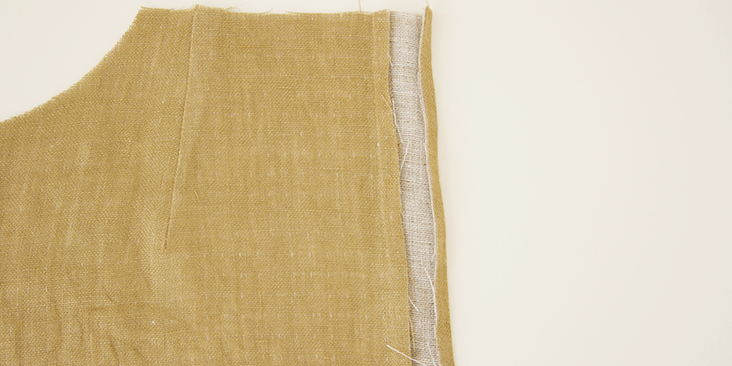
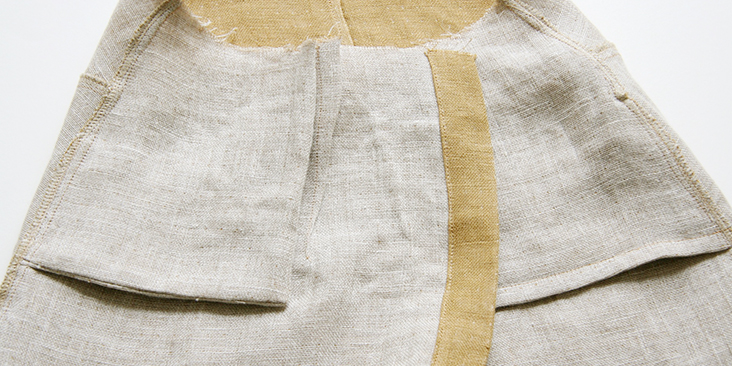
2. Take the left front and fold the fabric twice to the wrong side along the center front edge, first 3/8” then another 1 ¼” to form a button band. Press pin and edgestitch.
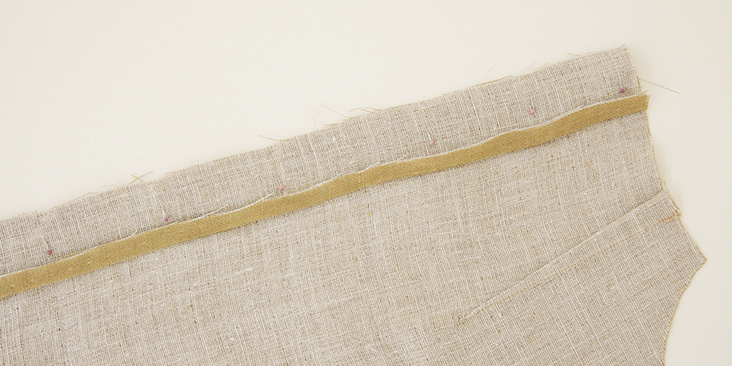
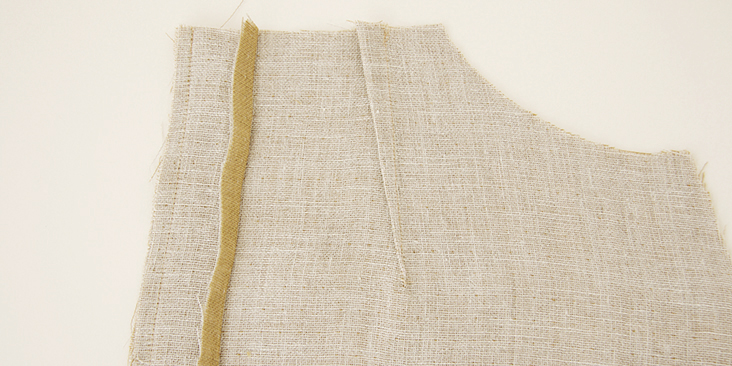
3. The right front has a separate, sew-on button band. Fold one long edge of your right band 3/8” to the wrong side and pin the other edge to the right front skirt so that the right side of the band touches the wrong side of your skirt.
4. Stitch in place along the 3/8” (1 cm) seam allowance. Trim the seam allowance down to 1/4” (6 mm) to reduce the bulk
5. Press the band and the seam allowance away from skirt.
6. Fold the button band over to the right sides and pin it to the skirt, making sure that the first fold of the fabric slightly covers the stitching line from attaching the button band. Press, pin and edgestitch. Topstitch the other edge to match the one that you’ve just made.
Now let’s sew and attach the pockets.
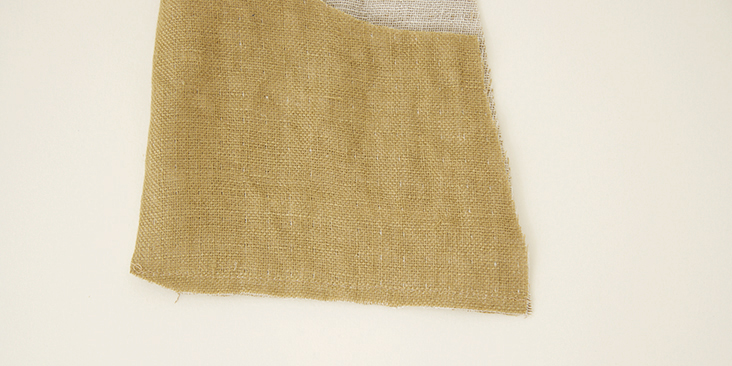
7. Fold your pocket piece in half lengthwise wrong sides together and stitch along the bottom edge at a 3/8” (1 cm) seam allowance. Trim the seam allowance down to ¼” and clip the corner.
8. Turn the fabric wrong side out. Press and stitch again 3/8” from the bottom edge to enclose the raw edge.
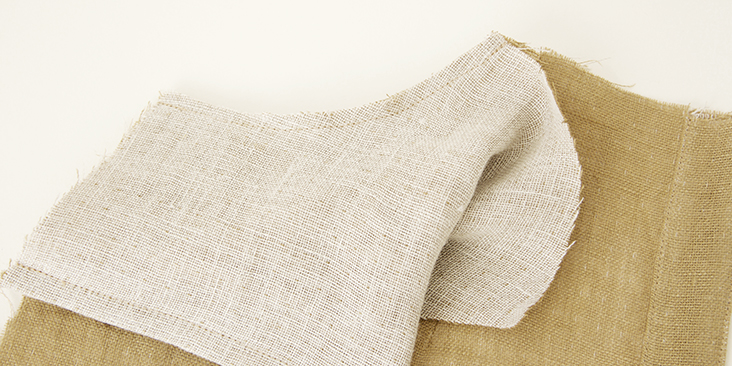
9. Pin the curved edge of the pocket to the curved edge of the front skirt right side together and stitch at a 3/8” seam allowance. Remember to backstitch at both ends. Trim the seam allowance down to 3/16” and make a few snips to release the tension.
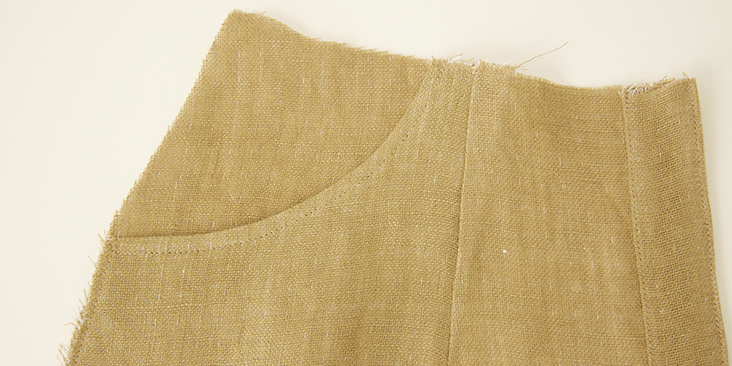
10. Fold the pocket towards the inside, press along the curved and topstitch ¼” from the edge.
11. Pin the side seams of the pocket to the side seam of your front skirt and baste in place (¼” from the raw edge). Match the pocket notches at the waist and baste to keep the pocket in place.
Repeat steps 7-11 to attach the other pocket.
Time to assemble the back.
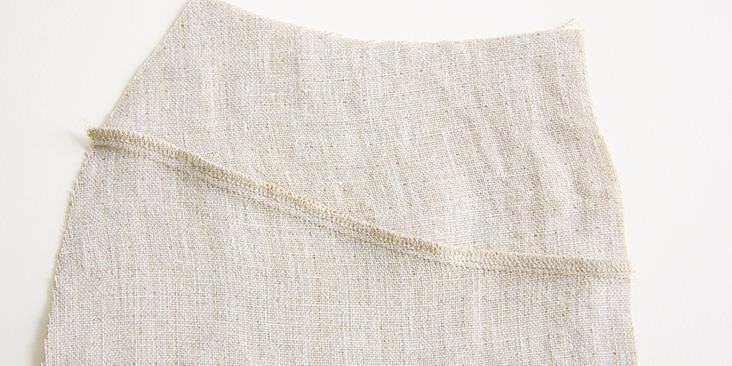
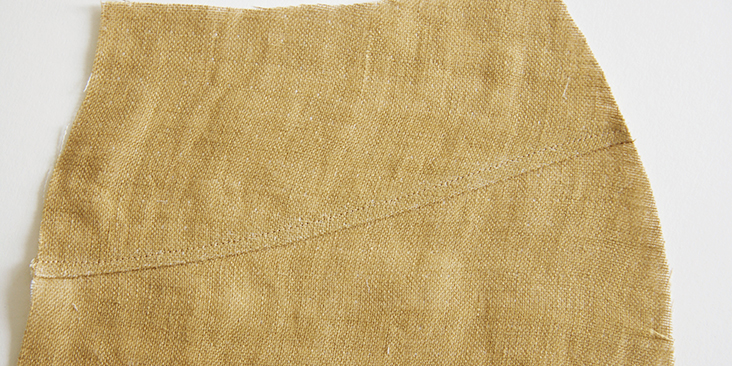
12. Pin left back yoke to left back skirt right sides together and stitch at a 3/8” (1 cm) seam allowance. Finish the seam with your preferred method to prevent the fabric from fraying. You can either serge or zigzag stitch the two raw edges together.
13. Press the finished seam allowance towards yoke and topstitch ¼” from the seamline to add some interesting detail to your skirt.
14. Repeat steps 12 & 13 to assemble the right back skirt.
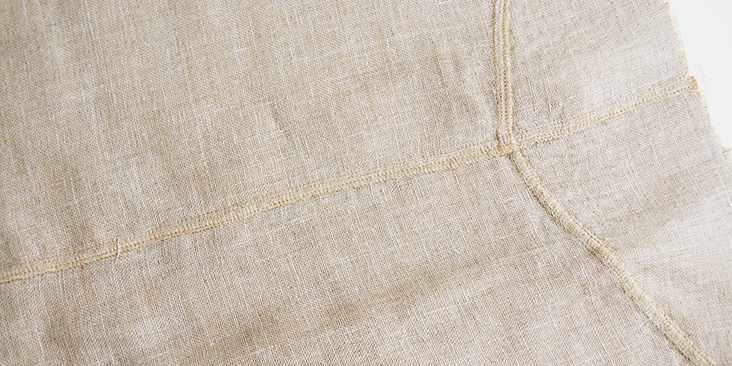
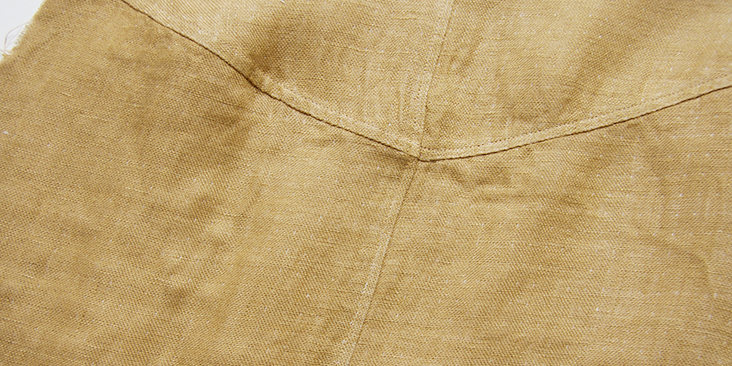
15. Pin the two back skirt pieces right sides together matching the yoke seam and stitch together at a 3/8” seam allowance. Finish the seam, press to the left and topstitch ¼” from the seamline.
16. Pin the two fronts to the back right sides together at the side seams (catching the pockets between the two layers) and stitch at a 3/8” seam allowance.
17. Press the seam allowances towards the back and topstitch ¼” from the seamline.
Time to attach the waistband.
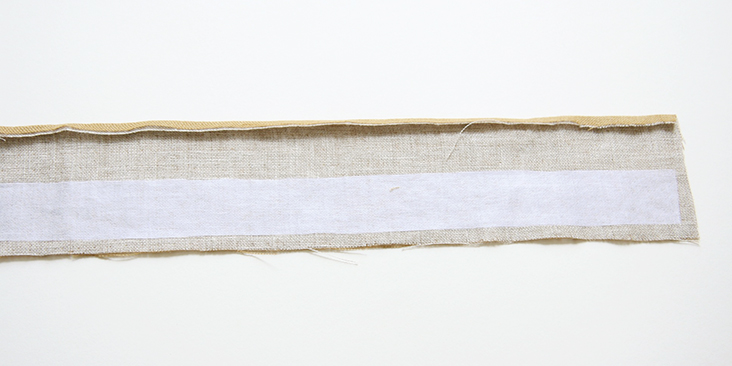
18. Interface one side of your waistband. Apply fusible interfacing to the wrong side and if you want to reduce bulk, you can cut off the seam allowances on your interfacing. Press the seam allowance at the other waistband half (non-interfaced) 3/8” under.
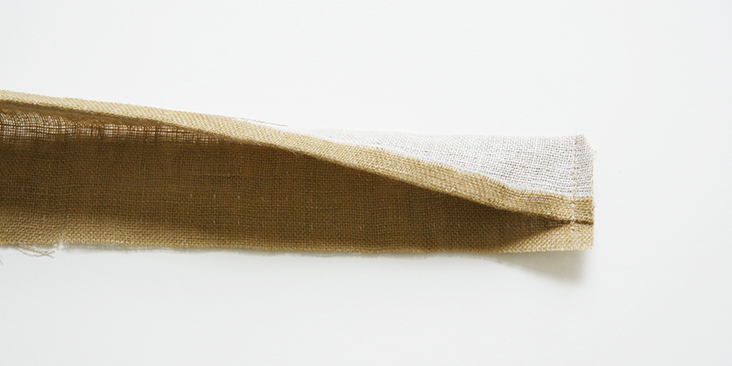
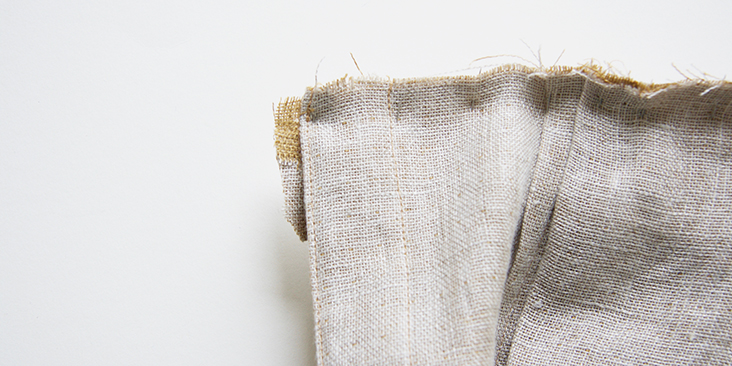
19. Fold the waistband in half lengthwise and stitch the short ends. Trim the seam allowance and clip the corner.
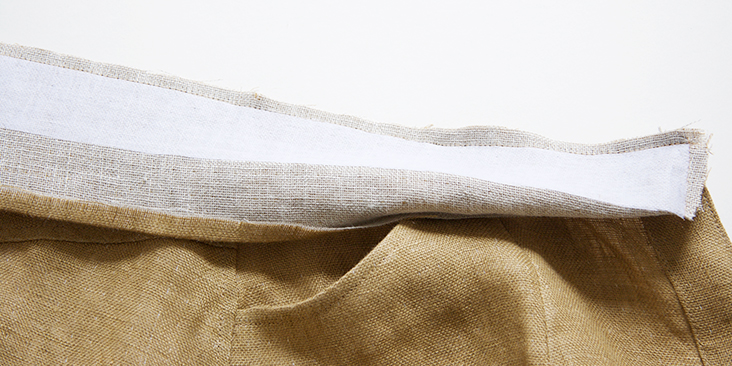
20. Pin the interfaced half of waistband to your skirt right sides together and stitch with a 3/8” seam allowance.
21. Trim the seam to 1/4” and press waistband up.
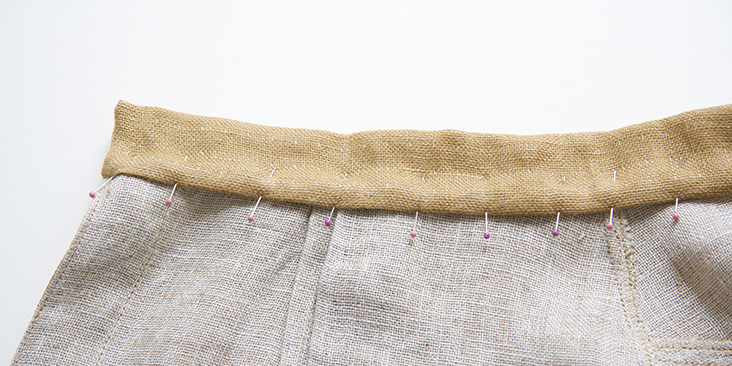
22. Pin the pressed edge to the wrong side of your skirt, covering the seam line.
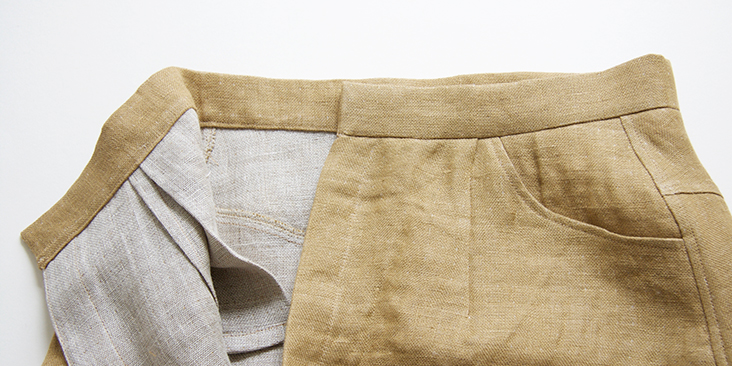
Working from right side, topstitch along pinned edge in crease of your seamline, catching the underside of waistband.
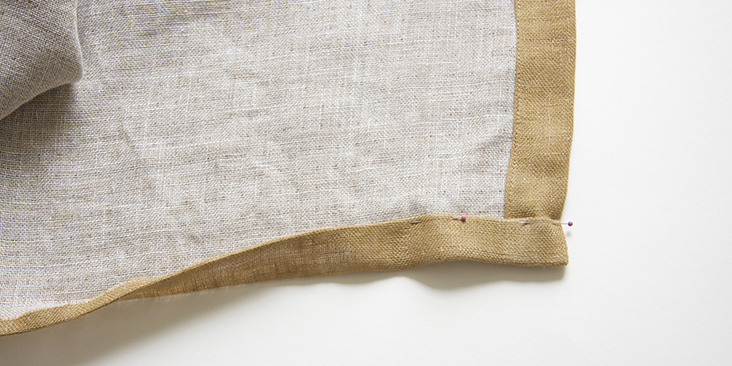
23. Finish the hem by folding the raw edge twice to the wrong side: first 3/8”, then another 1,5”. Press, pin and stitch.
24. Lastly, sew the buttonholes on the right front and attach the buttons to the left front.
For the buttonholes, you can follow our detailed tutorial HERE. As for the buttons, check our tutorial HERE for instructions. Overlap the button bands and place a pin into the center of each buttonhole. This is where you’ll need to attach the button.
25. Give your finished skirt one last press and you are all done!
We love seeing what you make! Don’t forget to share your pictures and tag your creations with #FabricsStoreAnaSofiaPattern hashtag.








10 Comments
Janet Carpenter
I am cutting out this pattern. I am confused by the right front band. The right front skirt pattern shows the “center front” as 3/8″ to the left of the cut line. But according to the instructions that would become the seam line for attaching the band? The instructions seem to say you’d fold the band in 1/2 to sew over the seam line, making the button band. This leaves the band only 5/8″ wide, when the left side skirt will have a self band of 1 1/4″ I can’t figure this out. If you fold the entire button band over the right front skirt, then the center front is not where indicated on the pattern, because the “center front” line on the pattern is the seam line for attaching the button band. Where am I wrong?
Thanks,
Janet
Judith Lukas
I wish I had read the comments before I struggled with the pocket pattern piece. I printed size 8. 10 and 12 and the pocket piece is incorrect. I saw that someone else had the same issue and found the correct piece. It would be a service to correct the download. I spent quite a while before figuring out the piece that downloaded was impossible.
ROUX SYLVIE
Superbe patron avec de belles finitions comme tous vos patrons d’ailleurs. Je finis et je poste une photo. Merci pour votre travail et vos patrons, je suis fan.
erray erryan
I downloaded the tutorial but there is no pattern attached?
Lauren Gates
Hello Erray:
I have sent you an email but thought I’d reply here too.
The pattern is attached to the .pdf booklet you have downloaded. There are instructions on the first page that will step you through accessing the pattern in Adobe Reader.
you can also view our step-by-step tutorials by device type at the links below:
Computer (PC/MAC)
https://support.fabrics-store.com/hc/en-us/articles/360057105032-Downloading-and-Opening-Free-pdf-Patterns-on-a-Computer-PC-and-Mac-
Android Devices and some Chromebooks
https://support.fabrics-store.com/hc/en-us/articles/360057356212-Downloading-and-Opening-Free-pdf-Patterns-on-a-Mobile-or-Tablet-Android-
Apple iPhones and iPads
https://support.fabrics-store.com/hc/en-us/articles/360058020091-Downloading-and-Opening-Free-pdf-Patterns-on-an-iPhone-or-iPad-Apple-IOS-
Carol Winzeler
haing trouble with ana sofia pocket. does folding in half mean the pocket piece including the facing? to foldthe pocket piece by itself doesn’t seem to make sense.
Carol Winzeler
got it now! I printed the size 12-14, and found an incomplete pocket piece; went to the master pattern (with all sizes) and printed the page with the complete pocket pattern piece. All is well. Ready to order my linen!
Nancy Stockman
The model shows the buttonhole placket angling off center, giving the appearance of a bulging tummy. Is that the way the pattern is drafted?
Elizabeth Fluehr
I suspect the waistband was too small for the model, so they moved the button and let the placket be misaligned during the photo session.
Cathy Chavez
Such great patterns on this site. How do I alter the pattern to make the waist a size 24 inch? You all do a wonderful job! Thank you for the time and effort you give your readers.