Harley Placket Tunic Tutorial and Pattern
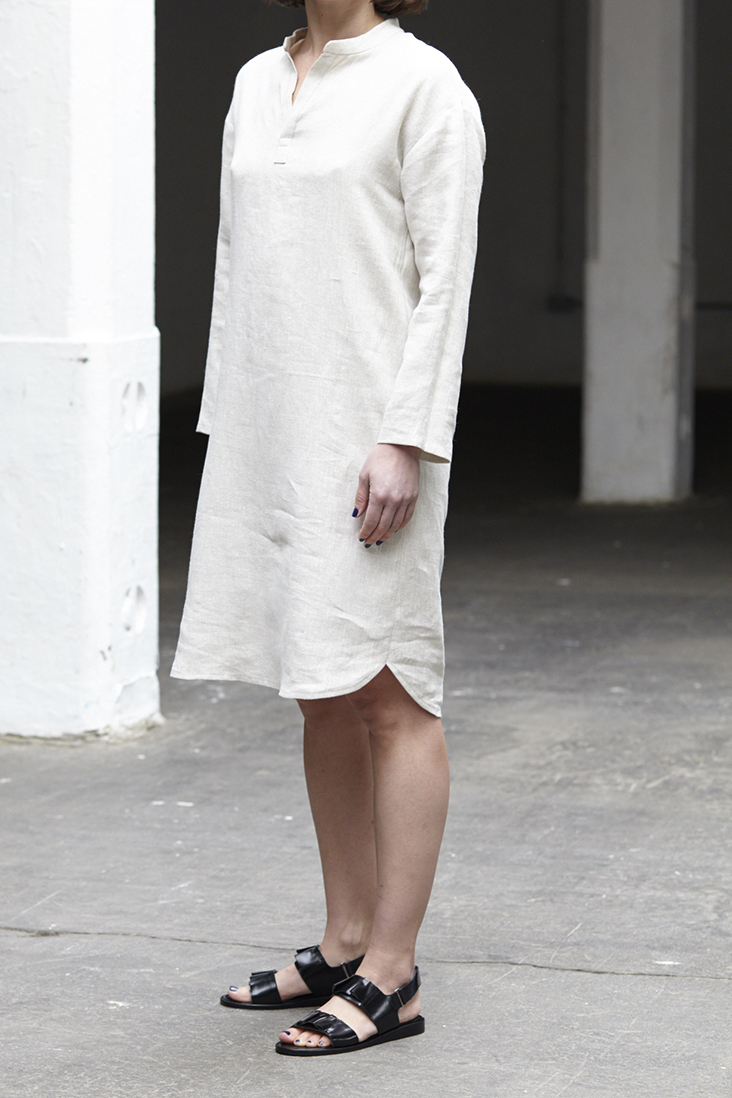
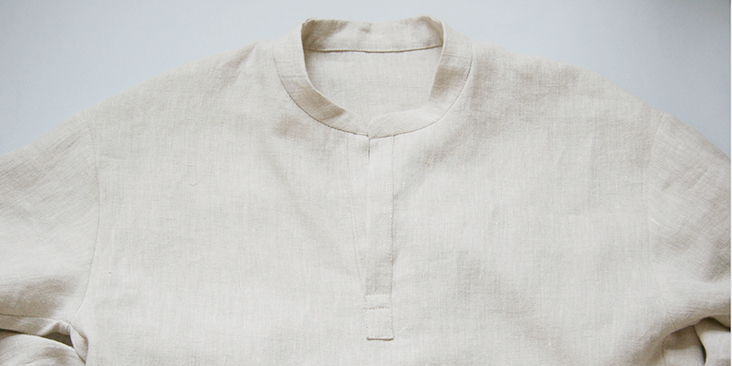
With its crisp mandarin collar and open placket, this tunic is a great basic that you’ll want to wear season after season. Crafted from pure and natural softened linen, it feels luxuriously soft and is really comfortable to wear paired with your favorite jeans, leggings or as a dress.
Materials
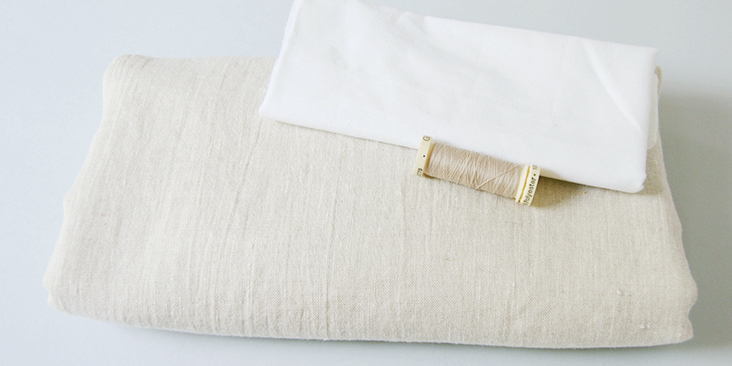
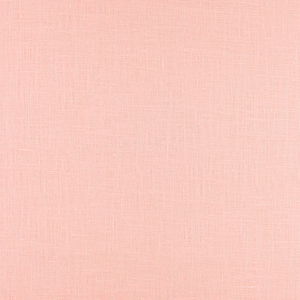
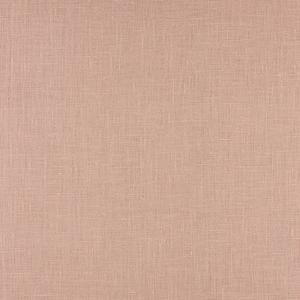
For our sample size 6 pictured in this tutorial: 2 yards of IL019 MIX NATURAL FS Signature Finish Medium Weight Linen
Refer to the yardage table in the pattern for larger sizes.
Matching sewing thread, fusible interfacing
Tools
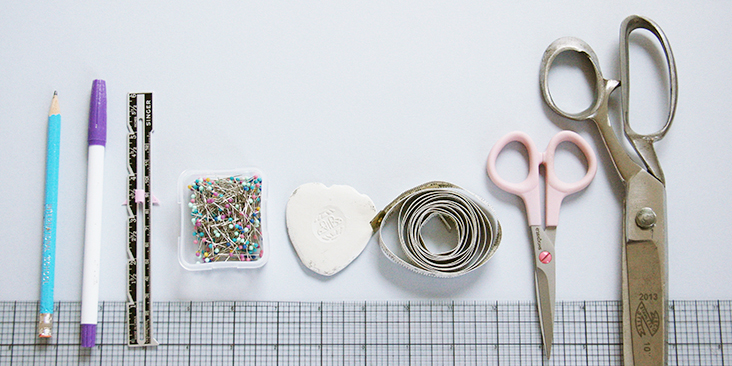
Scissors, pins, ruler, chalk, fabric marker, measuring tape, needle, sewing machine
Difficulty
Beginner
Sewing Time
3-4 hours
Pattern
You can access the multi-sized printable PDF pattern by following this link HERE. All seam allowances are included. The model is wearing US size 6.
Remember to transfer all the notches onto your fabric.
Steps
Note: Prewash your fabric and tumble dry it until it is still slightly moist, dry at room temperature. Iron the fabric so it is easier to work with.
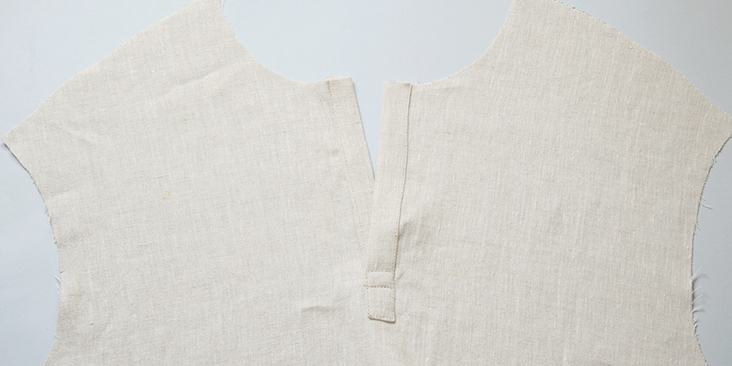
1. Sew the partial placket onto the front of your shirt by following this step-by-step tutorial. No need to attach the buttons or sew the buttonholes as this pattern calls for an open-placket design.
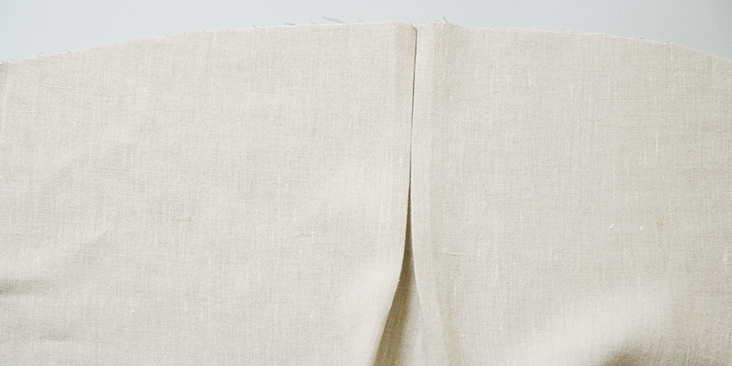
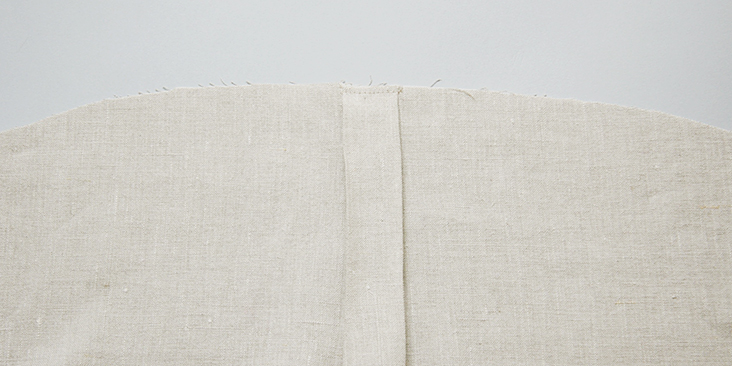
2. Prepare your back piece: with your fabric’s wrong side facing you, accordion pleat your back (1/2″ to 1/2″) at the Center Back (the two pleats should meet at the center) and baste across the pleat (1/4″ or 6mm from the raw edge) to secure.
3. Finish the bottom hem of your front/back pieces using the great technique for curvy edges explained in this tutorial.
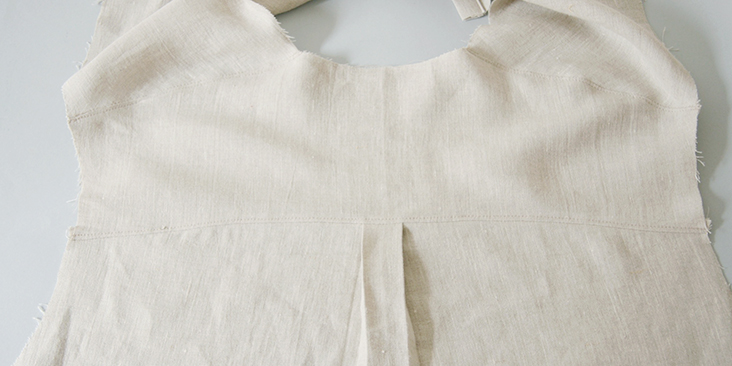
Now that the preparation is over, we can finally assemble the back and the front of the shirt with a yoke.
4. You’ll find the detailed instructions on how to attach the yoke in this step-by-step tutorial.
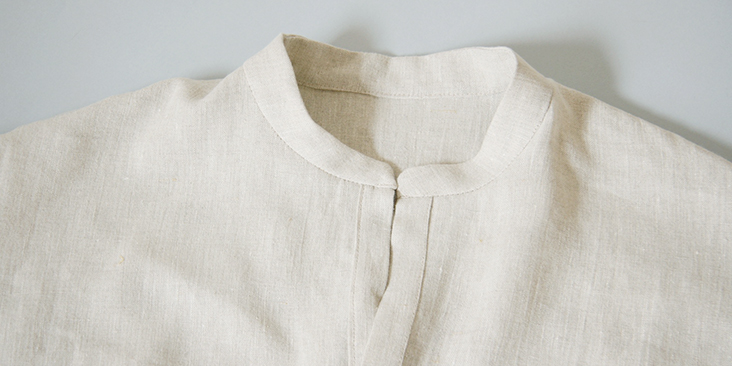
5. Attach the stand up collar as explained in this tutorial.
Don’t forget to apply fusible interfacing to the wrong side of your outer collar stand for more structure and support.
Next up – the sleeves!
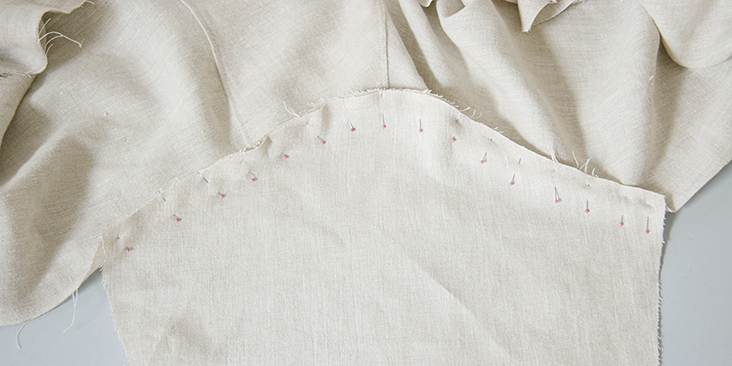
6. Pin the sleeves to the armholes right sides together. Make sure to match the front/back notches.
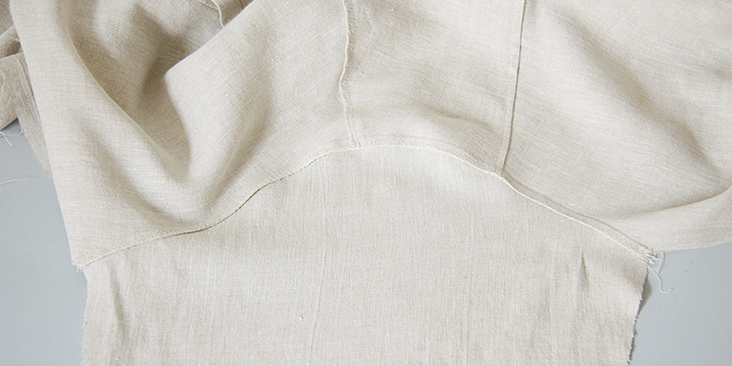
7. Stitch at a 3/8” (1 cm) seam allowance then grade and serge/zigzag the raw edges together to prevent the fabric from fraying in the future. Press the seam allowances towards the sleeve.
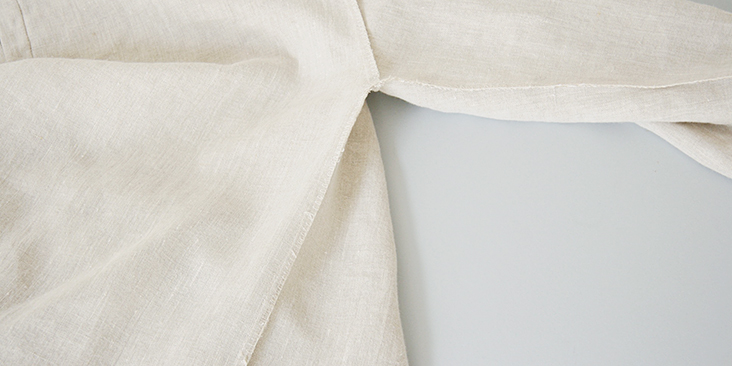
8. Pin the side seams and the underarms. Stitch the side seams and the underarms all in one seam at a 3/8? (1 cm) seam allowance, then grade and serge/zigzag the raw edges together. Press the seam allowances towards the back.
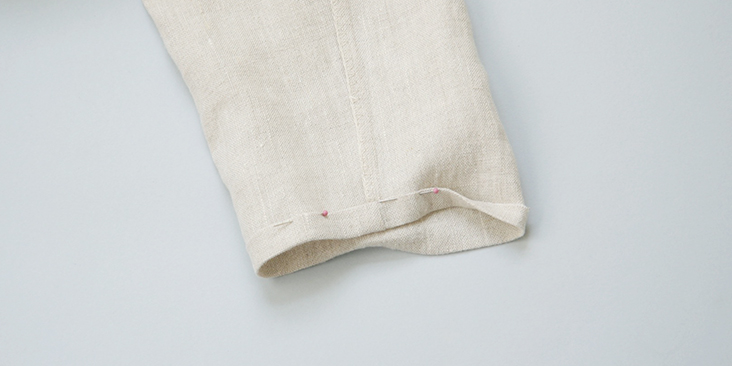
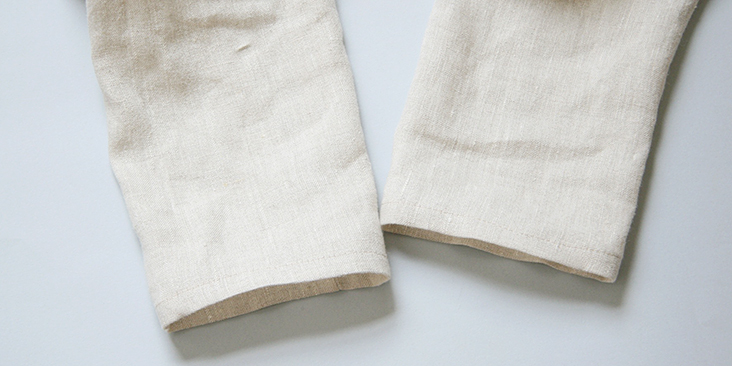
9. Lastly, finish the sleeve openings with a rolled hem. Fold the fabric twice towards the wrong side, 3/8″ to 1/2 inch, press, pin and stitch.
Give your shirt a good last press and you are all done!
We love seeing what you make! Don’t forget to share your pictures and tag your creations with #FabricsStoreHarleyPattern hashtag.













5 Comments
Beth Perry
I’ve downloaded Adobe and have wasted an hour trying to locate the pattern! The only thing that comes up in the PDF reader is a six page info sheet on how to access the pattern, but no pattern. What GIVES?
Lauren Linen
I’ve sent you an email Beth 🙂
For those also struggling, please feel free to email us for assistance or see our how-to articles based on your device type below:
Computer (PC/MAC)
https://support.fabrics-store.com/hc/en-us/articles/360057105032-Downloading-and-Opening-Free-pdf-Patterns-on-a-Computer-PC-and-Mac-
Android Devices and some Chromebooks
https://support.fabrics-store.com/hc/en-us/articles/360057356212-Downloading-and-Opening-Free-pdf-Patterns-on-a-Mobile-or-Tablet-Android-
Apple iPhones and iPads
https://support.fabrics-store.com/hc/en-us/articles/360058020091-Downloading-and-Opening-Free-pdf-Patterns-on-an-iPhone-or-iPad-Apple-IOS-
Caitlin Bant
Hello
I’m looking to add a regular shirt collar to this tunic. Could I use the collar from the Noa Linen Shirt?
Thanks
Lauren Linen
Hello, The Noa Collar may not work. Instead, you could use our tutorial for drafting the collar to make one to fit your Harley specifically. Here is the link to the tutorial:
https://blog.fabrics-store.com/2017/09/05/sewing-glossary-how-to-draft-and-sew-a-shirt-collar-tutorial/
Doreen Sargente
This is my first time making a placket, and I’m having a bit of difficulty with the final steps. In step 12 on your placket tutorial it says to ‘fold the remaining layers so that the bottom of the placket comes to a nice, square shape with no exposed raws edges’. From the illustration, it looks like one side of the placket is laying over the other on the bottom part. How does one prevent ‘pulling’ when doing this? Aren’t you essentially pulling one side of the fabric to another, thereby creating an unsightly pull? Also, there is no mention of the raw edges from the bottom of the placket, the part that was a triangle. The allowance is so small I can’t figure out how to get it tucked in enough so that it won’t show.
Is the illustration in Step 12 showing the right side of the dress fabric? I would think it would be the wrong side based on the instructions up till that point, but it doesn’t appear to be based on the photo in Step 13.
I will try to look at some Youtube videos to possibly help with this but would love some feedback if you have the time. Also, I can send photos if you would like.
Thank you,
Doreen