Sewing Glossary: How To Make And Sew Your Own Piping Tutorial
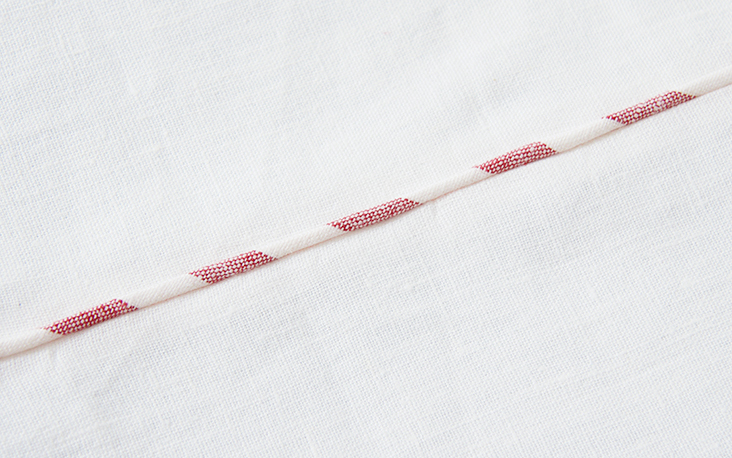 Need a way to make a project stand out? Then consider piping. It is a great detail for adding some pop of color, contrast and texture to any sewing project. Piping gives an opportunity to draw attention to interesting design elements and accentuate seamlines, transforming even the simplest garment into something classy and sharp.
Piping (sometimes referred to as cording or welting) is a strip of bias-cut fabric folded over a cord. It is found in all sorts of projects and is often applied to trim the seams of upholstery projects and tailored garments.
You can buy ready-made piping, but the quality of the fabrics used is often not great (and when it comes to piping made out of linen extremely rare to find) and comes in a limited variety of colors. So if you can’t find that special texture and color that match your project perfectly, you can make your own piping in a few easy steps. Today we are going to show you how to make your own custom piping and attach it to any project! All you need is some fabric, cording and a zipper foot.
Materials & Tools
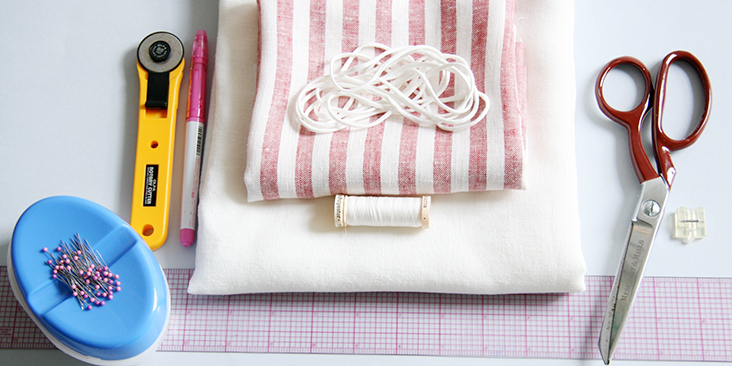
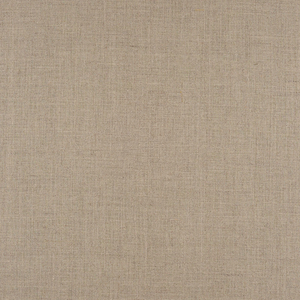
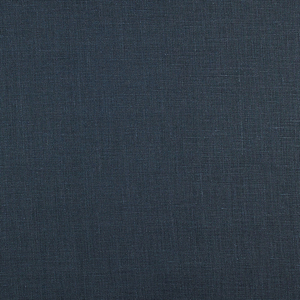
Fabric of your choice. In this tutorial we are using two medium-weight linens from our collection: IL019 BLEACHED Softened as our main fabric and IL044 716 for the piping. We just love the beautiful candy-cane effect created by cutting across stripes. You can go subtle with piping made from your garment’s fabric, or bold with contrasting or patterned piping.
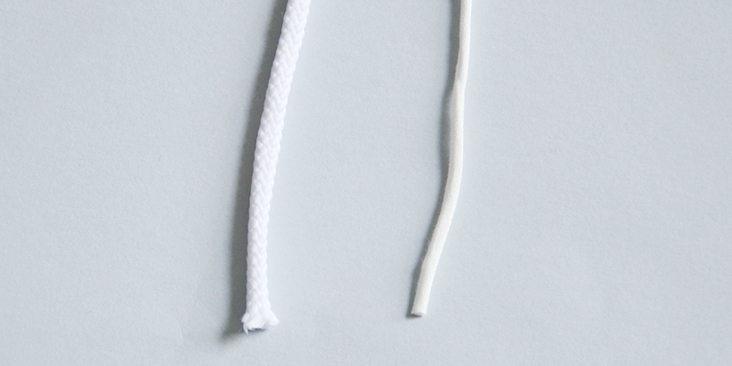
Now let’s talk about the cord that goes inside the piping. It is referred to as cording or welting and comes in a variety of sizes. Some cording is rather stiff while others are pretty soft. It all depends on the composition of your cording. It can be made of materials like cotton, paper fiber or foam. Cotton is the most soft and flexible, while the foam is pretty stiff and paper fiber is somewhere in between. The standard size for piping cord is between 1/8” and 1/4″. You should be able to find it by the yard at your local fabric store. For this tutorial we are using 1/8” cotton piping.
The tools that you will need for making your own piping are: scissors, ruler, rotary cutter (optional), pins, fabric marker, seam ripper and a zipper foot (or piping foot if you are lucky to have one).
For the purpose of this tutorial and to better demonstrate the technique, we are using a contrasting thread. You should use a thread that matches the bias tape.
Gather all the materials and let’s start!
Difficulty
Beginner
Steps
Note: To avoid shrinkage, prewash your fabric and tumble dry it until it is still slightly moist. Iron the fabric so it is easier to work with.
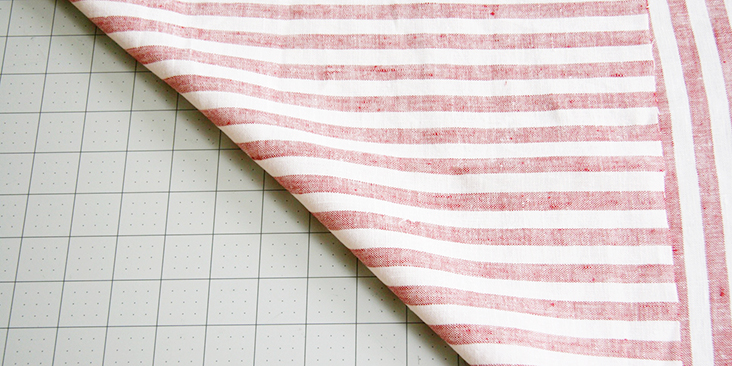
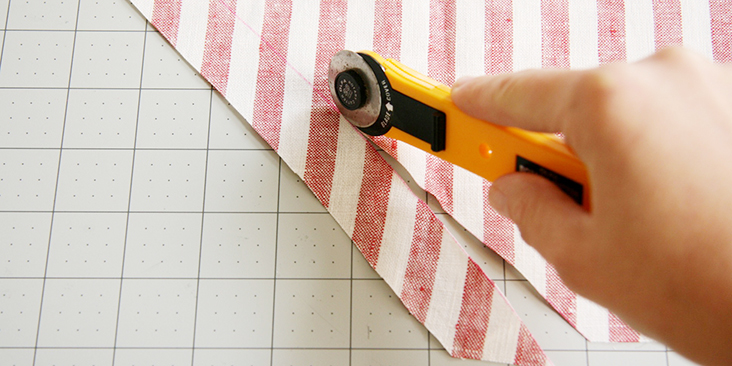
1. First, cut out strips of fabric that will cover your cord. Piping is usually cut on the bias, which means diagonally at a 45-degree angle, to give fabric more stretch and flexibility to go around corners and curves. But if your project doesn’t have any corners or curves, cutting on straight grain works fine and saves yardage.
To determine how wide the strip should be, take the width of your cording, add the seam allowance you’ll be using and multiply that number by 2. If you don’t know the exact size of your cording, just measure it! For a 1/8” cording and a 3/8” seam allowance, you’ll need to cut a strip of fabric that is 1” wide. For the length, measure enough to wrap around the perimeter of your project plus a couple extra inches. Divide this number by 36 to determine the cording amount in yards (since the cord is usually sold by the yard).
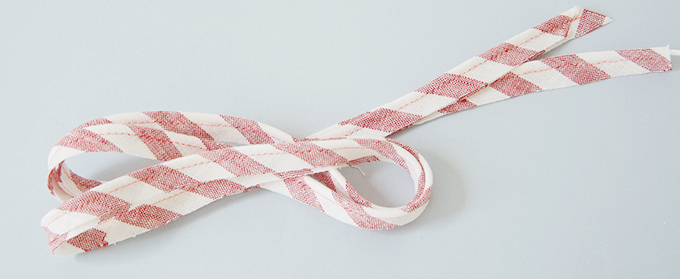
To find the 45-degree angle, use a quilters ruler or just fold your fabric diagonally, matching the side edge with the bottom edge. This will give you a line to align your strips with. You are basically making unfolded bias tape and we have a great tutorial about that HERE!
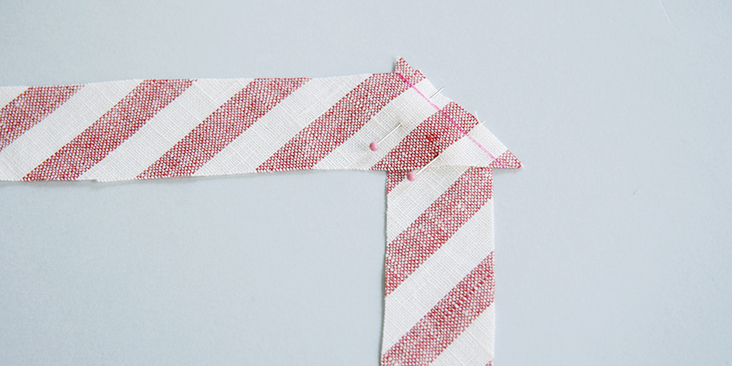
2. It may be necessary to join several strips together to achieve the correct length. To make one continuous strip of bias-cut fabric, sew your pieces together diagonally for a smooth transition. Place the bias strips right sides together at a right 90-degree angle matching raw edges together and pin.
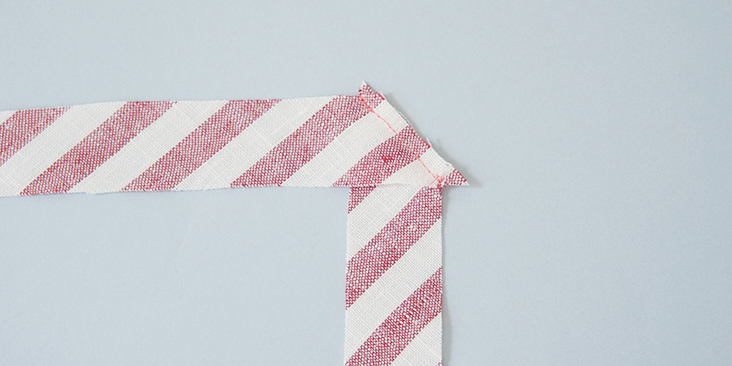
Stitch the two strips diagonally, press the seam open and trim the corners that extend beyond the strip.
Just keep sewing as many strips as you need to make the amount of piping you want.
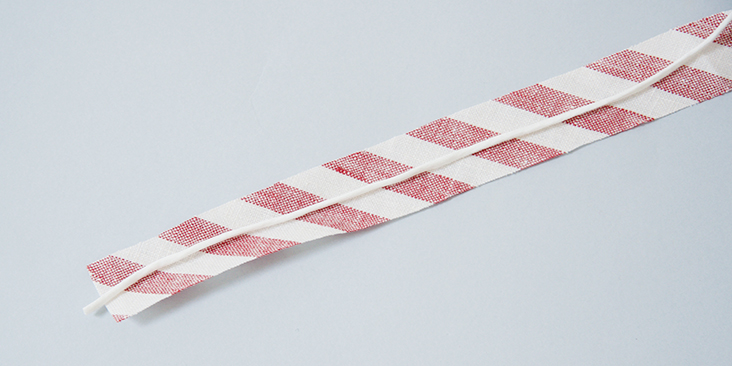
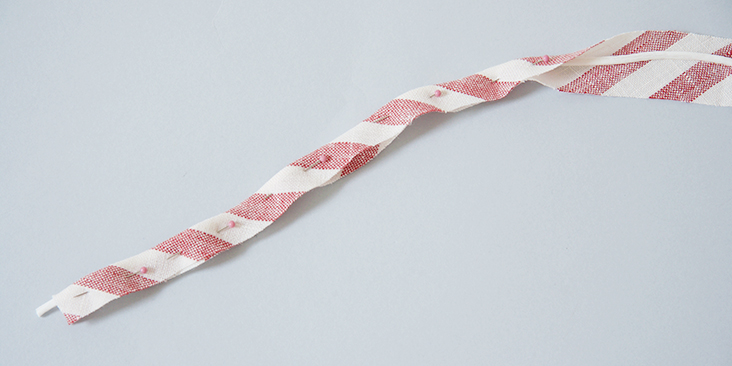
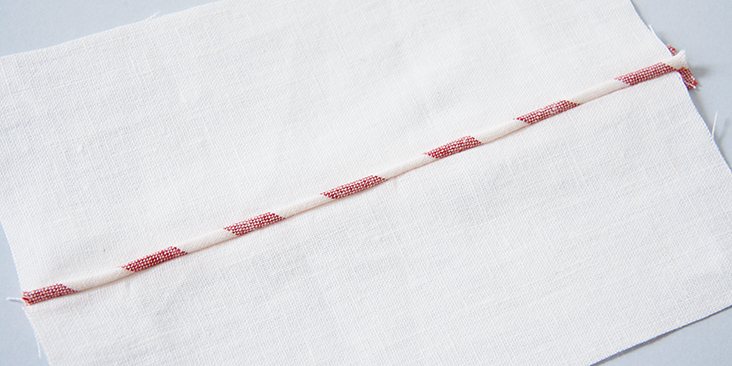
3. Put the cording in the middle of your fabric strip (wrong side facing you), then fold it in half and pin.
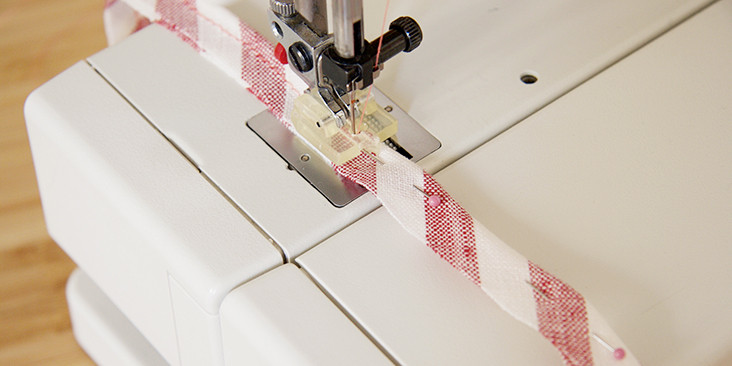
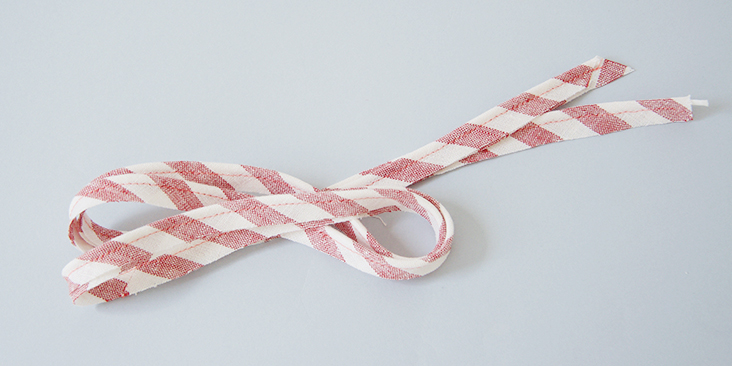
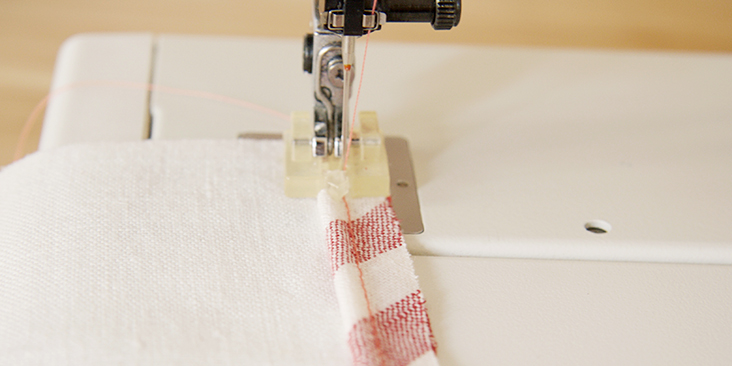
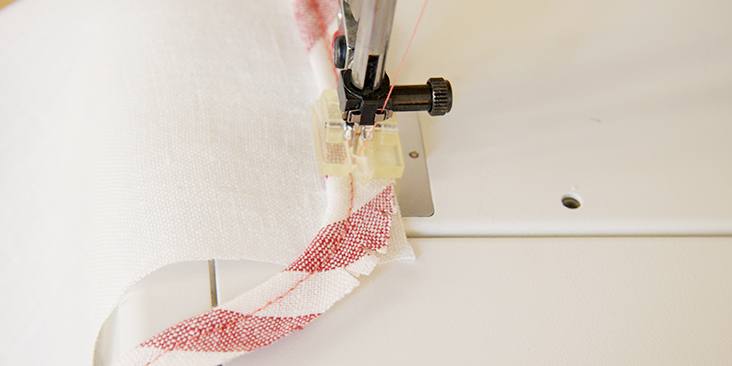
4. Attach a zipper foot to your sewing machine and place the piping under. Starting at one end of the piping, stitch along the cording, but not too close to it, to encase it in the bias tape. If you sew too close to the cord, you’ll have the stitch line that might show through on your finished project, especially at the corners. We will be sewing a closer seam later to tighten it up. Keep your stitching as straight as you possibly can, this will ultimately be the guide you will use in the end.
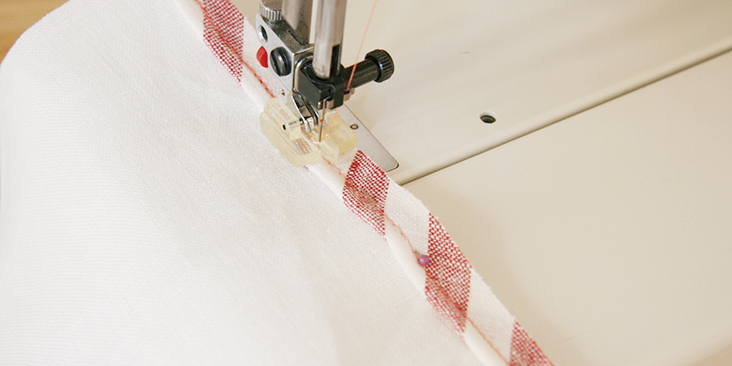
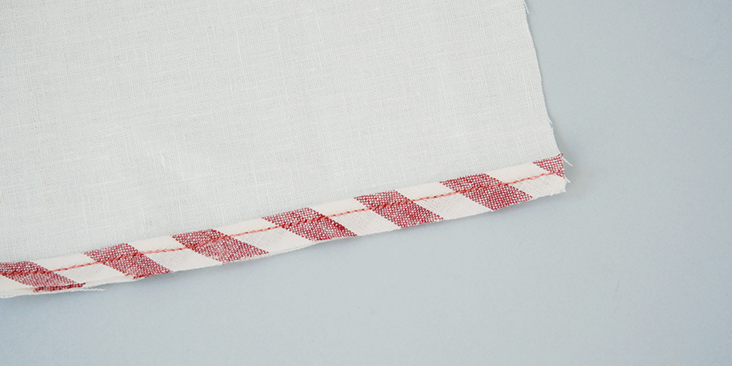
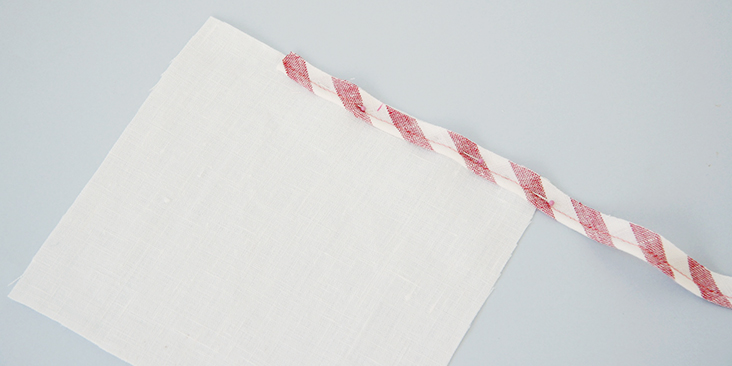
5. Next, place your piping along the garment edge with the right sides facing up. Match up the raw edges of the piping and the fabric and pin together. Stitch on top of your piping stitchline.
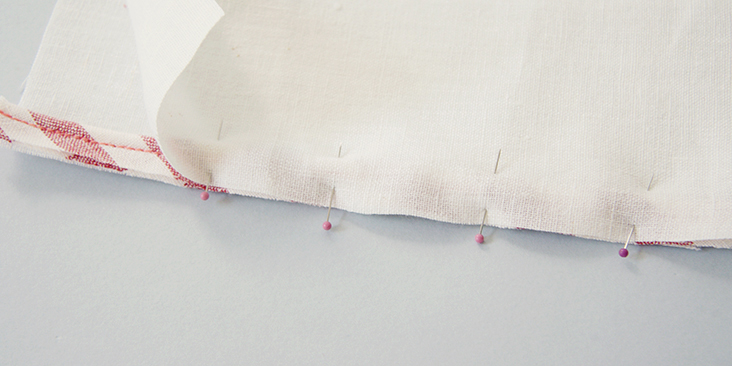
6. Take your other piece of fabric and place it on top of the piping. right side to right side matching the raw edges and sandwiching the piping in the middle. Pin together.
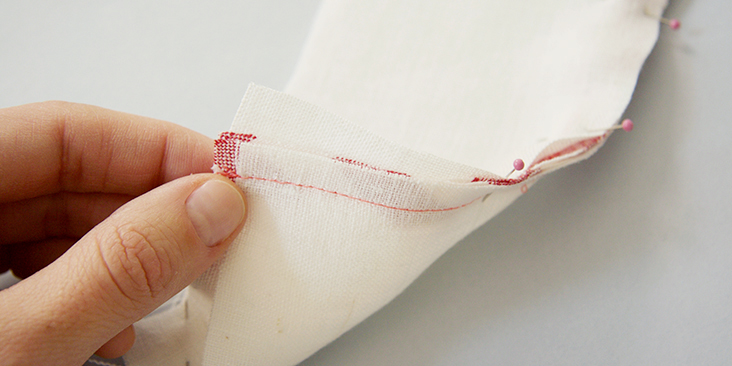
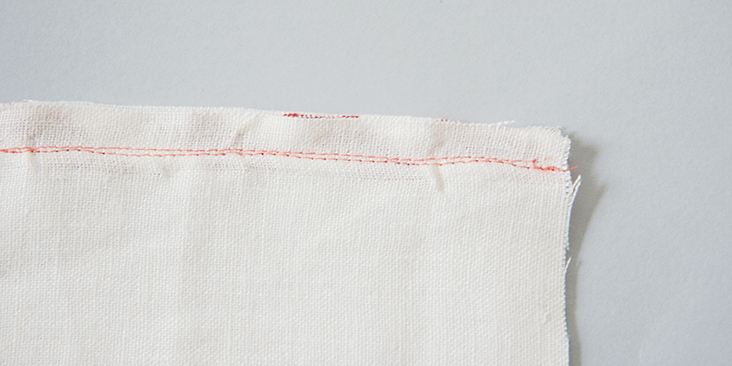
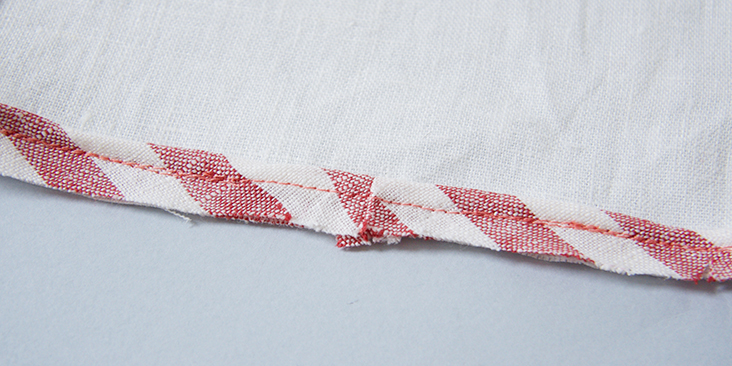
Flip your project upside down and sew right inside the line of stitching that you see. This way you are sure to get a tight fit with no visible stitches on the right side. Remember to backstitch at the beginning and end of each seam.
Your stitching should be where the lower stitchline in the photo is. This will get the piping nice and tight.
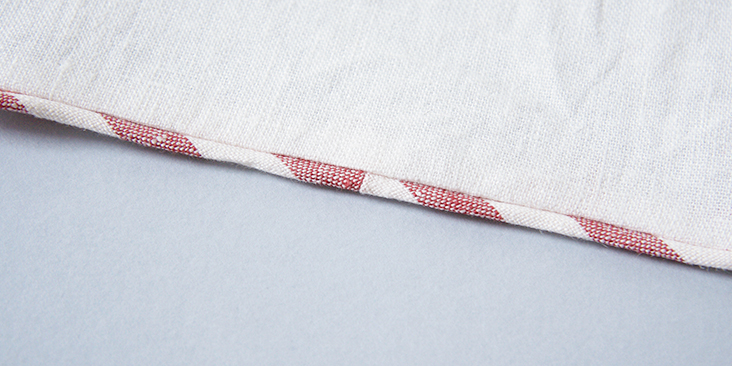
7. Trim the seam allowances to reduce bulk and press the seam allowances open or to one side. Once you turn your work right side out, you will have a nice strip of piping that stands out a little bit from the edge of the fabric.
You can either add piping along straight edges such as front openings and cuffs, or march it along corners and curves.
To apply piping around corners and curves, here is what you need to do:
8. When you reach a corner or a curve, make a couple of snips into the edge of the piping. This will make the application much easier. Sew to the pivot point and with the needle lowered into the work, raise the presser foot, pivot your fabric, then lower the foot and continue sewing this way around the rest of the sides and corners.
Joining Ends
If you are working on a project that requires piping along the entire perimeter, like a cushion, you will have to join the two ends together.
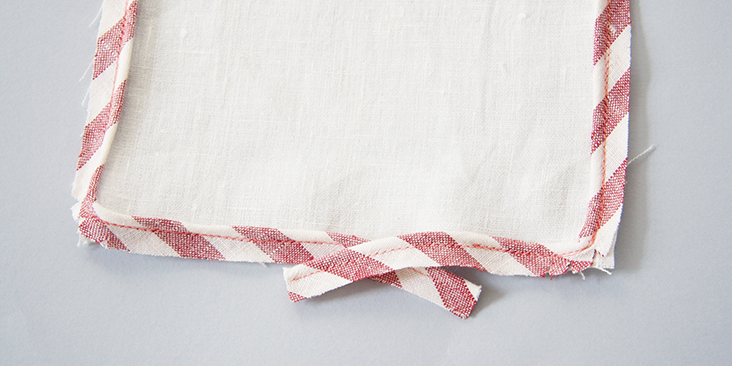
1. Find a point along the edge of your project where you’d like your joint to be (usually the center of a panel) and pin your piping to the main fabric leaving a loose tail of piping a couple of inches long.
2. Stitch across the perimeter of your project using the corner technique that you’ve just learned. Continue to sew until you are few inches away from where you started. Cut the excess piping leaving a couple of inches of tail.
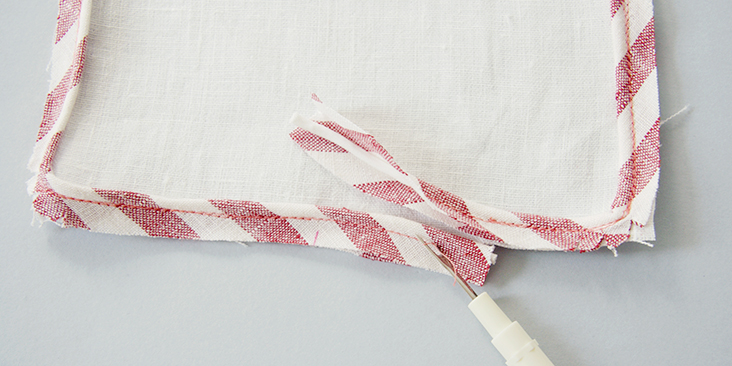
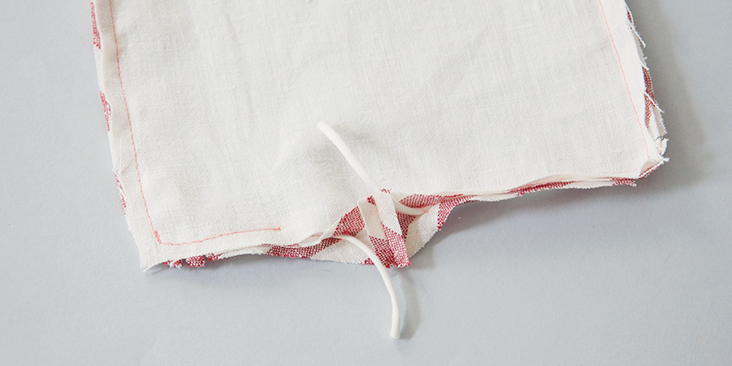
3. Rip open stitches of your cover on the loose tails.
4. Keeping the cording out of the way, lay the strips on top each other and determine where the joint will be sewn. Make a small snip on the edge of the strips.
5. Join the two tails right sides together, match the snips and stitch together. Cut excess fabric down to 1/4″and finger press the seam allowances open.
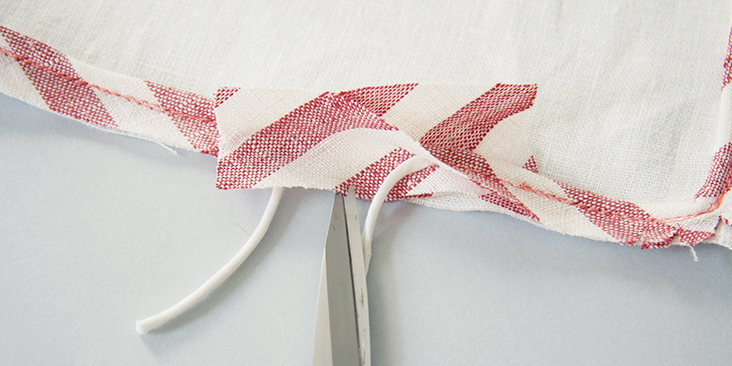
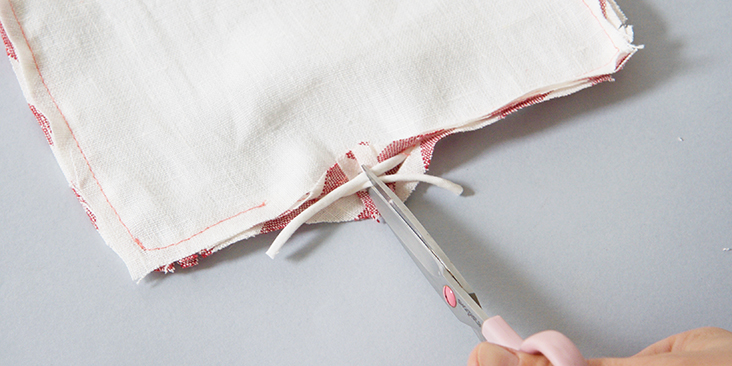
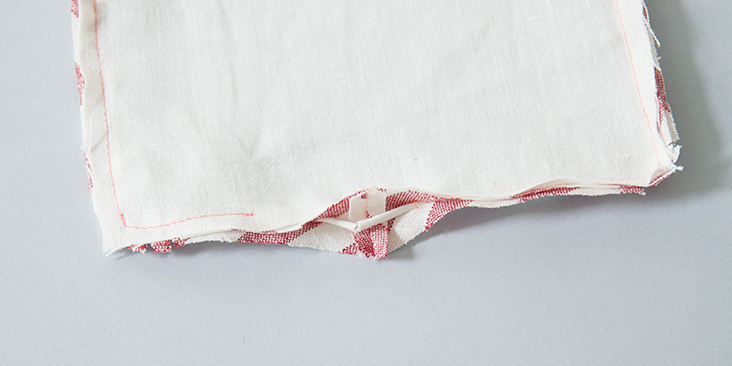
6. Now cross the two ends of the cording and cut through so that they meet without overlapping.
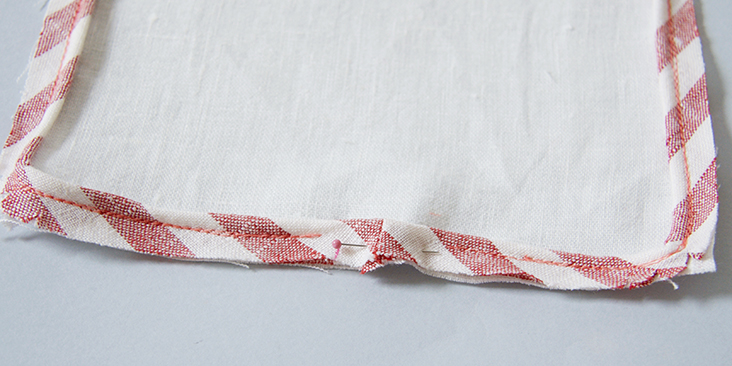
7. Fold over the fabric and continue sewing as before until the piping is completely attached.
8. And you have a perfectly neat joint:
Now that you know how to sew piping you can add it to all kinds of sewing projects!












One Comment
Marylyn Leet
This was very helpful for making the piping and I’m now excited to try incorporating piping in a project. I’d really like some good instruction/tips for using piping in garment construction, though – especially around the neckline and on armholes and sleeves – lining up the piping properly, how to handle joining at seams, etc. I really hope you can do a tutorial for attaching piping to garments, please!
Marylyn