Tutorial: How to Make Gorgeous Hemstitched Napkins
There are plenty of ways you can use linen to add a little sparkle to your home. From handmade stockings and quilted pot holders to easy drawstring bags, there’s plenty to choose from.
With Christmas just around the corner, we all start planning that special dinner, a chance to spend some quality time with family and friends. To make sure that your table settings look as good as the food, why not dress your dining table with some handmade napkins? Linen napkins, used during mealtime, create an atmosphere of a special occasion like nothing else!
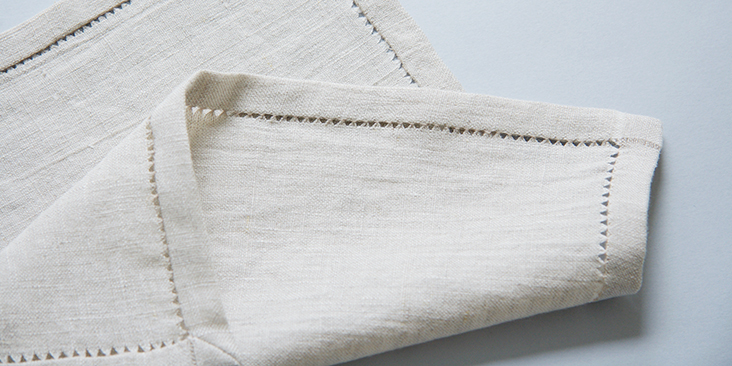
Today we are going to show you a simple and elegant project to transform your table from everyday to something special – how to make a set of hand hemstitched napkins with mitered corners using our 100% pure linen.
What is a hemstitch you might ask? Hemstitching is a form of drawn threadwork traditionally used to create decorative hems. By pulling out individual threads from the fabric parallel to the hemline and grouping the remaining vertical threads by hand with needle and thread, you are able to create a wide variety of decorative patterns while securing the hem in place. The hemstitch is both pretty and practical and allows you to hem at the same time you decorate the edges of your fabric, which makes it so much more special than a standard hem.
Follow the steps in this tutorial and make this gorgeous table napkin to dress up your Christmas table or as a lovely handmade gift for someone special. You can even add a little extra touch with some custom embroidery. So, if you love embroidery and various needle arts, this project is for you!
Materials & Tools
Fabric choice plays a major part in the success of your hemstitching. Linen is ideal fabric for such projects, but other all-natural fiber fabrics work also. Select a fine, lightweight to medium-weight linen fabric. It will get softer and softer with every wash. All napkins can be machine washable on gentle cycle and ironed if needed.
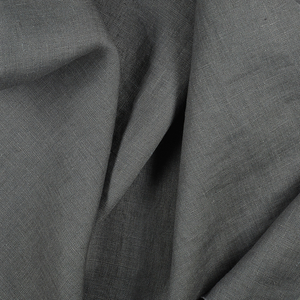
In this tutorial we are using our IL019 MIX NATURAL FS Signature Finish Medium Weight Linen
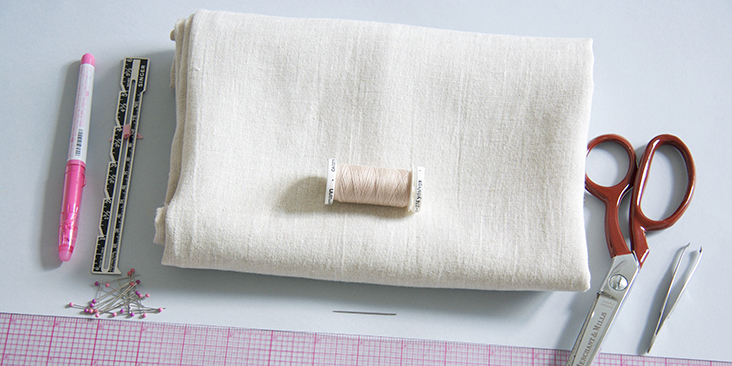
Cotton or linen thread to match your fabric, scissors, pins, ruler, sewing gauge, needle, fabric marker, tweezers, sewing machine
Difficulty
Beginner
Pattern
All you need to do is cut several squares of fabric to literally any dimension you want, it really depends on how big or small you want your napkins to be. The standard square sizes range from 16” to 20”.
Second thing you need to decide is how big you want your hem to be. You can make hem just about any size. In this example, we will have ½” –wide hem for a 14”-large napkin.
Take your desired finished size measurement and add two times the desired width of your hem. This is the size of the square you’ll need to cut (16” in our case). Cut the fabric edges really straight. To “square up linen,” find a thread near a corner, pull it out, and cut off the excess threads so you have a perfectly straight line on the grain of the fabric. Having straight edges is really important not only for hemstitching, but also for perfectly squared mitered corners.
Steps
Note: To avoid shrinkage, prewash your fabric and tumble dry it until it is still slightly moist. Iron the fabric so it is easier to work with.
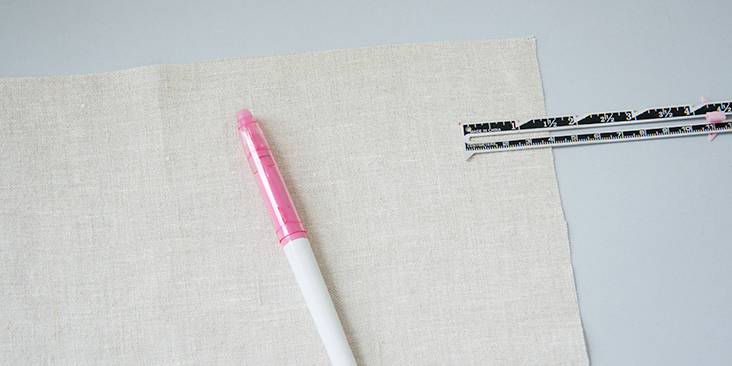
1. Multiply the width of your desired hem by 3 and mark that point at the corner of each edge. For example, if you want to make a 1/2″ hem, measure 1.5” from both edges at one corner and mark it with a disappearing ink fabric marker.
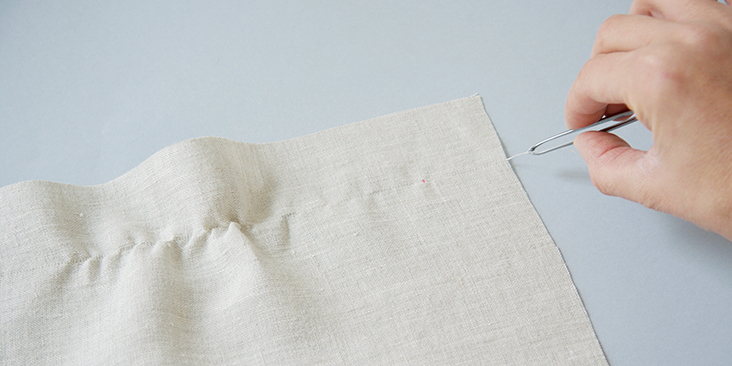
2. Isolate a single thread at the point you marked in the prior step and start pulling it gently using your tweezers. Carefully draw out the thread, pulling gently while holding the fabric firmly with your other hand. You’ll notice some shirring, just pull the thread slowly to help it slide out.
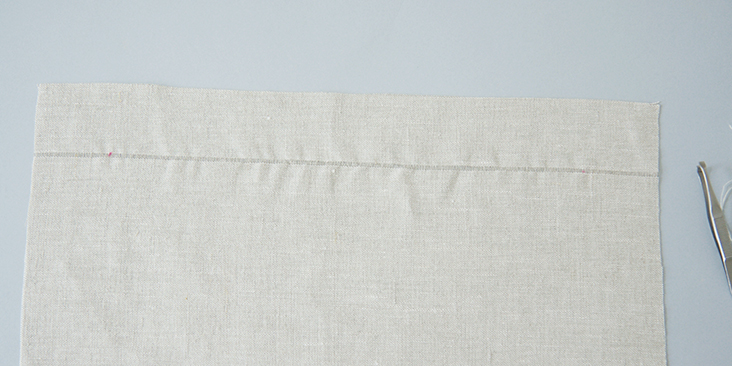
Now you will pull out a few more threads next to the one you just drew out. How many will depend on the thread count of your fabric and your personal design choice. Usually, it’s about 3-5 threads total. Make sure you draw your additional threads to the inside of the first thread so the width of the hem is not diminished.
For this hand hemstitched napkin tutorial, we took out four threads.
Tip: If your thread breaks while being pulled out, try removing shorter sections of thread by snipping it at intervals. Use a needle to pull the thread up and then your tweezers to pull it out.
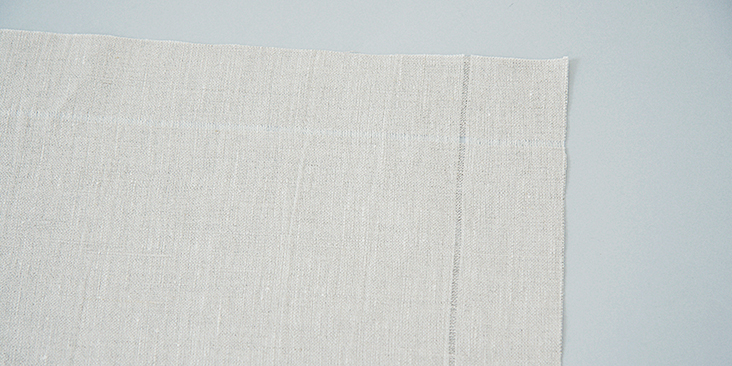
3. Repeat for the other three sides of the square until you have drawn same amount of threads on each of the four sides.
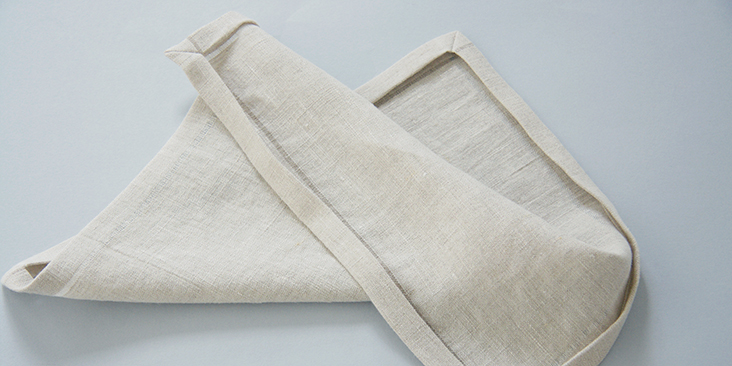
Next, press the hem in place and sew the mitered corners, the technique we showed you in our previous tutorial. A mitered corner is an elegant finishing touch, which makes the hem look wonderful with no bulk on the corners.
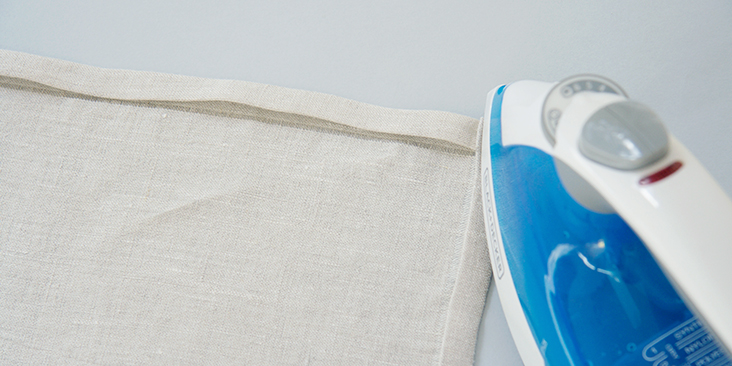
4. Fold your hem up twice to the wrong side (1/2” to 1/2″ in this tutorial) so that the top edge of the hem is in line with the edge of pulled threads. Press and use plenty of steam.
5. Follow this detailed tutorial and sew 4 mitered corners. Do not edgestitch the hem, it will be hand hemstitched.
Now that you have your four corners all neat and pressed, it’s time to do the hemstitch. The great thing about this simple technique is that you hem and decorate at the same time!
If you’ve never tried hemstitching before, we recommend that you practice on a scrap of same fabric first before you work on your actual napkin. Use matching color thread. For the purpose of this demonstration, we decided to use darker thread so that you could clearly see the technique.
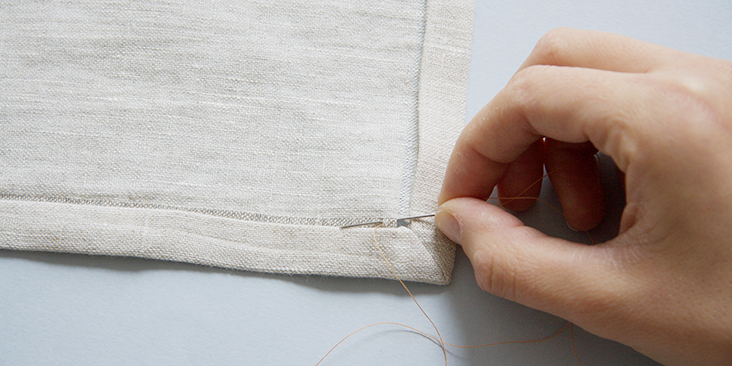
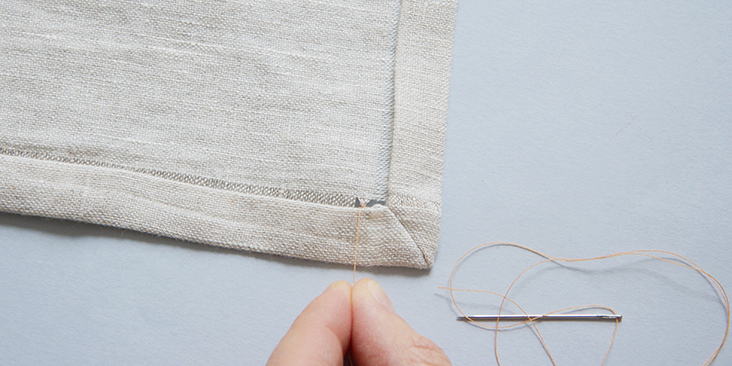
6. Thread your needle, tie a small knot and secure it in the fold of a mitered corner. Traveling from right to left (or from left to right if you are left-handed) and with wrong side facing you, insert your needle under several of the vertical threads. You don’t need to count your threads, just try to eye it and to get the same amount for each stitch.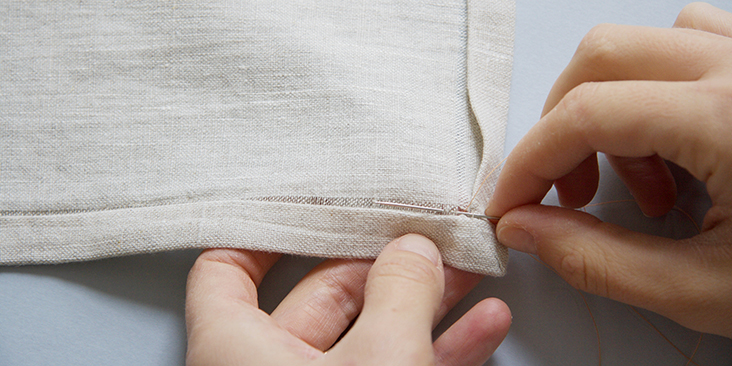
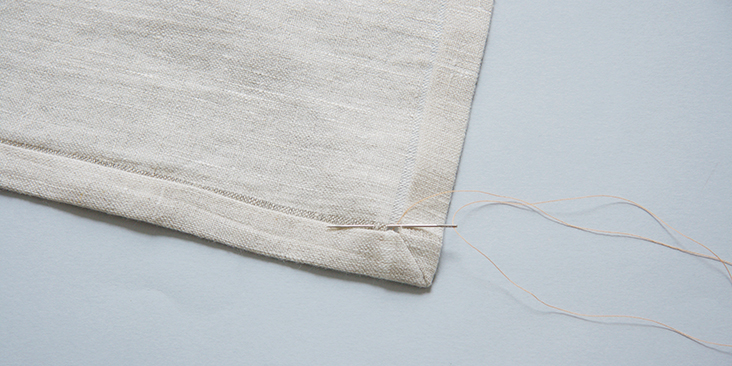
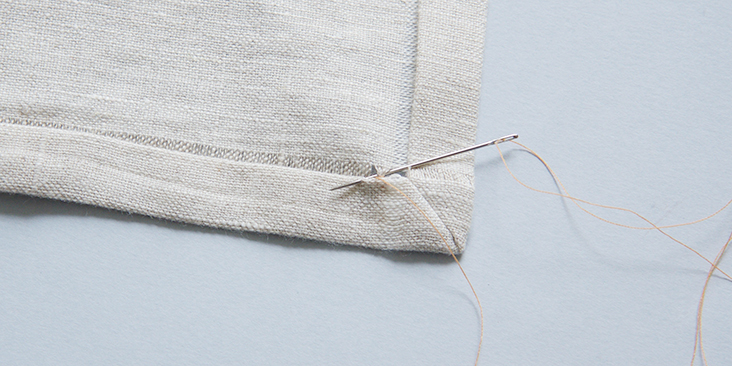
7. Pull the needle through to the front, making sure to keep the thread toward the bottom of the hem. Then insert through the same hole (to the right) again and gently tighten it around the threads (keeping the thread at the bottom) so that they are pulled tightly together at the base. Do not pull too tightly that the fabric stretches, but firmly to get nicely defined bunches.
If you wish, you can even make a small loop at the base by inserting your needle under the thread to secure your bunches.
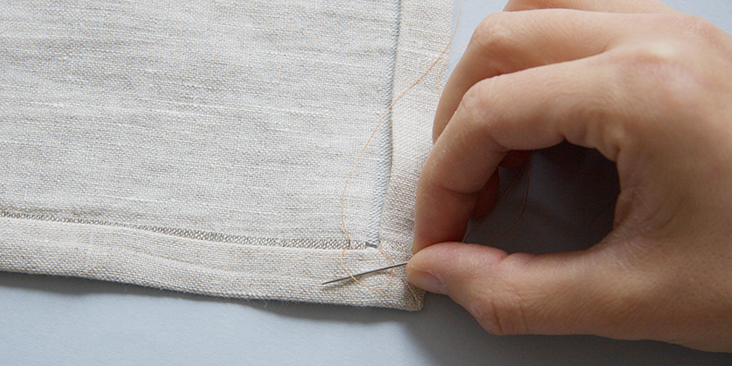
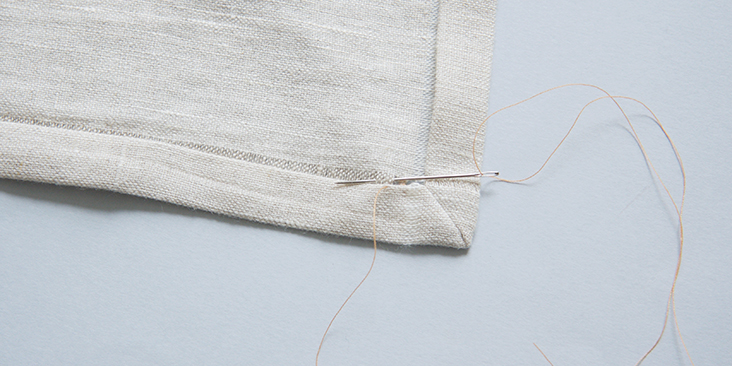
8. Pull the needle through to the front again but this time pick up a couple of threads of the hem. Pick up a very small bit of fabric in the folded edge of the hem and make sure you are only sewing through one layer, this way your stitch will be invisible from the right side. Very similar to a blind hem.
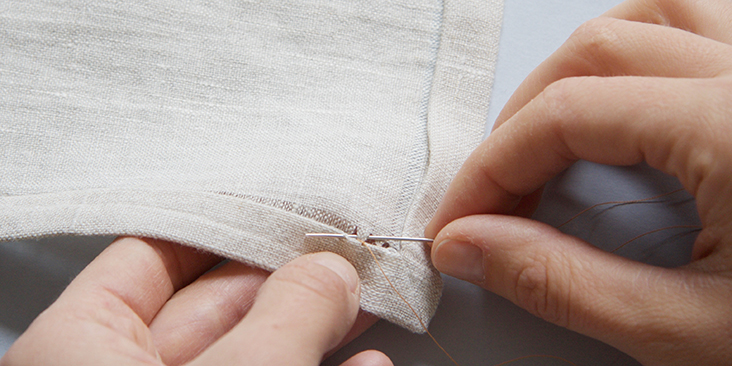
9. Position the needle for the next stitch and repeat steps 6-8 across the length of your napkin.
Here is what your stitching looks like from the right side: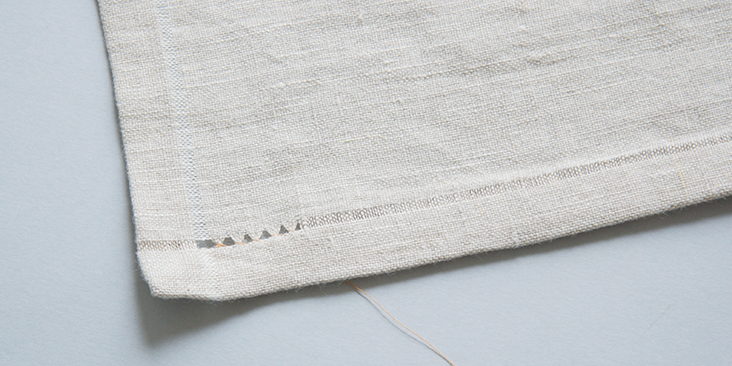
Now, repeat for all the remaining cut squares and you have a set!
And that is the hemstitch! It’s a very simple and relaxing stitch, don’t you think? There are other variations of hemstitch, actually, but this is the basic hemstitch, most commonly used in this type of embroidery.











4 Comments
Anisabel Santamaria
What linen is best to make these beautiful hemmed napkins and do you have a variety of colors of that type of linen? If not, how do I dye my linen? Thank you
Lauren Linen
Hello, We have designed a linen just for hemstitching. It is our 1C64 medium weight linen which has an even weave structure making your hemstitching accurate and square.
There are a range of colors in this fabric which you can find at the link below:
https://fabrics-store.com/all-fabrics?article=1C64
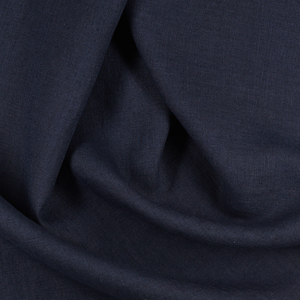
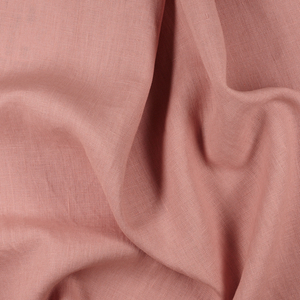
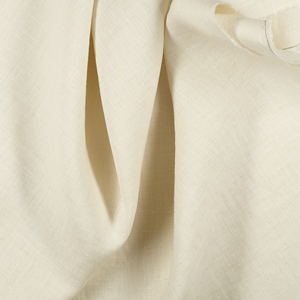
if you can’t find the color you like, you may like to use the fabric used by our collaborator which is our IL019 medium weight linen. This fabric has the most variety of colors we offer:
https://fabrics-store.com/all-fabrics?article=IL019
Jennifer Lee
If you want a 14″ napkin and cut a 15″ square but do a 1/2″ double fold hem, you will wind up with a 13″ napkin not a 14″ napkin. You need to add 4x your hem allowance, or 2x to each side.
Usually I’ve seen the hem stitch worked left to right when right handed, and the thread is only wrapped once around each grouping of yarns. Needle is passed right to left behind grouping, then down on the right side of the thread group catching a a few yarns of the folded hem and the front of the fabric (important to count threads here) and back up through the gap on the right side of the thread group. Repeat.
I’ve made several lovely hem stitched handkerchiefs with Fabrics-Stores sheer linen gauze. Always get a lot of compliments! It’s my favorite way to uses small square scraps of linen.
Taki Donovan
Thank you Thank you Thank you! Just in time for Christmas 🙂