Sewing Glossary: How To Sew Mitered Corners Tutorial
A mitered corner is a neat way of finishing the corner of a fabric edge in such a way that there is no bulk when the hem is turned under. Carefully constructed corners give a handmade project that clean, professional look and make such a big difference in the finished look!
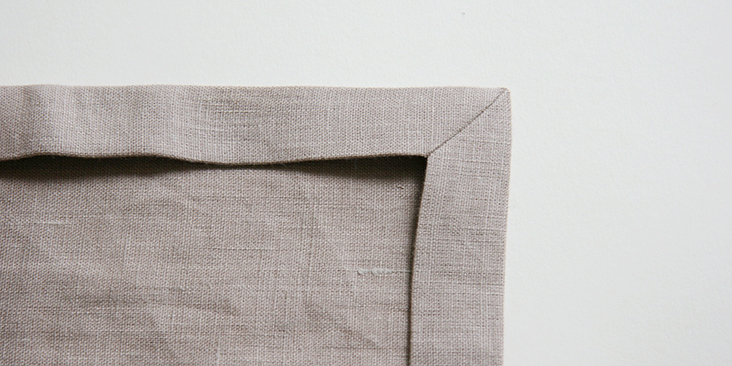
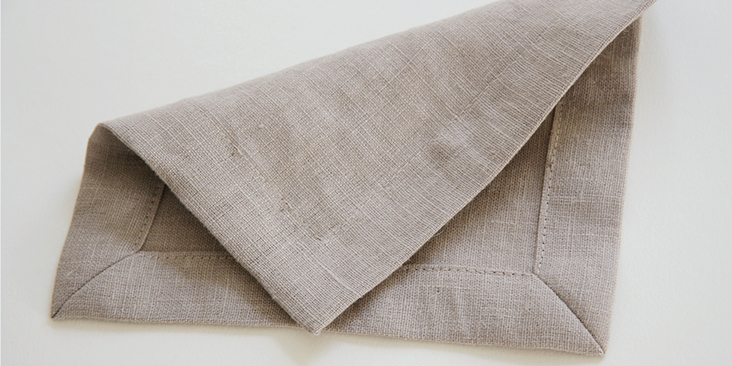
We all know that the easiest way to finish a corner is to turn under the edges and stitch in place as is. However, the multiple folds along each edge pile up on top of each other creating bulk with four or even six (for a twice-turned hem) layers of fabric. Mitered corner technique reduces bulk allowing the edges to meet evenly at a 45-degree angle. You get lighter corners with an attractive seam along the corner that looks neat and tidy on the front as well as the back. You can make mitered corners just about any size, depending on a project you are working on.
You can use this technique to create a polished look on many sewing projects, but since creating mitered corners requires straight edges, you’ll see it most commonly on rectangular and square items like quilts, napkins, table cloths, pillowcases, etc.
Mitering corners is considered a professional level finish but it is actually pretty easy to construct, it just takes a few extra steps. In this tutorial we are going to show you our preferred method for sewing mitered corners. Once you know these steps, you’ll be cornering like a pro!
Materials & Tools
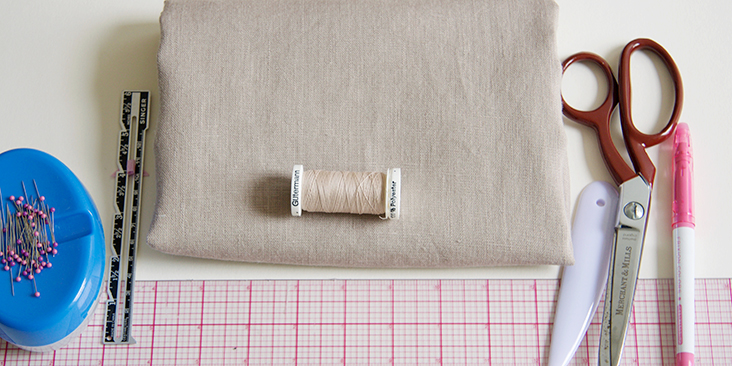
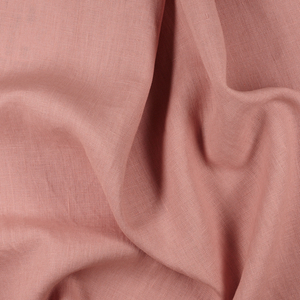
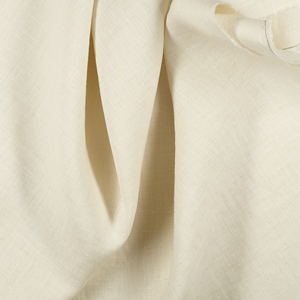
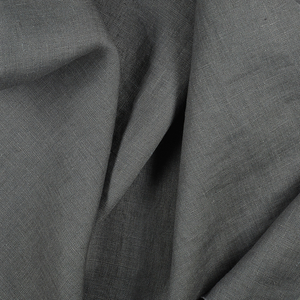
Fabric of your choice. In this tutorial we are using our IL019 ATMOSPHERE Softened Medium Weight Linen.
Thread to match your fabric, scissors, pins, ruler, sewing gauge, needle, fabric marker, point turner, iron, sewing machine
Difficulty
Beginner
Time
1 hour
Steps
Note: To avoid shrinkage, prewash your fabric and tumble dry it until it is still slightly moist. Iron the fabric so it is easier to work with.
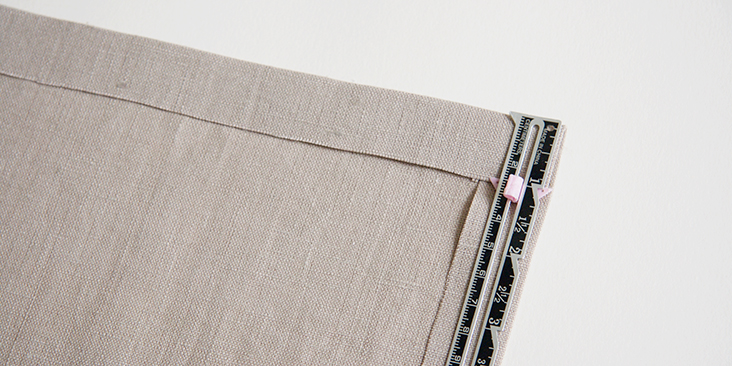
To start, press your hem seam allowances in place. In this tutorial we are making a 1”-wide finished hem. So for this demonstration, for a twice-turned hem, we’ve added 2” seam allowance (2 x 1”).
However, your seam allowances don’t have to be equal in depth. You can totally use a smaller measurement (1/4” or 3/8”) to turn under the raw edge. Your pattern will tell you how much seam allowance you need to add. And if you are creating something from scratch, just remember to add the total hem allowance needed before cutting the fabric.
1. Press your first 1” seam allowance to the wrong side on all edges.
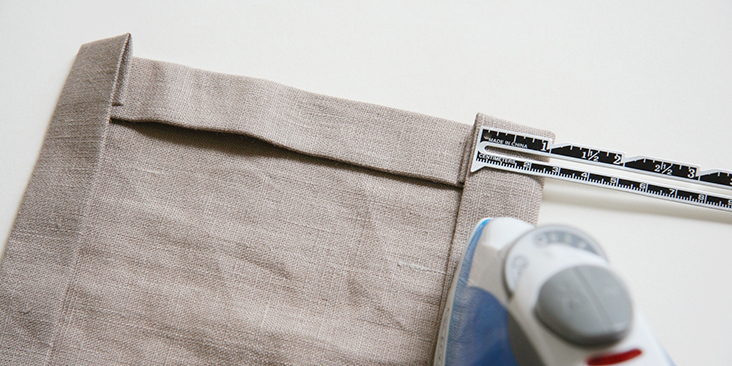
2. Press the same amount again. At the corners, make sure you fold and press evenly, overlapping the hems. See how bulky it looks? Thanks to a mitered corner technique you will be able to reduce this bulk considerably.
The key to mitering is folding the fabric and ironing-in creases that will ultimately serve as guides for creating the mitered corners.
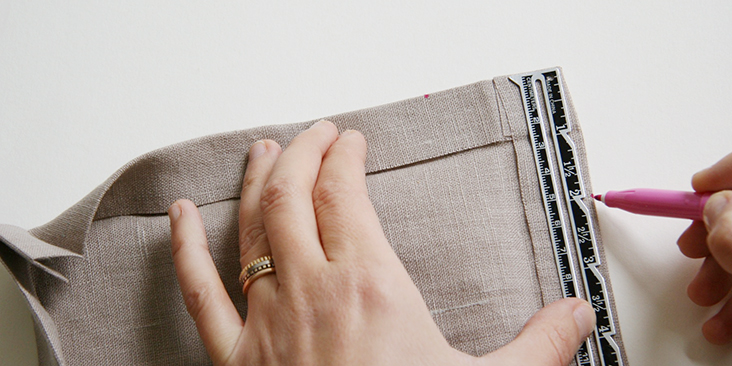
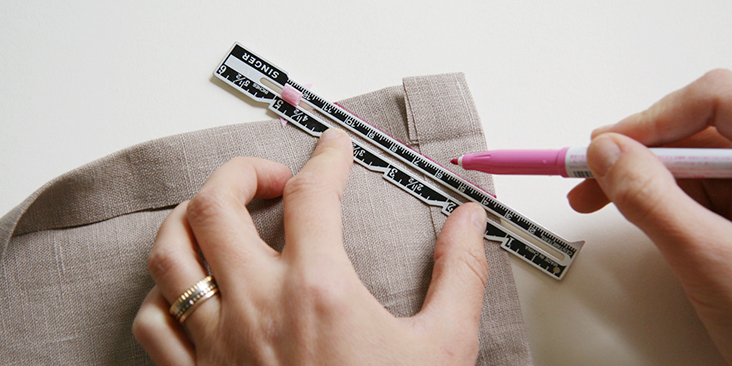
3. Now unfold that second fold so that just the raw edge seam allowance is folded over. Measure two times the width of your finished hem (1” in our case) from the corner down on each side. You can use the square between the two creased lines as your guide.
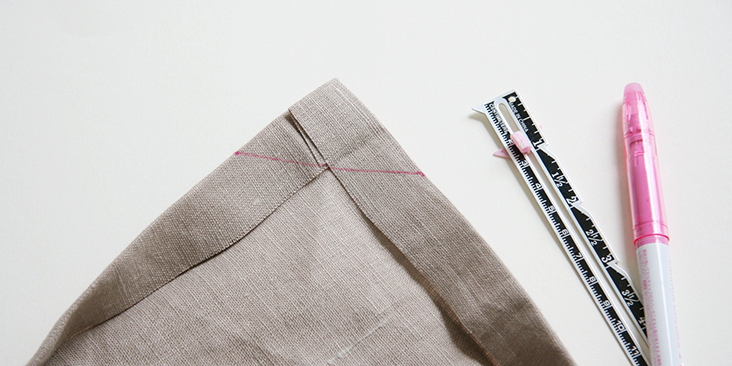
4. Draw a diagonal line in fabric marker connecting the two marks.
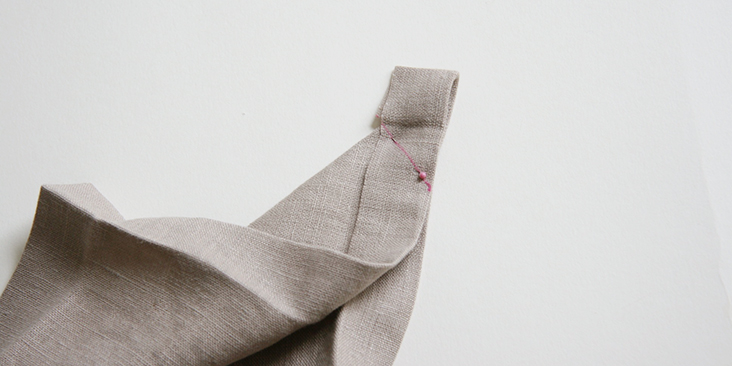
5. Next, fold the corner in half diagonally, wrong sides facing out. Make sure that your marks line up and pin the two layers together.
Tip: You can check if your lines match up perfectly by watching where the pin comes through on the other side.
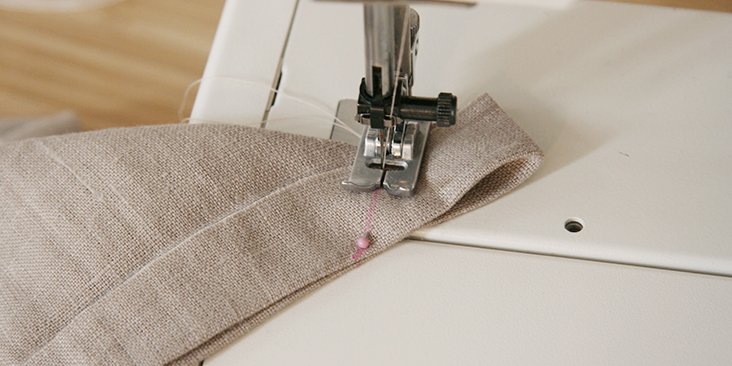
6. Set your machine on a smaller stitch length (2.5- 2mm) and sew down along the marked line, from the tip all the way to the edges, backstitching at the beginning and end of the seam.
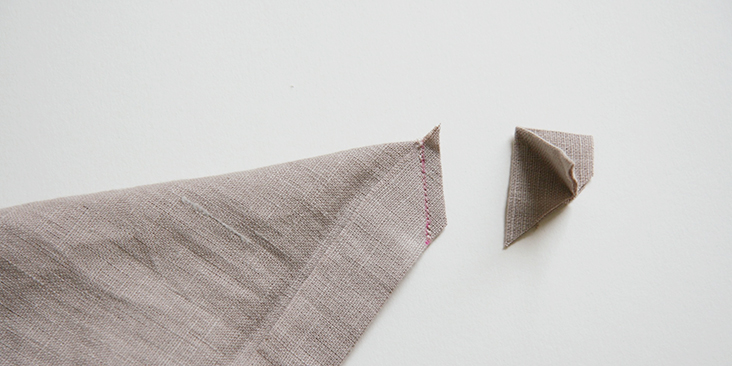
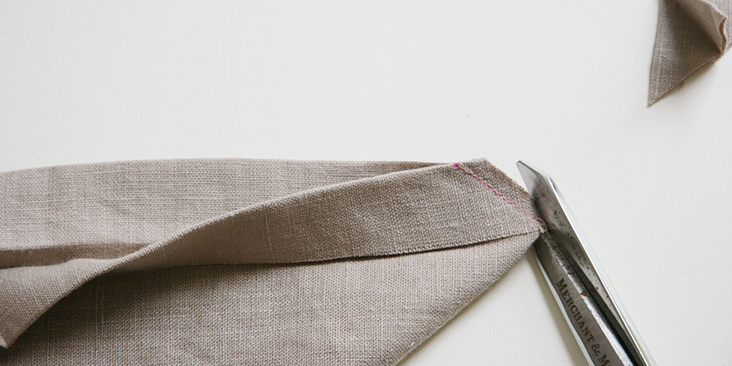
7. Trim the corner leaving about 1/8”-1/4” seam allowance.
8. Clip the tip of the corner off.
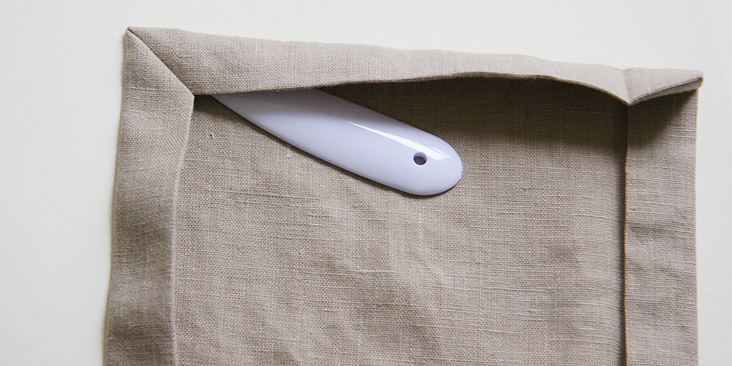
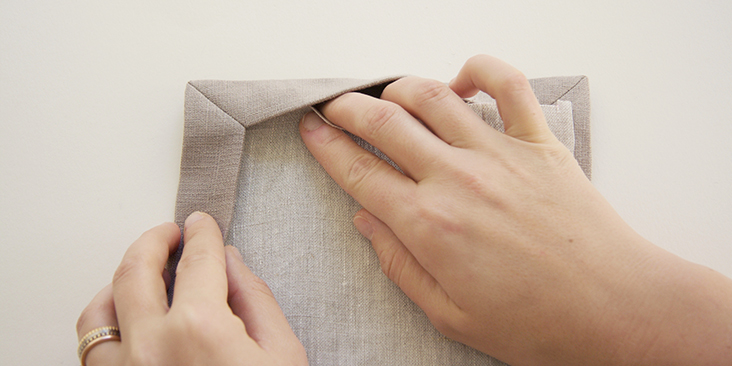
9. Finger press the seam allowance open. Turn the corner right side out and push a point out, with a point turner or other similar object, like a chopstick. Press.
Repeat these steps on the other 3 corners.
If your project requires a backing/lining, or you would like to add one, now is the good time. Just slide it under the mitered corners.
10. Finally, pin the hem in place and edgestitch around all four sides, backstitching at the beginning and end of the seam.
Et voila! Beautifully finished corners with no bulk at all! Consider adding mitered corners to your next fabric project for a polished, more professional look.
If you want to know how to create mitered corners with bias tape, check our step-by-step tutorial HERE.












2 Comments
Peggy Hall
Thank you, thank you, thank you for this tutorial. Somehow mitered corners have always bewildered me and this makes it so very simple! My tea towels thank you, too, as will the people who receive them as gifts.
Kathleen Kunysz
Hurray for this tutorial! I purchased some heavy-weight linen to make placemats. i envisioned the mitered corners and now I have the perfect instructions.