Sewing Glossary: Shirring With Elastic Thread
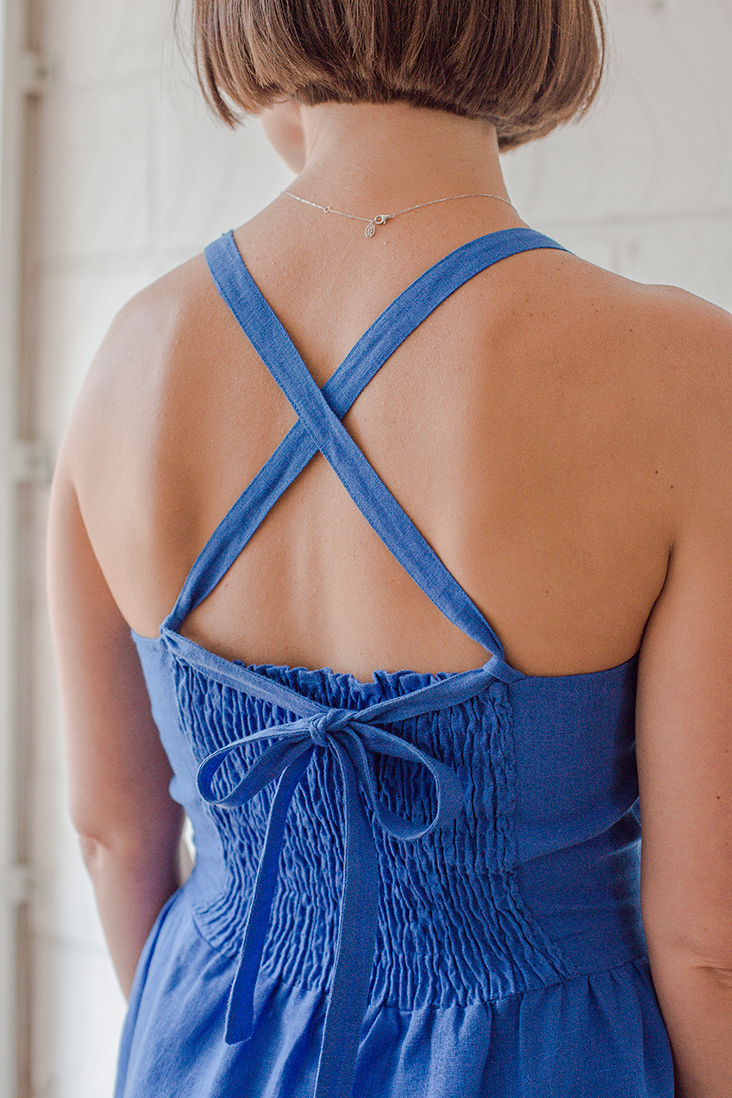
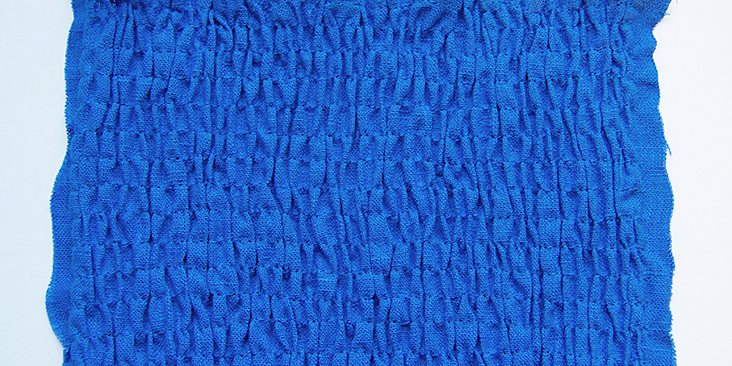
Chances are that you’ve seen elastic shirring on many dresses and skirts in store this summer. This sewing technique is quite popular in women’s wear this season, but did you know you could do it yourself? It’s quick and easy and all you need is an elastic thread in the bobbin of your sewing machine that transforms a regular straight stitch into pretty decorative gathering known as shirring.
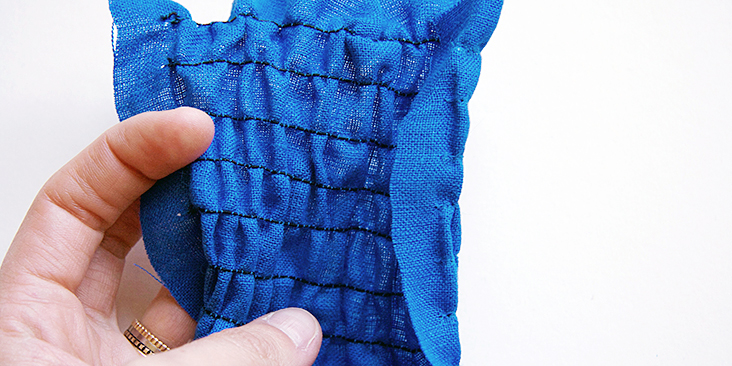
Elastic shirring should not be confused with smocking, even though they look very similar. Smocking is created by hand using embroidery stitches and pleats to gather fabric and create some stretch. As for shirring, it is created by machine sewing parallel rows of straight stitching using elastic thread in the bobbin and regular all-purpose thread in the needle to evenly gather the fabric and produce some elasticity.
Sewing with elastic thread is great as you can shape a garment to give it more stretch for comfort and ease without worrying about buttonholes, zips, and fastenings. You can also use shirring to breathe new life into existing patterns and transform a loose-fitting garment into a more fitted silhouette.
Follow this step-by-step tutorial and with a little practice, you’ll learn how to create perfectly shirred dresses, tops, and skirts in no time!
Materials & Tools
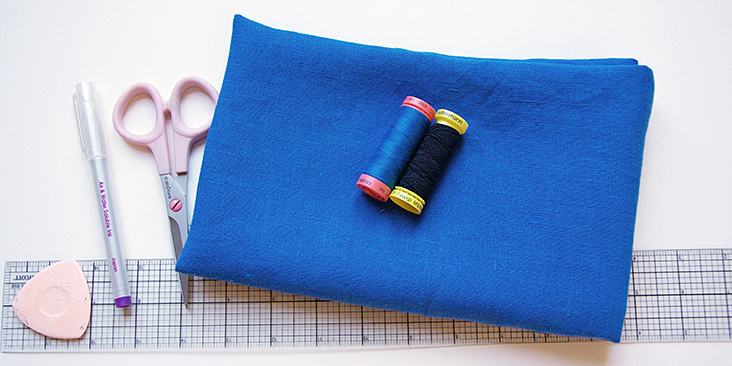
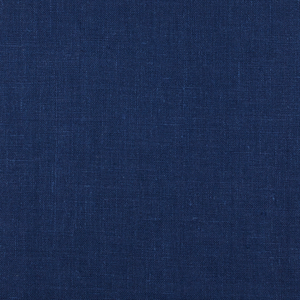
Fabric of your choice (for this tutorial we are using our medium weight IL019 ULTRAMARINE Softened 100% Linen )
Matching sewing thread, scissors, ruler, pins, chalk/fabric marker, sewing machine
And of course, the elastic thread!
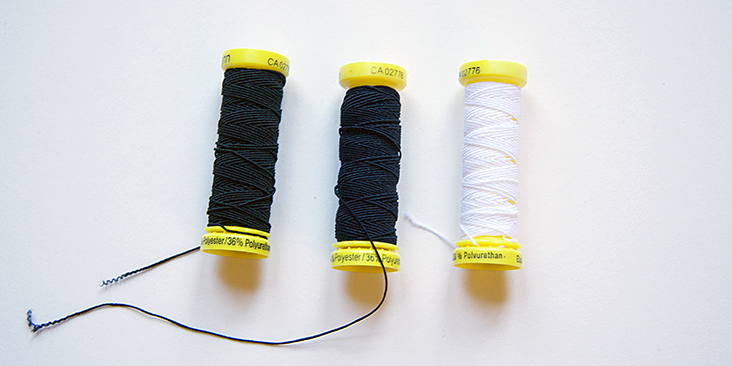
Elastic thread generally comes in four basic colors (black, white, navy and red), so choose the one that matches best with your project. The elastic thread will be sewn on the back of the garment so unless your fabric is really sheer you won’t see it when worn. For the best results purchase a good quality elastic thread as cheaper elastics can be overly stretchy and you may not be very happy with the results.
Difficulty
Beginner
Time
1-2 hours
Before We Start
There are a few things to consider before we can start shirring:
- When selecting a pattern, look for ample ease (or add some yourself) in the area that you’ll be shirring as you have to keep in mind that shirring will reduce the amount of fabric by approximately half of its original size.
- Shirring works best with light and medium weight fabrics. It is better to avoid heavier fabrics as the elastic will be too weak to gather it attractively.
- You can add shirring before or after garment construction, whatever works best with your design. Sometimes you want to shirr the entire bust/neckline area and in this case it is better to assemble the bodice first and then stitch continuous lines of shirring, whereas if you only have a small shirred panel at the front/back of your garment, you can shirr your fabric first and then attach it to the rest of the garment.
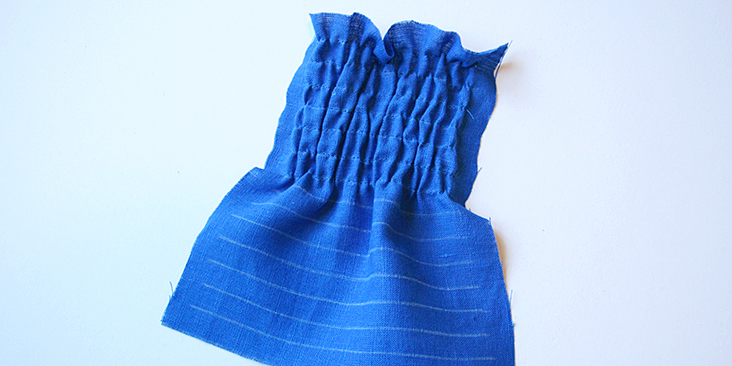
- The more stitching rows you sew, the more gathered the result will be.
- Also, longer stitch length creates more shirring.
- If you’ve never shirred before, we recommend experimenting with a few variations of thread tensions on a scrap piece of fabric to find the perfect balance.
Steps
Note: Prewash your fabric and tumble dry it until it is still slightly moist, dry in room temperature. Iron the fabric so it is easier to work with.
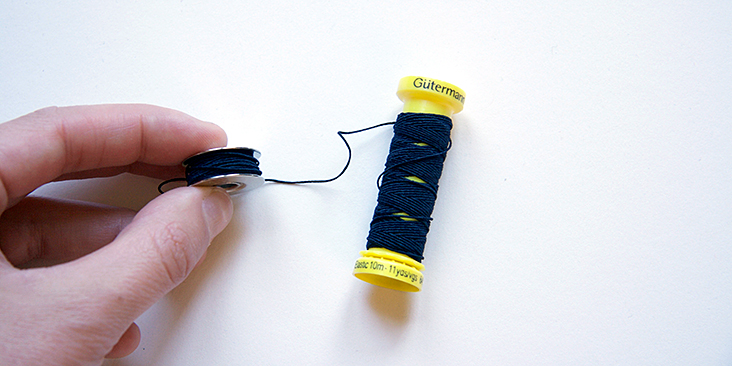
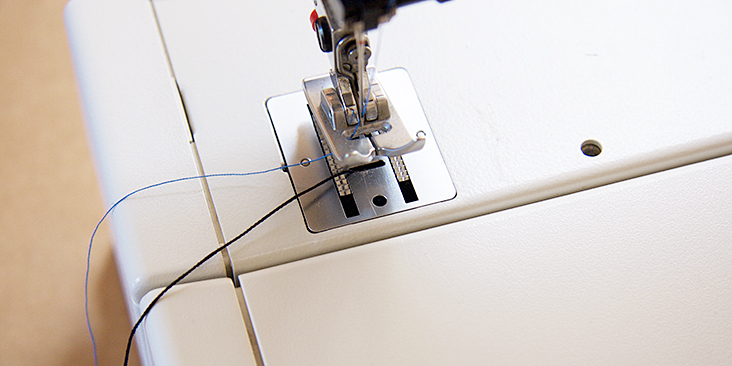
1. First thing to do is to wind the bobbin by hand with the elastic thread. Do not use your machine but wind your thread by hand, stretching it very slightly to make sure it sits neatly in the bobbin but not too loose or too tight.
2. Insert your bobbin into the sewing machine, set it on a longer straight stitch (3-4 mm) and thread the needle with an all-purpose thread matching your fabric. Leave 3-4” tails of both threads.
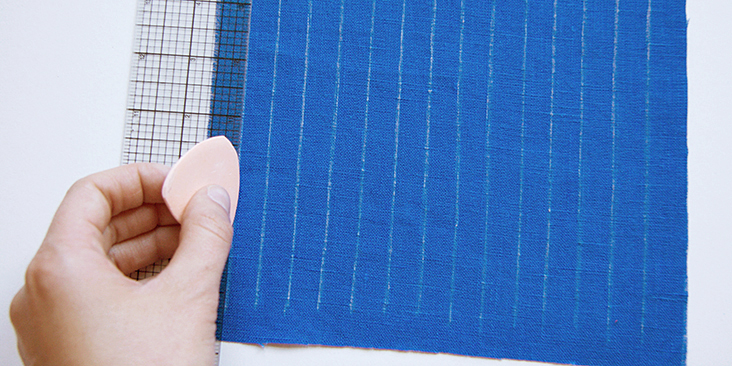
3. To make the shirring a breeze, you can prepare your fabric by marking the shirring lines with a chalk/fabric marker and a ruler, 3/8” (1 cm) – 1/2” (1,3 cm) away from each other. Remember that the more lines you sew, the more gathered the result will be. This is step is optional as you can also just use the edge of your presser foot as a guide.
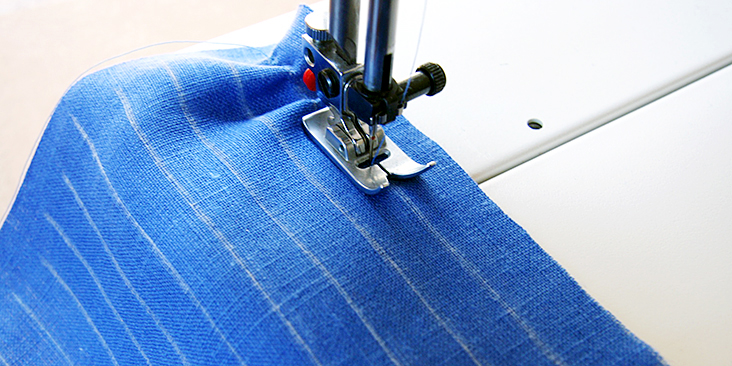
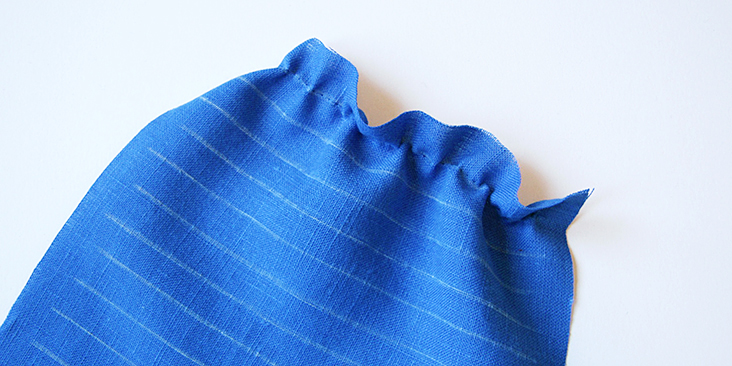
4. With the fabric right side facing you, sew along your first line of stitching backstitching at the beginning and end of each row by only 2-3 stitches. These backstitches will help secure the thread and will be hidden within the seam allowances.
If you are running continuous lines of stitching around the entire blouse opening, you may decide to knot the tails by hand.
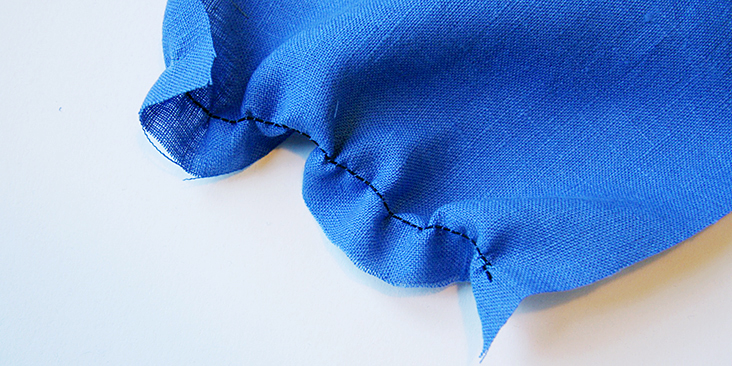
After you’ve finished your first raw of shirring, you’ll notice that your fabric doesn’t have the gathered effect you’d expected. Do not worry, with more rows of stitching the gathering will increase.
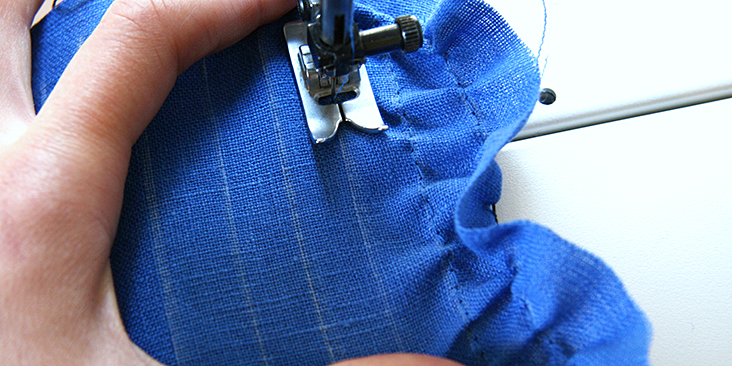
5. Repeat for as many rows as you have, backstitching at both ends and stretching the fabric as you go. It is very important that you stretch out the elastic in front of the foot. You need to be sewing over flat fabric otherwise it won’t stretch as much when you’re finished.
6. When you have completed shirring your garment, gently press the fabric with a hot steam iron. This will give your shirring finer gathers.
Pretty easy, right? Do you have ideas about what you might shirr? If not, check out our next week tutorial where we will be showing to you how to sew a pretty tiered sundress with a shirred back!












15 Comments
Claire Murray
As a beginner, your tutorials have made Sewing my first clothes less daunting. Thank you
Jenny
This tutorial was really really good and helpful! Thank you so much!
Rima Khusainova
You are very welcome Jenny!
Rachel
Can’t wait to see the pattern!, I got fabric and the elastic thread a time a ago to copy a summer dress of which the top was shirred,But thru the years it lost its stretch. I have not darred to try it, but with this tutorial , I think I will go find it to try it. Thanks for the inspiration and for the tutorials.
Rima Khusainova
Thank you so much for your kind words Rachel! The dress pattern was just posted on the blog today and is available for free download. Happy sewing!
Shay
does it matter if you stitch horizontally or vertically? I’ve been sewing a long time and have never known how to do this. TY!!!
Rima Khusainova
This technique is so easy! And really fun too! It doesn’t matter which way you do it as long as you go with the grain of the fabric indicated in your pattern instructions.
Peggy A Riordan
How do I determine how much shrinkage will take place with shirring?
Rima Khusainova
There’s no real formula to determine that, unfortunately. As a general rule, shirring will reduce the amount of fabric by approximately half of its original size. However, it might change slightly depending on the fabric and the way it is cut (if you cut your fabric on the cross grain or on the bias, it’ll give you more stretch and more shirring.
Julie
Can you please provide the dress pattern with the shirring? thank you!
Rima Khusainova
Dear Julie! This dress will be on the blog next Tuesday. So stay tuned! 🙂
Marilyn Payne
Do you use regular bobbin tension for this?
Rima Khusainova
Hello Marilyn! I generally use 3-4 mm straight stitch for both the bobbin and the all purpose thread. So yes, regular tension but the longer the stitch, the more shirring you’ll get.
Margaret
Thank You! I like sheering . But did not know how to do it.
Rima Khusainova
You are very welcome!