Drawstring Linen Shorts Tutorial and Pattern
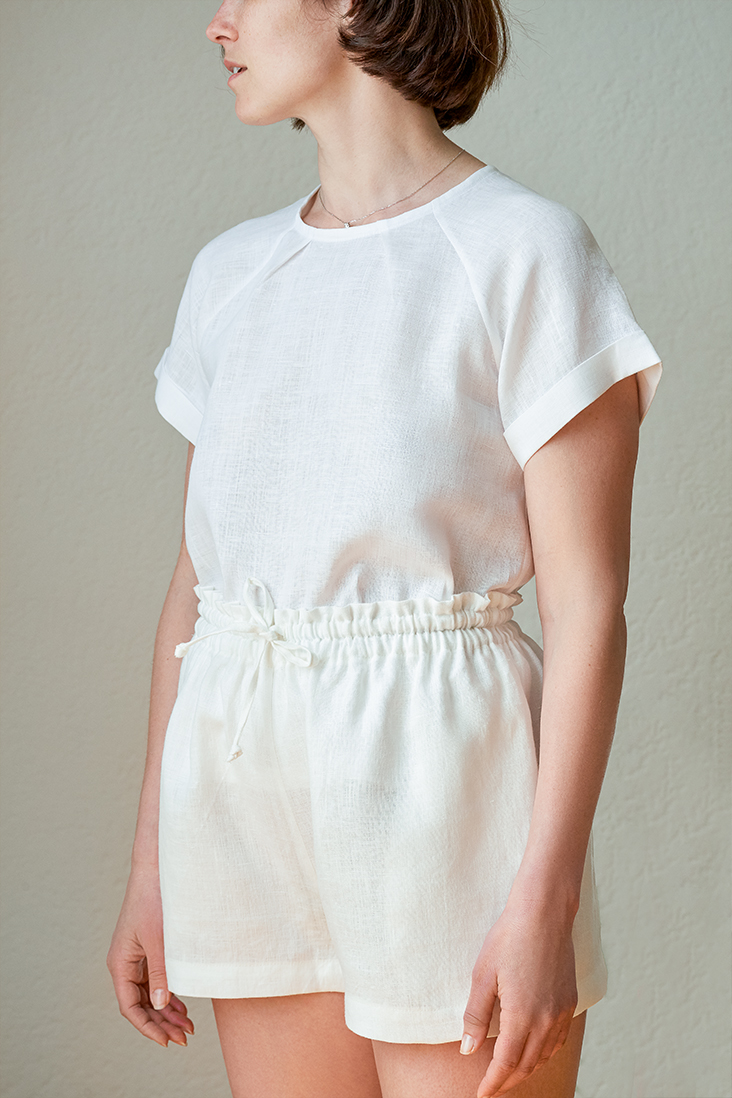
What can be more cooling than wearing a pair of comfy linen shorts in the summer heat? Nothing short of a necessity during warm weather, our crisp linen shorts are an everyday kind of comfortable with an elasticated paperbag waistband, drawstring, and two side pockets. Perfect for beach walks, week-long vacations, and other casual summer plans, these little sweeties are a staple you can’t live without!
Materials
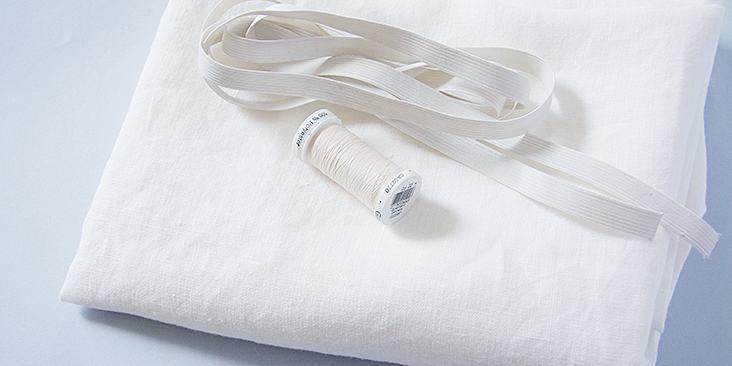
2 yards of IL019 BLEACHED Softened Medium Weight Linen
Matching sewing thread, 2 yards of 1/2?-wide elastic
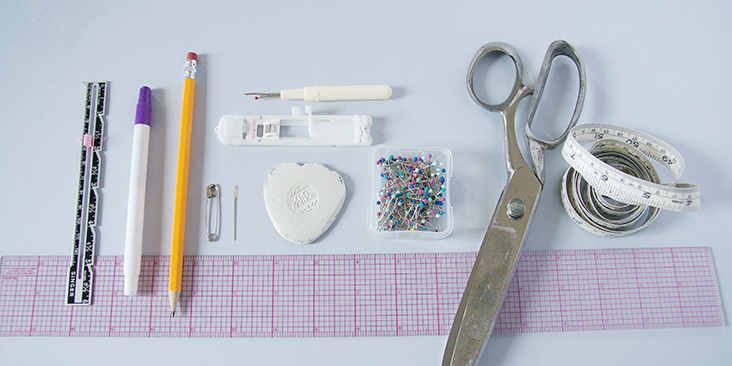
Tools
Scissors, pins, ruler, chalk, fabric marker, needle, safety pin, buttonhole foot, measuring tape, seam ripper, sewing machine
Difficulty
Beginner
Time
3-4 hours
Pattern
For this project, we are using our Crisp Linen Pants pattern that is available as a multi-sized printable PDF. Print out the pattern and shorten the legs to your desired length. What is great about this little hack is that you can actually choose the length you like and make a pair of mini shorts.
Here are a few modifications to the original pattern that you’ll have to make:
1. Shorten the legs to your desired length. In this example, we decided to cut the legs 2.5” (6,5 cm) from the crotch and then added 1.5” (4 cm) seam allowance.
2. The second modification concerns the waistband. In the pants pattern, we have a separate waistband that is designed for a pleated front and to accommodate ¾”-wide elastic. For this pair of shorts which doesn’t have pleats and utilize ½”-wide elastic, you’ll need to add an extension to create an integrated casing. To do so, add a 2,5” extension to the shorts front and back pieces by extending the original waist. On how to alter an existing pattern to create a casing extension you can consult this detailed tutorial HERE.
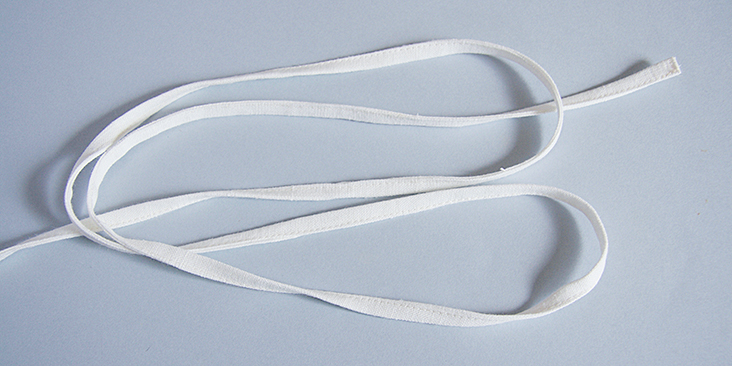
3. Lastly, create a decorative drawstring. Cut one rectangle of fabric that is ¾” wide and approximatively 60” long.
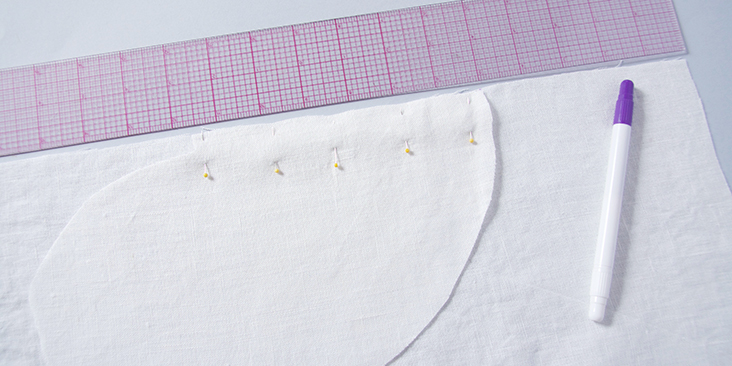
Tip: To get two mirror pieces of each leg, fold your fabric in half parallel to the grain line, pin your paper pattern pieces an inch away from the fold and cut two layers at once.
Steps
Note: Prewash your fabric and tumble dry it until it is still slightly moist, dry in room temperature. Iron the fabric so it is easier to work with.
1. The very first thing to do is to attach the inseam pockets. Follow this step-by-step tutorial and place your pockets 5” from the waist.
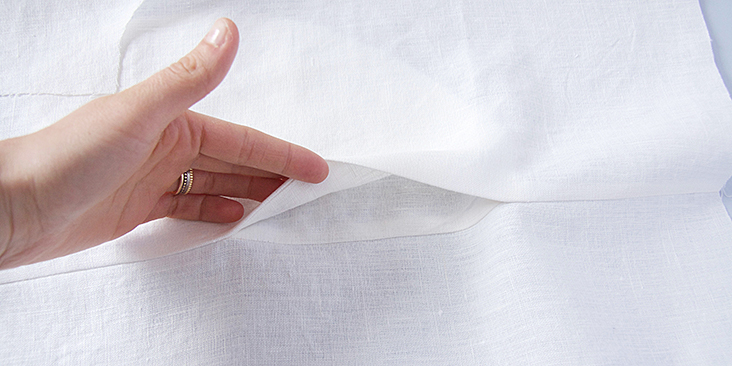
Each pocket should be sandwiched between a shorts front and back. Sew along side seams and the pockets all in one seam at a 3/8” (1 cm) seam allowance. Then trim the seam allowance down to 1/4″ (6 mm) and serge or zigzag the raw edges together to prevent the fabric from fraying. Press the seams flat folding the serged/zigzagged edges towards the front of your shorts.
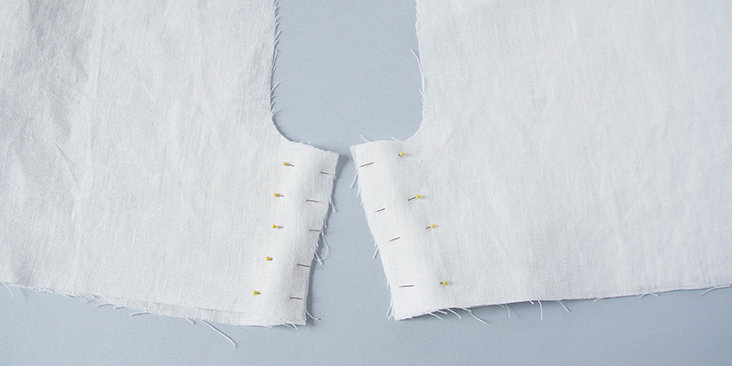
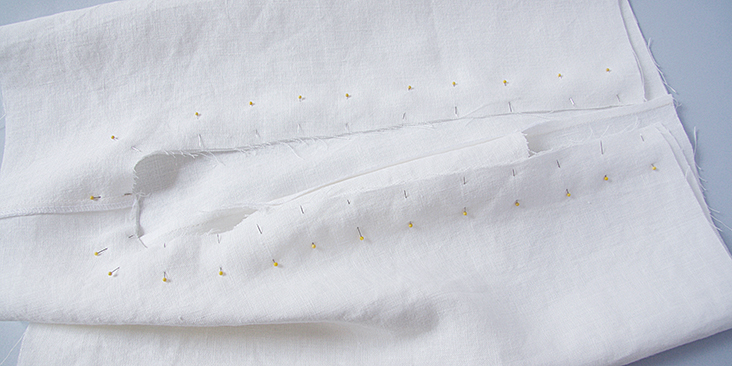
2. Once you’ve attached your pockets and finished sewing the side seams, you need to pin each short front to the corresponding short back at the inseam right sides together.
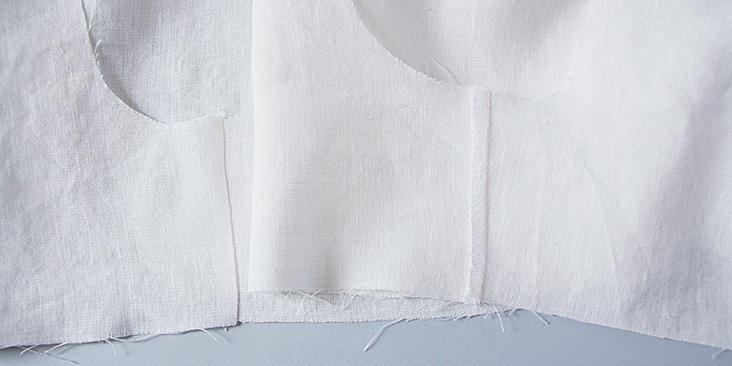
3. Stitch the pinned edges together at a 3/8” (1 cm) seam allowance. Serge or zigzag the raw edges together to prevent the fabric from fraying. Press the seams flat folding the serged/zigzagged edges towards the back of the shorts.
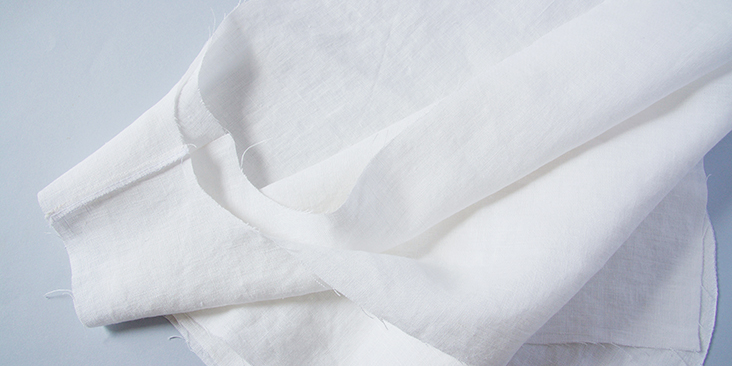
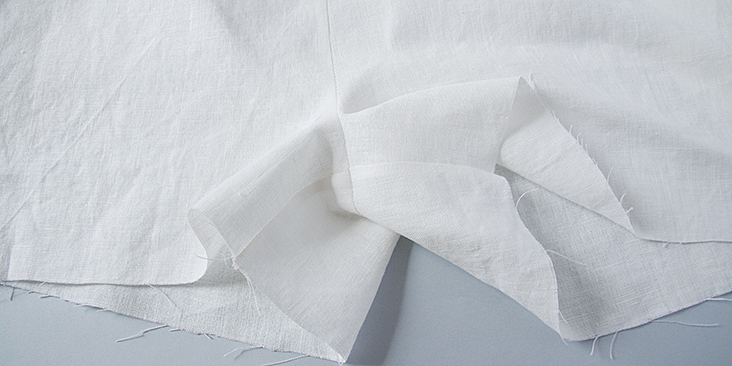
4. Turn the right leg right side out and slip it into the left leg.
5. Pin the crotch seams together matching the side seams and inseams.
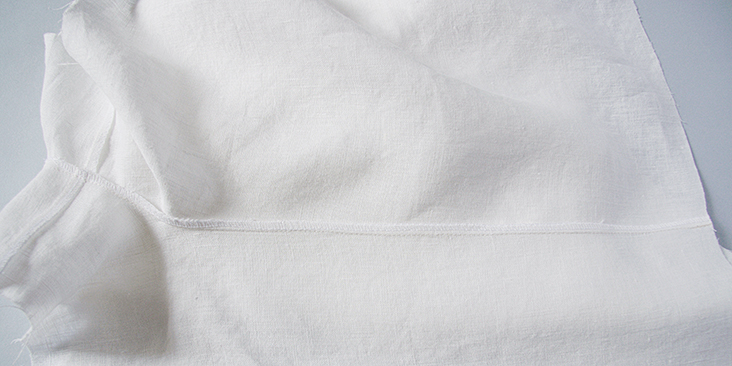
6. Sew along the crotch seam at a 3/8” (1 cm) seam allowance. Serge or zigzag the raw edges together and press the seam flat.
Here’s what your shorts look like from the right side at this point:
Now that your legs are assembled, you need to create a paperbag waistband with tiered elastic casings. We have a great tutorial about different types of elastic waistbands HERE that you can consult for more detailed instructions.
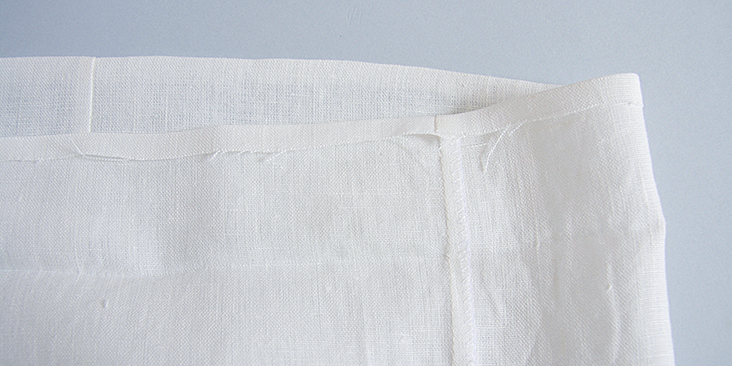
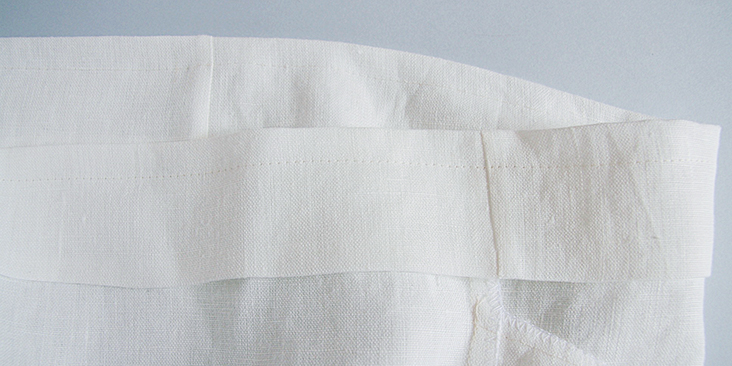
7. Working on the wrong side, fold down the 2.5” extension that you added to the pants pattern and press.
8. Now press the raw edge of your fabric under 3/8” (1 cm) allowance to the wrong side.
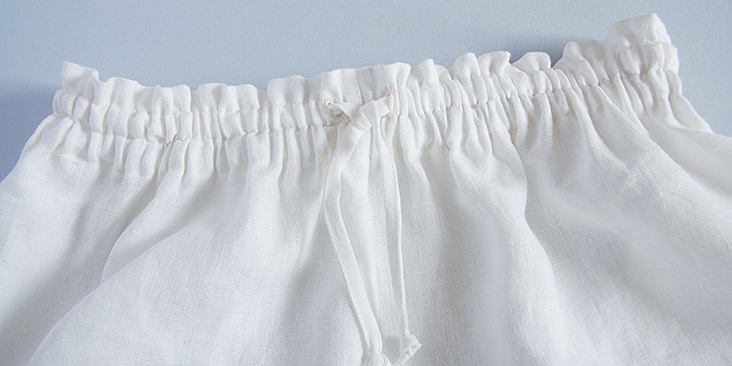
After you’ve pressed the seam allowance, the total width of your casing is about 2 inches. With these two inches, you’ll need to create 3 equally sized casings. The top one will be used to create the paperbag effect, the middle one will hold a 1/2″-wide elastic plus a decorative drawstring, and the bottom one will have another row of 1/2″-wide elastic.
9. Divide your casing into three equal parts (each section should be at least 5/8” wide to fit the elastic) and topstitch around the entire top casing, no opening needed.
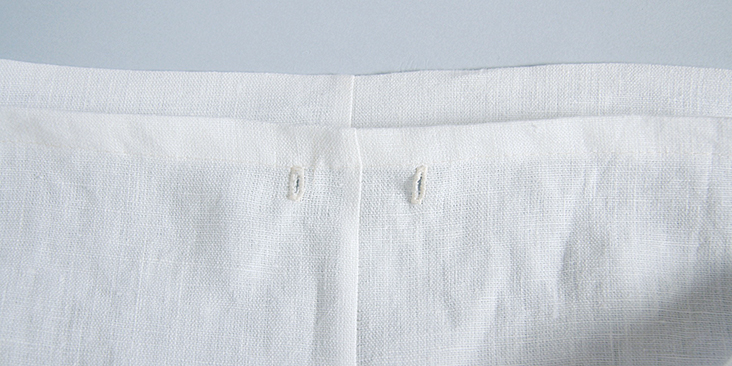
10. Before topstitching the middle casing in place, create two buttonholes for the drawstring to go through. Open the casing fold and mark the location of the buttonholes in the area that will become your right side casing after it’s sewn. They should be in the center of the middle casing, on either side of the center front seam. Sew the buttonholes and cut them open using your seam ripper.
For more detailed instructions you can check our great tutorial HERE.
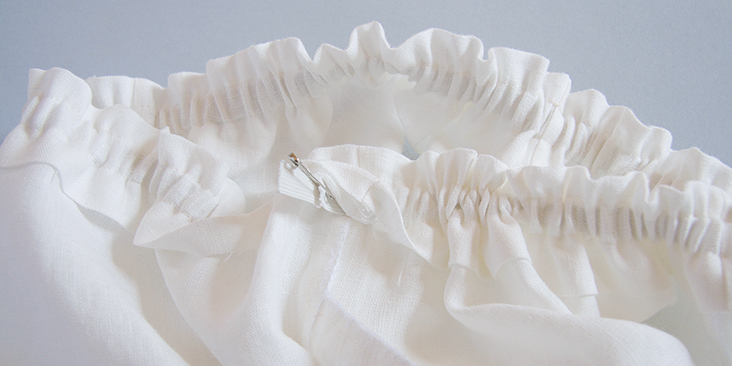
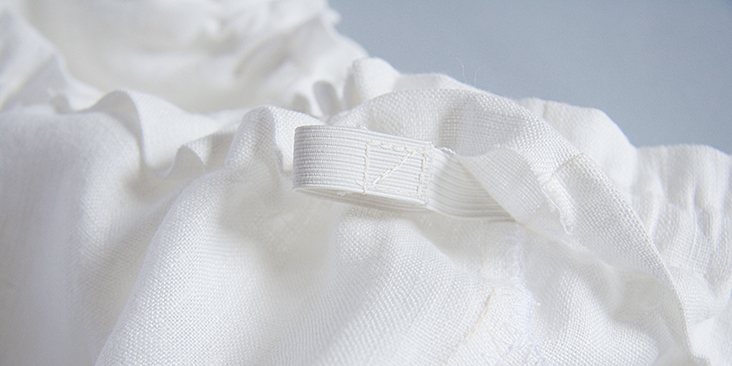
11. Fold your casing again and topstitch along the lower edge of your middle casing beginning and ending at the garment center back. Leave a small opening for the elastic. Using your safety pin, insert the elastic (cut to a comfortable length plus 1” seam allowance), stitch the elastic ends together and close the opening.
12. Sew your drawstring. Once again, you’ll find step-by-step instructions in this tutorial.
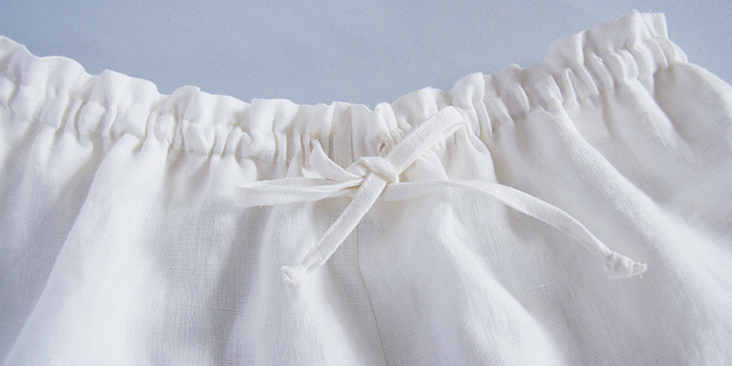
13. Feed the drawstring through the buttonhole using a safety pin. Make sure not to twist it. Tie knots at the ends of the drawstring to keep it from slipping back into the casing.
14. Finally, topstitch around the lower edge of your bottom casing leaving a small opening. Then use your safety pin to insert the elastic (cut to a comfortable length plus 1” seam allowance), stitch the elastic ends together and close the opening.
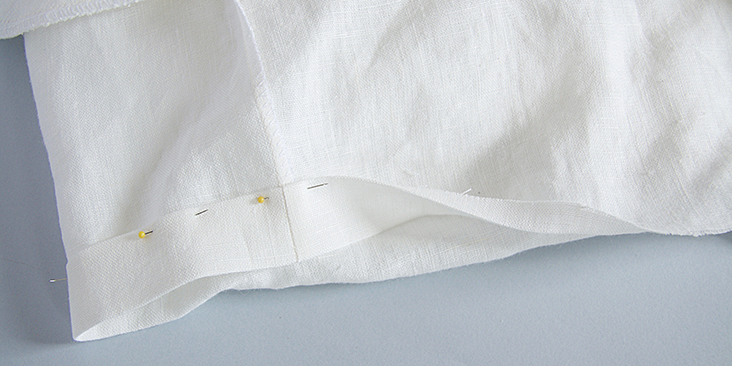
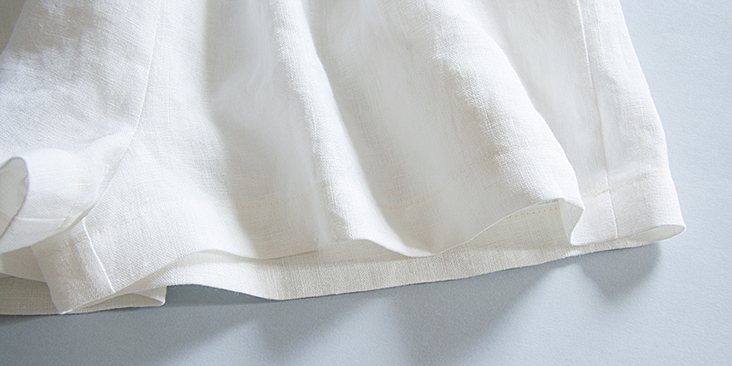
15. Lastly, finish your legs with a rolled hem. Fold the fabric twice towards the wrong side, 3/8″ to 1 inch, press, pin and stitch.
Give your shorts one last good press and you are all done!















13 Comments
Sylvia B
Hi again, 5th pattern I am not able to download!
Shyla Ruppert
Hello,
I have cut out the shorts to size and there seems to be a lot of excess fabric in the front. Can you recommend alterations to correct this? I have tried to lower the front rise and that does not seem to be working. Thank you
Pingback:
Summer outfits 2019: These looks you will love to wear in the sun - An Fabricssophie schyns
Hello, I would like to ask the necessary footage if i want to make a short size 8. It is written 2 yards but it seems a lot and the same that is indicated for the trousers. I have a little piece of linen and I wonder if I can use it…
Thank you very much.
Sophie (from Belgium)
marie barbe
I tried to make those shorts size S but it came out as much larger. As a beginner sewer I am not sure how to alter the shorts to fit me. Is there a corrected version of this pattern?
Thank you
Lana LABERMEIER
I know the patterns and tutorials are free and I am very grateful. There is, however, a problem with this pattern, as another commenter pointed out – it is way too large! i had to take the finished shorts entirely apart and cut everything down to a correct size.
Fay
I have been trying to download the pattern but to no avail can I get some help please as I would love to see this .
Rima Khusainova
Dear Fay, this shorts are a pattern hack for our Crisp linen pants pattern that can be found here – https://fabrics-store.com/sewing-patterns/crisp-linen-pants-pattern/.
Ella Smith
it just says sorry that the page couldn’t be found! Am trying to download it also.
Klaudia
Unfortunately, I’ve cut out the pattern in my exact size, based on a table measurements, and it is soo large that it needs alterations 🙁 I hope I will manage to do them to enjoy my shorts
Fay
How long would you make the drawstring comfortably for a 43 inch waist although I know that as you say it’s according to long you would want it..
Rima Khusainova
Dear Fay, it’s really a matter of your personal preference I think. What I’d recommend you should do, is take your measuring tape and pretend it’s your future drawstring. See what length you are comfortable with, how long you want your tails to be to tie a perfect knot 🙂 Hope this helps.
Fay
Thank you. It does