Sewing Glossary: Three Ways To Sew Elastic Waistband Tutorial
For many people, elastic waistband is a synonym of comfort. Most commonly seen on skirts, pants and dresses, a garment with elasticized waist is easy to pull on, will stay in place all day and live with your body. Elastic waistbands also allow for small variations in fit and work great for most body types.
Sewing elastic waistbands is pretty easy (it’s actually quite similar to hemming) but there are a few tricks to know how to make your elastic waistband look neat and professional and stand the test time. So today, we are going to walk you through the basics of sewing a perfectly encased elastic waistband three different ways.
Elastic waistbands fall into two general categories: fold-down casings and applied casings. A casing is a fabric «tunnel» enclosing elastic. There’s also a third category in which the elastic is sewn directly to the fabric (this method works best with knit fabrics).
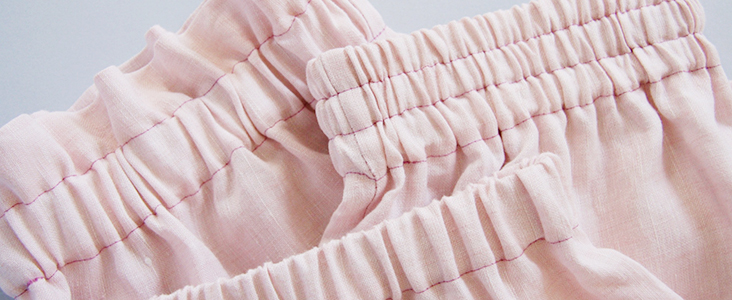
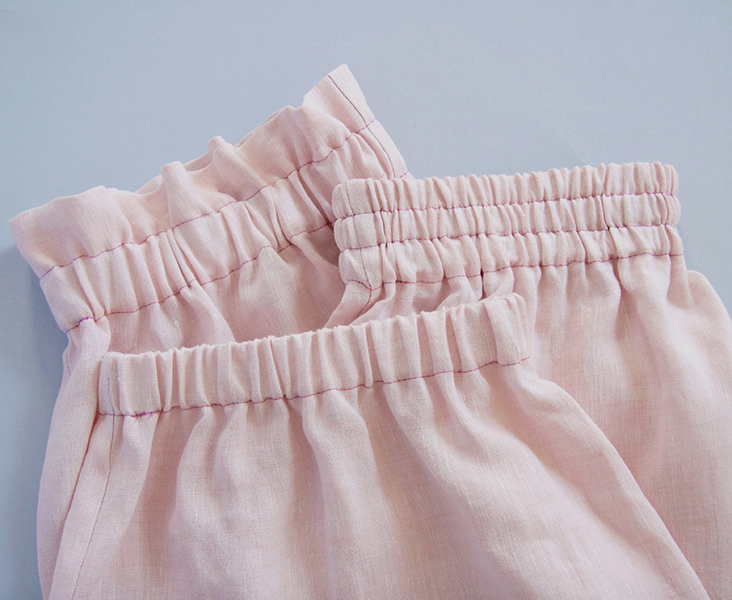
In this tutorial, we’ll explore different style variations within the first category and show you three different techniques for creating fold-down elastic waistbands: a basic fold-down waistband, a paperbag waistband and a tiered waistband (with several rows of topstitching). You will see that using the same fold-down-twice technique, you can achieve totally different looks and completely change the design of your garment.
Learn these three easy techniques and find the one you like for trying on your own garments!
Materials & Tools
Fabric of your choice. We are using IL042 894 FS Premier Finish Medium Weight Linen
Matching sewing thread (for the purpose of this tutorial we are using a darker thread), ruler, pen, scissors, pins, chalk, sewing gauge, fabric marker, safety pin, needle, sewing machine.
And of course, elastic!
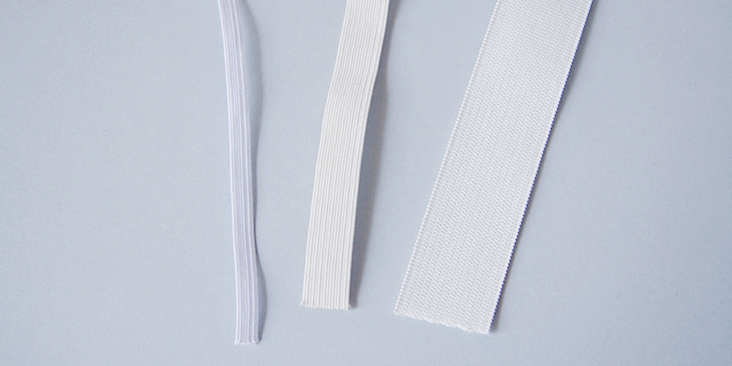
There are many varieties of elastic that could be used for different projects and purposes. Elastics come in different widths (from 1/4” to 3” and up), textures (braided, woven or knitted) and colors. There are even elastics that come with integrated buttonholes or a drawstring inside! So choose the right width and type of elastic each specific project.
Difficulty
Beginner
Time
1 hour
Pattern
You can use any store-bought pattern (for pants, shorts or skirts) or choose from several options available on our blog: Crisp Linen Pants, Moroccan Pants, Short Culottes, Ankle Culottes, Panel Skirt or A-line skirt.
To make your new pattern, trace your front and back slopers (no need to mark any waistline darts) on a separate piece of paper.
Before we start
There are a couple of key points to know to ensure clean and professional results:
- Whatever width of elastic you choose to work with, the casing you’ll create should be at least ¼” (6 mm) wider.
- Stretch out your elastic a few times before making the final cut, this will prevent your elastic from becoming loose over time.
- Use a large safety pin to pull the elastic through the casing. It’s sturdier and won’t open inside the casing messing up the whole process.
- Use the box method to join the elastic ends (demonstrated in this tutorial)
- Secure your elastic by stitching through all layers in the side seams. This will prevent it from twisting in the future.
Basic fold-down waistband
This is the most common elastic waistband technique that you’ll find in every sewing book.
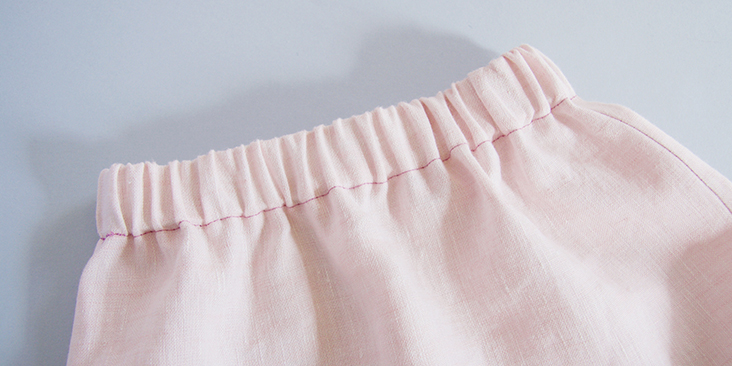
A fold-down waistband is formed by turning fabric allowance added to the waistline at the garment edge to the inside and stitching it in place to create a casing. This type of waistband is ideal for pull-on garments.
1. To start, choose the width and type of elastic you’d like to add. We went for 1”-wide braided elastic that we’ve cut a few inches smaller than our waist measurement plus added 1” for seam allowances.
So, you need to create a casing that can accommodate your elastic. If like us you are using a 1”-wide elastic, you’ll need to add 1″ (the width of your elastic), plus 1/4” (6mm) of ease plus your usual seam allowance (3/8” (1 cm) in our case).
2. Take your newly traced pattern and measure up 1 5/8” (1” plus 3/8” seam allowance plus 1/4” of ease) from the waistline and draw a new line above the original waistline.
Following the same steps, make the pattern for the back piece.
Cut out your pattern pieces in fabric and sew the garment side seams right sides together. It’s easier to work with a continuous length as it will also give a neater finish.
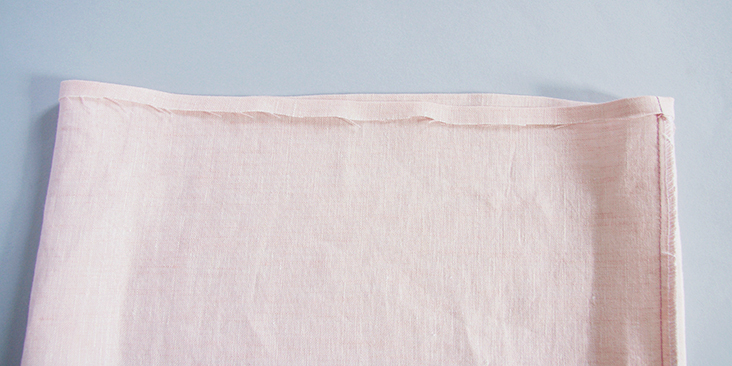
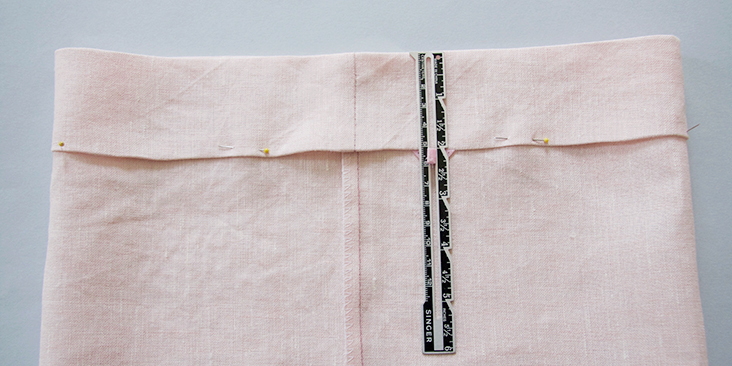
3. Press the raw edge of your fabric under 3/8” (1 cm), or your usual seam allowance, to the wrong side.
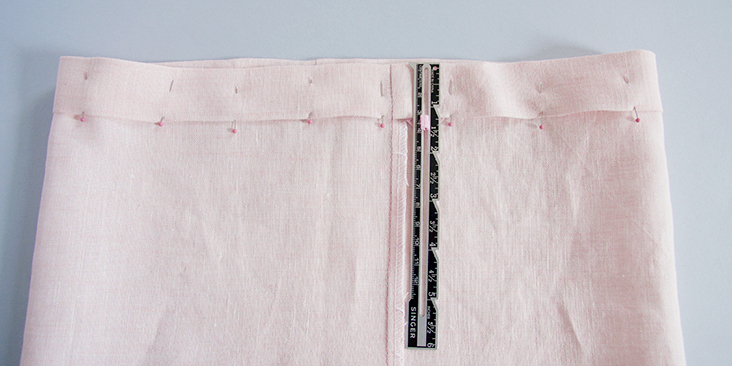
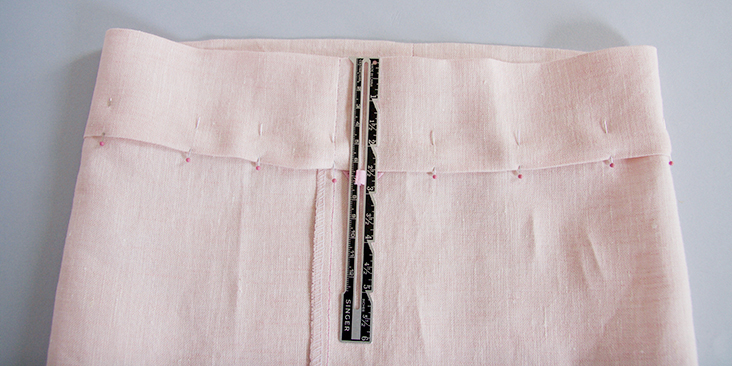
4. Press again, the width of the elastic (1” or 2,5 cm) plus your ease (1/4” or 6mm). Pin in place.
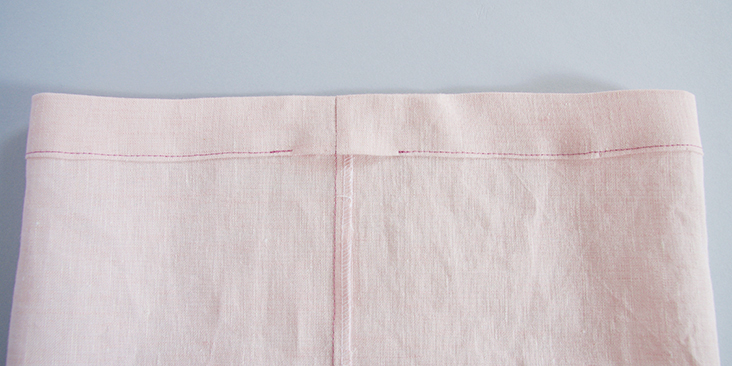
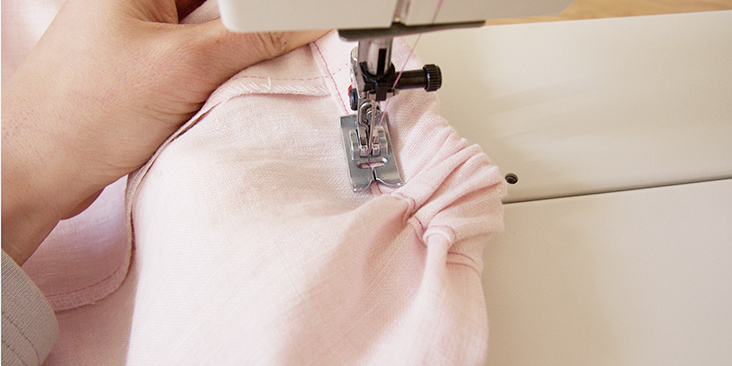
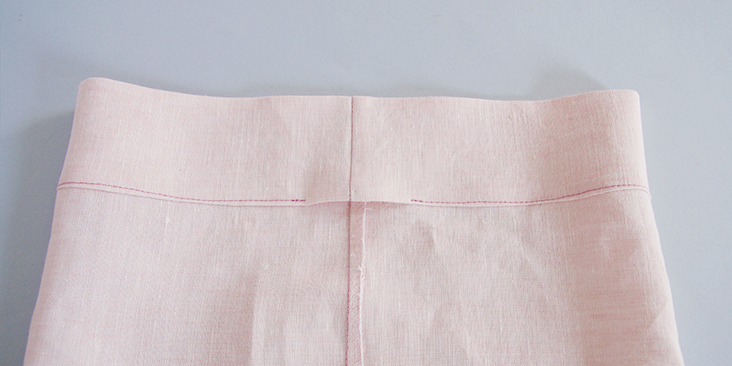
5. Stitch around the lower edge of the casing, 1/8” from the edge, leaving a small (about 2” wide) opening for the elastic to be inserted. Remember to backstitch at both ends.
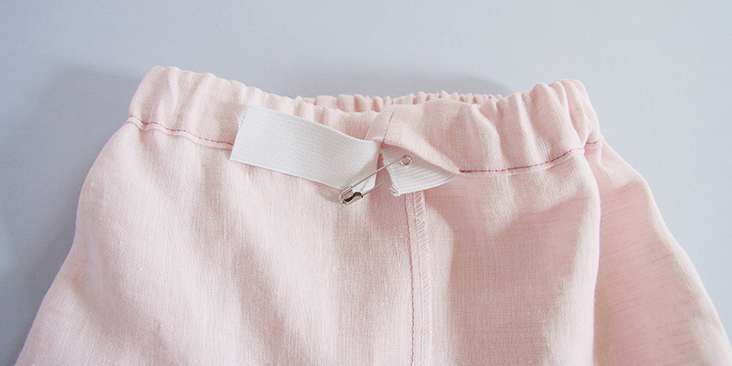
6. Attach a safety pin to one end of the elastic and pull it through the casing.
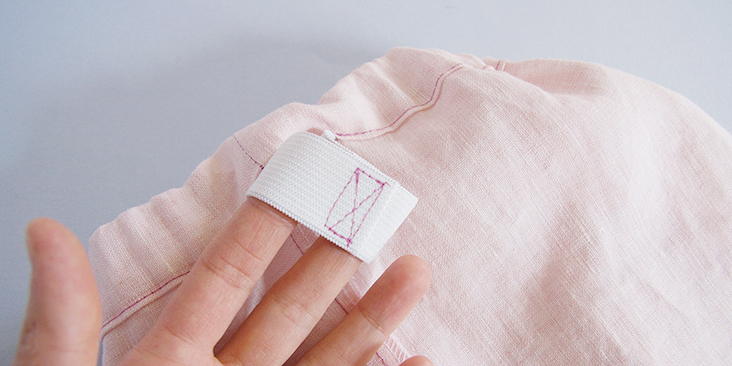
7. Lap one elastic end over the over and anchor the edges with several lines of stitching (create a box) through all layers. Overlapping elastic ends reduces bulk and ensures that your elastic won’t rip at the seam.
Pull gently on the waistband fabric so that the joined elastic ends slip inside the casing. Distribute the gathers evenly.
8. Then sew the opening closed with the same seam allowance used before. Make sure not to sew into the elastic itself!
9. Optional: if you wish to secure your elastic and prevent it from twisting in the future, stitch through all layers in the side seams.
Tiered waistband
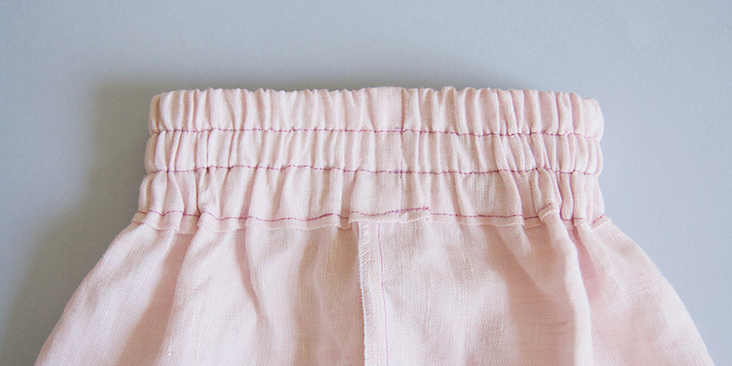
As its name suggests, a tiered waistband is a waistband with several channels and rows of topstitching. This technique is very similar to creating a basic fold-down casing but instead of making just one casing, you make several and individually insert several pieces of narrower elastic into each casing. It gives a more sophisticated look to a simple pull-on garment.
In this example, we used 1/2” (1,3 cm) wide elastic and decided to create 3 casings.
1. To create 3 casings for 1/2” (1,3 cm) wide elastic, you’ll need to add 3 times more of everything: the width of your elastic x 3, 1/4″ of ease x 3 but only one seam allowance (3/8” (1 cm) in our case). So the total extension equals 2 5/8”. This is the amount that you will need to measure up from the waistline. Draw a new line above the original waistline.
Following the same steps, make the pattern for the back piece.
Cut out your pattern pieces and fabric and sew the garment side seams right sides together. It’s easier to work with a continuous length as it will also give a neater finish.
2. Press the raw edge of your fabric under 3/8” (1 cm), or your usual seam allowance, to the wrong side.
3. Press again, 3 times the width of your elastic (1,5” or 4 cm) plus four times half of your ease (1/2”). Pin in place leaving an opening.
Now you need to run three lines of topstitching and insert three elastics.
4. Measure your extension and divide it into three equal sections. Run the first line of stitching 5/8” (1/2” width of your elastic + 1/8 of ease) from the top waist edge and leave a small opening.
5. Attach a safety pin to one end of the elastic and pull it through the casing.
6. Lap one elastic end over the over and anchor the edges with several lines of stitching (create a box) through all layers. Overlapping elastic ends reduces bulk and ensures that your elastic won’t rip at the seam.
Pull gently on the waistband fabric so that the joined elastic ends slip inside the casing. Distribute the gathers evenly and stitch the opening closed.
7. Repeat steps 4-6 to create the middle casing.
8. Finally, stitch around the lower edge of the casing, to create the third casing, and leaving a small (about 2” wide) opening for the elastic to be inserted. Remember to backstitch at both ends.
9. Stitch the elastic ends together and sew the opening closed with the same seam allowance used before. Make sure not to sew into the elastic itself!
Optional: if you wish to secure your elastic and prevent it from twisting in the future, stitch through all layers in the side seams.
Paperbag waistband
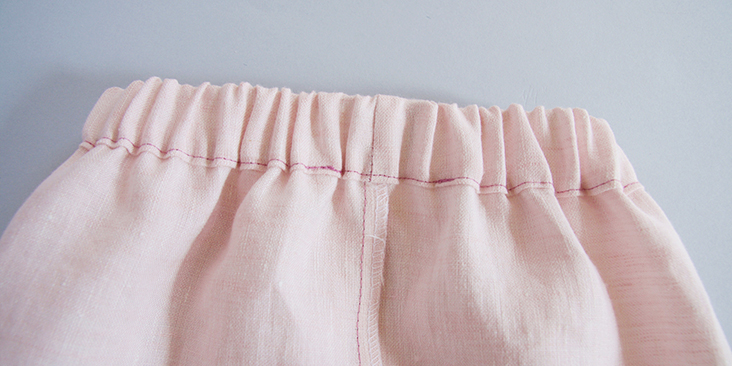
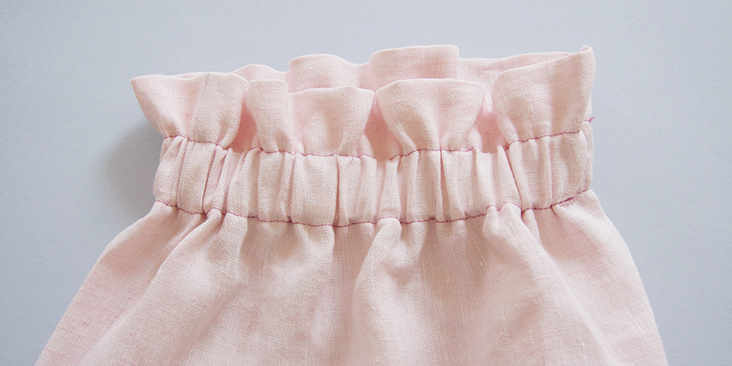
A paperbag waistband is a type of elasticized waistband with a ruffle at the top that cinches up like a crumbled paperbag. This type of waistband is incredibly chic and elegant and can sophisticate a basic pull-on style.
1. To create a paperbag waistband for 1” (2,5 cm) wide elastic, you’ll need to add 3 times the width of your elastic (3”), 3 times x 1/4″ of ease (3/4” total) and one seam allowance (3/8” (1 cm) in our case). So the total extension equals 4 1/8”. This is the amount that you will need to measure up from the waistline. Draw a new line above the original waistline.
Following the same steps, make the pattern for the back piece.
Cut out your pattern pieces and fabric and sew the garment side seams right sides together. It’s easier to work with a continuous length as it will also give a neater finish.
2. Press the raw edge of your fabric under 3/8” (1 cm), or your usual seam allowance, to the wrong side.
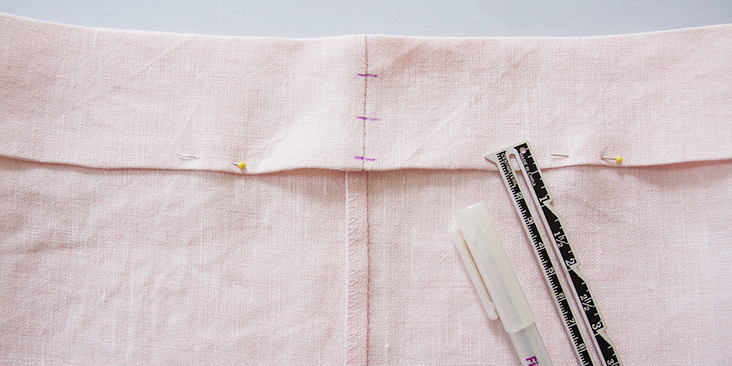
3. Press again, 2 times the width of your elastic (2”) plus 2 times your ease (2 x 1/4= 1/2″). Pin in place.
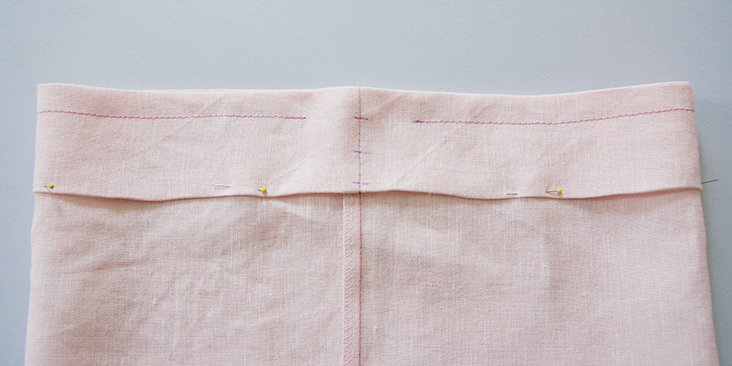
4. Stitch around the lower edge of the casing, leaving a small (about 2” wide) opening for the elastic to be inserted. Remember to backstitch at both ends.
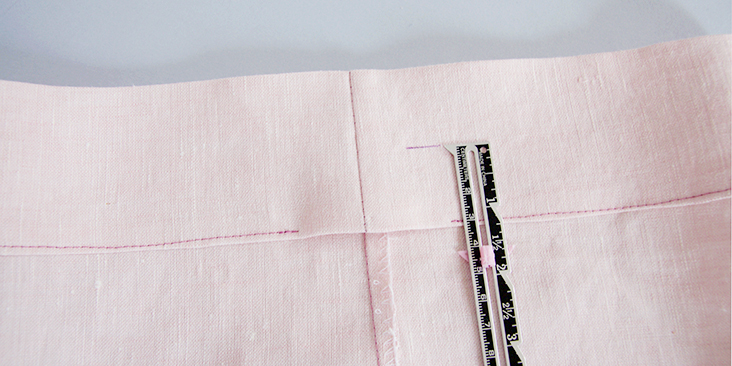
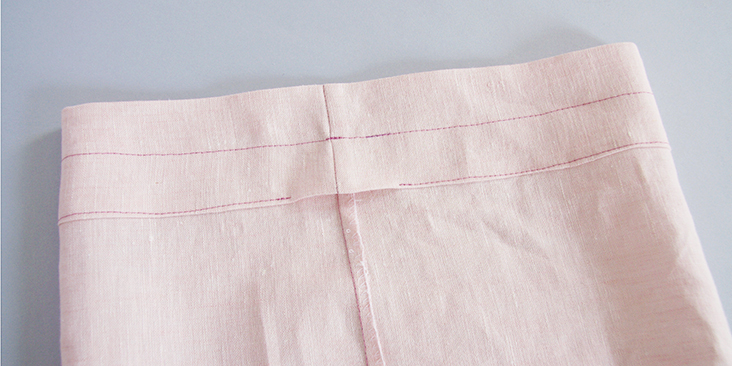
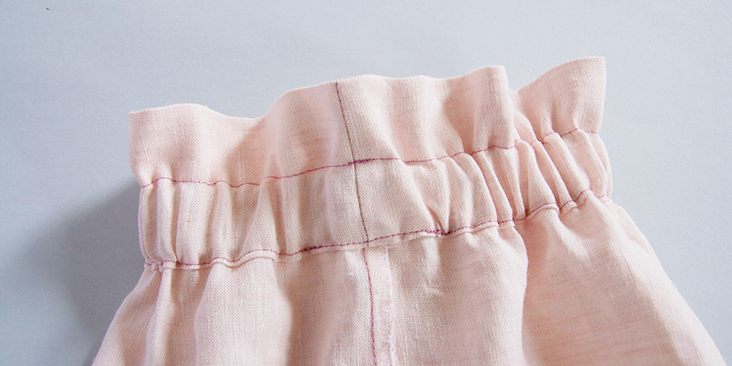
5. From this stitchline, measure up 1 1/8” (or width of your elastic + half of ease) and run a line of stitching there around the entire casing, no opening needed. You can either draw a line on the wrong side of your fabric, or follow the crossgrain to keep the same level around the entire waist.
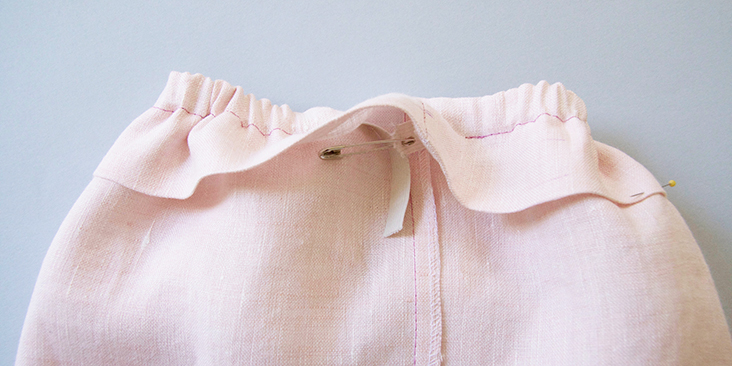
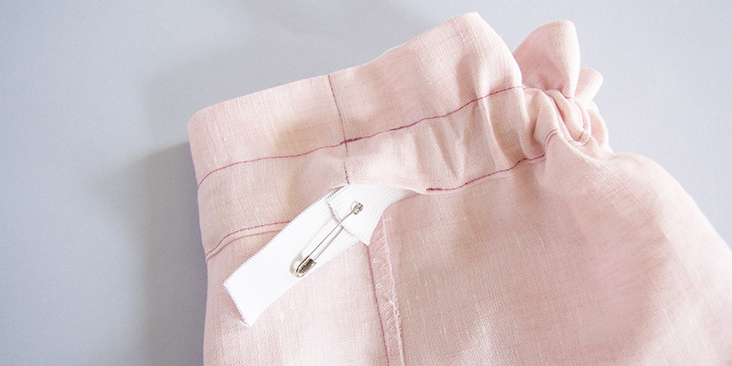
6. Attach a safety pin to one end of the elastic and pull it through the casing.
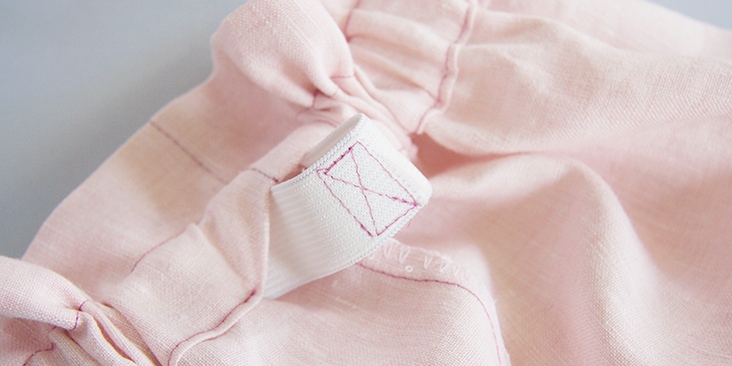
7. Lap one elastic end over the over and anchor the edges with several lines of stitching (create a box) through all layers. Overlapping elastic ends reduces bulk and ensures that your elastic won’t rip at the seam.
Pull gently on the waistband fabric so that the joined elastic ends slip inside the casing. Distribute the gathers evenly.
8. Stitch the elastic ends together and sew the opening closed with the same seam allowance used before. Make sure not to sew into the elastic itself!
Optional: if you wish to secure your elastic and prevent it from twisting in the future, stitch through all layers in the side seams.
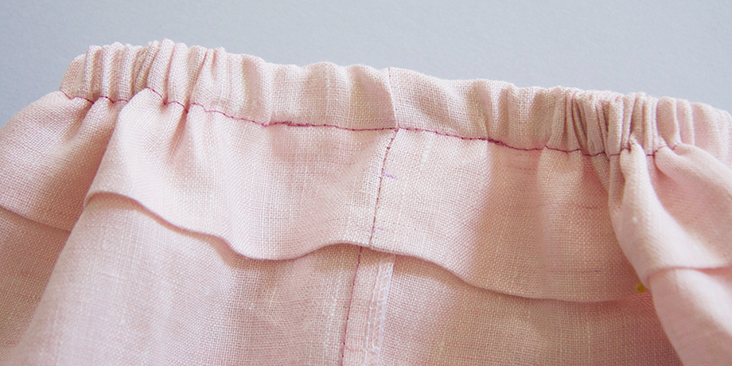
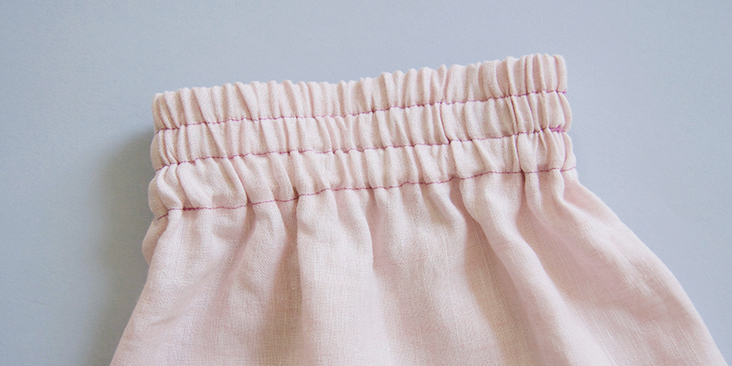
Here is your pretty paperbag effect!
Experiment with these three techniques and find your favourite!









17 Comments
Pingback:
Baby Boy Shorts: Cool Shorts For Active Toddlers - Gear Meets BabyPingback:
How to Make a Dress Smaller without Sewing | 7 Easy Tips (2023)Pingback:
Deborah J Sews | Tiered Maxi, Now With More Skirt • Deborah J SewsChris Ertel
Thanks for this, it was very helpful. I do have a question: why in the second instance (where you have the three channels) why don’t you so all of them first and then insert the elastic in each one separately? It seems that might be easier but perhaps there’s a reason
A Barry
Thank you very much for in depth tutorial. Sewing waistband elastic plays an important part, these days weak unreliable chinese products dominate. Recently I found a good product which is not China make and with good strength. https://www.amazon.com/gp/product/B08DM2846C bought through amazon.
Pingback:
Closet Core Pietra Pants Pattern Review | since wenPingback:
How to Make a Handkerchief Skirt | (Updated :2020) DIY Quick TipsPingback:
Tiered Linen Dress – Yuzu and LinenHafida Lefebvre
Thank you so much for this very helpful tutorial. I was alson wondering how to determine the elastic lenght, Thanks to Amy, who provided the answer.
vivianne
Great tutorial THANK YOU!
Janice
Thank you so much. I will put all these great directions in my
Archives so I will always have it. I have been struggling with a pair of polyester slacks as you sent in these directions in. Perfect.
Lorraine Palamar
I make a buttonhole on the inside of the casing before I sew the casing down. Then I can thread the elastic through this buttonhole. Before making the buttonhole, I reinforce the fabric with a piece of iron-on interfacing. If the elastic wears out, then it can be easily replaced without having to go to the trouble of ripping the casing. If the buttonhole is quite large, after putting the elastic through the casing, I use a few loose handstitches to close the buttonhole.
Joy Froelich
Great ideas!
Fay
How much inches shorter than the waist should you make the elastic before sewing the once inch seam allowance?
Lorraine Palamar
The elastic should be one inch shorter than your waist measurement plus seam allowance.
Amy
I would say that different elastics have different amounts of “give” and that your best bet is to try it on for comfort and to make sure it will fit over your hips.
Fay
Thank you