Sewing Glossary: How to Draft and Sew a Shirt Yoke Tutorial
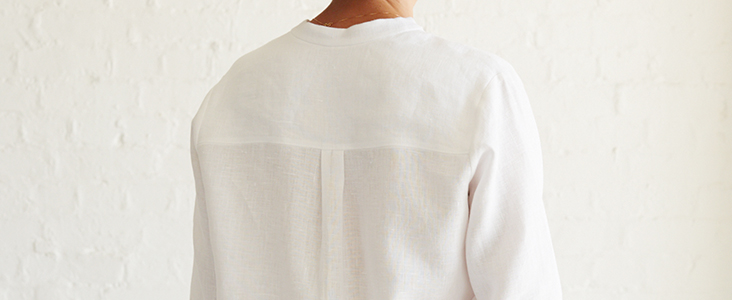
A yoke is the upper part of a garment that fits the shoulder area. It consists of two separate pieces of fabric (an inside and an outside yoke) that are attached to the front and the back of the garment. Since all the raw edges are concealed within the two yoke pieces, you get a clean finish and a garment that looks nice inside and out.
On garments, a yoke is most commonly seen on shirts and tops, but also appears on dresses, coats and even skirts and trousers. It is often used for shaping and may sometimes have gathers or pleats for additional volume. It is also a great design feature that could be used to add some interesting details to a plain garment. For example, a yoke is great for adding contrasting fabric, hand embroidery, lace or for playing with the direction of the grainline when working with patterned fabrics. By cutting the yoke on the bias, it makes for an interesting detail because the print runs differently.
So today we are going to show you a simple technique for drafting and sewing a shirt yoke. There are two methods that are most commonly used for attaching the yoke. The first method is also known as «the burrito method» because everything gets rolled up inside the yoke like a burrito. It is a great technique but can be sometimes a bit confusing for a beginner seamstress when it comes to the rolling and what goes where. This is the reason why we will rather show you the second method, which is really straightforward and super easy and gives the same great results and a neat finish.
Materials
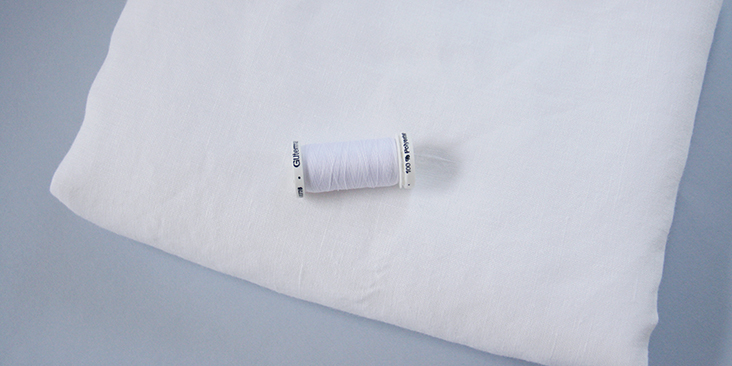
Fabric of your choice (we are using our medium weight linen in IL019 OPTIC WHITE Softened)
Matching sewing thread
Tools
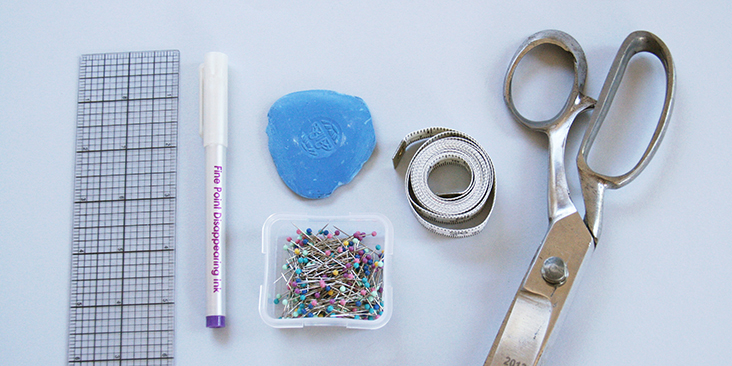
Pattern paper, ruler, pen, chalk, measure tape, scissors, pins, sewing machine
Difficulty
Beginner
Time
1 hour
Drafting the Pattern
Even if your pattern doesn’t feature a yoke, you can easily add one to virtually any shirt or top that has a plain back.
A yoke can be placed in the front or the back of your shirt only. All you do is draw a line anywhere above the bust level for the front piece or above/at the shoulder blades for the back piece. The ideal spot would be somewhere in the middle of your armhole (if it’s too low, it will get into the bottom of the armhole, which would be difficult to work with).
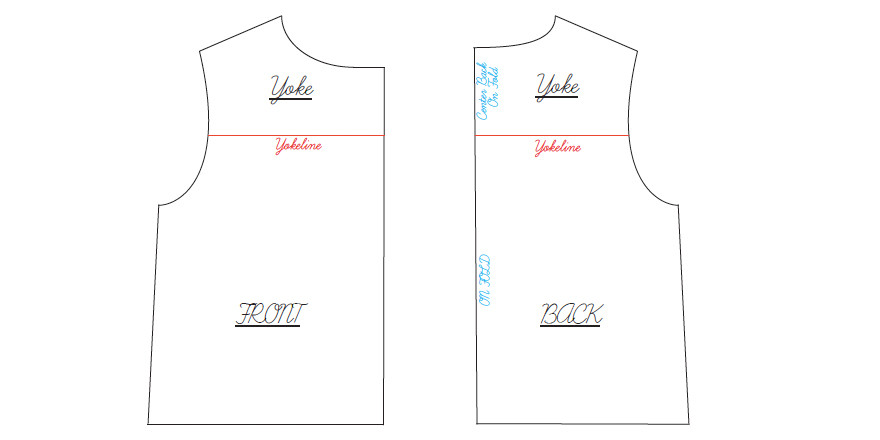
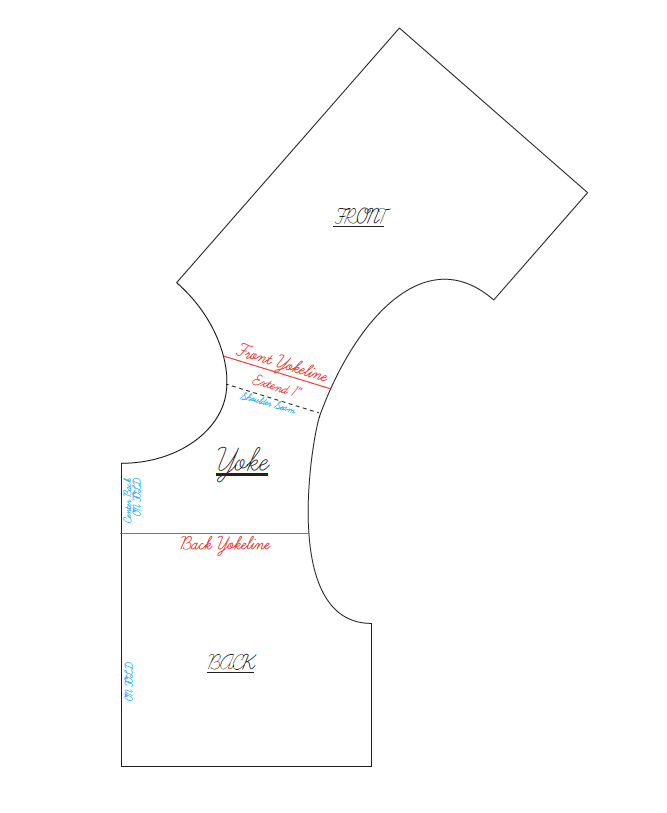
However, the most basic yoke merges the front and the back pattern pieces along the shoulder line eliminating the shoulder seam. In this case, the back yoke extends 1 inch to the front and sometimes holds gathers or pleats.
Whereas drafting the front/back only yoke is pretty straightforward, we thought we’ll show you how to draft this merged yoke piece.
1. The first step in the drafting process is to make a copy of the pattern (front and back sloper) that you want to change.
2. Take your back sloper and square a straight line from the center back to the mid-armhole. This is your back yoke line.
3. Now take your front sloper and draw a parallel line 1” away from your shoulder line.
4. Place the front shoulder to the back shoulder along the shoulder line. Take a new piece of paper larger than the yoke area and trace around it with a pencil.
5. Add your usual seam allowances around all edges and you are all done!
 As we’ve mentioned earlier, the back section of the yoke is usually attached to a pleated or gathered bodice. If you do decide to complete your design with some gathers or a pleat, you need to add some extra volume to your back sloper.
First you need to decide how wide you want your pleated/gathered area to be. For example, for a finished box pleat that is 1” wide, you’ll need to add 2” of fabric. But since most patterns are cut on fold, you just need to extend your center fold line by 1”. Basically, you add double of what your finished pleated area will be. The same principle works for gathers.
Now that you have your patterns, you can cut out two identical pieces of fabric for the yoke, one back and front slopers and let’s start sewing!
Note: Yokes can have different shapes. They can be straight, curved or pointed. Using yokes of various shapes is an excellent way to create new designs.
Steps – Method 1
Note: Prewash your fabric and tumble dry it until it is still slightly moist, dry in room temperature. Iron the fabric so it is easier to work with.
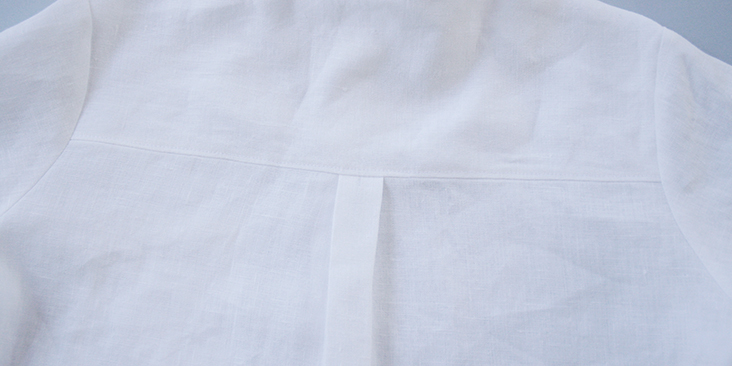
First, you need to decide what kind of pleat you want at center back. The box pleat is a little more graphic and sculptural while the inverted pleat is more subtle and fluid. In this tutorial, we’ll show you how to make a simple box pleat but you can totally gather or go with an inverted pleat. For the inverted pleat, you will just do the opposite; the box pleat will be created on the wrong side of the shirt rather than the right side.
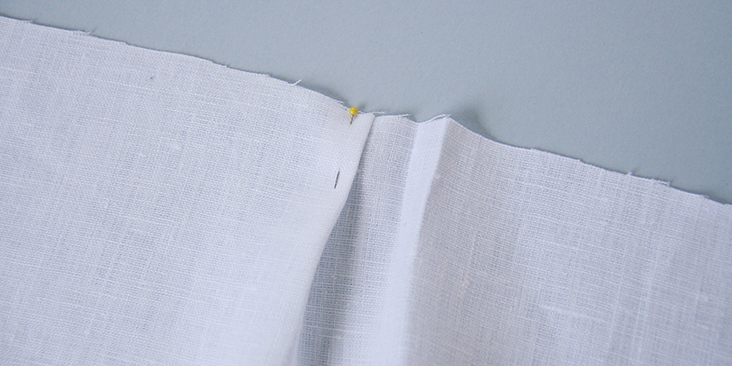
1. With your fabric’s wrong side facing you, accordion pleat your back (1/2″ to 1/2″) at the Center Back (the two pleats should meet at the center) and baste across the pleat (1/4″ or 6mm from the raw edge) to secure.
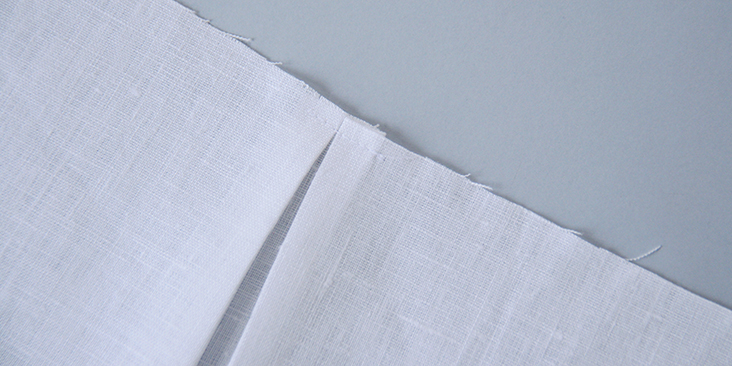
2. Press lightly to create a box pleat.
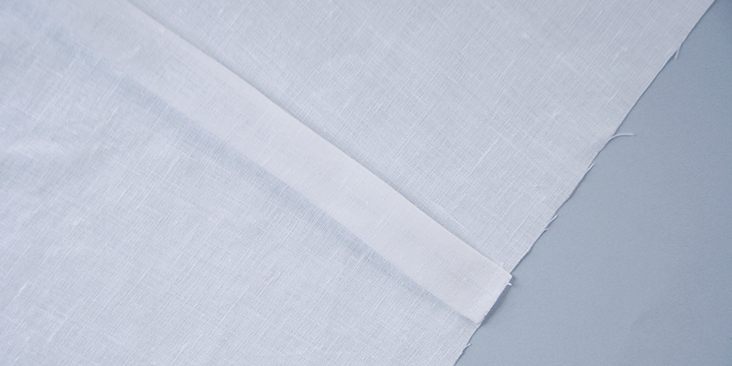
What we want to do now is to insert this pleated back inside the two yokes.
3. Find the center of the yokes by simply folding them in half and finger pressing lightly to leave a mark.
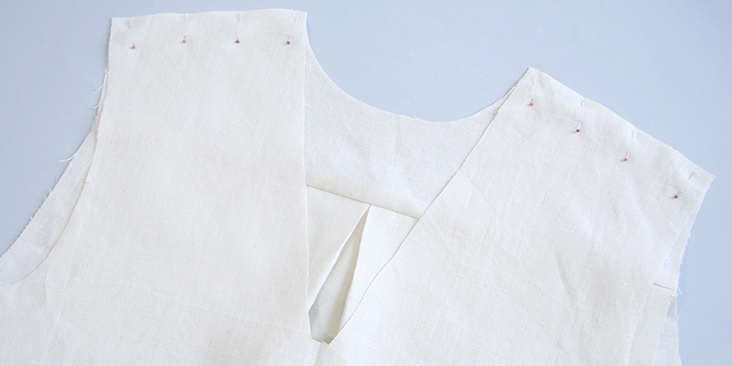
4. Match up the centers and pin the outside yoke piece to the shirt back right sides together.
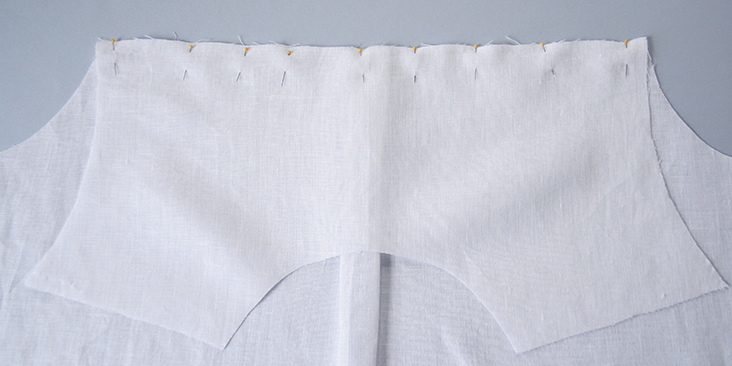
5. Now take your inside yoke and pin its right side to the wrong side of your shirt aligning the raw edges. Basically, you sandwich the pleated shirt back between the two yoke pieces.
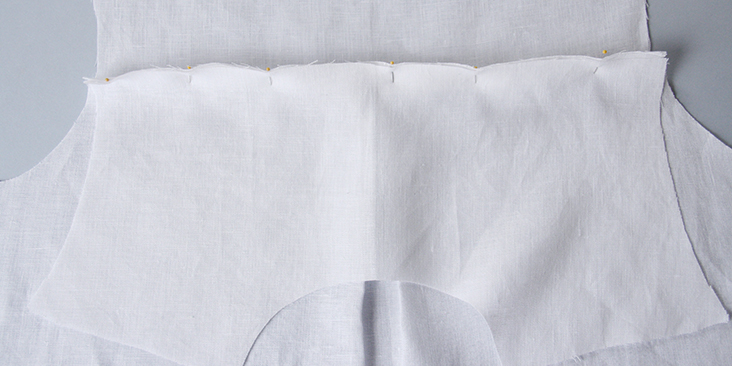
6. Stitch all three together at a 3/8″ (1 cm) seam allowance.
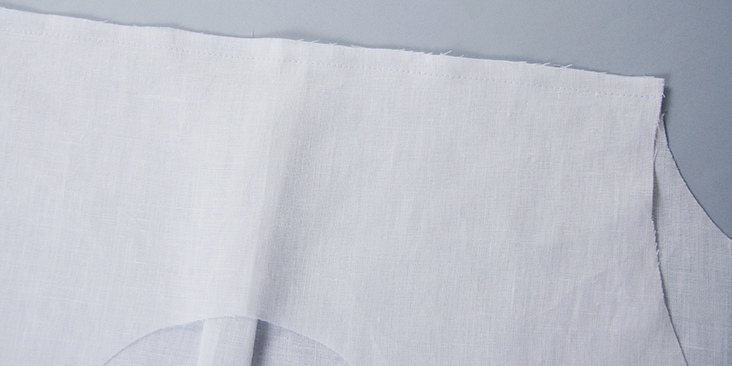
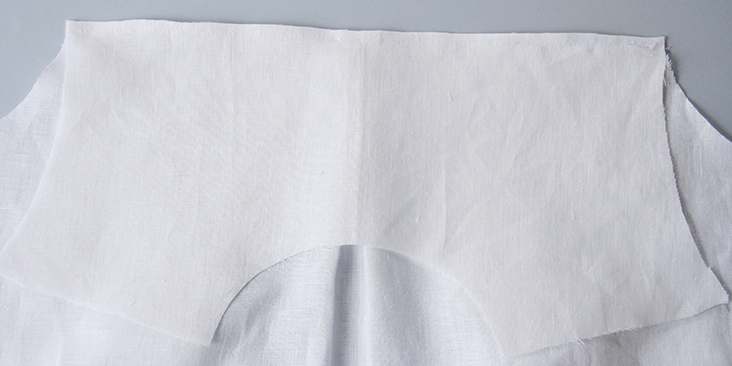
7. Grade your seam so that the yoke lays flatter.
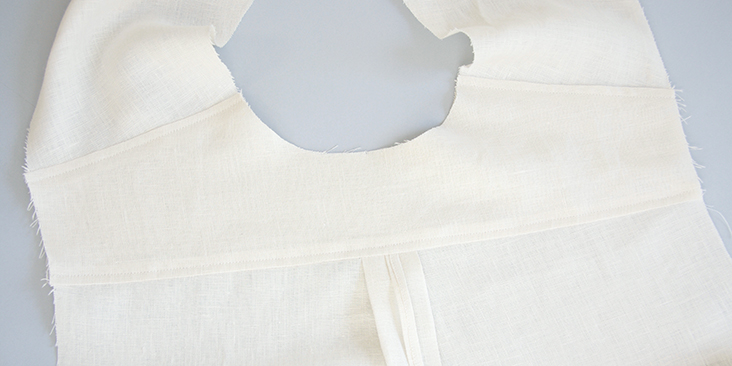
8. Press both yokes up and topstitch along the seam line, 1/8″ away from the edge.
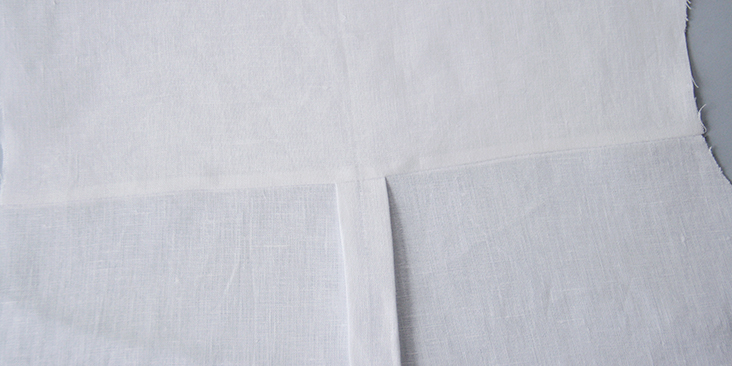
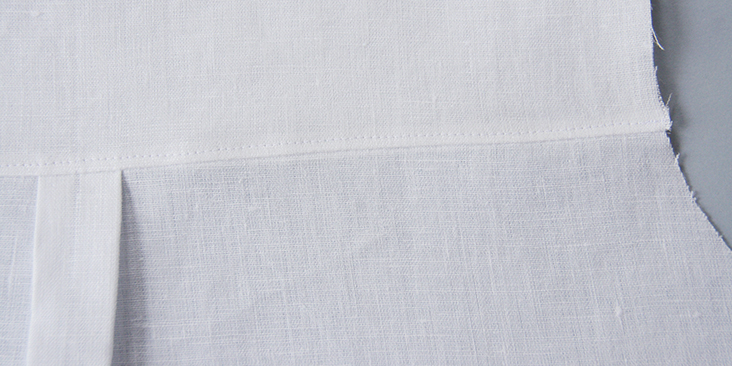
9. From there, flip the inside yoke down so that you’re just working with the outside yoke for this step. You will only be working with two layers of fabric – the shirt front and the yoke.
Pin the shoulder seams of the outside yoke to the shoulder seams of your front pieces right sides together.
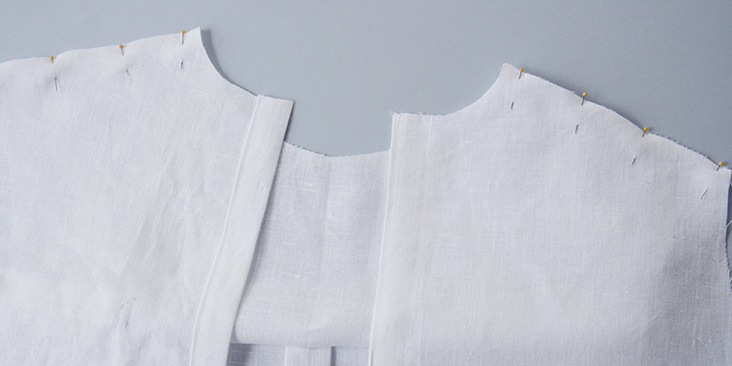
10. Stitch across at the 3/8″ (1 cm) seam allowance and grade the shoulder seams down to 1/4″.
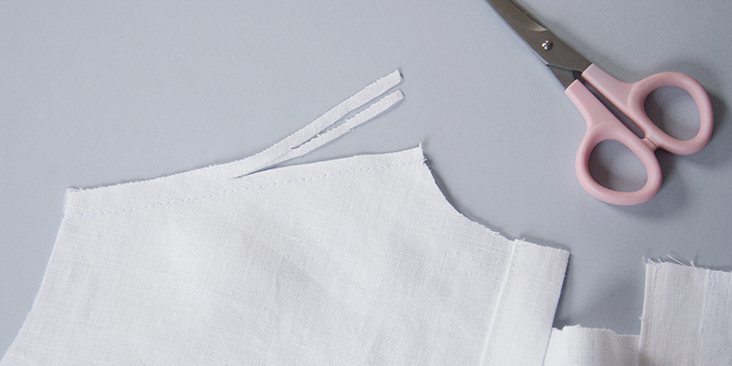
11. Press seams towards yoke.
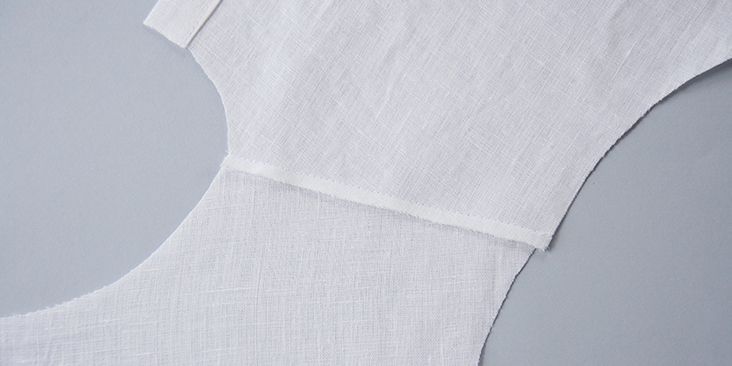
12. Press the seam allowance of your inside yoke 1/4″ under.
13. Lay your shirt flat on the table with the inside yoke facing you and pin it to the shirt back. Just as with button bands, make sure that the folded edge overlaps the seam line by a couple of millimeters so that when you stitch from the front it catches all layers neatly. Make sure to smooth out any wrinkles before you pin.
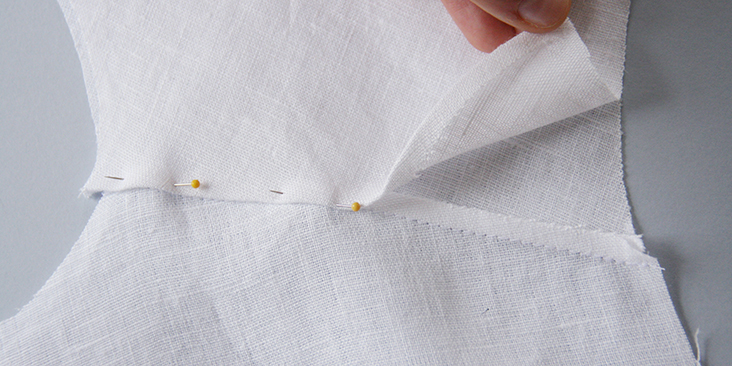
14. Working from the right side of your shirt, topstitch along the yoke seam in the crease of your outer yoke making sure to catch the edge of the inner yoke.
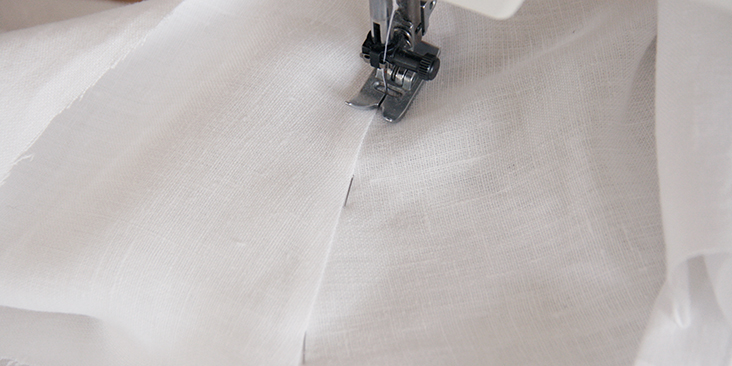
15. Lastly, topstitch all layers at once 1/8″ from the seam line just as you did in step #8.
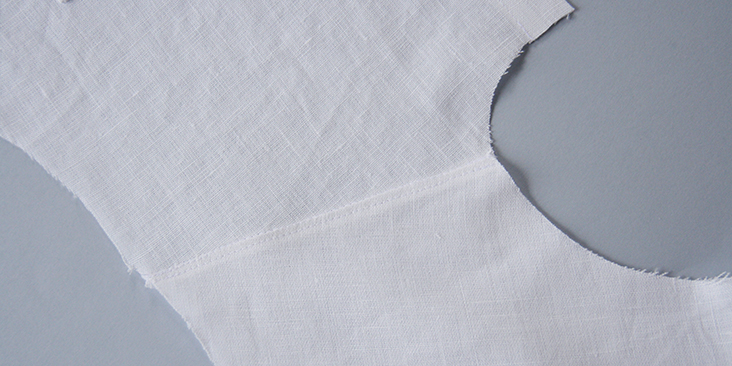
16. Give your yoke a good press and you are all done!
Steps – Method 2 “Burrito Method”
Repeat steps 1- 7 above.
1. Place the back bodice piece wrong side facing up. Fold the inside yoke facing upward. The outer yoke will still be folded down. Pin the wrong side of the front bodice piece (A) to the right side of the inside yoke at the shoulders. Sew a scant ½” seam.
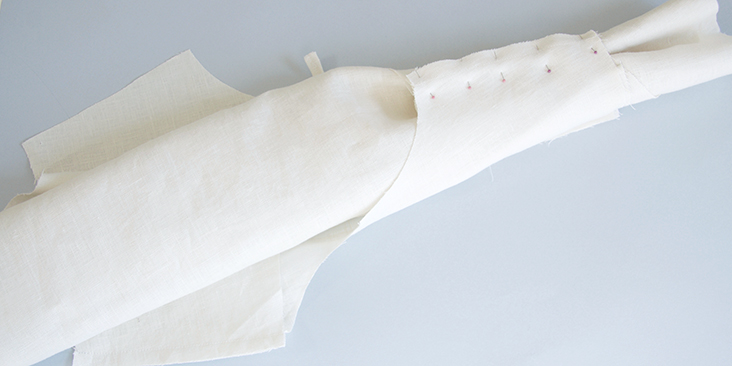
What follows next is a technique commonly known as the burrito method since everything gets rolled up inside the yokes like a burrito. It provides a clean finish on the inside as well as the outside of a garment.
2. Tightly roll up the front and back bodices and fit them in between the yoke layers, like a burrito. With right sides together, align the yoke shoulder edges and pin as needed.
3. Sew a ½” seam across the shoulders.
4. Turn everything right side out and neatly press. Run a line of topstitching across the front shoulder seam and lower back of the yoke ¼” from the seam.











10 Comments
Pingback:
Understanding Sewing Yokes – An Easy Guide – Fairy EpicRebecca Jacobs
This is great! I love yokes and now I’m going to put them in all my tops whether the pattern has them or not.
Catalina Tiensuu
excuse me, do you have this pattern for sale anywhere? Thank you!
Rima Khusainova
Dear Catalina, unfortunately we don’t have this pattern for sale, but we have a diagram with all the measurements for sizes XS-M HERE. And if you need to grade it up, we have a great tutorial with instructions HERE. Hope this helps!
Catalina Zaharescu
Thanks!
Joy Beeson
I have a terrible time fiddling three layers at once, so I pin two together, permanent-baste an eighth of an inch outside the stitching line, then pin the third layer.
Pat
Thanks..it’s an update for me ss I was out of sewing for years..
Rima Khusainova
You are welcome Pat! Thanks for checking out our tutorial!
sharon love
I have a quicker way to put on a yolk I sew both the front & back using the directions for the back pinning the front yolk inside out. I trim off ihe seam allowance and then turn the wrong side out. Top stitch. It’s sounds hard but is easier to demonstrate
Rima Khusainova
Dear Sharon! Thank you for sharing your preferred method with us! As it is always the case in sewing – there are several ways to do the same thing, what matters is a nice clean result in the end 🙂