Relaxed Linen Bathrobe Tutorial and Pattern
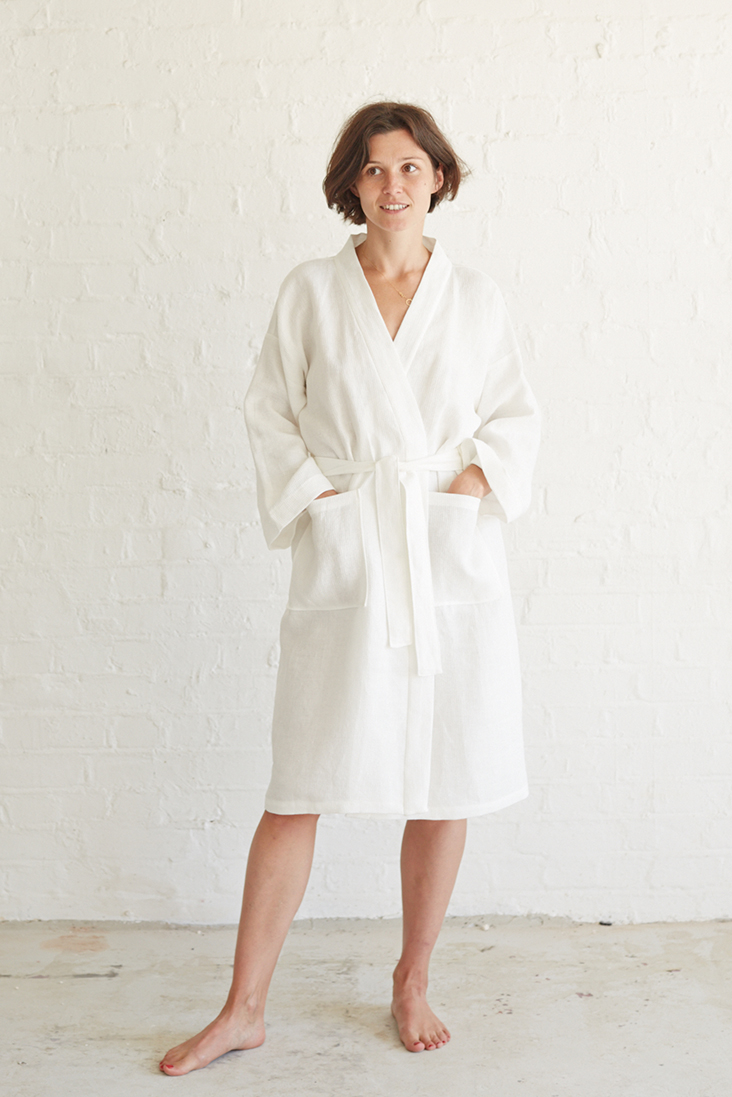
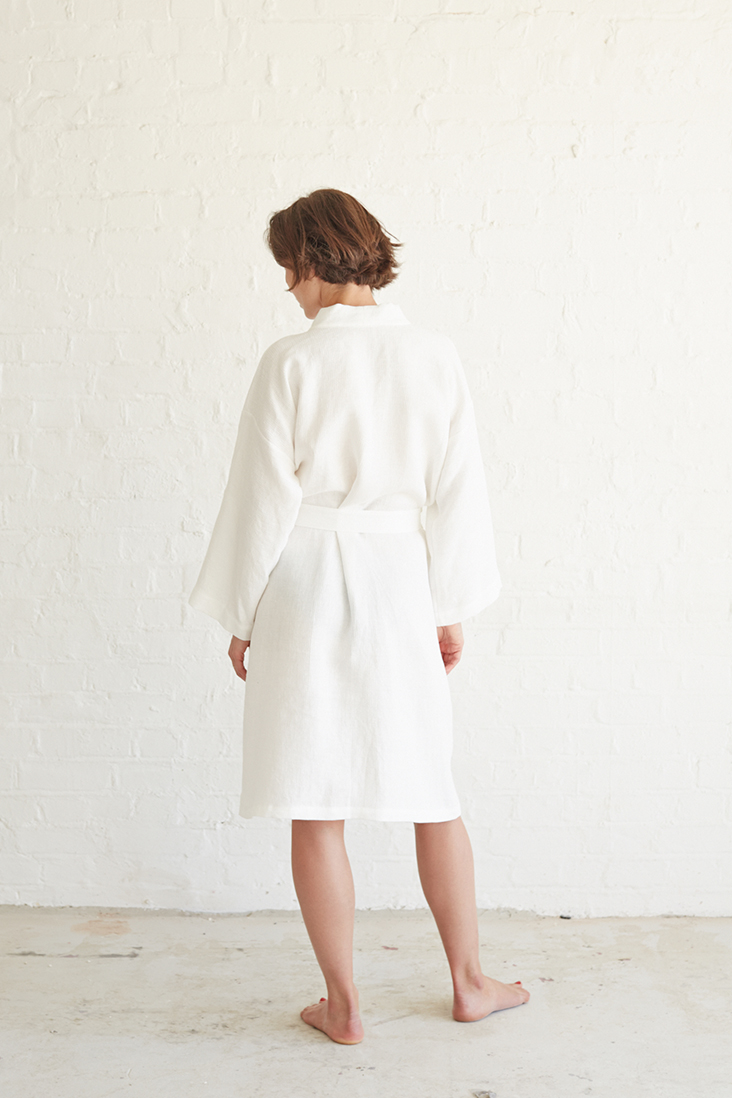
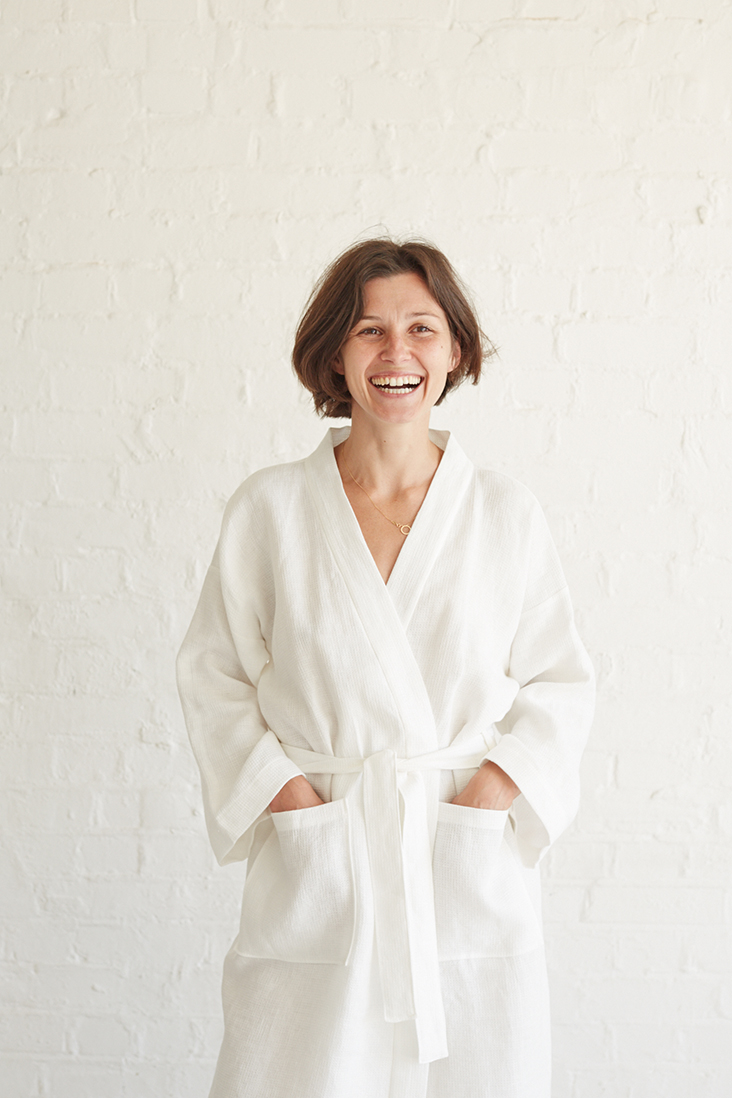
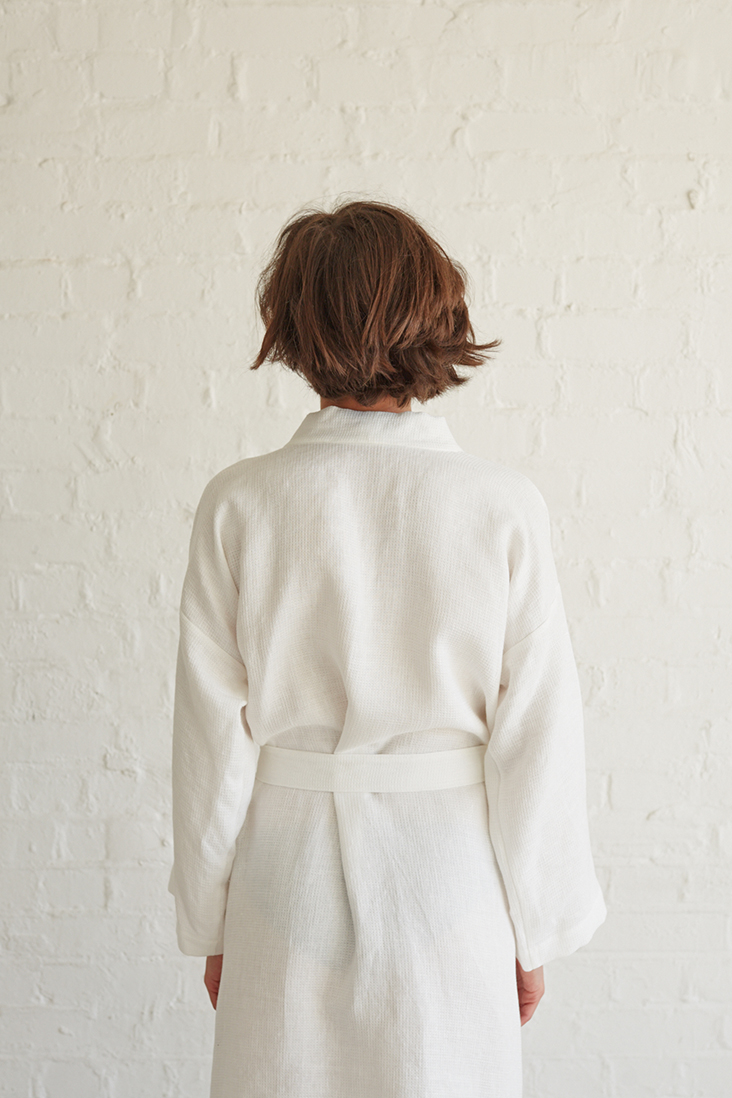
Wrap yourself in softness with our beautiful waffle weave linen bathrobe. Lightweight and soft against your skin, this cozy bathrobe features a kimono collar, two generously sized patch pockets and a belt.
Very absorbent and comfortable, this kimono style linen robe is ideal for bath, lounging at home, pool, vacation, gym… Well, everything! And the best thing is that it is unisex and would fit both men and women. So, pamper yourself with one, or give it as a gift.
Such a great At-Home Essential that is surprisingly easy to sew and a pure pleasure to own!
Materials
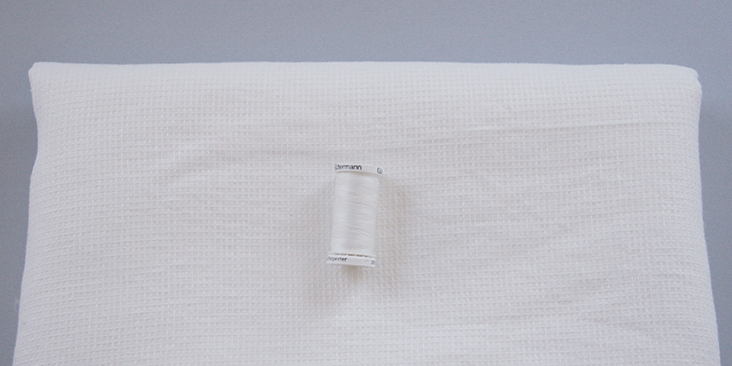
We used 3 yards of Medium Honeycomb weave, but you can use any of our Heavier Honeycomb Linens
Matching sewing thread
Tools
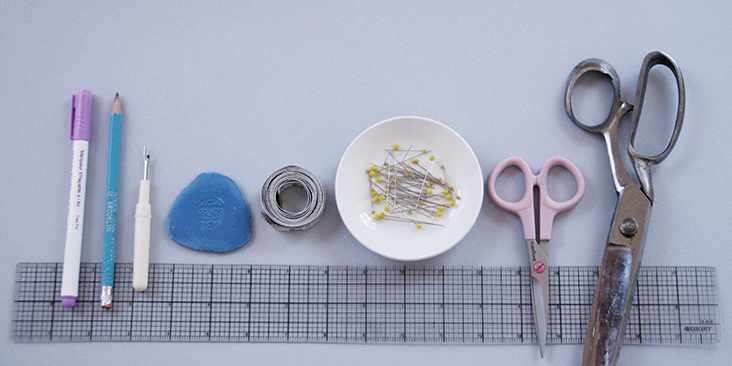
Pattern paper, scissors, ruler, pins, marker or chalk, pen, measuring tape, seam ripper, sewing machine
Difficulty
Beginner
Time
3-4 hours
Pattern
You can access the pattern by following this link HERE. Remember to add seam allowances as indicated in the pattern.
Please note that this bathrobe is intentionally oversized so it fits a wide range of sizes. If you need a larger size, we’d recommend adding a couple of inches to the sides of the front and back panels and some extra length to the hem and sleeves. If you need help grading your pattern, please follow this tutorial.
Cutting Instructions
Cut the back piece and the sleeves on fold, two front pieces that are mirror images to each other, two patch pockets, two 4.5″ wide and 50″ long strips of fabric for the collar, two belt loops 1.5″ wide and 3.25″ tall and one 4″ x 60″ rectangle for the belt. Follow the instructions in the diagram for the seam allowances that need to be added.
Steps
Note: Prewash your fabric and tumble dry it until it is still slightly moist, dry at room temperature. Iron the fabric so it is easier to work with.
1. First of all, you need to attach the patch pockets to the two center fronts of your bathrobe. Follow this detailed tutorial HERE on how to sew patch pockets and place them on each front side at the desired location (place the front bodice pieces against your body and mark the spot where you want your pockets to sit).
The top fold should be 1″ tall, so fold your 1,5″ seam allowance twice (3/8″ and then 1″) to the wrong side and topstitch.
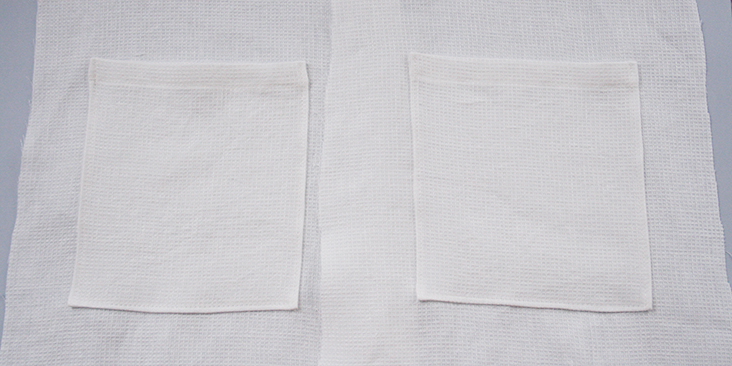
2. Now that you’ve attached the pockets, you can pin the front and the back pieces right sides together at the shoulder seams.
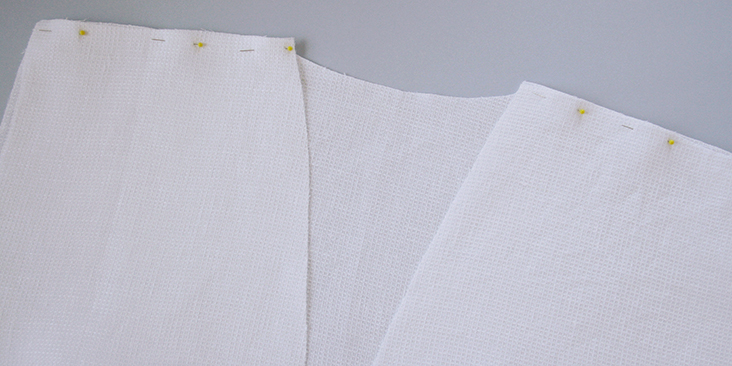
3. Sew at a 3/8″ (1 cm) seam allowance, then trim the raw edges down to 1/4″ (6 mm) and finish the raw edges with a serger or a zigzag stitch (both raw edges together) to prevent the fabric from fraying in the future. Press the seam allowance to one side (ideally, the back of your bathrobe).
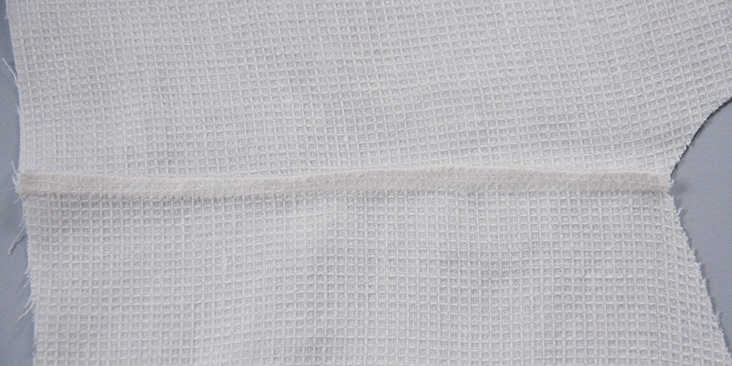
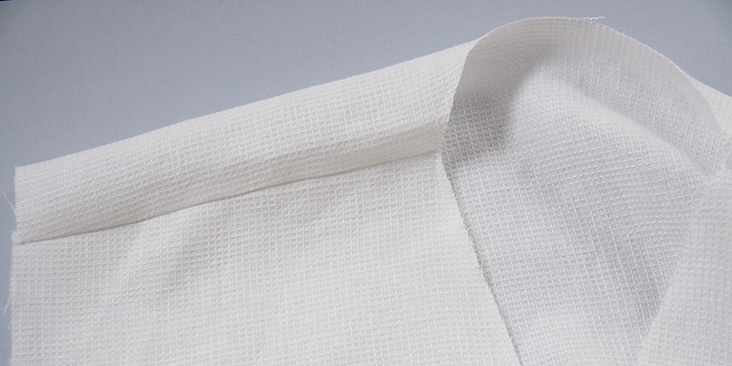
4. Fold your sleeves in half lengthwise and pinch in the middle of the upper seam to mark the center.
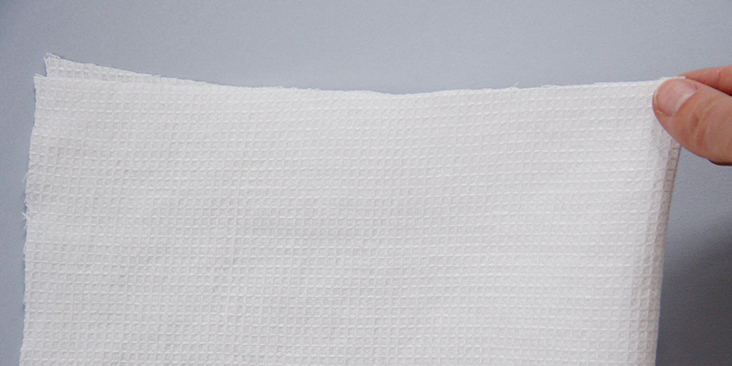
5. Match the center of your sleeve to the shoulder seam and pin the sleeve to the bodice right sides together.
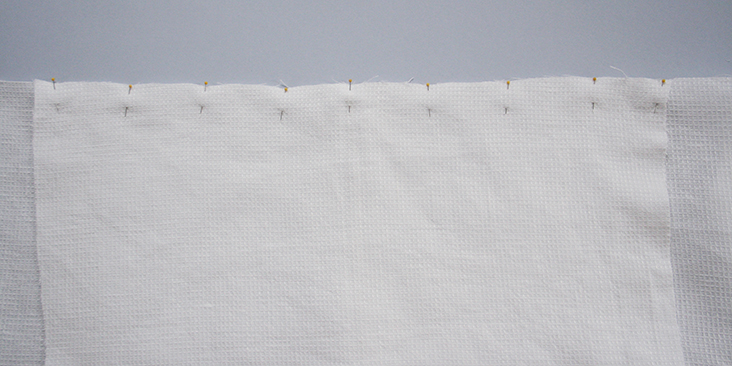
6. Sew at a 3/8″ (1 cm) seam allowance, then trim the raw edges down to 1/4″ (6 mm) and finish the raw edges with a serger or a zigzag stitch (both raw edges together. Press the seam allowance towards the sleeve.
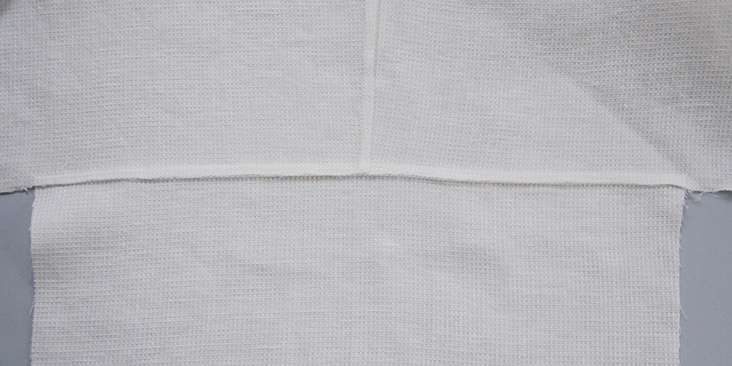
7. Pin the underarm and the side seams right sides together.
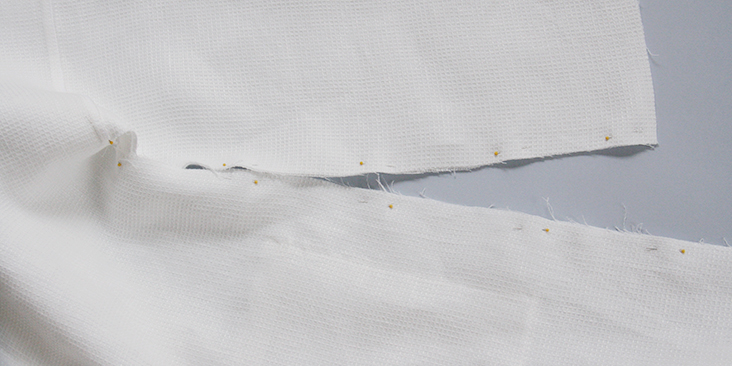
8. Sew the pinned edges at a 3/8″ (1 cm) seam allowance all in one seam, them trim, serge/zigzag and press to one side.
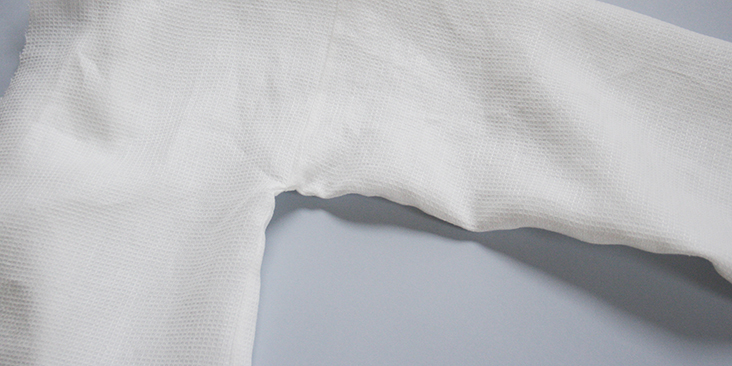
9. Finish the sleeve openings with a rolled hem: press your fabric twice to the wrong side: first 3/8″, and then another 1,5″. Pin.
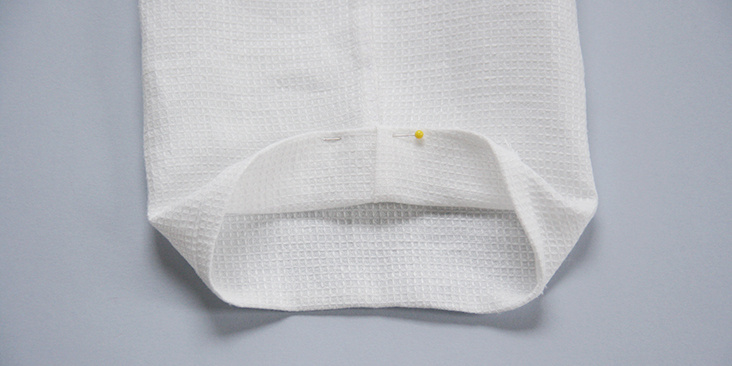
10. Sew as close to the inner folded edge as possible and remember to backstitch. Press when you’re done.
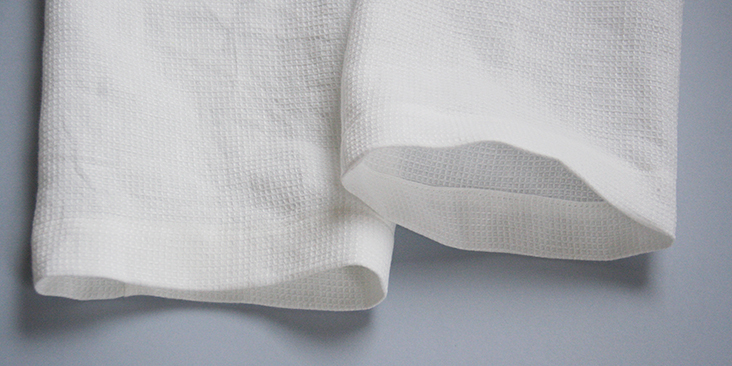
11. Finish the bottom hem with a rolled hem again. 3/8″ to 1″.
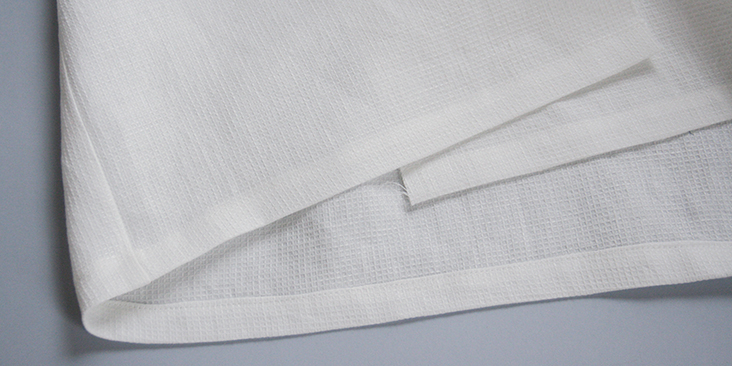
Your main bodice is now complete and it’s time to sew and attach the collar.
12. Pin and sew the two collar band’s short edges together. Press the seam allowances open.
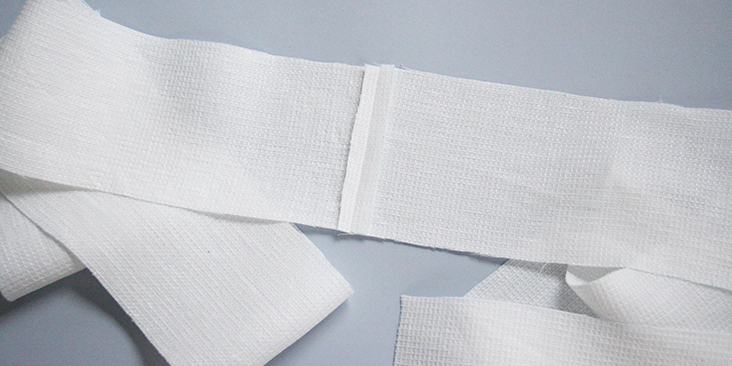
13. Press the long raw edges 3/8” to the wrong and then press the band in half.
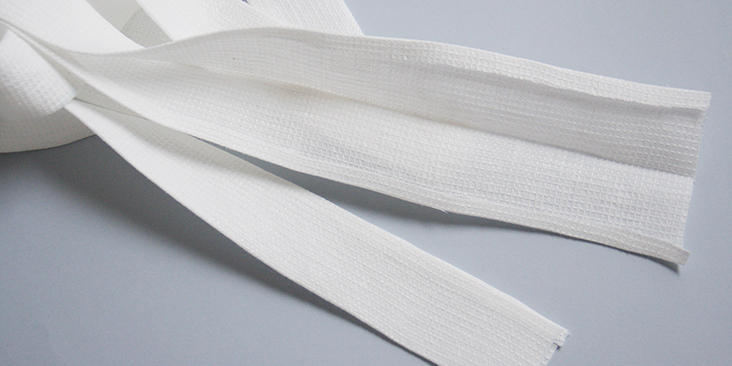
14. Match the collar’s center seam to the center back of your bathrobe and start pinning one folded seam allowance to the left and to the right of the bathrobe aligning the raw edges.
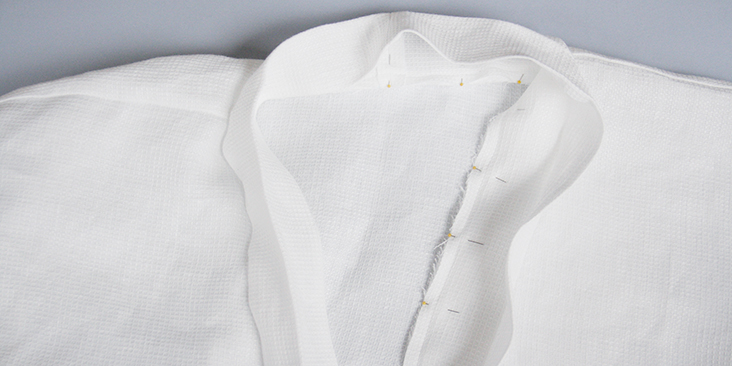
15. Using your fabric marker, mark the spots where the collar band ends meet the rolled hem of your jacket. Unpin the ends a little and sew the short edges right sides together. Cut the excess fabric, finger press the seam allowance open and pin back to the bodice.
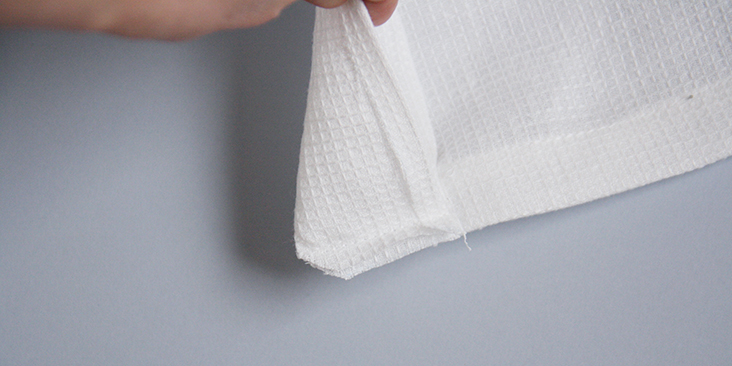
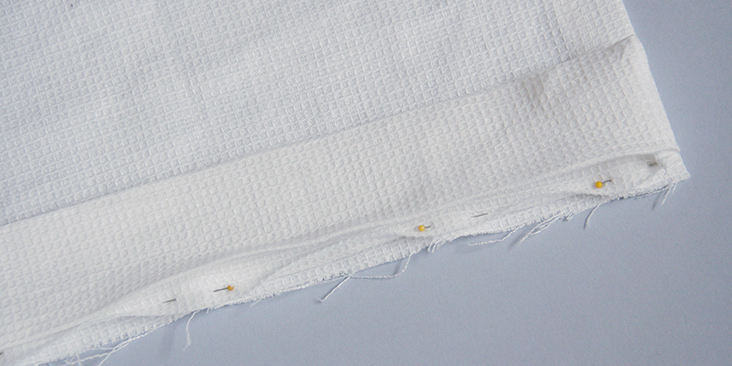
16. Stitch around the entire front opening in the inner crease of the collar band. Trim the seam allowance down to 1/4″.
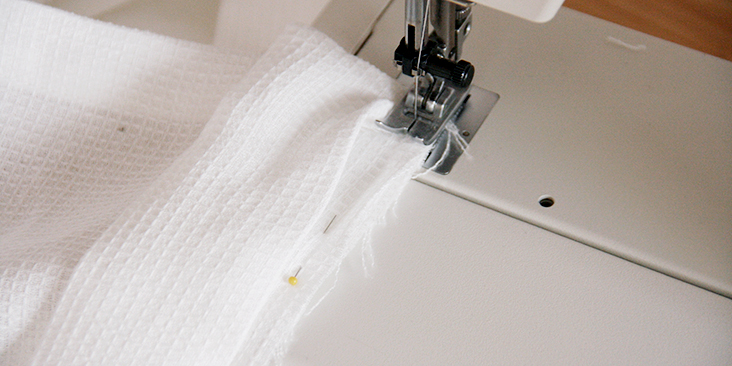
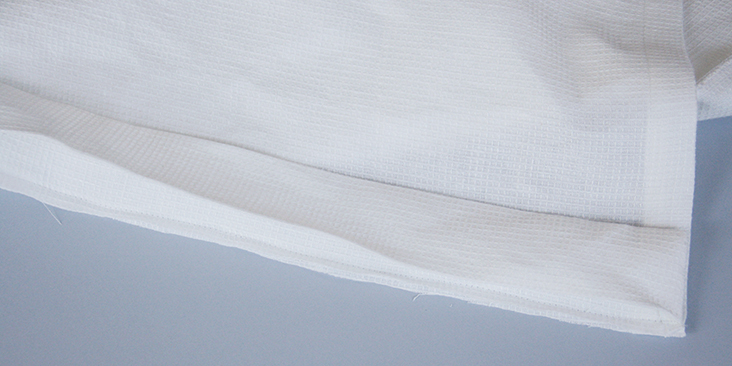
17. Press the collar band away from the bathrobe.
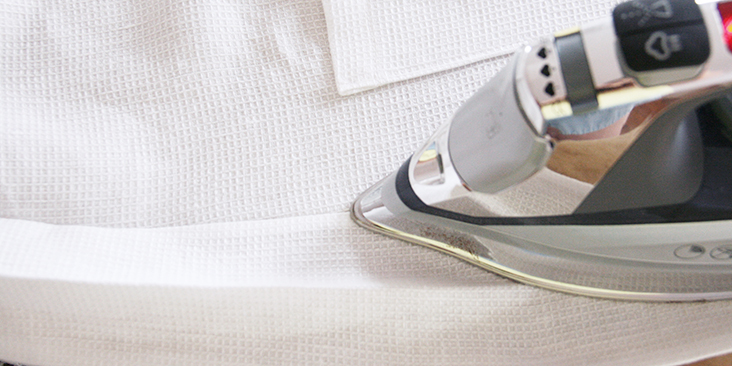
18. Turn the collar band to the other side of the bathrobe. Pin it in place making sure that that you cover the line of stitching as you go.
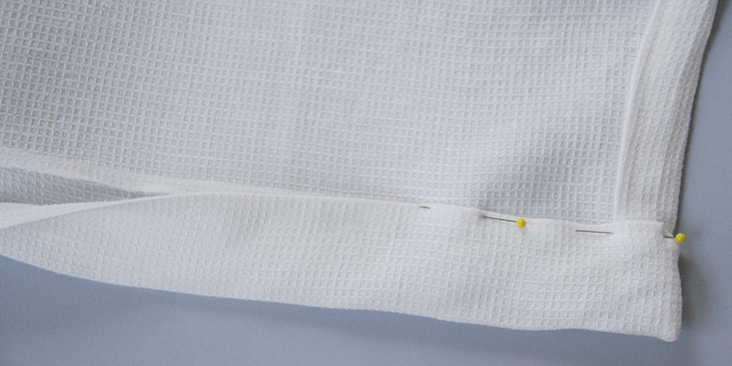
19. Working from the right side, topstitch the other collar edge in place in the ditch of the existing seam line. Make sure that the back is caught when you sew.
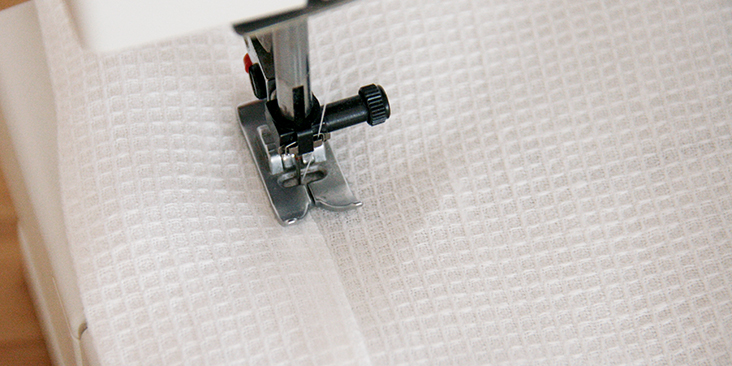
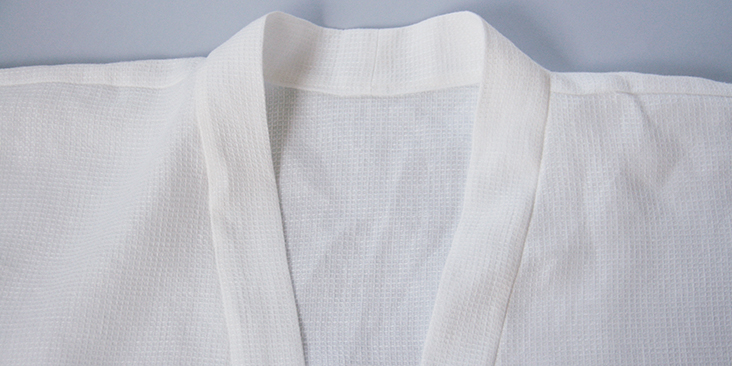
Press the collar one more time and you are done! Time to sew the belt and attach the belt loops.
20. Press your belt fabric in half lengthwise (wrong side facing you) and sew the long raw edges together at a 3/8″ (1 cm) seam allowance.
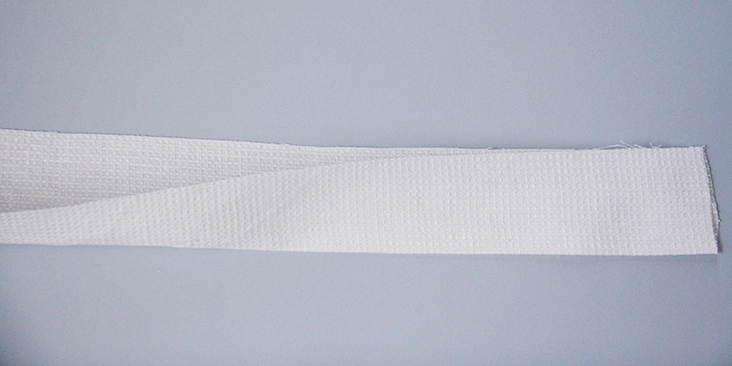
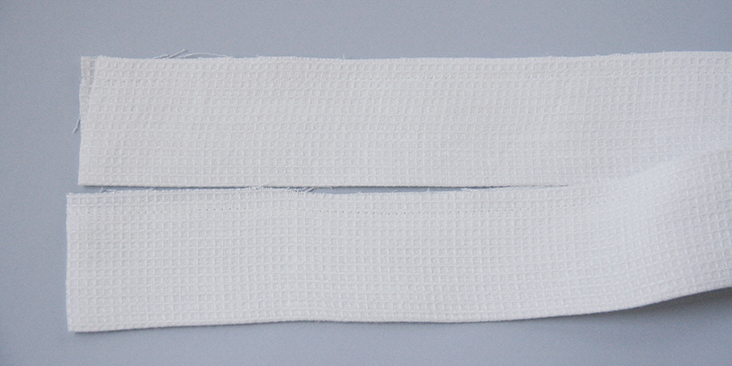
21. Turn the belt right side out through the hole and press again.
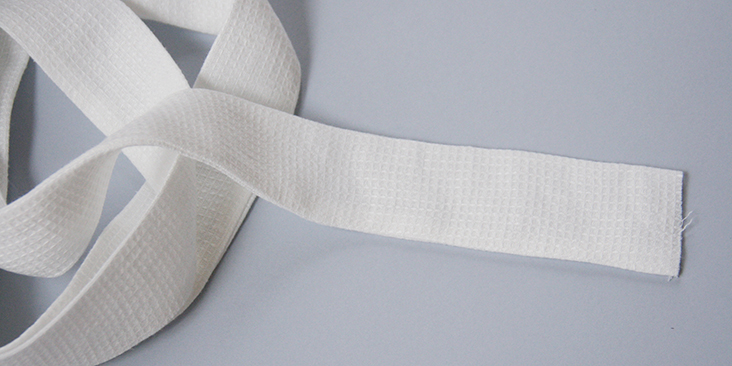
22. Tuck in the short ends raw edges and topstitch around all the edges (1/4″ (6 mm) from the edge) to close the openings and make sure that the belt doesn’t shift in the future.
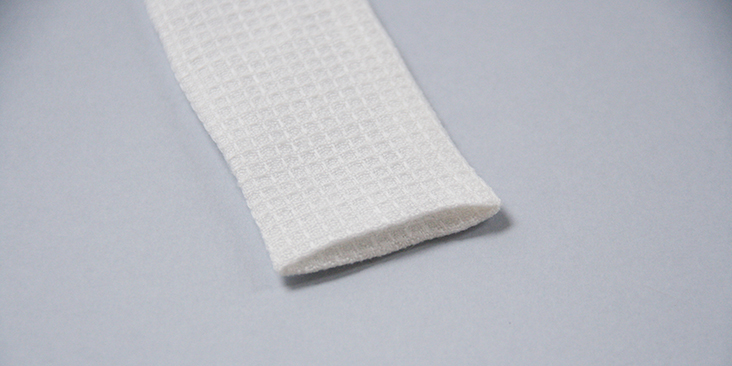
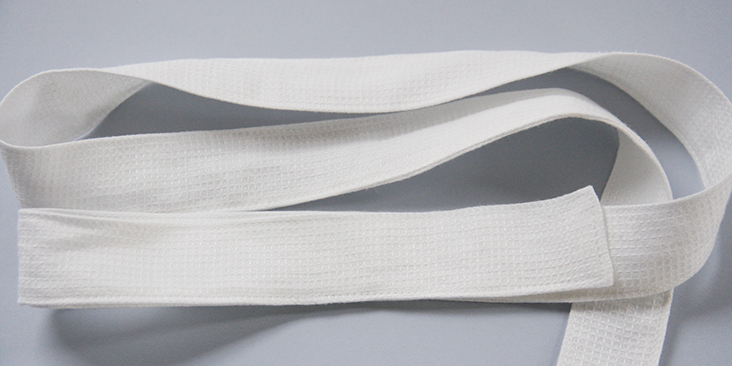
23. Lastly, sew and attach the button loops to the side seams at the waist (try on your bathrobe and decide where you want your belt loops to sit) following this detailed tutorial.
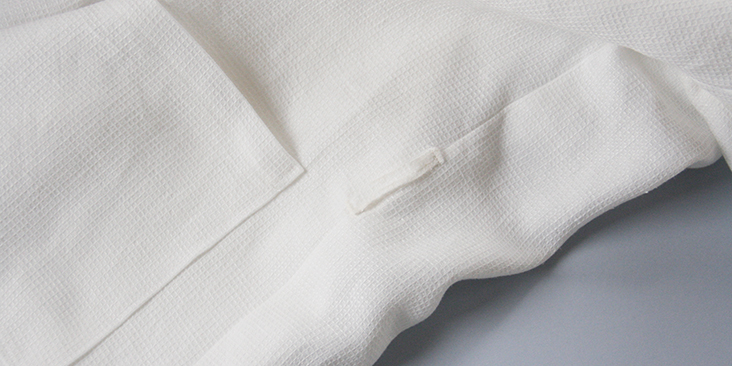
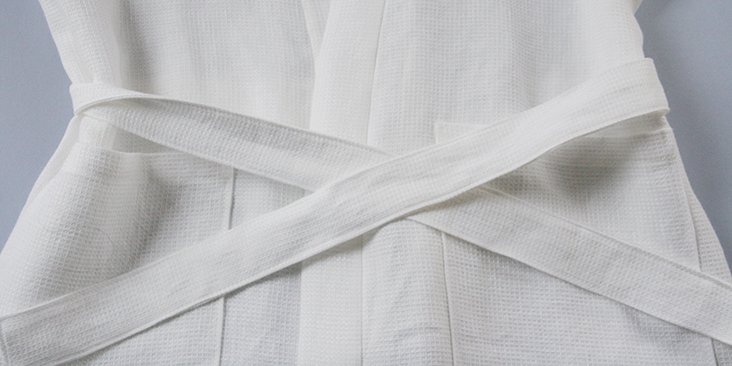
Et voila! Pamper yourself every time you step out of the shower by wrapping yourself with your newly made bathrobe! And the best thing- it will get only softer and cozier after each wash!








26 Comments
Pingback:
18 Japanese Sewing Patterns and Ideas - lineup-magKinga N
There is a mistake in the pattern when it comes to the height of front&back parts. When you measure their sides, it doesn’t match.
For example:
Back part in straight vertical line:
left side length: 41 inch + 0.75 inch = 41.75inch
right side length: 9inch +32.25 inch = 41.25 inch
There is a 0.5 inch difference. The same if for front part. I think the person who created the pattern added 0.5 inch on one side by mistake.
For those who are sewing this: just double check, depending on your way of drafting a pattern you may have transferred this mistake or not 🙂
Marieke van der Aalst
Hi
When I tried to download it says “critical error”
Greetings Marieke
Lauren Gates
Hello Marieke, I’m sorry the download was giving you an error message. I’ve just checked the pattern download link and the page download links and they appear to be working. If they’re still not working for you, please let us know by sending an email to ask@fabrics-store.com or replying to this message 🙂
Sidney Norledge
Thanks for the tutorial. It took me a little while to sort out the pattern (I ended up re-drawing it in Sketchup). I made mine out of 4C22-natural, which is heavier than the honeycomb used in the tutorial, and I like how it came out. On the collar, instead of stitching in the ditch, I sewed 1/4″ in from the first seamline and I also left the pockets until last to check the placement.
Mary Wheeler
I have ordered fabric to make this bathrobe and have a question on pattern markings. What is the purpose of the dotted lines starting one inch from edge on front and back pieces? Many thanks for your assistance.
Lauren Gates
Hi Mary, the dotted lines in the pattern refer to straight ‘square’ lines, and are used to help guide you to place curves, and diagonal lines precisely on your pattern. You are going to extend your pattern line on the front and back pieces 1″ beyond this straight line and then draw a diagonal line to meet the next set of dashed lines higher up on the pattern.
Eileen Rouhani
I want to make this in the IS010 fabric – any tips before I get started?
Masha Karpushina
Heavyweight should also work great Eileen
Lauren Gates
We’d recommend prewashing The IS010 fabric before sewing it up since it shrinks up quite significantly to give it that wonderfully soft 3-dimensional look. We’d love to see your finished robe in the waffle weave!
Eileen Rouhani
I’ll be happy to send pictures – I’ve had three requests for robes and haven’t even received the fabric yet!
Maria Resare
Im also interested in making a robe in The IS010 fabric so please let me know if you have any tips! Would love it if its possible to sew it from unwashed fabric 🙂
Lauren Gates
Hi Eileen, I’d definitely recommend pre-washing the fabric since it will shrink differently on the warp and the weft which may distort your robe out of shape after washing.
Teresa Levinson
Hi. I just tried downloading the pattern from your link above. I get a 1 page pdf file with all of the pieces on it, which doesn’t print the whole pattern (just get the top left corner). I don’t get a dropbox link. Can you help?
Thanks.
Lauren Gates
hello Teresa,
This pattern is a ‘draft yourself’ pattern meaning the page you have downloaded will give you instructions and measurements for drawing up the pattern yourself. If you would prefer a muti-size pattern, you may consider our Faye Duster pattern. Just search for ‘Faye’ in the search bar.
Sylvia B
The “Faye” search and link to that pattern the link doesn’t even work… is it not available anymore???
Kim Conner
Only the first page will download for me. Any chance you can fix this. Thank you.
Maddie Parker
Hi, I’d love to make this but the Dropbox link to the pattern seems to have expired – when I click it, it takes me to a 404 error page. Is it possible to re-upload the pattern or make it available some other way? Thanks!
Tom Norris
Yup I’m also having. issues downloading the patter, looks like the dropbox link has expired! @Rima any chance you can upload it again and update the link?
Masha Karpushina
Hi Tom, the link now works. Thank you.
Masha Karpushina
Hi Maddie, the link now works! Thank you
Rachel Irish
How would you alter this pattern to fit an xl?
Cass Hausserman
Hi! Thank you so much for this pattern. Everything is explained well and the robe turned out great! I am making his and hers for a wedding gift. The pattern had one issue that I couldn’t figure out and I was a half inch off when matching the front and back shoulders together but I made it work. The robe pattern fits a medium size guy best. I am an xs woman, as is the woman I am making this for, so I am sizing down for the second one (hopefully it works). The other thing I wanted to point out is that the time estimate is way off! I’m not a professional but also not a beginner. It took 2 hours to make the pattern and another 2 to cut the pieces, 1.5 to sew the pockets and attach, and probably another 5-6 to finish everything else. Even on the second one I am making it will take about 10 hours. For perspective I can make a child t shirt in about 1.5 hours.
Thanks!
Rima Khusainova
Dear Cass, thank you very much for your feedback! I’m really happy to hear that you liked your finished bathrobe! As for the time estimate – it really is just an estimate and only for the sewing part, it doesn’t include the drafting&cutting time.
Theresa Kirkpatrick
I’m unable to download the pdf, something to do with the formatting of it. Can you email it or something. Thanks
Rima Khusainova
Dear Theresa, sorry to hear that you are having difficulties downloading the pdf. When you click on the link, it’ll take you to the Dropbox page with the diagram. What you need to do is click on “More” (three little dots at the upper right corner) and then choose “Download”. It’ll automatically save the file to your downloads. Hope this helps!