Linen Shirt Dress Tutorial and Pattern
There are few things in life as delightful as a breezy white shirt on a hot summer day’ especially one made of 100% linen. Not only does it feel good against the skin, but it breathes and dries quickly making it the ultimate summer fabric (that can also be worn all year round). We also love linen for its raw, organic texture and a lived-in look. So effortlessly chic, a linen shirt is an absolute wardrobe essential for all ages and seasons!
However, the retail prices for good quality linen shirts tend to be pretty high. So, if you can’t justify spending a couple of hundred dollars on a shirt, this tutorial is for you!
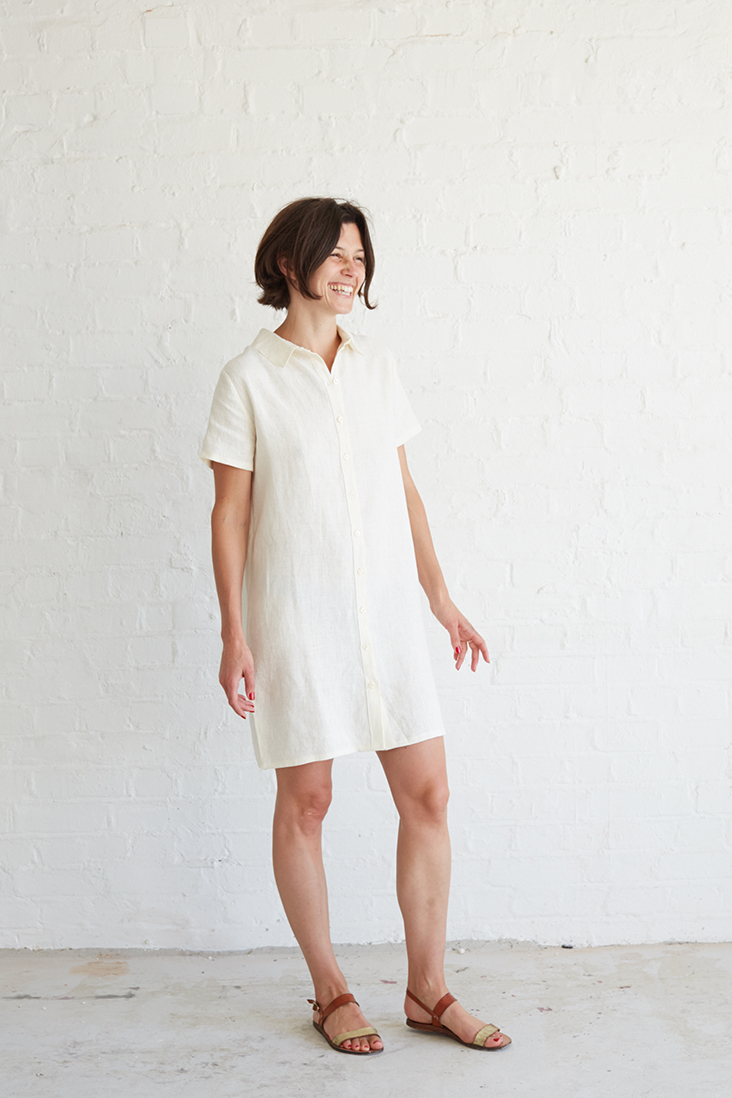
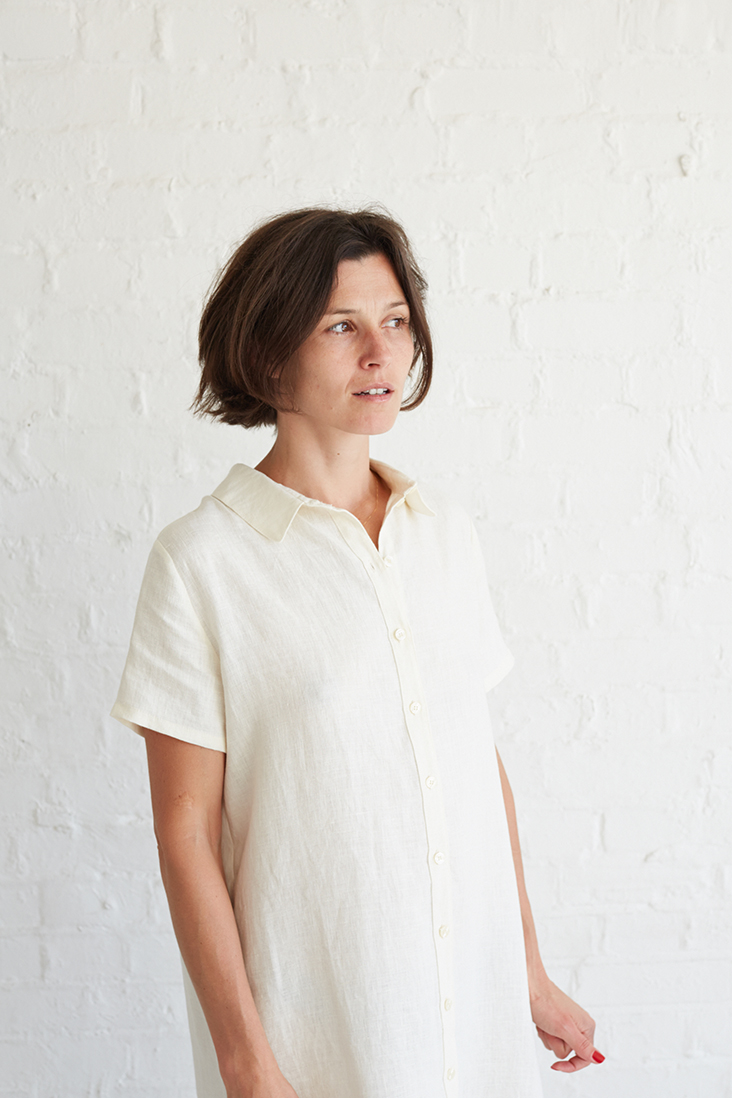
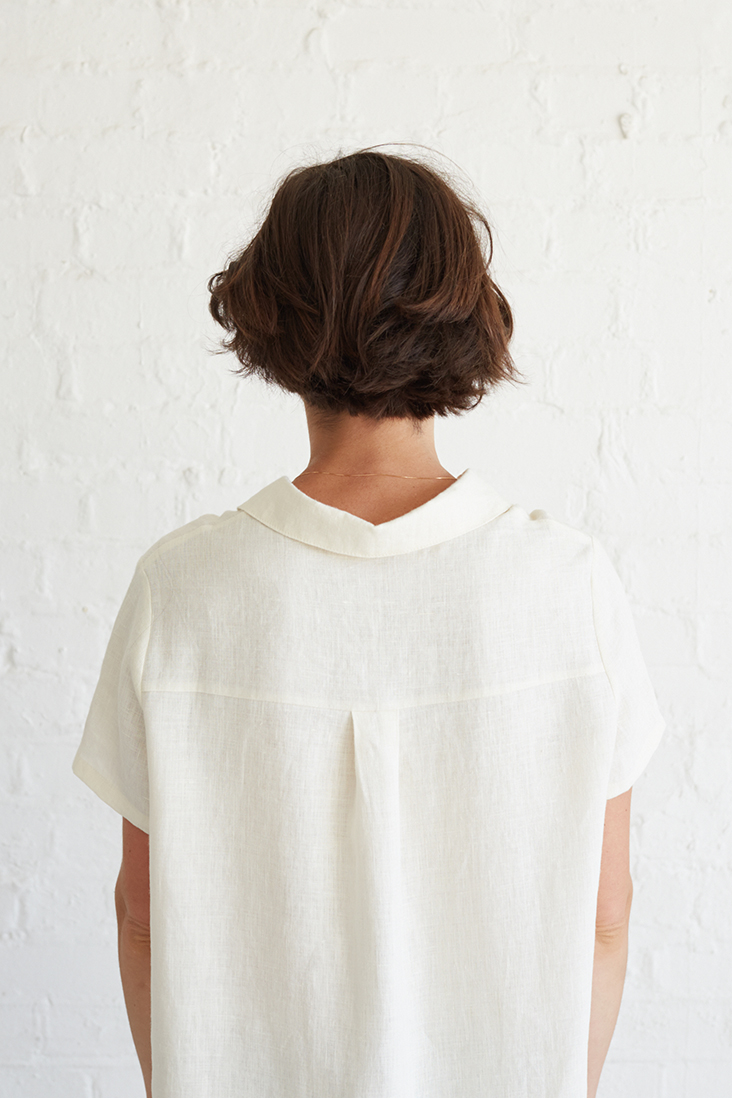
Our beautiful linen shirtdress has a relaxed boxy shape for additional comfort with some classic styling like a point collar, back yoke and set-in sleeves. It comes in an easy, below-the-knee length and features slinky side slits. Simple yet elegant, this shirt is a modern classic that will match up with the rest of your wardrobe with an understated flair.
Materials
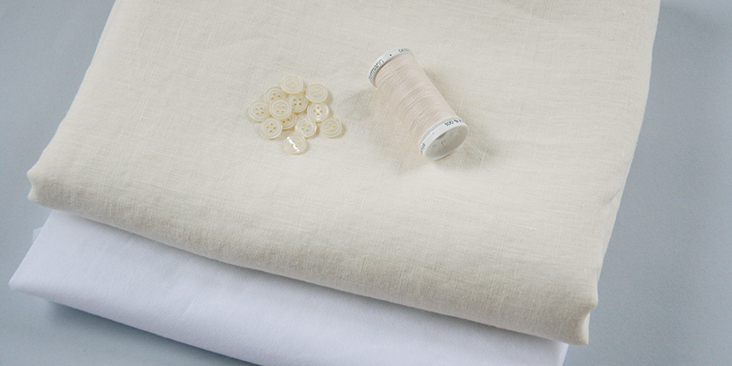
2 yards of IL019 PRISTINE Softened Medium Weight Linen
Matching sewing thread, 10-12 buttons, fusible interfacing (for the collar and the button bands).
Tools
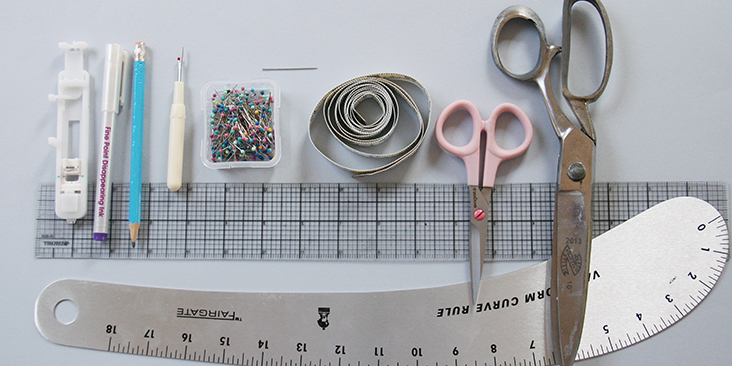
Pattern paper, pen, fabric marker, scissors, pins, seam ripper, chalk, ruler, French/hip curve, measuring tape, buttonhole foot, needle, sewing machine
Difficulty
Intermediate
Time
5-7 hours
Pattern
You can access the shirt pattern by following this link HERE. Remember to add seam allowances as indicated in the pattern. To draw the collar pattern that will fit perfectly your finished shirt, follow the instructions in THIS tutorial.
The diagram shows the pattern for US size 6-8 (UK size 10-12). If you need help grading your pattern, please follow this tutorial. Also, if you need help adjusting the pattern for a fuller bust, we have a great Full Bust Adjustment tutorial HERE.
Steps
Note: Prewash your fabric and tumble dry it until it is still slightly moist, dry in room temperature. Iron the fabric so it is easier to work with.
1. We’ll start with the front button bands. Follow our detailed tutorial HERE that explains how to sew the button bands the classic way.
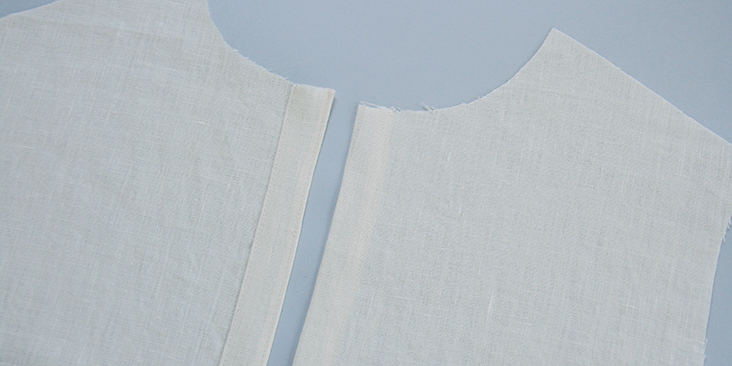
Alright, now that you’re done with the button bands, it’s time to prepare your back bodice.
2. Working from the right side, Pleat the fabric at the center back (the finished pleat is 1″ wide) as shown below and baste across the pleat to secure it. Make sure that your pleated fabric matches the yoke.
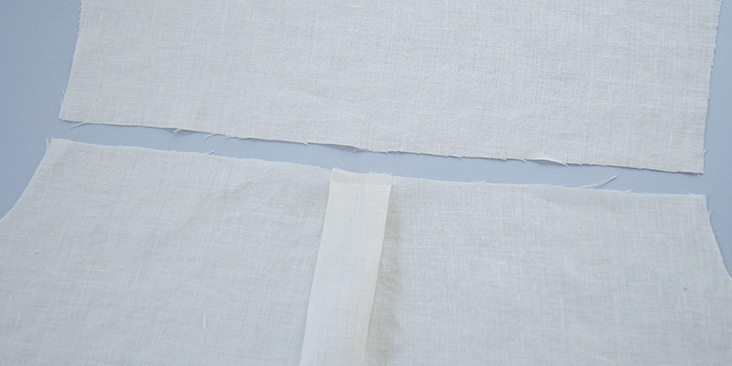
3. Pin the two back pieces right sides together.
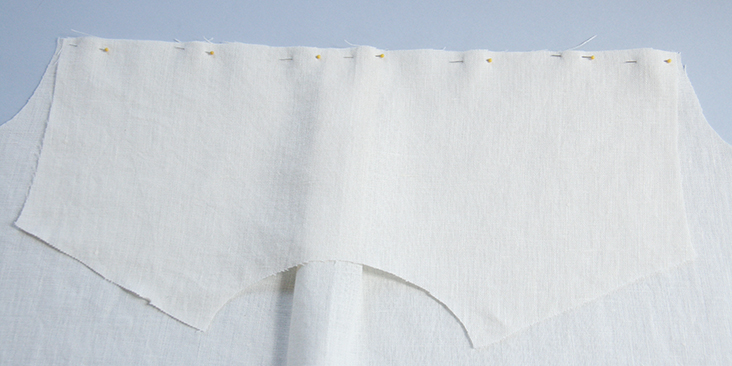
4. Sew at a 3/8″ (1 cm) seam allowance, remember to backstitch. Trim the seam allowance down to 1/4″ (6 mm) and serge or zigzag the raw edges together to prevent the fabric from fraying. Press the seams flat folding the serged/zigzagged edges to one side.
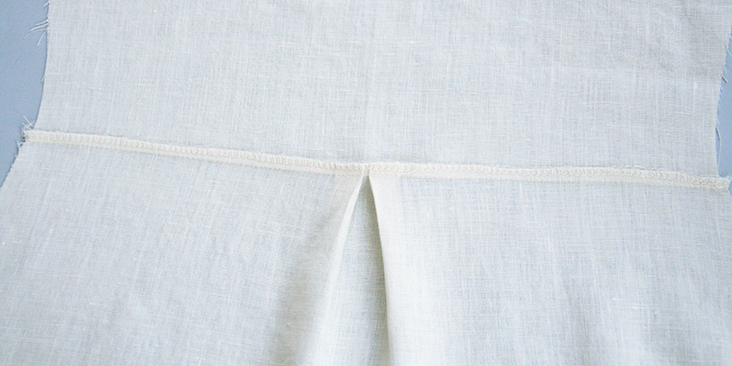
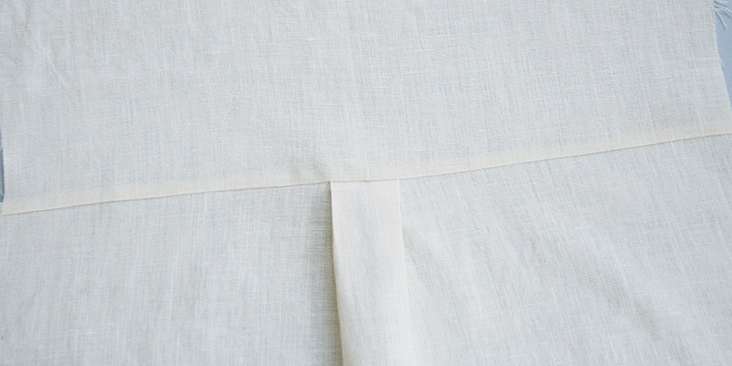
5. Now you can assemble the front and the back of the shirt by pinning them right sides together at the shoulder seams.
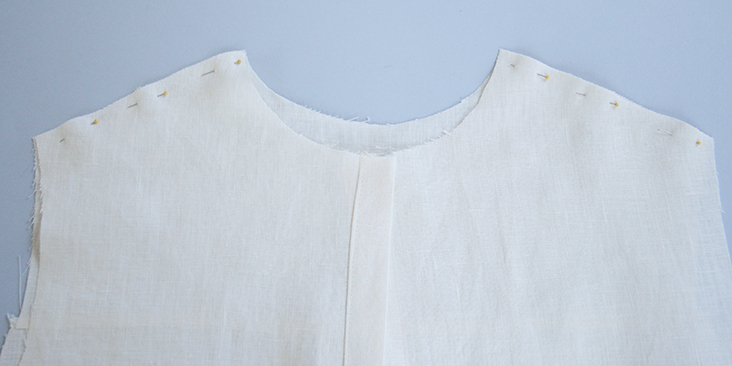
6. Sew the shoulder seams right sides together at 3/8″ (1 cm) seam allowance, remember to backstitch. Trim the seam allowance down to 1/4″ (6 mm), serge or zigzag the raw edges together and press the seams flat folding the serged/zigzagged edges towards the back of your shirt.
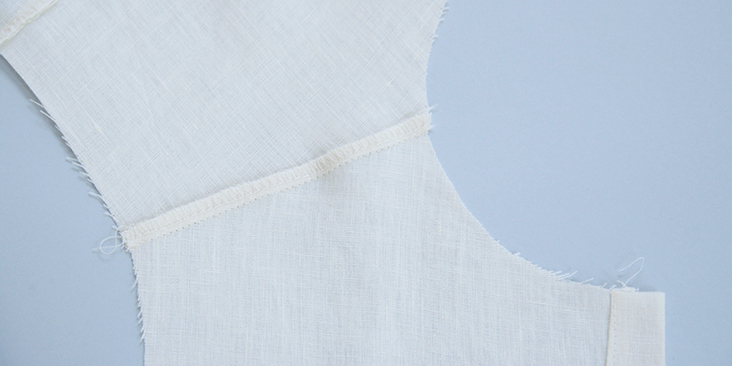
7. Draft, sew and attach the shirt collar following our step-by-step tutorial HERE.
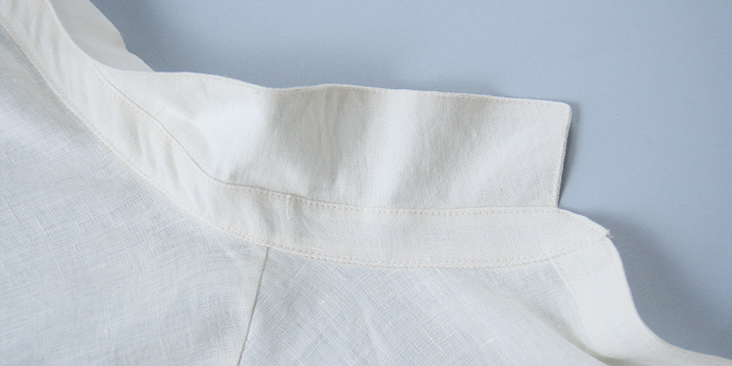
8. Time to attach the sleeves. Pin the sleeves to the armholes right sides together.
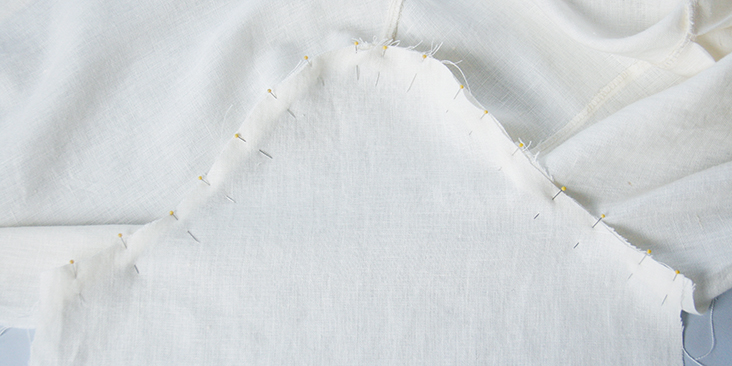
9. Sew at a 3/8” (1 cm) seam allowance. Serge or zigzag the raw edges together to prevent the fabric from fraying. Press the serged/zigzagged seam allowances up towards the sleeves.
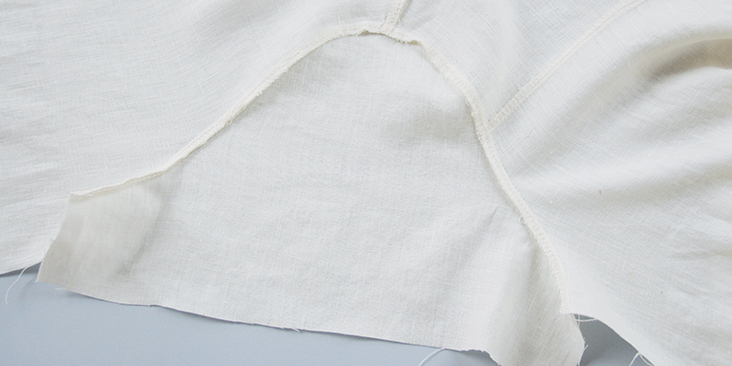
10. Time to sew the underarms and the side seams. However, since our shirt features side slits, we need to finish the raw edges before we start sewing. So, serge/zigzag all raw edges of the side seams and the underarms to prevent the fabric from fraying.
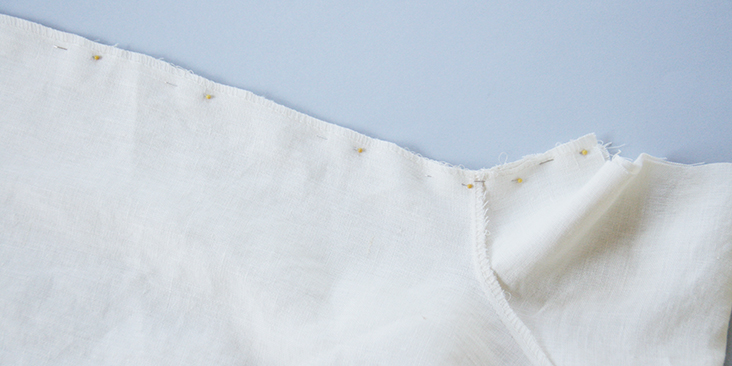
11. Now pin the sleeves and the side seams right sides together all in one seam.
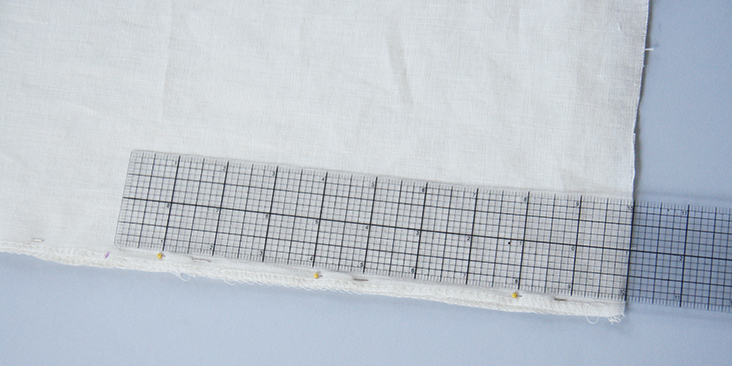
12. Measure 10” (25.5 cm) from the bottom hem and mark the beginning of your side slits.
13. Sew the pinned edges at a 3/8” (1 cm) seam allowance from the sleeve opening up to the mark that indicates the beginning of your side slits. Following the line of the side seam, press the two flaps of the slit open toward the wrong side of your garment.
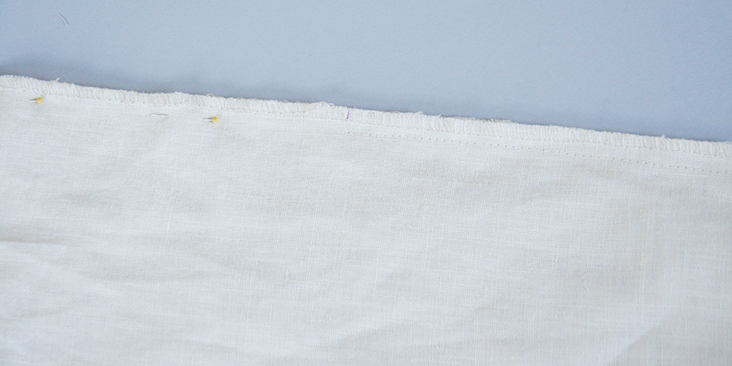
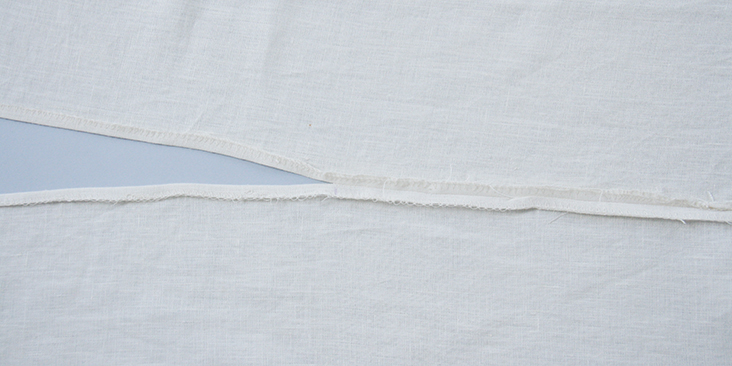
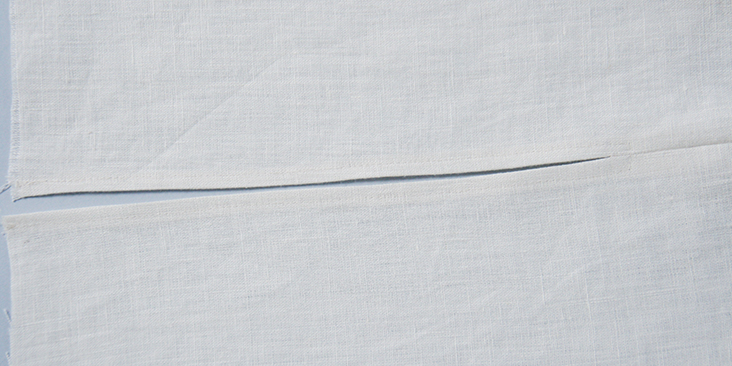
14. Topstitch around the side slits to prevent the seam allowance from rolling up.
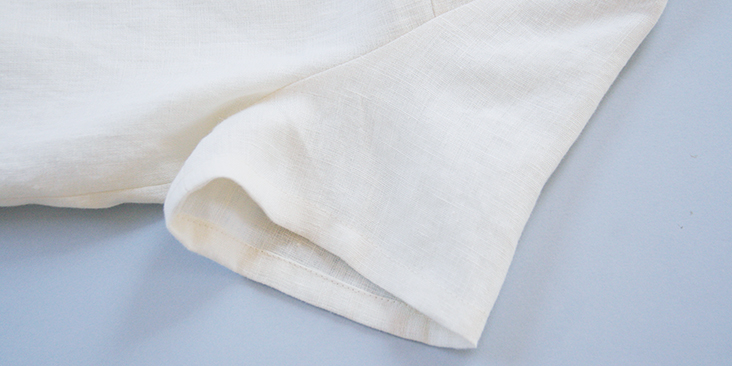
15. Finish the sleeve openings with a rolled hem. Fold the fabric twice towards the wrong side, 3/8″ (1 cm) to 1/2 inch (1,3 cm), press, pin, and stitch.
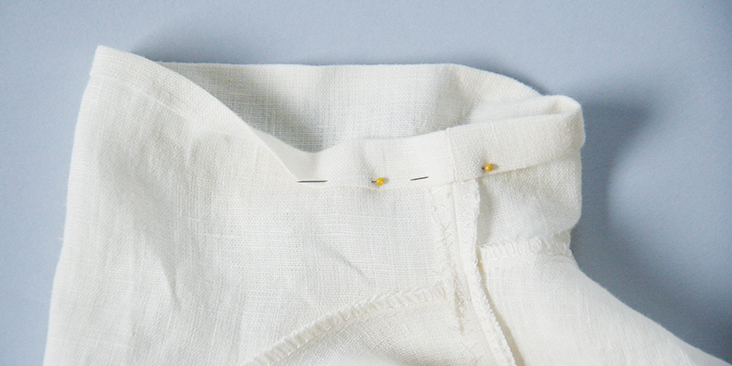
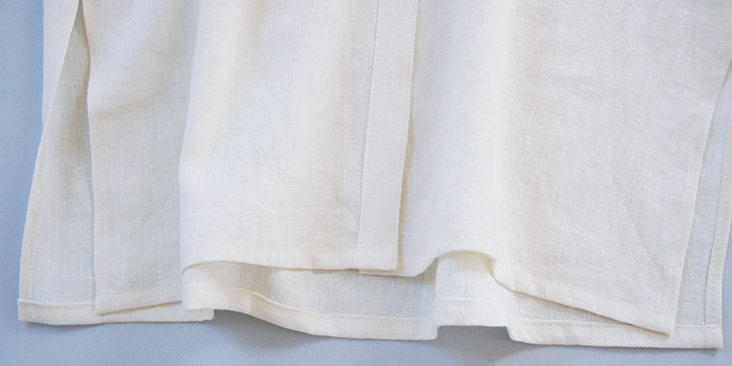
16. Finish the bottom hem the same way you finished the sleeves: fold the fabric twice towards the wrong side, 3/8″ (1 cm) to 1/2 inch (1,3 cm), press and pin. Make sure the two button bands match. The best way to do so is to overlap and pin the two button bands together and then start folding the fabric from where they meet at the bottom.
Stitch as close to the folded edge as possible to finish the bottom hem.
17. Lastly, sew the buttonholes and attach the buttons.
For the buttonholes, you can follow our detailed tutorial HERE. As for the buttons, check our tutorial HERE for instructions.
The number and the spacing are really up to you. If you want your buttons closer, just leave smaller gaps between them. We decided to space our buttons 2,5″ (6 cm) apart. Overlap the shirt and place a pin into the center of each buttonhole. This is where you’ll need to attach the buttons.
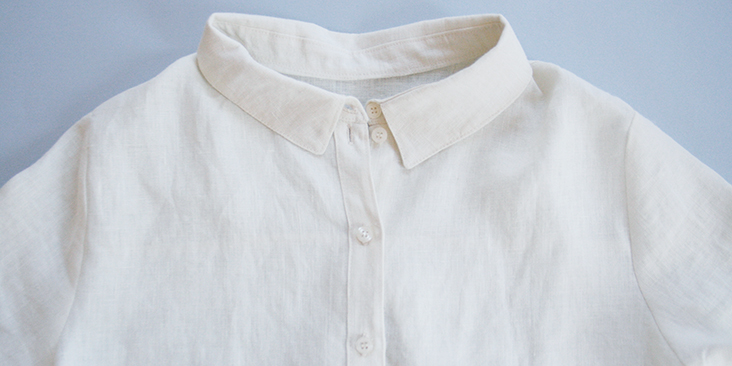
Give your shirt a good press and you are all done!






15 Comments
Diane Barakat
This pattern looks like what I have been looking for. I would like to use French seams. Will just double the seam allowance? Is there anything in particular I should consider?
Stacy Dougan
I would love for this to come in a multi size print PDF. Will that be available any time soon? This would be amazing in the light weight iris linen that I have, I wish this was available in a pdf multi size pattern. I simply do not have the time nor the knowledge to draft a pattern.
Lauren Linen
Hello Stacy,
This is a very old pattern created before we made multi-side patterns. You may like to use our Noa shirt Pattern and length into a dress and shortewn the sleeves, or even our Zina pattern and adjust the Dress variation for short sleeves.
Link to Noa: https://fabrics-store.com/sewing-patterns/noa-noa-linen-shirt-pattern
Link to Zina: https://fabrics-store.com/sewing-patterns/zina-linen-shirt-shirt-dress
Donna Secrist
What are the measurements of the finished garment? I see the pattern is for a US size 6/8 but the garment in the photos is very oversized.
Lauren Linen
Hello Donna,
You can calculate the finished garment measurements by adding the pattern measurements together, minus the seam allowance. This is one of our older patterns which is only available in this ‘draft yourself format so we don’t have a full-size guide or finished garment measurements readily available like we do our other muli-sized patterns.
if you would like some extra assistance finding the finished garment measurements at a particular part of the pattern, please send us an email to ask[at]fabrics-store[dot]com
Cindy Stulken
Can you please restore the link for this pattern, it’s super cute. I’ve purchased a lot of fabric and appreciate the patterns you share. Thanks Cindy
Lauren Linen
Hello Cindy,
Our website is undergoing some updates and some of our pattern diagrams have gone missing in the process. We are in the process of restoring them. Thanks for your patience while we get these back up for you.
IRIS SPEARS
I would also like to download the pattern. Is the link broken or no longer available? Thank you!
Helena Carvalho
Hi,
I try to download the pattern but the link is broken.
Is it still available?
Thank you,
Stacy Dougan
I would love for this to come in a multi size print PDF. Will that be available any time soon?
Amanda
Cute dress! I am so inspire by your work and can’t wait to try this. Thanks a lot for sharing the great tutorial.
Rima Khusainova
You are very welcome Amanda! Happy sewing!
Stacy D
I hope there will be a multi-print pdf pattern coming soon……wink…wink.
Judith
How do you enlarge the pattern for sizes other than 4-6? thank you
Rima Khusainova
Dear Judith, we have a great tutorial on how to grade our patterns for larger sizes. You can find it here – https://blog.fabrics-store.com/2015/06/01/how-to-grade-a-pattern-tutorial/