Asymmetrical Linen Kaftan Tutorial
Choosing the fabric for your sewing projects is one of the most exciting parts! It is a chance to put your own personal spin on a design, experiment with patterned fabrics and choose colors that suit your style. And today’s tutorial is all about that – playing with stripes and colors!
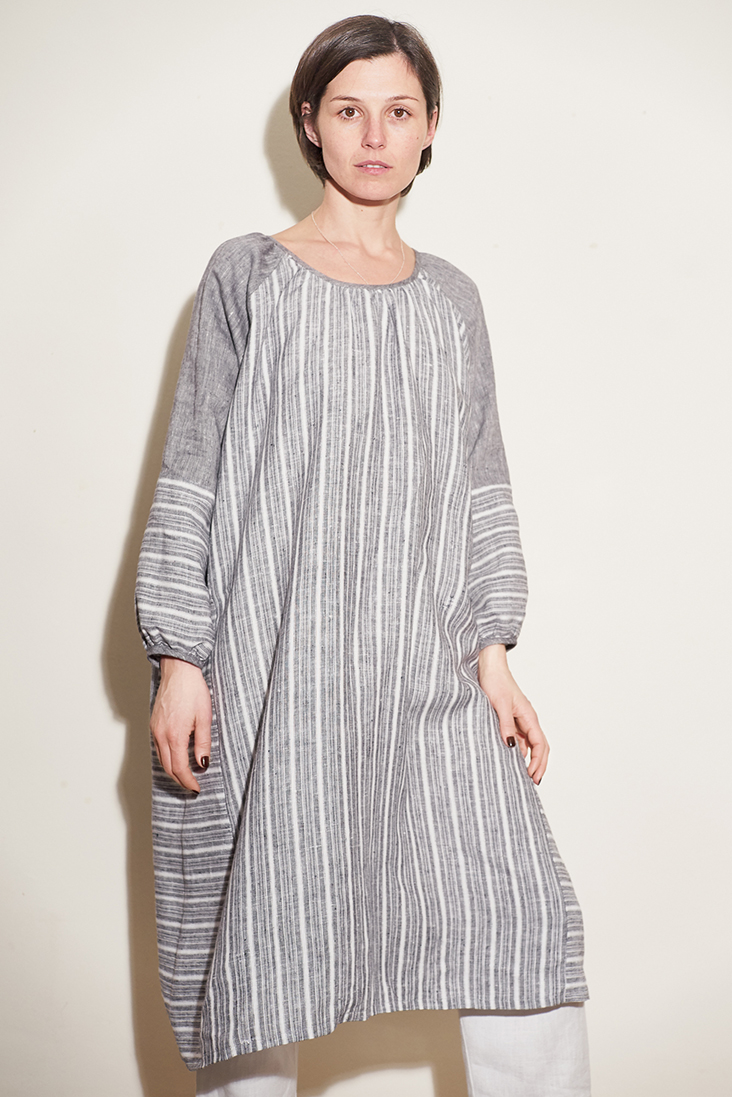
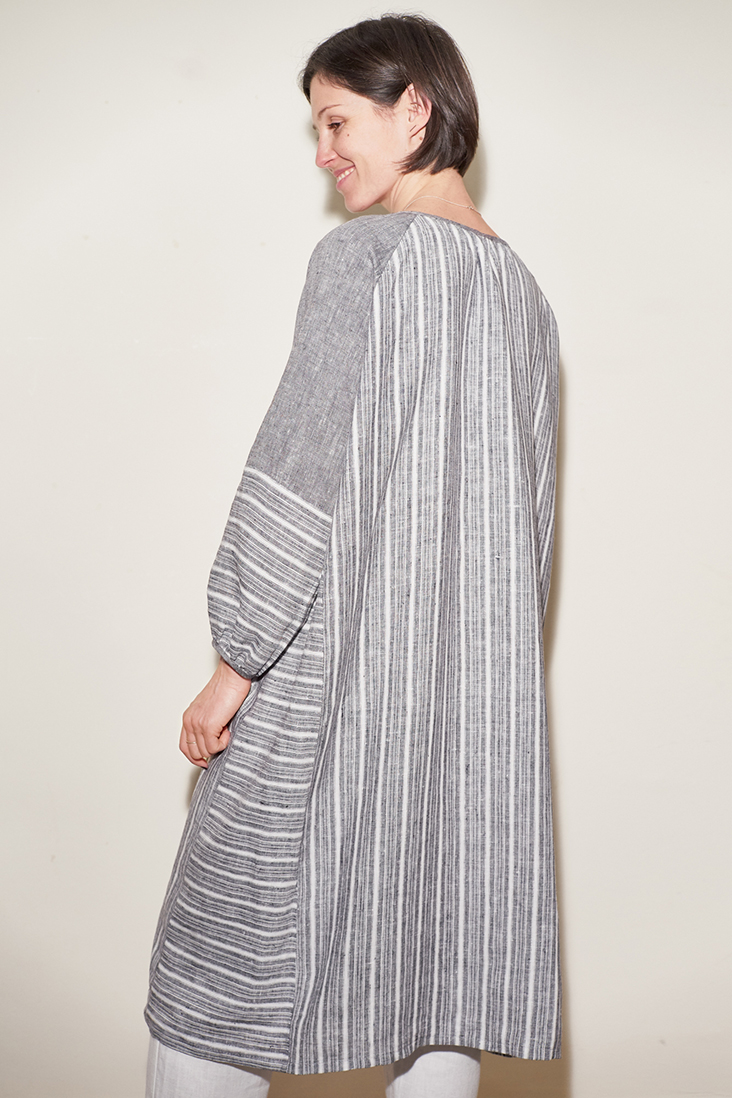
This beautiful linen kaftan with a scoop neckline and raglan sleeves features two different fabrics and plays with the direction of the stripes to create visual interest. For this project, we decided to pick two different fabrics from our Premier Finish collection that share the same color and weight, and pair stripes with neutrals for an easy vibe.
With this project, there are so many opportunities for color blocking, print mixing and other ways of playing with fabric. You could even go patchwork style and make every panel a different print in the same color. Explore your creativity and simply have fun!
Materials
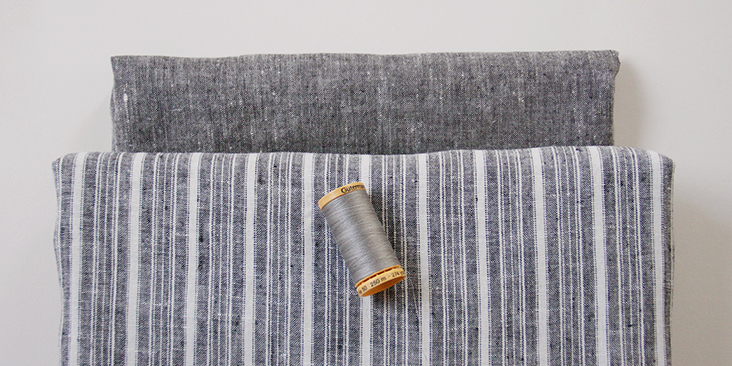
2 yards of IL042 919 – FS Premier Finish – 100% Medium Weight Linen
1/2 yard of IL042 900 – FS Premier Finish – 100% Medium Weight Linen
Matching sewing thread
Tools
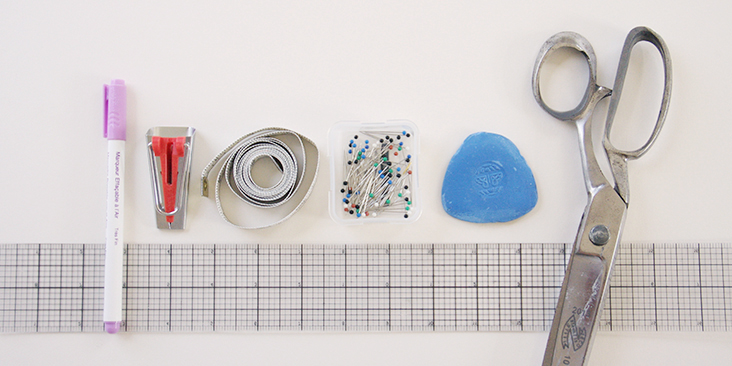
Pattern paper, scissors, fabric marker, pins, ruler, measuring tape, 18 mm bias tape maker, sewing machine
Difficulty
Beginner
Time
5-6 hours
Pattern
You can access the pattern by following this link HERE. Remember to add seam allowances as indicated in the pattern.
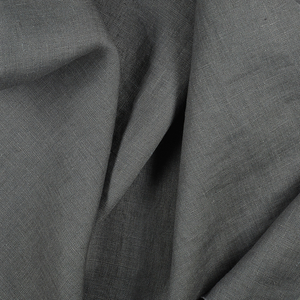
Note that you’ll also need to make a strip of bias tape for the neckline binding and two 9,5″ strips for sleeve cuffs. For detailed instructions on how to cut and make your bias tape please follow this tutorial. We wanted to add a contrasting detail to the dress by cutting our bias tape in the same, plain grey fabric as the sleeve panels.
The best thing about this pattern is that since it’s oversized, it will fit most of the sizes with smaller sizes wearing the dress more dramatically oversized.
Steps
Note: Prewash your fabric and tumble dry it until it is still slightly moist, dry in room temperature. Iron the fabric so it is easier to work with.
1. Let’s start by assembling the two contrasting sleeve panels. Pin the bottom and the top of each sleeve right sides together.
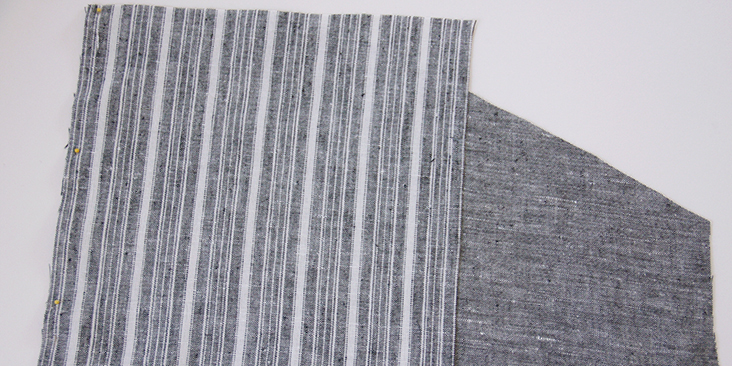
2. Sew at a 3/8″ (1 cm) seam allowance. Trim the seam allowance down to 1/4″ (6 mm) and serge or zigzag the raw edges together to prevent the fabric from fraying. Press the seams flat folding the serged/zigzagged edges towards the bottom of the sleeve.
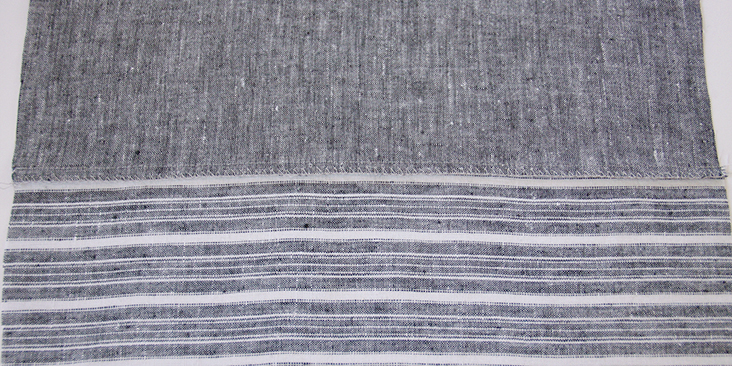
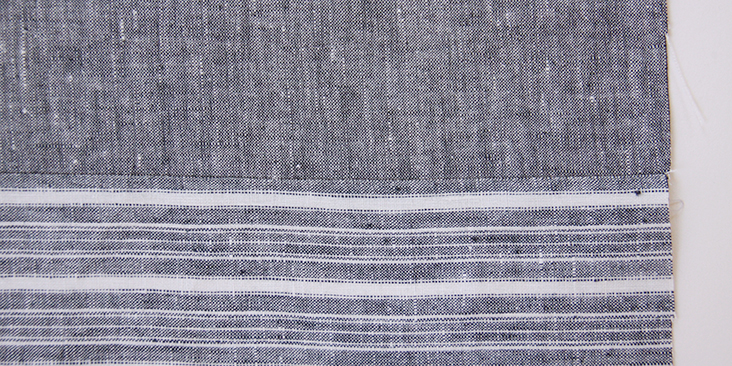
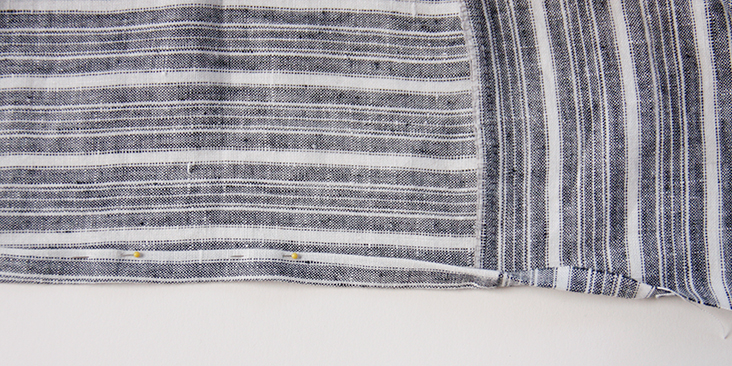
3. Attach the horizontal side panels to the front and the back of your kaftan by pinning them right sides together.
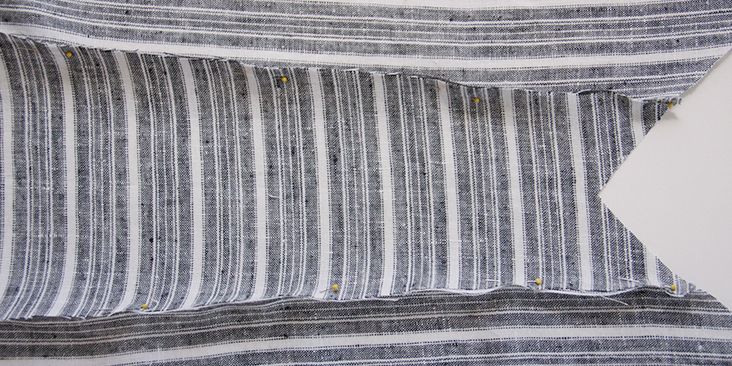
4. Sew at a 3/8″ (1 cm) seam allowance. Trim the seam allowance down to 1/4″ (6 mm) and serge or zigzag the raw edges together to prevent the fabric from fraying. Press the seams flat folding the serged/zigzagged edges towards the horizontal side panel.
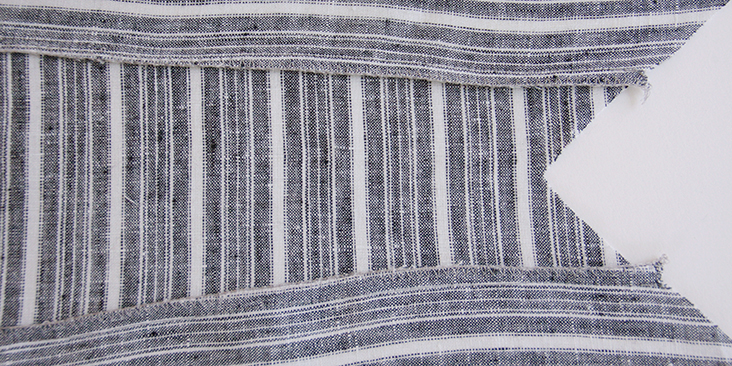
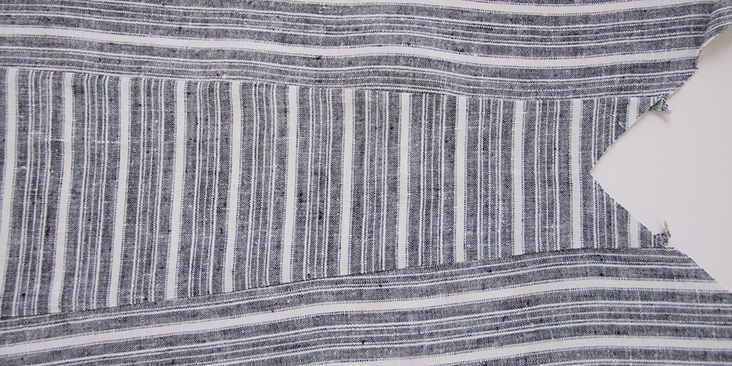
5. Pin the sleeve at the underarm right sides together to create a tube.
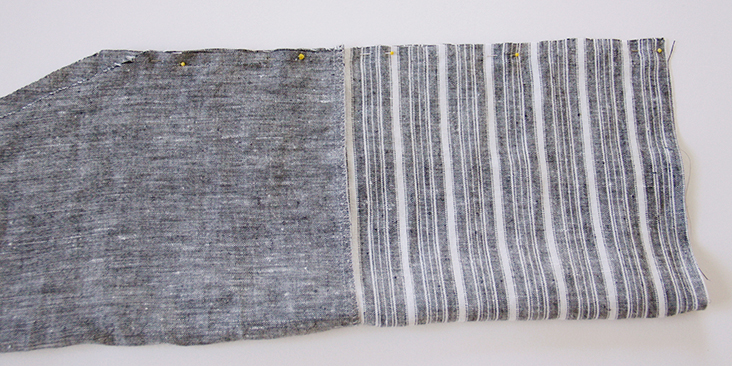
6. Sew at a 3/8″ (1 cm) seam allowance. Trim the seam allowance down to 1/4″ (6 mm) and serge or zigzag the raw edges together. Press the seams flat folding the serged/zigzagged edges to one side.
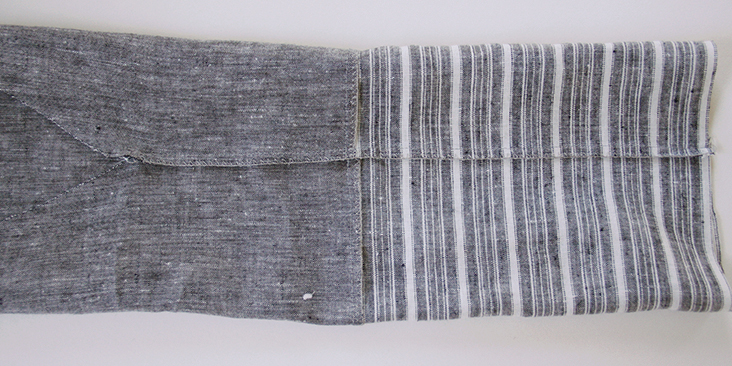
7. Attach the sleeves to the shoulder edges by pinning them to your assembled dress right sides together. Start at the underarm V and pin all around the front and the back shoulder edge. Note that the lower edge of the sleeve should be pinned to the front and the higher edge – to the back.
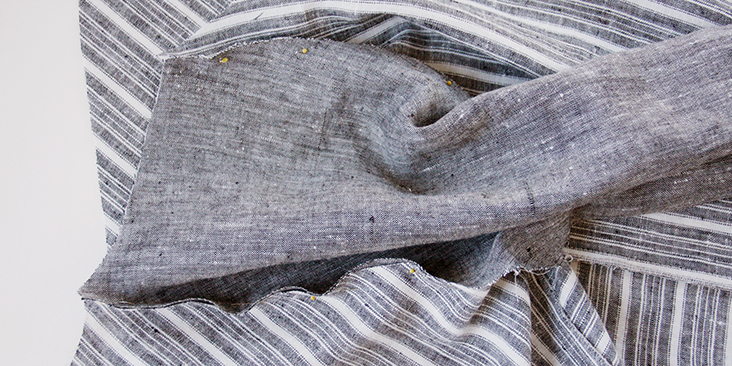
8. Stitch the sleeves to the bodice at a 3/8″ (1 cm) seam allowance. Trim the seam allowance down to 1/4″ (6 mm) and serge or zigzag the raw edges together to prevent the fabric from fraying. Press the seams flat folding the serged/zigzagged edges towards the sleeve panels.
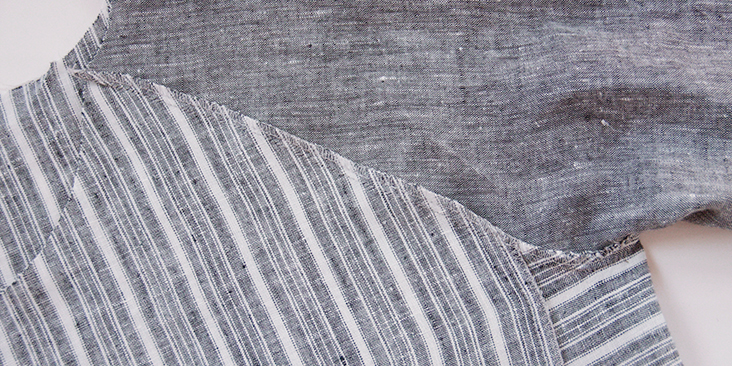
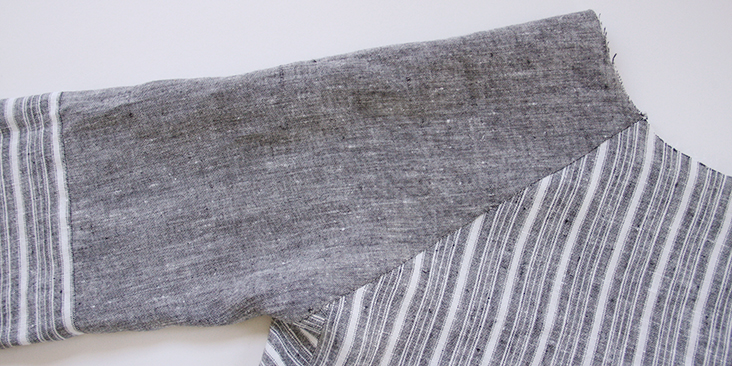
9. The neckline is gathered and encased in the bias binding. So make a strip of bias tape 27″ long by following this detailed tutorial.
10. To gather the neckline, set your sewing machine to the longest stitch setting and sew a gathering stitch all the way around the top of the kaftan 1/4″ from the raw edge.
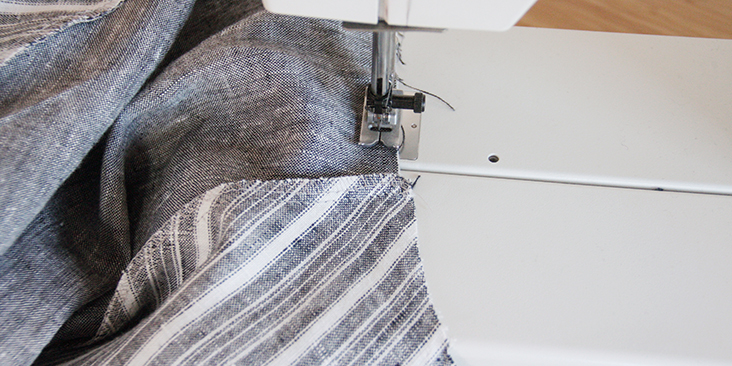
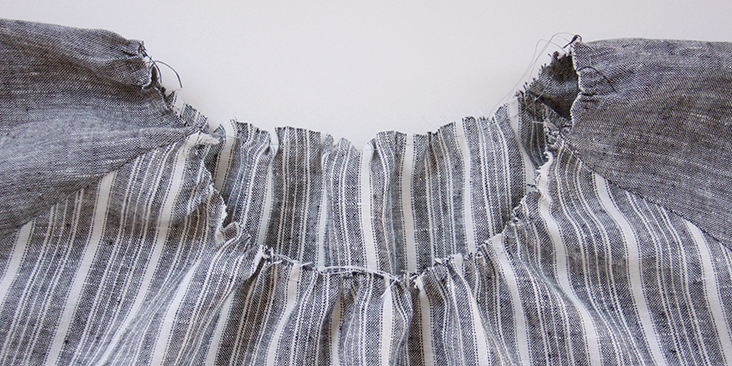
11. Pull on the bottom thread of the gathering stitch and pull on the fabric until it starts to gather up. Distribute the fabric evenly and secure the threads by making knots once the neckline looks like it is gathered enough to fit your head. Try it on and make necessary adjustments.
12. Take your bias tape, join the two ends right sides together to the measurement of your gathered neckline and pin it to the neckline “sandwiching” the gathered fabric. Use plenty of pins to make sure your neckline is seated correctly and place the seam at the center back.
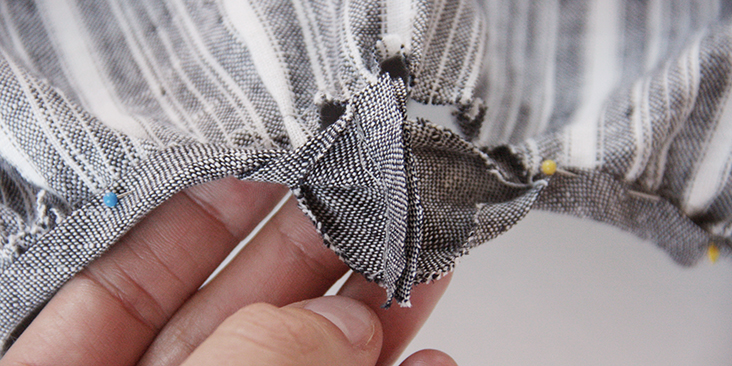
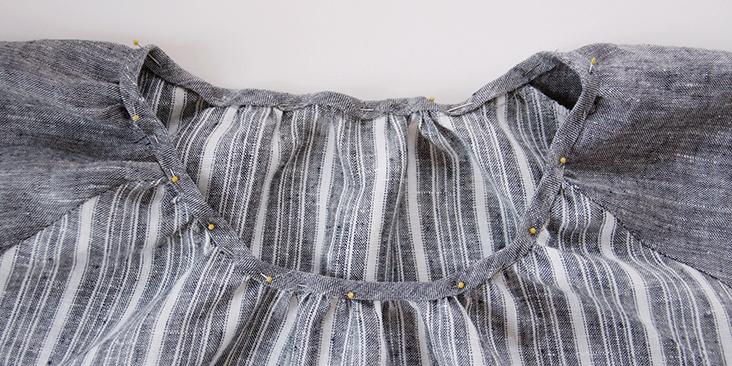
13. Sew along the bottom edge of the bias binding (all layers at once) starting from the center back.
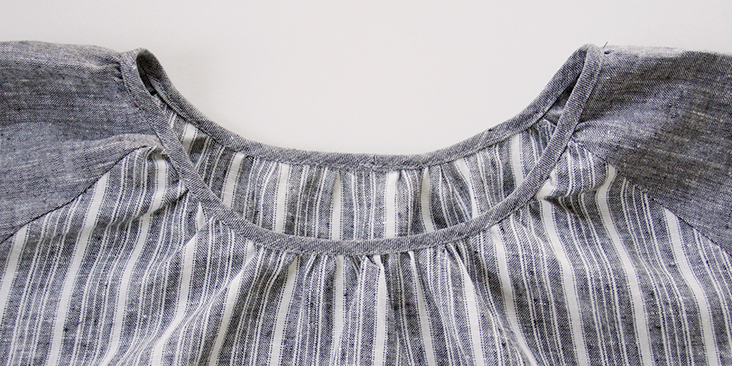
Give your finished neckline a light press, just to reduce the bulk but keeping the gathers intact.
14. Using the same method as in steps 10-13 to finish your sleeves. Or follow this step-by-step tutorial that explains how to sew gathered sleeves.
Use your two 9,5″ bias tape strips as cuffs. To assemble these cuffs, unfold your tape, join the two ends right sides together and stitch.
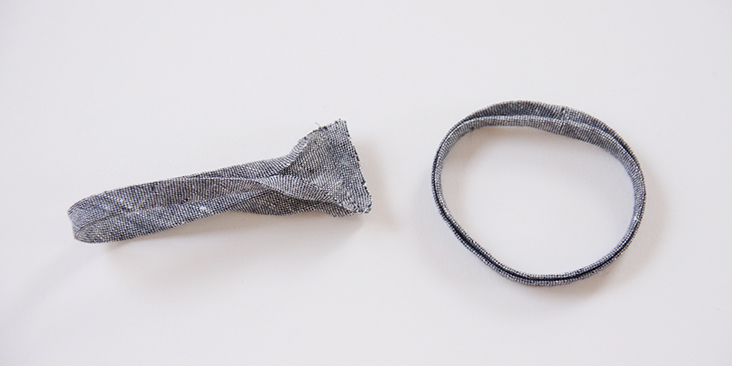
Gather your sleeve opening to the length of your finished cuff and attach the cuffs.
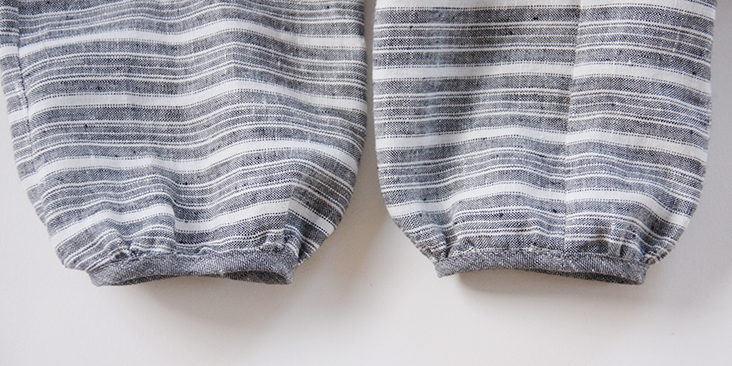
15. Lastly, finish the bottom hem by folding and pressing the fabric twice to the wrong side (3/8″ to 1/2″) and stitch as close to the folded edge as possible.
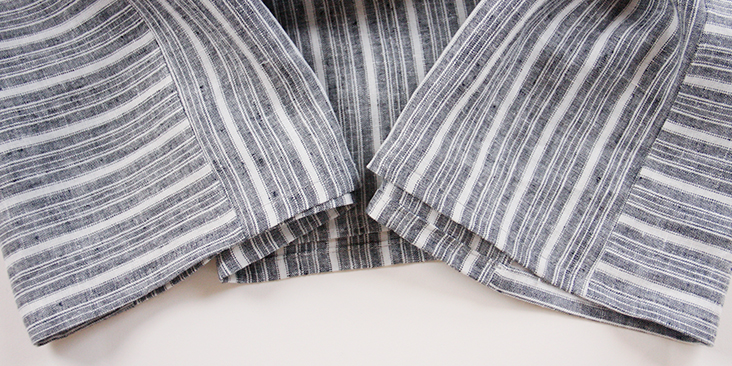
Give your finished kaftan a good press and you’re all done!










21 Comments
McKenzie Reints
Hi the link doesn’t appear to be working
Lauren Gates
Hello, We are getting this one fixed up 🙂
Debra
This is beautiful. Can you re-post the pattern? The link is not working. Thank you.
Lauren Gates
Thanks for letting us know Debra! We will get that fixed up.
Tanya
nice pattern, Rima, and your usual great tutorial! thanks!
Tanya
c’mon, sewists! why so much quibbling re: the “exact” meaning of the word “asymmetrical”!? could y’all do as well in a language not your first language?
Lainey
Misleading name – this is NOT asymmetrical!
Rima Khusainova
Dear Lainey, sorry for the confusion. I hope that you still like the pattern though.
Atonda
Love this Kaftan, would love to make it. I have sewn for many years but always used store bought patterns. Can some one tell me how to use this type of pattern?
Rima Khusainova
Dear Atonda, what you need to do to is to transfer the measurements in the diagram onto a sheet of pattern paper and then cut out the pieces and pin them onto your fabric without forgetting the seam allowances that need to be added.
AmyCat =^.^=
One tiny quibble: the name. “Asymmetric” means that one side is different from the other, not that the SYMMETRICAL garment uses several different fabrics! An example of asymmetric design would be if one sleeve were short and the other long, or if the neckline opened on one side like traditional Russian shirts.
Looks like a comfy kaftan, though!
Stephanie Sherman
I was wondering where the asymmetry was myself. It’s looks symmetrucal to me!
Rima Khusainova
Dear Amy, thanks for your input. The kaftan itself is indeed symmetrical. What we meant by “asymmetrical” is the use of stripes and fabric patterns.
Alice Elliot
Love this look. I think it will be possible to get this using that last peasant blouse pattern with a few tweaks.
Rima Khusainova
Exactly! The two patterns are very similar.
Dianne
Stunning! I like the use of the stripes as a design feature. The raglan sleeves in two parts, the horizontal side panels make it visually stunning and the neckline allow for a female figure! The choice of gray gives it a nice subtle style.
I’ve just finished a tunic of the check/plaid with the white and ginger checks, and a pair of balloon pants in the solid ginger. It works well, but now I wonder if something iike this might have been even better! I do love linen!
Rima Khusainova
Dear Diane, thank you very much for your kind words. So happy to hear that you like this project!
Andrea
What is asymmetrical about this pattern?
Rima Khusainova
Dear Andrea, with the term “asymmetrical” we just wanted to show the mismatching of the stripes. I guess the choice of the word is not very accurate but still, I hope you like the pattern itself.
Gwendolyn Loehr
I love your clear and concise instructions. Thank you Fabrics-Store!
Rima Khusainova
Thanks so much Gwendolyn!