Nino Linen Open Jacket Tutorial and Pattern
Beautifully simple and chic, Nino is our relaxed open-front linen jacket Pattern with a kimono-inspired collar.
This minimalist basic is trending in all our favorite stores right now so instead of spending hundreds of dollars on something so simple, why not make one yourself? With its modern and contemporary styling, this stunning navy linen jacket is guaranteed to impress whatever the season.
Materials
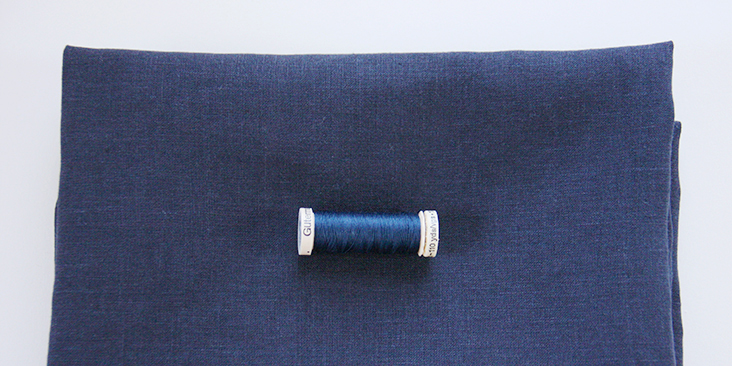
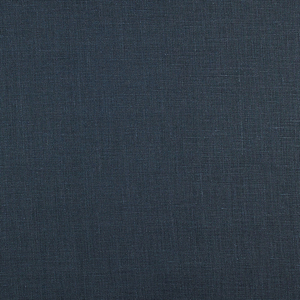
We used 2 yards of Midnight Blue Softened but you can use any of the 1C64 Softened medium weight linen
Matching sewing thread
Tools
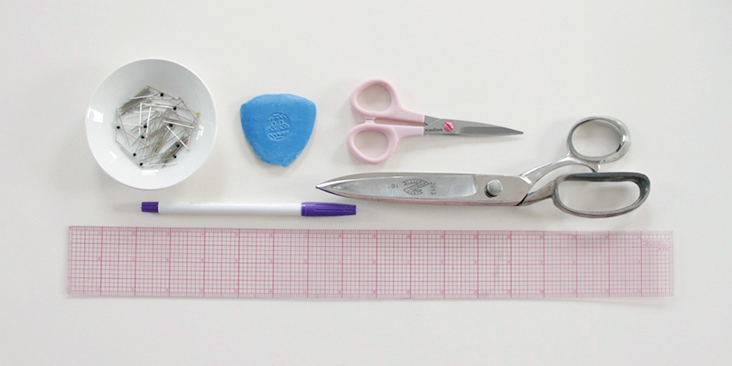
Pattern paper, scissors, ruler, pins, marker or chalk
Difficulty
Beginner
Time
4-5 hours
Pattern
You can access the multi-sized printable PDF pattern by following this link HERE. All seam allowances are included. The model is wearing size S.
Remember to transfer all the notches onto your fabric.
Steps
Note: Prewash your fabric and tumble dry it until it is still slightly moist, dry at room temperature. Iron the fabric so it is easier to work with.
1. Let’s start by pinning the two back pieces right sides together at the center seam.
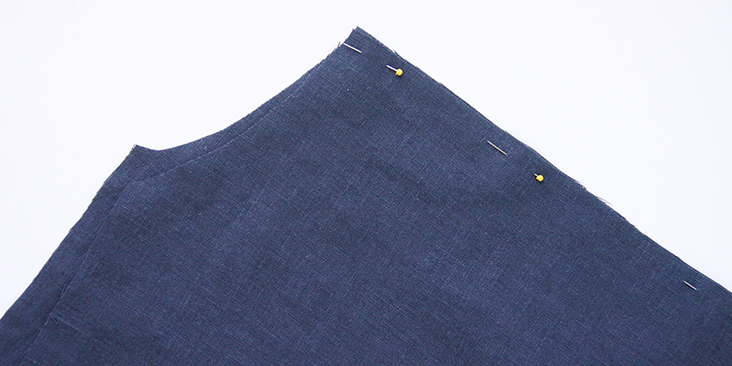
2. Following this very easy tutorial, finish the center back seam with a flat-felled seam.
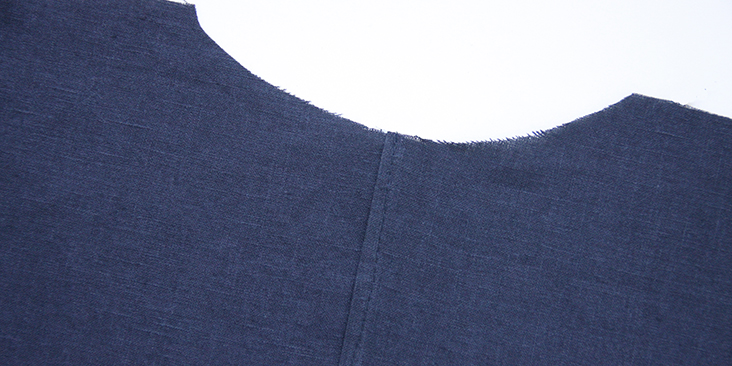
3. Take your pocket panels and finish the upper edges with a baby hem. A step-by-step tutorial on how to sew a baby hem can be found HERE. Make sure your panels are mirror images to each other before you start sewing.
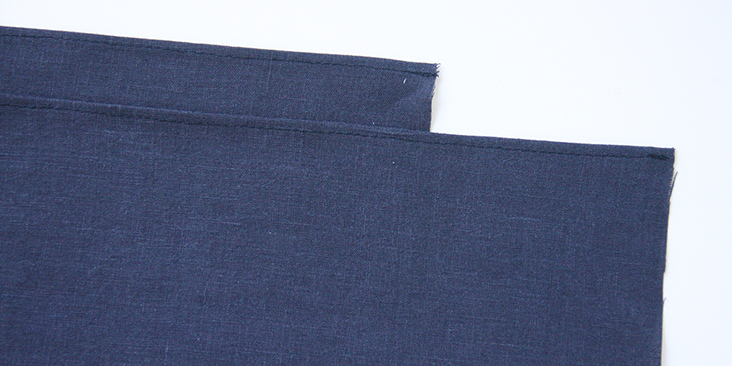
4. Pin the bottom hem of your pocket panels to the bottom hem of your front pieces. Place the right side of the pocket on top of the wrong side of the bodice panel (so two wrong sides are facing you). Once again, make sure that everything is lined up correctly and facing the right way: the front two pieces, as well as the pocket panels, should be mirror images to each other.
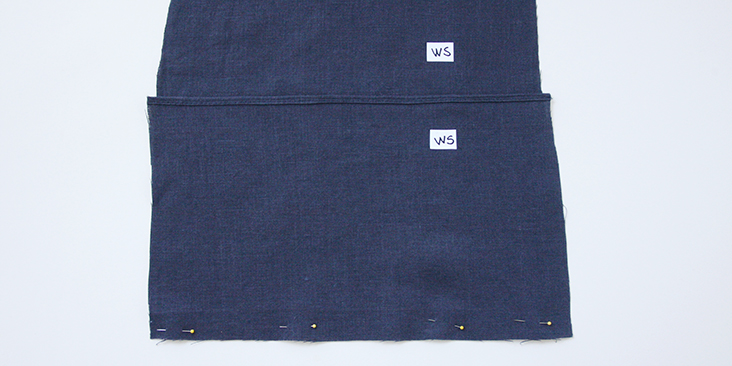
5. Sew the pinned edges together at a 3/8” (1 cm) seam allowance and then trim to 1/4″.
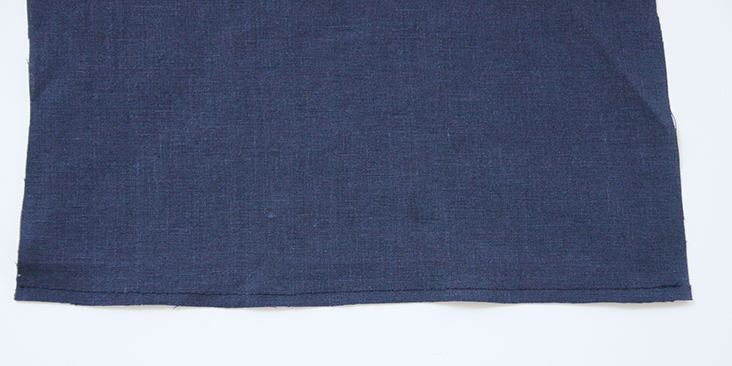
6. Press the seams open and then fold the pocket panel over the bodice and press again. The idea is that the raw edges are hidden inside the pocket and later enclosed by topstitching the entire bottom hem of the jacket.
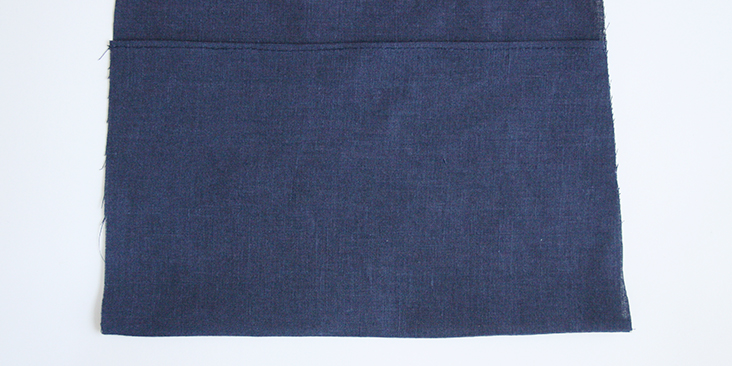
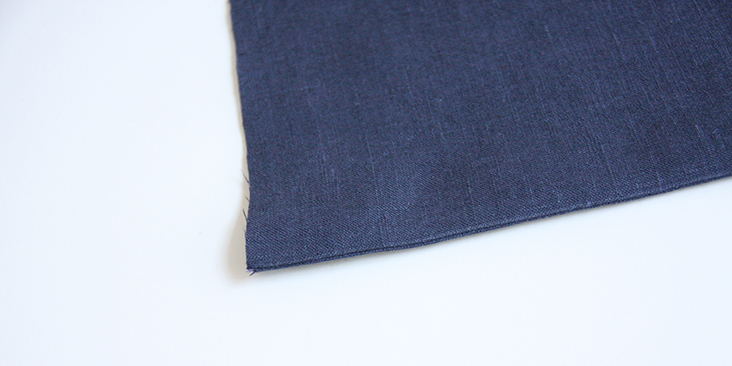
7. Let’s create the pocket openings by measuring 3” from each side. Place contrasting pins to mark the beginning and the end of the pocket opening.
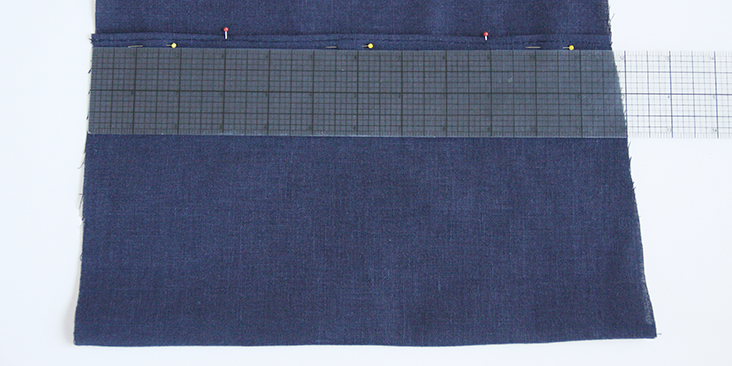
8. Topstitch both sides leaving the pocket opening unstitched. Try to stitch directly over the baby hem stitch line and remember to backstitch.
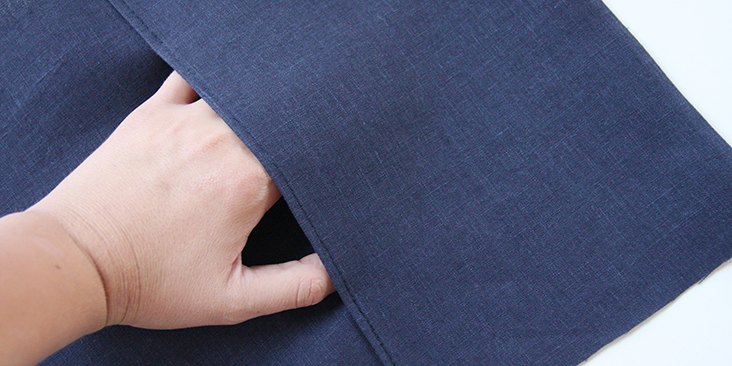
It’s time to assemble the jacket.
9. Pin the two front panels to the back panel right sides together. Shoulder and side seams. Note how the back’s hem is longer than the front. This is totally normal as the back will later be finished with a rolled hem to match the front’s length.
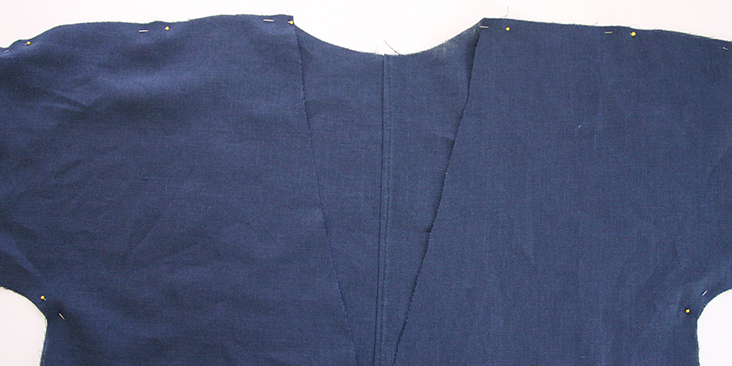
10. Stitch at a 3/8” (1 cm) seam allowance, then trim, serge/zigzag the raw edges together to prevent the fabric from fraying in the future.
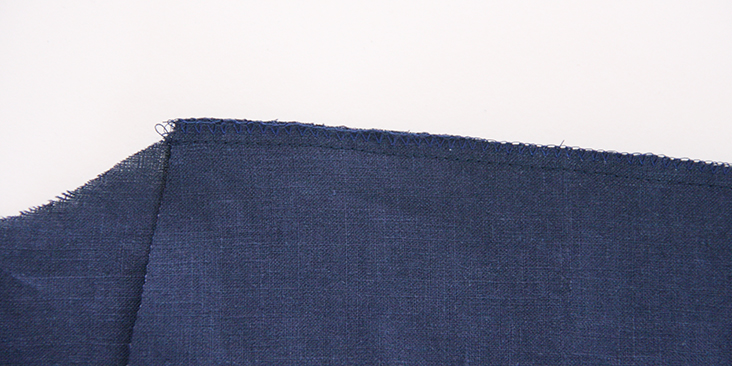
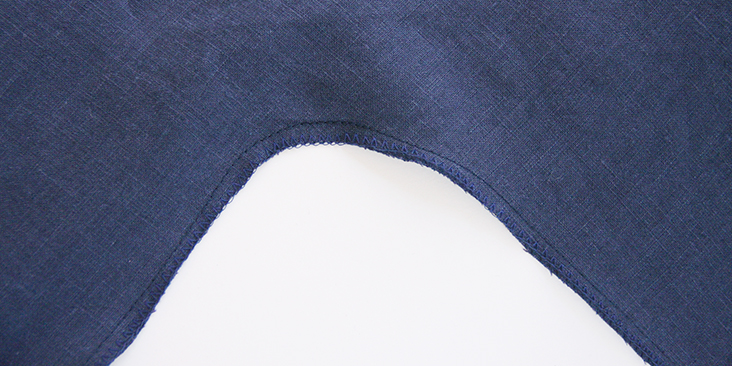
- Press the seams flat folding the serged/zigzagged edge towards the back.
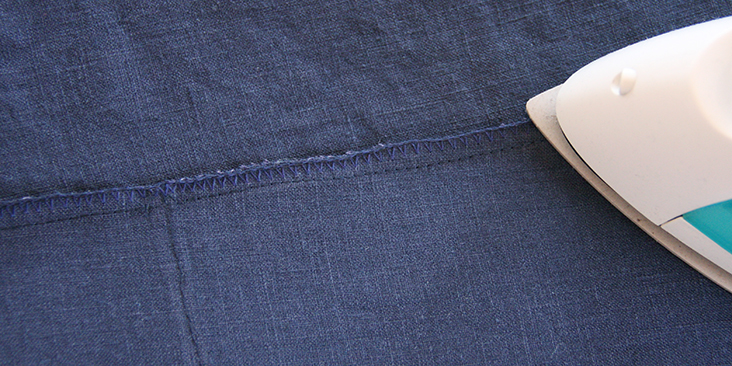
The next steps are to attach the collar to the entire neckline opening.
12. Take your collar strip and turn two long raw edges and one short 3/8″ (1 cm) towards the wrong side.
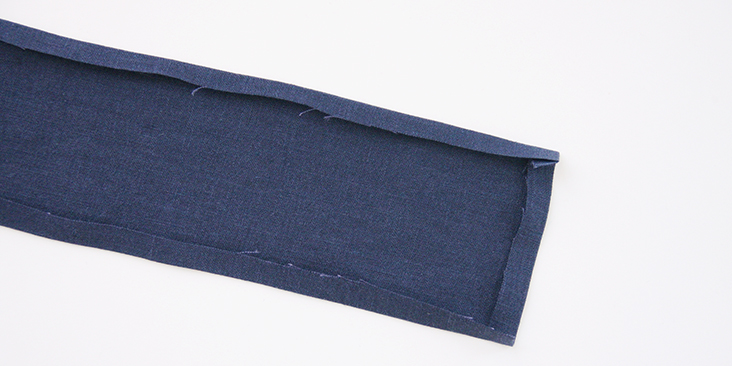
13. Then fold it in half lengthwise.
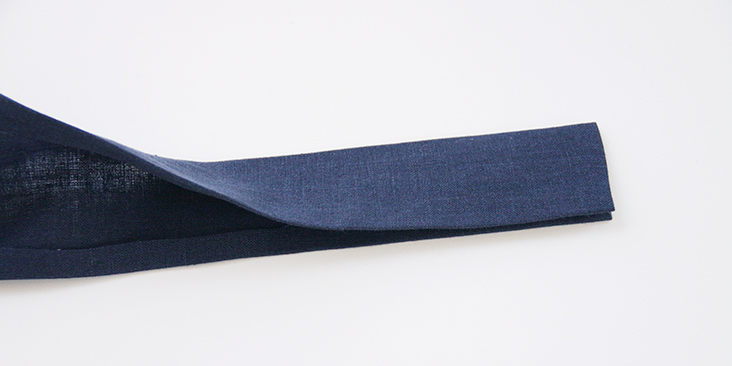
14. Working from the right side, pin one unfolded seam allowance around the entire neck opening right sides together.
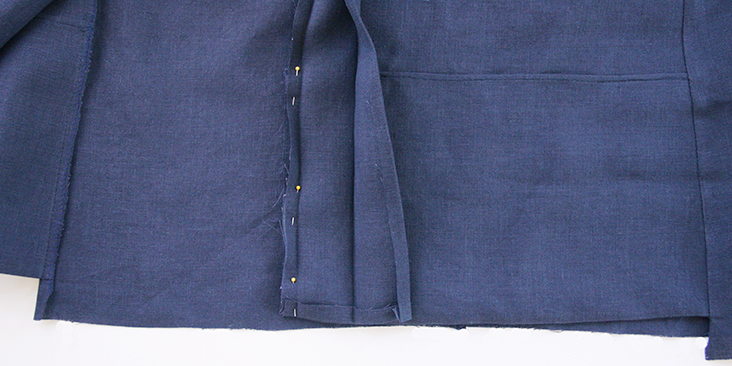
15. Stitch around the neckline in the inner crease of the collar band. Trim the seam allowance to a 1/4″.
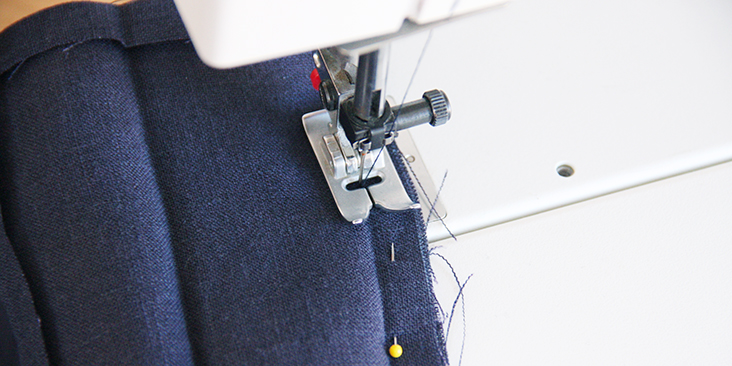
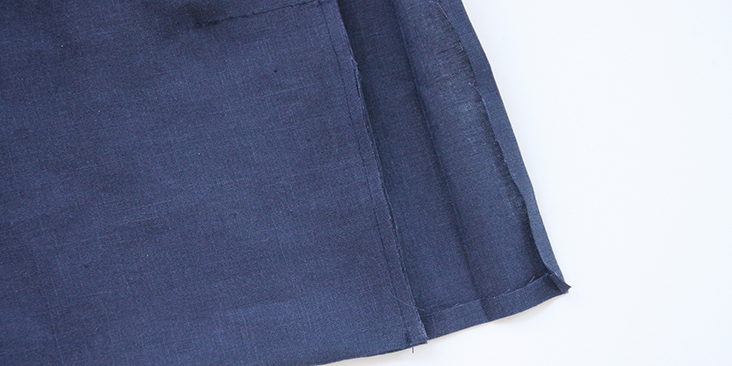
16. Press the collar band away from the jacket.
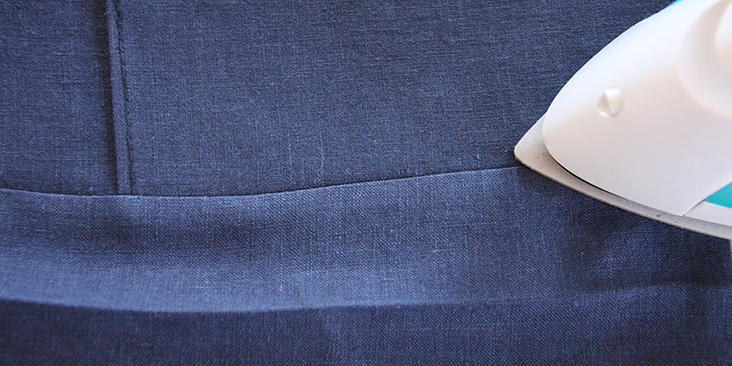
17. Turn the collar band to the other side of the neckline. Pin it in place encasing all the raw edges within. Do not trim the excess collar yet.
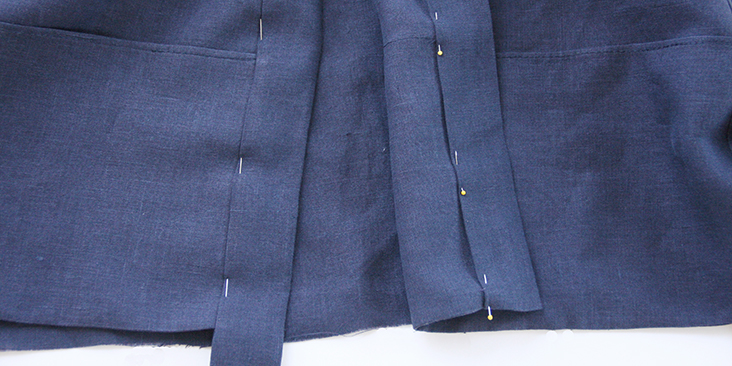
18. In one continuous line of stitching, close the collar opening at the folded end and attach the other side of the collar to the neckline by topstitching in the ditch of the existing seam line.
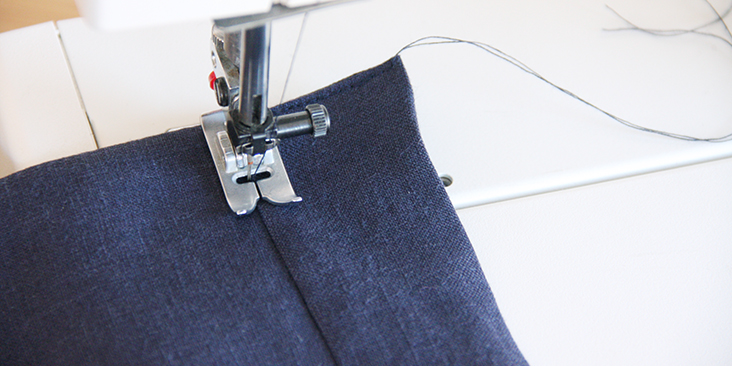
19. Now you can trim the excess fabric so that you still have a 3/8″ seam allowance that you’ll need to tuck in and close.
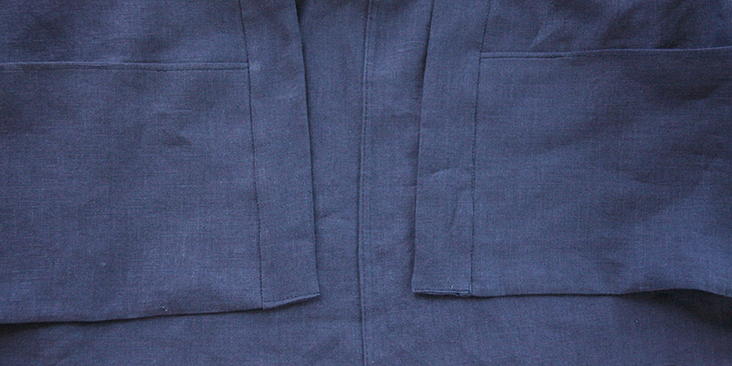
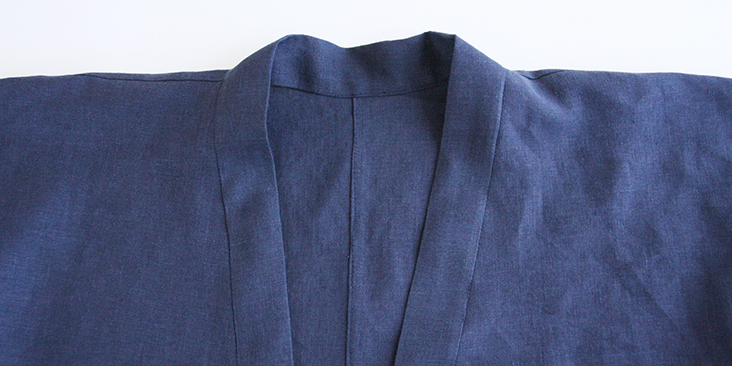
Your collar is now attached and you can proceed to the last steps – finishing the sleeves and the bottom hem.
20. Fold the back’s bottom hem twice towards the wrong side to match the front length.
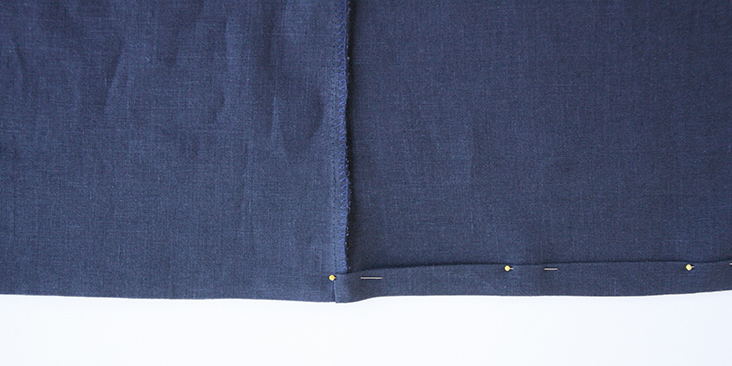
21. Stitch around the entire bottom hem (front and back, but not the collar) to create a continuous bottom hem stitch line.
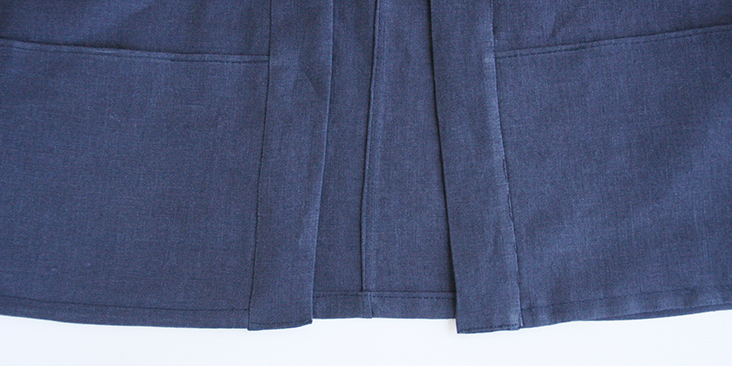
22. Lastly, finish the sleeve openings by folding your fabric twice towards the wrong side and stitch.
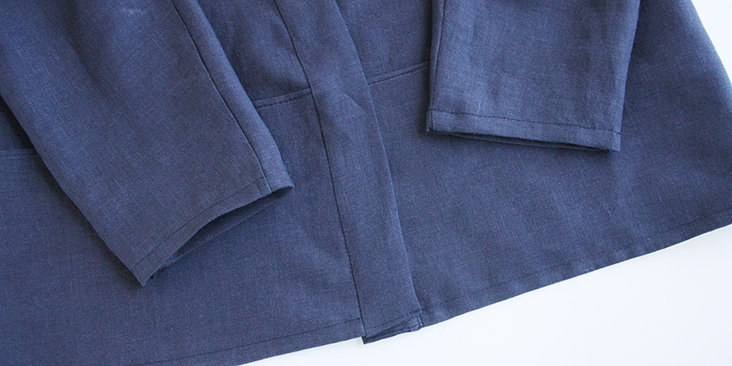
Give your jacket a good press and you are all done!








39 Comments
Elen G
I just made this jacket out of some lightweight wool I’d had ‘in stock’ for a while and I’m so happy with the result! It’s an easy pattern to follow and the resulting garment is very clean and elevated in appearance.
The only thing that I would suggest is that the step of sewing up the shoulder/sleeve seem and then the side/sleeve seam should be separated into two steps. I sewed both before pressing and found it very difficult to effectively press the shoulder seams due to the narrowness of the sleeve end (and using wool definitelyhad an impact here!). My own fault for not realising, however as this pattern is angled towards beginner sewers I thought it was worth mentioning. Probably not as much of an issue when using linen as suggested.
Overall it’s a great pattern and I highly recommend it!
Angela Chiang
Hello! What is the best way to connect the two collar pieces? Step 12+ seem to only discuss one collar piece. Thank you.
Lauren Gates
Thanks for pointing this out Angela, I will investigate and get back to you.
I suspect there is an error in the pattern and you should be cutting the collar on the fold, rather than cutting 2 and seaming together.
Lauren Gates
Hello Angela,
The pattern has been updated to fix this error. The collar piece now reads that you should cut 1 on the fold.
Angela Chiang
Thanks very much Lauren for the quick reply! I’m a total beginner so every bit helps 🙂 I’ll try it again with the updated pattern. Cheers!
Marion Hussong
Hello, I am unable to find the attachment for the pattern on the 5-page booklet I downloaded. Could you help me? Thank you.
Lauren Gates
Sending you an email Marion 🙂
Flora CHOFFRUT
Hi Lauren ! I have the same issue. Can you email me ? Thank you !
Lauren Gates
Sure thing Flora, in the meantime, you can have a look at the instructions on the first page of your .pdf booklet. These give you three easy steps to follow for accessing our patterns. Be in touch shortly.
Lisa Ohden
Hi Lauren, I”m having the same issue! Could you please email me? I’ve scoured the pdf and can’t seem to find the attachment with the pattern pieces… I appreciate your help!!
Lauren Gates
Sure thing Lisa, In the meantime, please check the instructions on the first page of the booklet you have downloaded.
Kate Nartker
Hi there,
I also can’t find the pattern pieces to print out. I have read through all pages on the 5 page PDF but don’t see any instructions on accessing the pattern. Thank you!!
Kate Nartker
Nevermind… I figured out how to access attachments on a pdf. Who knew!
Lauren Gates
We’re glad you figured it out kate, for anyone else stuck, the instructions are on the first page of the pattern booklet, and also available on our websites Help center:
https://support.fabrics-store.com/hc/en-us
Tamara George
Hi Lauren, I am having the same issue as many of these other ladies. I downloaded the five-page booklet and cannot find any instructions on how to access the pattern. Thank you in advance for your help!
Lauren Gates
Hello Tamara,
I’ve sent you an email. In the meantime, there are instructions on the first page of the .pdf pattern booklet with links to step-by-step instructions for accessing the pattern files.
Jess V
Hi! I can’t seem to find the pattern as well. I only see 5pages in the PDF.
Jess V
Never mind I found it! Thank you!
Lauren Gates
I’m glad you found it, Jess. For others who are in the same situation, here is a link to our Help center with articles about accessing our patterns depending on your device:
https://support.fabrics-store.com/hc/en-us/sections/360000039523-PDF-Patterns
Marie vc
When I click on the pattern link I get a 5 page pdf, but don’t seem to find the pattern pieces? Did anyone else find this too? It looks stunning so I hope I can find the pattern somewhere ?
Lauren Gates
Hi Marie,
The pattern is an attachment to the 5-page booklet you have downloaded. The instructions for how to find them is on the first page of the booklet. I’ll be sending you an email with the steps 🙂
Cecelia Schwartz
Hi there, I’m having the same issue. I don’t see any instructions in the 5-page PDF of how to access the pattern. Could you please point me in the right direction? 🙂
Lauren Gates
Hello Cecelia, The instructions for accessing the pattern attachments are on the very first page of the booklet. I’ve also sent you an email 🙂
fabricstore Gay
theres no photos. i downloaded and got no pattern. no working instructions. nothing. WTF.
Stefanie Riggs
ew, so rude.
Lauren Gates
Hello, Please follow the link below to download the pattern booklet. The pattern is attached to this booklet and you can access it in Adobe Reader. Full instructions for how to do this are located in the booklet as well on the very first page.
https://fabrics-store.com/sewing-patterns/nino-open-jacket-pattern
We are always happy to assist you, if you have any further issues just email us using the form below.
https://support.fabrics-store.com/hc/en-us/requests/new
Jane Weisbaum
I love this jacket! But I’m stuck on Step 4. In the picture, it appears like the pocket hem is turned up. (And, I assume, the jacket front piece.) Yet, the directions don’t say to turn up the hem. To further affirm my assumption, the direction says pin the bottom *hem* of the pocket to the bottom *hem* of the front piece. So, do I first turn up the hem on both the front piece and the pocket before pining and sewing? Thank you!
Jane
Jane Weisbaum
Wait, I see fray! So I guess I don’t! Plus how would I trim it? Haha! Please disregard.
lisa Hough
Hi there, I’m not sure what size garment to make? Can you point me to the finished garment measurements or a guide to what size to make?
Lauren Gates
Hello, There is a size guide in the downloadable pattern booklet. I would suggest comparing your measurements to this guide. If you’d like extra assistance finding your best fit feel free to email us using the form at the link below:
https://support.fabrics-store.com/hc/en-us/requests/new
Kelly Marquart
Will this pattern work with a heavy weight linen fabric? I was going to use it with 4C22 RIM Softened – 100% Linen – Heavy (7.1 oz/yd2)
Yildiz Weston
Easy to download. Easy to follow tutorial and really pleased with how the Kimono turned out. Can’t wait to wear it as soon as the weather gets a bit warmer.
Love your website, thank you!
Liz Fredrickson
Seems like there is an instruction missing with regards to the collar strip. I sewed it together into one long strip and then applied it to the fronts of the jacket. I placed the seam at center back. Overall, a simple pattern with good instructions.
Taurus Yeung
Hi, the dropbox link for DL this pattern is not available.
Pls help.
Thanks.
Nancy
I tried the pattern with some scrap fabric, before I cut into my linen. The test jacket turned out very nice. I thought the pattern construction was very ease. The pattern marking for the front were very faint. The model must be very small.
Rima Khusainova
Dear Nancy, so happy to hear that you’ve tried the pattern and are happy with the result! It is always a good idea to try with some scrap fabric first.
gayle
can we get more sizes?
Rima Khusainova
Dear Gayle, unfortunately there is no multi-sized option available for this pattern but it’s pretty loose and is easily adjusted for a larger size. We have a great tutorial that explains how to grade your patterns. Here it is: https://blog.fabrics-store.com/2015/06/01/how-to-grade-a-pattern-tutorial/
Sheryll
Terrible fitting! Maybe it would look better if the model was standing with better posture.