Linen Gathered Tie Back Dress Tutorial
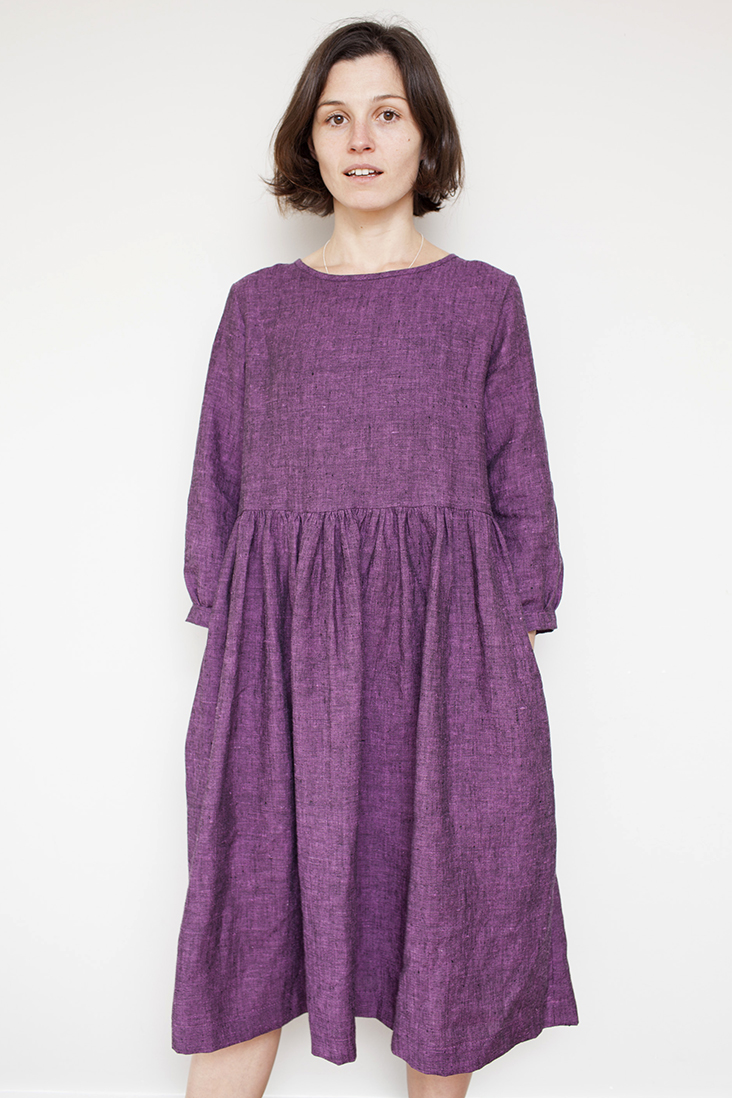
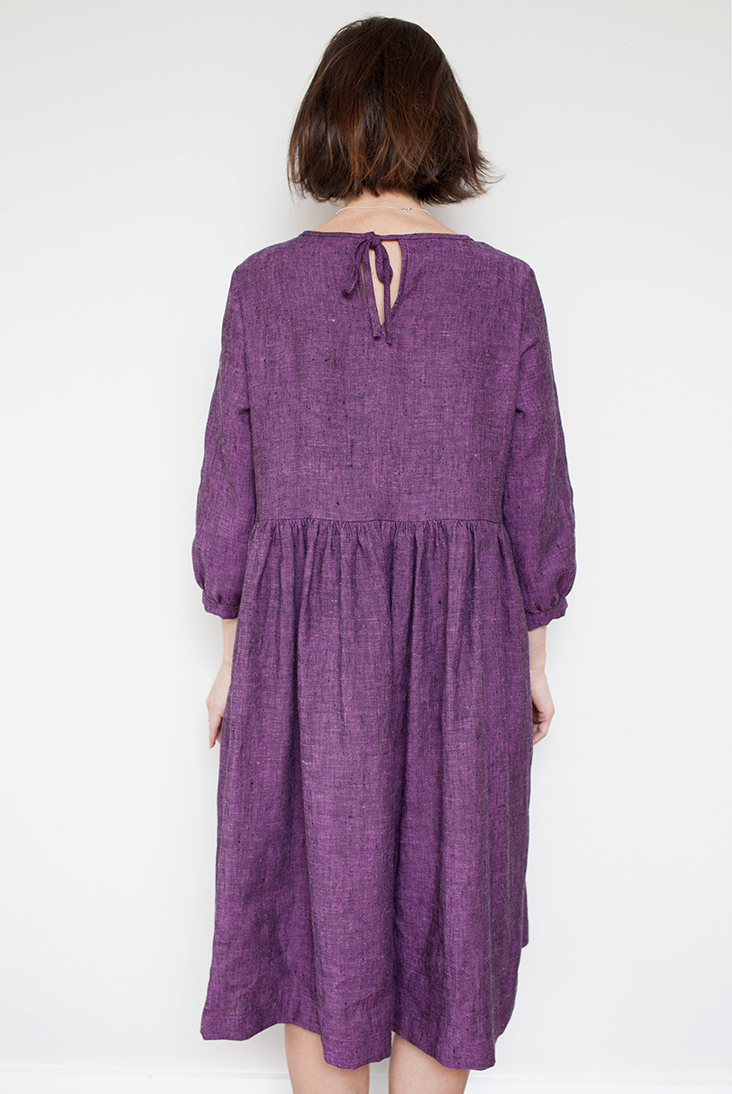
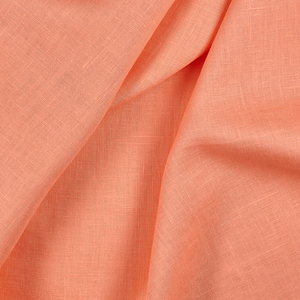
Looking for a perfect dress to host your New Year’s Eve party? Why not try our new pattern that is super easy to sew and a pleasure to wear! Made from our gorgeous IL051 884 Softened Medium Weight Linen in beautiful purple color, this dress will not only make you look fabulous but will also get you many compliments on your sewing skills.
Materials
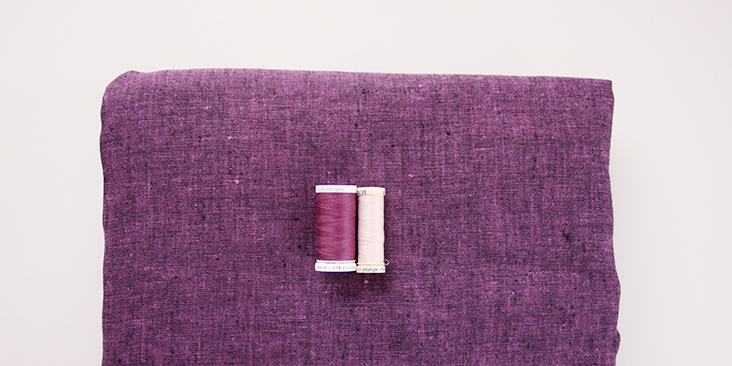
2,5 yards of IL051 884 Softened Medium Weight Linen
Matching sewing thread, contrasting sewing thread for gathering
Tools
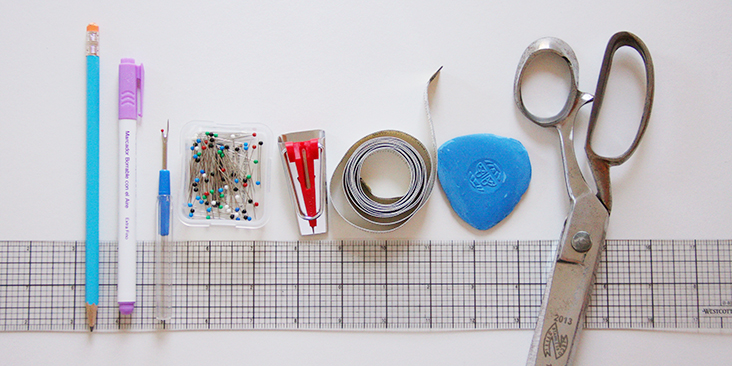
Pattern paper, scissors, ruler, pins, chalk, pen, fabric marker, measuring tape, bias tape maker, sewing machine
Difficulty
Beginner
Time
3-4 hours
Pattern
You can access the pattern by following this link HERE and the printable pocket template can be found HERE. Remember to add seam allowances as indicated in the pattern.
Note that you’ll also need to make one long continuous strip of bias tape for the neckline and back ties. For detailed instructions on how to cut and make continuous bias tape please follow this tutorial.
This dress is extremely loose and will fit quite a range of sizes.
Steps
Note: Prewash your fabric and tumble dry it until it is still slightly moist, let this dry at room temperature. Iron the fabric so it is easier to work with.
1. Let’s start by making the bias tape. Cut one pretty long and continuous strip of fabric for the neckline and back ties and one short for the back slit opening. Follow this detailed tutorial that explains how to cut the fabric on bias and use your bias tape maker to make a continuous strip of bias tape.
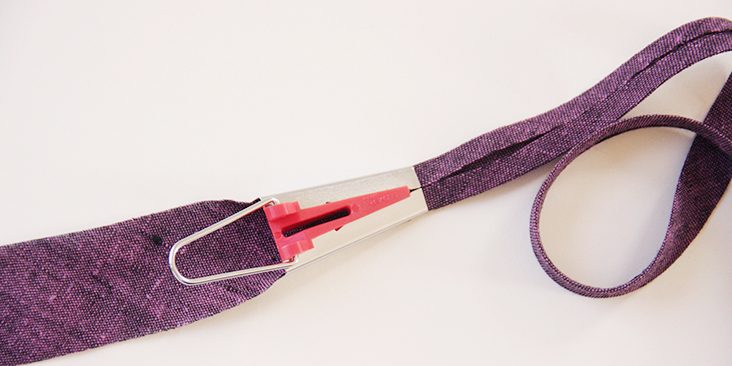
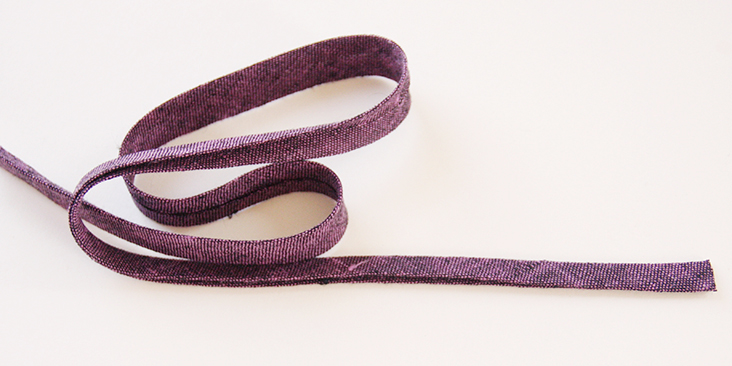
2. Fold your bias tape in half lengthwise and press.
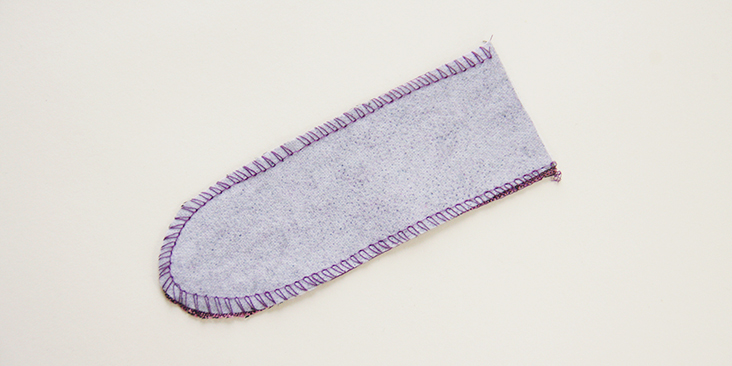
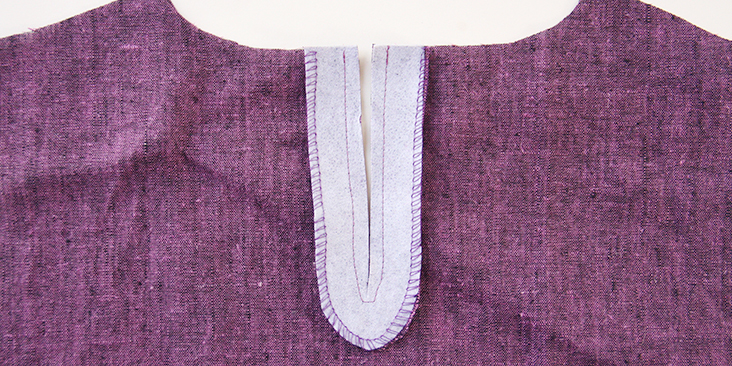
3. Apply the fusible interfacing to the wrong side of your facing. Serge/zigzag the curved raw edges to prevent the fabric from fraying in the future. You can check our tutorial HERE for more detailed instructions.
4. Fold your facing in half to mark the center and pin it to the center back of your dress right sides together.
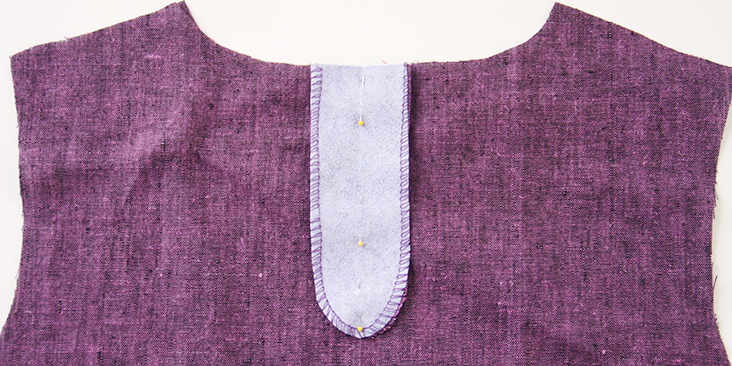
5. Topstitch the facing creating a curved shape as shown in the images below and cut in the middle down to the curve. Clip to (but not through) the stitched line.
6. Press the facing away from the garment.
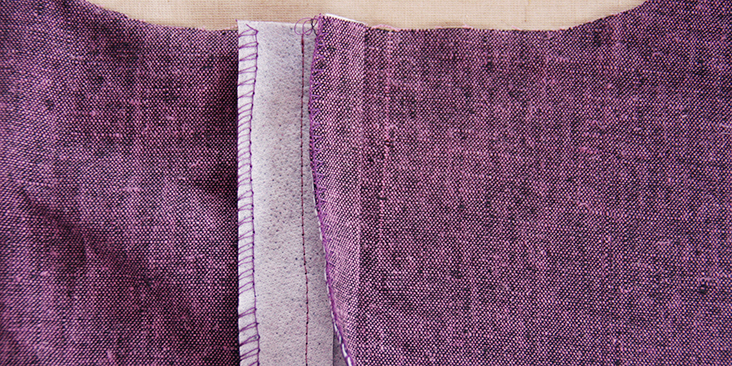
7. Turn the facing to the wrong side and pin in place.
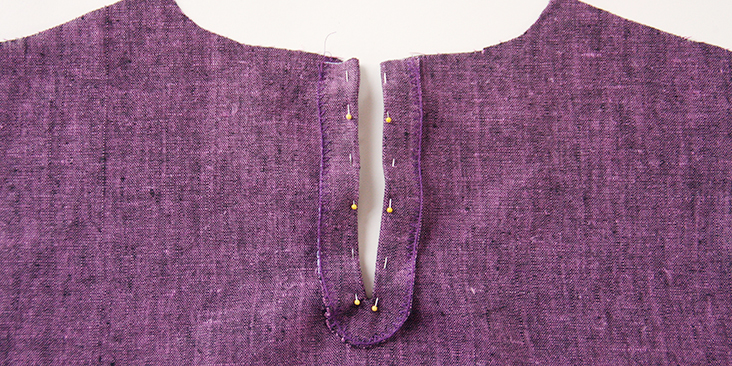
8. Edgestitch 1/4″ from the fold. Don’t worry about the facing’s raw edges, they will later be enclosed under the neckline binding. Give it a good press and your back slit is finished.
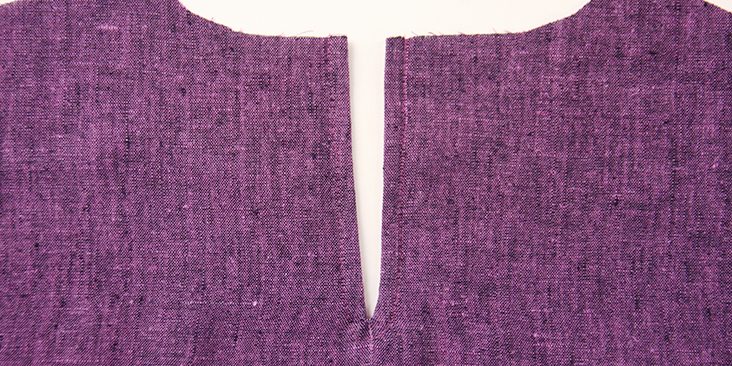
9. Now pin your shoulder seams right sides together.
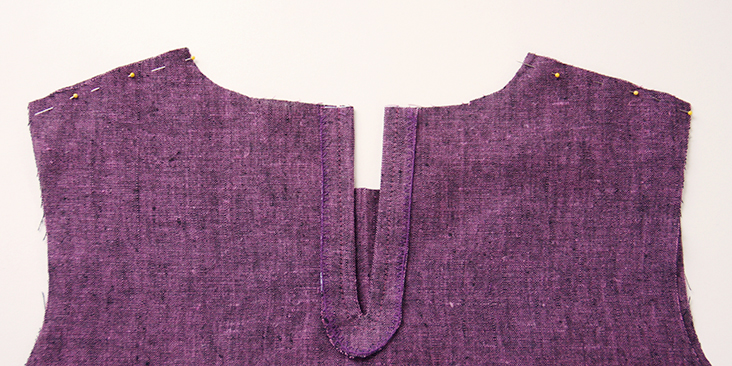
10. Sew at a 3/8” (1 cm) seam allowance. Serge or zigzag the raw edges together to prevent the fabric from fraying. Press the serged/zigzagged seam allowances up towards the back of your dress.
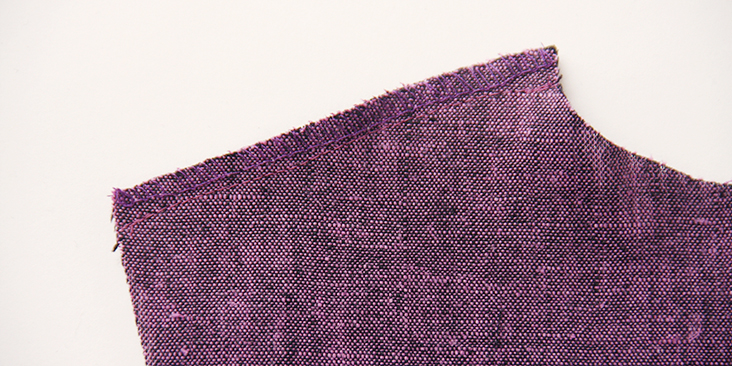
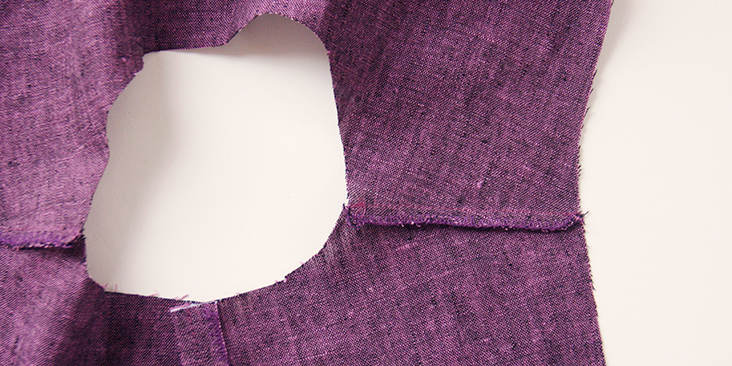
11. Bind the neckline and create the ties using a long strip of bias tape that you’ve just made. Slip your neckline edges into the fold of the bias tape and pin all around the neckline matching the center of the bias tape strip to the center front. Don’t trim the long tails, they will later become your ties.
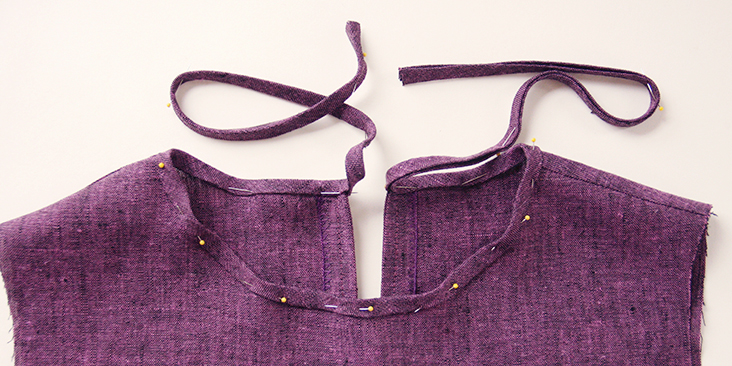
The length of the ties is really up to you. Ours are 18” (46 cm) long.
12. Tuck in the ends of the bias tape towards the inside as shown in the picture below:
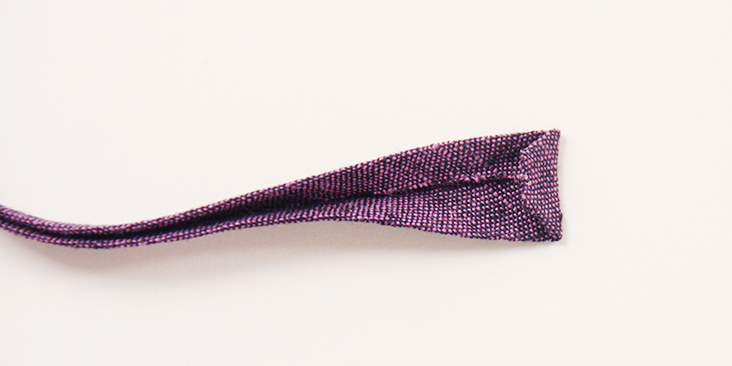
Now fold your end in half lengthwise in the continuity of the bias tape and pin.
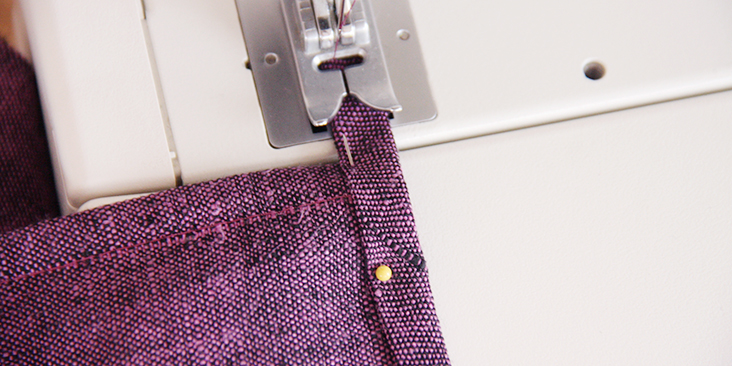
13. Starting from one end of the bias tape tie, sew the bias tape closed making sure that you’re catching both the front and the back of the tape. Keep sewing across the neckline and then across the other end of the tie.
You’ll get a beautiful back tie neckline with a back slit opening.
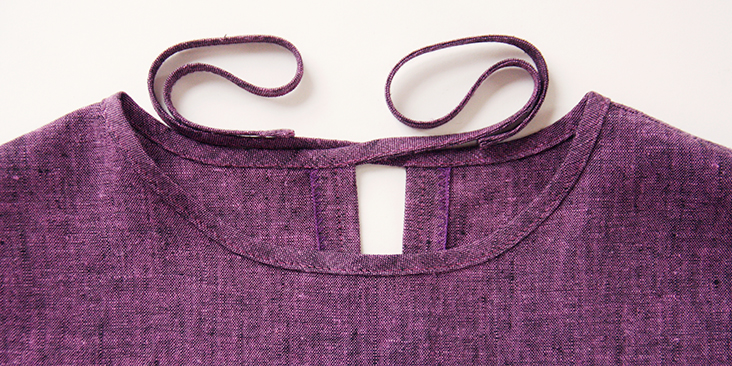
Now that we’ve finished with the neckline, we can attach the sleeves.
14. Pin the sleeves to the armholes right sides together.
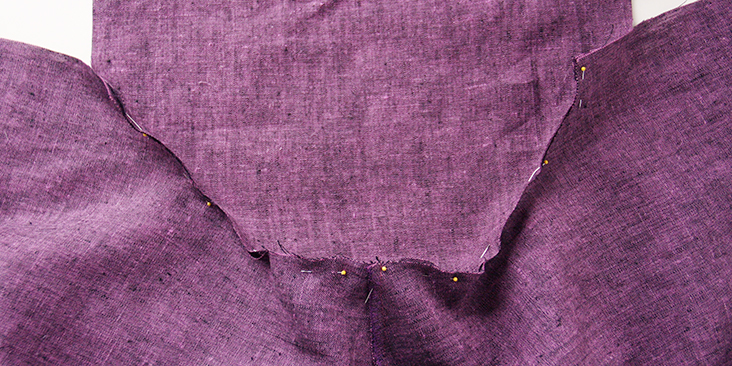
15. Sew at a 3/8” (1 cm) seam allowance. Serge or zigzag the raw edges together to prevent the fabric from fraying. Press the serged/zigzagged seam allowances up towards the sleeves.
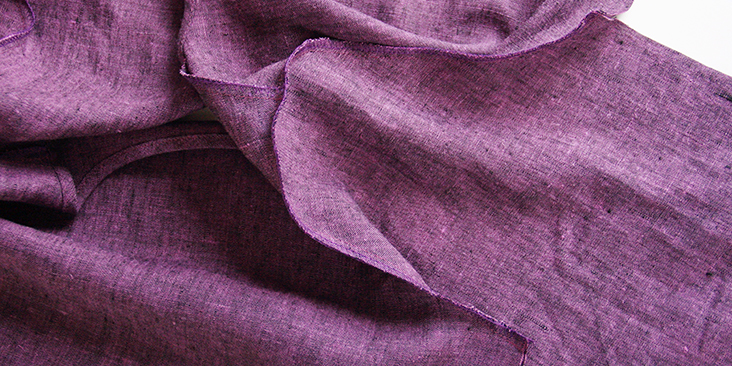
16. Pin the sleeve and bodice side seams right sides together.
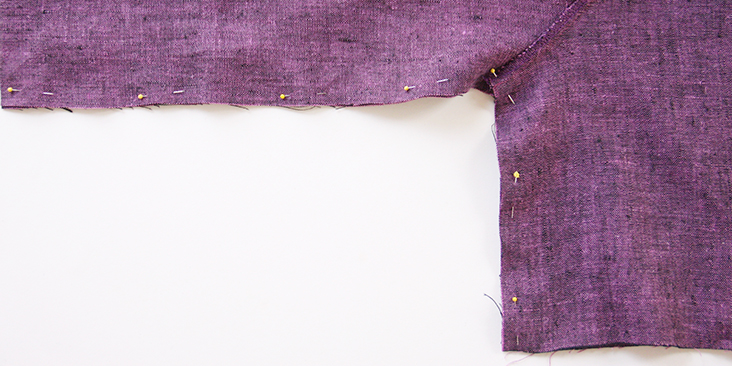
17. Sew the pinned edges all in one seam at a 3/8” (1 cm) seam allowance. Finish the raw edges with a serger or a zigzag stitch and press the seams flat folding the serged/zigzagged edges towards the back of your dress.
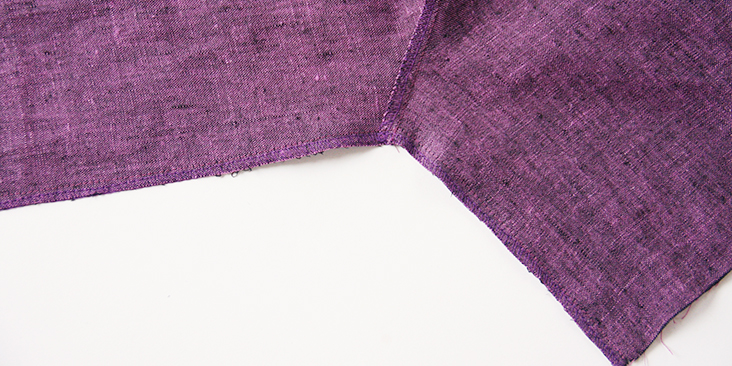
18. Following this simple tutorial, gather the sleeves and attach the cuffs.
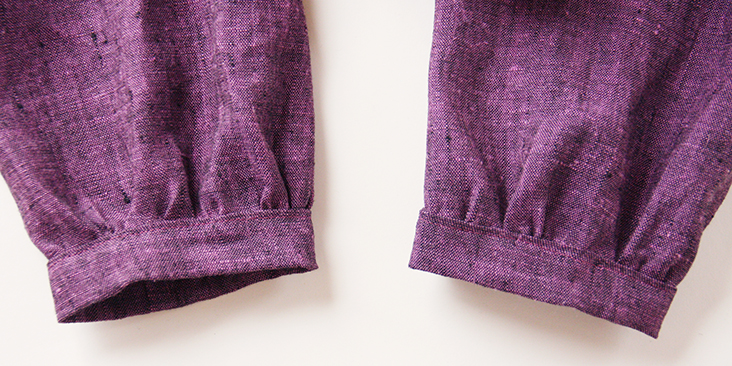
We are done with the bodice so can finally sew the pockets, assemble and gather the skirt.
19. Following THIS tutorial, attach the inseam pockets and assemble the front and the back of the skirt together. Pin the pockets 7″ away from the waistline.
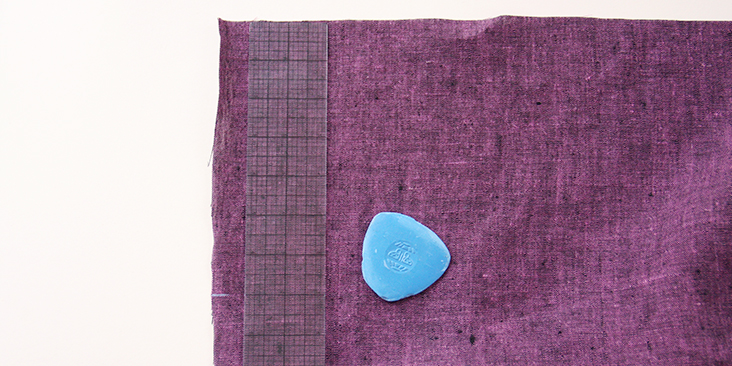
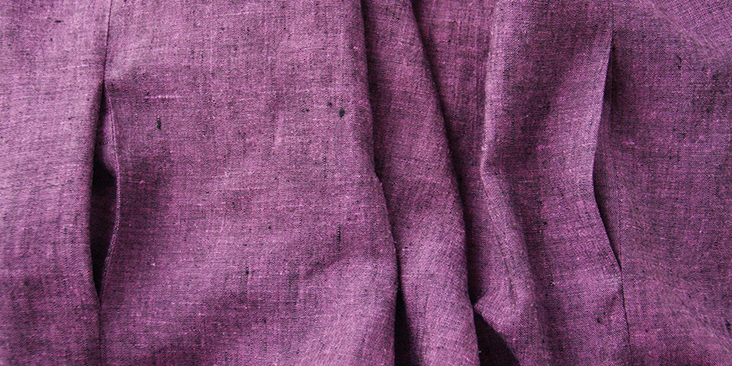
20. Finish the bottom of your dress with a simple rolled hem. Fold the bottom edge under first 3/8″ (1 cm) then another 1,5″ (4 cm) and press. Pin the fold.
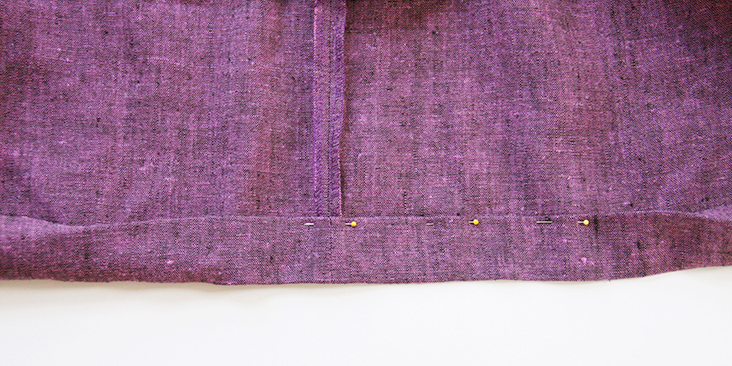
21. Working from the wrong side, topstitch as close to the inner fold as possible. Remember to backstitch and press the seams when you’re done.
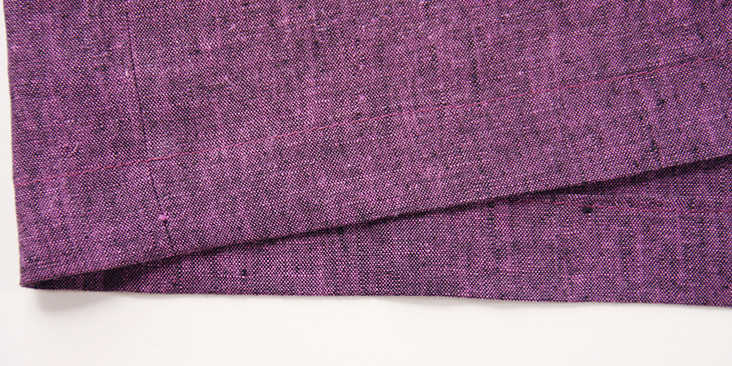
22. Gather the skirt to the length of the bodice. HERE is a step-by-step tutorial on how to gather your fabric. Be sure to use a contrast color thread and to secure your gathers once you’ve checked that the skirt matches your waistline and that the gathers are evenly spaced.
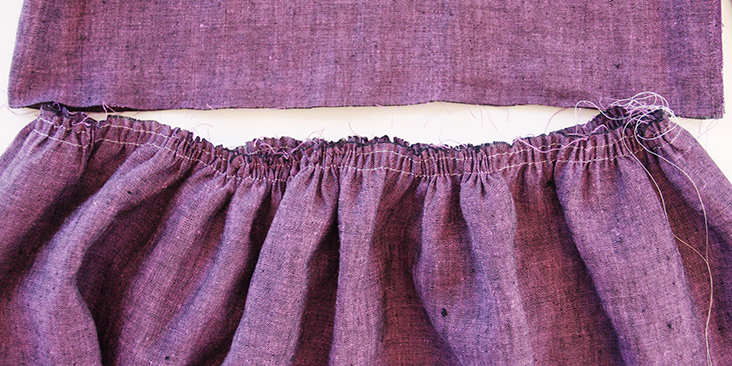
23. Lastly, pin the gathered skirt to the bodice right sides together and matching the side seams.
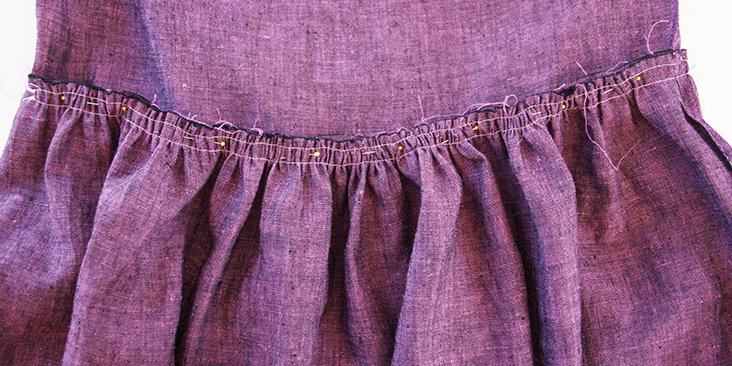
24. Sew at a 3/8” (1 cm) seam allowance.
25. Remove the gather stitches using your seam ripper. This is why it’s recommended to use a contrasting color thread – so that you don’t make a mistake and rip out wrong stitches.
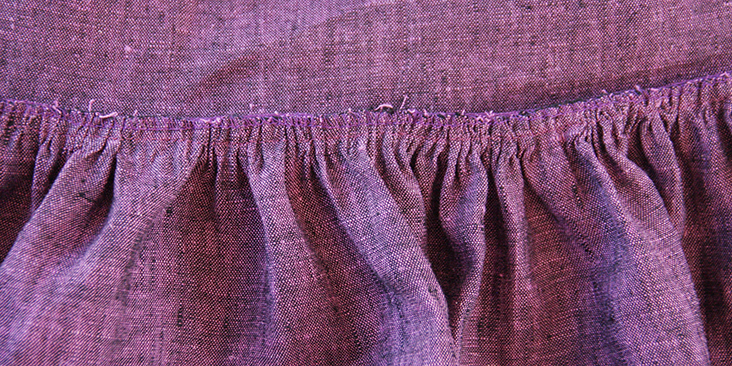
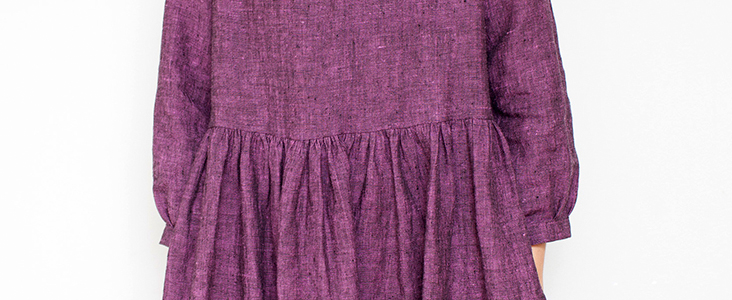
26. Trim the fabric and serge or zigzag the raw edges together. Press the seams flat folding the serged/zigzagged edges towards the skirt and you are all done!













39 Comments
Mo Olguin
I love this dress but the pattern is not really available for plus sizes, boo. And the fabric is not available, boo again…
Lauren Linen
Hello Mo, This pattern was created wayyy back when we only provided drafting templates for our patterns and instructions for grading to your desired size (this post was published in 2016).
We now have a similar pattern available in a multi-size free downloadable.pdf It is called the Cora Dress.
https://fabrics-store.com/sewing-patterns/cora-half-sleeve-linen-dress
You may also like to play around with long sleeves and we have a tutorial for making gathered sleeves like in this version here:
https://blog.fabrics-store.com/2016/12/23/sewing-glossary-how-to-draft-and-sew-gathered-sleeves-tutorial/
The fabric used in this tutorial is indeed long sold out from 2016, but a great alternative is our IL019 medium weight linen which comes in our widest range of colors and finishes.
https://fabrics-store.com/all-fabrics?article=IL019
Pete Futa
This fabric doesn’t seem to be available. Do you have a current substitute? I love love love the color!!!
Lauren Gates
Hello, You may like our other mediumweight linens. Here are some links to them:
IL019: https://fabrics-store.com/all-fabrics?article=IL019
Mediumweight yarn dyes: https://fabrics-store.com/all-fabrics?weight=Middle&type=YARN+DYE
Kelly Potocki
Hi Lauren,
I have two questions.
1. Do I need to make my own gathered sleeve pattern based on the the sleeve pattern in the diagram, or the sleeve pattern in the diagram is already for the gathered sleeves that this pattern calls for?
2. This pattern looks similar to your half sleeve linen dress except for the back neckline. Is it true.?
I am a beginner, I do not feel comfortable making the pattern based on the diagram, or altering the pattern to a smaller size. But I like the look of this dress. I used your half sleeve linen dress pattern and I like how it turned out. I wonder if I used this pattern ( the tie back dress ) how different my dress would look. Any thought?
Thank you,
Lauren Gates
Hello Kelly,
I would use the sleeve included in the pattern diagram provided.
This is similar to the Cora half sleeve dress in the back tie detail (so it may have a smaller neck opening), and the sleeves are finished differently. If you’d prefer a pattern that is already drafted for you in your size, I would definitely use the Cora pattern.
Kelly Potocki
I love this dress!!
Could you please tell me how to adjust the pattern to a size 4?
Thank you so much!
Lauren Gates
Hi Kelly, we have a tutorial at the link below which will step you through grading your pattern to your desired size.
https://blog.fabrics-store.com/2015/06/01/how-to-grade-a-pattern-tutorial/
michelle tsang
Hello! Where is the pattern/diagram? The link seems to be broken! Would love to make this!
Masha Karpushina
Hi Michelle, the link now works, thank you!
Katelyn Hoskyns
I tried to click through to the pattern but the link is broken. How can I access this? It’s so beautiful!!
Masha Karpushina
Hi Katelyn, the link now works, please try again, thank you!
Samantha Singiser
For the bias tape: what is the amount needed? And what is the width of the bias? 1/2 inch?? Also, does the 2.5 yards of fabric include the bias tape making or is that separate? Does this really only require 2.5 yards?! Sounds too good to be true! I want to make sure I purchase the correct amount of fabric before I find out the hard way that I came up short. Thanks!
Angelica Brown
I love this pattern! Could you adjust the back bodice piece to not have a tie? Would it be able to still fit over head? Thank you for such great tutorials!
Sylvie
Great tutorial, thank you. Can you tell me what is the equivalence of sizes for France ?
Thank you so much.
Rima Khusainova
Dear Sylvie, I’d say that our sample dress that you see on the model is definitively size S but could work for size M as well. So, 36-40 European size.
Maria Jose Boice
this is eactly what I have been looking for. I do have a question, according to your avaialble diagram of the pattern, what US size does it fit if the diagram measurements are followed?
Rima Khusainova
Dear Maria, this dress is pretty loose and the sizing in the diagram is for US size 6-8.
Sheila
Thank you very much for sharing this tutorial. It will be my first attempt to sew a dress, I´m very excited 🙂
Rima Khusainova
Happy sewing Sheila! I’m sure you’ll make a gorgeous dress!
Pingback:
My Top 100 Free Sewing Patterns - Stitch and SewOlga D
Love your tutorials! Just finished this dress. Next is Kaftan!
Rima Khusainova
Thanks so much Olga and happy sewing!
Diane Mayo
Would love to make this dress however cannot get pattern to load. Do you have a copy to share?
Rima Khusainova
Dear Diane, this dress is available as a diagram that you can copy using all the measurements. Unfortunately, we don’t have a multi-sized printable pattern for it, but the diagram is pretty straightforward and could be downloaded as a pdf from Dropbox (click on the link and then find a little sign with three points in the upper right corner. Click on it in and select “download”). Hope this helps!
Shelley Carda
Great pattern for novice seamstresses. I will be using it to teach some girls the basics of sewing this year. Thanks!
Jessica
The measurements don’t seem to add up??? am I doing something wrong when drafting out this pattern with the measurements given???
Rima Khusainova
Dear Jessica, so sorry to hear you are having trouble with the pattern. I’ve just double checked everything and to me all seem to be in order. Could you please be more specific? where exactly it doesn’t add up?
Maria
Hi Rima,
I agree with Jessica. Also got confused. On both details – back and front – sums of vertical measures do not match.
Back: (Neck cut is 1 in) + (length of the middle (on fold) 13.5) = 14.5 in. At the same time (distance from top to the level of the sleeve cut is 1.25) + (8 for the sleeve) + (side seem 6.25) = 15.5 in. There’s an extra/missing inch somewhere.
Same with the front detail.
Thanks for your time!
Maria
I actually assume, that 1 in is missing in the middle (fold) of back and front details. I just played around with the pattern and realized that sleeve matches the sleeve cut perfectly, so it must be the middle! 🙂
Rima Khusainova
Dear Jessica and Maria, thank you so much for pointing this out to me! You are absolutely right – there’s an inch missing in the fold. I’ve updated the pattern with all the correct measurements so it should be all good now!
Jessica
When I draw it up with the measurements it doesn’t match up ( the left side of my piece is longer than the right)
Sibley
Can’t wait to try!! Thank you SO much for sharing this!!! xx
Joy COSTA
What is the price of shipping 3.5 yds to rhode Island?
Rima Khusainova
For standard shipping (4-8 days) it should be around $10.
xarophti
How do you get the pattern? The link only took me to a Dropbox page. I don’t do cloud.
Rima Khusainova
When you click on the link, it’ll take you to the Dropbox page with the diagram for the dress pattern. You can save the image to your computer by clicking the “Download”, then “Direct Download” button in the upper right corner. Please note that the pattern is not to scale but contains all the measurements for you to copy and trace onto paper to make a paper pattern. Hope this helps!
Chris
I’ve been toying around with an idea for project like this for quite some time. I like this very much. Pockets are great!
Rima Khusainova
Thanks so much Chris! It’s a great dress and I’m pretty sure you’ll have lots of fun making it!