Nola Striped Linen Gathered Blouse Tutorial
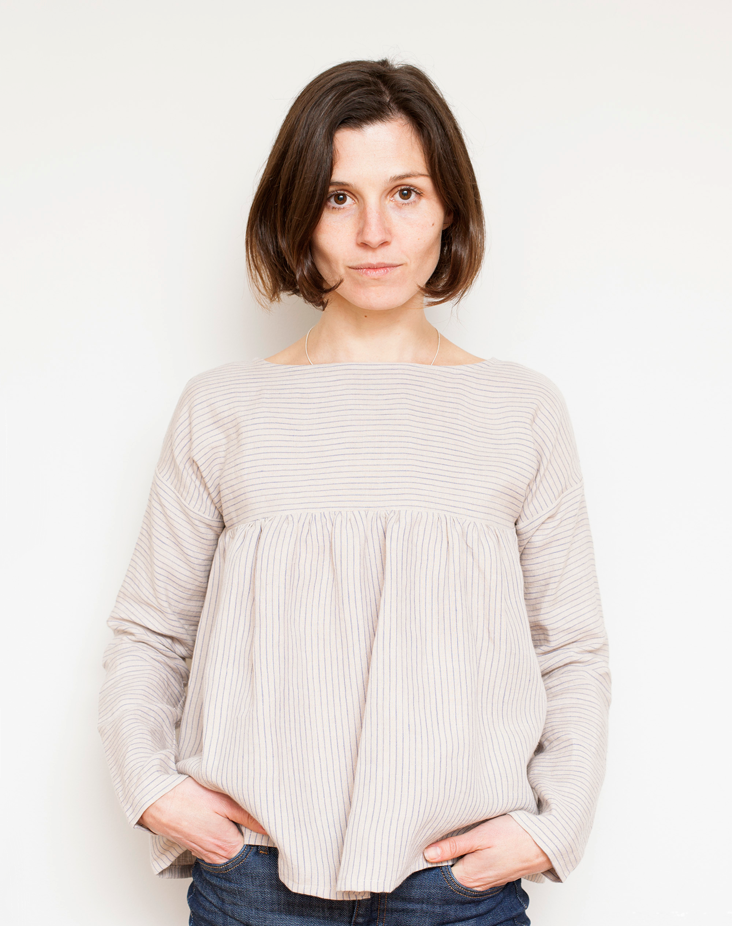
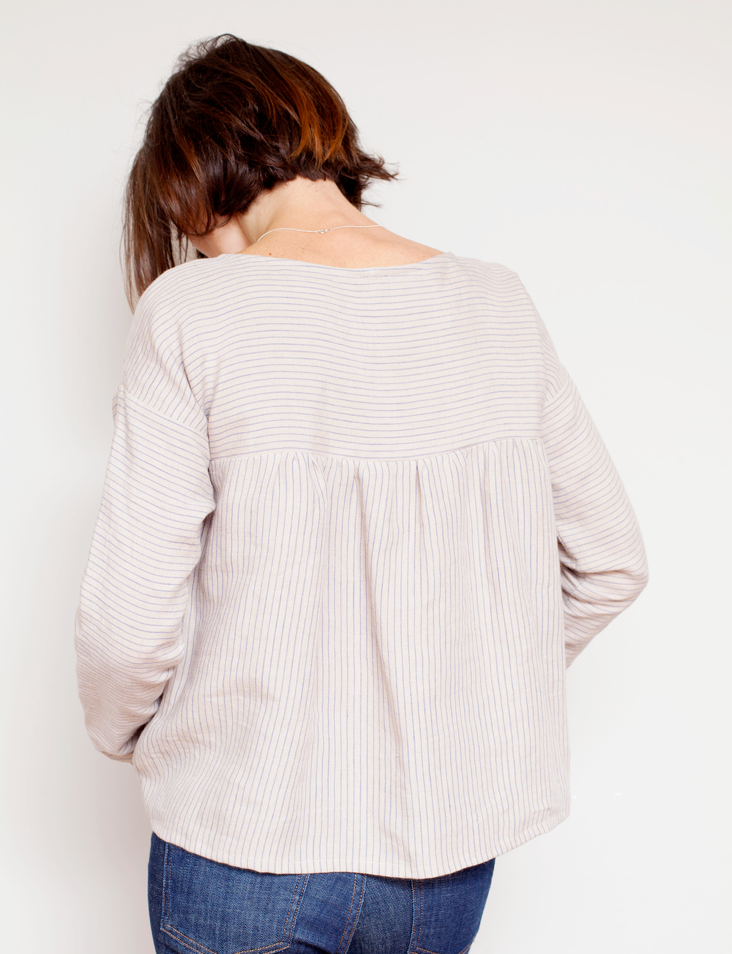
With this week’s tutorial we wanted to teach you how to sew Nola, a simple gathered long-sleeve blouse and to show a creative way to play around with stripes.
We all love stripes as they add a tinge of fun and flair to any outfit. However, some of us try to avoid sewing with stripes as matching them might be quite a challenge. It’s true that those lines require some extra attention but not with this blouse!
The best part about it is that you won’t be matching anything at all, quite on the contrary. By intentionally mis-matching and playing around with the direction of the stripes, we wanted to add a fun look to a simple garment.
Materials
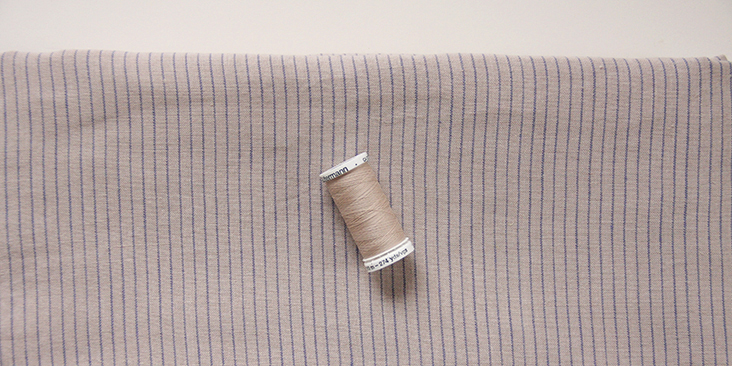
1.5 yards of IL045 865 STRIPES – 100% Linen – Middle Weight
Matching sewing thread
Tools
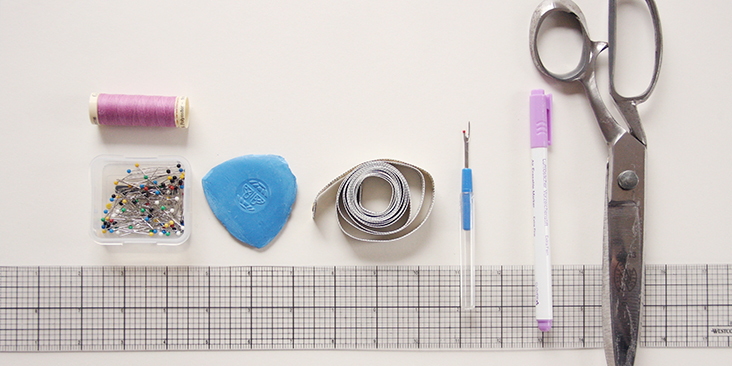
Pattern paper, scissors, pins, ruler, chalk, fabric marker, measuring tape, seam ripper, contrasting color sewing thread (for gathering), sewing machine
Time
2-3 hours
Difficulty
Beginner
Pattern
You can access the multi-sized printable PDF blouse pattern by following this link HERE.
Remember that the design calls for stripes mismatching so make sure that your fabric is placed in the right direction when you pin your pattern pieces: horizontal stripes for upper front/back panels, vertical stripes for lower front/back panels and the two sleeves.
Note that you’ll also need to cut three bands of fabric 1,5″ (4 cm) wide on the bias for the neckline binding. For detailed instructions on how to cut your bias tape please follow this tutorial.
Steps
Note: Prewash your fabric and tumble dry it until it is still slightly moist, dry in room temperature. Iron the fabric so it is easier to work with.
1. First, you need to gather the bottom fabric to the length of the top panel (both for the back and the front of your blouse). HERE is a step-by-step tutorial on how to gather your fabric. Be sure to use a contrast color thread and to secure your gathers once you’ve checked that the two panels match. As for the spacing of your gathers, we recommend to leave the sides ungathered to avoid bulk and distribute the rest evenly.
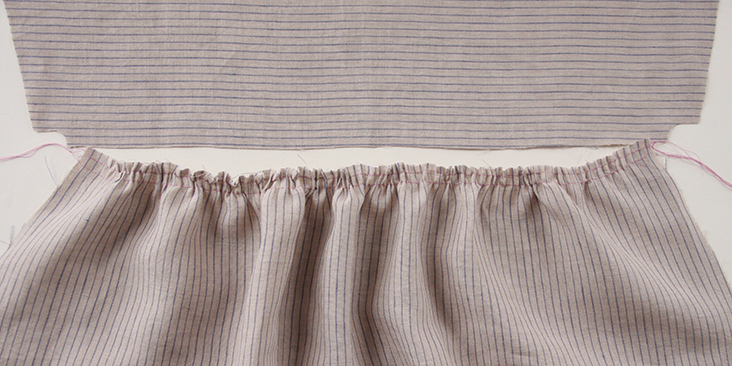
2. Pin the gathered bottom panel to the top panel right sides together.
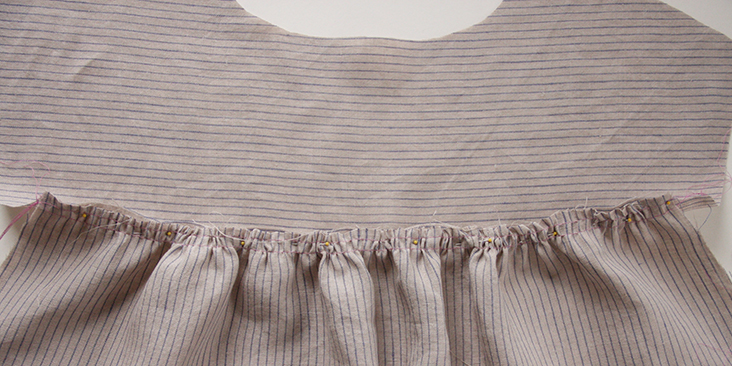
3. Sew at a 3/8” (1 cm) seam allowance between the two stitch lines that you used for gathering.
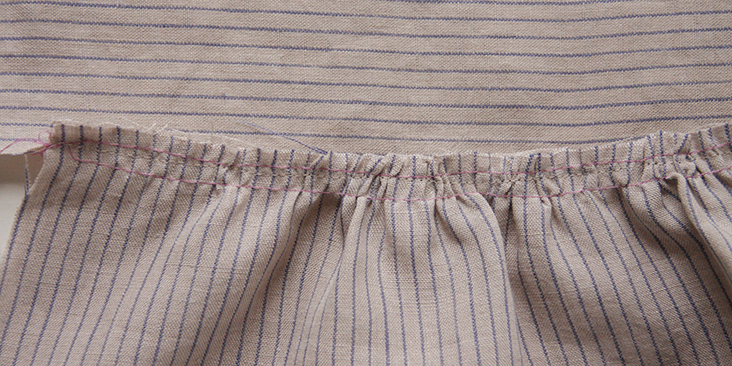
4. Remove the gather stitches using your seam ripper. This is why it is recommended to use a contrasting color thread – so that you don’t make a mistake and rip out wrong stitches. Trim the fabric and serge or zigzag the raw edges together to prevent them from fraying in the future.
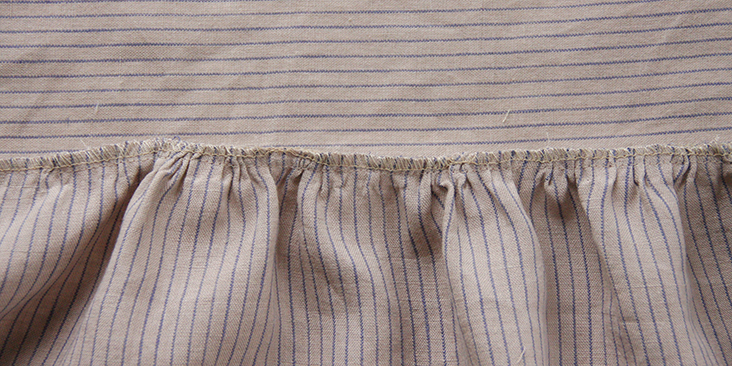
5. Press the seams flat folding the serged/zigzagged edges towards the bottom panel.
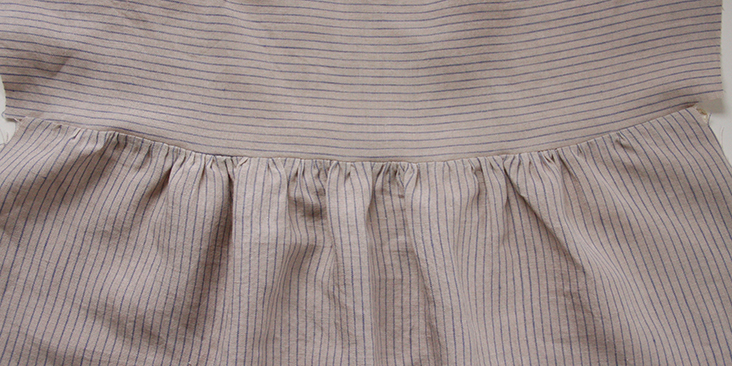
6. Repeat steps 1-6 for the back panels.
7. The next step is to assemble the front and the back together by pinning the shoulder seams right sides together.
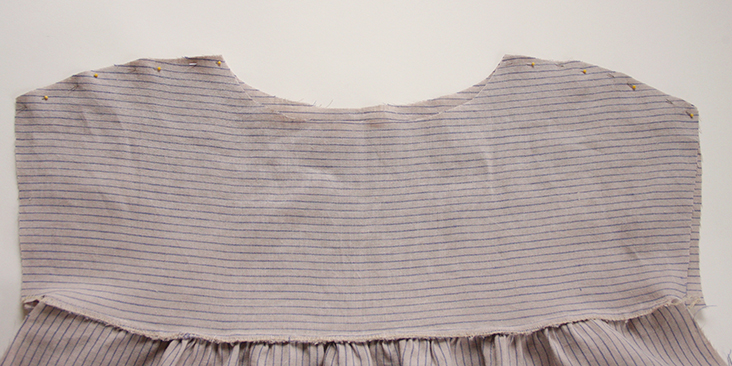
8. Sew your shoulder seams at a 3/8” (1 cm) seam allowance. Trim, serge or zigzag the raw edges together to prevent them from fraying in the future.
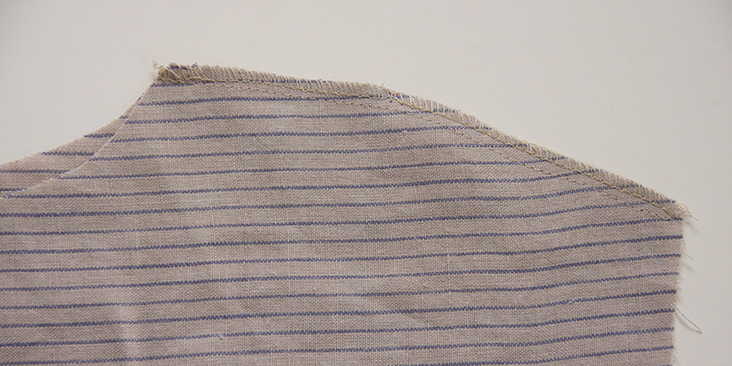
9. Press the seams flat folding the serged/zigzagged edges towards the back of your blouse.
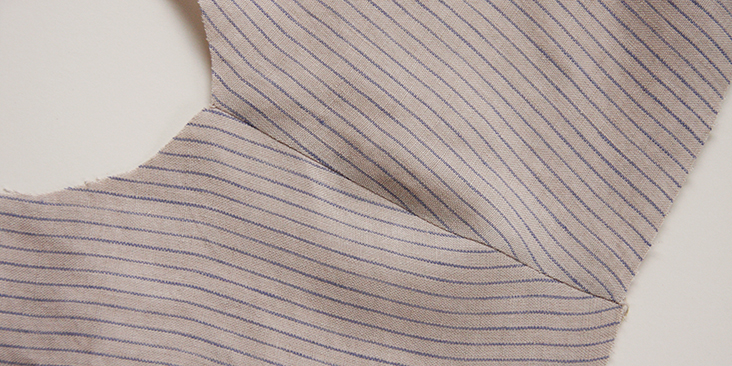
10. Bind the neckline following this tutorial. Make sure that when you attach the binding, the serged/zigzagged shoulder seam edges are folded towards the back of your blouse.
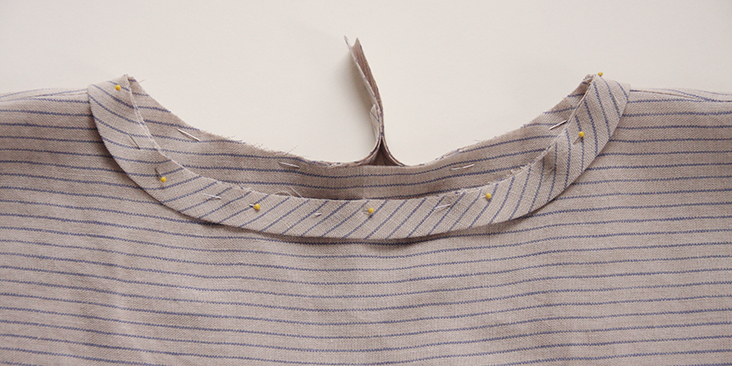
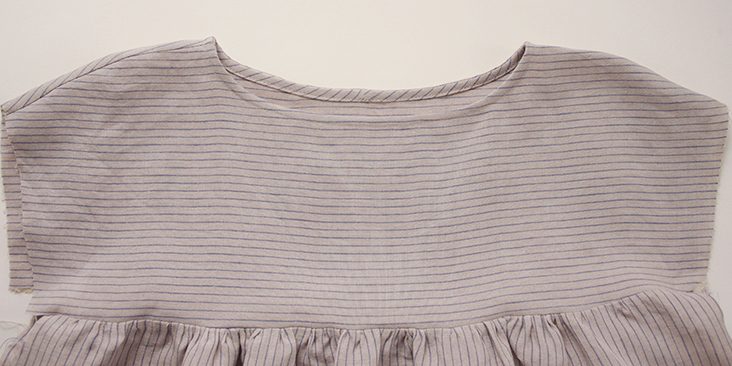
It’s time to attach the sleeves.
11. Match the center point of your sleeves (fold it in half to mark the center) to the shoulder seams, pin along the whole width of the sleeve panel with right sides together.
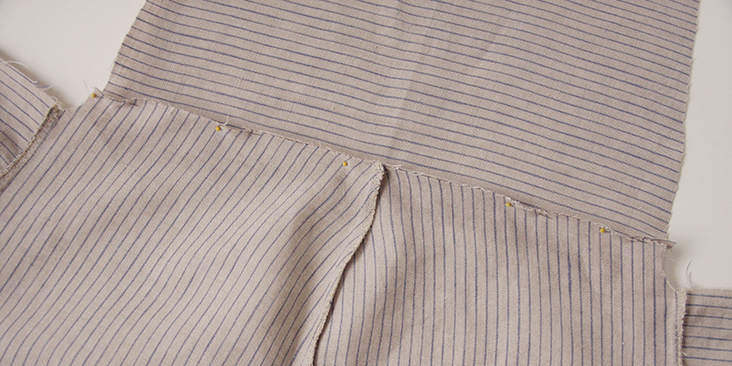
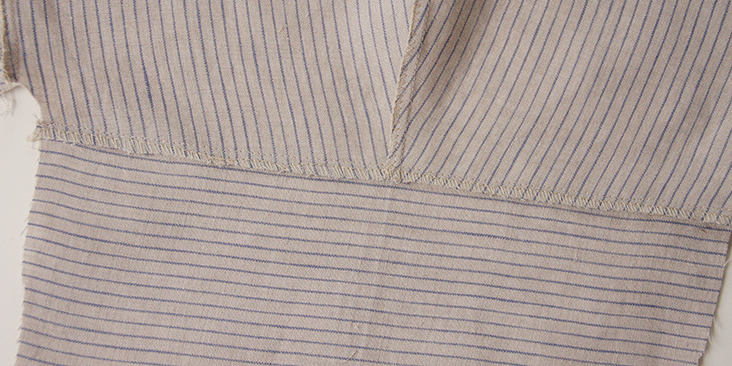
12. Stitch along the pinned edge at a 3/8” (1 cm) seam allowance. Trim, serge or zigzag the raw edges together to prevent them from fraying in the future. Press the seams flat folding the serged/zigzagged edges towards the sleeve panel.
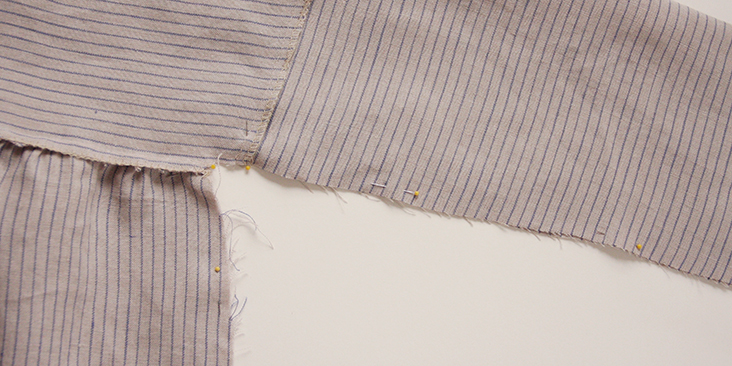
13. Now pin together the side seams of the sleeves and the bodice with wrong sides facing outwards.
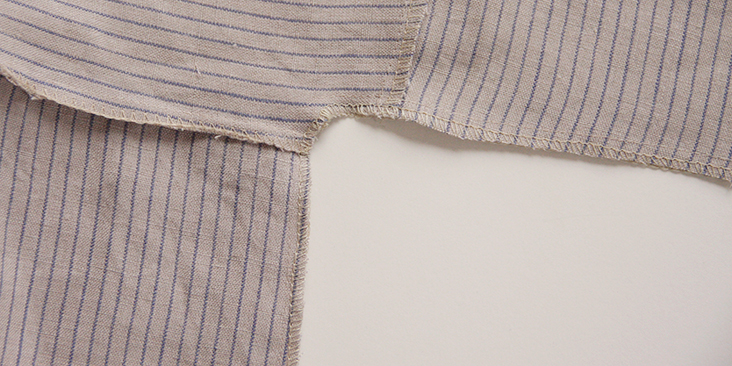
14. Sew along the pinned edges making sure to carefully stitch the armhole. Trim, serge or zigzag the raw edges together to prevent them from fraying in the future. Press the seams flat folding the serged/zigzagged edges towards the back.
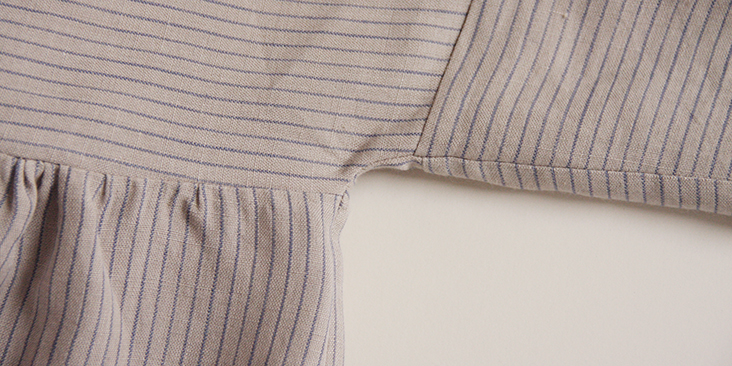
15. Now finish the sleeve openings with a rolled hem. Fold the raw edges 3/8″ (1 cm) to the wrong side. Press. Then fold another 1/2″ (1,25 cm), press and pin.
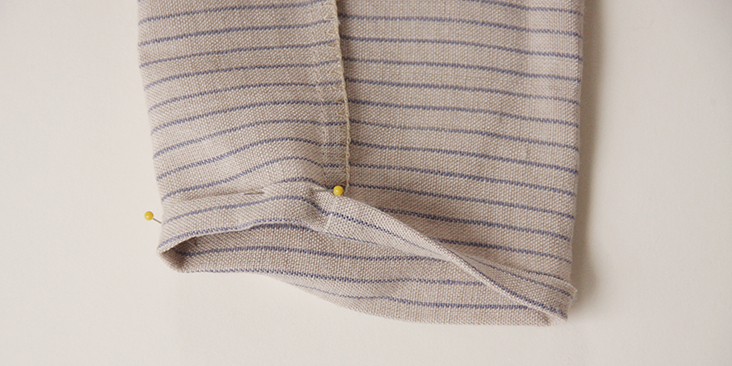
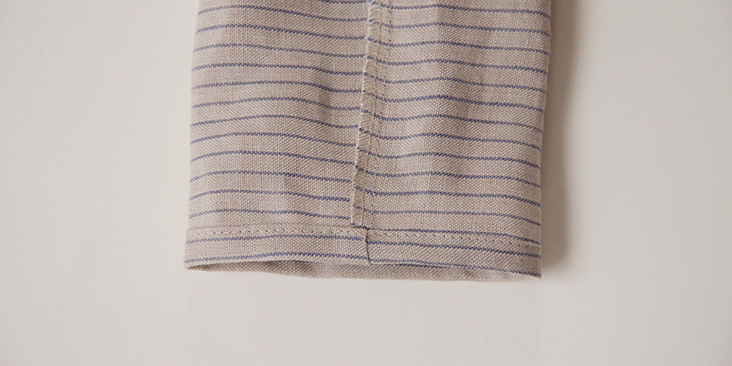
16. Topstitch over the folded edges and press again.
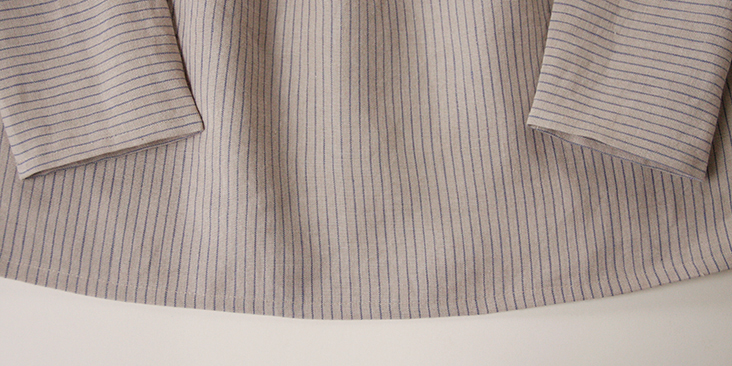
17. Repeat steps 15-16 to finish the bottom hem of your bodice and give it a good press.
















43 Comments
Negar Vafaei
Thank you for this beautiful work. I have a little problem! The Pattern link for me doesn’t work…Is the problem from website?
Masha Karpushina
Negar, thank you for notifying us, should all work now.
Ginette Bisaillon
This is November 2020 and the link works beautifully! What a nice blouse, can’t wait to make it.
Esther Martin
And why 3 bands? Thank you
Esther Martin
Hi,
Thank you for the pattern. Ím making it but I do?t know how long should the bias stripe be…
Thanks again.
LaurenW
what size is she wearing in the photo?
Tara
I’m waiting for the pattern, too – would love to make this!
Colisa
I would like to have this multi sized pattern, but like previous comments, the link just takes me to the main pattern page, and unfortunately the pattern is not listed 🙁
G R
Hi I’m trying to locate this pattern is it still available? Would love to make this blouse.
Rima Khusainova
Hello! We are working to get it back online as soon as possible so the pattern should be available again shortly! So sorry for the inconvenience, please come back and check again in a few days.
Stephanie
Just checked, the link still does not work for the pattern. Any updates on this? Thanks!
Kaleria
https://fabrics-store.com/?r=products/sewingPatterns
Hi I’m trying to locate this pattern but clicking on the available links only sends me to the above link… what am I doing wrong?
Thank you!
Kate
I agree- I am having the same issue. All of the links posted below just go to the main Patterns page. Would love to have the PDF for this!
Rima Khusainova
Dear Kaleria and Kate! Thank you very much for pointing this out to us. We are trying to fix the problem and the pattern should be available again really soon! So sorry about this.
Alix
What a nice blouse! I will start it soon… is the 1” hem allowance included in the pattern or should I add it ? Thanks!
Rima Khusainova
Hi Alex! So glad to hear you liked the pattern! The seam allowances are not included in the diagram’s measurements but are indicated in blue circles on all panels. So, you need to add 1″ for the hem and 3/8″ around sleeve edges and the side seams.
alix
Thanks Rima! In fact in the PDF this is written “seam allowance included” that’s why I am a little bit confused 🙂
Ruthann
I have been wearing size 14-16 patterns, with grading to help my tummy! And 14 to accommodate my shoulders. Would that be the same for this pattern? My most frequently used patterns are Butterick and McCalls, some Vogue. Thanks for any suggestions you might have.
Zsazsa
Love this pattern need size 14-16 please tks
Masha Karpushina
Dear Zsazsa, a printable multi-sized pattern finally available for this top: http://www.fabrics-store.com/first.php?goto=sewing_pattern_product&pattern_id=33
Phyllis
Cute blouse. I would need it in 22/24. Not could size up easily.
Masha Karpushina
Dear Phyllis, a printable multi-sized pattern finally available for this top: http://www.fabrics-store.com/first.php?goto=sewing_pattern_product&pattern_id=33
Donna
What a cute blouse!! I would love to have this multi size – US size 10 up to a size 24. I can see this one being popular for bigger women – but also great for early maternity – when close aren’t fitting right anymore and not quite looking pregnant yet – but wanting to disguise that “fat” look. LOL
Masha Karpushina
Dear Donna, a printable multi-sized pattern finally available for this top: http://www.fabrics-store.com/first.php?goto=sewing_pattern_product&pattern_id=33
Mary Jean Gross
I would like to have this top in a size 22 (USA).
Masha Karpushina
Dear Mary, a printable multi-sized pattern finally available for this top: http://www.fabrics-store.com/first.php?goto=sewing_pattern_product&pattern_id=33
Karen Alexander
Easy to adjust this pattern. Just take your tape measure, measure the pattern, say across the arm at the underarm. Measure your arm at the same location. Cut the arm pattern in half lengthwise down the center, and add the needed adjustment in the middle. Use paper and tape to create the new size by adding a strip in the middle of paper to equal your adjustment… Do this same change for the yoke front and back and the blouse body front and back. simple!… ! My mama taught me this simple way to change a pattern. Works with many, but not all patterns of course. Patterns with darts require that the extra be added in other ways for example.
Rima Khusainova
Karen! thank you so much for these great tips and useful info! I’m sure it’ll help a lot of people here to adjust our patterns to their sizes!
Masha Karpushina
Dear Karen, a printable multi-sized pattern finally available for this top: http://www.fabrics-store.com/first.php?goto=sewing_pattern_product&pattern_id=33
Karen Alexander
Sure would be nice to make this available as a .pdf. Going back and forth to the tut is kind of a drag!
But thanks for the nice, easy tute…
Rima Khusainova
You can easily create a pdf from the tab page if you want. Just go to File-> Print-> and then “Create a PDF”.
Gretchen Sheridan
I also need a Plus size and it seems like every-other comment relates to this issue, so please, please think of your profit from selling larger cuts of fabric! Even if we must send for the patterns and pay the shipping, it’s a win, win for both sides! Thanks, Gretchen Sheridan in Washington State.
Rima Khusainova
Dear Gretchen! We are working on getting printable multi-size patterns for our projects so should be able to provide you with larger sizes soon.
Masha Karpushina
Dear Gretchen, a printable multi-sized pattern finally available for this top: http://www.fabrics-store.com/first.php?goto=sewing_pattern_product&pattern_id=33
Lorraine Newman
I love all your patterns, especially the ones for linen fabrics, but I always have to size up. I’d be so grateful if you could start including plus sizes, up to UK size 26 would be perfect and I belong to a large group of plus size sewists who would love to see this too? Thank you for this great resource. Lorraine x
Rima Khusainova
Dear Lorraine, thank you very much for your comment. We are working on it so please bear with us a little longer or use Karen’s advice in one of the comments here to adjust this blouse to your size.
Masha Karpushina
Dear Lorraine, a printable multi-sized pattern finally available for this top: http://www.fabrics-store.com/first.php?goto=sewing_pattern_product&pattern_id=33
Geralyn Sparough
I would love to have this pattern in US women’s size 10-12!
Rima Khusainova
Dear Geralyn, this blouse is pretty easy to size up. We have a great tutorial HERE that explains how to grade patterns.
Masha Karpushina
Geralyn, printable multi-sized pattern finally available for this top: http://www.fabrics-store.com/first.php?goto=sewing_pattern_product&pattern_id=33
Carla
I really love this top, but I’ll need a tutorial on how to make it bigger to fit my upper arms. Looking forward to seeing what’s up next!
Rima Khusainova
Dear Carla, we have a great tutorial HERE that explains how to grade patterns to your size or you could follow Karen’s great advice in the comments to this post.
Masha Karpushina
Carla, here is a printable multi sized pattern for this top. Hope this helps you: http://www.fabrics-store.com/first.php?goto=sewing_pattern_product&pattern_id=33