Sewing Glossary: How To Bind Mitered Corners With Bias Tape Tutorial
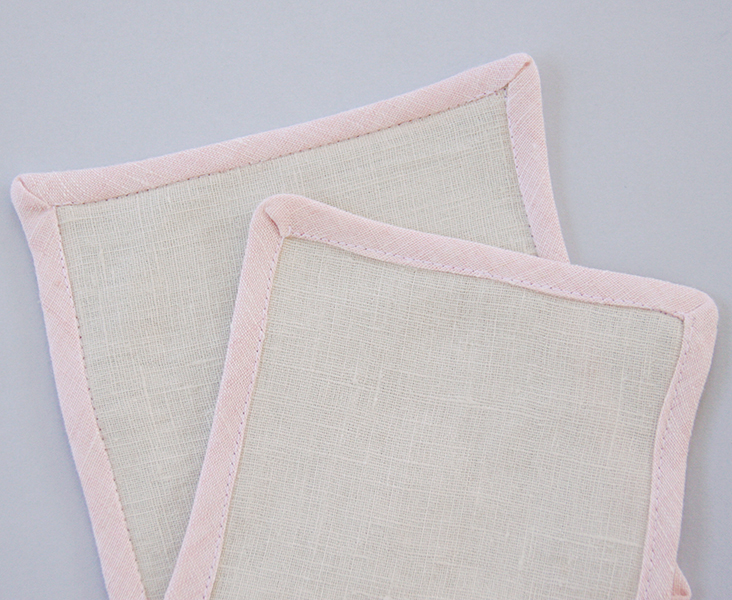
In our previous tutorials we have shown you how to cut and make your own bias tape and how to attach it to curvy and straight edges of your projects. In this post we are going to explain to you how to bind mitered corners with single-fold and double-fold bias tape.
Materials & Tools
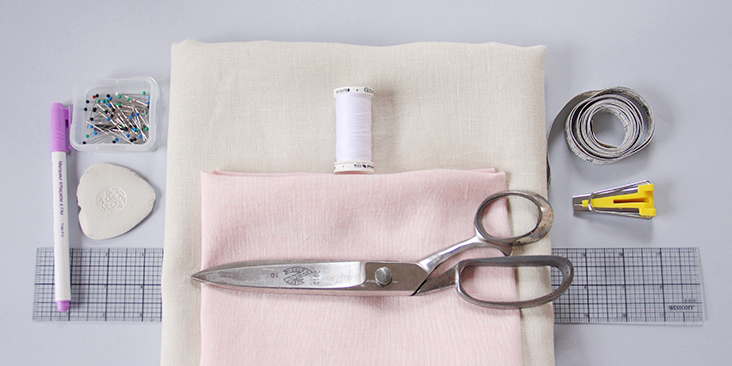
For the purpose of this tutorial, we are using two contrasting fabrics. IL042 894 Premier Finish for the bias tape and IL019 ANTIQUE WHITE Softened for the bodice.
Matching sewing thread (for the purpose of this tutorial we are using a contrasting white color thread), ruler, bias tape maker, fabric pen or chalk, scissors, sewing machine, iron
Difficulty
Beginner
Steps
Note: Prewash your fabric and tumble dry it until it is still slightly moist, let this dry in room temperature. Iron the fabric so it is easier to work with.
Make your bias tape using the traditional method or the continuous method.
Binding Corners with Single-Fold Bias Tape
Single-fold bias tape is bias tape with each raw edge folded in toward the center, wrong sides together, and pressed.
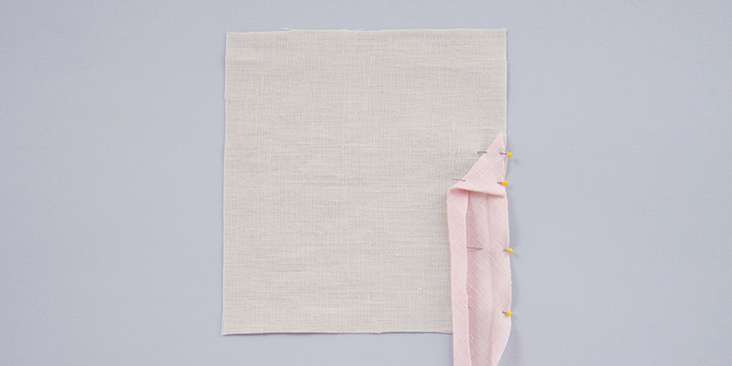
1. Unfold your bias tape and pin one of its raw edges to one straight edge of your project aligning the two right sides together.
Start in the middle of one side of your item. At the beginning fold the bias tape down into a triangle like this:
2. Stitch your bias tape to the fabric in the upper crease until you come to about seam-allowance distance away from the corner of your project (in my case 3/8″) and backstitch.
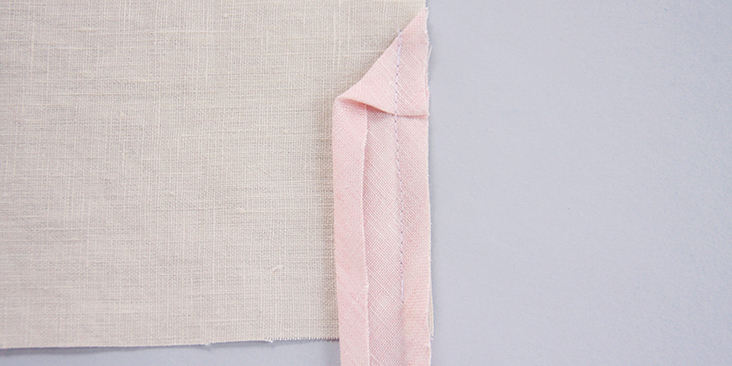
3. Fold your bias tape triangle up and to the right forming a 90 degree angle. Neatly finger press.
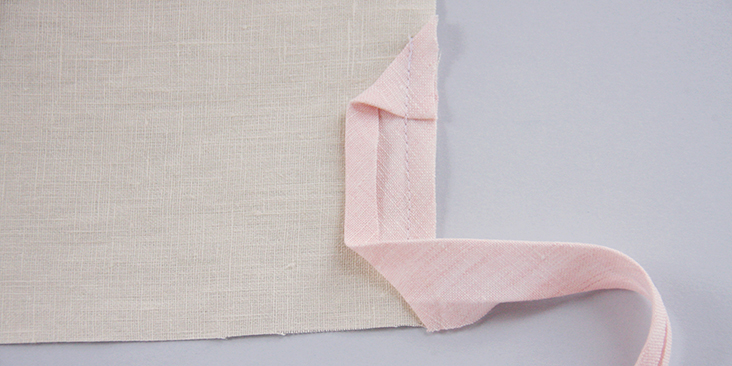
4. Then fold your tape around the other edge and pin again.
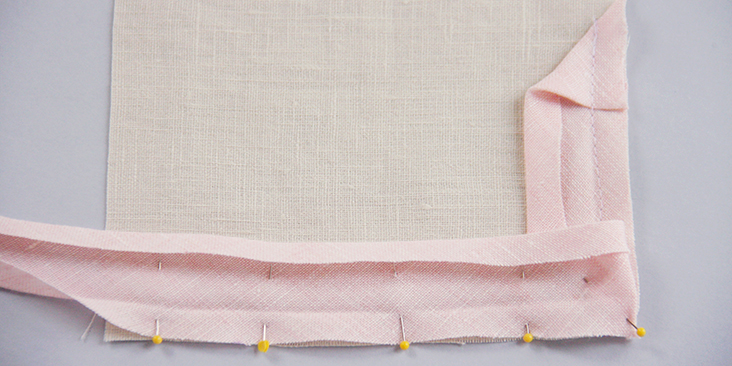
5. Repeat steps 2-3 for the remaining corners until you reach the other end.
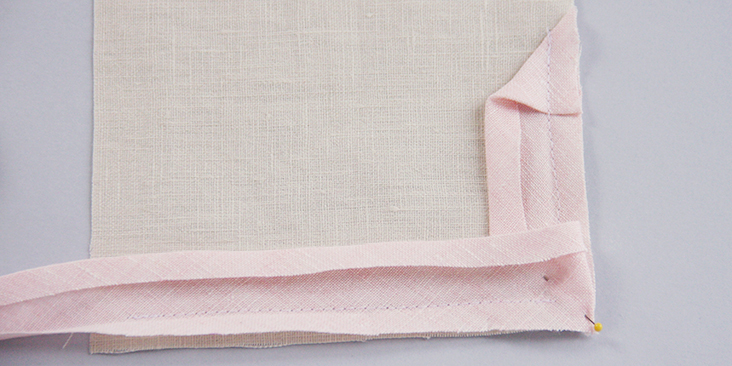
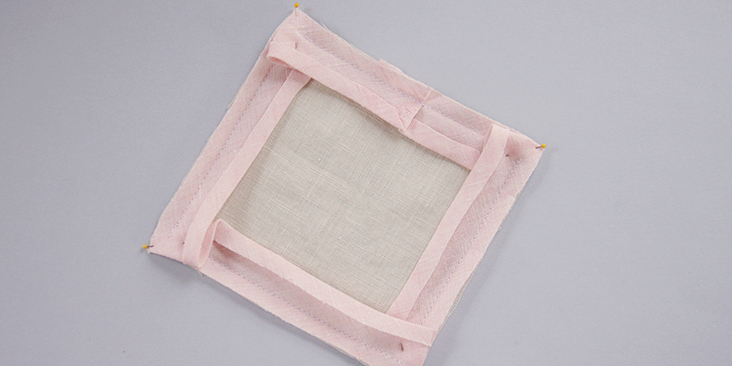
6. When you get back to your starting point, overlap 1 inch the two tails and stitch over joining them together. Remember to backstitch.
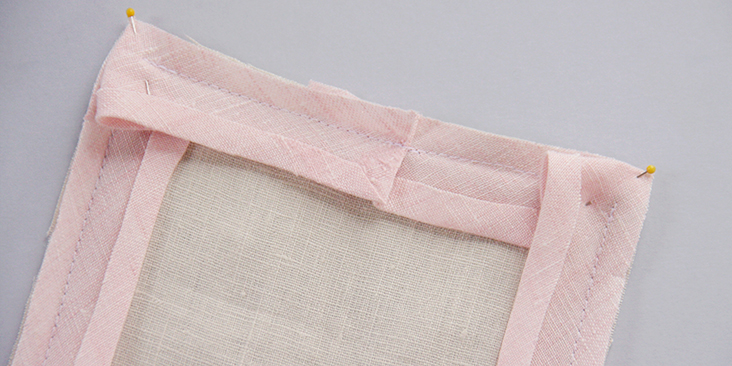
7. We recommend trimming the seam allowance to 1/4″ but this step is optional.
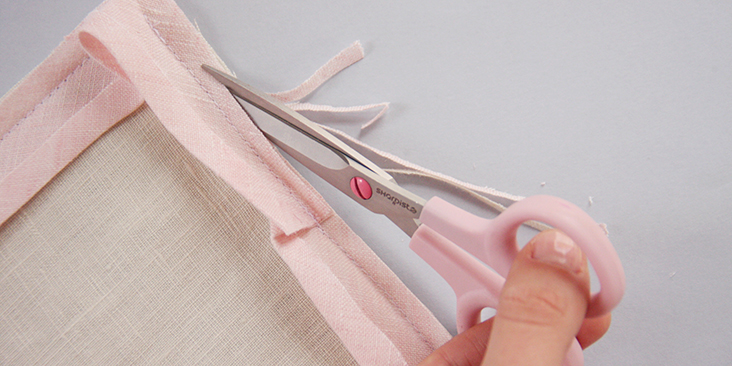
8. Lightly press the seam toward the tape.
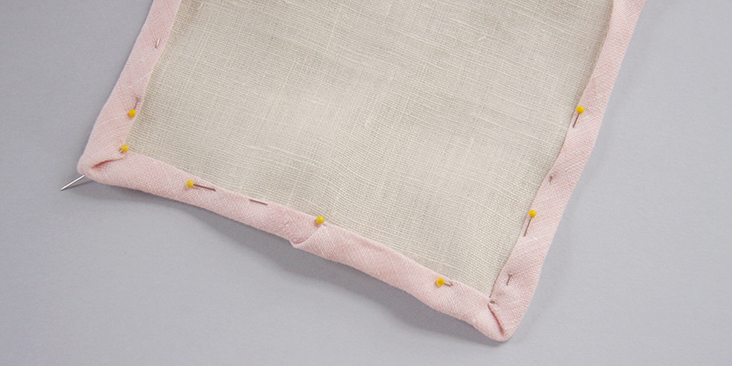
9. Carefully fold the tape over the stitching (to the wrong side of your fabric) taking care to cover the stitching as you fold. At the corners, check that it is folded into a nice diagonal. Pin.
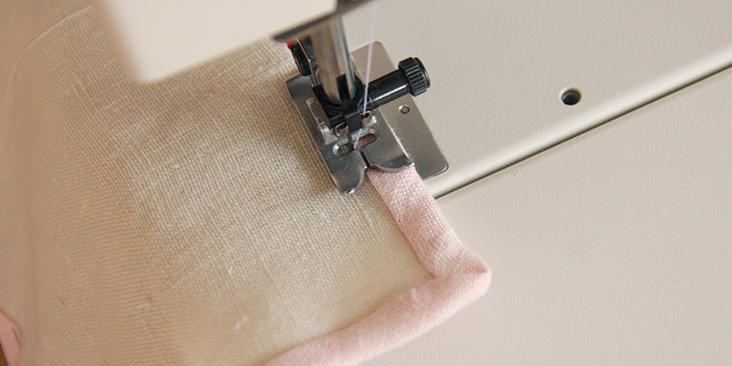
10. Topstitch the tape in place (from the right side) in the crease or as close to the bottom edge as you feel comfortable.
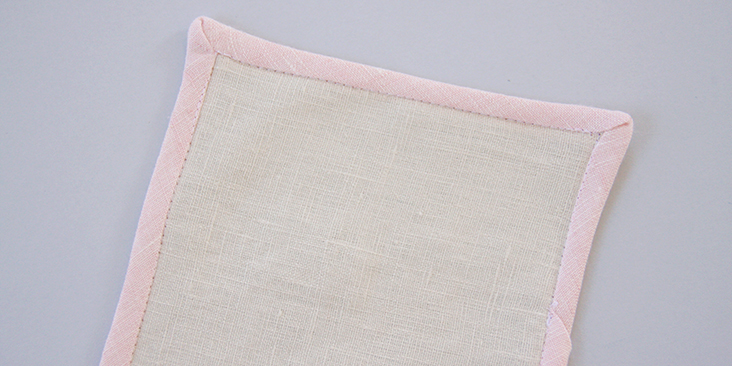
Binding Corners with Double-Fold Bias Tape
A double-fold bias tape is a single fold bias tape which has been folded in half lengthwise and pressed, with the single folds to the inside.
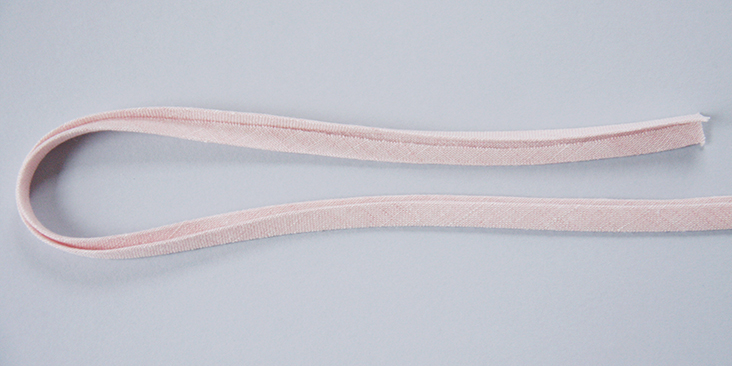
Just a reminder that one side of the double-fold bias tape should be slightly wider than the other. For more information about this check our tutorial HERE about attaching the double-fold tape.
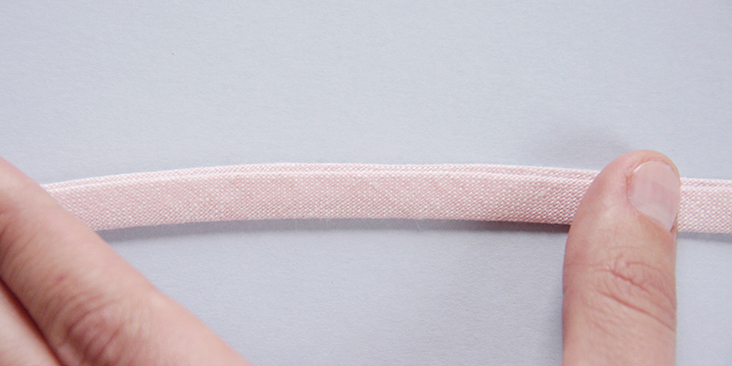
1. Slip the edge of the fabric between the folds of a bias tape, placing the raw edge against the center crease and the wider folded edge of the tape on the inside/back of your garment.
Start in the middle of one side of your project:
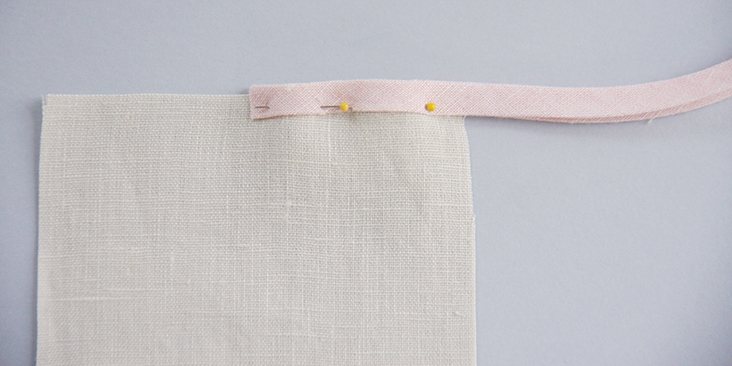
2. When you reach the corner, open the tape (to the single-fold size), slip the other straight edge inside, form a 45 degree angle and pin.
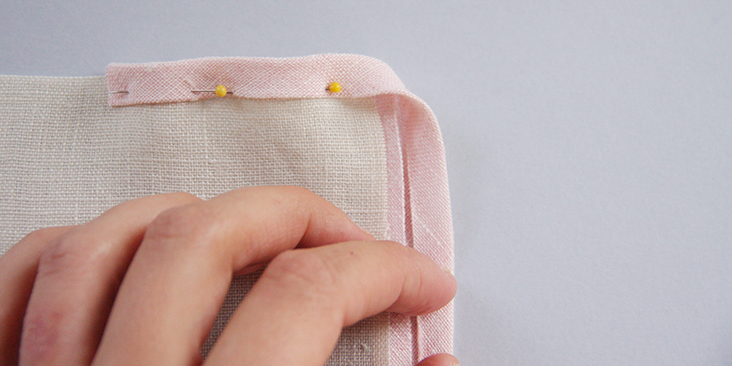
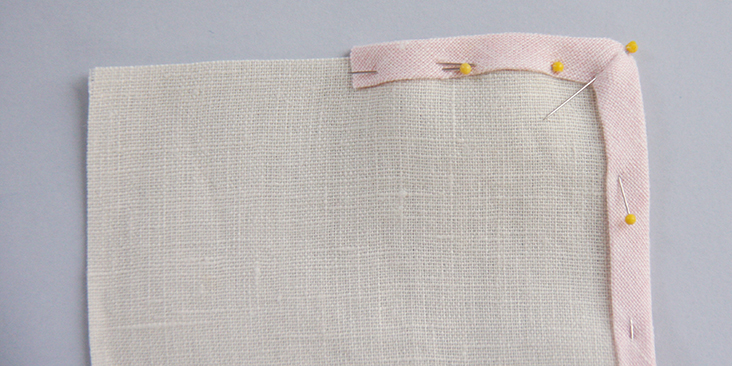
3. Repeat for the remaining corners until you reach your starting point.
4. Tuck the raw edge of your second tail inside the tape and overlap the two ends. Pin.
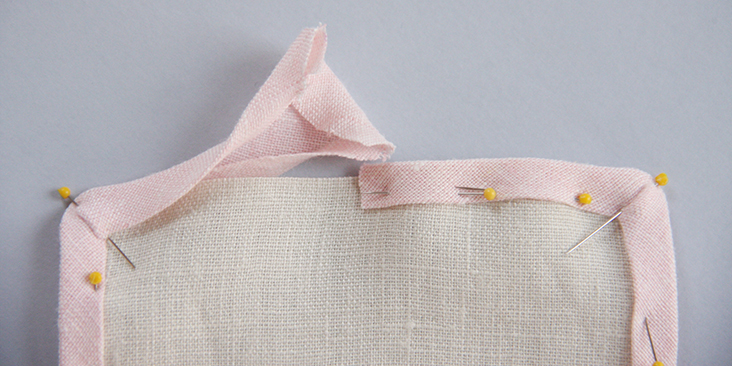
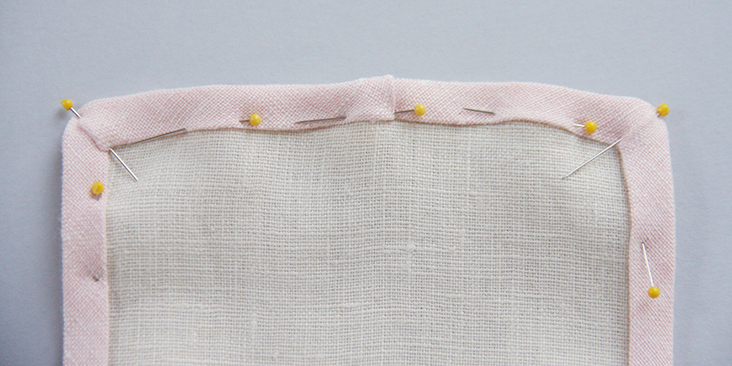
5. Working from the right side, stitch through all layers at once as close to the bottom edge as possible, removing pins as you go. Pivot the needle When you get to your corners, stop the machine with the needle still in the fabric, pivot your piece and keep stitching. Remember to backstitch at the end.
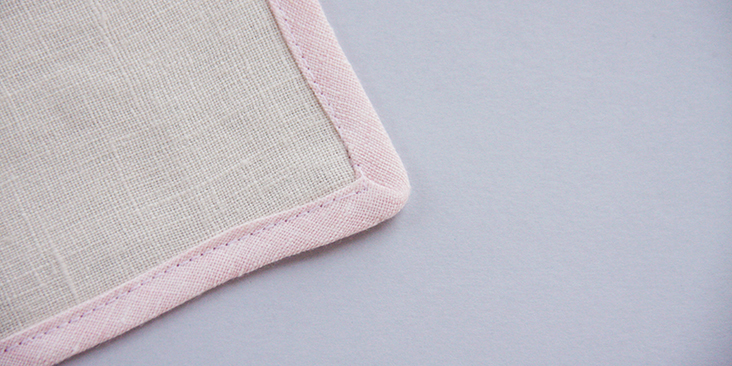
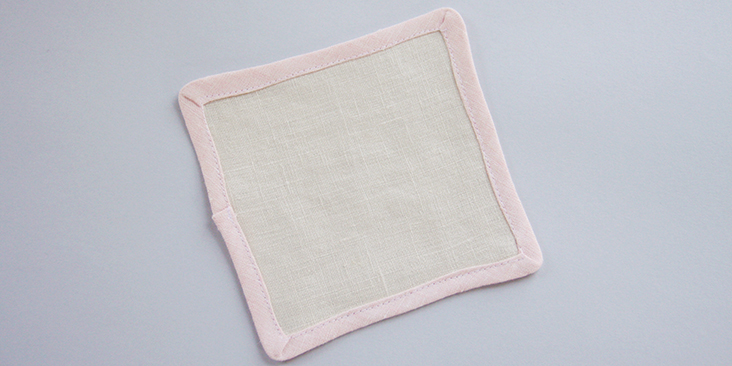
We hope that these tips on binding mitered corners with bias tape will help you with your future projects! Next week we are going to complete our bias tape series with a tutorial on how to bind inverted corners with your bias tape.









6 Comments
Madilyn Hodge
Great detail tutorial. I never gave much thought to this. Can’the wait to use it. Thank you.
Rima Khusainova
Thank you so much Madilyn! You’ll see that binding corners is pretty easy when you know how 🙂
Rhonda Crisp
Thank you. I’m a beginner quilter and this helped a lot.
Rima Khusainova
Hi Rhonda! Happy to hear that we could help!
Regina
Lovely tutorial. Thank you!
Rima Khusainova
Thank you Regina!