Sewing Glossary: How To Make Continuous Bias Tape Tutorial
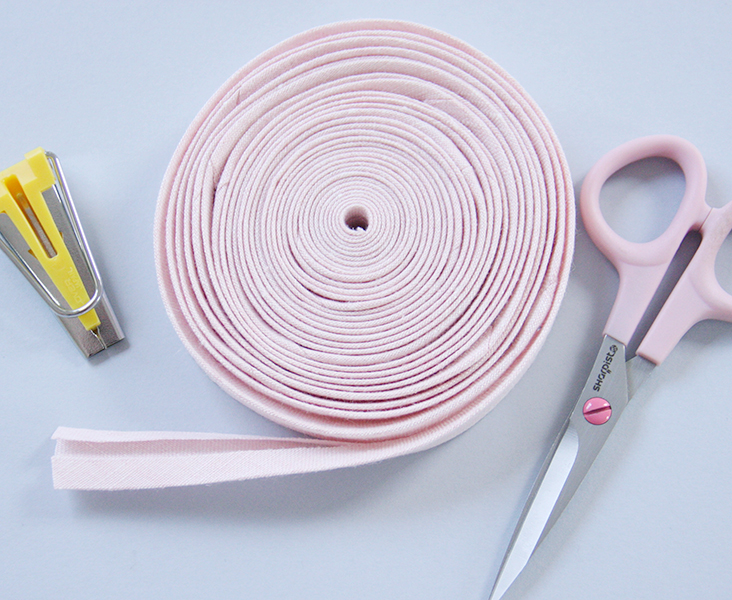
Last week we showed you how to make your own bias tape the traditional way. Whereas this method is great for making short amounts of bias tape for binding a neckline or a couple of armholes, sometimes the project your are working on might require larger amount of bias tape.
To save yourself some time on sewing of all these small seams one by one, we wanted to show you today a great trick for making continuous bias tape from one single square of fabric. Since there’s less pinning and sewing, this method is much faster and will allow you to create large amounts of bias tape in no time.
Materials & Tools
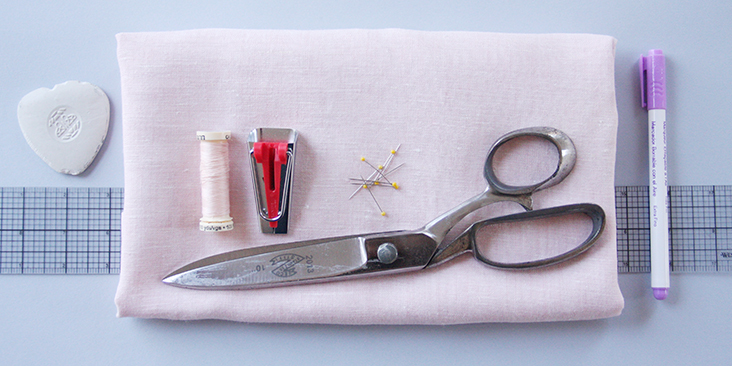
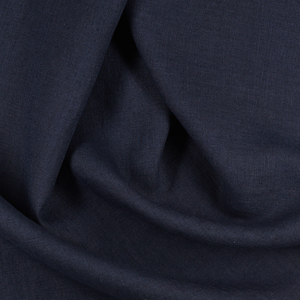
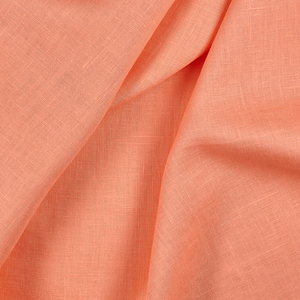
Fabric of your choice (we are using our beautiful yarn-dyed medium weight linen in IL042 894 Premier Finish color)
Matching sewing thread, ruler, bias tape maker, fabric pen or chalk, scissors, sewing machine, iron
Difficulty
Beginner
Time
1 hour
Pattern
You need to decide how wide your finished bias tape should be depending on a specific project and the bias tape maker that you are planning on using. For example, if you are using the 1/2″ bias tape maker, you will need to cut your strips of fabric to 1″ wide. We are using a 3/4″ bias tape maker, so we will be cutting our fabric into one continuous 1,5″-wide strip. You can also check the instructions included with your bias tape maker to cut the strips to the appropriate width.
Once you’ve figured out the width of the strip you’ll be cutting, you need to decide how much of it you’ll need depending on the project you are working on. To understand how much bias tape you’ll be getting out of your square of fabric, you’ll need to do a little math. First, figure out the surface of your square by multiplying the length by the width. Now divide that number by the width of the strips you’ll be cutting and subtract the measurement one row. That will give you a rough approximation of the amount of bias tape you’ll be able to make.
For example, from a 14-inch square of fabric, you’ll get approximately 116″ inches of a 1.5-inch wide bias strip.
14″x14″ = 196″
196″ ÷ 1.5″ (the wide of the strip) = 130,6″
130,6″ – 14 (since you’ll be offsetting one raw) = 116″ (total length of your bias tape strip). Minus a couple of inches since you’ll be most likely discarding the corners.
Steps
Note: To avoid shrinking and wrinkling, prewash your fabric and tumble dry it until it is still slightly moist, let it dry in room temperature.
1. Iron the fabric so it is easier to work with.
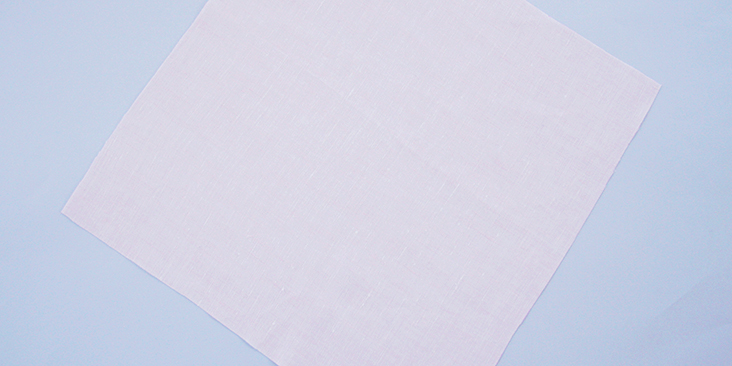
2. Once you’ve calculated the amount of bias tape you’ll need, cut yourself a square of fabric making sure that all its corners have 90 degree angles. If you’re working with a full width of fabric, remove the selvages. For the purpose of this tutorial, we cut a 14″ square.
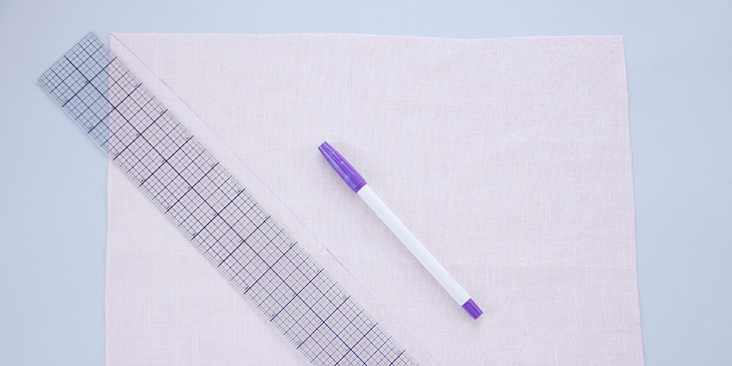
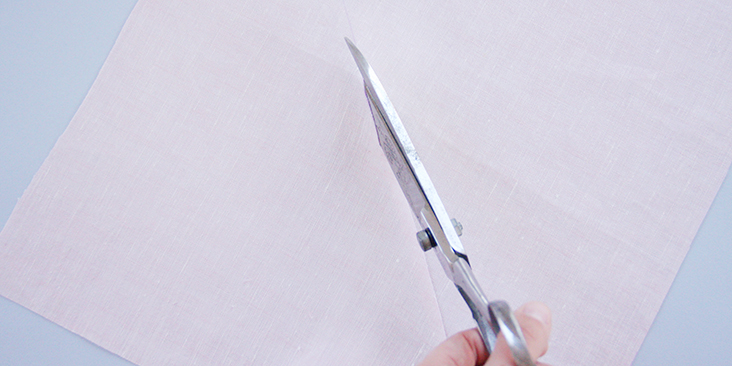
3. Draw a diagonal line across your square (along the bias) using your ruler and cut.
4. With right sides together, pin the two triangles together at either of the straight (not diagonal) sides. When you pin, make sure that your corner tips a little offset and are hanging over the same amount of fabric. It will make it easier to sew the two rectangles together.
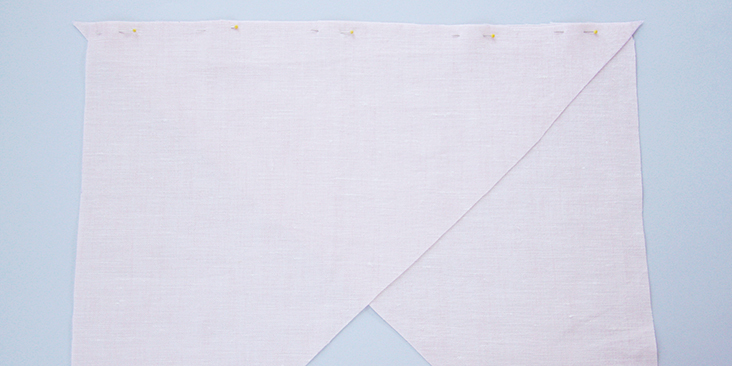
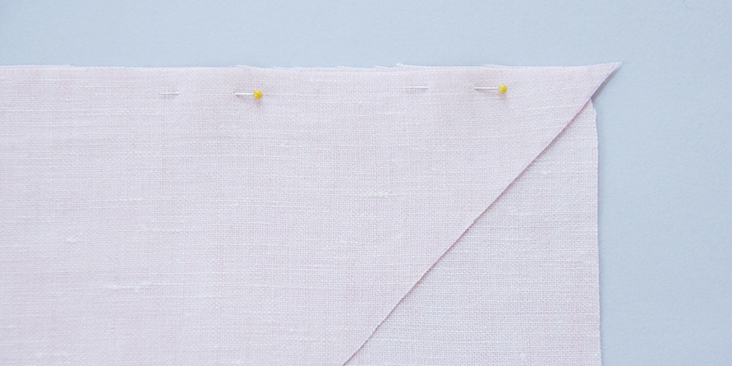
5. Sew the two pieces together at a 3/8″ (1 cm) seam allowance.
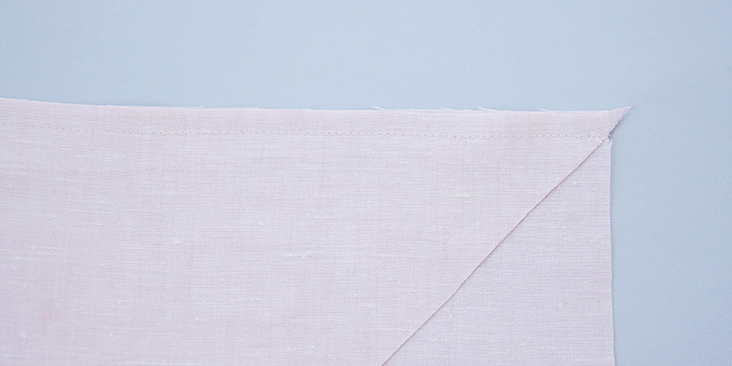
6. Trim the seam allowance down to 1/4″ and press it open.
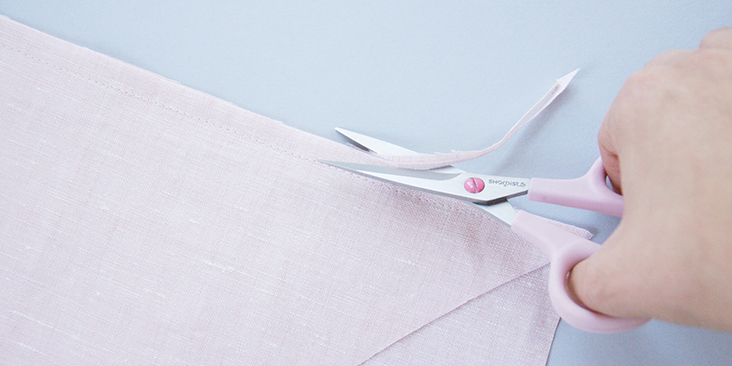
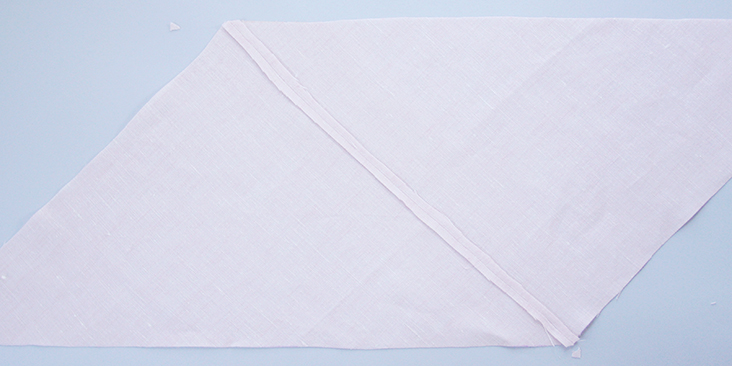
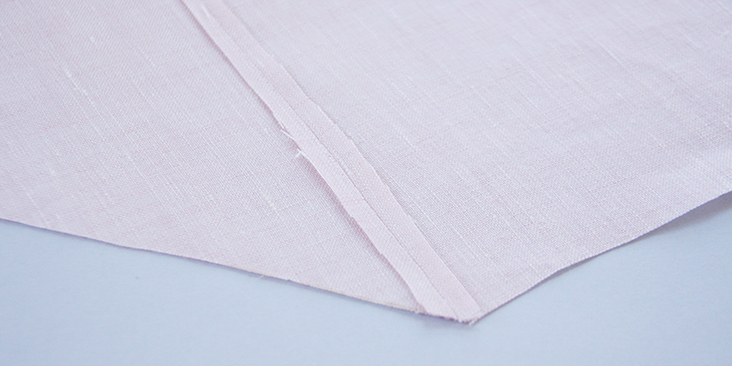
7. Lay your piece of fabric (a nice parallelogram) flat on the table and start drawing your lines to the desired width using your fabric marker. They should be parallel to the longer edges of your piece of fabric. Since we will be working with a 3/4 -inch bias tape maker, we’ll be drafting 1.5-inch wide strips. It doesn’t really matter if you mark your lines on the right or wrong side of the fabric, but we find it easier to draw on the right side that doesn’t have the seam’s raw edges in the middle.
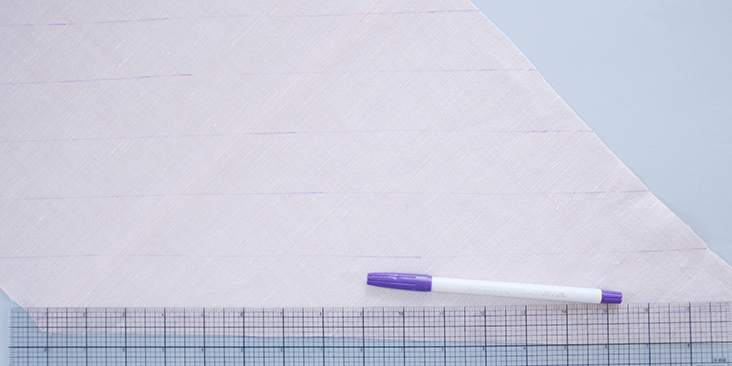
8. Trim the extra fabric should you have any.
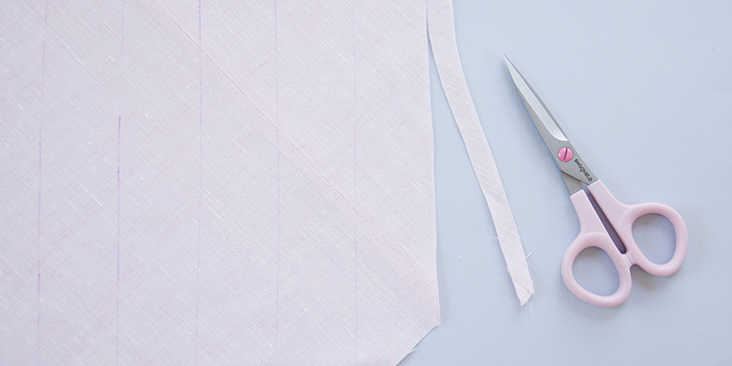
9. With right sides together, fold the narrow tips of your parallelogram lengthwise to make a small square.
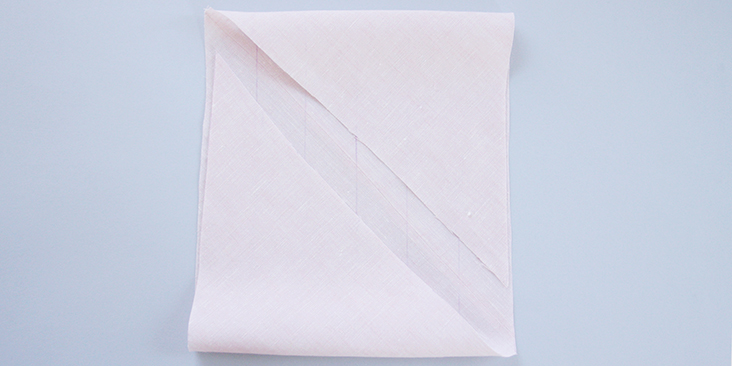
10. Once folded, offset the first row, line up your drawn lines and pin right sides together. Be sure to match the lines at the seam line, 1/4″ from the edges, not at the edges.
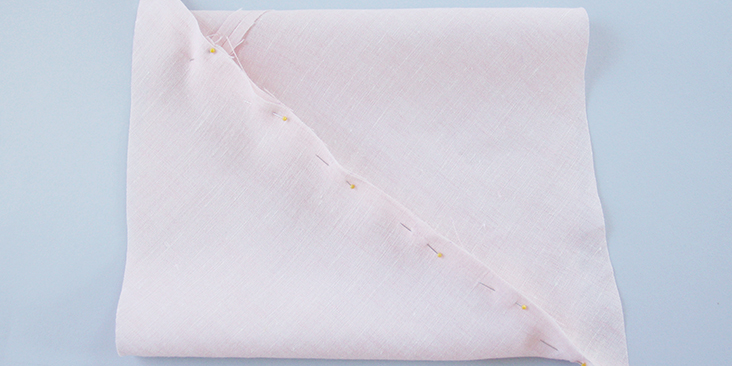
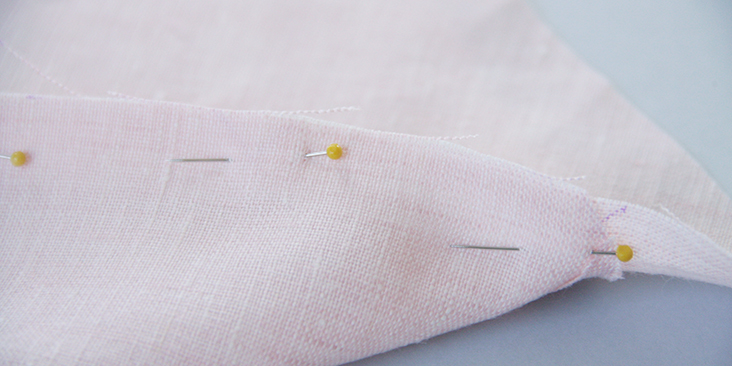
11. Sew the two edges together at a 1/4″ seam allowance to create a tube.
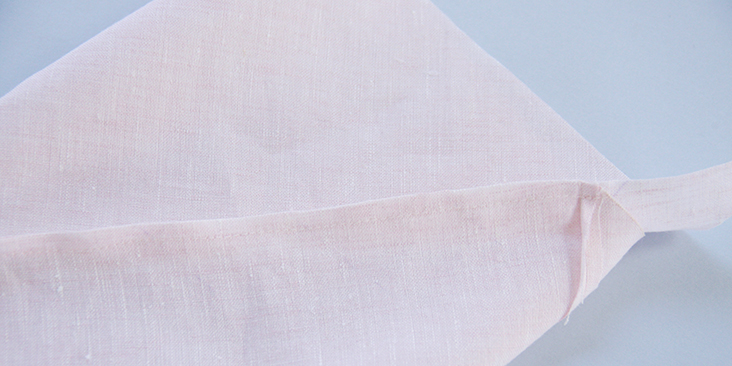
12. Press the seam open.
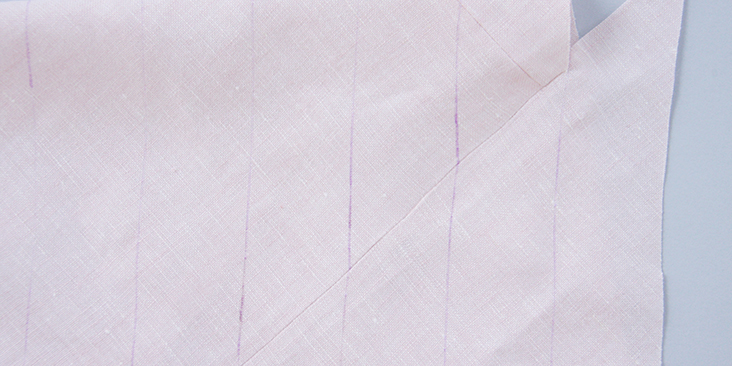
13. Starting at the first offset row of drawn lines, cut until you reach the end.
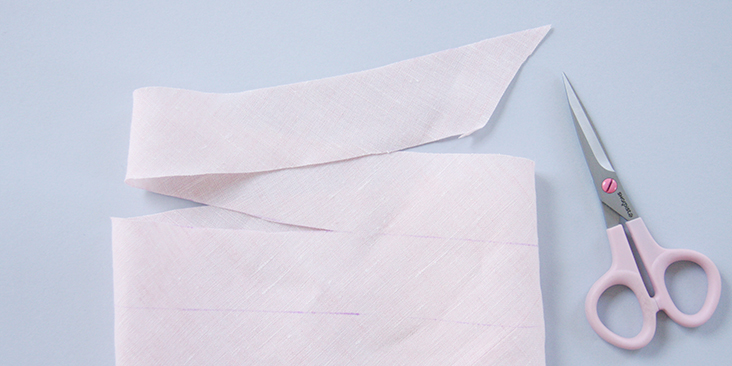
14. The last thing to do is to pull your continuous bias tape strip through your bias tape maker and press it with your iron. Follow our tutorial HERE for detailed instructions.
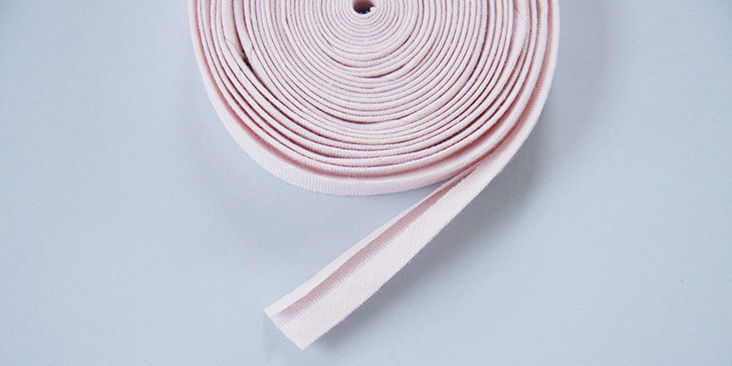
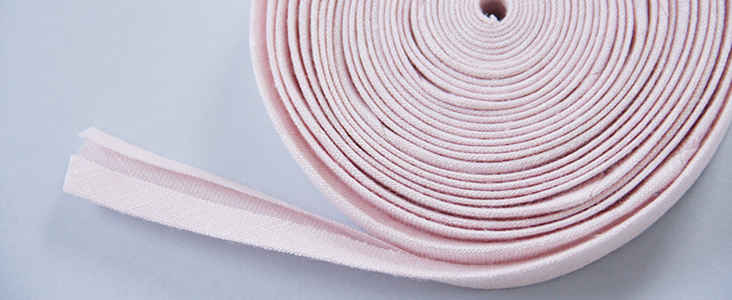
Your custom-made bias tape is now finally ready! You can roll it all together or wrap around a bobbin to store it until you need to use it.
















12 Comments
Brenda Pierson
I tried to put your instructions on my Pinterest page, but was unable. It only allowed Facebook and Tweet. Is there a way to get this done? Thanks for your incredibly helpful tutorial on bias tape. It is the first time I truly understood it, as in learned how without having to follow detailed instructions, and I have been saving great instructions on my page. Thanks!
Rima Khusainova
Dear Brenda, thank you very much for your comment. I’m so glad you found this tutorial helpful! As for saving it to Pinterest, when you move your mouse to one of the photos in the post, you’ll normally see a little “save/pin it” icon that will appear. Click on it and it’ll take you to your pinterest page where you can save it. Hope this helps!
Deborah Kristal
These are very nice, clear instructions. I like to make my own quilt binding using the continuous method. You can use the square root function on your calculator to determine how big a square you need to start with:
1) Multiply the number of inches of binding needed to go around your quilt by the width of the binding.
2) Find the square root of that number
The answer is the size of square you need to cut
For example, For example, if my quilt is 36″ x 45″ I need 36+36+45+45 = 125″ to go around the quilt. I’m using a 3/4″ bias tool, so the binding needs to be cut 1.5″wide.
125″ x 1.5″= 187.5. The square root of that number is 13.69306393 . I round 13.69…. up to 14, and cut a 14″ square.
Rima Khusainova
Thank you so much for this great tip Deborah!
Christopher L
Thanks for your nice article. I just used another web sites tutorial (love it make it .com) and it was almost unreadable due to all the ads between the steps. YOURS is so much better. THANK you.
Athena PN
Bless you for this! I’ve seen other descriptions of this method that lost me: yours is easy to follow & the illustrations add a lot of value to the text. Thank you – I can do this now!! 😀
Joy
You can produce a parallelogram by *any* method and follow from step 7 on.
Sometimes scraps have a piece that can be trimmed on the true bias and straight grain to make a seamless parallelogram, sometimes you can sew a triangle to a trapezoid, sew two trapezoids together, sew triangles to both ends of a rectangle, and so on and on.
CAL
Thank you! Very helpful.
Donalee Kennedy
This is pretty great information. thanks
Cindy
Thank you so much for this tip. I will save so much time using this process. I can’t wait to try it! Love your linen and tutorials!
Kathleen Buckley
This is a very useful tutorial, particularly the method of figuring the yield of bias tape from the square.
Janet
Thank you for this tutorial! I used a yard of 59″ wide fabric the last time I tried this which was too cumbersome. This 14″ square will give me the neckline and sleeve binding length that I need without the awkwardness of excess fabric. Your calculations make a lot of sense. Many thanks!