Sewing Glossary: How To Make Your Own Bias Tape Tutorial
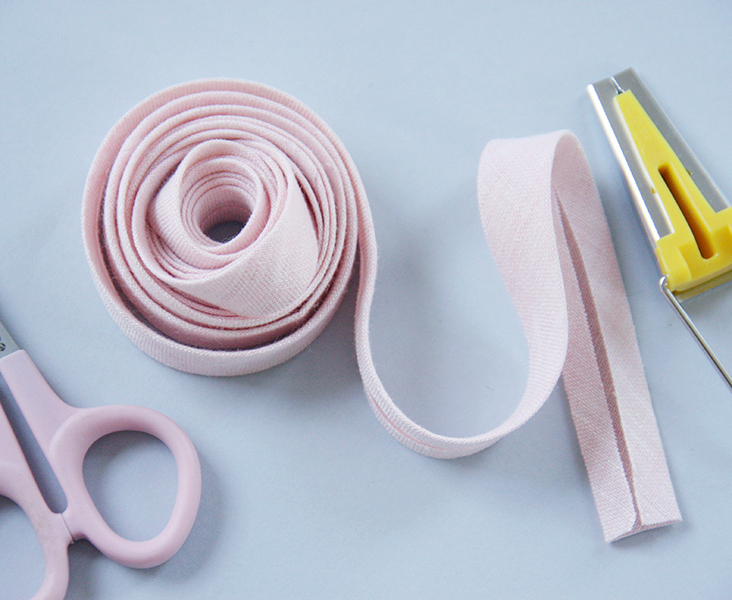
Bias tape is something that is often used in sewing for binding necklines and armholes or finishing raw edges. As its name suggests, bias tape is a long strip of fabric that’s been cut on the bias of fabric (diagonally across the grain of the fabric). Because it is cut on the bias, it’s stretchier and more flexible, which makes it really easy to sew around curves and irregularly shaped edges. Plus, it allows to enclose all raw edges for a neat and clean finish.
And even though you can buy it in the store, chances are that you might not find the right color or texture, especially if you like to sew with linen as much as we do, since the store-bought bias tape is usually made out of cotton.
In this easy tutorial we are going to show you how to make your own bias tape to match your fabric!
Materials & Tools
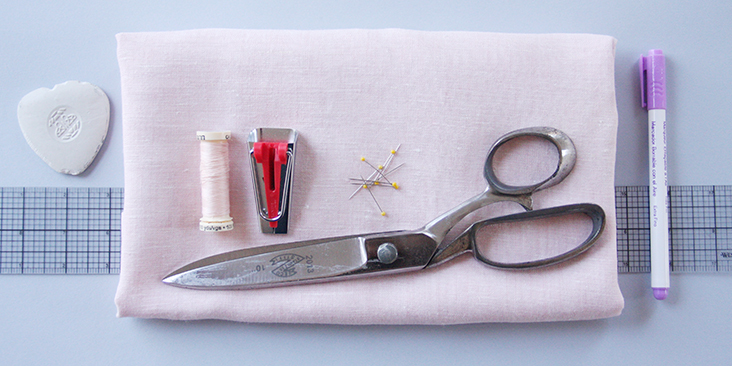
Fabric of your choice (we are using our beautiful yarn-dyed medium weight linen in IL042 894 Premier Finish color).
Matching sewing thread, ruler, bias tape maker, fabric pen or chalk, scissors, sewing machine, iron
Difficulty
Beginner
Time
1 hour
Pattern
Pre-cut your fabric strips to a width double that of your finished bias tape. For example, if you are using the 1/2″ bias tape maker, you will need to cut your strips of fabric to 1″ wide.
We are using a 3/4″ bias tape maker, so we will be cutting our fabric into multiple 1,5″-wide strips.
You can also check the instructions included with your bias tape maker to cut the strips to the appropriate width.
Steps
Note: To avoid shrinking and wrinkling, prewash your fabric and tumble dry it until it is still slightly moist, let it dry in room temperature.
1. Iron the fabric so it is easier to work with.
2. Cut yourself a rectangle of fabric. The larger it is, the longer your strips will be.
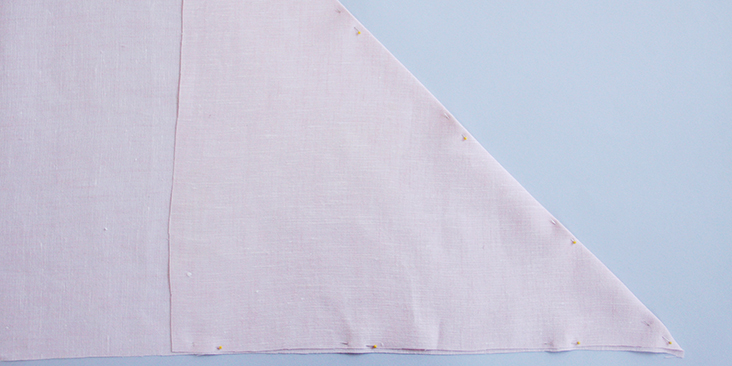
3. To find the bias, place the fabric flat onto the table and fold it diagonally so that the edges meet to form a triangle. Mark the fold by pressing it and putting a few pins to secure the material as you are working on it.
4. Parallel to the bias (the line that you’ve just pressed), carefully measure out and mark the width of each strip with chalk or a fabric marker. If you have a bias tape maker, make yours according to its measurement.
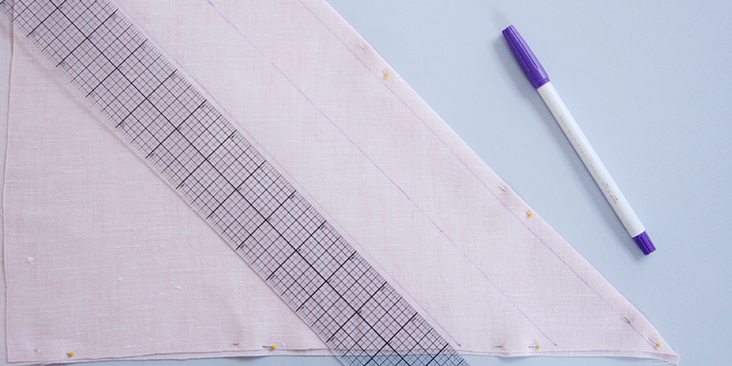
As you get to the corners, your strips will become shorter. It’s best to just discard the corners rather than sewing all those tiny strips together.
5. Now cut out your strips. Work your way from outside of the fabric, into the bias fold.
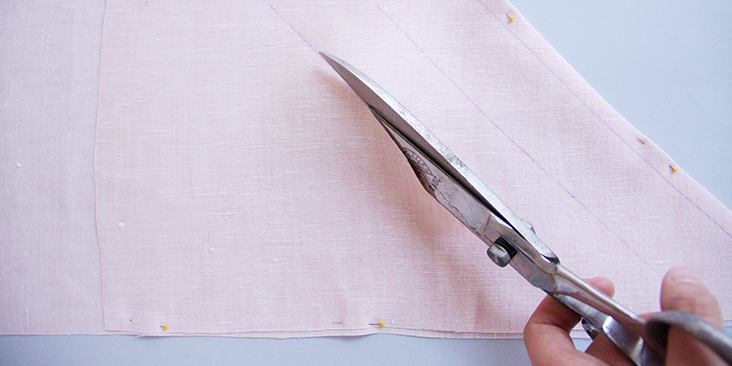
Your bias strips are now ready and you can notice how stretchy they are. This is precisely why they are cut on the bias in the first place, to get this stretch and flexibility needed when binding curved edges.
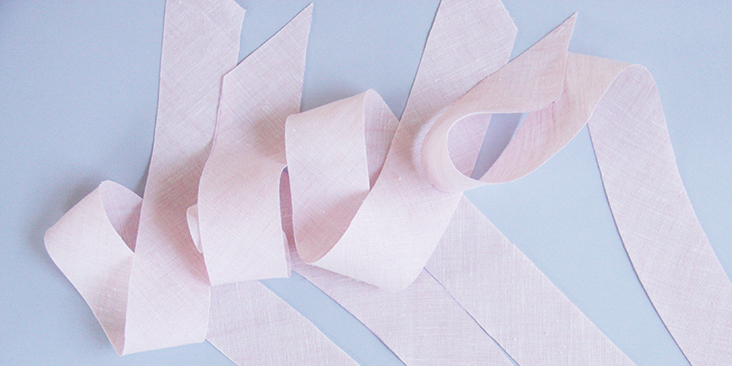
Once you’ve cut your strips, you’ll need to sew them together before putting them through the bias tape maker. There are a couple of ways to do this. We are going to show you our preferred method.
6. Place the bias strips right sides together at a right 90 degree angle with the top left corner of one edge matching the bottom right corner. Pin.
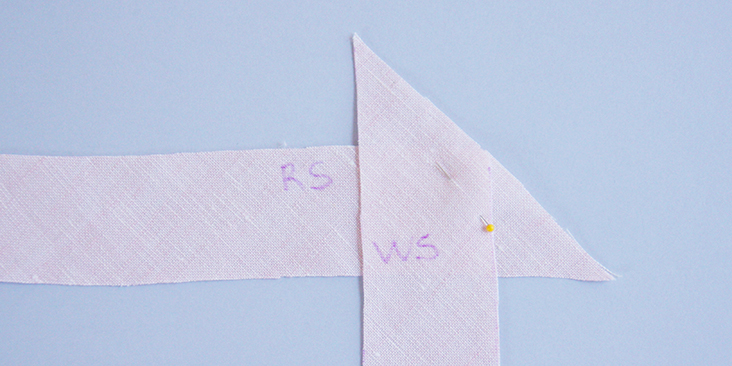
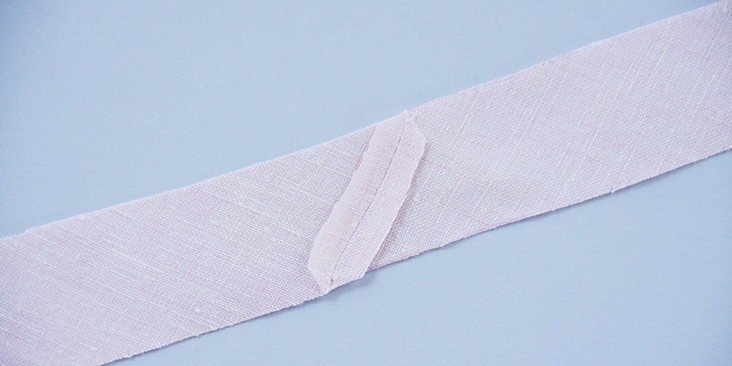
7. Sew diagonally across, as in the photo, with a 1/4-inch seam allowance. Remember to backstitch at both ends. Trim the seam allowances down to ¼”.
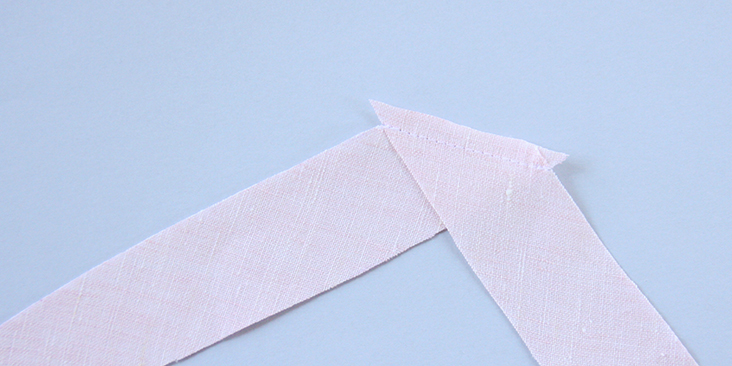
8. Press the seams open and trim the corners that extend beyond the strip.
9. Finally, insert one end of the strip into (wrong side facing you) into the wide end of the tape maker. You might need a needle to pull the fabric through.
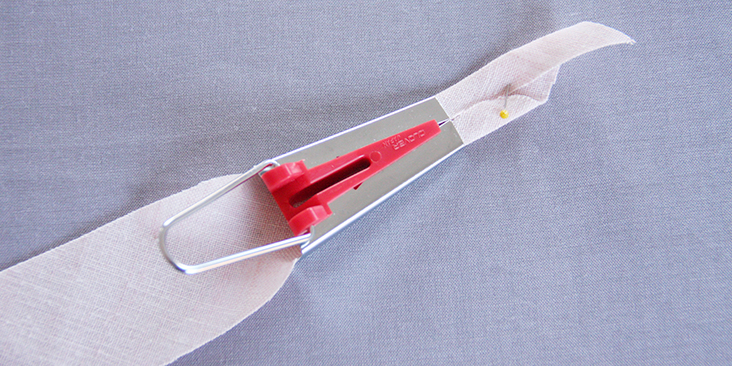
10. Pin this end of the strip to the ironing board and gently pull your bias tape maker and press the fabric down as you go.
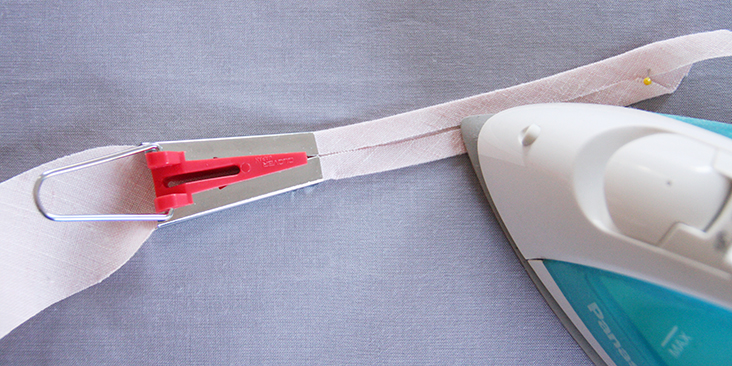
Making bias tape with a bias maker is really easy and fast, but even if you don’t have one, you can still make your own bias tape just using your iron.
Fold your binding in half (wrong sides together) and press. Then fold your outside edges in, lining them up with the center crease you made earlier and iron them down.
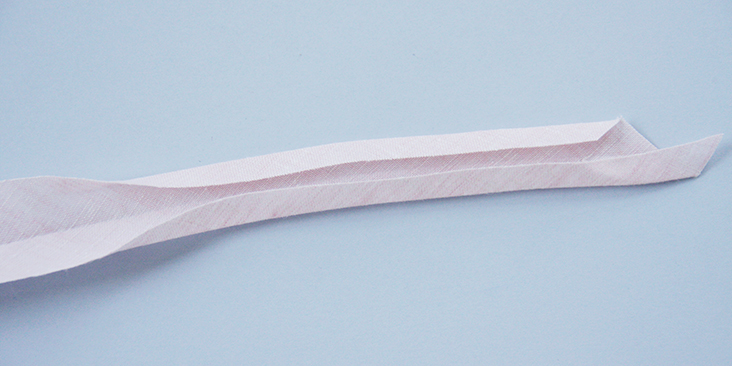
It takes a little longer but gives the same results.
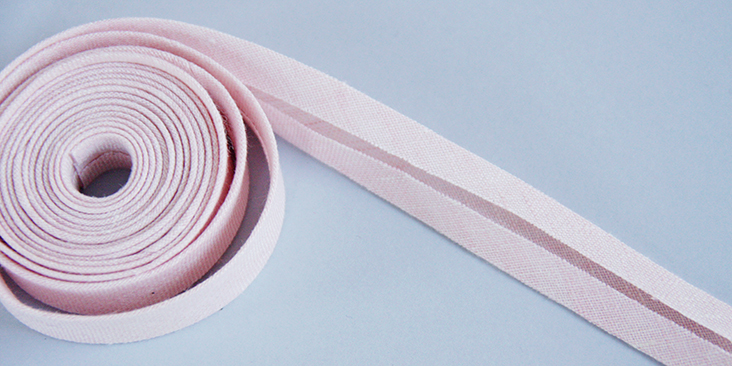
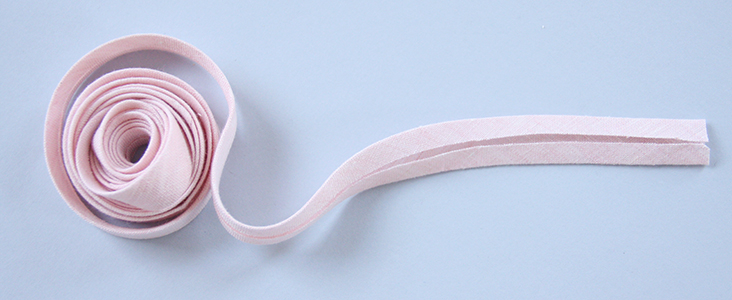
Your custom-made bias tape is now finally ready! This method is great when you need to make short amounts of bias tape for binding a neckline and a couple of armholes. Next week we’ll be showing you how to make a continuous bias tape from a rectangle of fabric for projects that require larger amounts of bias tape.










11 Comments
Pingback:
Cloud-ixphyllis
thank you so much for this insight! i bought the bias maker. kept trying to use it. now with your help
i got it down and can match my projects. and thanks for the free bee.!!
phyllis
thank you so much !! i bought the bias maker , thinking now problem to use. well i have it over 2yrs.
till now i can finally use it. for i was buying the bias ribbons. love your sight. on the free end of it.
Julie
OH! Bias tutirial is very very needed! I’ve been attempting so many tutorials last week. So hard to find the right technique. I really want to learn how to do a continuous bias.
Janet
I love the continuous tape method, but it was very difficult to do on the small round table which is all we had. The ironing board was not long enough either. I had to go to a relative’s house who had a huge library table. Did almost 4 yds in 30 minutes. When you do your tutorial can you please put the total length you get from various yardage and widths and tape widths? Thank you!
Rima Khusainova
Hi Janet! Sure, I’ll try to cover all this in my next tutorial.
CAL
I find this method so much faster and easier (no sewing of small seams).
http://www.makeit-loveit.com/2015/05/how-to-make-one-continuous-strip-of-bias-tape-from-one-square-of-fabric.html
Rima Khusainova
Thank you very much for your comment! We are going to talk about this method of creating a continuous bias tape next week! The technique that I wanted to talk about today is great for creating small amounts of bias tape, for binding a neckline for a specific project, for example. But it’s true that if you are binding a quilt, sewing small strips of fabric one by one can be very time consuming. Which is why we were planning on showing you this other method next week!
marilynn
i wholeheartedly agree. the “tutorial” is WAY out of date.
Rima Khusainova
Dear Marilynn, thanks for your comment. This tutorial is part of our “bias tape” series and shows just one of several ways of making bias tape. The easy way to make some small amounts of bias tape for a single neckline binding or a couple of armholes. Next week we will be talking about the method that allows to create continuous strip of bias tape from a rectangle of fabric. Hopefully you’ll find this other method more useful.
Tracey MacDonald
love that they tell how large a square makes how long and wide a strip of bias tape, very helpful.