Easy Linen Drawstring Shoe Bag Tutorial
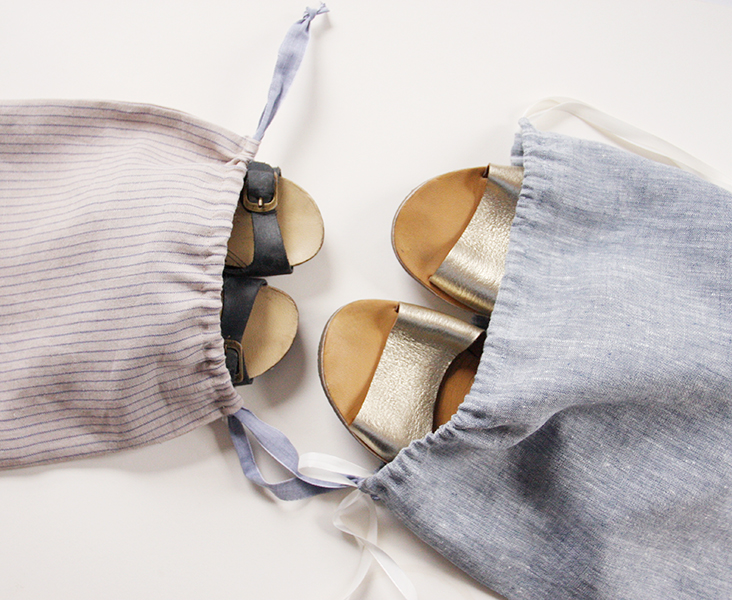
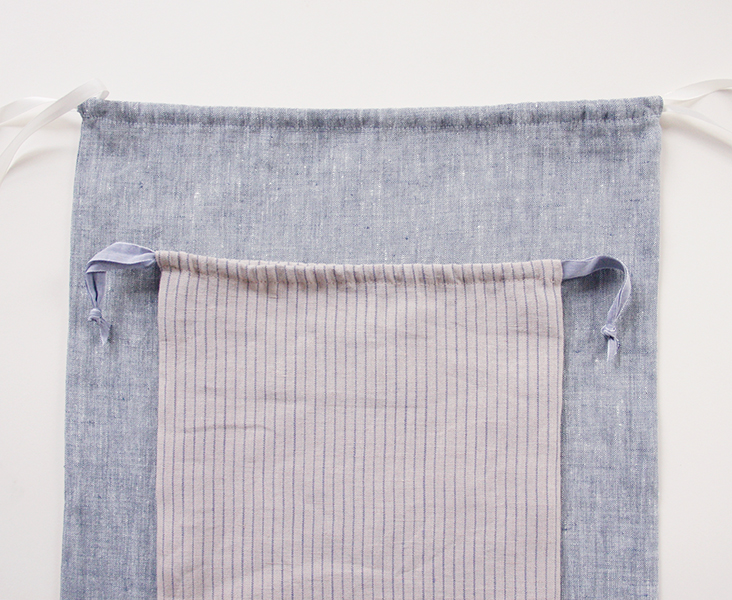
The holiday season is approaching and you are probably looking for easy gifts to make. Our easy drawstring shoe bag might give you some ideas. It sews up in less than an hour and uses up those fabric scraps you’ve been wondering what to do with.
And the best thing is that it can be used not only as a shoe bag, but for a wide range of things – from gift wraps to travel bags.
Materials & Tools
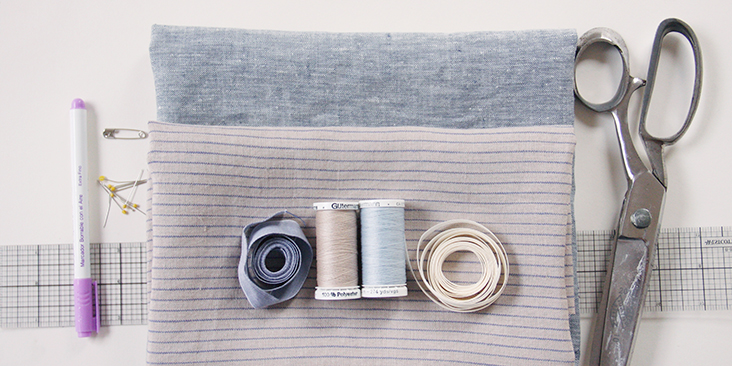
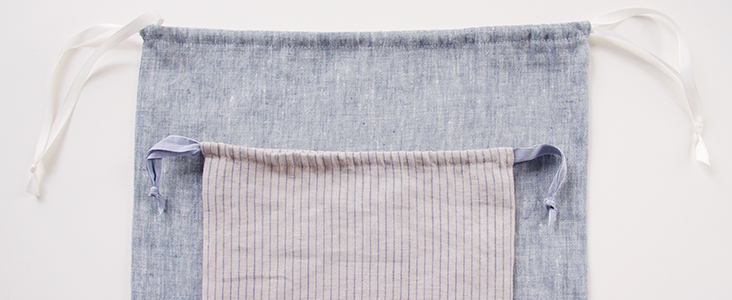
Fabric of your choice (as always, we are using our beautiful medium weight linen in two different colors: IL042 907 – FS Premier Finish for the adult size bag and IL045 865 STRIPES for the kid’s bag
Matching sewing thread, 2 yards of ribbon of your choice
Pins, scissors, ruler, fabric marker, safety pin, sewing machine
Difficulty
Beginner
Time
1 hour
Pattern
Cut the fabric into a 16-inch x 36-inch rectangle for the adult shoe bag and 11-inch x 26-inch for the kids shoe bag.
Cut the ribbon into two 32-inch lengths for the adult shoe bag and two 18-inch lengths for the kids shoe bag.
Steps
Note: To avoid shrinking and wrinkling, prewash your fabric and tumble dry it until it is still slightly moist, let it dry in room temperature and then iron.
To give our bag a clean, neat finish look from the inside and to prevent the raw edges from unraveling in the washer, we decided to finish the side seams with French seams.
1. Start by folding your rectangle in half widthwise and pin the side seams wrong sides together. It might seem a bit unusual to pin fabric wrong sides but this is what you do when sewing French seams.
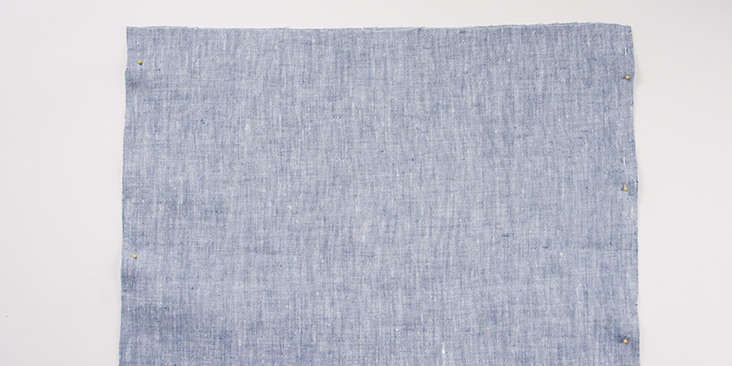
2. Take a ruler and make a mark 1,5” from the top on each side.
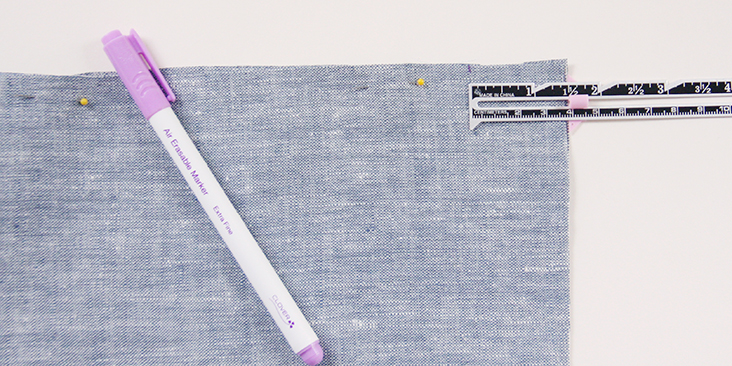
3. Sew the side seams wrong sides together at a 3/8” seam allowance. Stop at the mark and remember to backstitch at both ends.
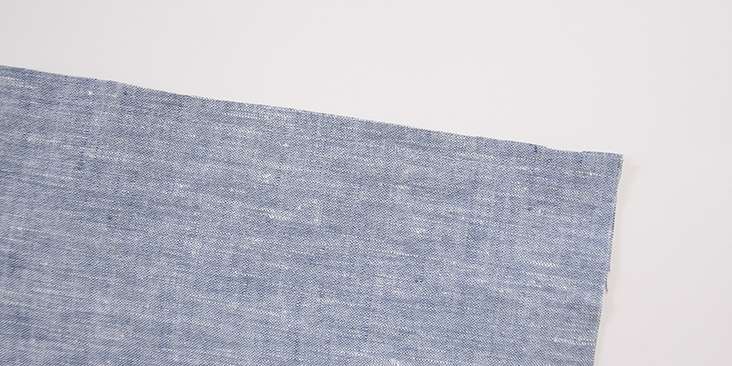
4. Trim the seam allowance down to 1/4″.
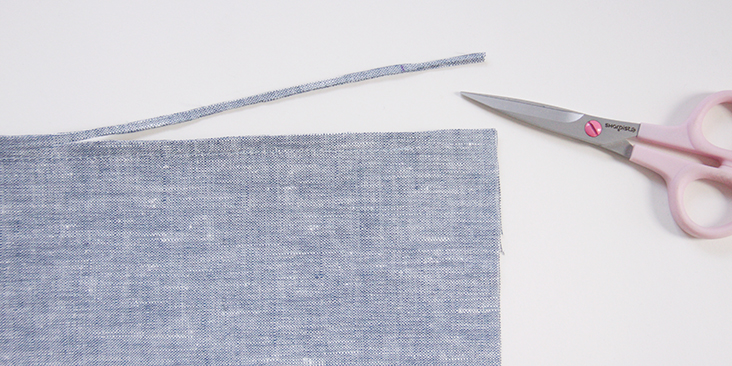
5. Press the seams open.
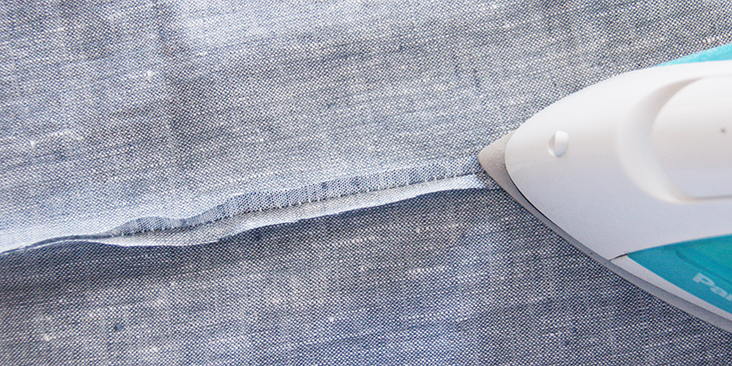
6. Turn the bag wrong side out and press the seams flat. Use a dull pointed object like a chopstick to poke out the corners.
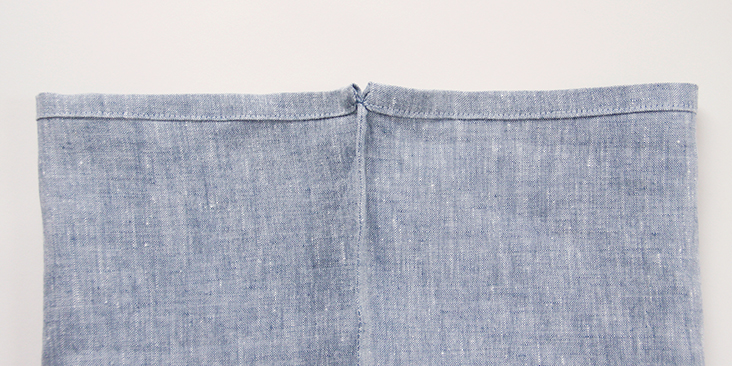
7. Stitch the side seams again, right sides together, 3/8” from the edge enclosing the raw edges and finishing your seam.
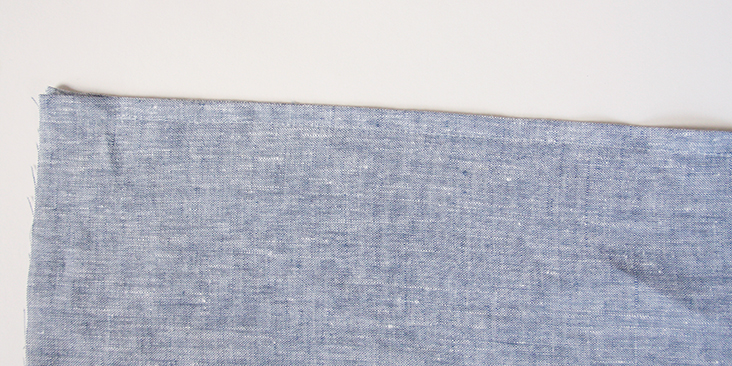
Stop at the 1,5” mark and remember to backstitch.
8. Press the vertical unfinished sides of the flap twice towards the wrong side and pin this fold down.
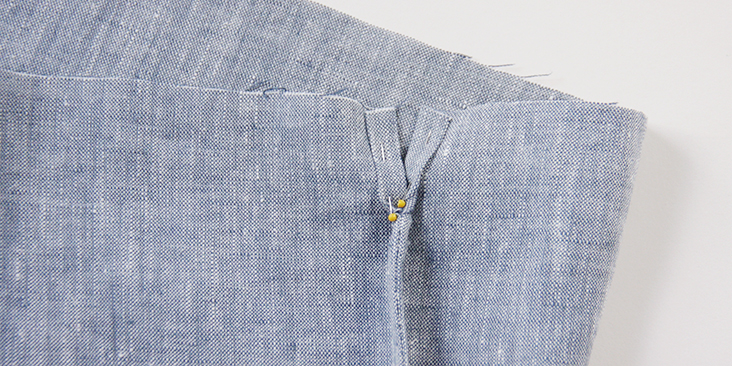
9. Press the raw edges of the flap twice towards the wrong side creating a rolled hem and enclosing all the raw edges within. Pin into place.
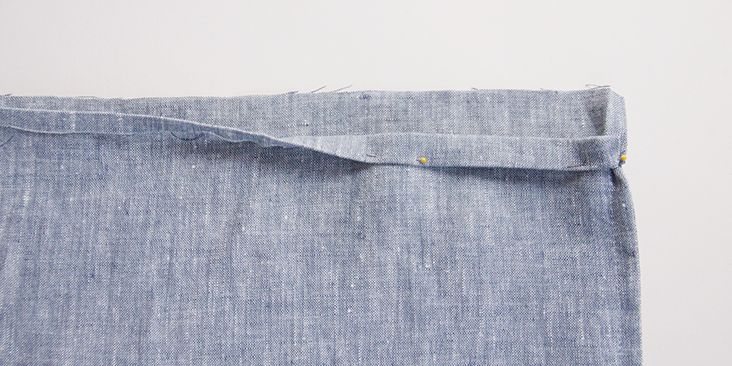
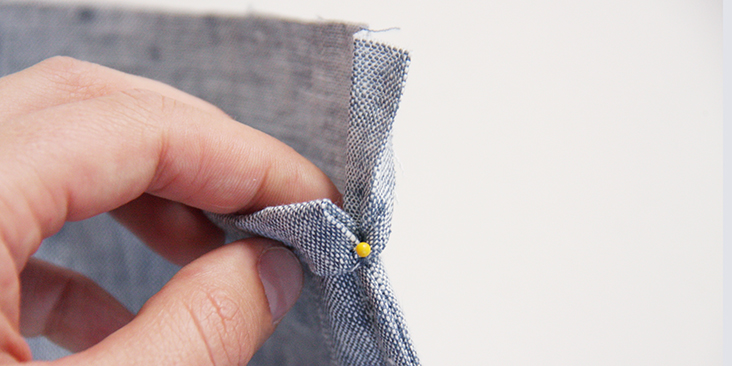
10. Edgestitch down these folds to create drawstring channels.
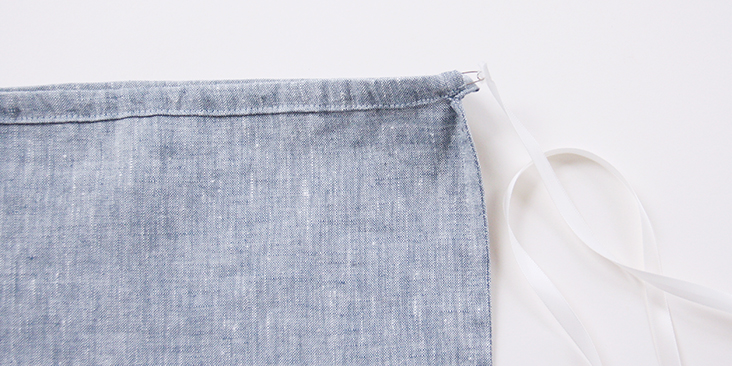
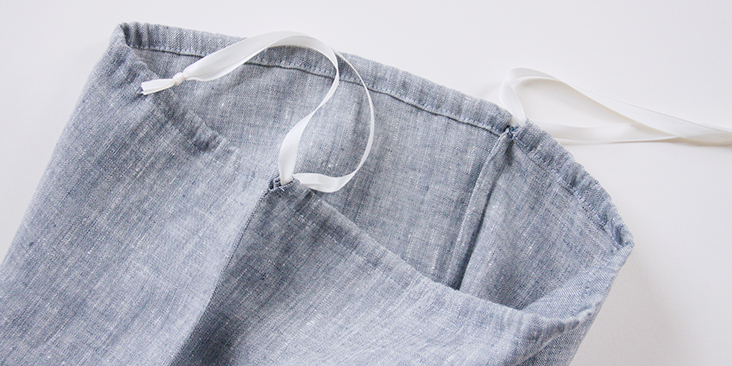
11. Attach a safety pin to one end of the ribbon and pull it through the drawstring channel. Repeat for the second ribbon. Tie the two ends together in an overhand knot.
Now put your favorite shoes in and cinch your new shoe bag closed!




2 Comments
Pingback:
Versatile and Functional: DIY Drawstring Bags for All Ages - DIY CHICKSNancy A Bruce
You could use nice heavy silk cord instead of the ribbon. Put a nice pony bead on each knotted end; this makes it easier to pull the drawcord.