Quilted Linen Vest Tutorial
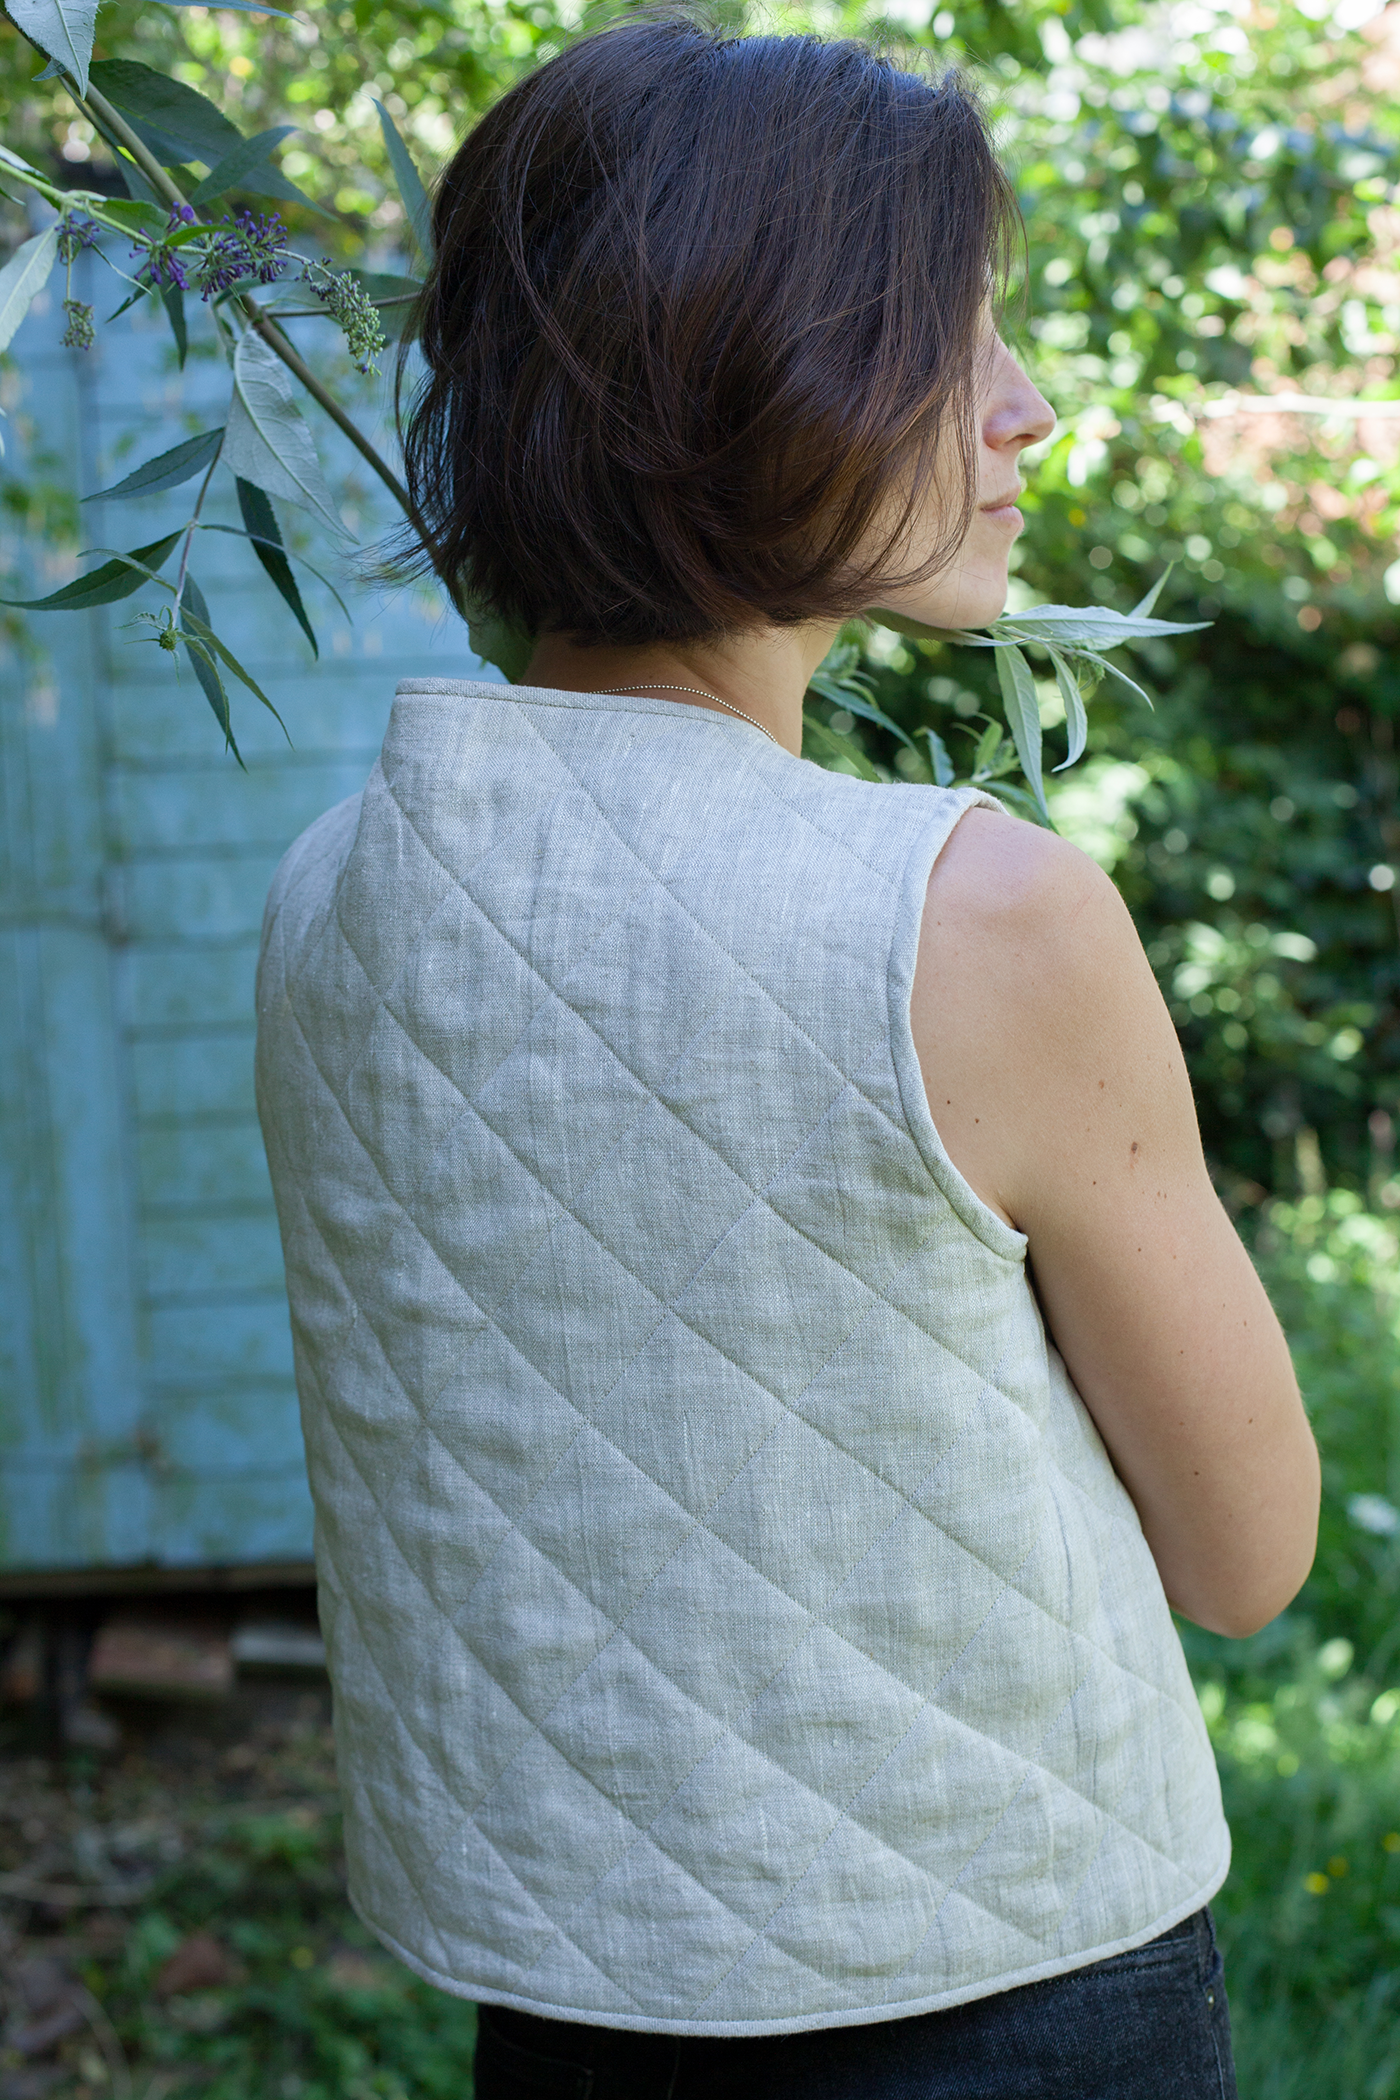
A colder season is approaching and we’re welcoming it with our quilted linen vest!
Cut from our bestselling natural medium-weight linen, this vest would work great with a variety of everyday looks. Wear it over a shirt or a turtleneck in the colder months and over a t-shirt or a lightweight dress in spring/summer to layer up for extra comfort and snuggly warmth.
This vest is like your favorite blanket that feels so great on a chilly day!
Materials
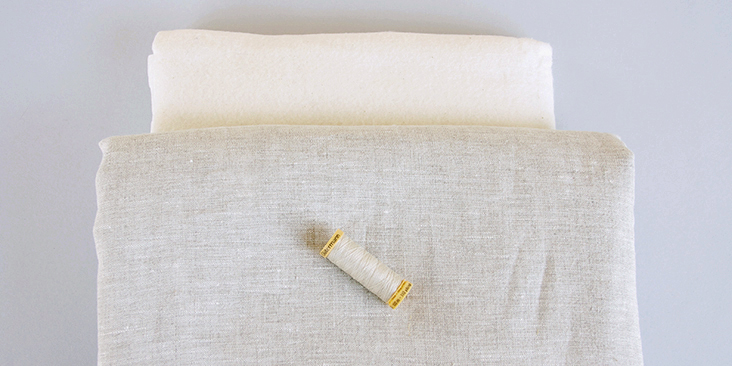
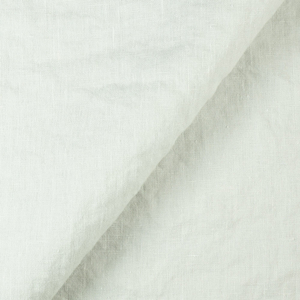
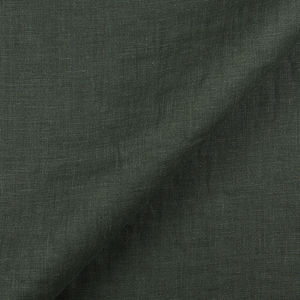
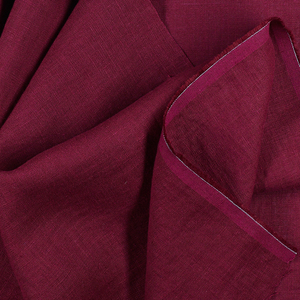
2 yards of IL019 MIX NATURAL Softened linen
1 yard of medium weight cotton batting, matching sewing thread
Tools
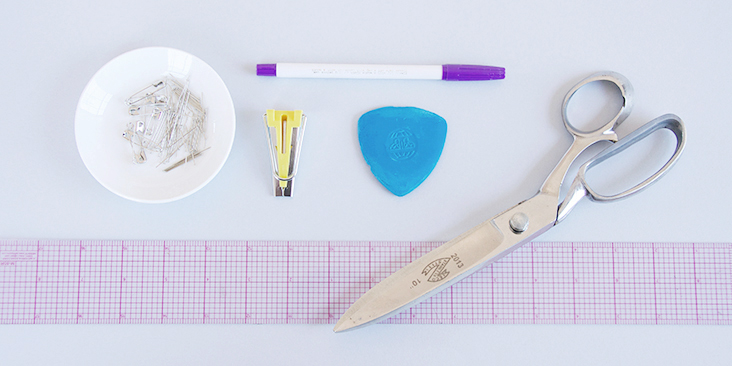
Scissors, ruler, pins, safety pins, disappearing ink pen, chalk, 18mm bias tape maker, sewing machine
Time
4-5 hours
Difficulty
Beginner
Pattern
Link to the pattern can be found HERE. Remember to add seam allowances as indicated in the pattern. You’ll also need to make approximately 3 yards of continuous bias tape for the binding (armholes, shoulders, neckline, front slit, bottom hem) so make sure you have enough fabric left. For detailed instructions on how to make your bias tape please follow this tutorial.
The diagram shows the pattern for US size 6 – 8 (UK size 10 – 12). If you need help grading your pattern, please follow this tutorial.
Steps
Note: Prewash your fabric and tumble dry it until it is still slightly moist, dry in room temperature. Iron the fabric so it is easier to work with.
1. Once you’ve cut the outer fabric pieces and the lining (you should have one back piece and two front mirror pieces in each fabric), you need to assemble the outer back and front together. Pin the side seams right sides together.
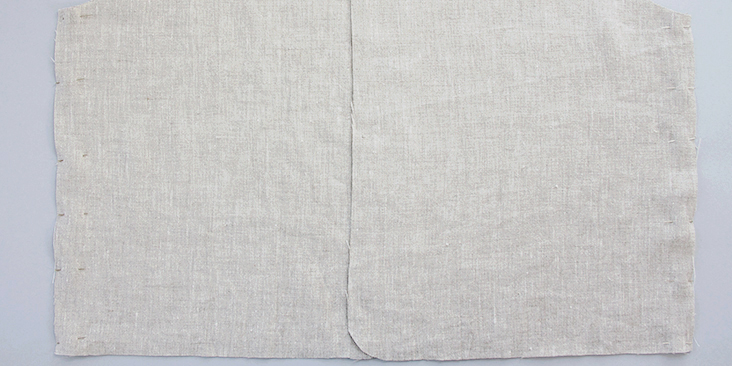
2. Sew the side seams right sides together at a 3/8” (1 cm) seam allowance.
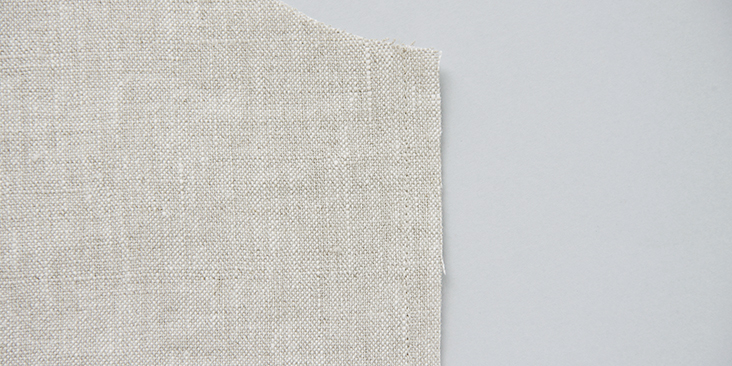
3. Press the seams open.
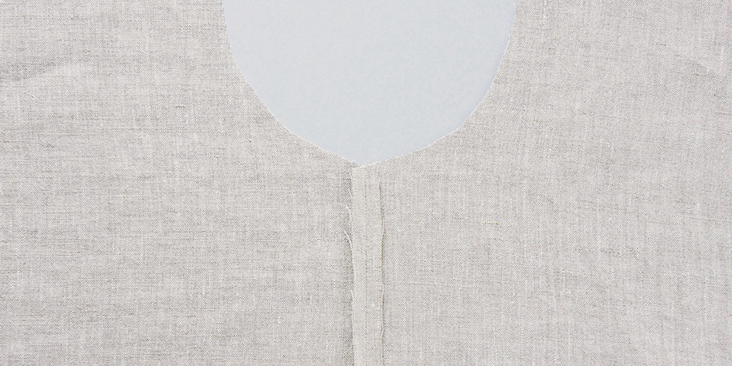
4. Repeat steps 1-3 with the lining.
5. Lay the batting out flat, you can trim it down to a smaller size (so that it’s easier to work with) but still larger than the three vest pieces attached together. Smooth out any wrinkles and pin the outer vest that you’ve just sewn wrong side to the batting. You can use safety pins to pin through all the layers.
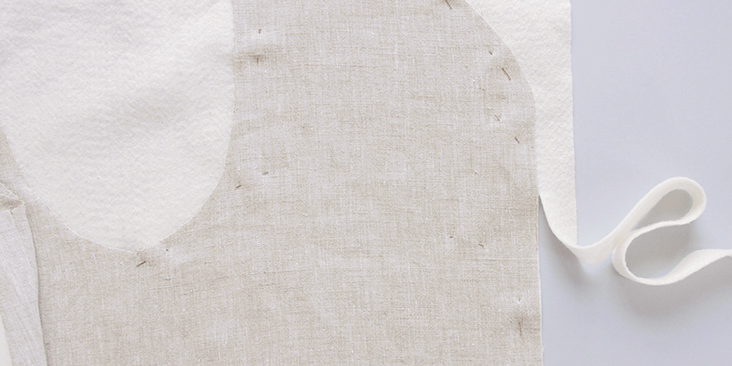
6. Trim the batting so that it’s the same size as the vest and pin the wrong side of the lining to the other side of the batting so that the batting is sandwiched between the outer fabric and the lining.
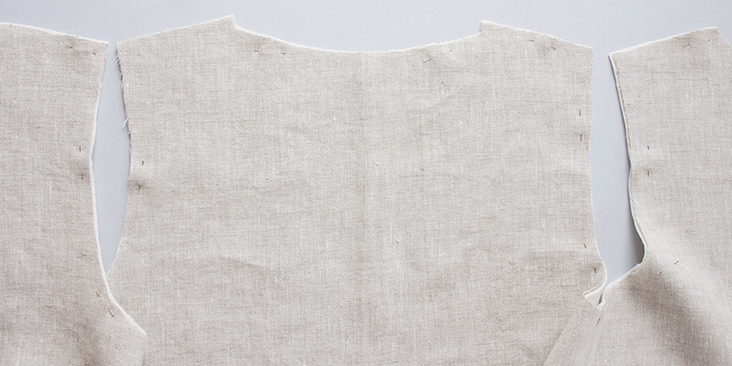
7. Now it’s time to quilt! With your lining side facing you, layout the quilting grid by drawing parallel lines every 2 inches (5 cm). Use a disappearing ink pen or a piece of chalk.
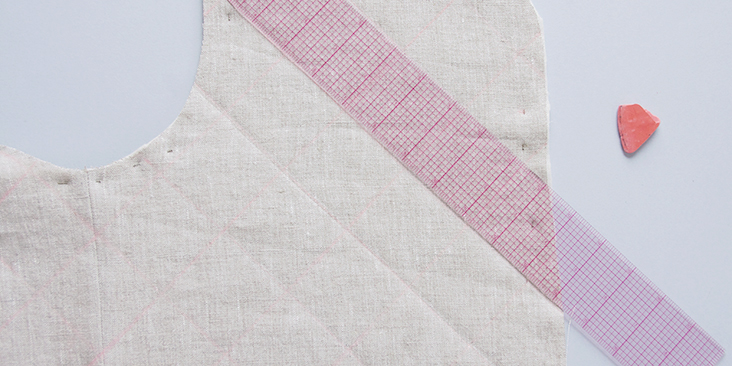
8. Set your sewing machine on a longer stitch (since we have a lot of layers to stitch through) and quilt along the marked lines using your machine’s walking foot.
9. Turn your vest wrong side (lining) out and pin the shoulder seams together.
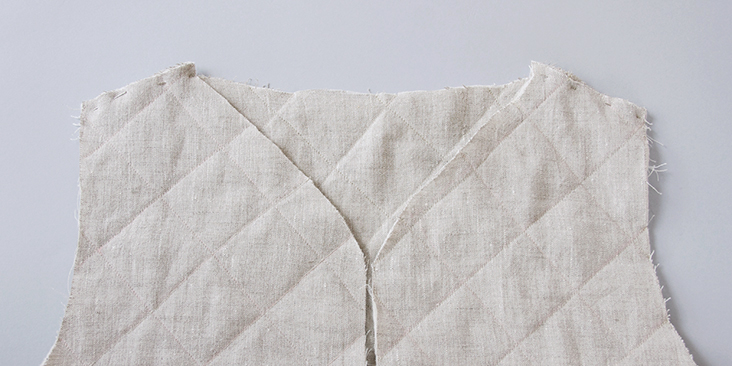
10. Sew the shoulders at a 3/8” (1 cm) seam allowance.
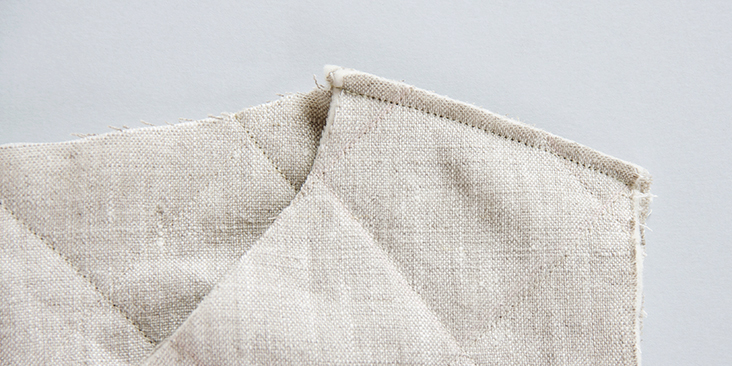
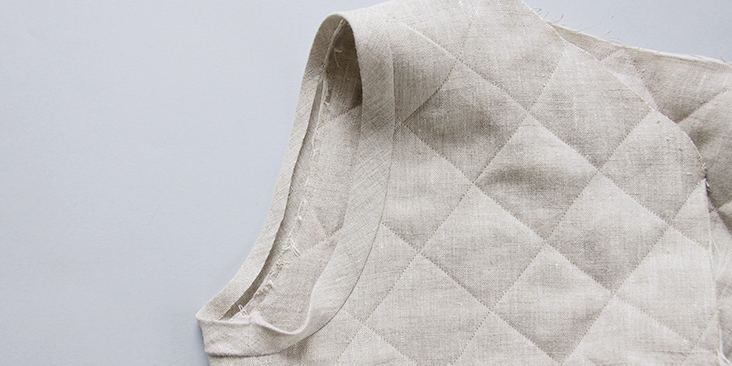
11. If you still haven’t made your bias tape, now is a good time to do so by following our detailed tutorial HERE. We’ll now need to enclose the shoulders’ raw edges within the bias tape. Open up one side of the bias tape and pin it (wrong side up) to the raw edge of the shoulder seam.
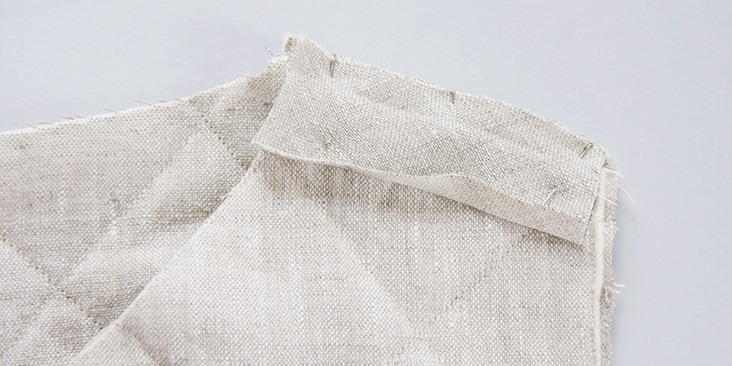
12. Trim the ends of the bias tape to match the length of the shoulder seam and stitch it in place. Trim the shoulders seam allowance down to 1/4” (6mm).
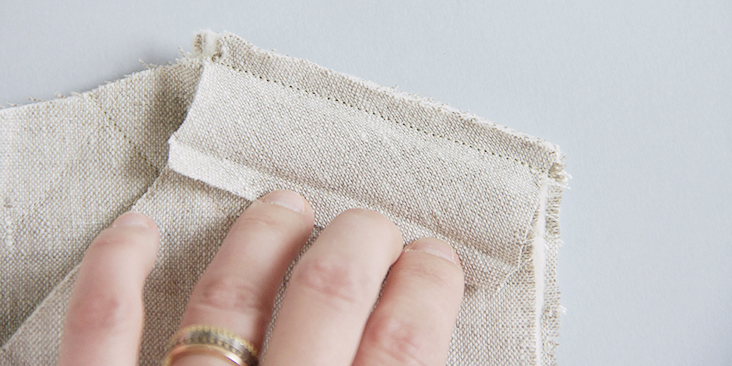
13. Then fold the bias tape and attach it to the other side of the shoulder seam. Attach the tape by stitching it in the crease formed on the other side of the shoulder seam.
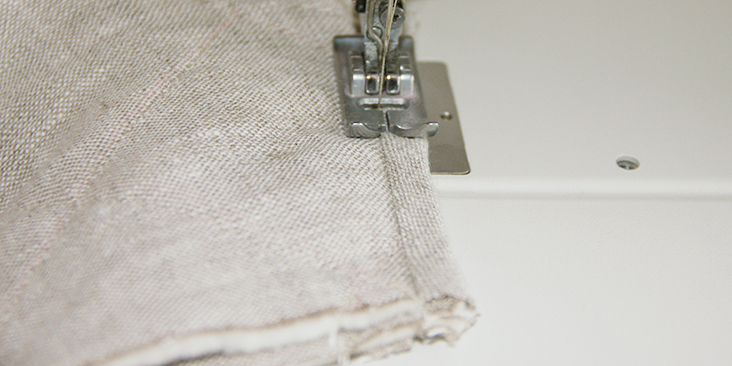
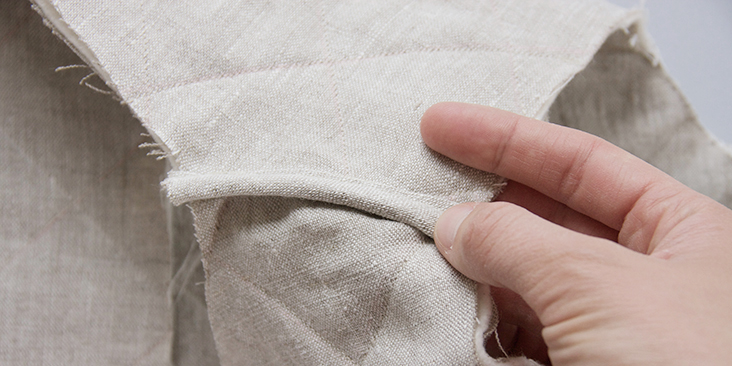
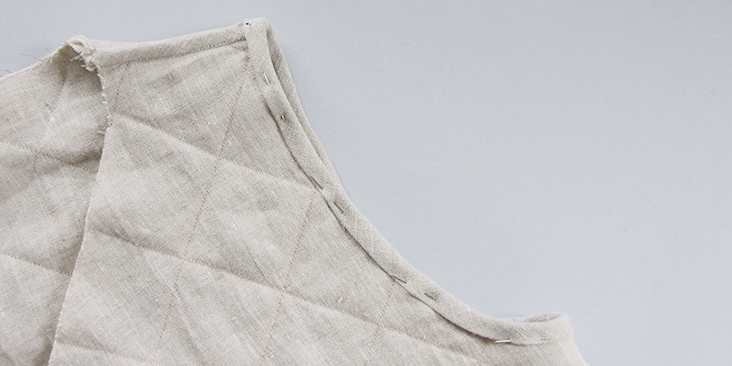
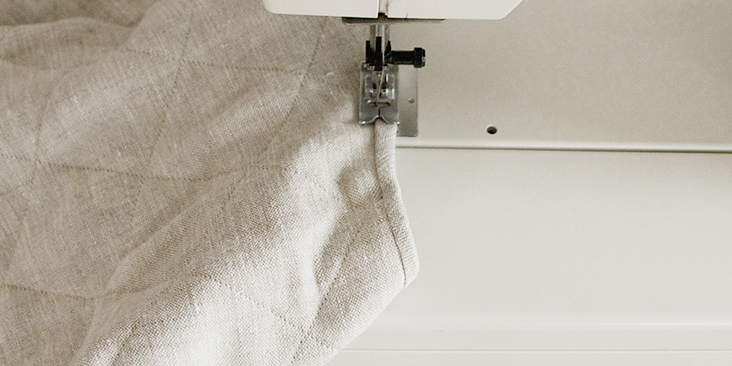
Bind the armholes using the same technique.
14. When you have pinned all the way around the armhole, stitch the two ends together where they meet. Trim the ends to 1/4” (6 mm), press the seam open and sew the binding around the armhole.
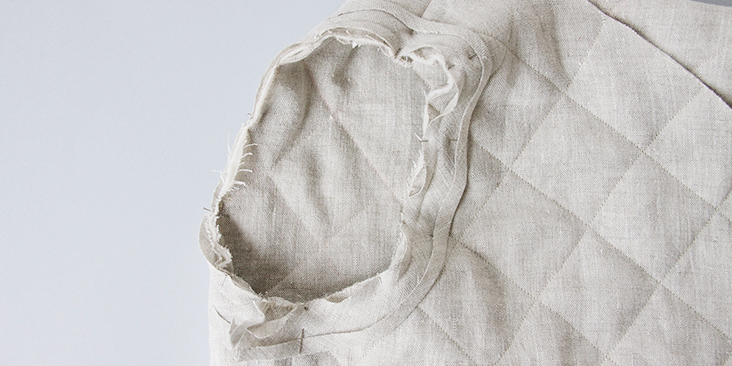
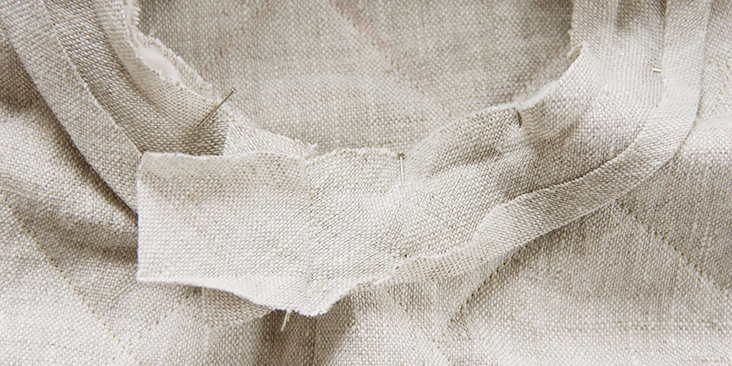
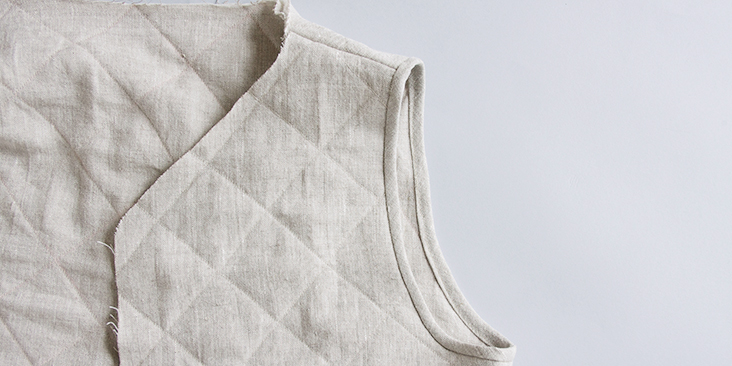
16. Finish the vest by binding the neckline, front slit and the bottom hem with a continuous strip of bias tape. Start and end at the center back.
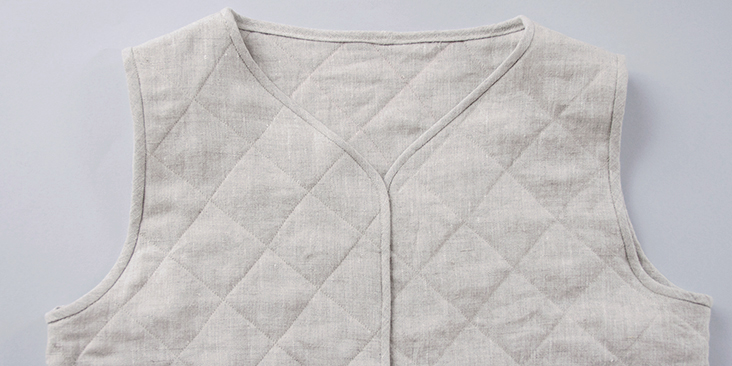
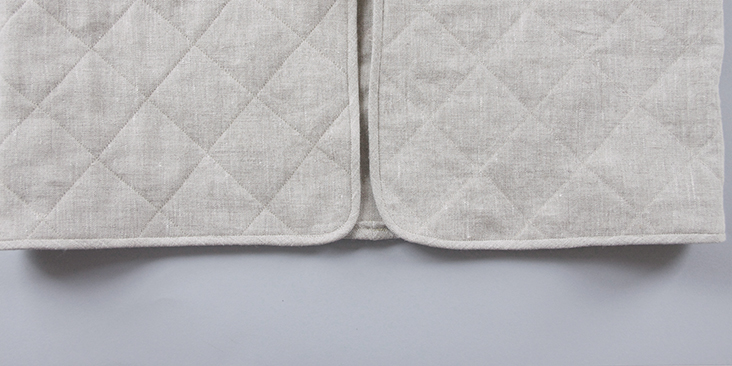
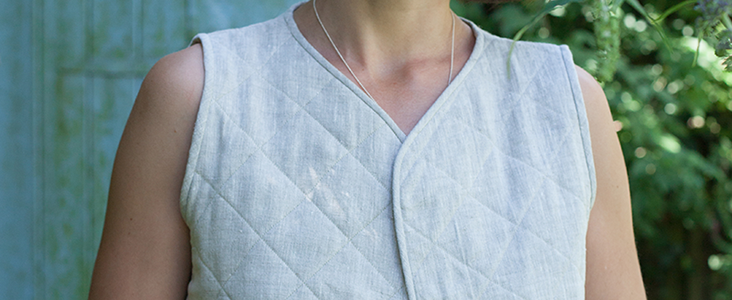
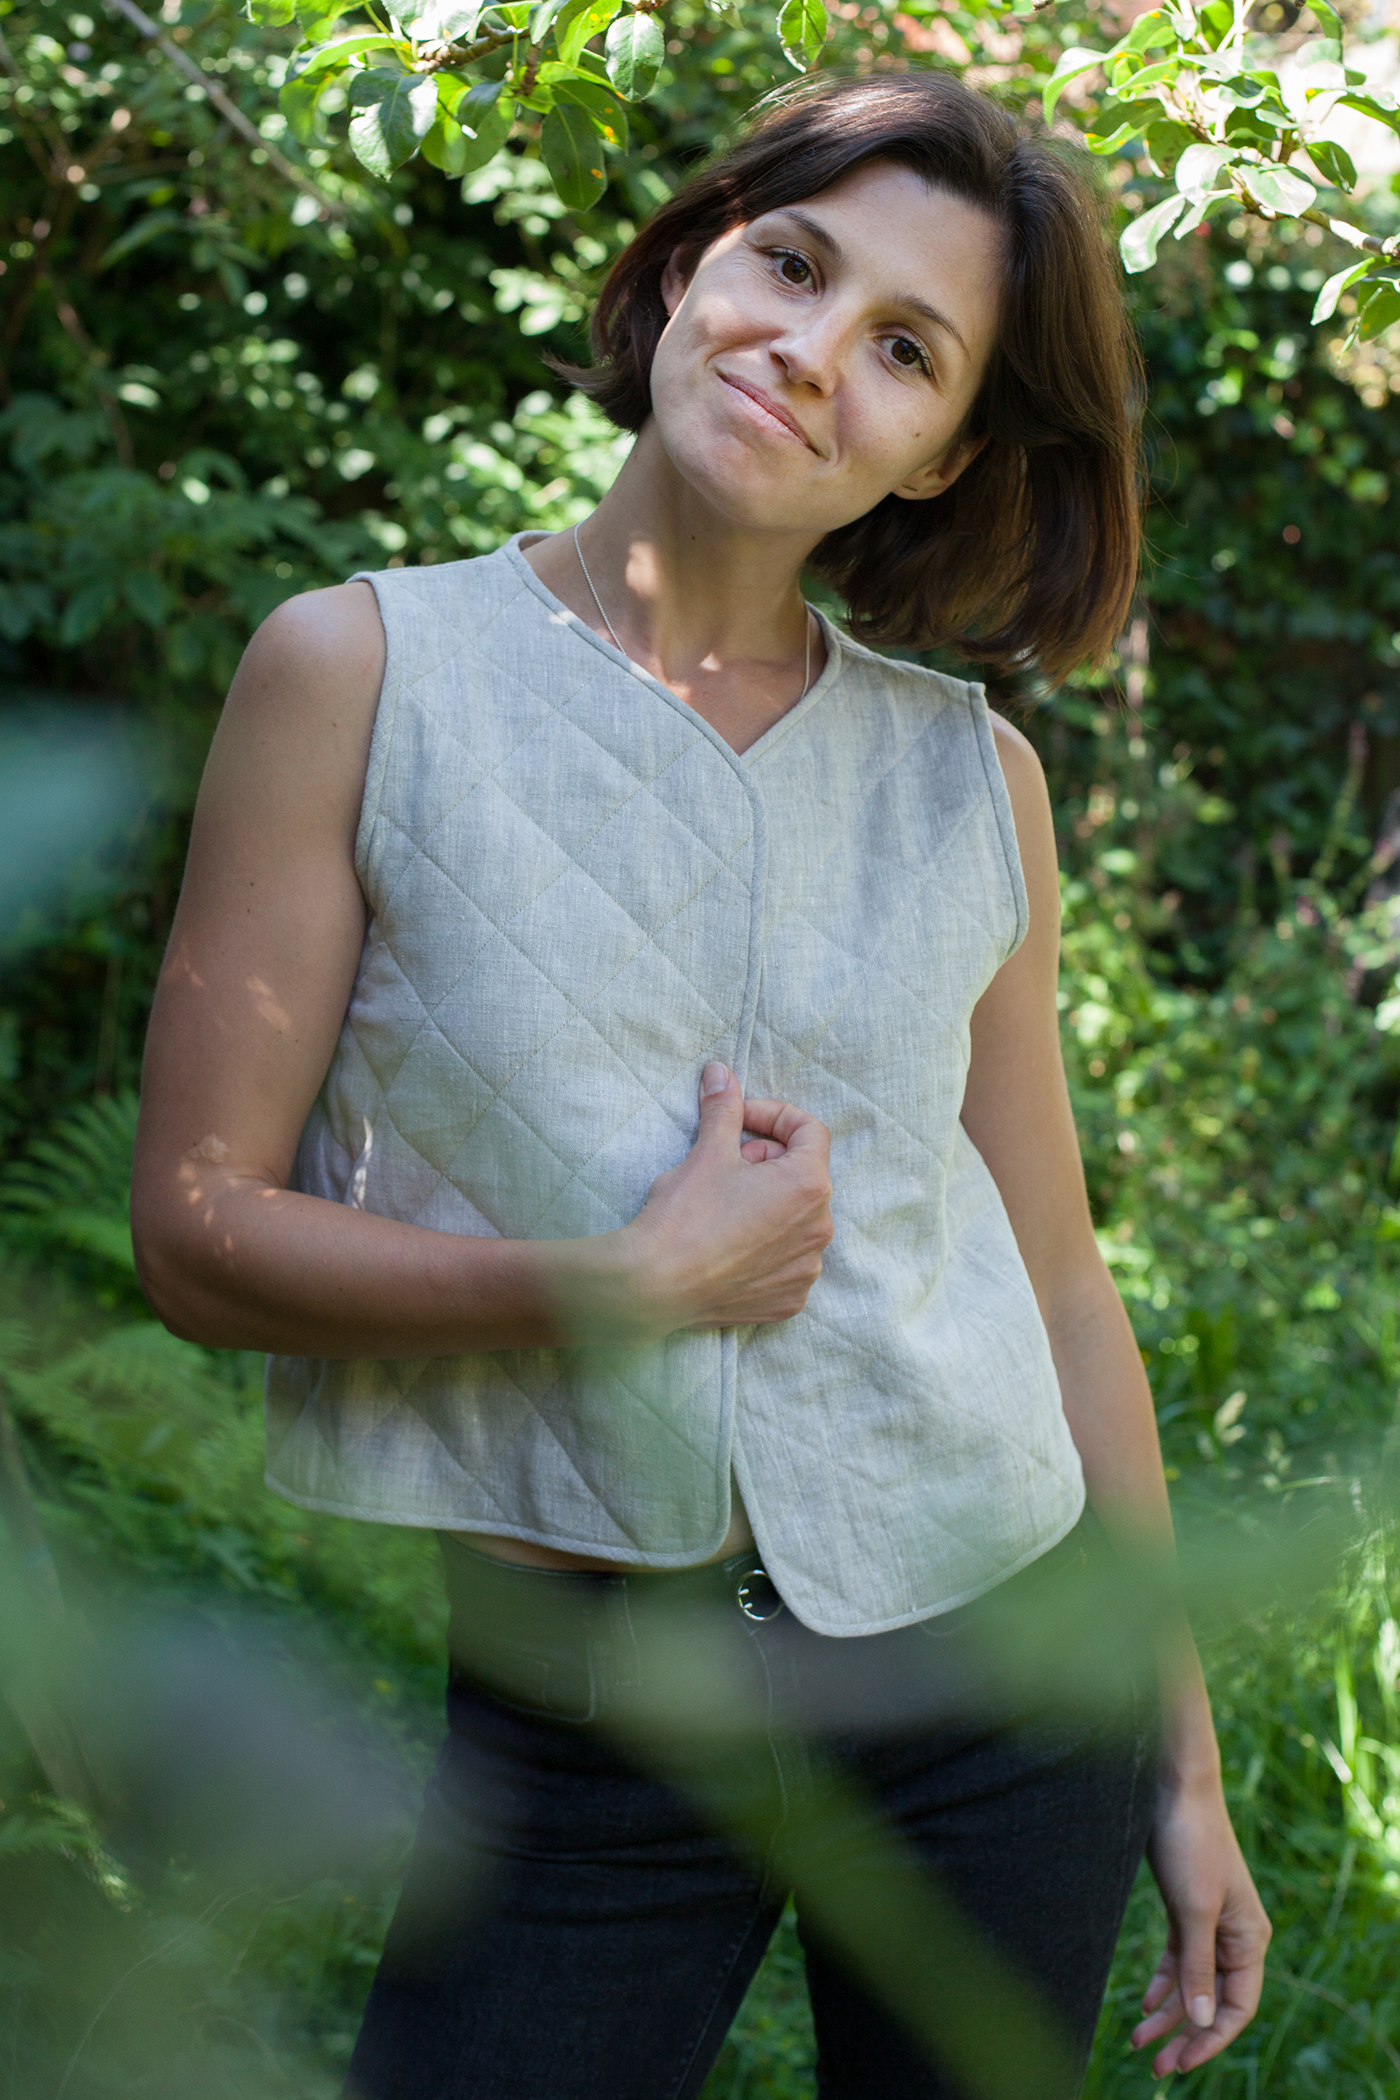
Et voila! You now have a very pretty quilted vest that will keep you warm throughout the year!















14 Comments
Ghasal Keating
Hello,
I am trying to download the patterns but there is a message error on the page.
Is there any other way to get it please?
Thanks
Kate DUNDON
It seems that the link to the pattern is broken. Is it possible to make it available again? Thank you!
Vivian Chen
Ditto, the dropbox link is broken 🙁 Someone please re-upload?
Cindy S.
I wanted a reversible vest, so I made the lining a different color. After stitching the bias tape to the shoulder seam, and trimming the seam allowance, I folded the bias tape over the seam allowance and then pinned it all down to the back piece of the vest. After stitching through all the layers the seam allowance laid flat and now I have a reversible vest! The bias binding is a nice contrast.
Cindy
I would like to make this but I’ve never drafted a pattern before. Since the pattern is not to scale what measurement do you use to draw the arms correctly? Do you have a pattern that is to scale. I tried to follow your other turtorial but I don’t know how you can up with the three different numbers for armhole.
Thank you
Rima Khusainova
Hi Cindy! Unfortunately we don’t have a pattern to scale for this project yet. You can either use our tutorial on how to grade a pattern here https://blog.fabrics-store.com/2015/06/01/how-to-grade-a-pattern-tutorial/ or there’s also another great way to adjust it to your size: just take one of your tops (something not stretchy), lay it flat on the table and measure the arm opening. This way you’ll get the arm opening that you’re sure will fit. And don’t forget to add your usual seam allowance when you’re ready to sew!
Hannah
This would look lovely embroidered. It’s fairly easy to add ties to it, you just sew a piece of bias tape shut, and sewing it onto the opening, then fold and iron back over the raw edge and sew it down.
The model here is strikingly beautiful. There’s something about her face that is just so beautiful, the way sunrises and waterfalls are beautiful…
M B Paz
Flannel can also be a good batting. Love this idea for turning my upper Midwestern staple into an appropriate item for the upper south. BUT TAKE A GOOD LOOK AT BACK PATTERN PIECE before cutting. Folding a small dart or two into neckline of pattern piece will result in a much more attractive and professional fil that hugs neck instead of standing away from it.
Julie A.
I agree about the neckline in back. One of the first things I noticed.
Rima Khusainova
Thanks so much for sharing your batting tip with us! As for the neckline, I’ll use your advice next time!
Sheila
I prefer garments that have buttons or even fabric ties. Why did you chose not too?
Rima Khusainova
Dear Sheila, I wanted to keep this vest minimalist and simple, that’s why I chose to do just an open front. But you can always add a button or ties to your vest, it should be pretty easy.
Lynn
If dont have batting, can use fabric(more linen).
If used 2 layers linen can quilt 1 to inner lining and other to outer fabric.
Even add a pocket at seam or along edging .
Rima Khusainova
Thanks so much for sharing your tips with us!