How to make a Linen Ruffle Tank Tutorial
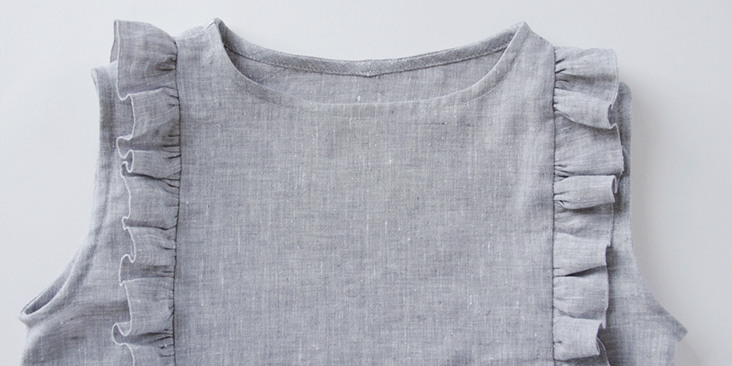
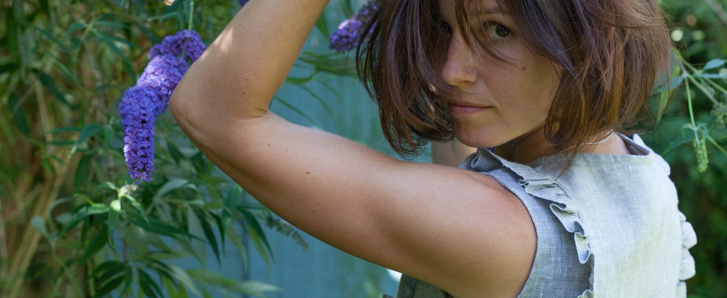
Here’s a top that whispers – pretty! Its ruffles on the front and back and a flattering A-line shape give this sleeveless linen tank feminine charm and a vintage-inspired aesthetic. Apart from its allure, this garment is also really fun to wear, it evokes a kind of sculptural effect for the wearer, try it out!
Cut from our signature Premier Finish linen, it has a beautiful rich texture and a very smooth touch while the yarn-dyed grey color makes this classic design look very modern.
Materials
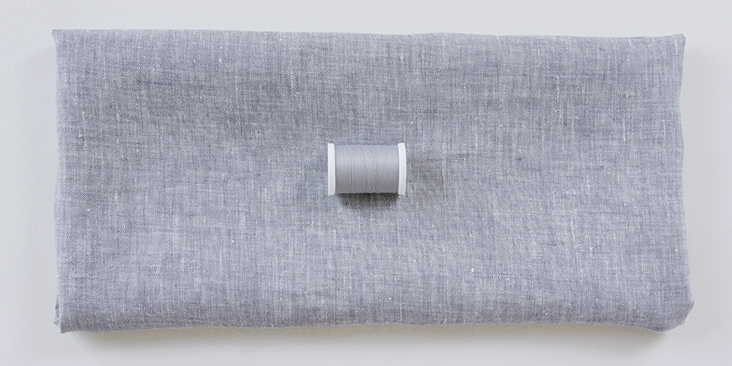
1.5 yards of IL042 900 – FS Premier Finish 100% linen
Matching sewing thread
Tools
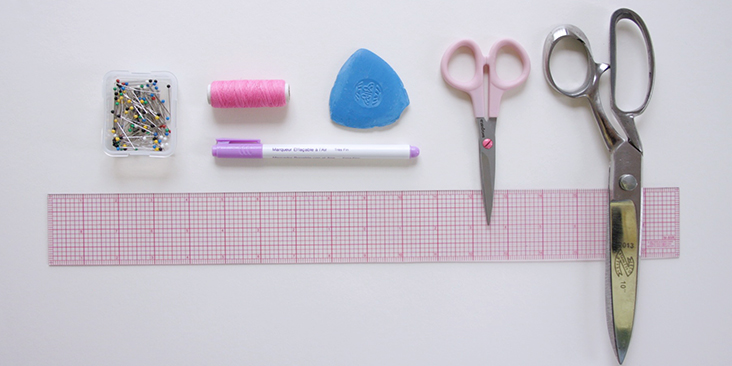
Scissors, pins, chalk, ruler, fabric marker, contrasting sewing thread, seam ripper, sewing machine
Time
3-4 hours
Difficulty
Advanced Beginner
Pattern
You can access the pattern by following this link HERE. Remember to add seam allowances as indicated in the pattern. The diagram shows the pattern for US size 4-6 (UK size 8-10). If you need help grading your pattern, please follow this tutorial. You’ll also need to cut 3 bias bands of fabric 1.5″ large for the neckline and the armholes so make sure you have enough fabric left. For detailed instructions on how to cut your bias band please follow this tutorial.
Cut one tank back and one tank front (on the fold) and 4 mirror side pieces. The best way to cut them correctly is to fold the fabric in half, pin the pattern piece a few inches away from the fold and then cut through both layers at once.
On the grain line, cut 2 strips of fabric 2.5″ (5 cm) wide and 85″ (215 cm) long. If you don’t have enough fabric to cut continuous pieces, cut additional strips for the total length of 85″ (215 cm).
Steps
Note: Prewash your fabric and tumble dry it until it is still slightly moist, dry in room temperature. Iron the fabric so it is easier to work with.
Let’s start with the ruffle. In the next steps we are going to guide you through the process, but for a detailed explanation on how to sew, finish and attach a ruffle please follow our tutorial HERE.
1. Since the total length of the ruffle strips is pretty big and unless you have a lot of fabric, you probably ended up cutting 4 pieces that now need to be assembled in order to create 2 equally-sized strips of fabric.
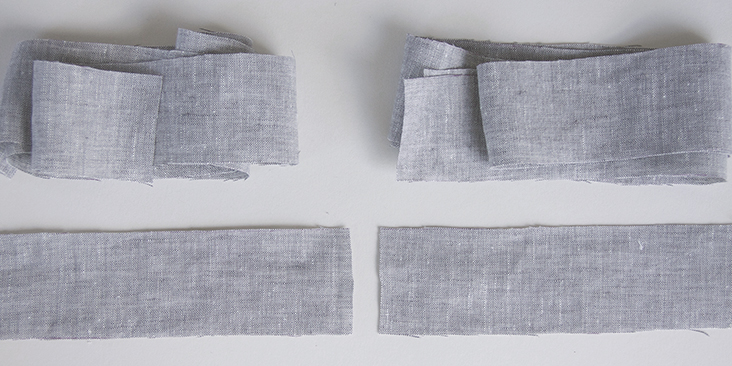
2. Pin the two parts of one strip right sides together.
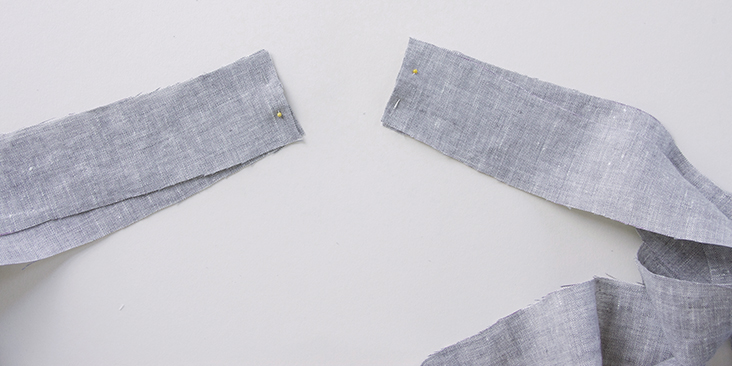
3. Set your sewing machine to the buttonhole stitch and sew the two rectangles together at a 3/8″ (1 cm) seam allowance.
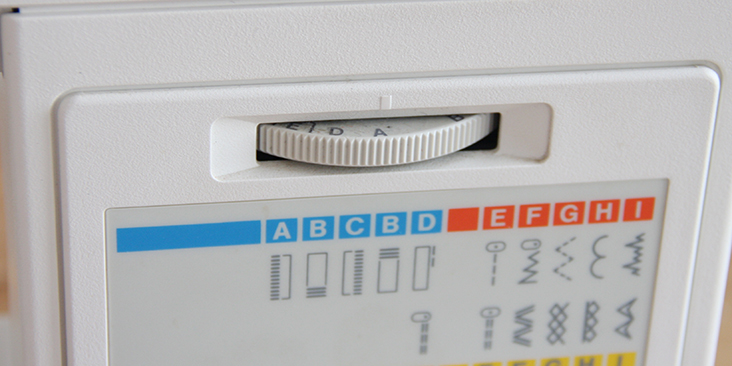
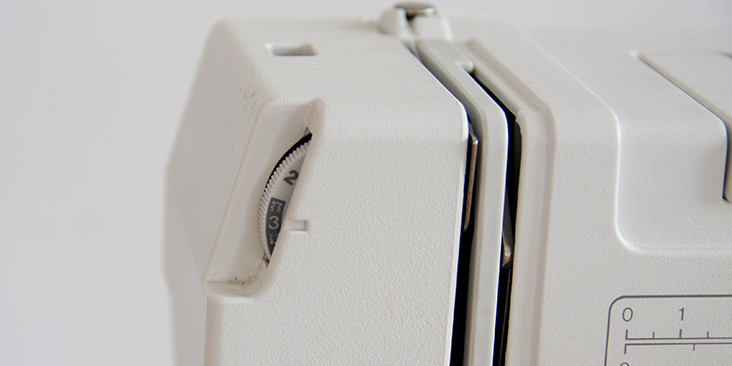
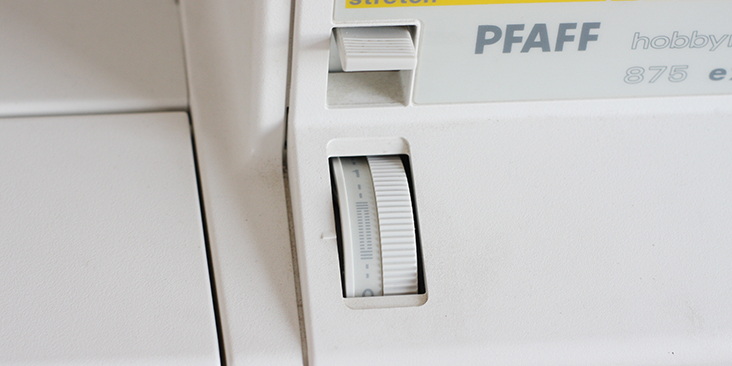
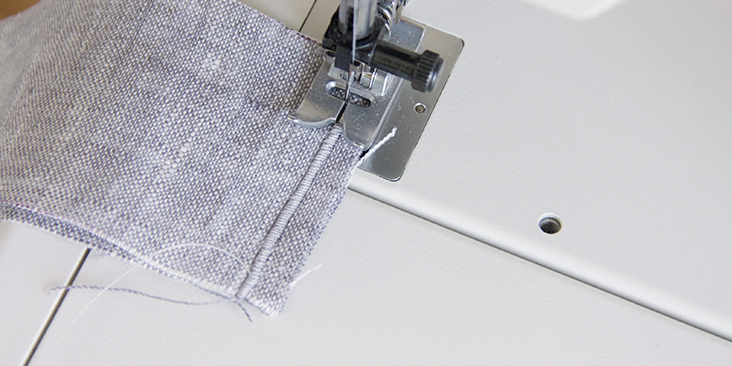
4. Trim the excess fabric as close to the stitching line as possible and press open.
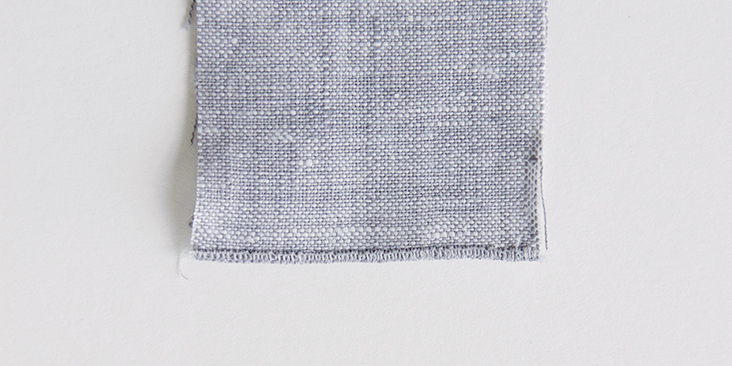
5. Take your scissors and make a curved cut at both ends of each ruffle strip.
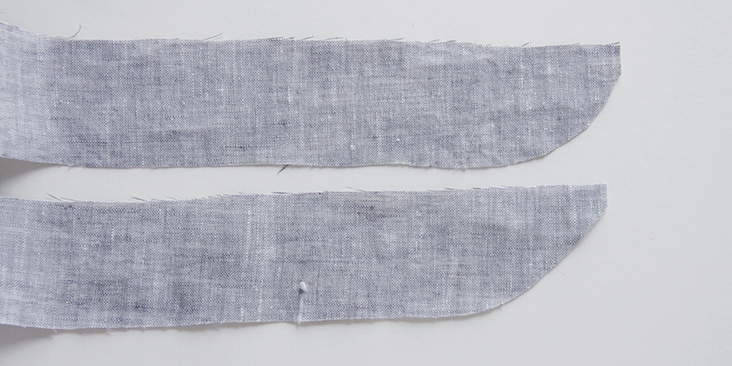
6. Finish the long curved edges of your ruffles with a buttonhole stitch at a 3/8″ (1 cm) seam allowance.
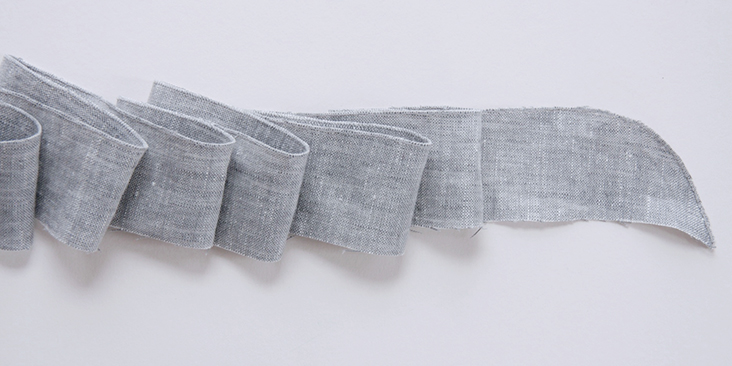 Very carefully trim the excess fabric. Cut as close to the stitching line as possible without breaking the thread. You might want to use smaller scissors.
7. Now we need to gather the ruffle. Set your machine to the longest straight stitching length and stitch two parallel lines at the raw edges of your ruffles 3/8″ (1 cm) apart using the contrasting sewing thread of your choice and leaving long trails of thread at both ends. Do not backstitch.
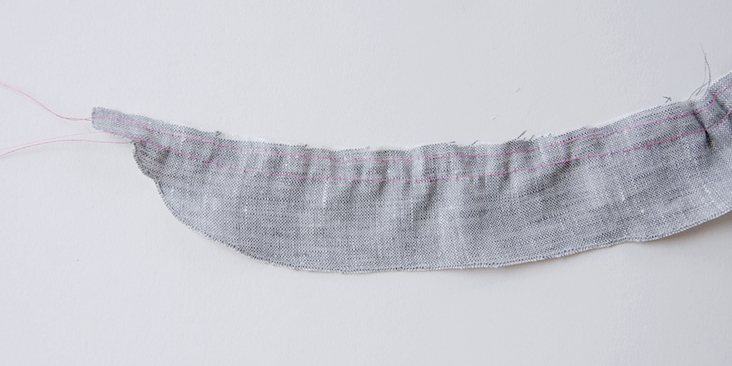
HERE is a great tutorial that explains how to prepare your fabric for gathering.
Once you have stitched these lines, organize the thread tails so they don’t tangle later and set your ruffle pieces aside for now.
8. Before attaching the ruffles, we need to assemble the tank’s bodice pieces. Start by pinning the shoulder seams right sides together.
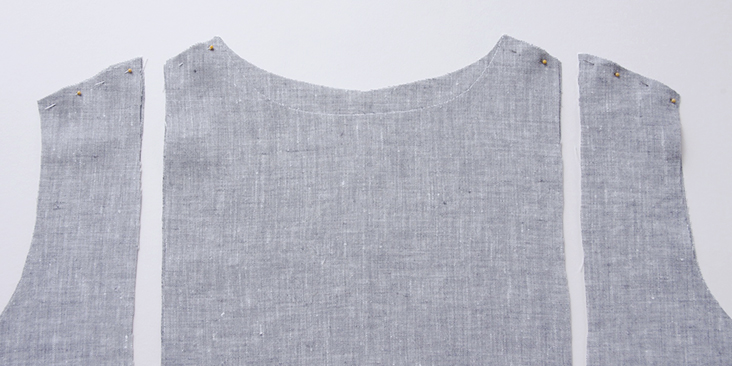
9. Sew the shoulder seams at a 3/8″ (1 cm) seam allowance.
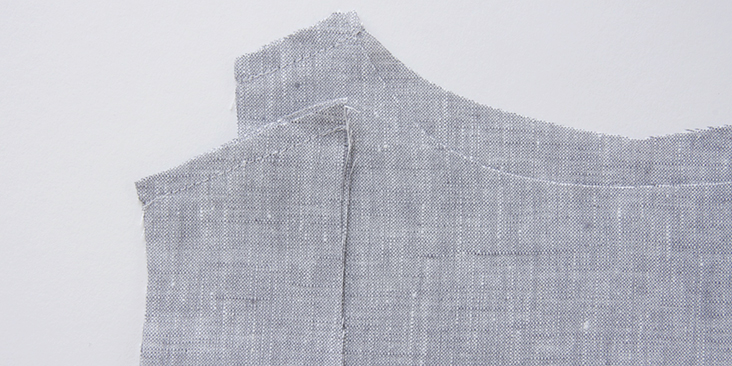
10. Measure the entire opening of the bodice slits (from the front bottom hem to the back bottom hem). This measurement will determine the length to which you need to gather your ruffles. Note that your ruffle should be a 2″ shorter than the actual split as you need to account for the 1″ seam allowance at the bottom hems.
11. Gather your ruffle by pulling the bottom threads to the size of the bodice front and back splits. Go slowly and be careful not to break the threads, distribute the fabric evenly. Once you’ve reached the desired length, tie knots on each end to secure the gathering.
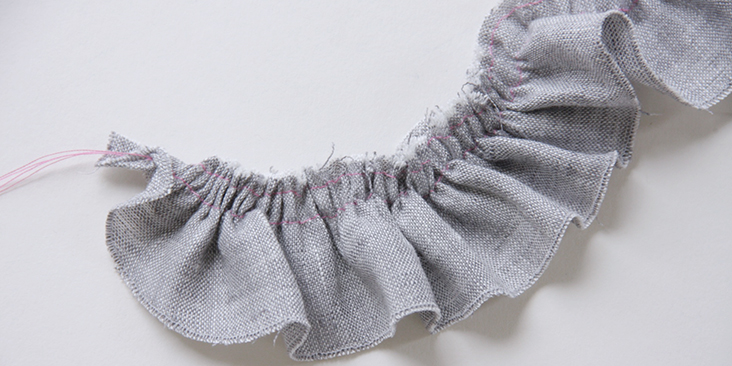
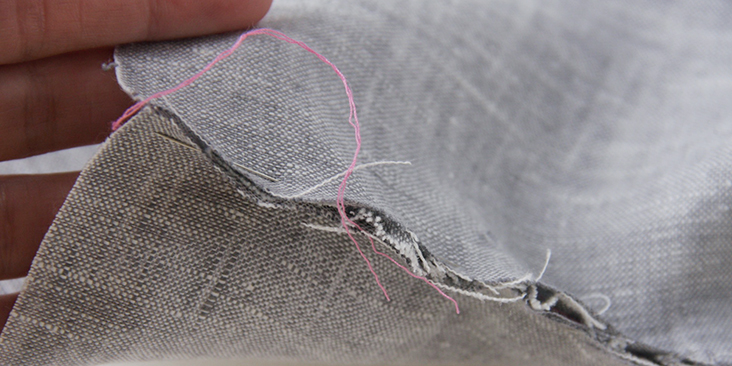
12. Now we can attach the ruffles to the bodice. Pin the three raw edges together. Working from the wrong side, sandwich your ruffle’s raw edge between the two right sides of the bodice pieces and pin. Remember to place your ruffle 1″ away from the bottom hems as it will later be used for a rolled hem and you don’t want your ruffle to be caught in it.
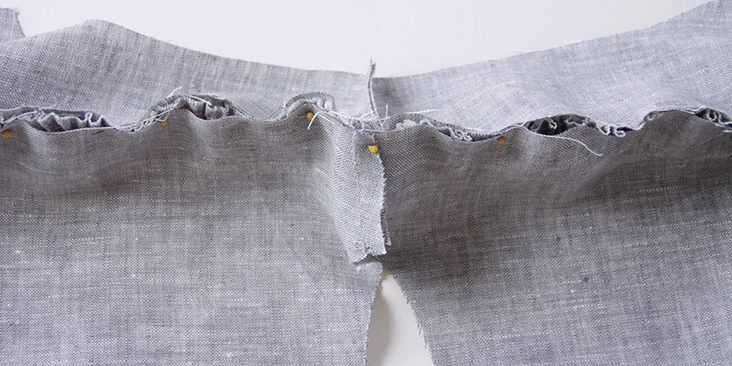
This is what it looks like from the right side:
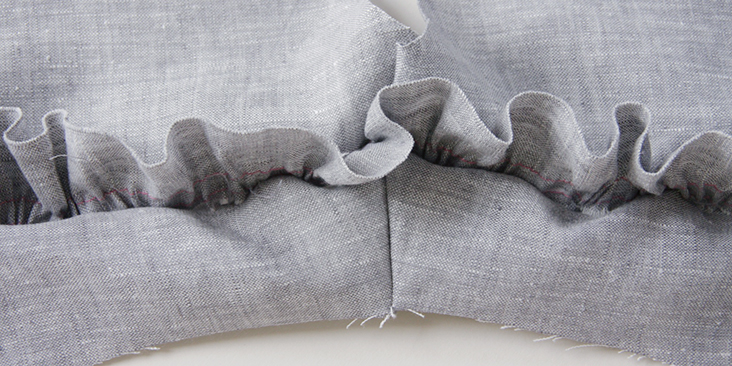
13. Attach the ruffle to the bodice by stitching in between the two stitch lines that you used for gathering.
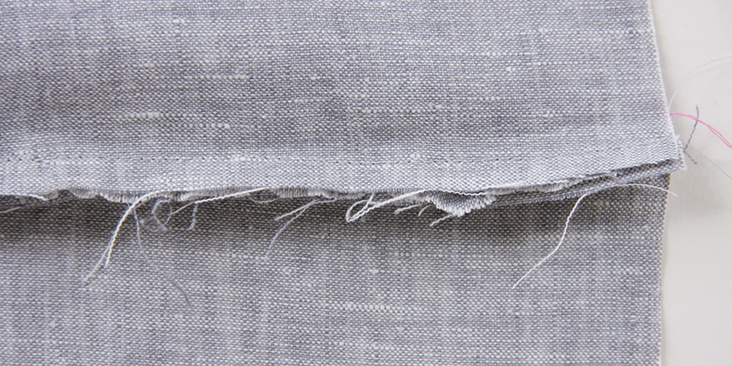
14. Using your seam ripper, take out all the contrasting threads that you used for gathering.
15. Trim the raw edges to 1/4″ (7 mm) and serge or zigzag them together to prevent the fabric from fraying.
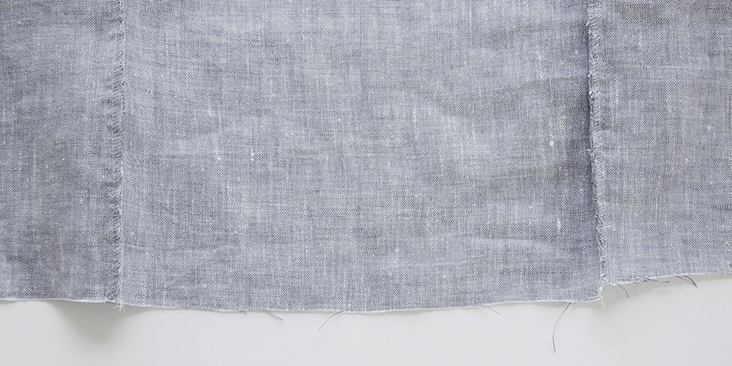
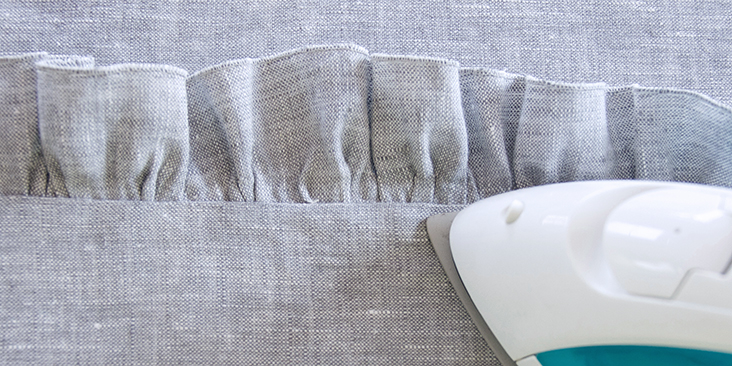
16. Carefully press in the crease of the ruffle (from the right side) to flatten the seams.
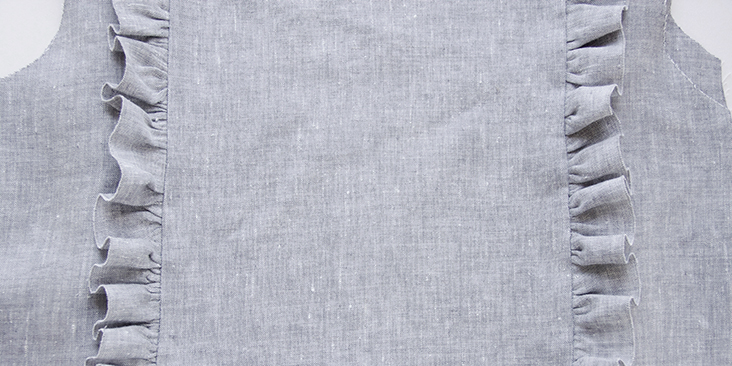
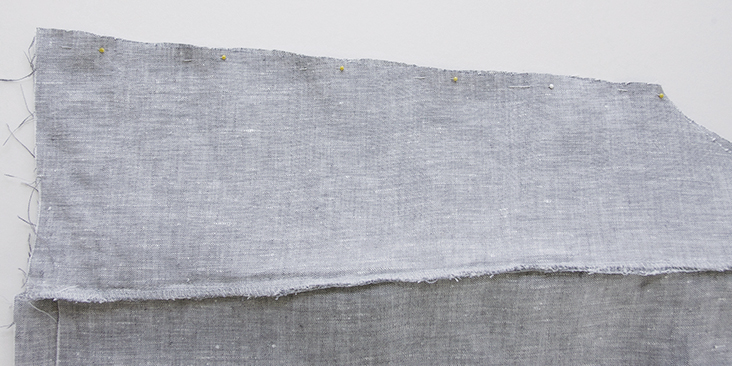
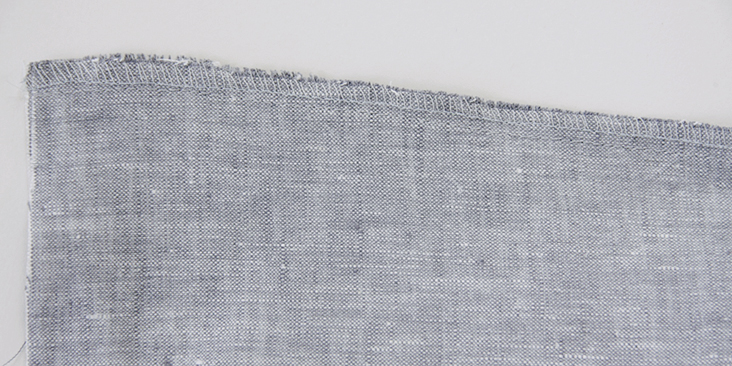
17. Now pin and sew the side seams right sides together. Serge or zigzag the raw edges together.
18. Press the seams up towards the back.
19. Bind the neckline and the armholes following this tutorial.
20. Finish the bottom raw edge with a rolled hem: fold the fabric twice to the wrong side (3/8″ to 1/2″), press and pin.
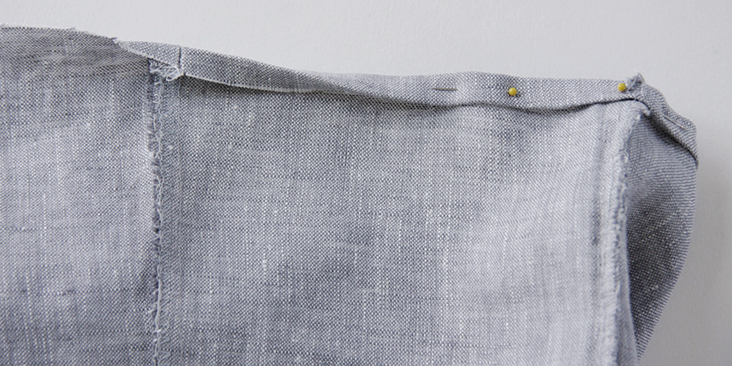
21. Stitch the hem as close to the inner folded edge as possible and press.
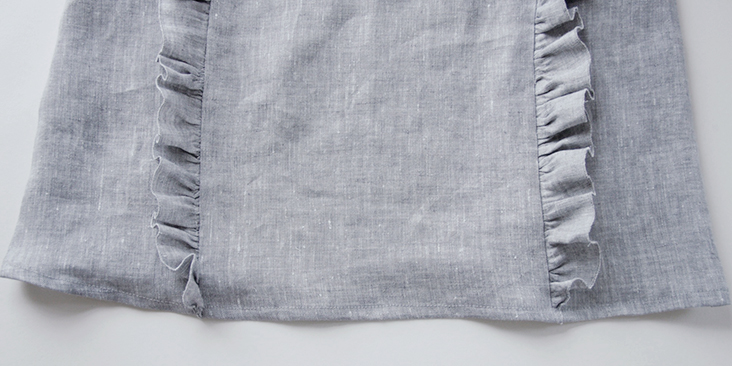
Your cute ruffle tank is now all done! We hope you enjoyed this easy sewing project and don’t forget to share your results with us!
If you prefer to have something lighter or cosier looking for the summer months, you can also check out our lighter linen selection and the brighter colors!




8 Comments
Pingback:
Red Embroidered Blouse - Almond Rocklili
I was waiting for such ruffle tutorial. Thank you so much!
Melody Lema
Love this, closing down the computer now, and I have that linen in my stash, just waiting for this!
Rima Khusainova
Dear Melody! Thanks a lot for your comment! We’d love to see what you make of it so please share your pics with us when you’re done!
tanya
beautiful blouse! did you sew your jeans? thanks for the tutorial.
Rima Khusainova
Dear Tanya! Thank you very much for your kind words. Since we only work with linen here, the jeans are not made by us…
Genevieve
What a fun idea. I think instead of trying to grade up for a size 8-10, I will opt to use a patter I already have and use your proportions for the vertical seaming. Thanks for inspiring me :).
Rima Khusainova
Great idea Genevieve! We are so happy we could inspire you to try something new!